Close
0%
0%

RpiFPV

Wifi or 4g FPV with the Raspberry pi and the camera board

Similar projects worth following
FPV flying is an upcoming technology. Today deticated video transmitters and recievers are used to send composite quality video from the plane or multicopter to the pilot. There are some alternatives for higher quality fpv but they are incredibly expensive(dji lightbridge and blackmagic modules). How cool would it be to use the raspberry pi with its fast video chip to send high quality video to the pilot?

The goals of this project are:

- To make HD streaming without lag from (model)planes, boats and rovers possible
- To educate on low latency streaming and long range WiFi

That will be done by:

- Creating a hardware setup based on WiFi, The Raspberry Pi and the RPi Camera Module
- Creating and publishing open source software that provides basic functionality and serves as a jump off point for further hacking

The general plan and choices made beforehand

The most important property of an FPV video feed is latency. When the latency of the video is too high, the plane becomes uncontrollable. Half a second is a lot of latency. Latency originates from multiple places in a video system. Every time a signal is converted or passed through a device, latency occurs. So lets start with the camera.

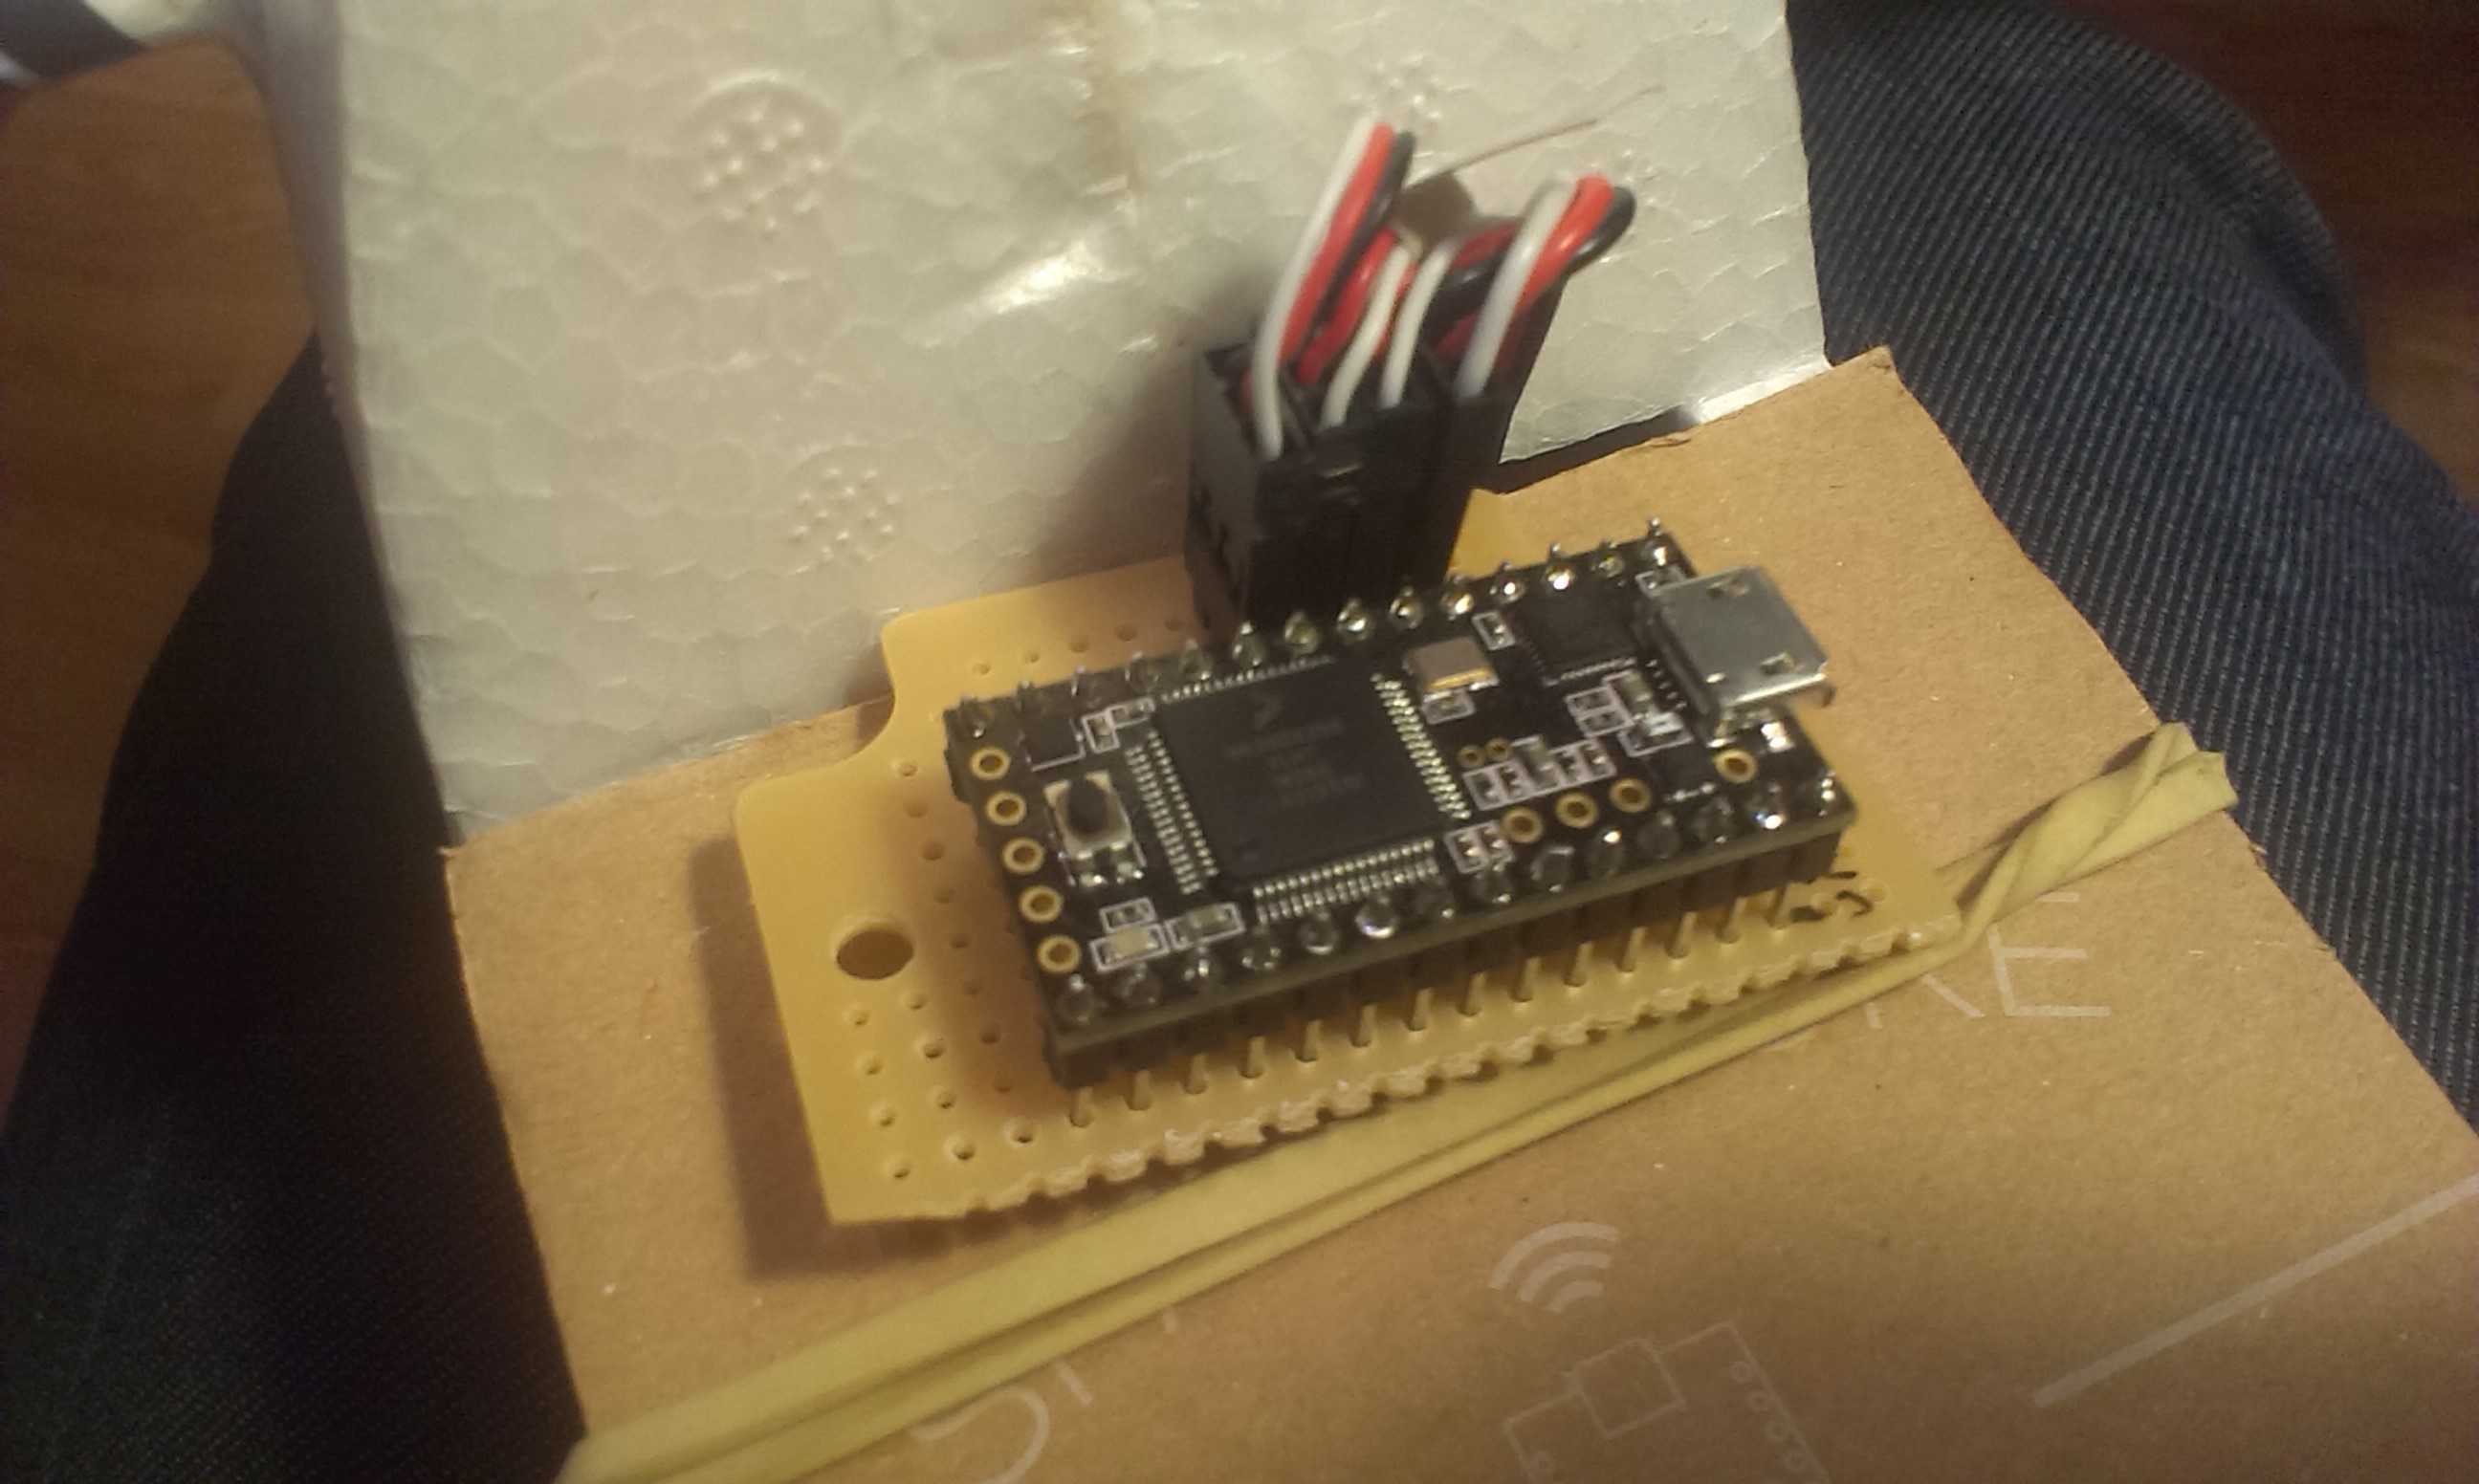
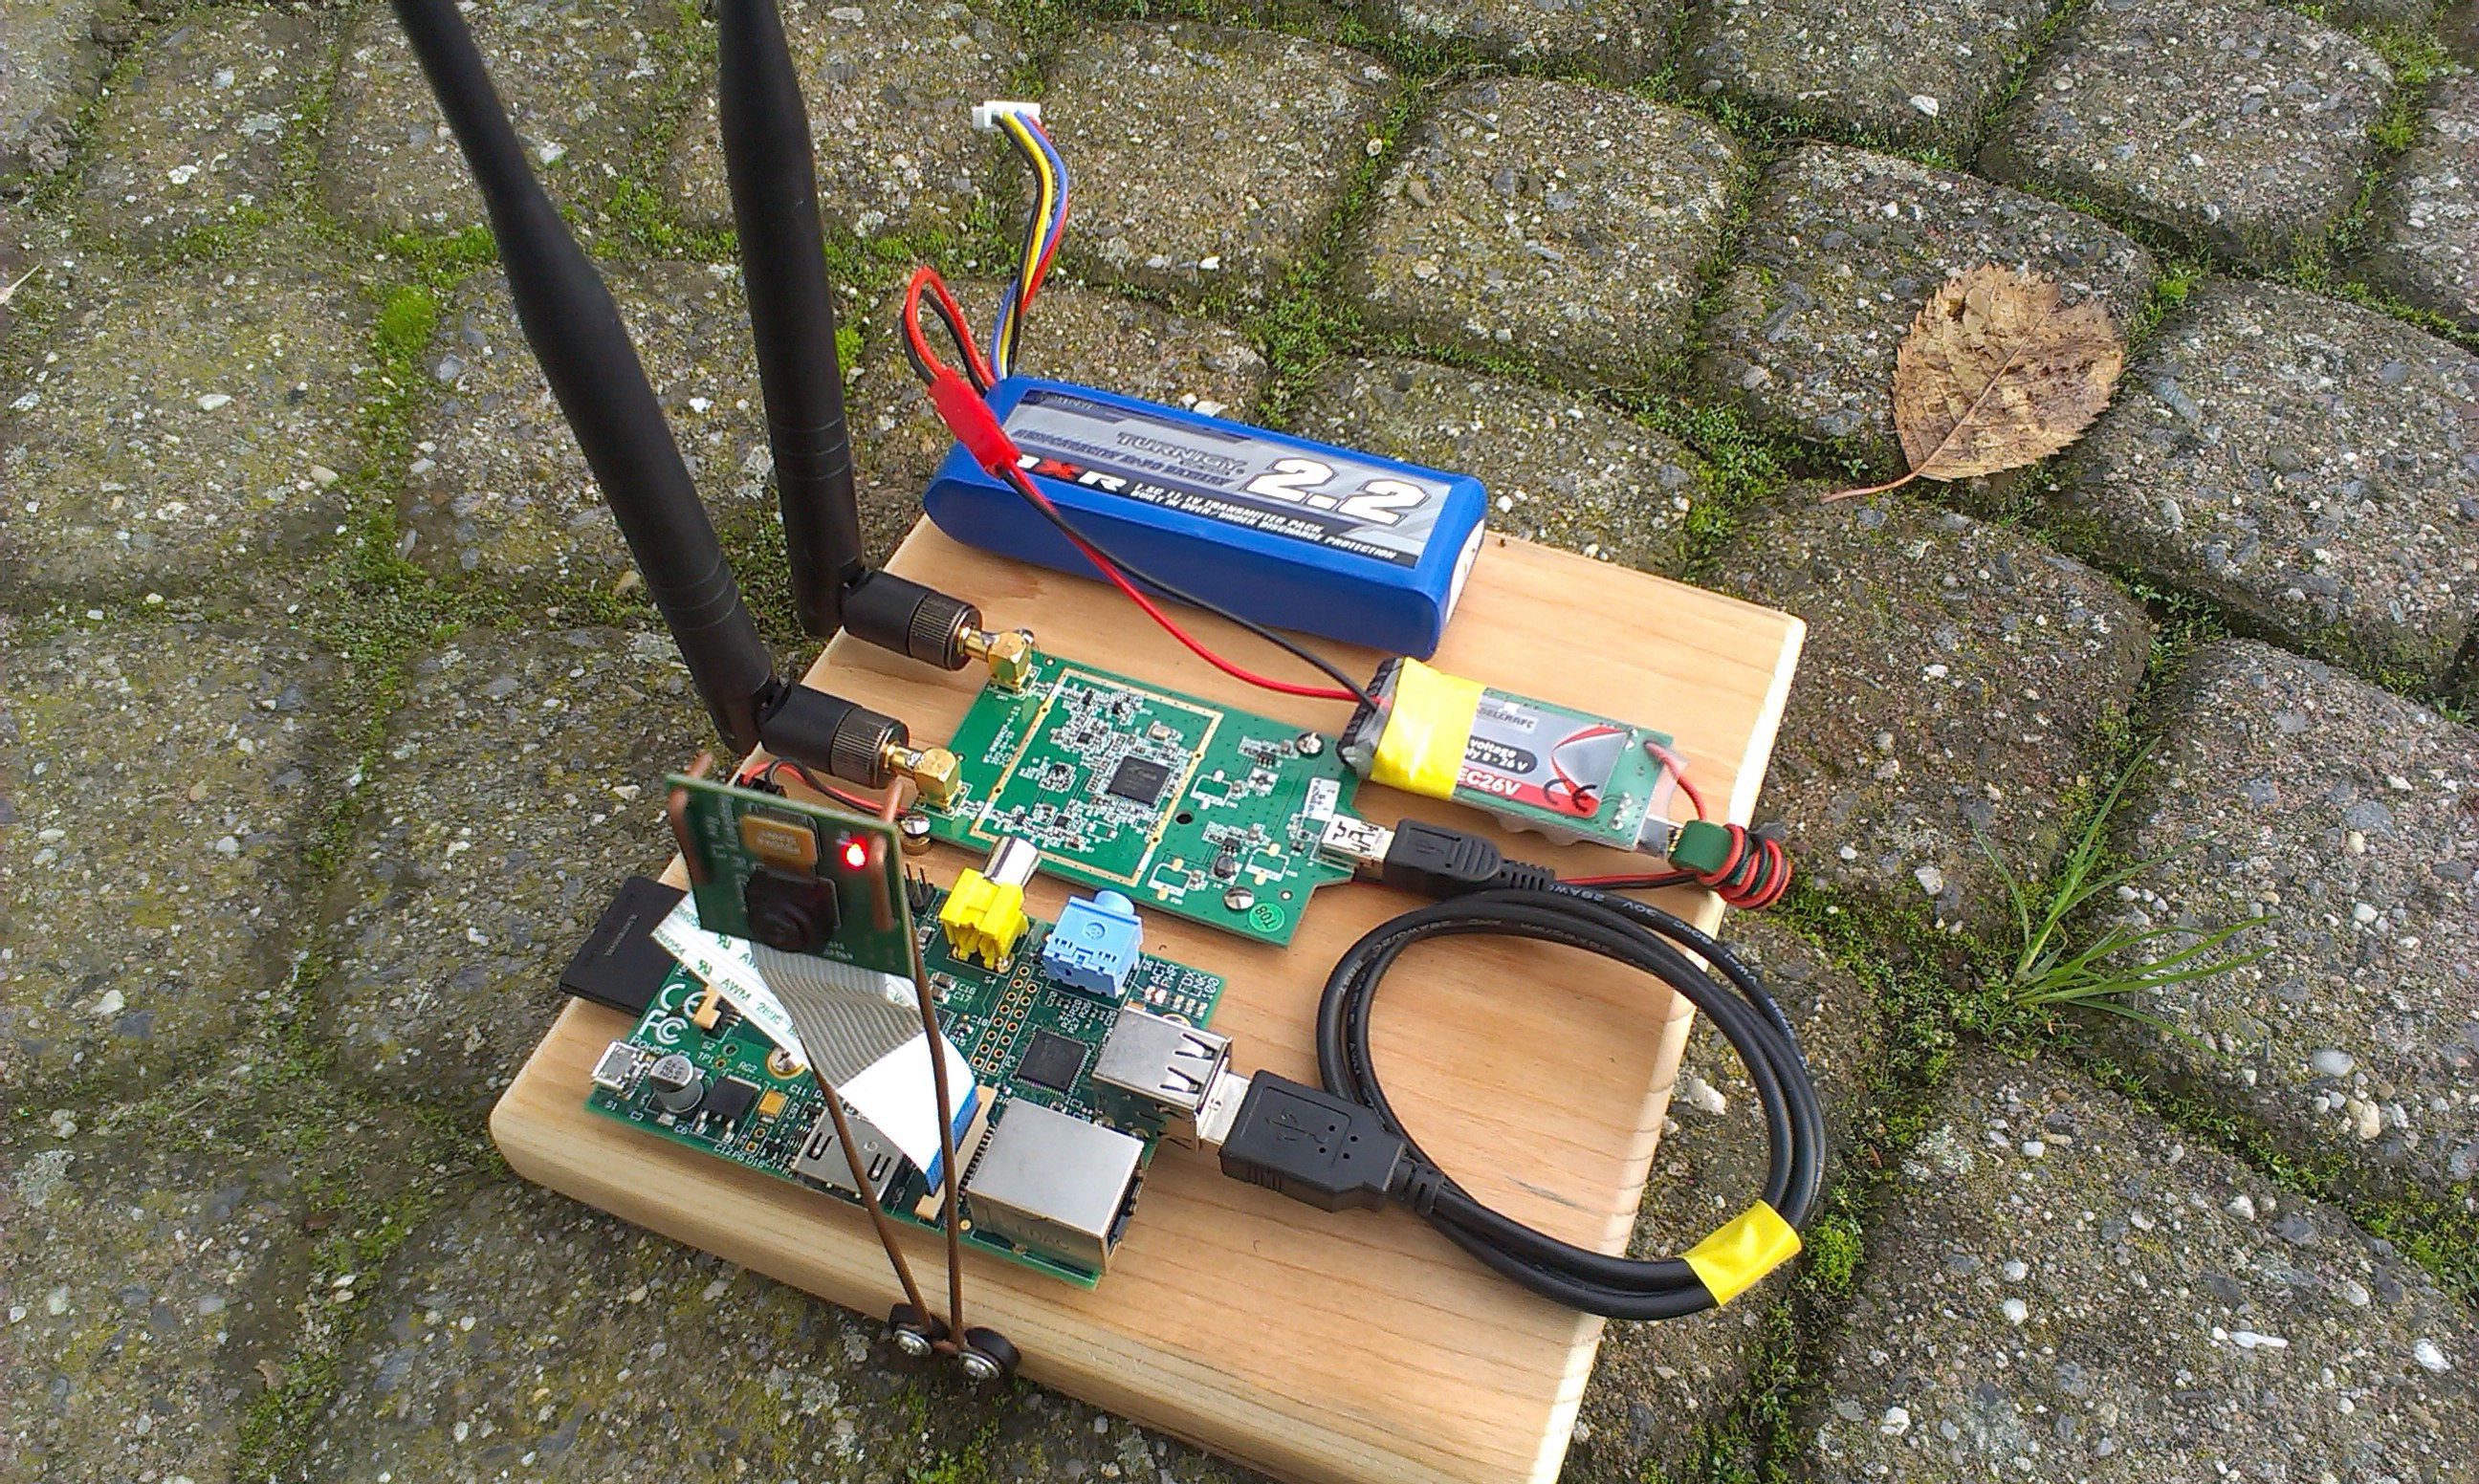
The Raspberry pi camera board is an excellent choice for our application. The High bandwidth CSI interface pumps the video signal directly into ram. The quickest solution would be to pass that data right over a wireless link to the display. But that is not possible. The wireless links we can get our hands on don't have the needed bandwidth to do that. The solution is to encode the video data.

Encoding of video is a resource intensive task. Yet we have to do it on a limited energy budget and we have to be quick. Luck is on our hands this time because the raspberry pi has the thing to do just that. The Raspberry pi has accelerated video encoding and decoding. These capabilities are exposed through the OpenMAX API.(Thats what OMX stands for in the omxplayer on the Rpi) We are even more lucky because a very familiar(to linux users) multimedia framework uses the OpenMAX API: GStreamer.

Gstreamer is a framework for dealing with video and audio. It provides libraries for a multitude of programming languages. It also provides a command line tool. With those tools you can build a pipeline for processing multimedia data. It works something like this pseudo example:

InputFile > resize > encode > outputToFile

This is a very flexible way to encode our video for streaming. And if we use it wisely it cam be quick too! But speaking about streaming what wireless data link should we pick?

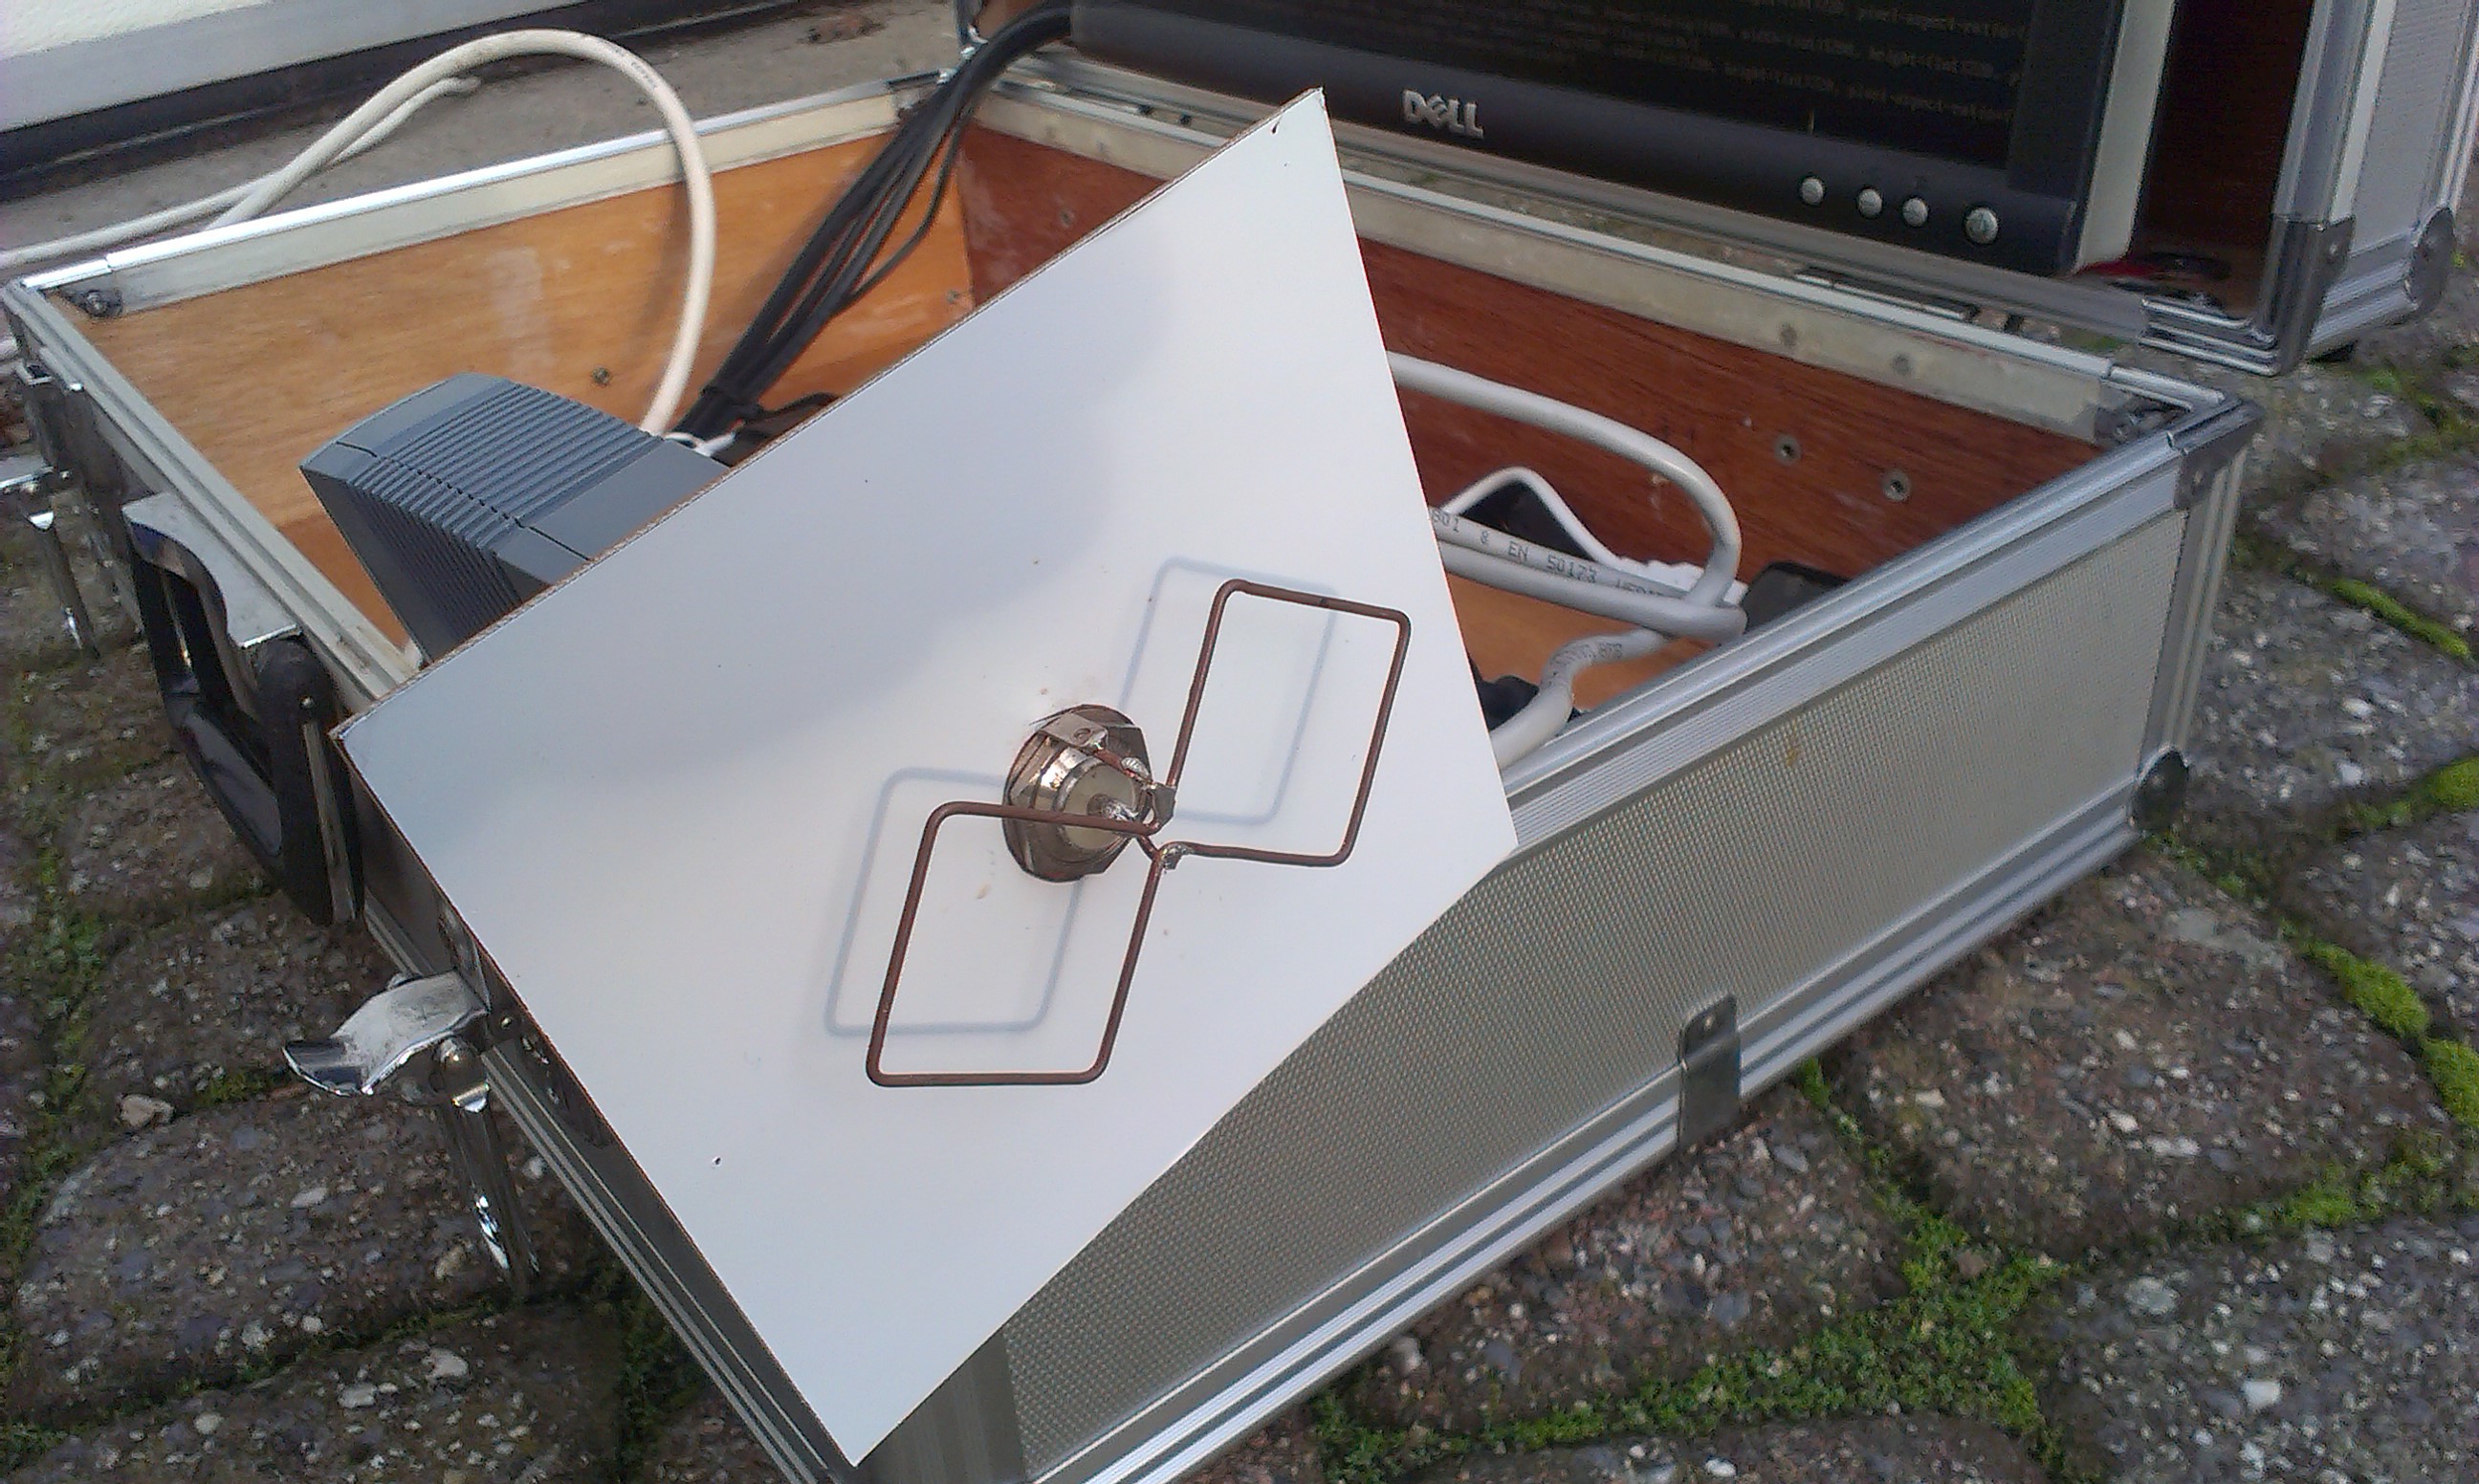
The first thing to come to mind is WiFi. And its actually not a bad choice.

To send video over wireless link, a fair amount of bandwidth is needed. Since we want to improve on the composite quality of the current systems we need even more. Bluetooth, zigbee and xbee all lack the bandwidth. An alternative to WiFi would be a mobile cellular 3G/4G connection. But that’s gonna be pricy!

To improve upon the current systems we need to have a better video quality than 480i(640 × 480 interleaved). 1024x768 would be a significant improvement and will be the bottom line resolution quality. The minimum frame rate will be 24 frames per second. The specs that will bring out the champagne are 720p(1280x720 progressive) at 60 frames per second. In my vision audio is not important in FPV. It will be out of scope for now.

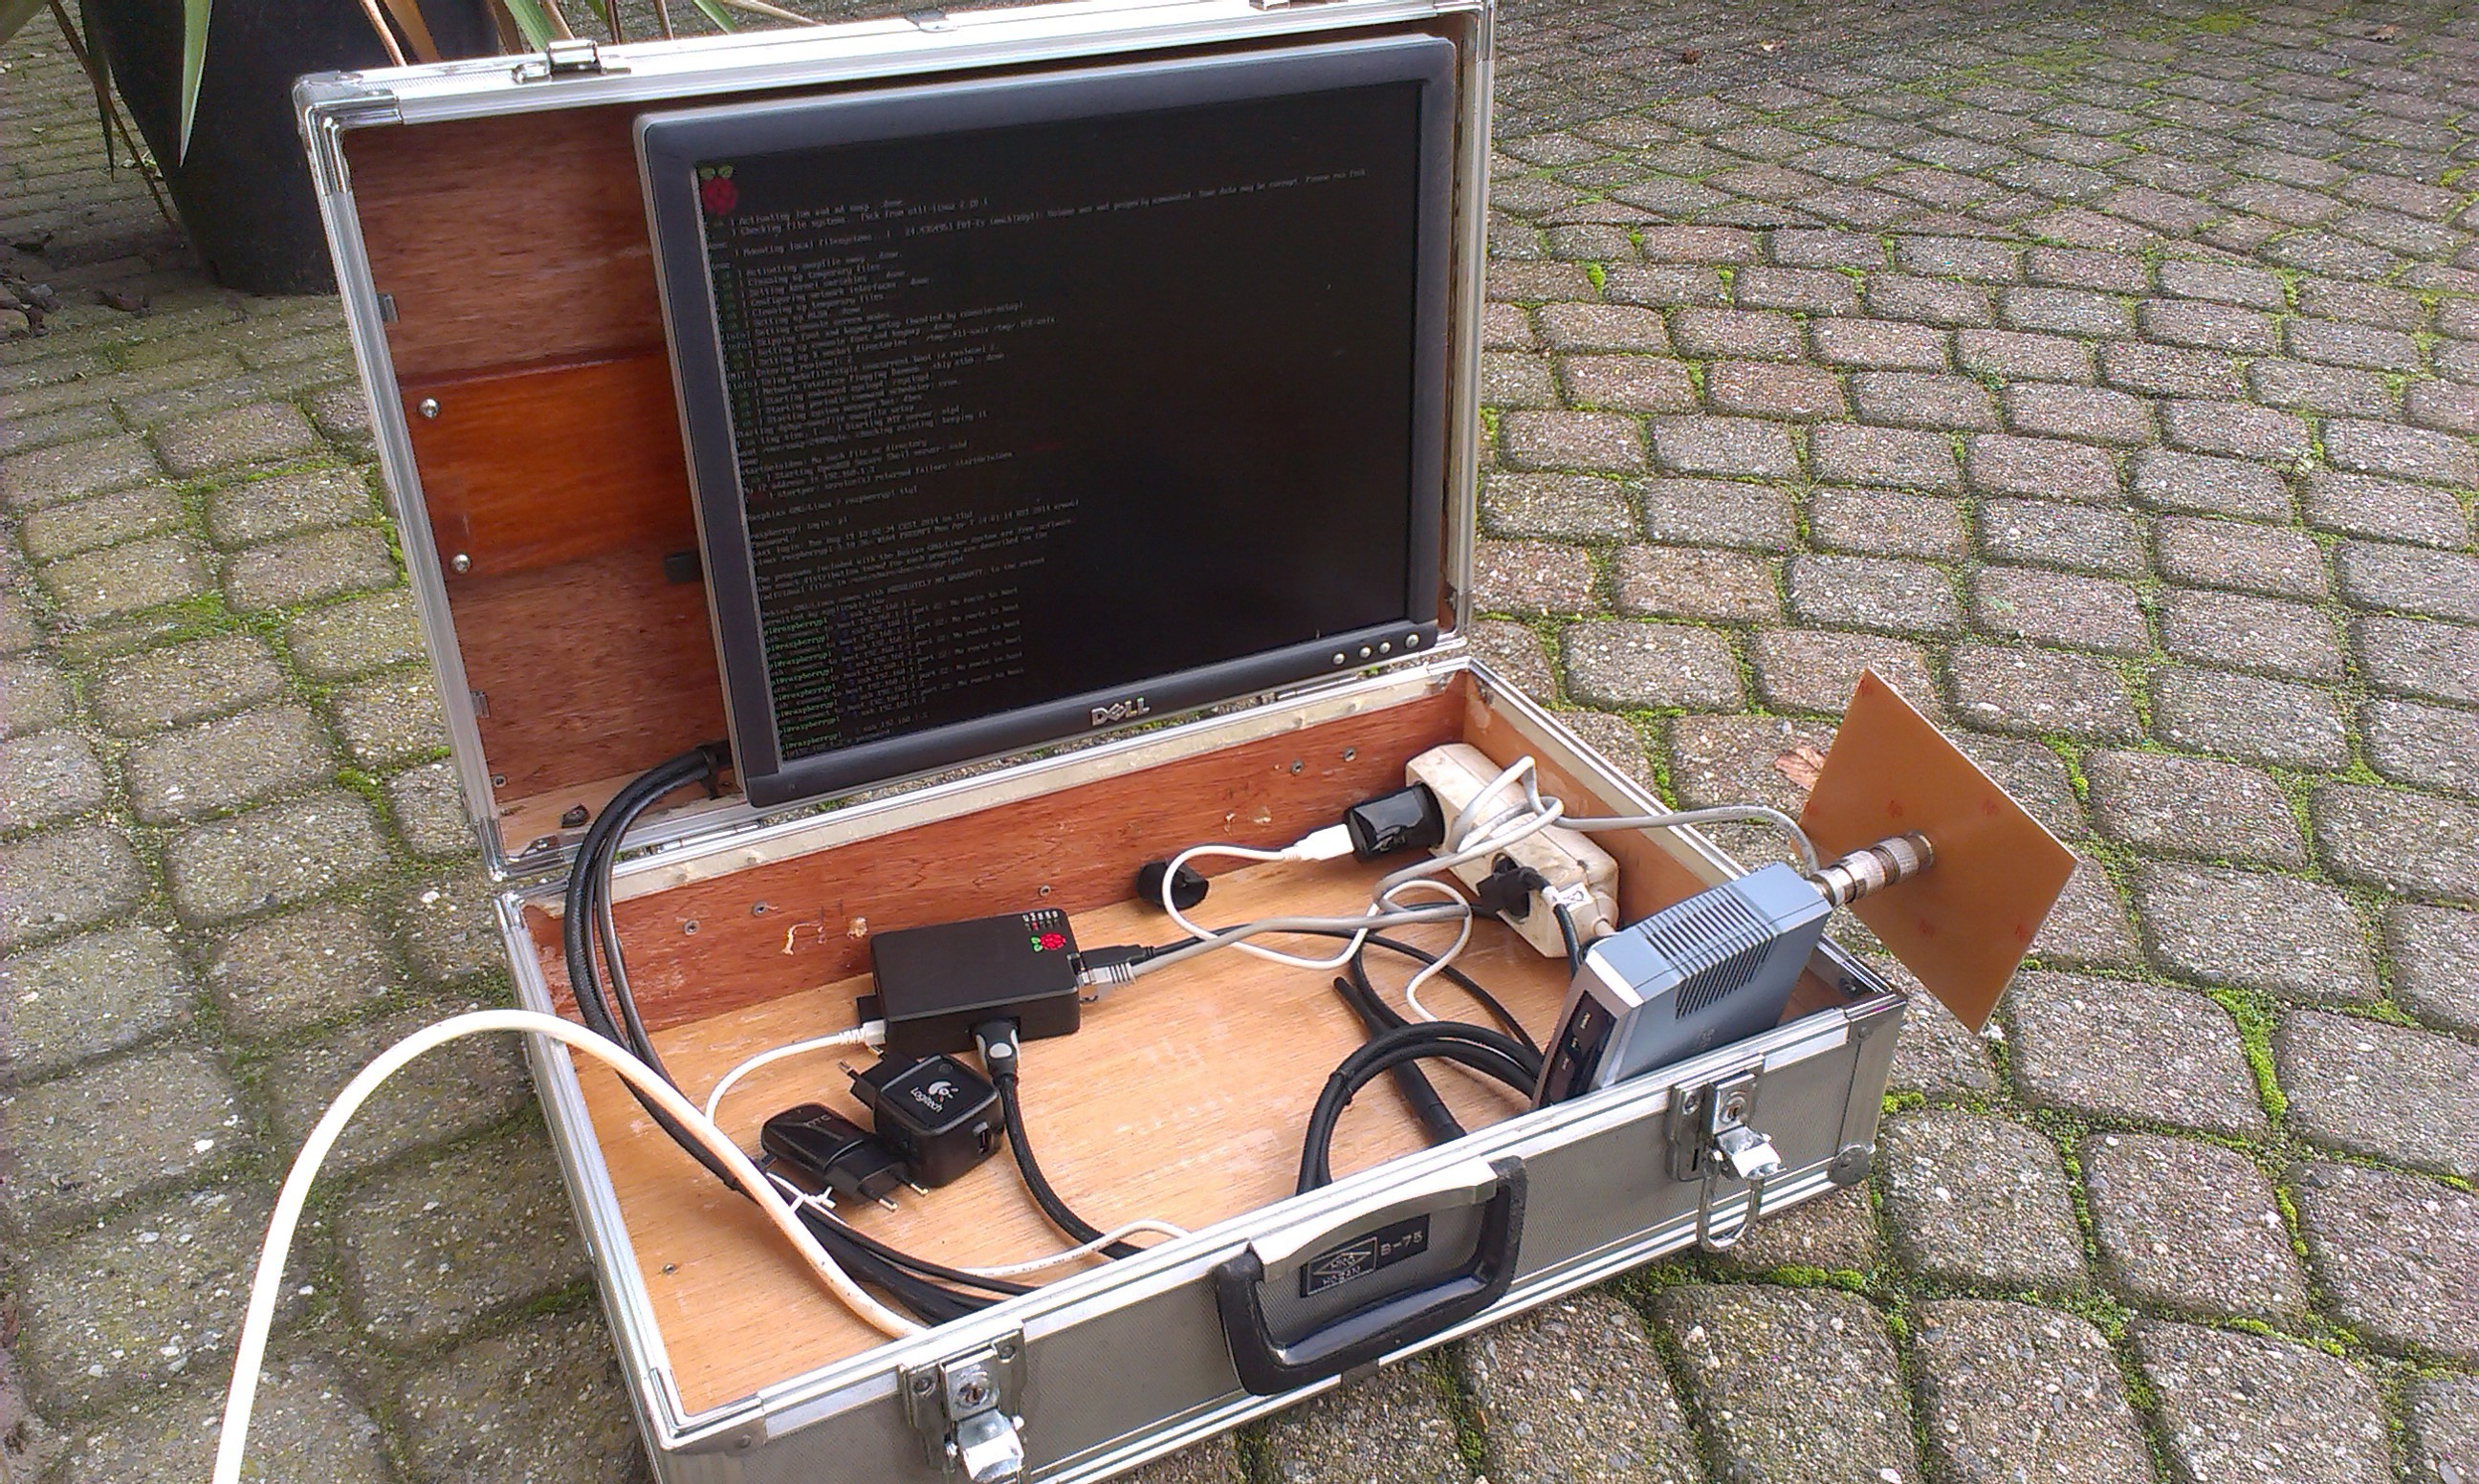
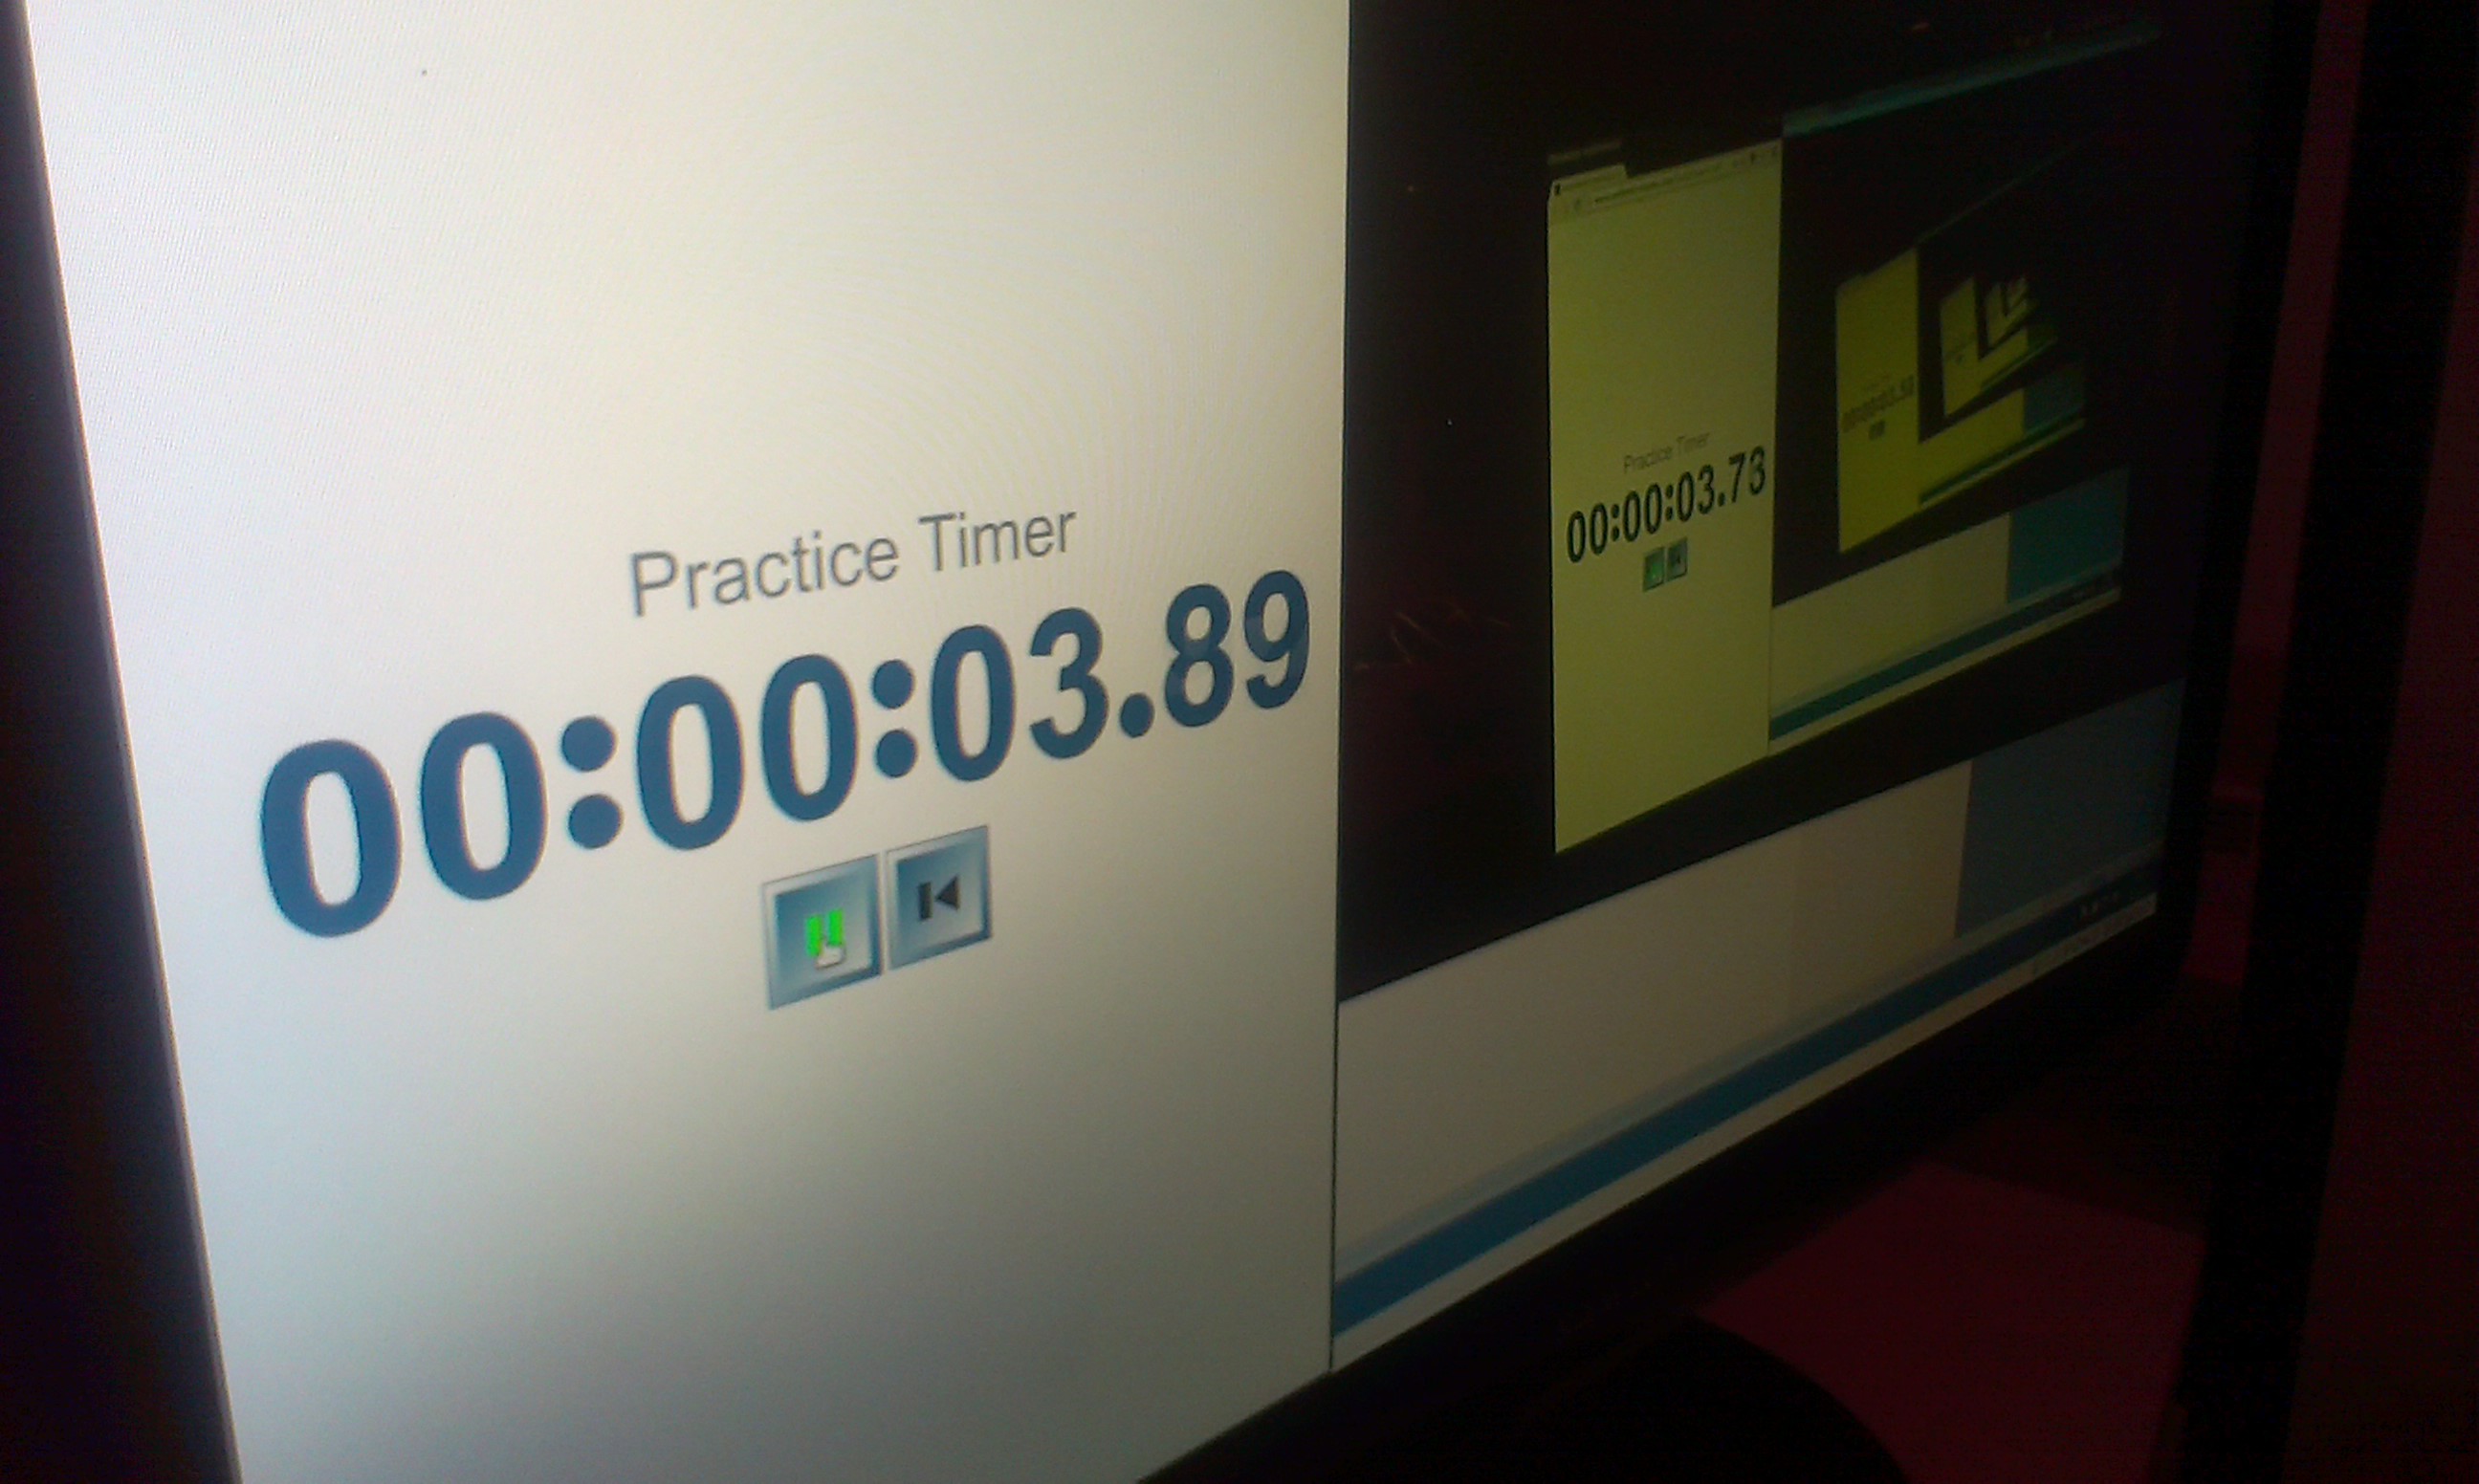
On the receiving end we want to view the feed in the field. A mobile ground station would be nice. Because our feed comes over an IP network it is logical to use a laptop or tablet to view the feed. For the coming experiments VLC or a similar app will be sufficient.

Lets get building!

  • 2 × High power usb Wifi modem
  • 2 × Ubec Power supply
  • 1 × Screen
  • 2 × Raspberry pi model B
  • 1 × Raspberry Camera Board

  • More WiFi power

    richardginus12/10/2014 at 21:05 1 comment

    Last weekend i dragged the whole setup to the flying field. After 10 meters the control became intermittent. How is this possible after the successful earlier tests? On the flying field there is no power available so i could not use the ground station i built. So i used the WiFi adapter from the FTU with a laptop and a "Micro" USB WiFi adapter. That didn't work.

    Today the WiFi adapter i ordered came in the mail and i have been testing it.

    Using wavemon i found the adapter was performing around the same as the built in adapter in my laptop. The transmit power reported was 100mW.

    The reason i bought this specific adapter in china was because it had the following features:

    • Small and light
    • RP-SMA connector
    • 1000mW tx power

    So where are my 900mW?

    So the maximum allowed transmit frequency is not the same in every country. This is controlled by the driver of your network card. To change this in most linux distributions use the following instructions.

    First find the name of your card with ifcofig. Usually this is wlan0. Replace NAMEOFYOURCARD in the following commands with with the name of your card and run the following commands:

    sudo ifconfig NAMEOFYOURCARD down
    
    sudo iw reg set BO
    
    sudo ifconfig NAMEOFYOURCARD up
    This example sets the locale of your network cards to Bolivia.

    When checking in wavemon again the tx power was 500mW. Much better. Power saving was still enabled and i think disabling that will let the full 1000mW out of the box. I wasn't willing to try this yet without first having a good power supply.

    Bye!

  • Pre flight checks

    richardginus12/04/2014 at 18:16 0 comments

    I am getting there! When the weather clears up the system will be tested at the flying field. The system as seen in the video is powered by the onboard lipo and is airworthy. I ordered another WiFi adapter and when that arrives i expect the system to be actually flyable!

  • RC over IP hardware ready to be tested.

    richardginus12/02/2014 at 17:26 0 comments

    Today i finished all the hardware for the RC over IP. I used a Teensy 3.1 as a 'receiver' It communicates over USB with the Pi. There are still a few software tweaks to be done like servo rates. I would also like to change the way the servos are controlled. Currently they are scaled down from 1000 to 180 and in the servo library back up to 1856 so tuning the maximum deflection and stick scaling would solve that. There is also a issue with throttle not being zero on startup. (dangerous!)

    Things work reasonably well on my bixler.

    Bye!

  • Cash strapped developments

    richardginus11/26/2014 at 17:55 0 comments

    Update: Added a second channel. The bandwith used is 3.85 KiB/s

    Looking for UHF/LRS (long range) RC systems i realized i could not at the moment pay for them. Since my interference troubles keep me from aerial testing i went with the only solution left: building WiFi based RC control.

    Think of it as reverse telemetry ;-) First test went okay. I can update the servo 30 times per second and get a natural feel to it. The bandwidth is 3.85 KiB/s for two channels. The software will land in the github repo when it is capable of 4 channels, expo and trim.

    Bye!

  • Field testing results

    richardginus11/17/2014 at 14:34 4 comments

    Today i tested the system in the field with the new groundstation and FTU. I reached 150 meters with a reasonable video feed. This made me confident and want to jump ahead at setting up an aerial test. I tested using my RC gear right next to the streaming equipment. The transmitter induced a 10 - 20 second delay in the video feed. The RC connection did not seem to be influenced by the streaming equipment.

    Te most interesting is that the RC equipment induced a delay, but image quality remained consistent. Increasing the distance of the video feed produced a more intermitted image, but almost no extra delay.

    The influence of the RC equipment on the FPV equipment was expected and should be solved in one of the following ways:

    - Switch the FPV system to 5Ghz WiFi
    - Switch to UHF/LRS RC control
    - Control the plane over WiFi

    The last one is the most risky but the cheapest
    I will investigate the performance of the orangeRx openLRS system and buy it if it is good enough.

    Bye!

  • New groundstation and field testing unit.

    richardginus11/13/2014 at 15:47 0 comments

    So i built a groundstation to test the project in the field. the plan is to feed it from a 12 volt to 230 volt inverter in the back of a car and drive to an open field to test performance at one meter. When a usable feed is achieved at 500 meter (~1600 feet) i am satisfied and will start aerial tests.

    The only worry i have is interference with the RC control which also works at 2.4GHz.

    I could use a long range rc link on another frequency or somehow minimize the interference. Enough challenge ahead!

    This is the new antenna. This is a biquad antenna which should have a radiation pattern that looks like this:

    This is the smaller and more handsome field testing unit (FTU). It is also more rugged and does not feature tape to hold the boards together. The change from lead acid to LiPo made it significantly lighter. The unit can be lifted by a multicopter. The component weight without battery approaches the weight of regular FPV gear.

    Also watch the video:

    Until next time!

  • The Field Testing Unit

    richardginus08/13/2014 at 10:14 3 comments

    This is the field testing unit. It has currently reached a range of 170 meters (560 feet) with 50% signal left. Latency jumps between 100 and 200 milliseconds. Resolution is 720P There is lots to do to improve this setup!

  • I entered the hackaday prize + bonus sneak preview

    richardginus08/05/2014 at 16:17 0 comments

    I finally had the guts to enter this project into the hackaday prize. I didn't do it before because i cant work on the project until the 18th of August. We'll see if i make the first cut!

    Here is a preview of my current results:

    It is an image of the camera filming the screen of the viewer. The end to end latency is calculated by subtracting the right number from the left number.

    3.89 - 3.73 is 0.16 seconds. That is only 160 milliseconds!

    This test was conducted at point blank WiFi range. The raspberry and the laptop are both connected via wifi to the same access point. The resolution is 1280x720 and the framerate is 30 frames per second. The bitrate was limited to 2 Megabits per second.

  • The specification

    richardginus07/12/2014 at 08:01 0 comments

    The hardware specification will be as follows:

    - Raspberry Pi camera module

    - Raspberry Pi (either model A or A will work)

    - High power USB WiFi dongle

    - Another USB WiFi dongle

    - Laptop

    USB WiFi dongle

    This will need to have some special features and/or mods.

    To prevent interference and to allow more bandwidth the dongle should support the 5Ghz range. Normal RC control systems use the 2.4Ghz range and thus would interfere with the WiFi signal, or worse, the other way around.

    Range will be our biggest problem with WiFi. To get better range, better antenna's are a must. The dongle should be able to accept a better antenna or should be modified to accept one.

    The output power is another factor in range. Although twice the power doesn't mean twice the range it does help to a certain point. For WiFi it wont make sense to go above 1000 milliwatts.

    Laptop

    The laptop will be running linux for now to get good support for the gstreamer libraries. We wont be using the internal WiFi radio for reasons stated above.

    The software specification will be as follows:

    - H264 video @ 1280x720 30 frames per second

    - encoded using raspivid

    - RTSP stream over UDP with gstreamer1.0

    - Viewed with gstreamer1.0

    To be continued...

  • Waiting game

    richardginus05/12/2014 at 17:50 0 comments

    I'm sorry this is taking so long. My camera board is in another project right now, so we will have to wait before i can start building. :-/

View all 10 project logs

Enjoy this project?

Share

Discussions

popsnkrsreps wrote 09/02/2023 at 10:37 point

Thank for you share these, I have learn a lot, and I want to recommend

Jordan 4 Reps

for the sneakers fans.

  Are you sure? yes | no

anonynous wrote 09/29/2020 at 07:06 point

Religion has consistently figured out how to pull in me towards itself. Once visit subject verb agreement checker online free to get more informative ideas. I feel so much solace and unwinding at whatever point I am rehearsing strict qualities.

  Are you sure? yes | no

fabian wrote 09/02/2018 at 07:53 point

wifi is too easy to blocking transmision. wifi+image recognition and maps is better

  Are you sure? yes | no

mr.jb wrote 11/22/2014 at 10:41 point
Hi, do you plan to mux telemetry data in to the gstream ?

So far all projects I've seen use separate protocols.....I think muxing data would have great advantage for synchronization and recording.

similar project ( currently it has separate protocols )
http://diydrones.com/profiles/blogs/how-to-setup-a-mission-planner-hd-video-hud-using-gstreamer-and

  Are you sure? yes | no

richardginus wrote 11/25/2014 at 15:13 point
Thanks for the link! I could mux it in in multiple ways: Directly in the image, or via a gstreamer plugin.

  Are you sure? yes | no

salmon wrote 10/27/2014 at 12:06 point
Hi, I saw your project on github. How do you run video4linux script? I tried to run it with two available drivers(unofficaial and official) but id didn't work.

  Are you sure? yes | no

richardginus wrote 10/27/2014 at 12:24 point
Hi!

I created that script to work on my laptop and i haven't gotten it to work on the pi either.

May i ask why you aren't using the raspivid version? For the camera module it is far superior.

  Are you sure? yes | no

salmon wrote 11/02/2014 at 00:27 point
I just wanted to check which one gives smaller lag.

  Are you sure? yes | no

Brandon wrote 08/07/2014 at 03:30 point
Awesome! Any plans for an OSD?

  Are you sure? yes | no

richardginus wrote 08/07/2014 at 07:21 point
That is one of the stretch goals. Some other stretch goals are:

- Servo output
- compute module based board
- some ardupilot compatibility

There are more ways to implement OSD. It is possible to embed text in the video with the latest driver. This would keep the viewing end generic. It is also possible to send the telemetry data in a seperate stream and create a highly graphical UI in a viewing application.

  Are you sure? yes | no

McNemisis wrote 06/21/2014 at 21:38 point
I have been working on this for the past few weeks, so far I have been able to get the streaming working and and an app for my tablet, that is able to record and take photos as well as show you a very fast stream,
my system works like this.
Raspivid output into a temporary fifo.
1 gstreamer pipeline to stream the content, via gstreamer.
I've tested this to my laptop up-to at least 720p and get no lag.
i then launch a new pipe for recording into a format the tablet understands.
and another for taking photos.
this also works to my tablet but only up-to a resolution of 360,480 for less than a few hundred m/s lag. the problem is to do this I've had to drop the resolution of the camera and that in turn messes up my recording and photos. (low resolution)
i think the key is to rescale the streaming pipeline but so far my attempts to do this just use up to much cpu , using video scale.

  Are you sure? yes | no

Squidyman wrote 06/25/2014 at 02:09 point
Awesome, I have been looking into a solution as well. I will buy the Rpi camera this week, and if that doesn't prove to be stable I will get a camera that converts it's video to H.264 natively.
How much bandwidth does your stream take up?
I hope to get between a 1.5mb/sec and 3mb/sec. Also, I want to be able to have the video resolution reduced if the signal strength drops so that I can still fly.
Using a yagi, or some other very directional antenna should help it "punch" through obstacles fairly well. Not sure which antenna would be best for the model unless you have a big airplane which could support a yagi on it???

Unfortunately, I have very poor programming skills so I will have to use what others create and maybe modify a line or two of code to make it more application specific...

I have started a thread at FPV labs with my progress over the last month or so.
Link: http://fpvlab.com/forums/showthread.php?4869-The-complexities-of-streaming-HD-video-downlinks...&p=526142&posted=1#post526142

I hope to use Oculus Rift goggles, but not sure how to get it to output 2D video, not 3D. I will research that.....

Do you have plans on using an HUD for video telemetry?
Also, this is kind of random, but maybe the transmitter could be connected to pc or tablet and the Rpi sends serial data to the flying Rpi for control. Maybe some way to get it to work in real time......
Anyways, Thanks for telling us what you have accomplished!

  Are you sure? yes | no

Squidyman wrote 06/20/2014 at 21:31 point
Hi, this is exactly what I was looking to use for my FPV project. I believe this is the future for HD video transmission for FPV. The ability to compress video so that it can be transmitted long range is literally ground breaking for FPV. I would say the driving force behind it is the RPI which is light enough to go on about any craft. I will keep tabs on this project, and try it myself with my RPI. I just need to find a camera now.

  Are you sure? yes | no

Eric Evenchick wrote 05/04/2014 at 09:04 point
Is weight an issue here? Any plans to reduce it?

  Are you sure? yes | no

richardginus wrote 05/12/2014 at 17:48 point
Not so much. the pi is pretty light, the camera board too and a wifi dongle isnt heavy either.

  Are you sure? yes | no

Similar Projects

Does this project spark your interest?

Become a member to follow this project and never miss any updates