 deʃhipu
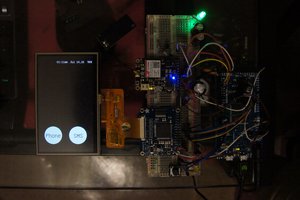
Once upon a time I found a Nokia display in my drawer, and figured out I need to try to use it in a project. So I went and built the simplest thing -- a small serial display, that I can connect to my robots for debugging. That's how #µtty was born. It is actually very useful, but a little bit cumbersome to use. So I decided to try and improve the design a little bit.
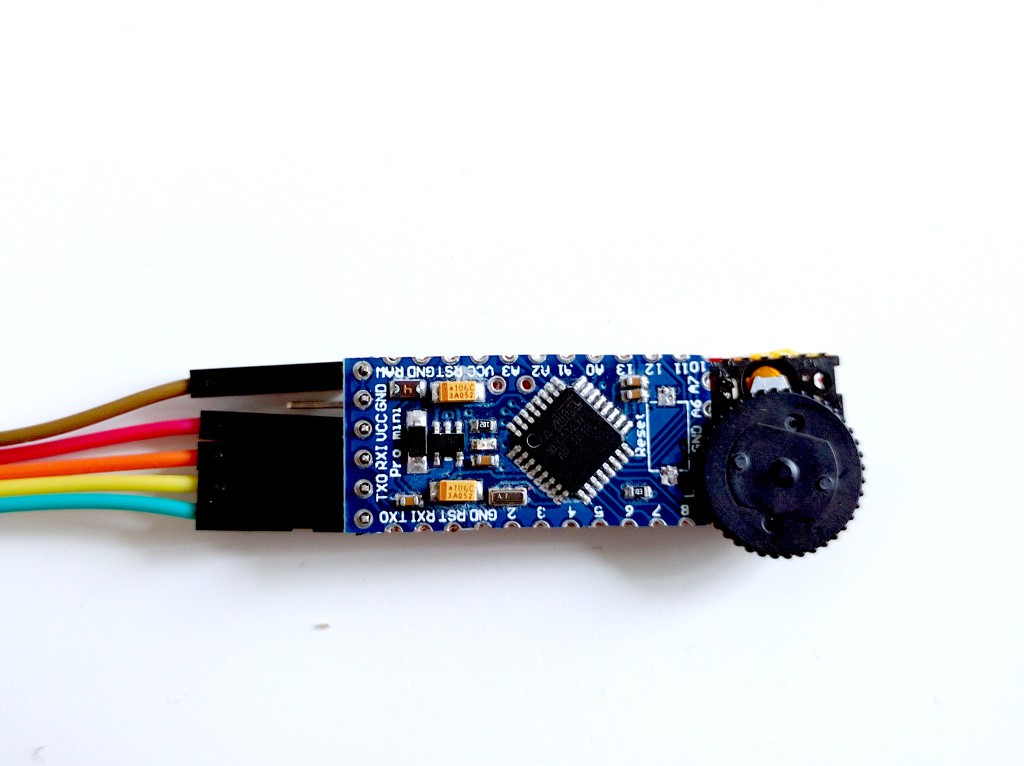
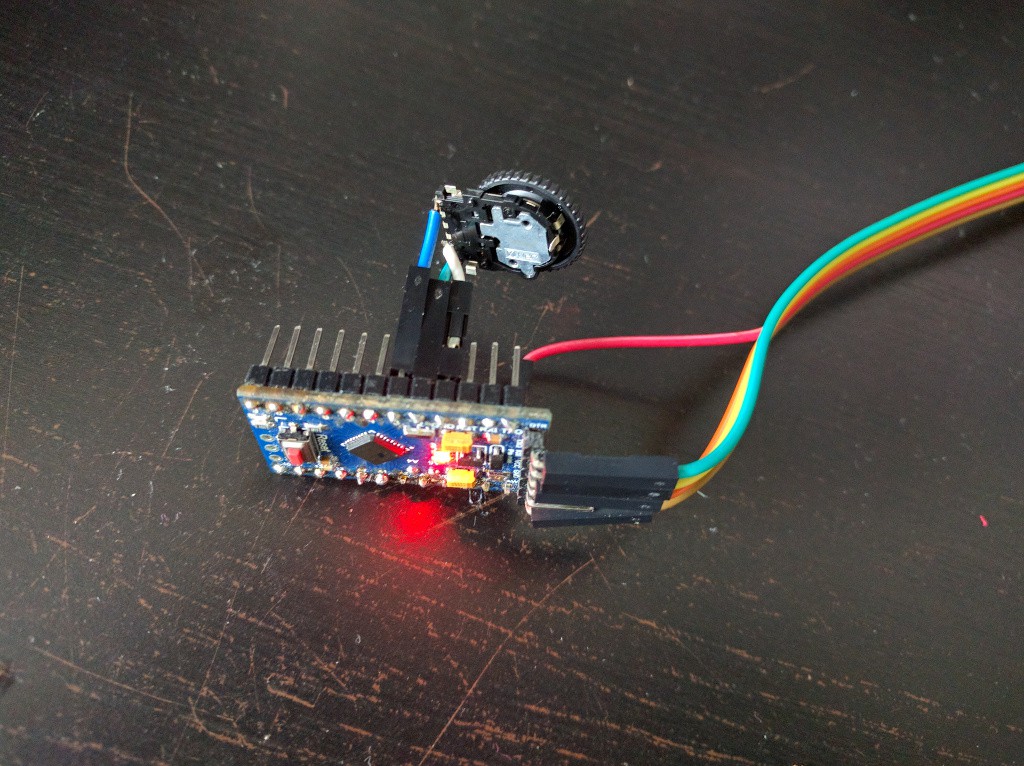
Nano TTY is following the same idea -- a small screen that lets you see the serial traffic from your project. However, there are some improvements:
- much smaller and lighter
- high-contrast OLED display
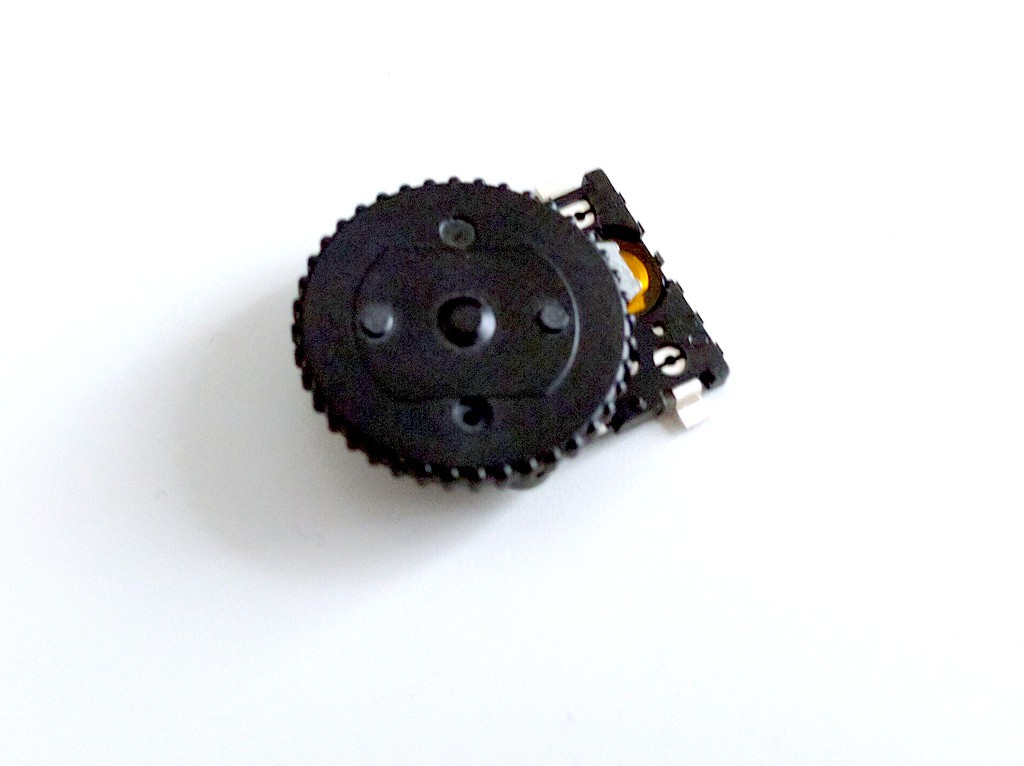
- fast, smooth scrolling, using a scroll wheel
- large scroll buffer
There may be further improvements, depending on how well this goes, but this is the minimum plan.


 Mike Szczys
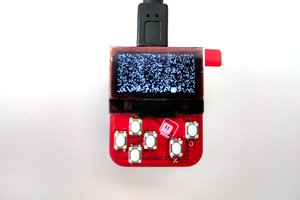
 Hugh Darrow
Hello, where to buy those encoders with push button? Love them.