 johnowhitaker
Here's the deal...
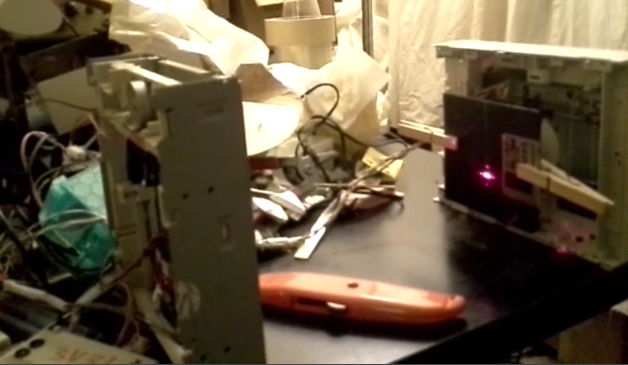
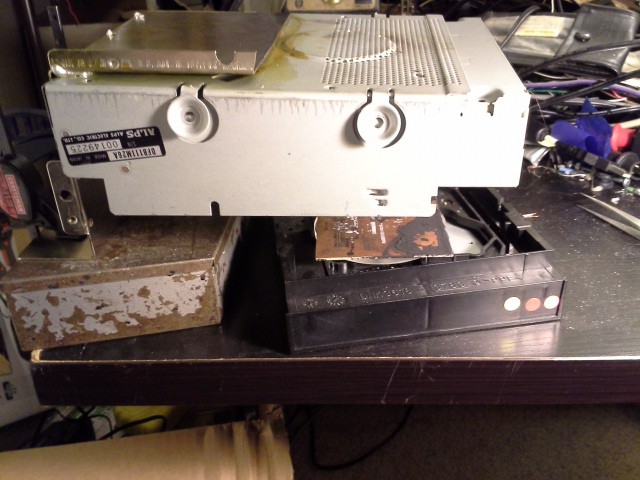
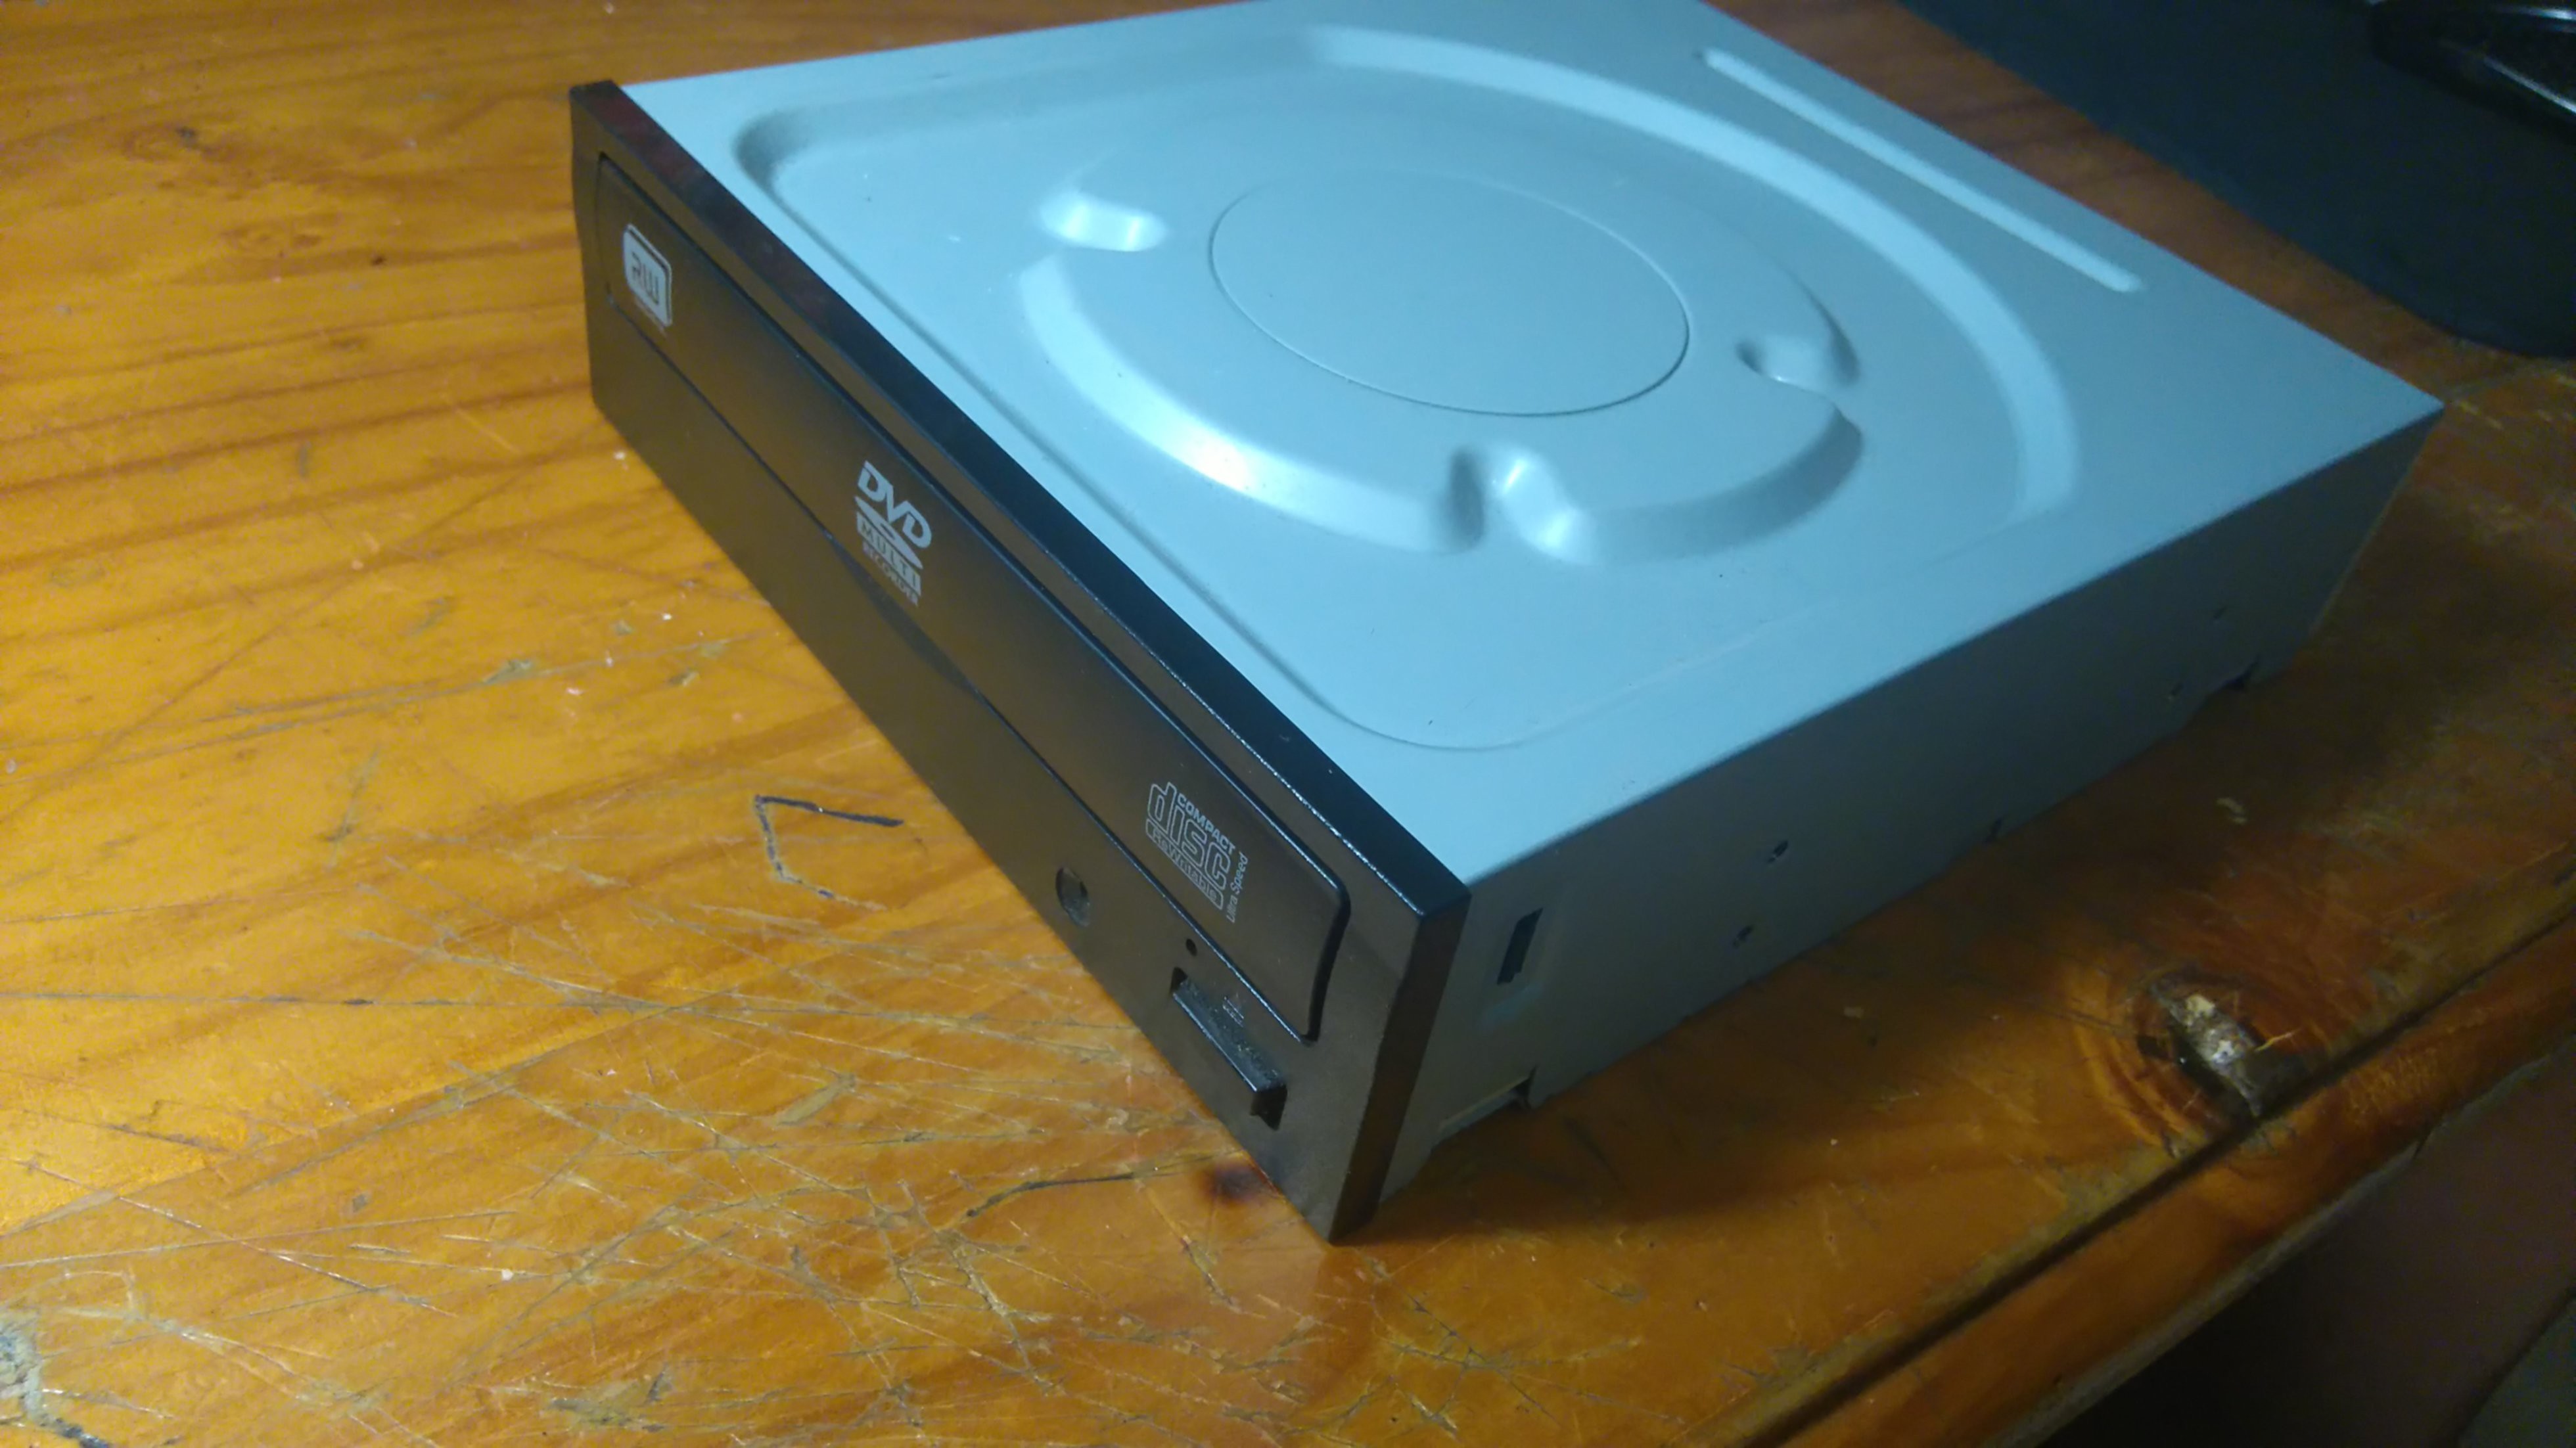
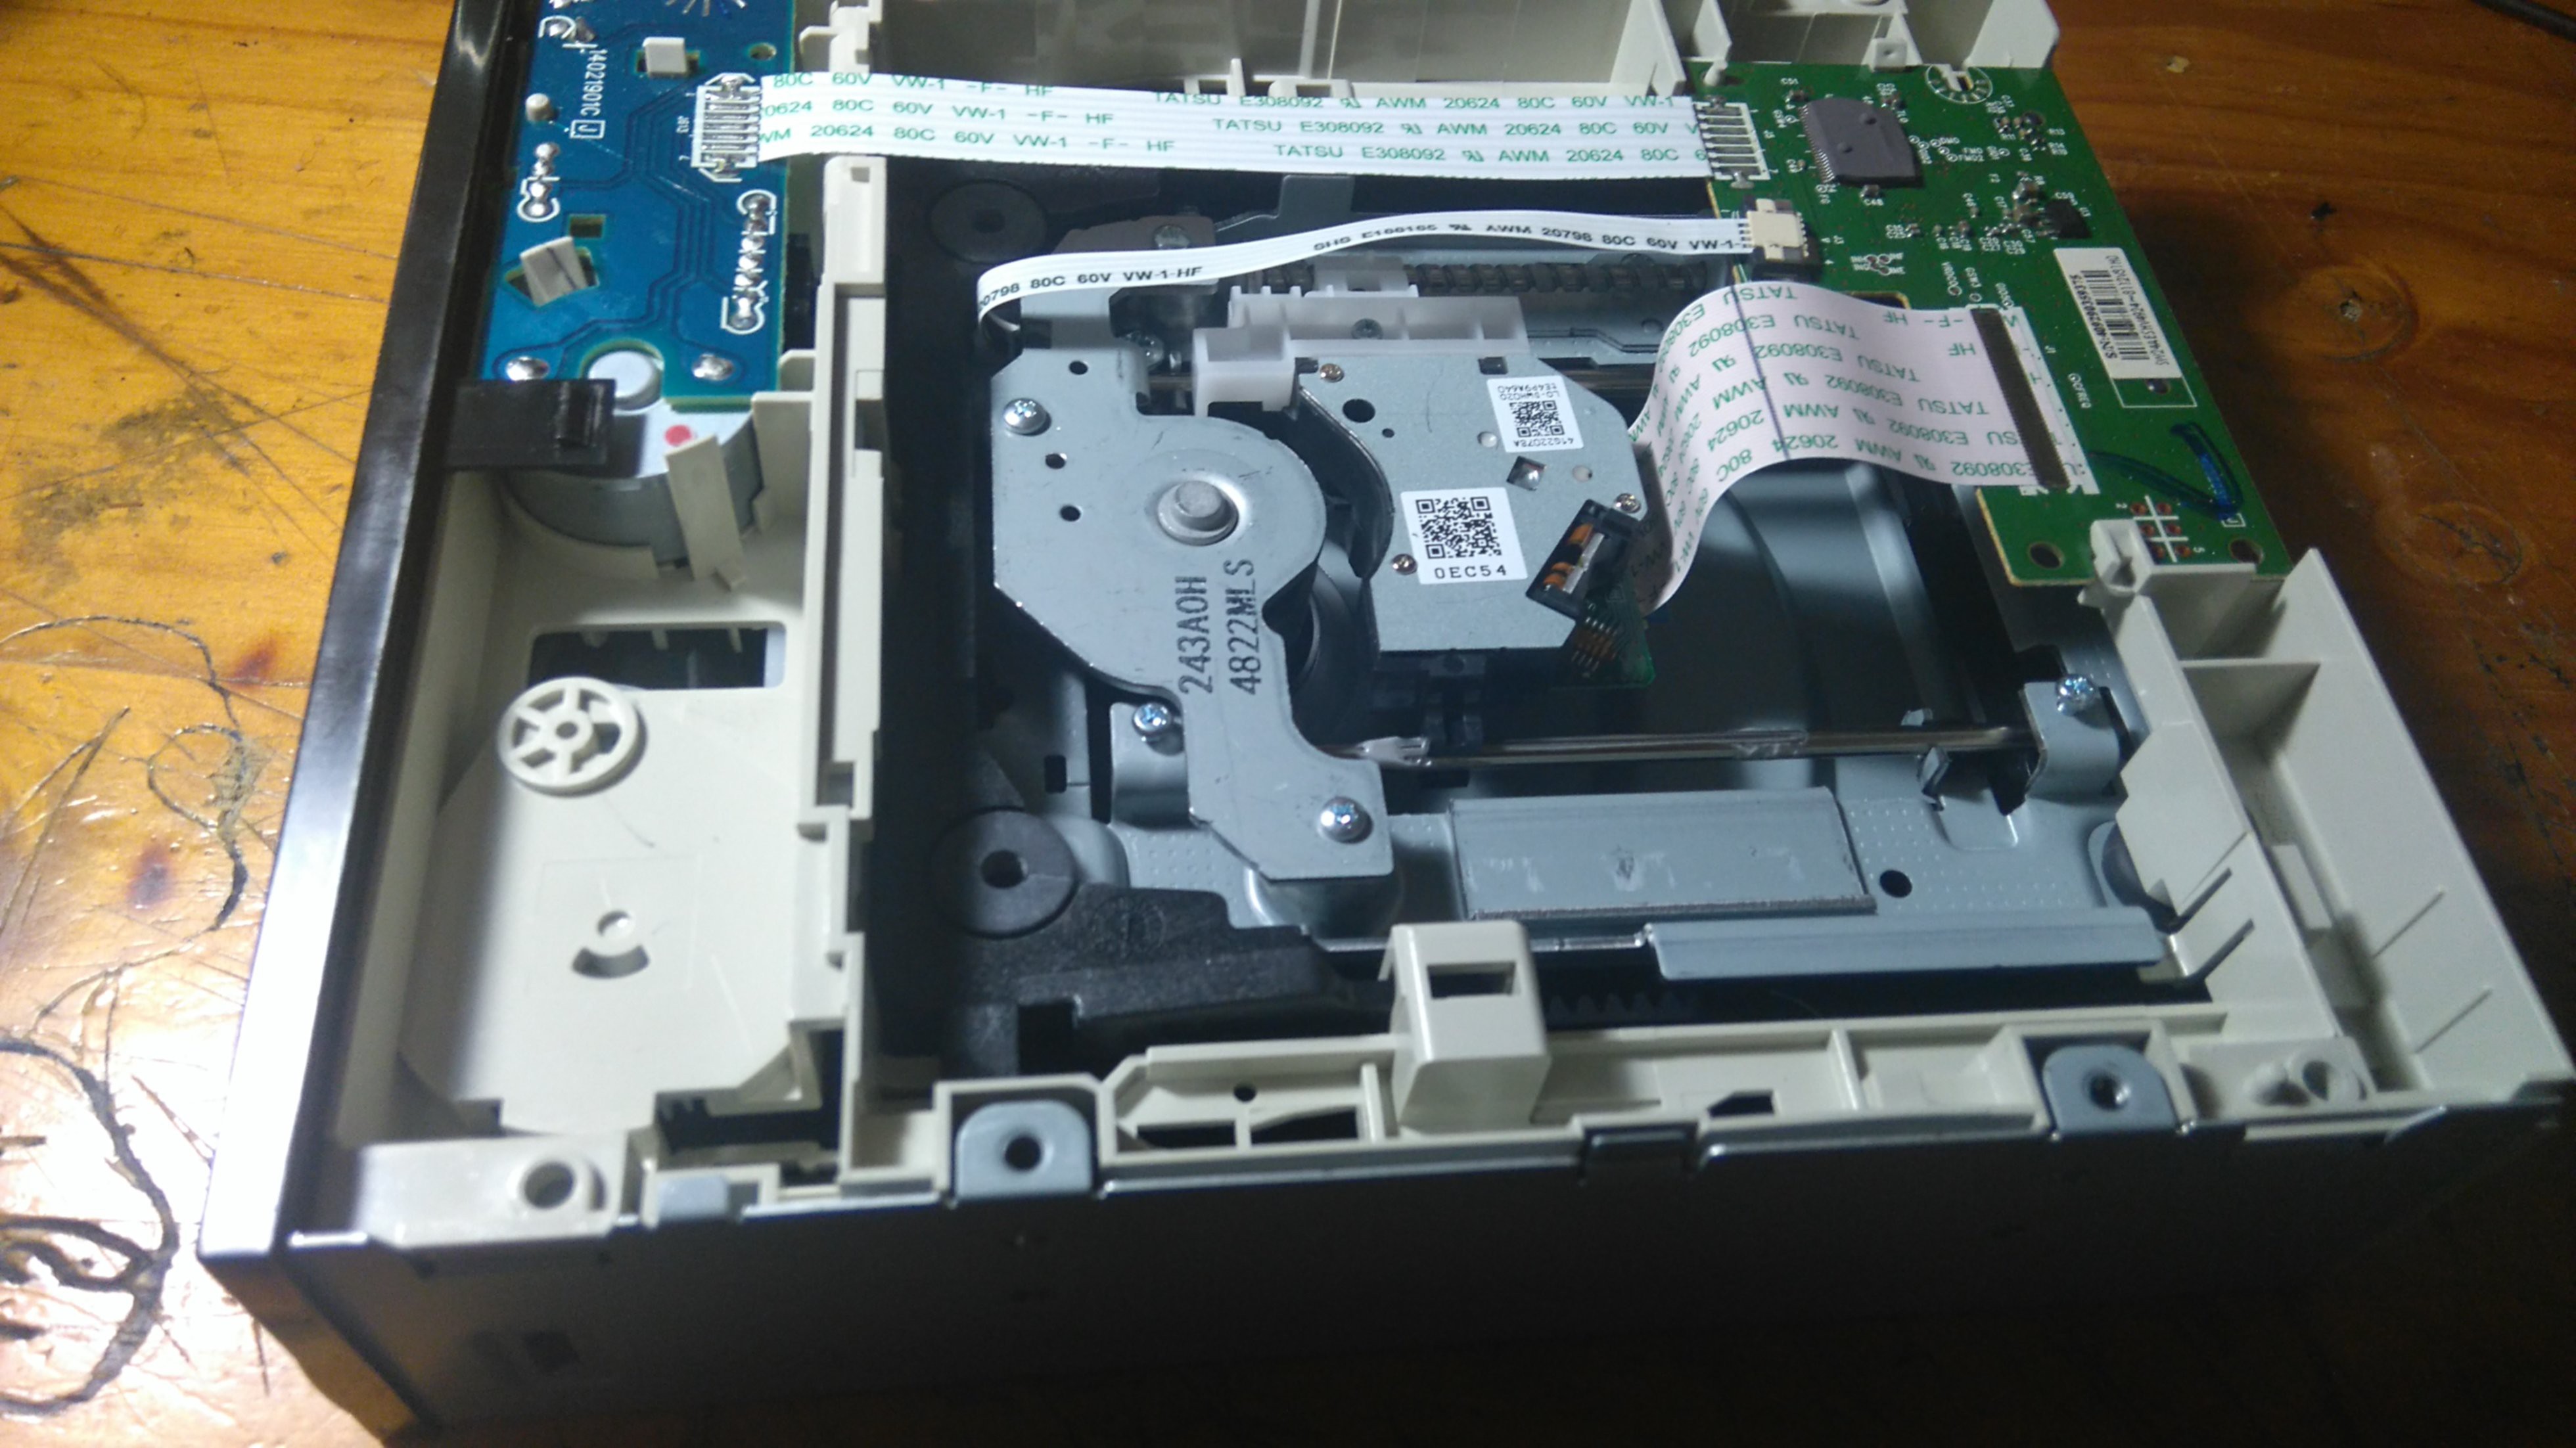
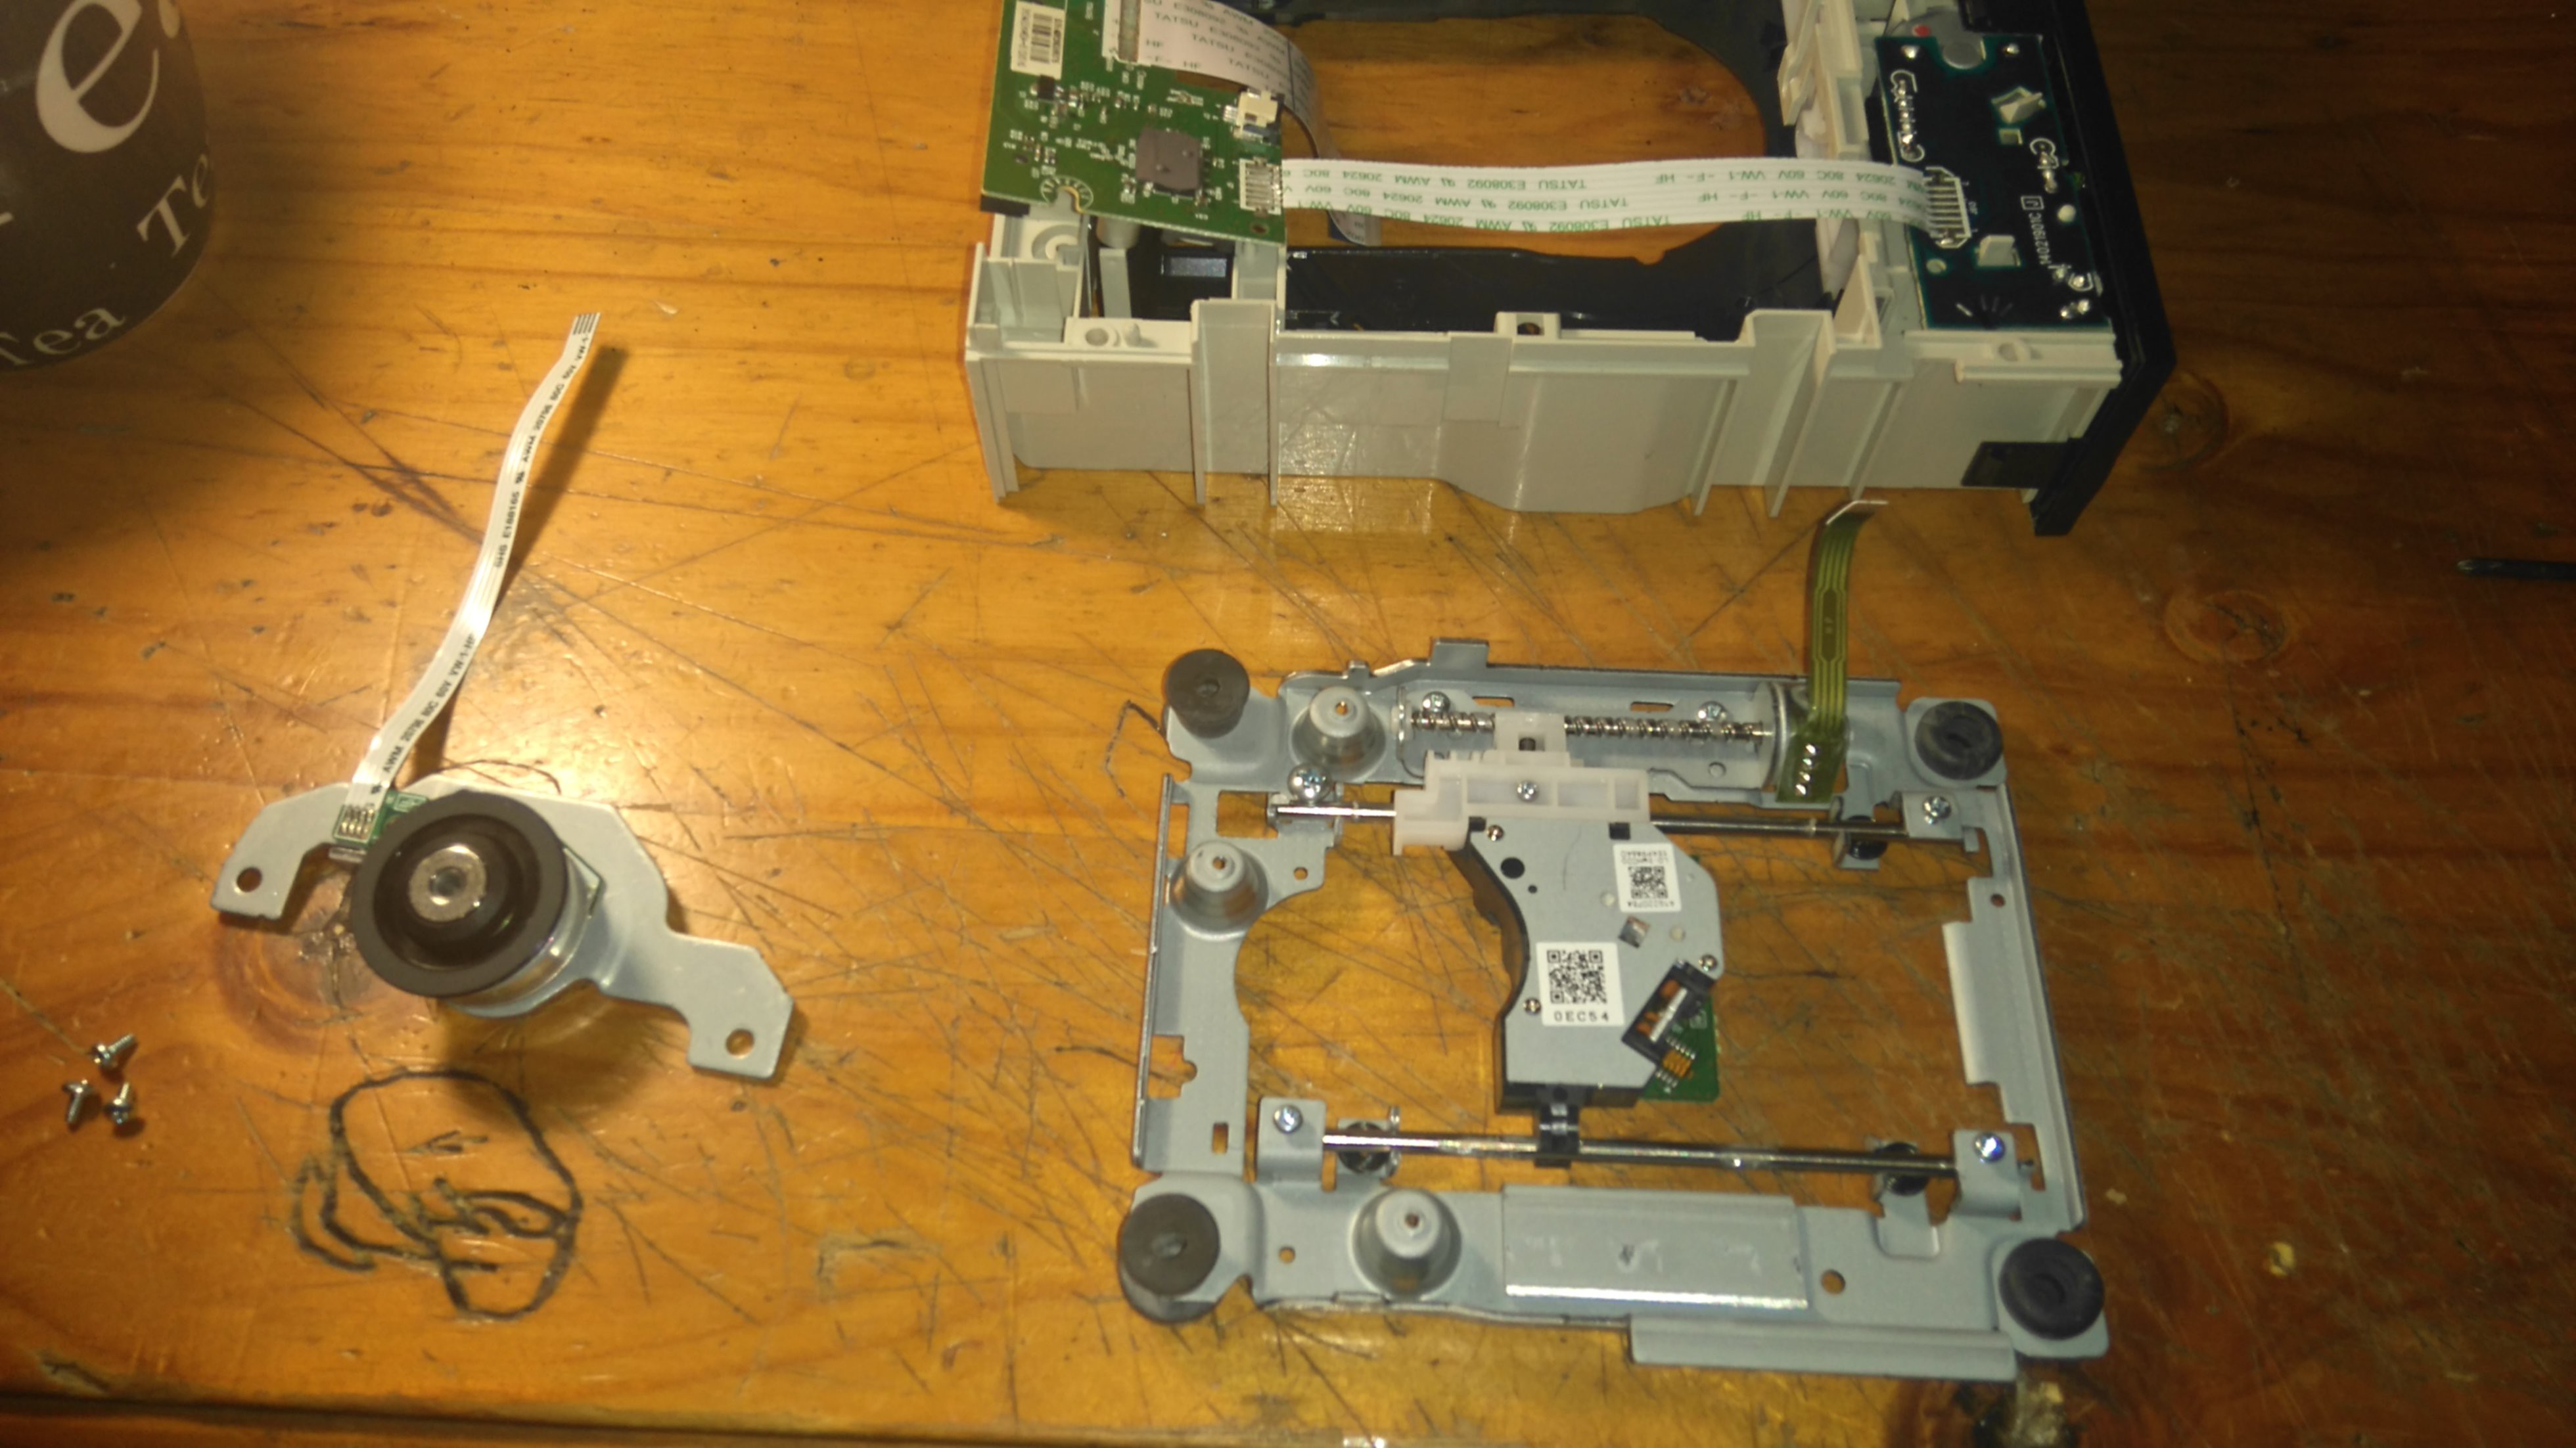
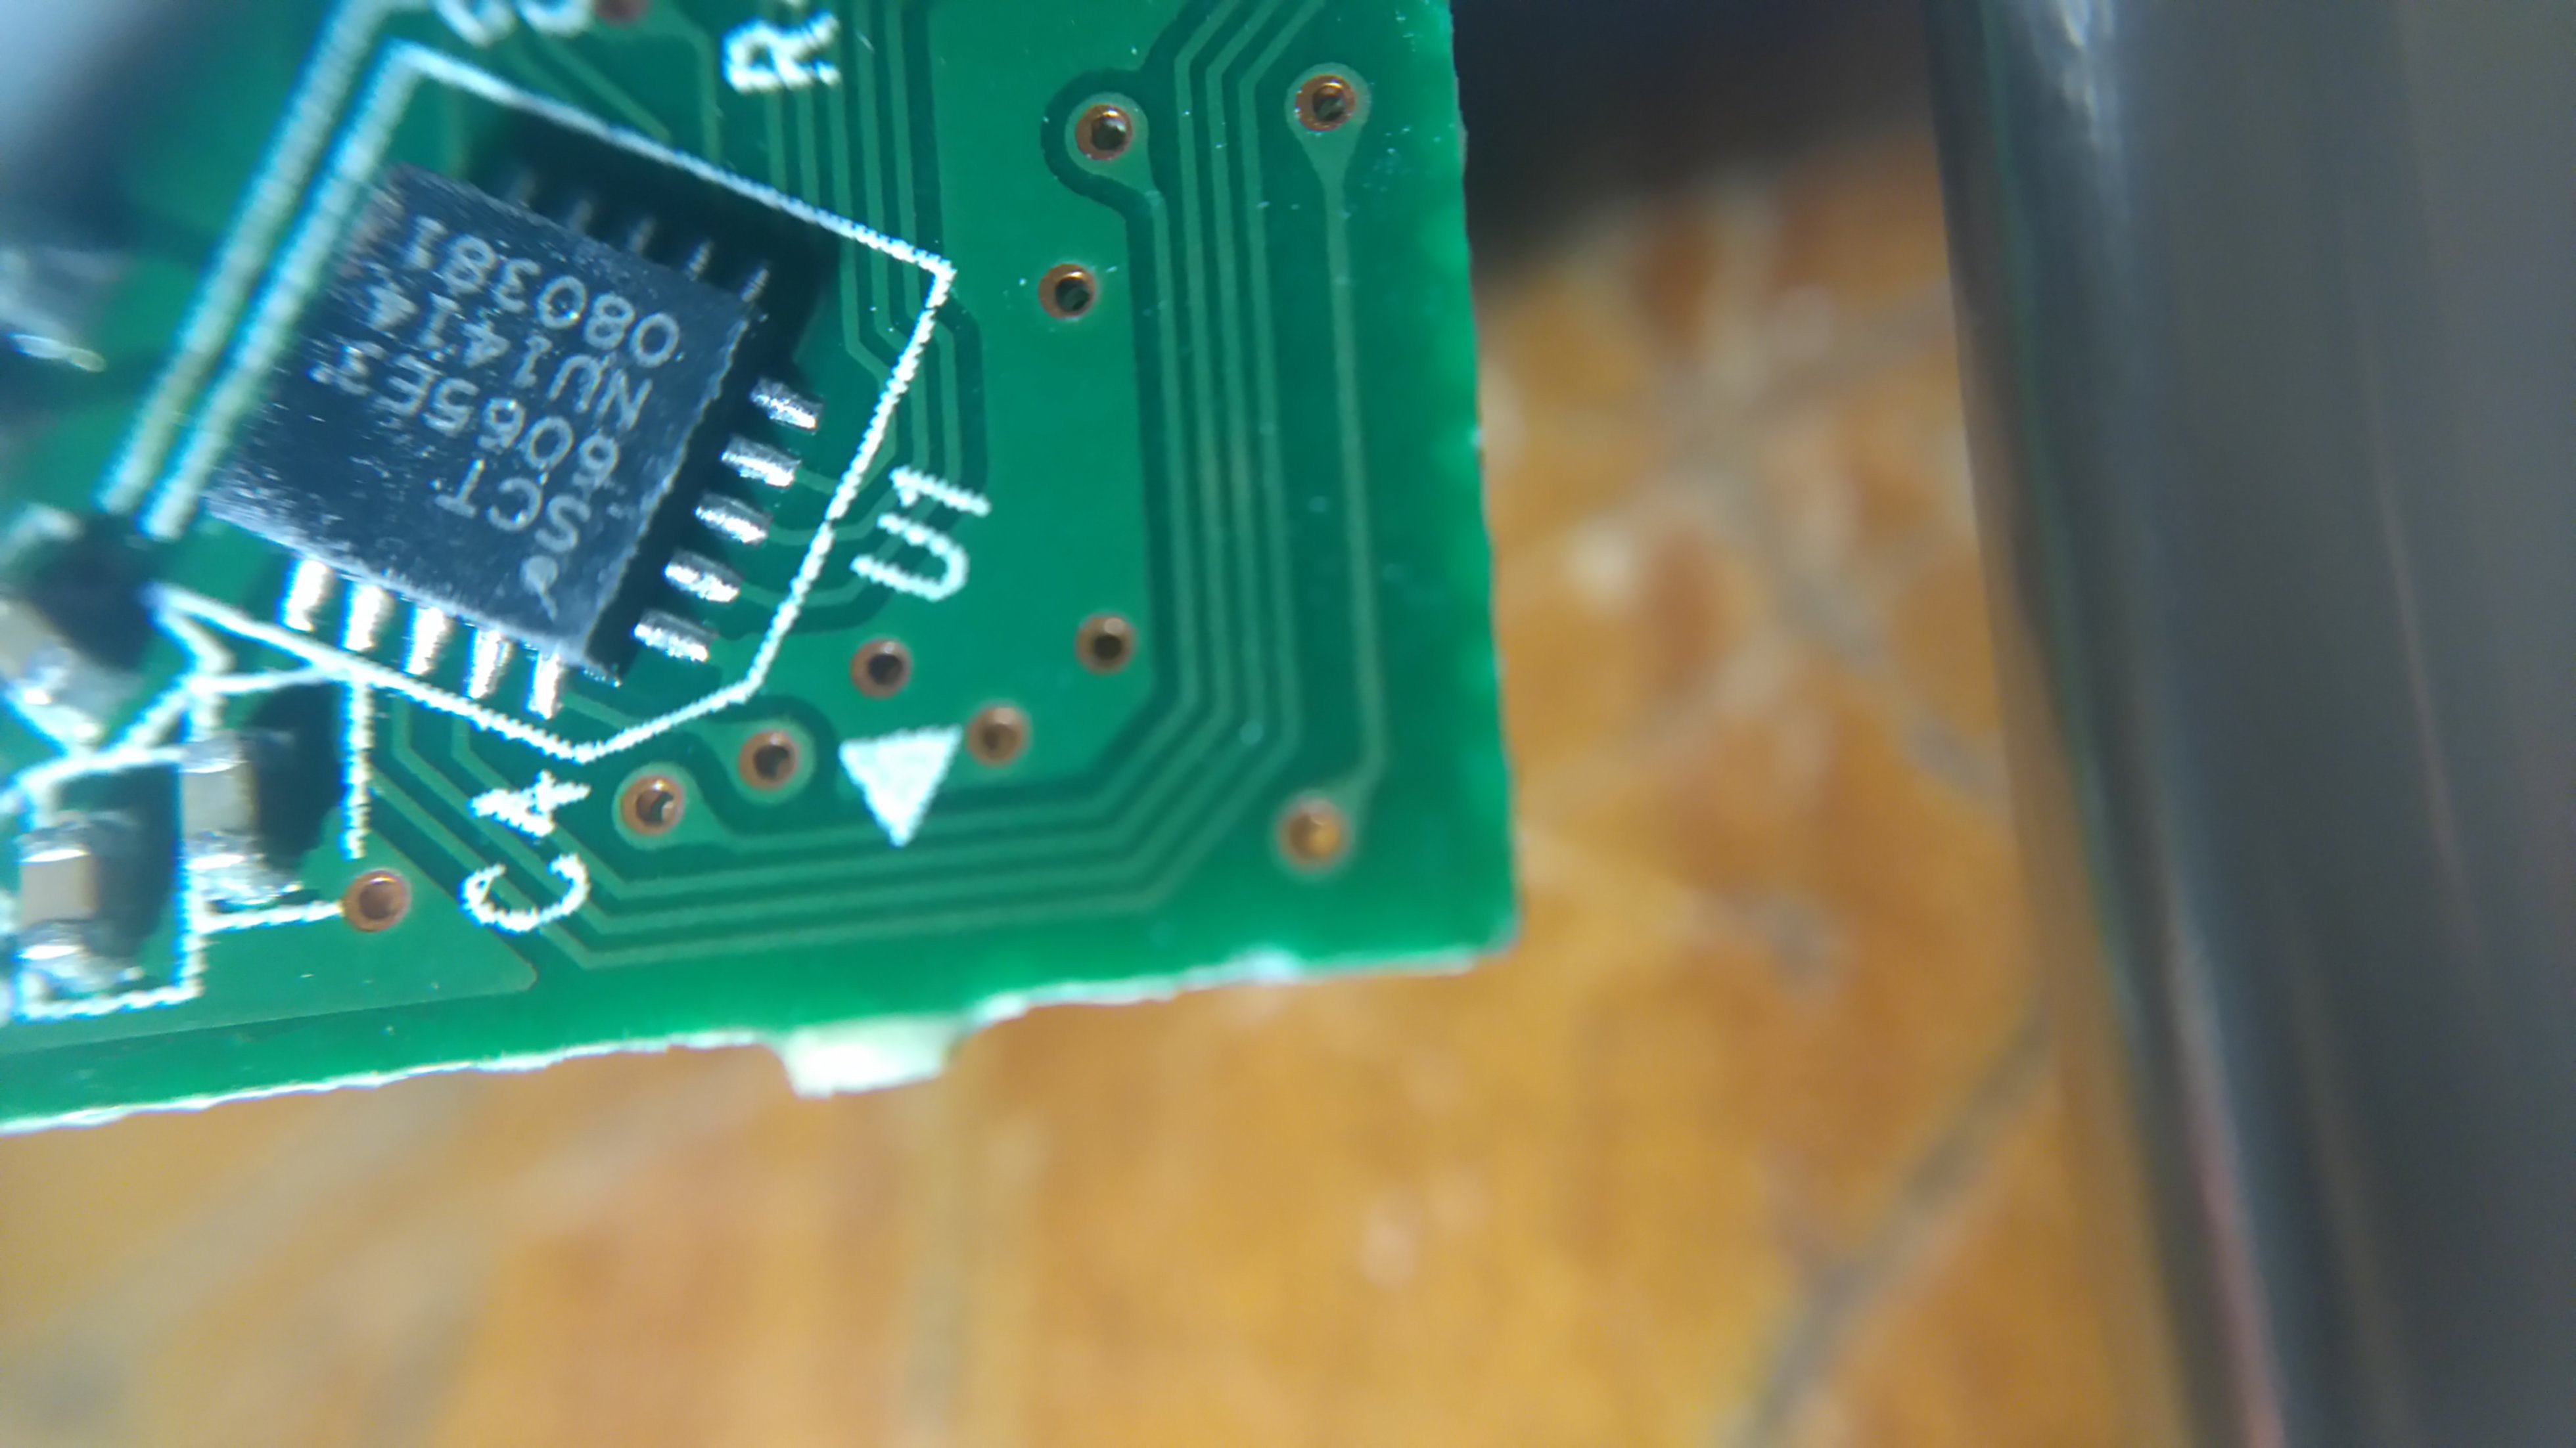
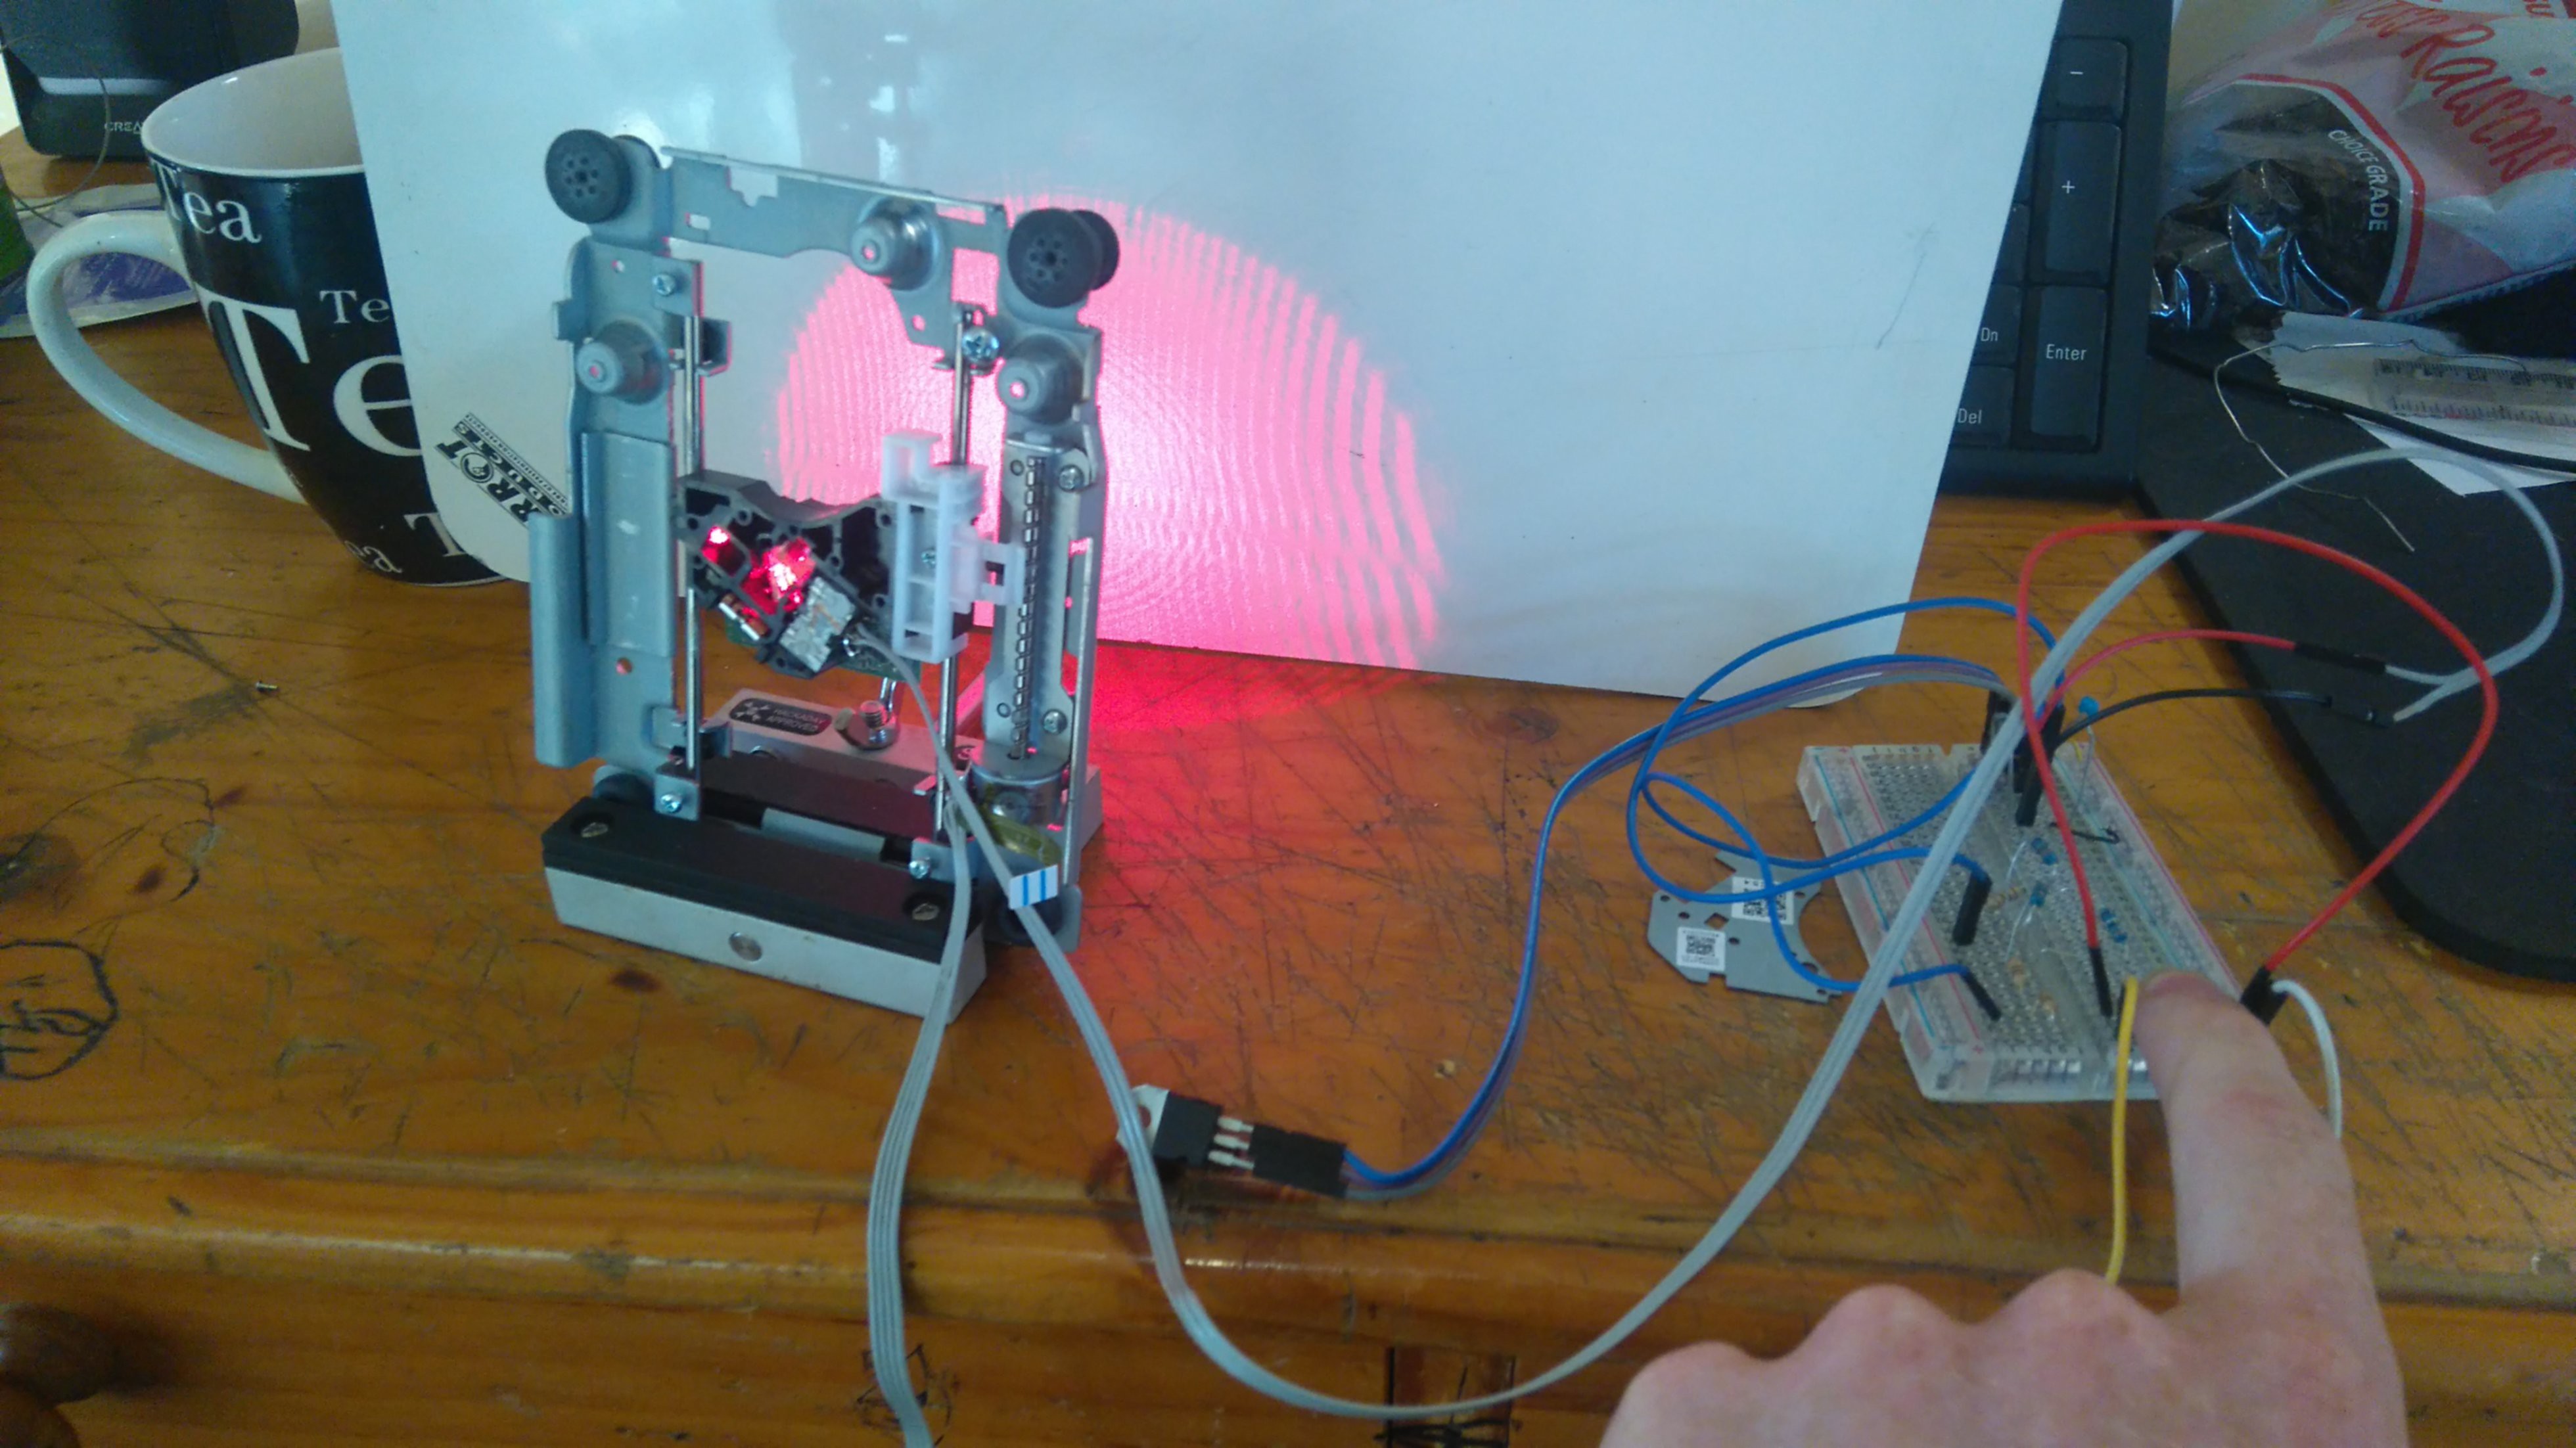
So, you've got a couple spare DVD drives sitting 'round...
And an office down the street is throwing away an old ("empty") laser-printer toner-cartridge...
And you'd like to make Printed Circuit Boards!
So, briefly:
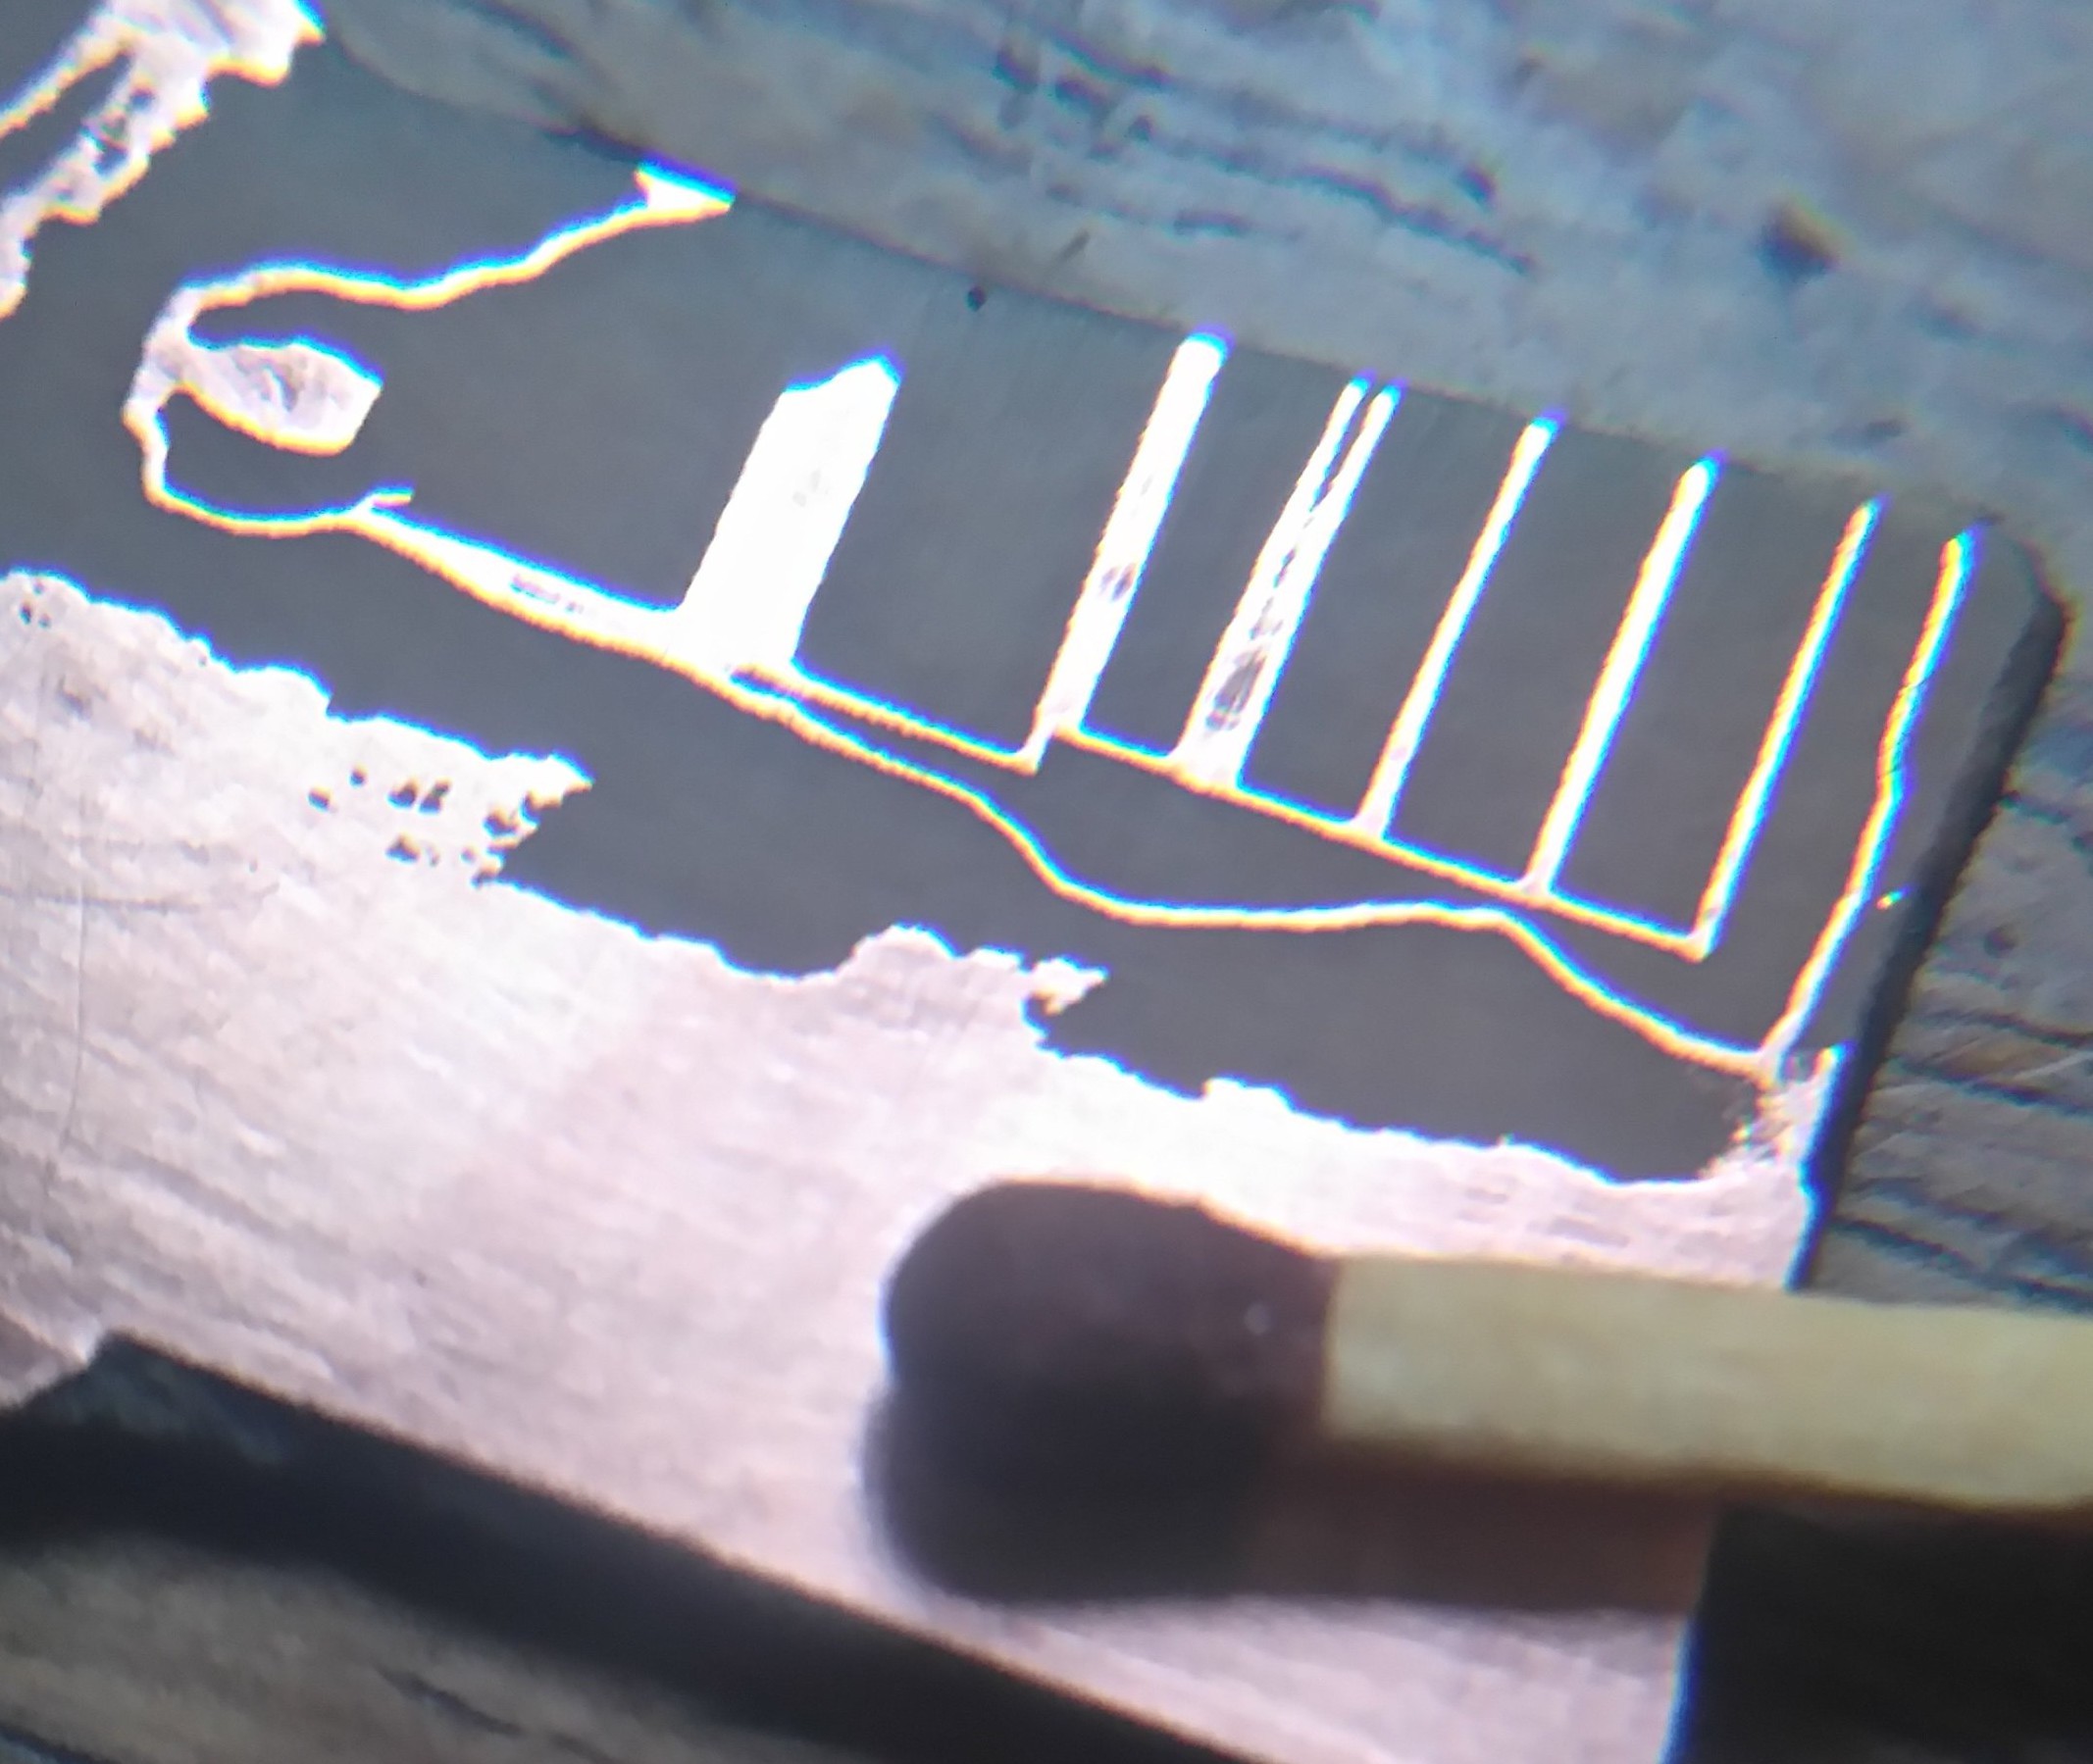
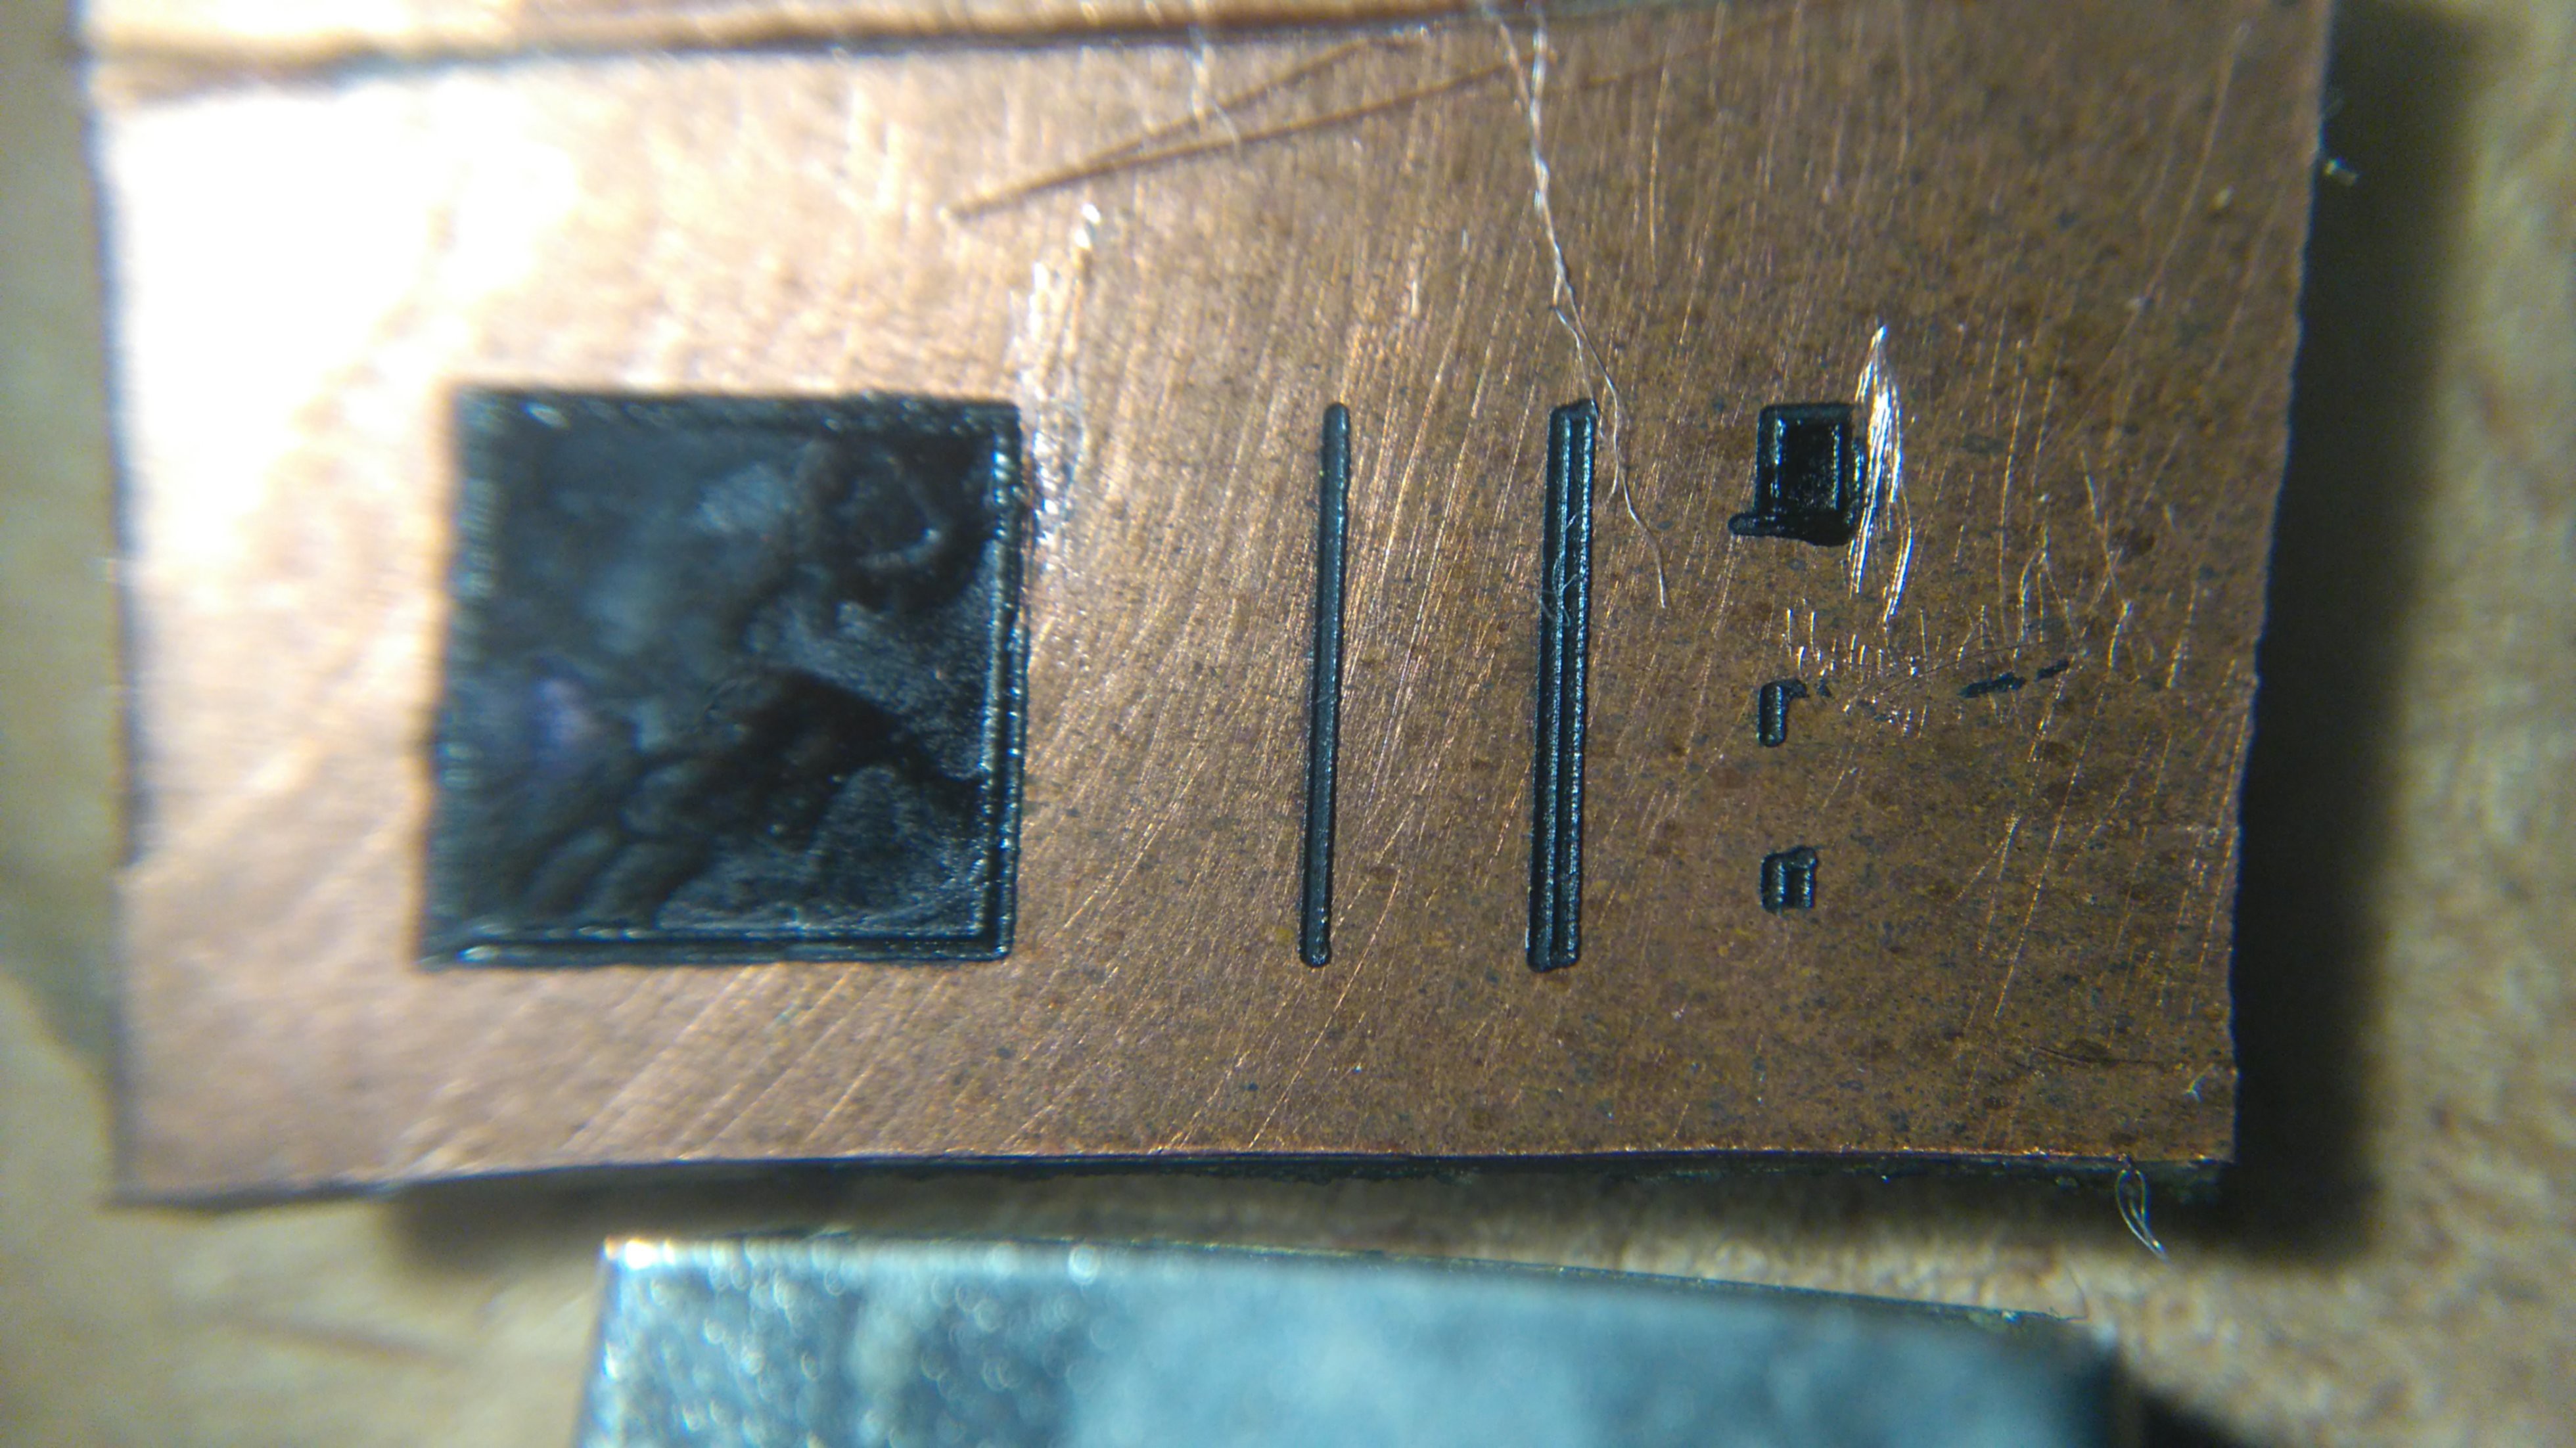
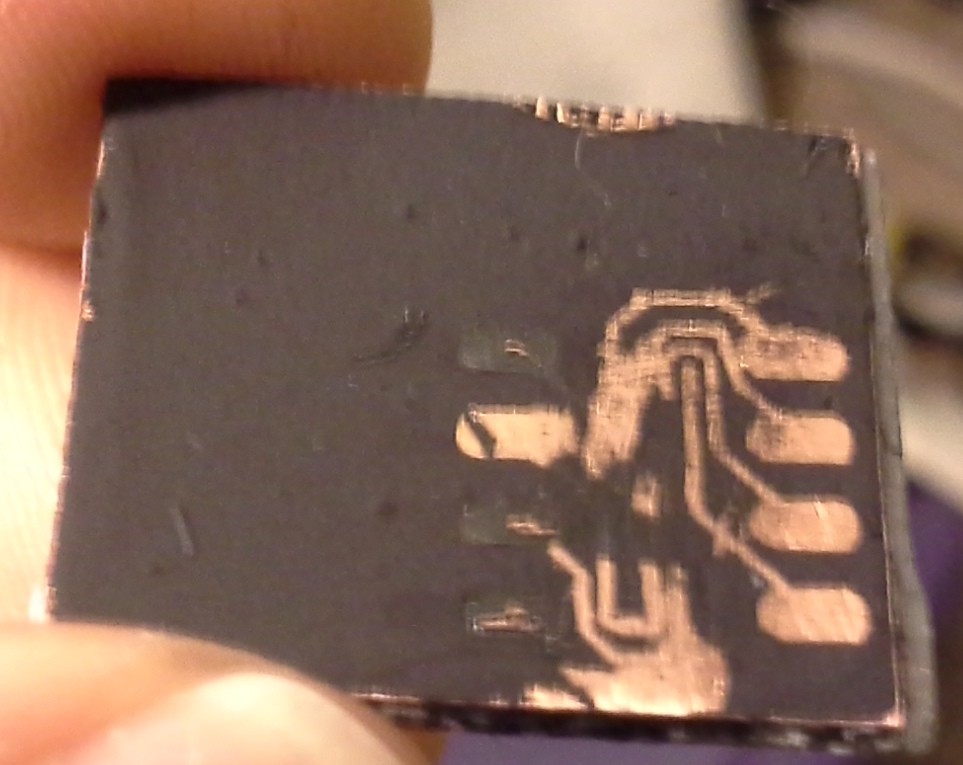
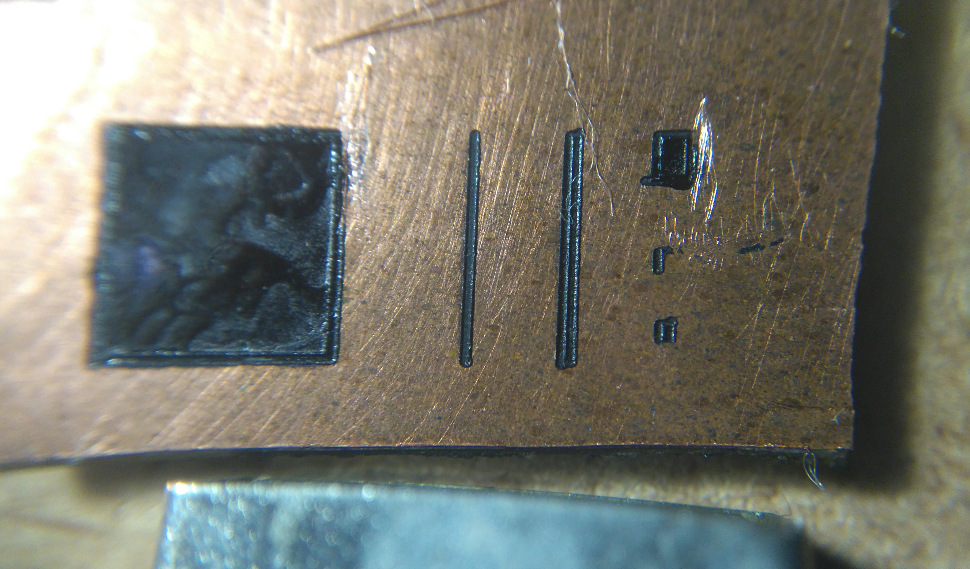
- coat your regular-old copper-clad board with a mixture of toner and alcohol
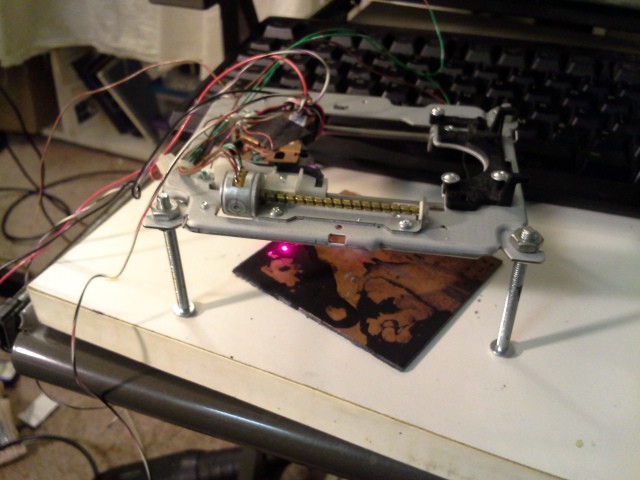
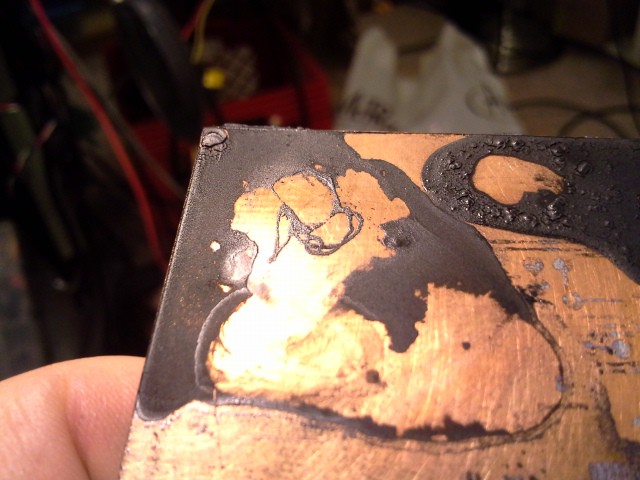
- use your old DVD-drive's laser to melt that toner wherever you want traces
- clean off the unmelted toner
- (Heat the board to set the traces)
- etch your PCB
This technique can also, likely, be used for e.g. silkscreened labels on instrument panels, and more!
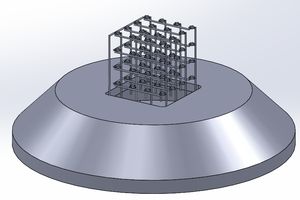
Here's some early proof-of-concept experiments!


 (
(


 Jarrett
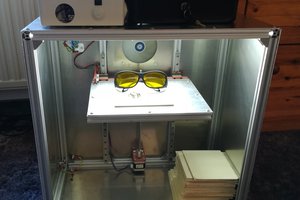
 Dominik Meffert
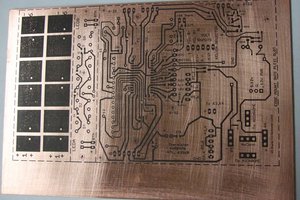
 mosaicmerc
 fl@C@
fl@C@
Did try by any chance applying the laser to a PCB coated with permanent marker or a etching ink carbon ? . i'm wondering if it will carve away or stick more .