 Eric Hertz
Hello! It's been a minute...
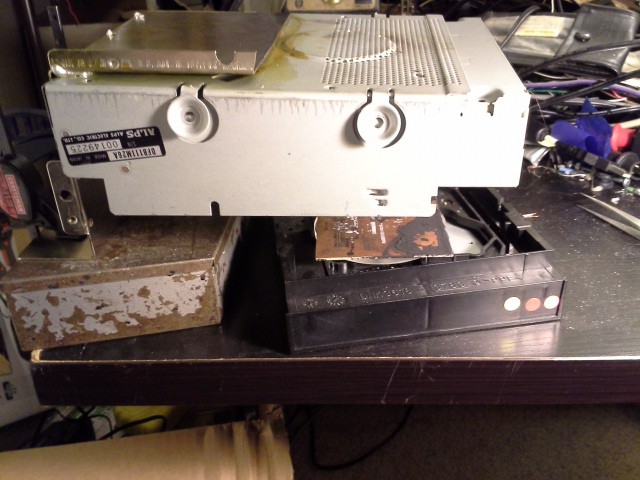
So here's where I (@esot.eric) am at with the ol' #Mini PCB printer
Click that "Read-More" link, below!
I decided to go a slightly different route than the whole "mini" part. For my purposes, that means the upper-axis (containing the laser/optics) is going to be its own module, separate from the bottom axis (which moves the PCB material. That way I can attach the upper/laser axis to a larger lower-axis when necessary.
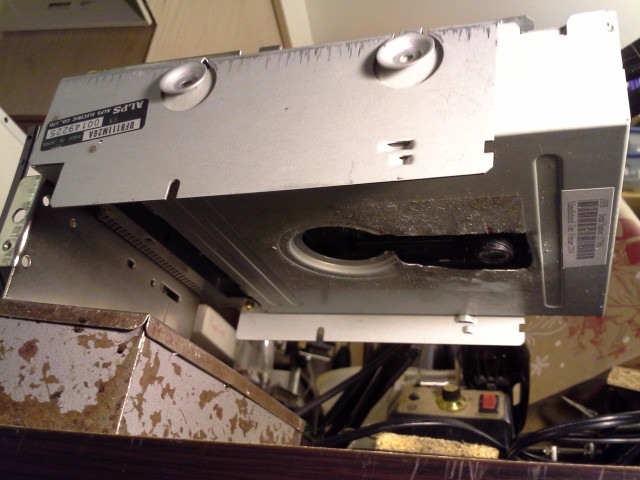
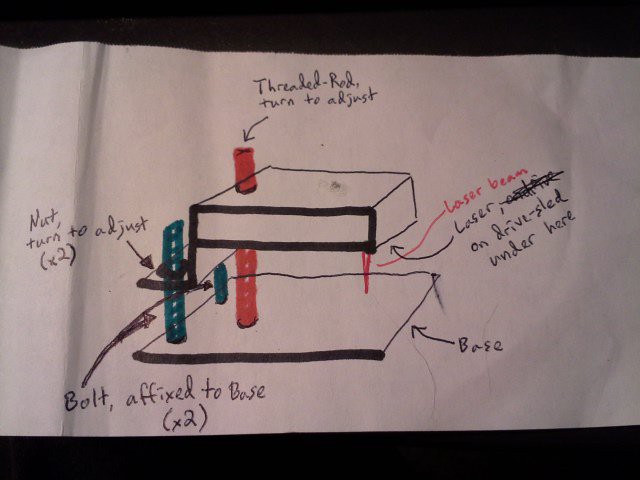
 And here's the laser-lens and slide-mechanism:
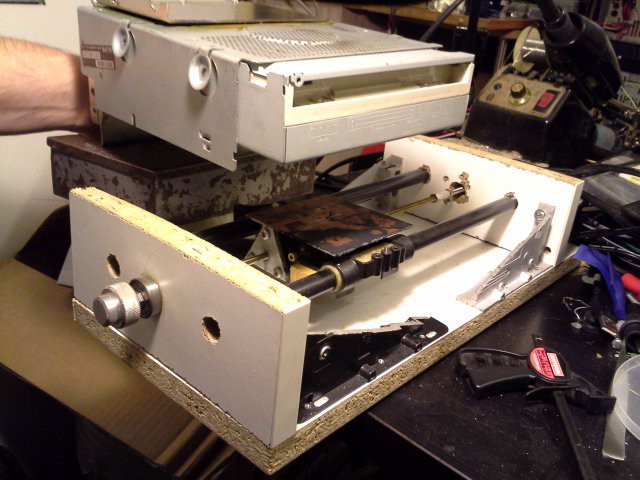
The DVD drive's housing is mounted in, believe it or not, the metal frame from an old Apple IIe's 5.25in floppy-drive, this guy got "welded" (poorly) to a bracket shaped a bit like a Z. The concept is shown below. The idea being that adjusting two nuts and a threaded-rod should allow for not only height-adjustment for different lower-axes, but also fine-adjust for focusing the laser. Though, as @johnowhitaker has pointed out, it's much easier to just adjust the focus once a little bit higher than the bed, then use something like post-it-notes to adjust the height of the PCB into focus. So, I'll probably end up doing that most of the time.
I hesitate to do this sort of work in the oven, as I don't want lead/flux fumes lining the thing. And I didn't have a pan big enough to set this entire contraption in, so wound up setting the metal right on the burner with a sheet of aluminum-foil between. Probably not the wisest, as that foil trapped in the heat of the burner and I think that's why the grease below caught flame. Besides that, surprisingly(?) the aluminum-foil actually melted (or burned?) in a few places, and a little bit of solder did actually find its way onto my burner, though that scrubbed right off pretty easily.
Again, I think it could've worked well with better airflow and a better pan... (don't leave it unattended, and don't forget that baking-soda nearby!).
My lower-axis DVD mechanism was a bit of a stupid mistake, on my part. I had the actual sled-mechanism outside the drive's housing for a while and got it all prepped before realizing that it was originally mounted in the drive's housing at an angle. So much for using the housing as a "square" (though, I suppose, the upper-axis is probably a bit off-square with my "welding" technique, as well).
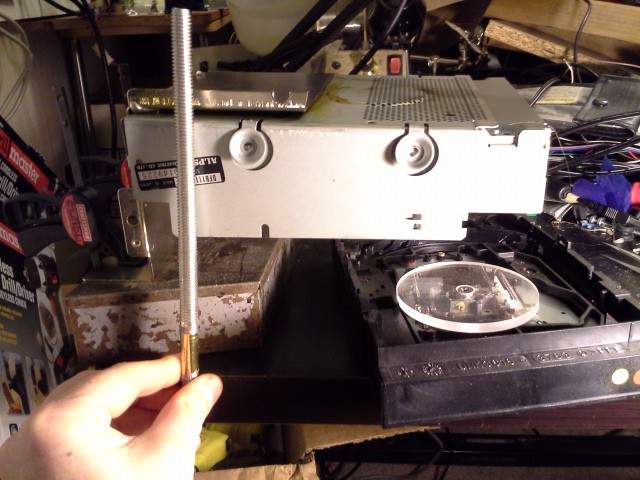
The "Bed" for the PCB (etc.) material is nothing more than a piece of acrylic that'd been cut out with a hole-saw... was just sitting around and happened to be darn-near the perfect size and had a perfect sized hole right in the middle to be screwed down to the laser-sled.
Hah, weirdly... I've been putting off attaching the bolts and threaded-rod to a base for a while, now... Not really sure how sturdy they'd be. So for setting up the system for these photos I just grabbed some things to set it on (that's a box of drill-bits) and clamped it down to the table... And, it took me until proof-reading this post to realize: "Wait a minute! I could just clamp that thing down *just like that* to use it!" Been a bit slow, lately, I guess. Maybe I'll switch over to electronics/software now that I've got my mechanics figured out :)
Discussions
Become a Hackaday.io Member
Create an account to leave a comment. Already have an account? Log In.
Hey, nice progress!
Are you sure? yes | no
thankyah, sir!
Are you sure? yes | no