 Eric Wiiliam
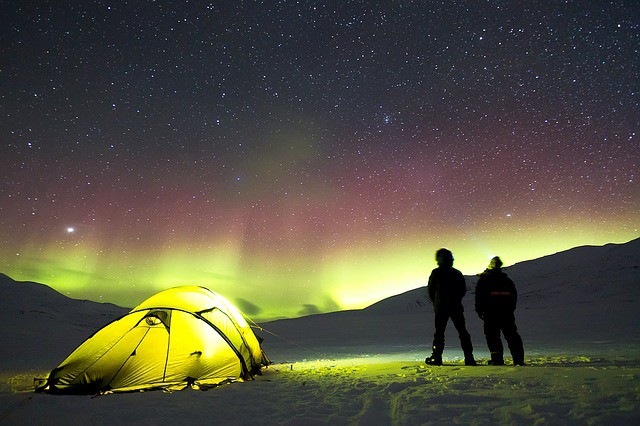
Many areas of the world do not have access to simple educational tools needed to provide youth the tools to advance in today's technical world. Rural areas, refugee camps and struggling nations need educational solutions which are portable and fully functional.
Here is the full video intro:
In 2015 I conceived of this project after researching some of the real struggles experienced during the multiple refugee crisis's. In many camps there was little to no access to quality education for the youth.
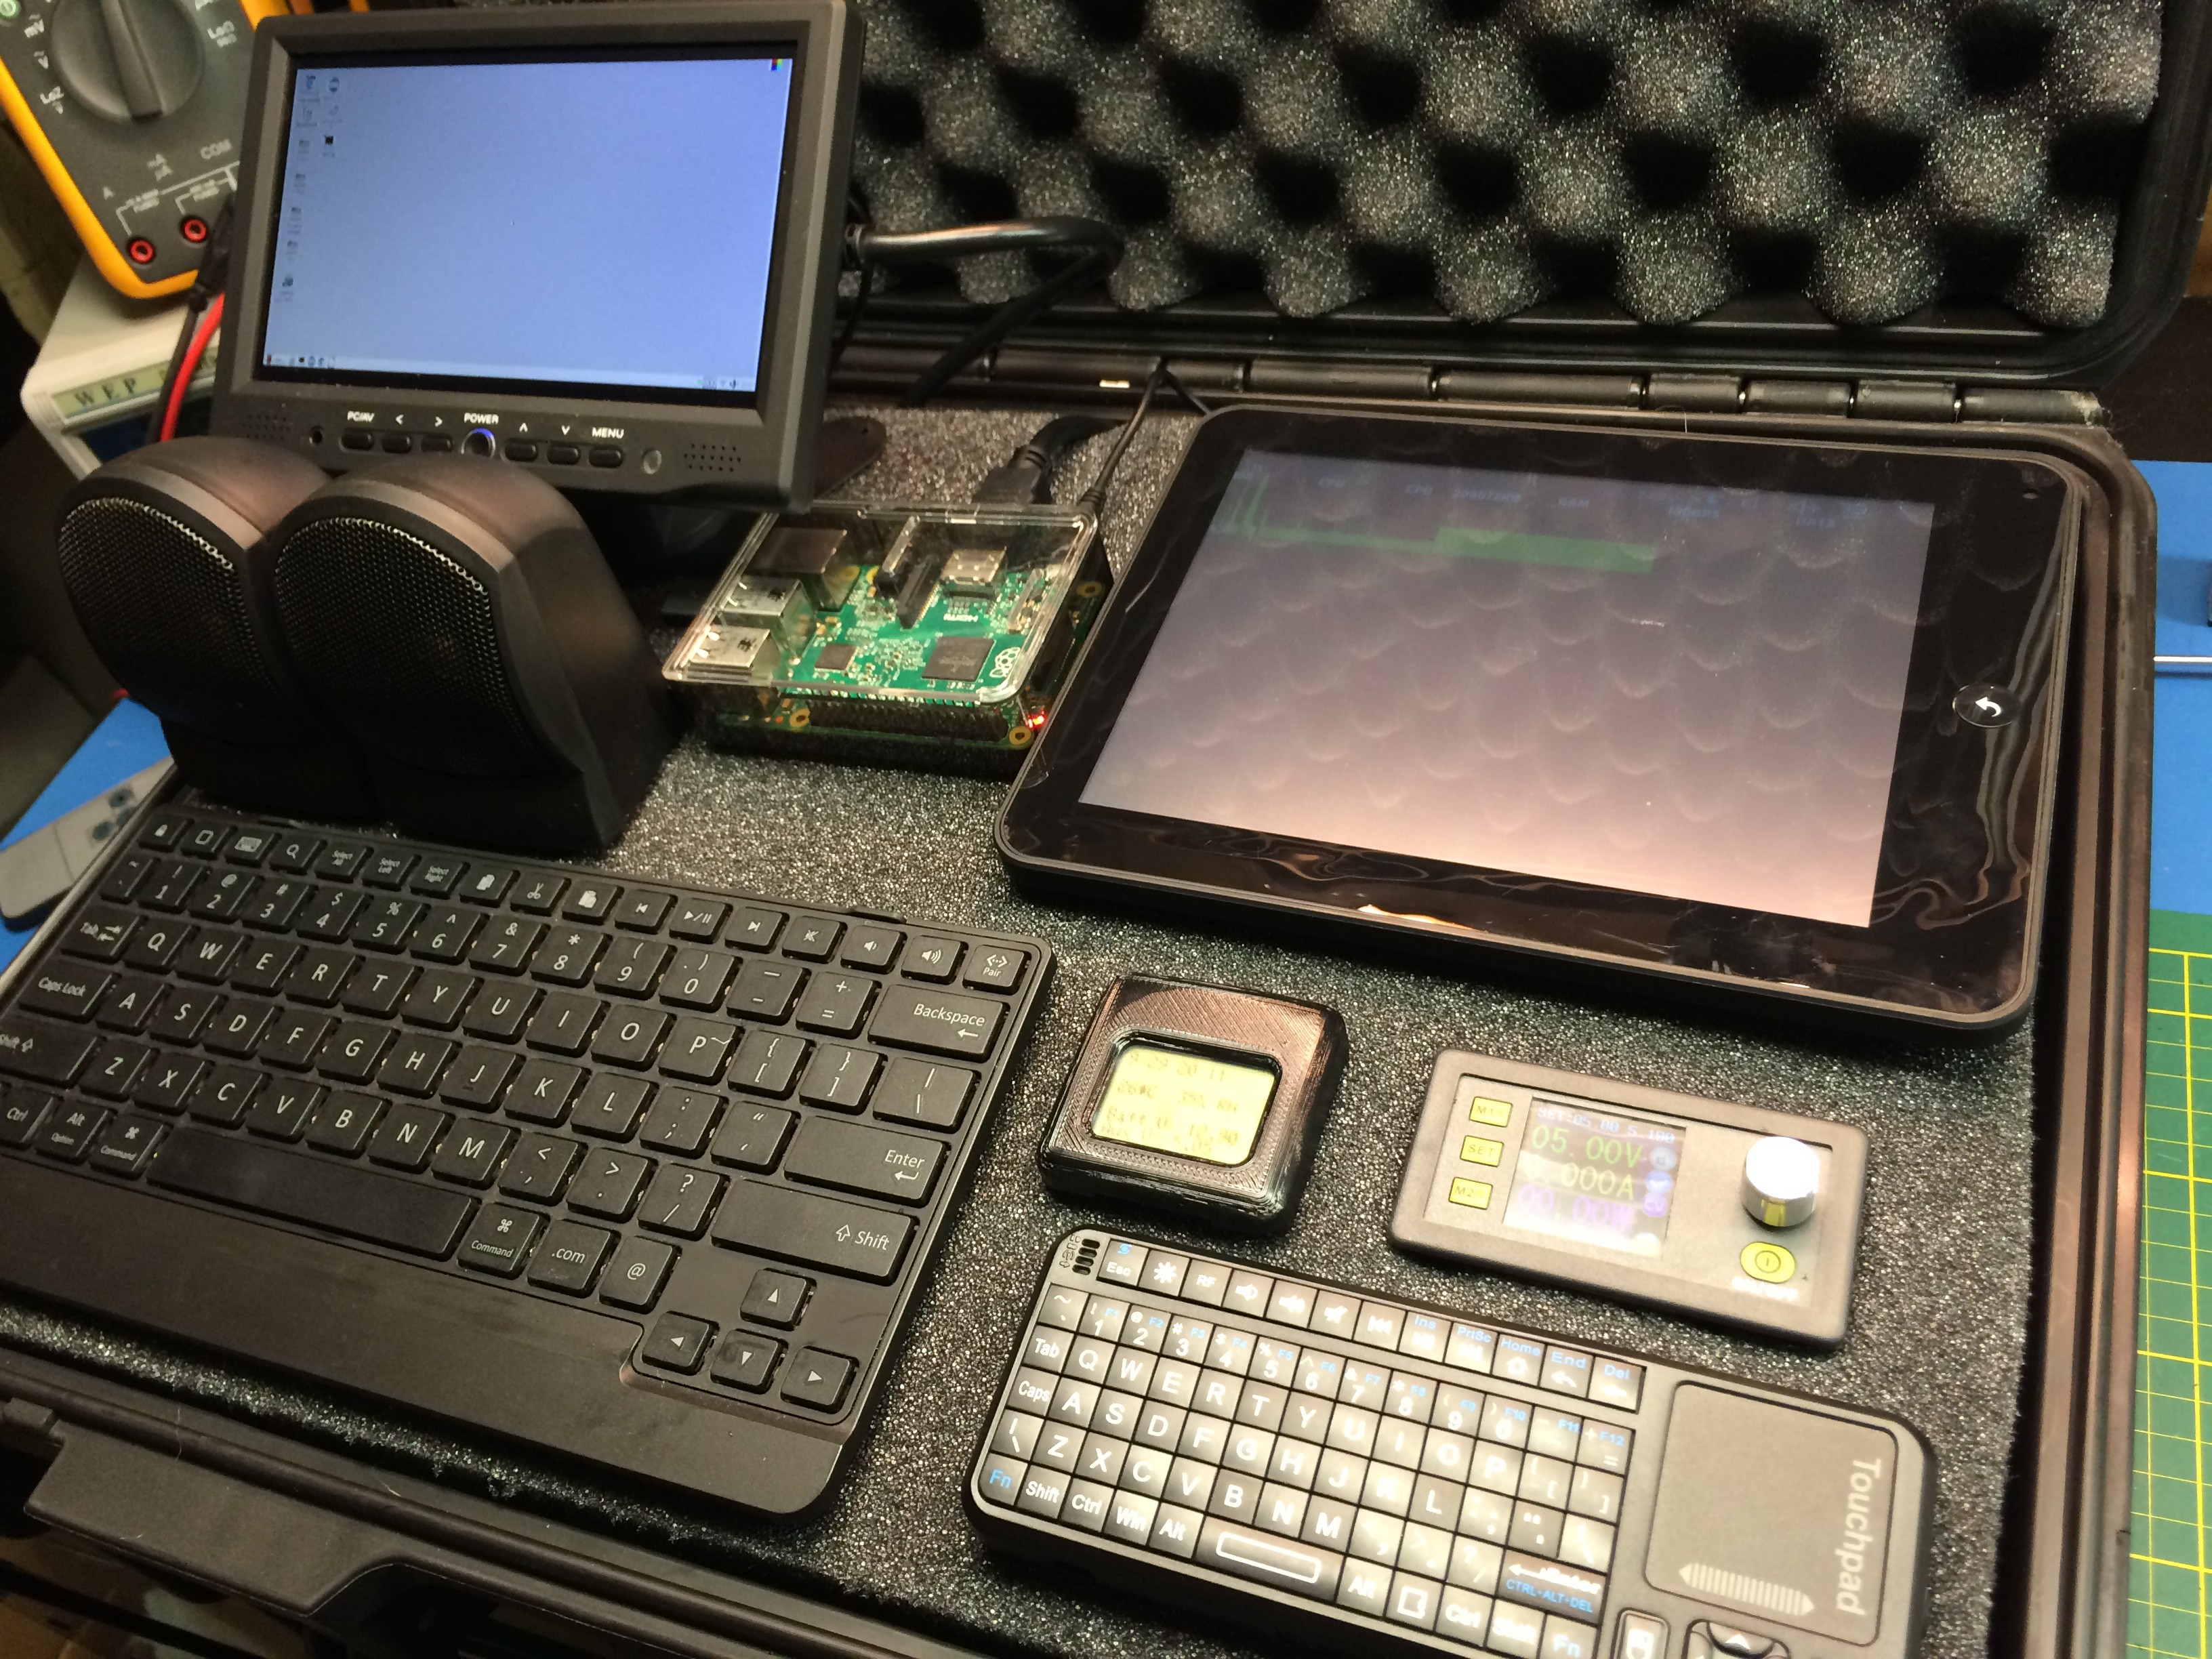
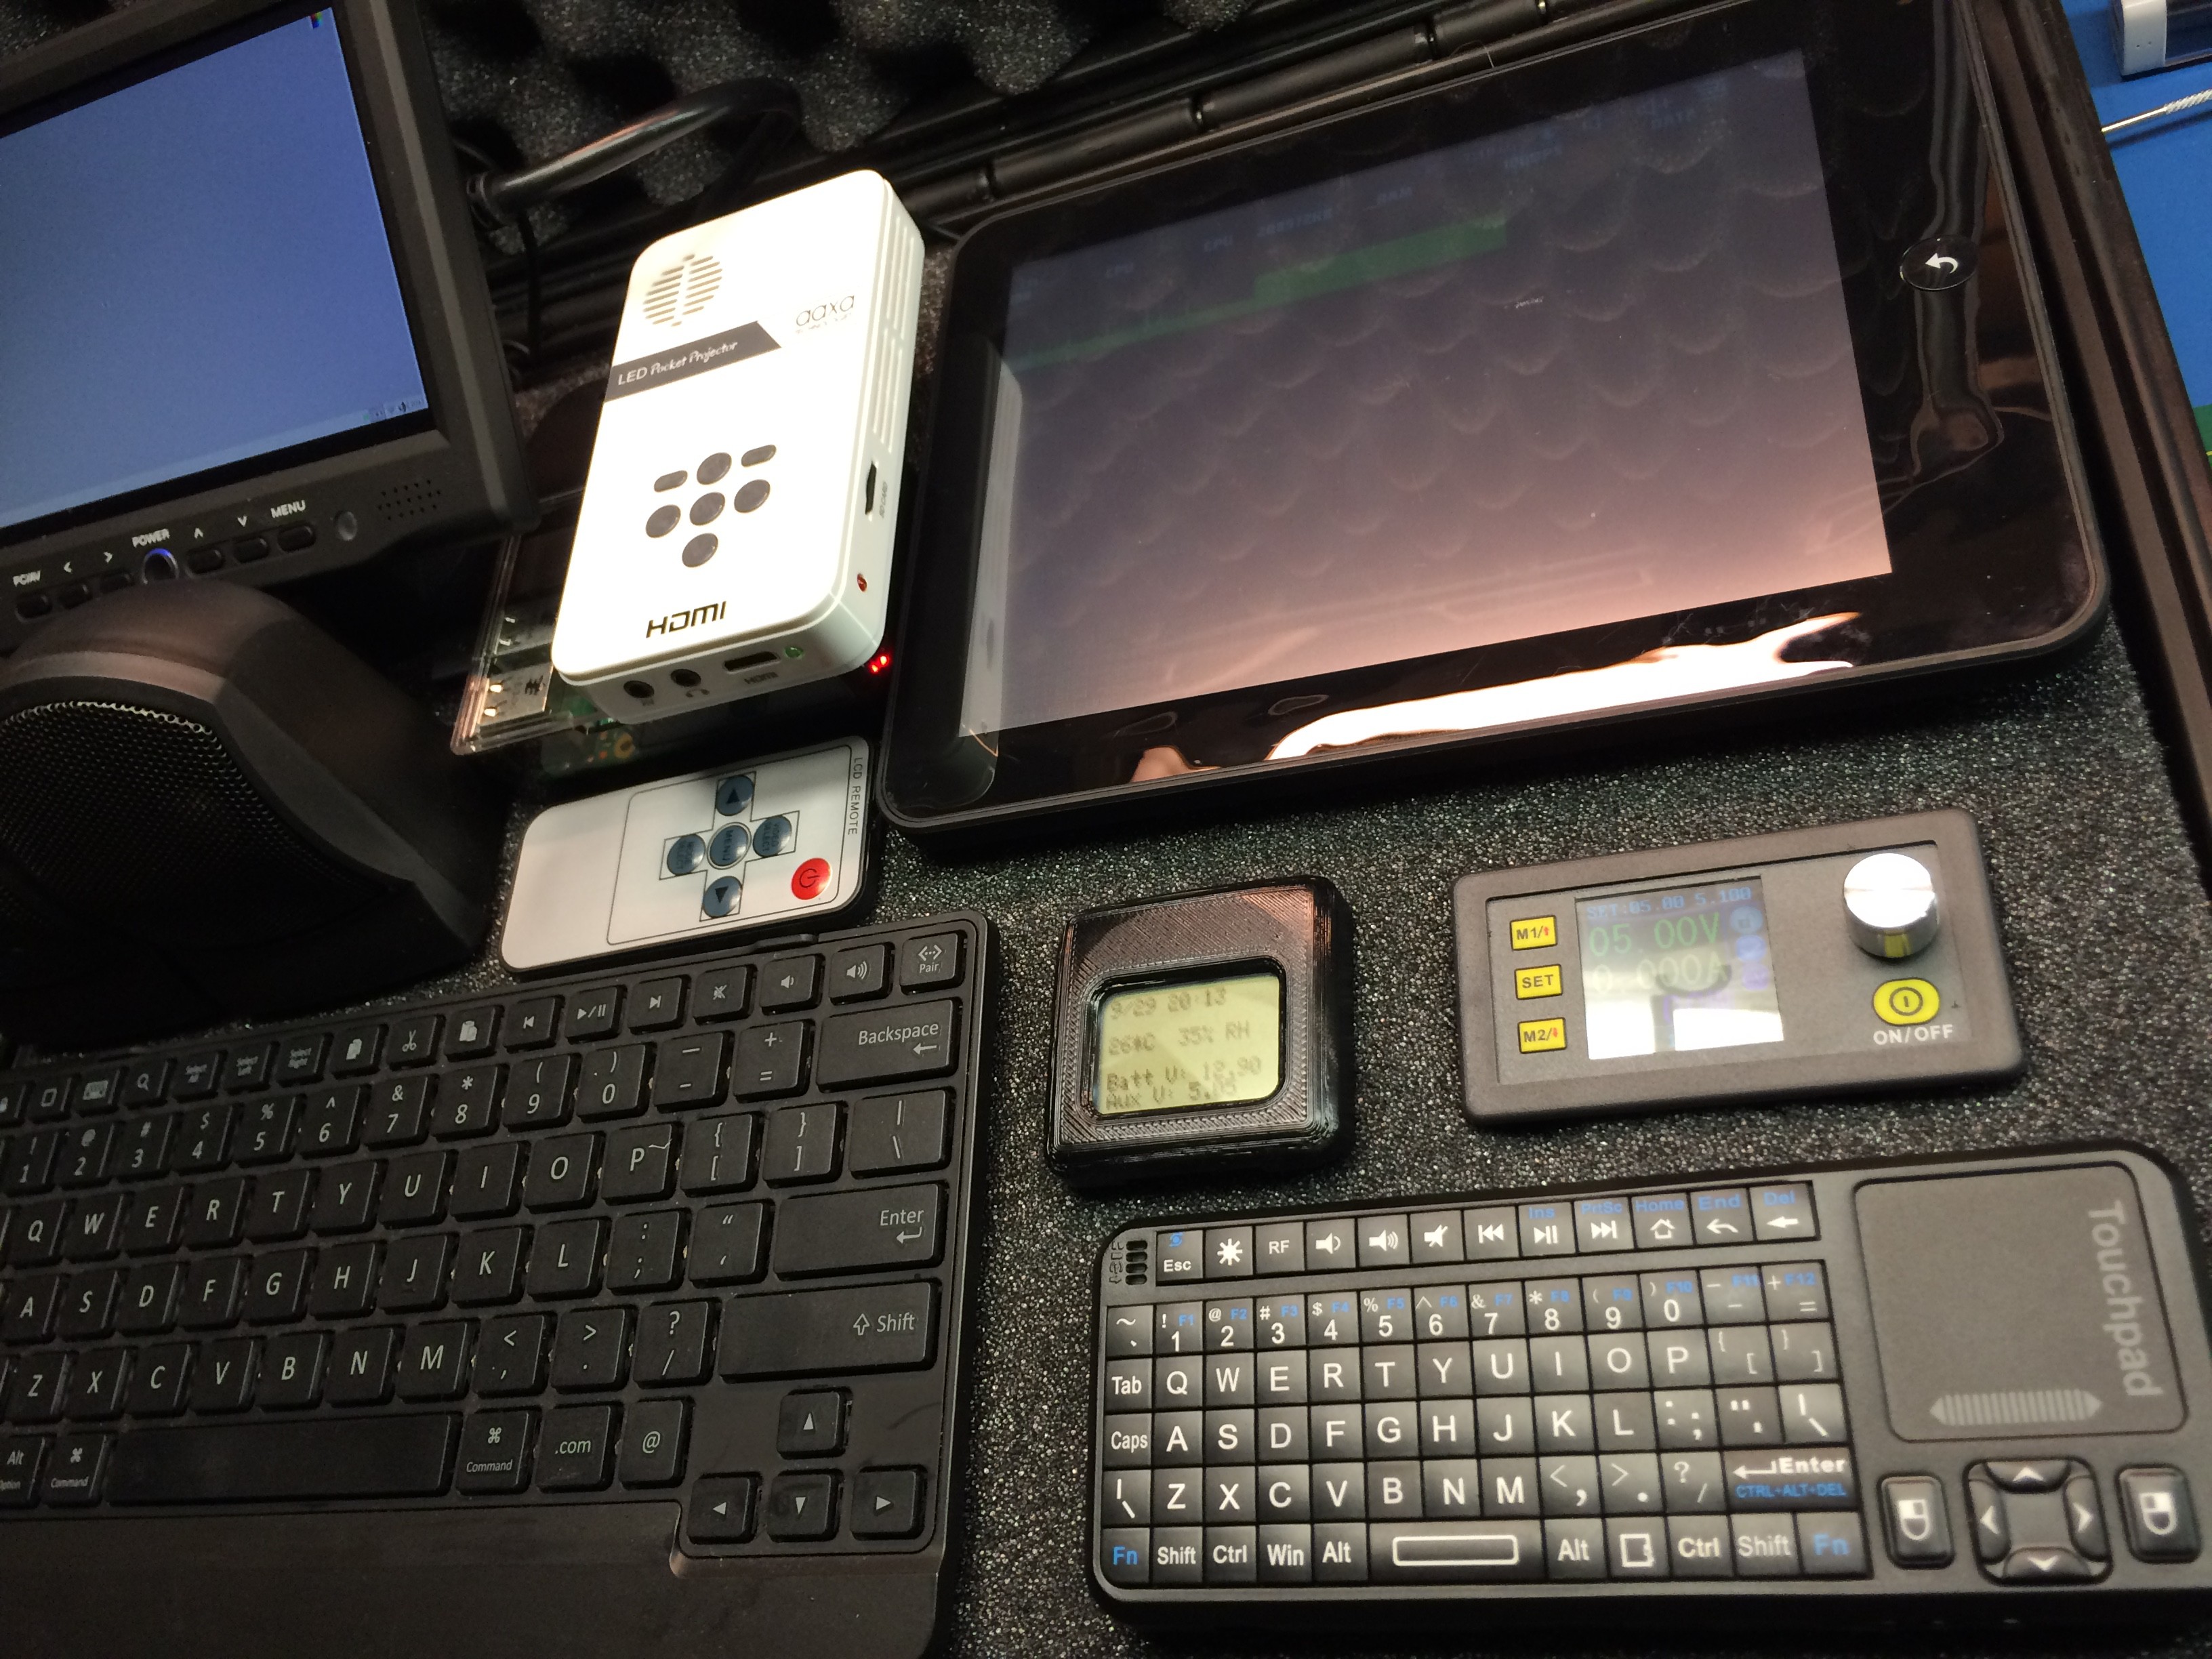
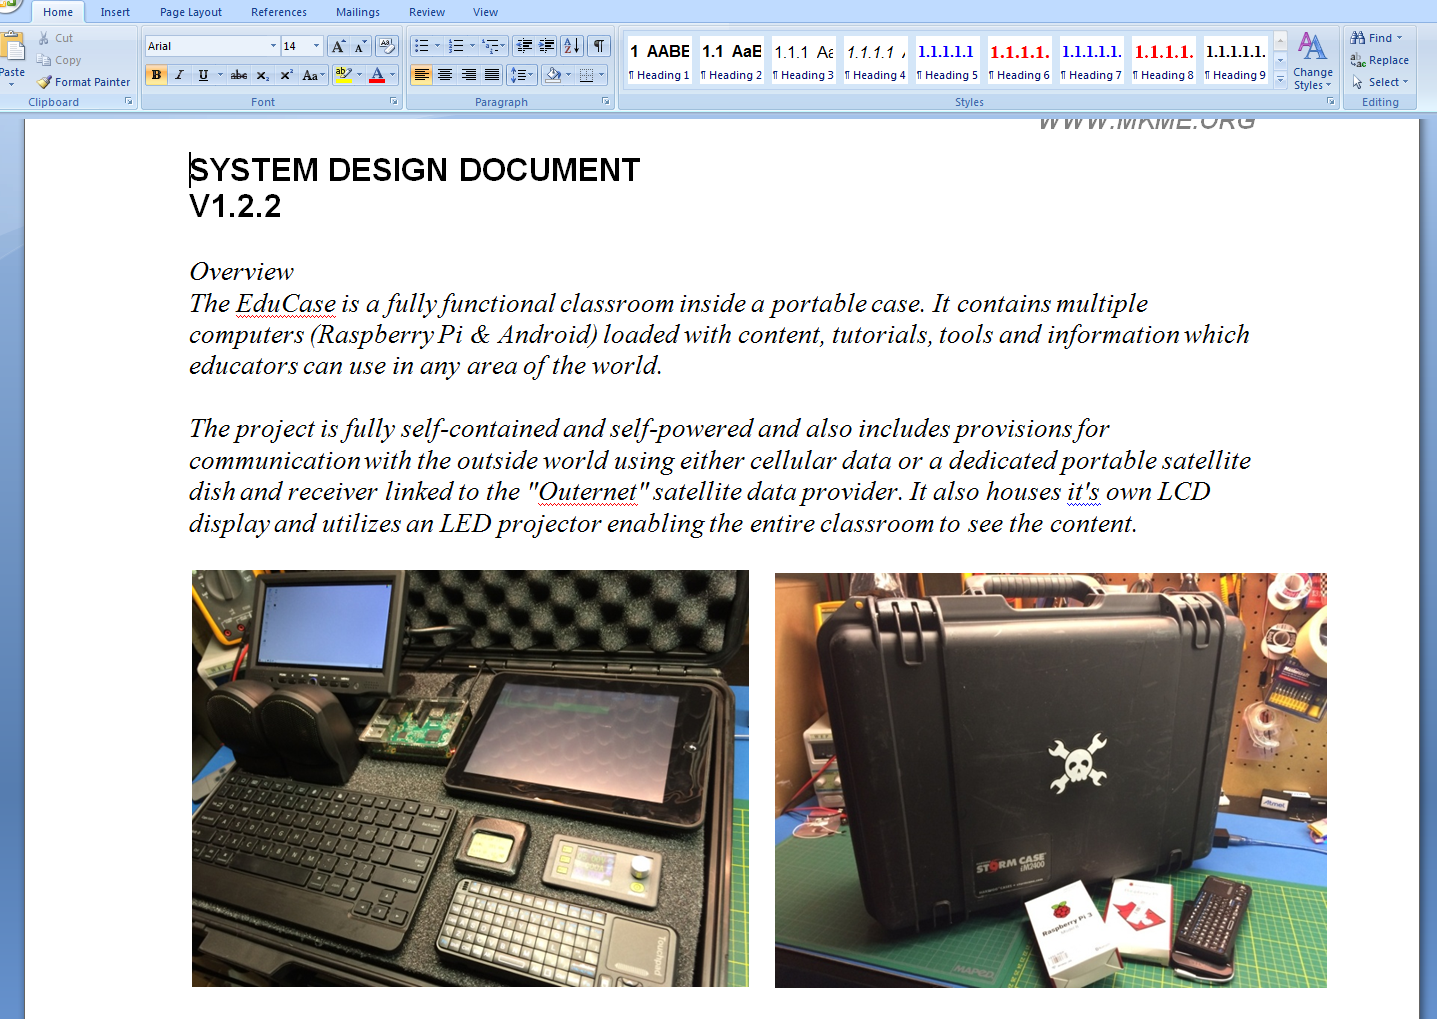
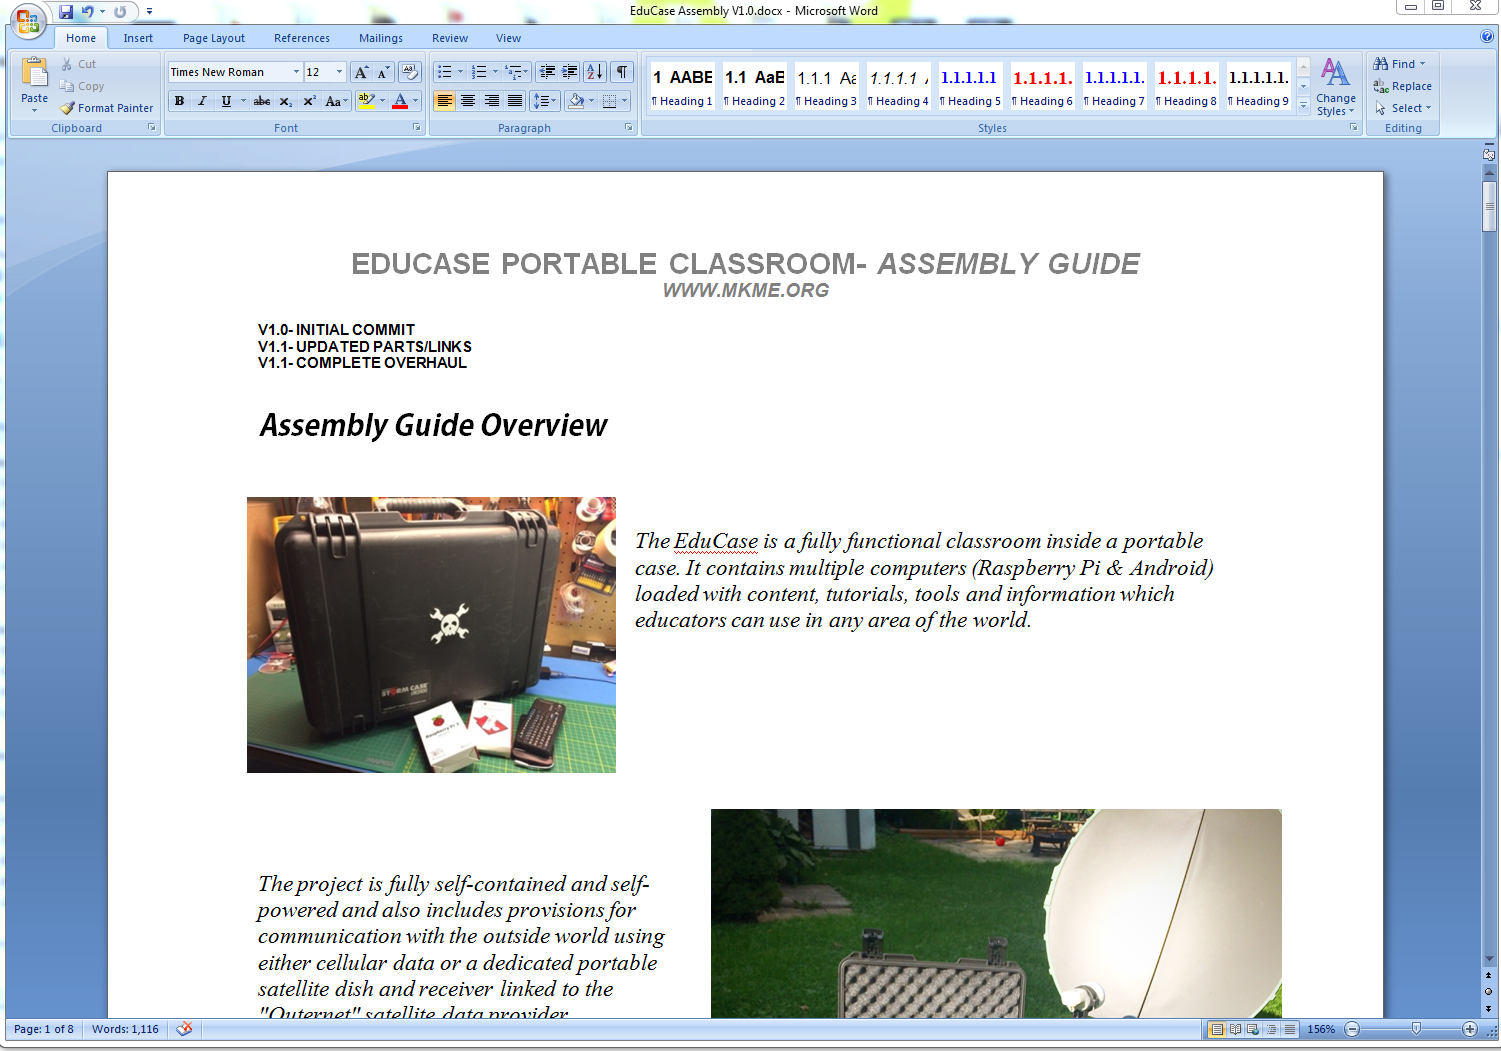
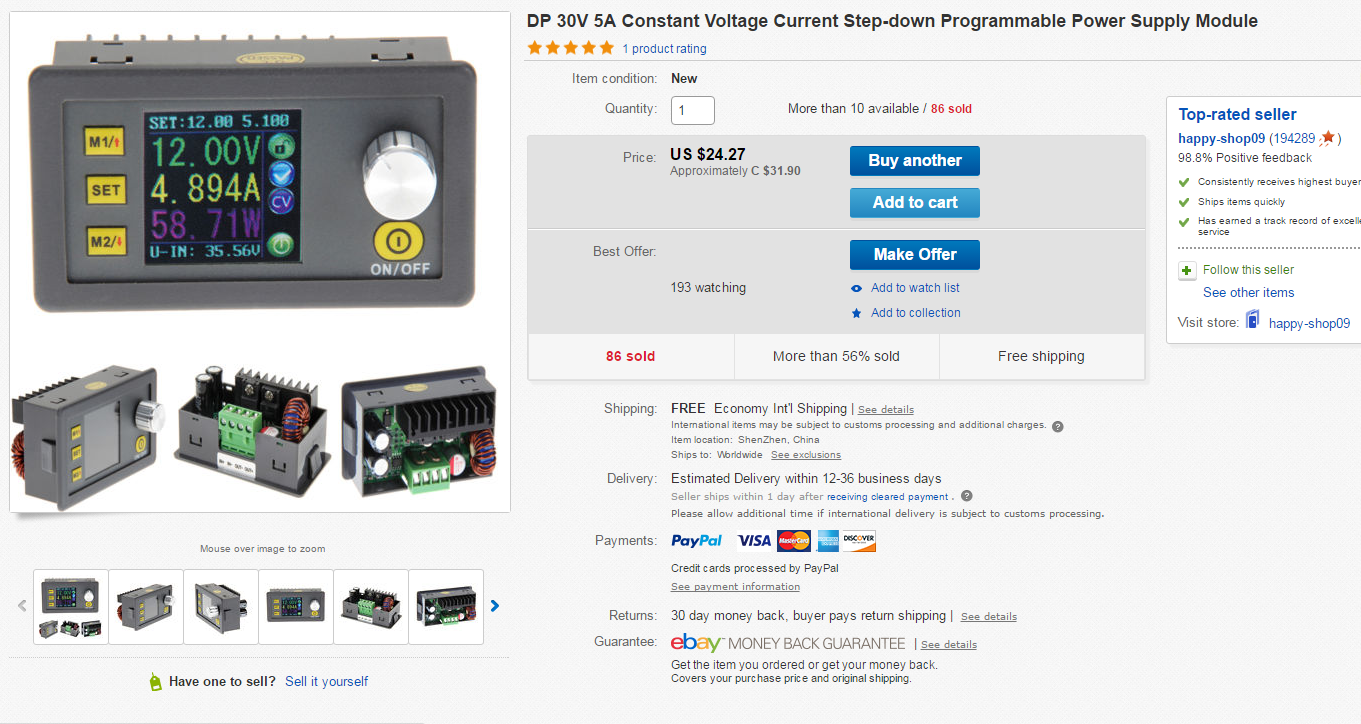
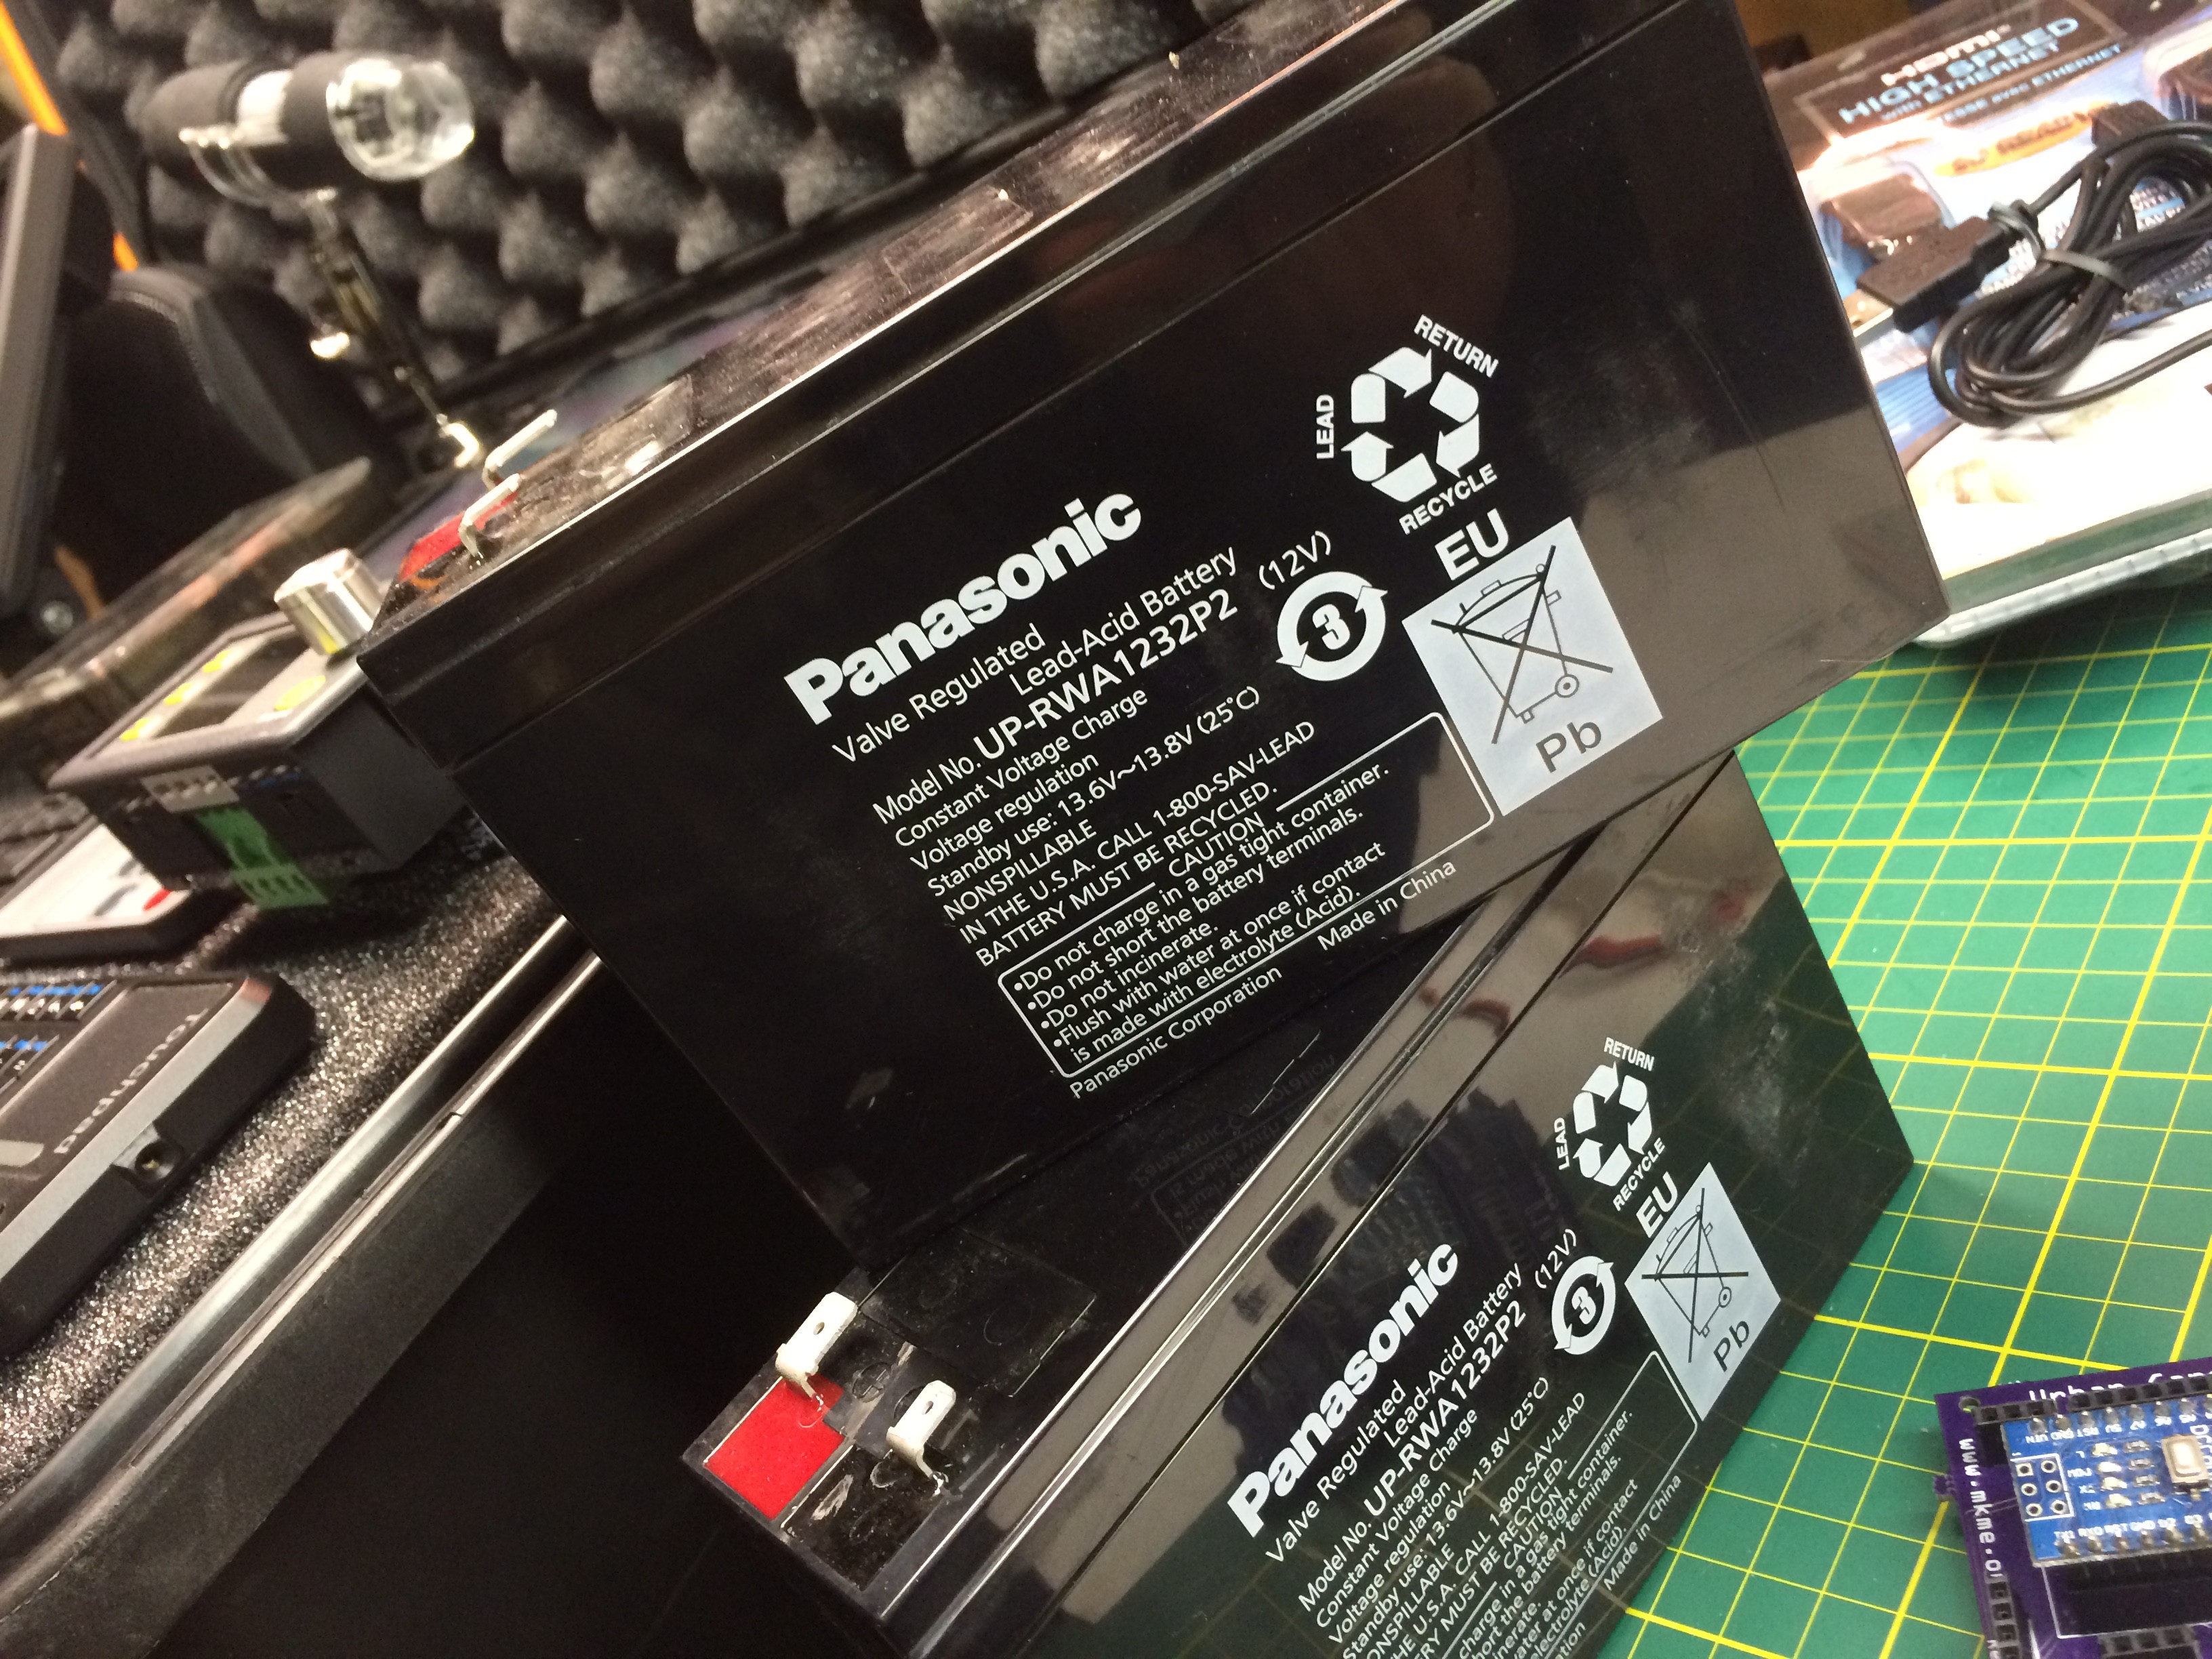
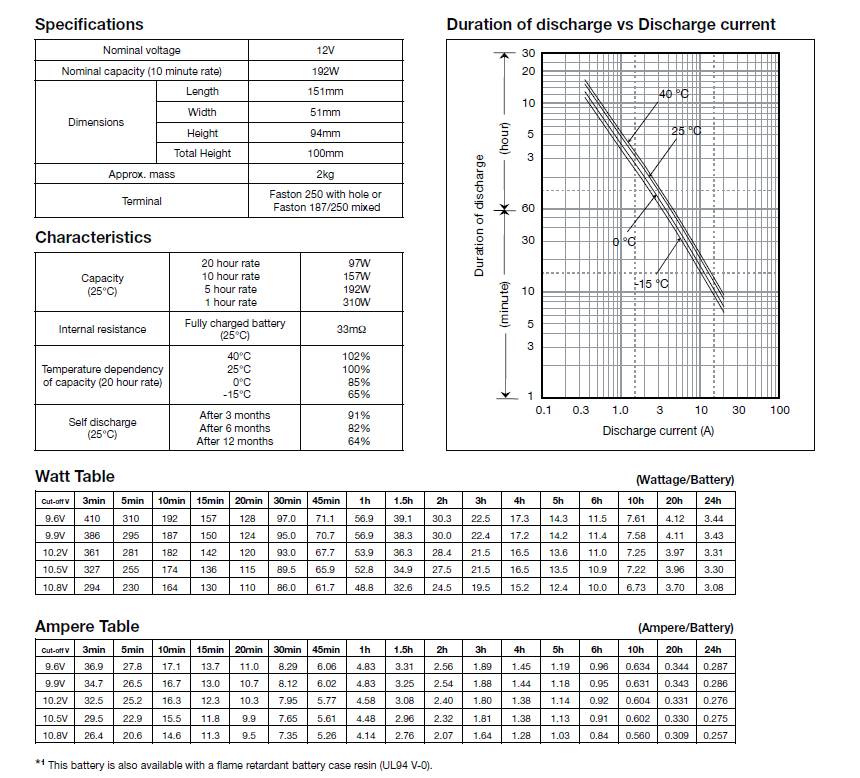
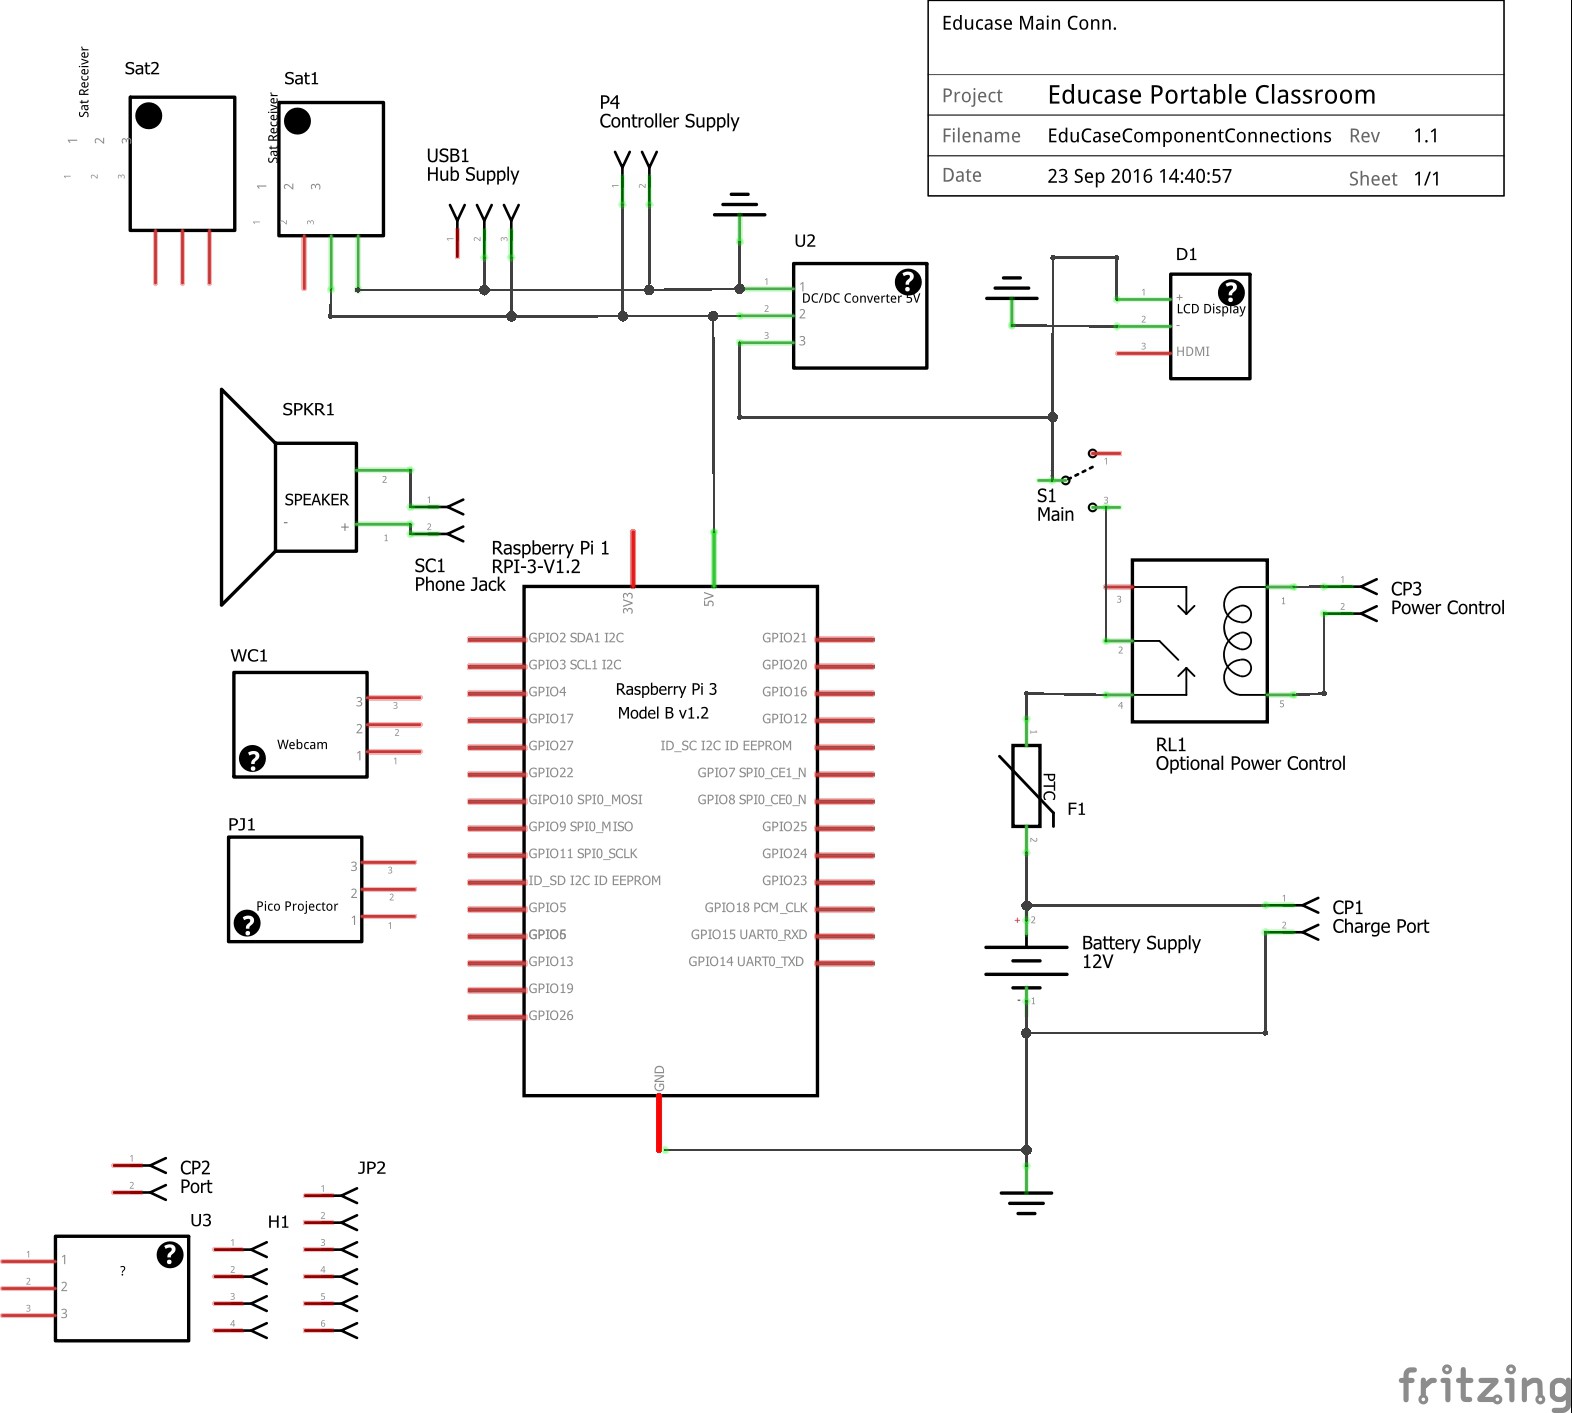
I wanted to build a fully functional classroom which would include computers (Raspberry Pis & Android systems), display, projectors, power source, cameras, communication systems (cellular and satellite down link) and charging support (solar, home and auto).
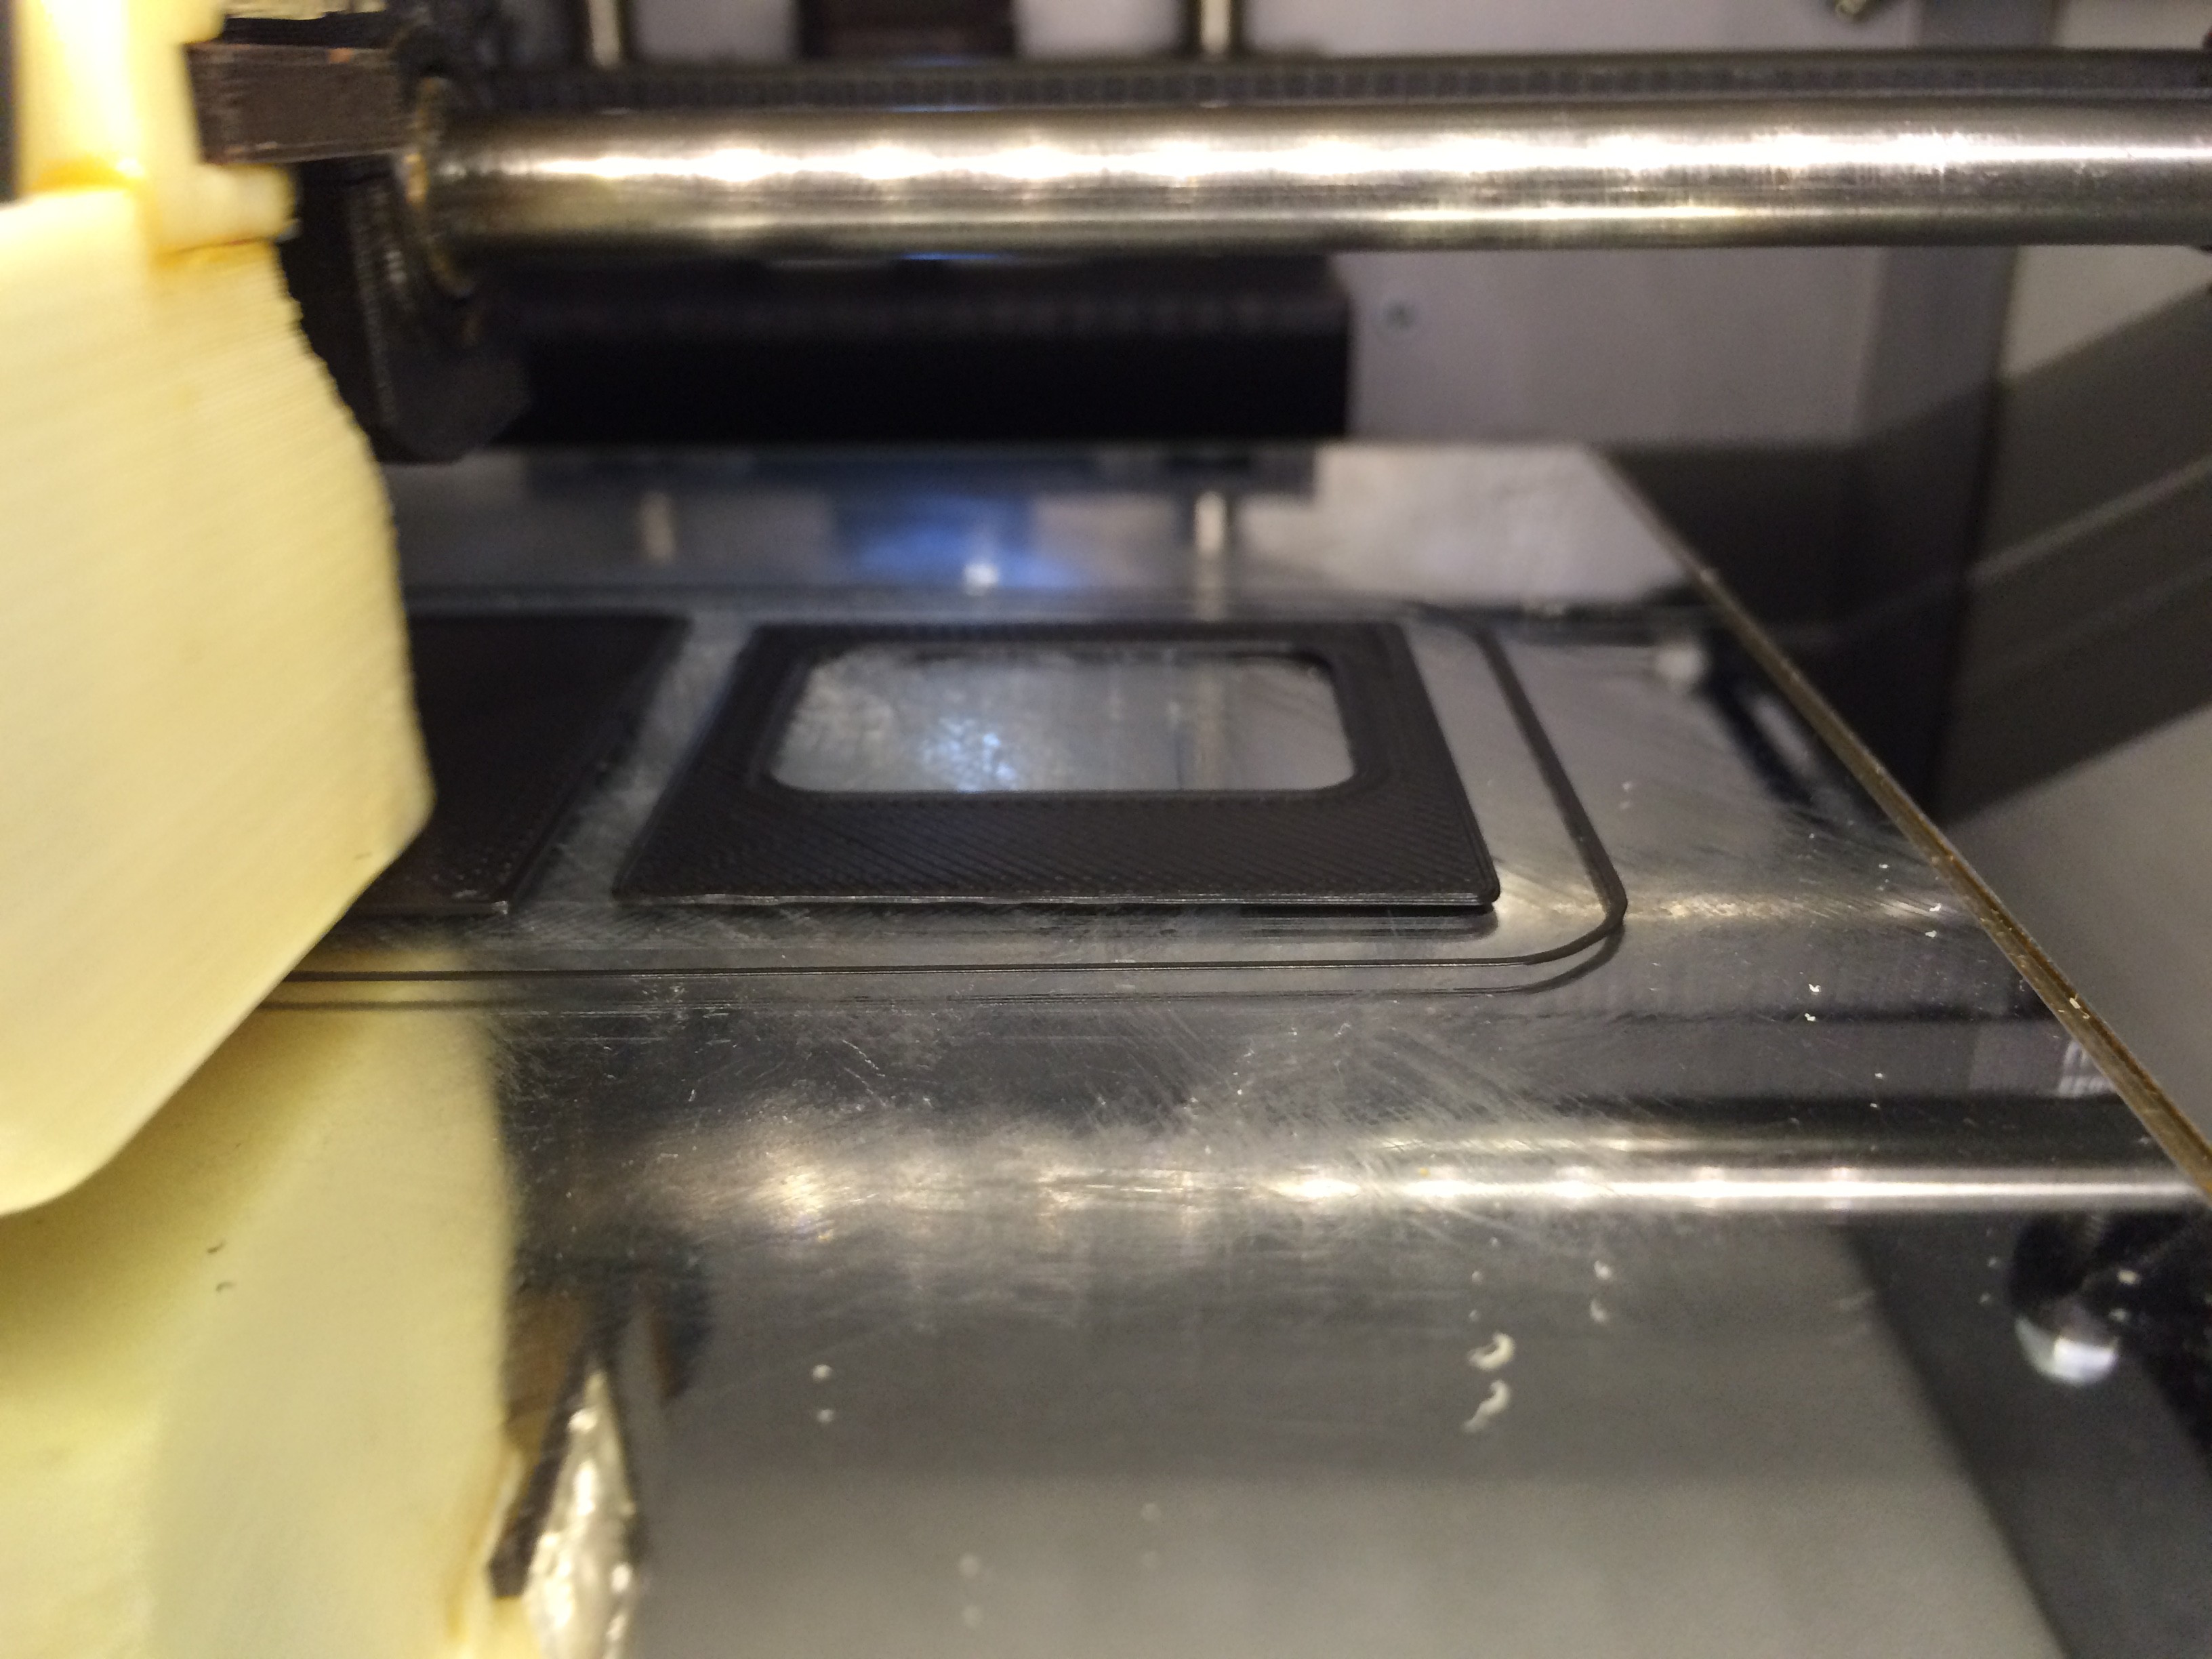
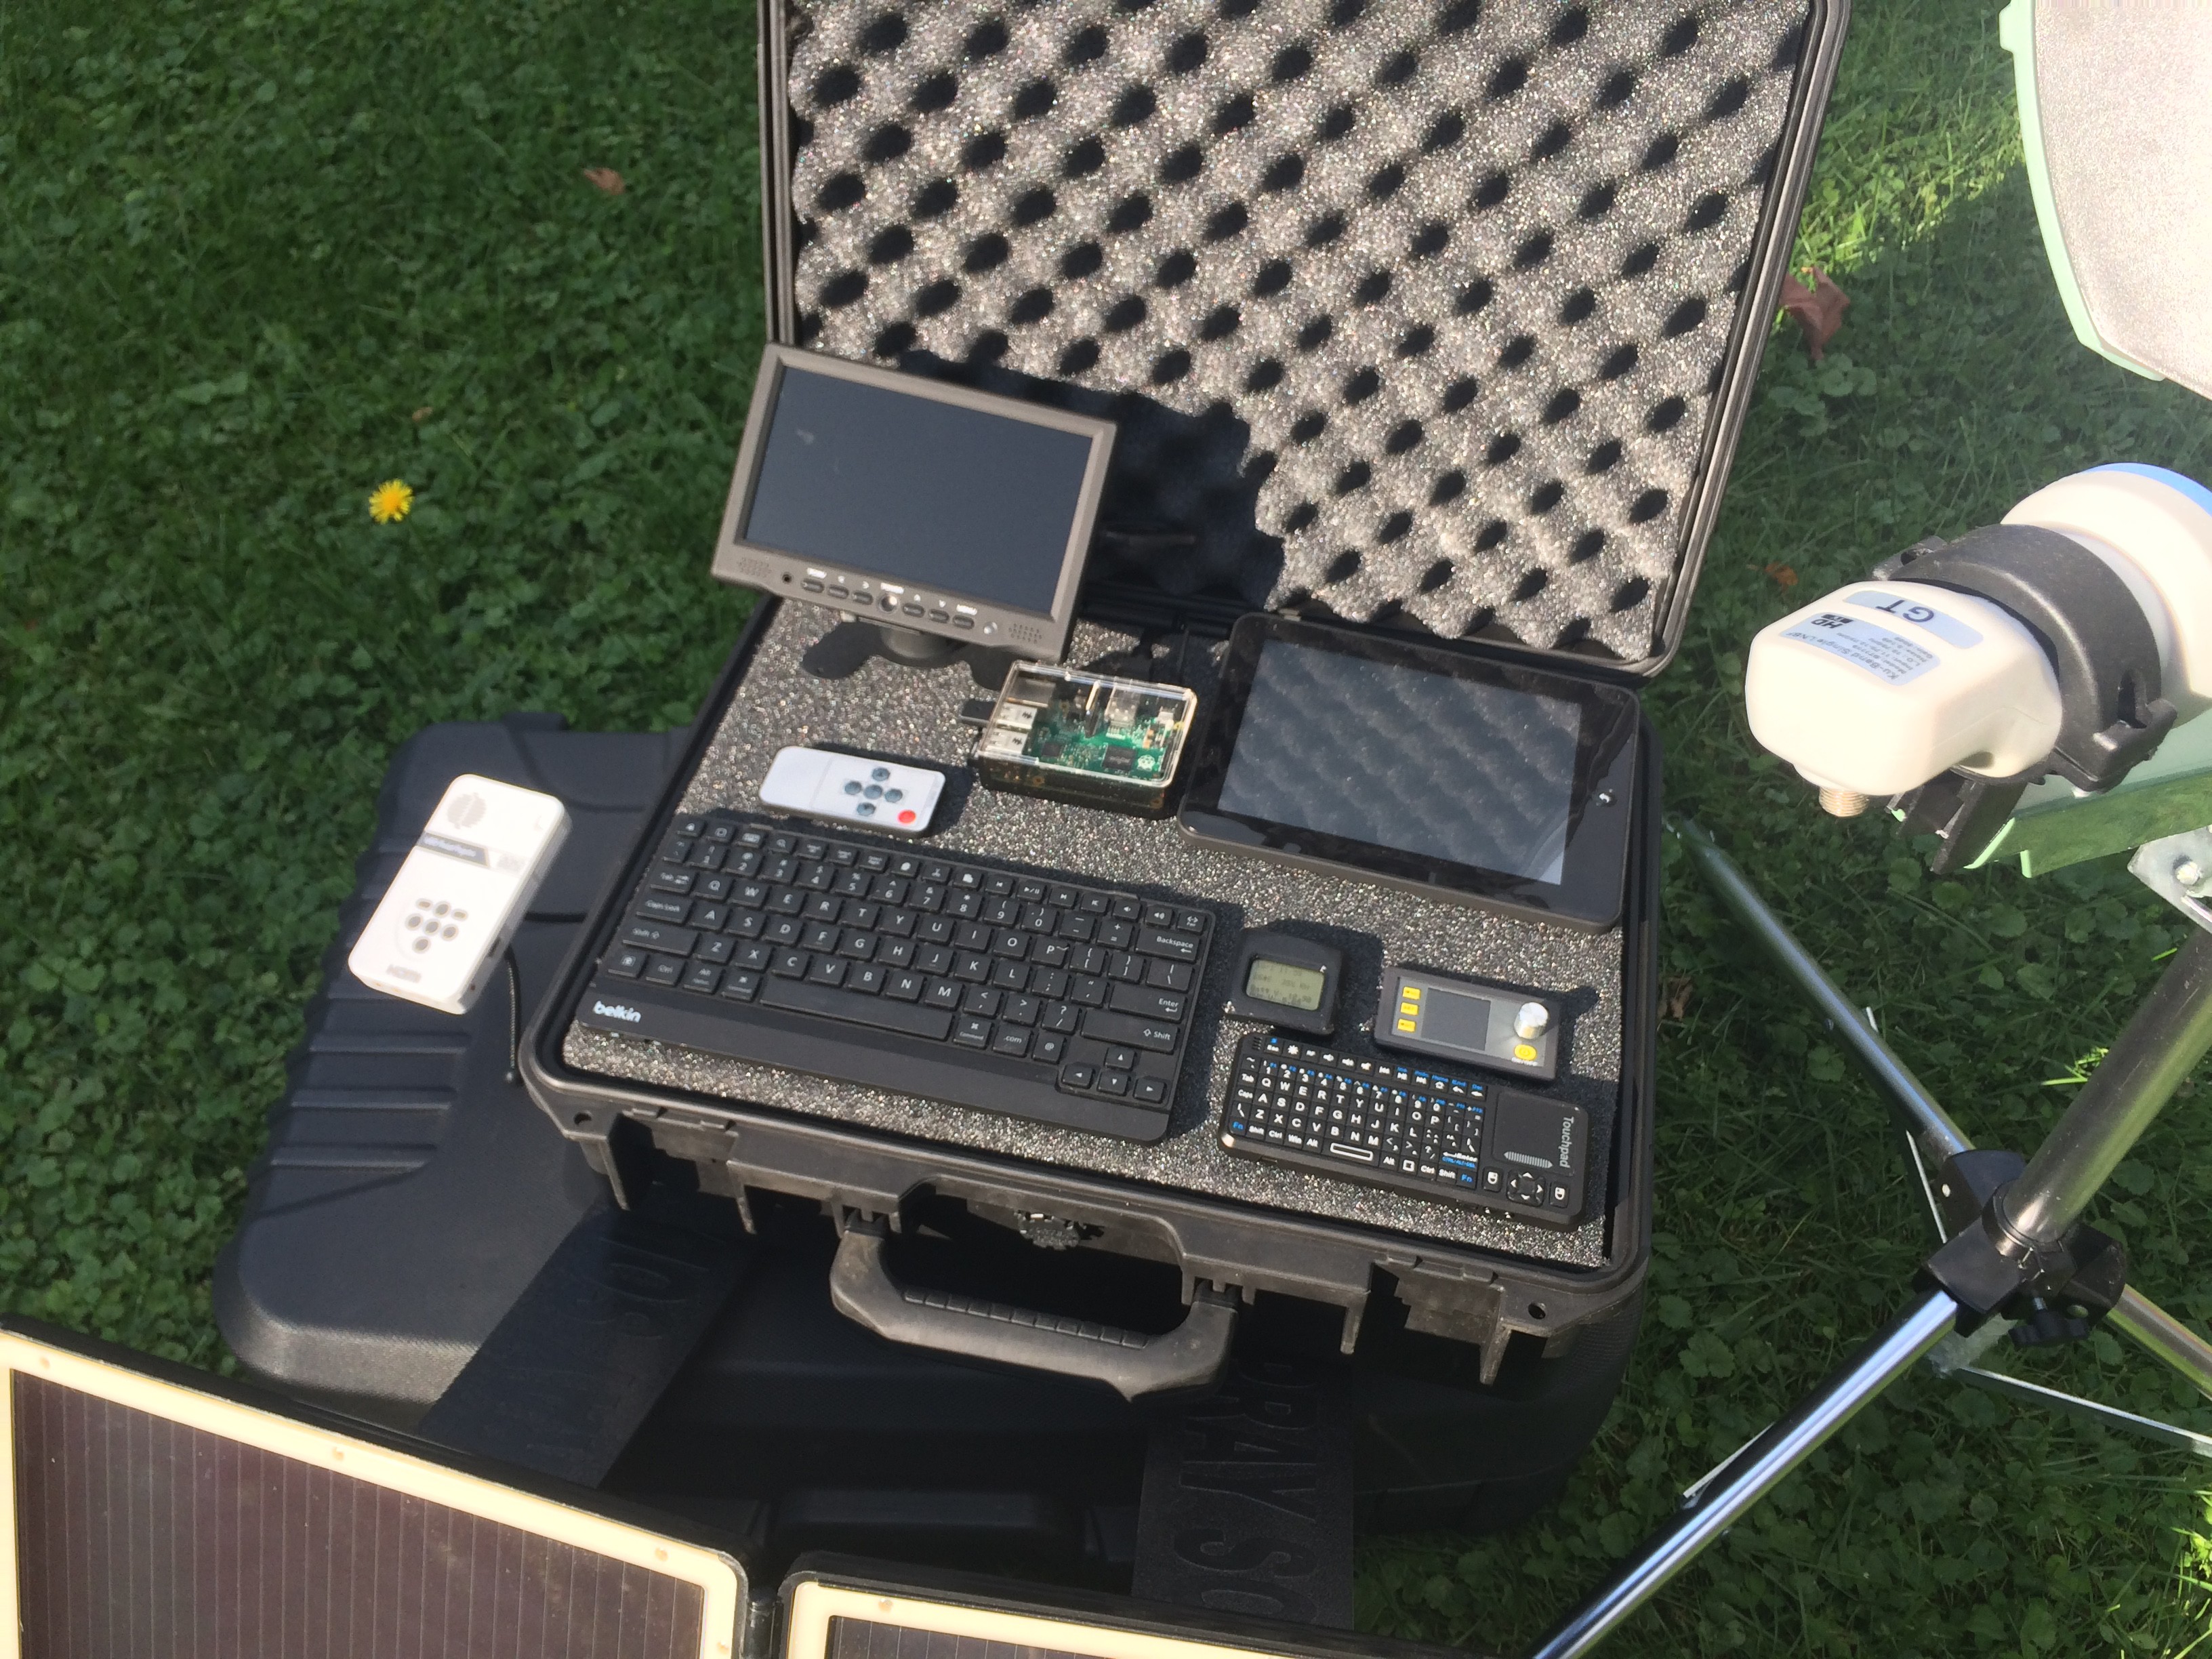
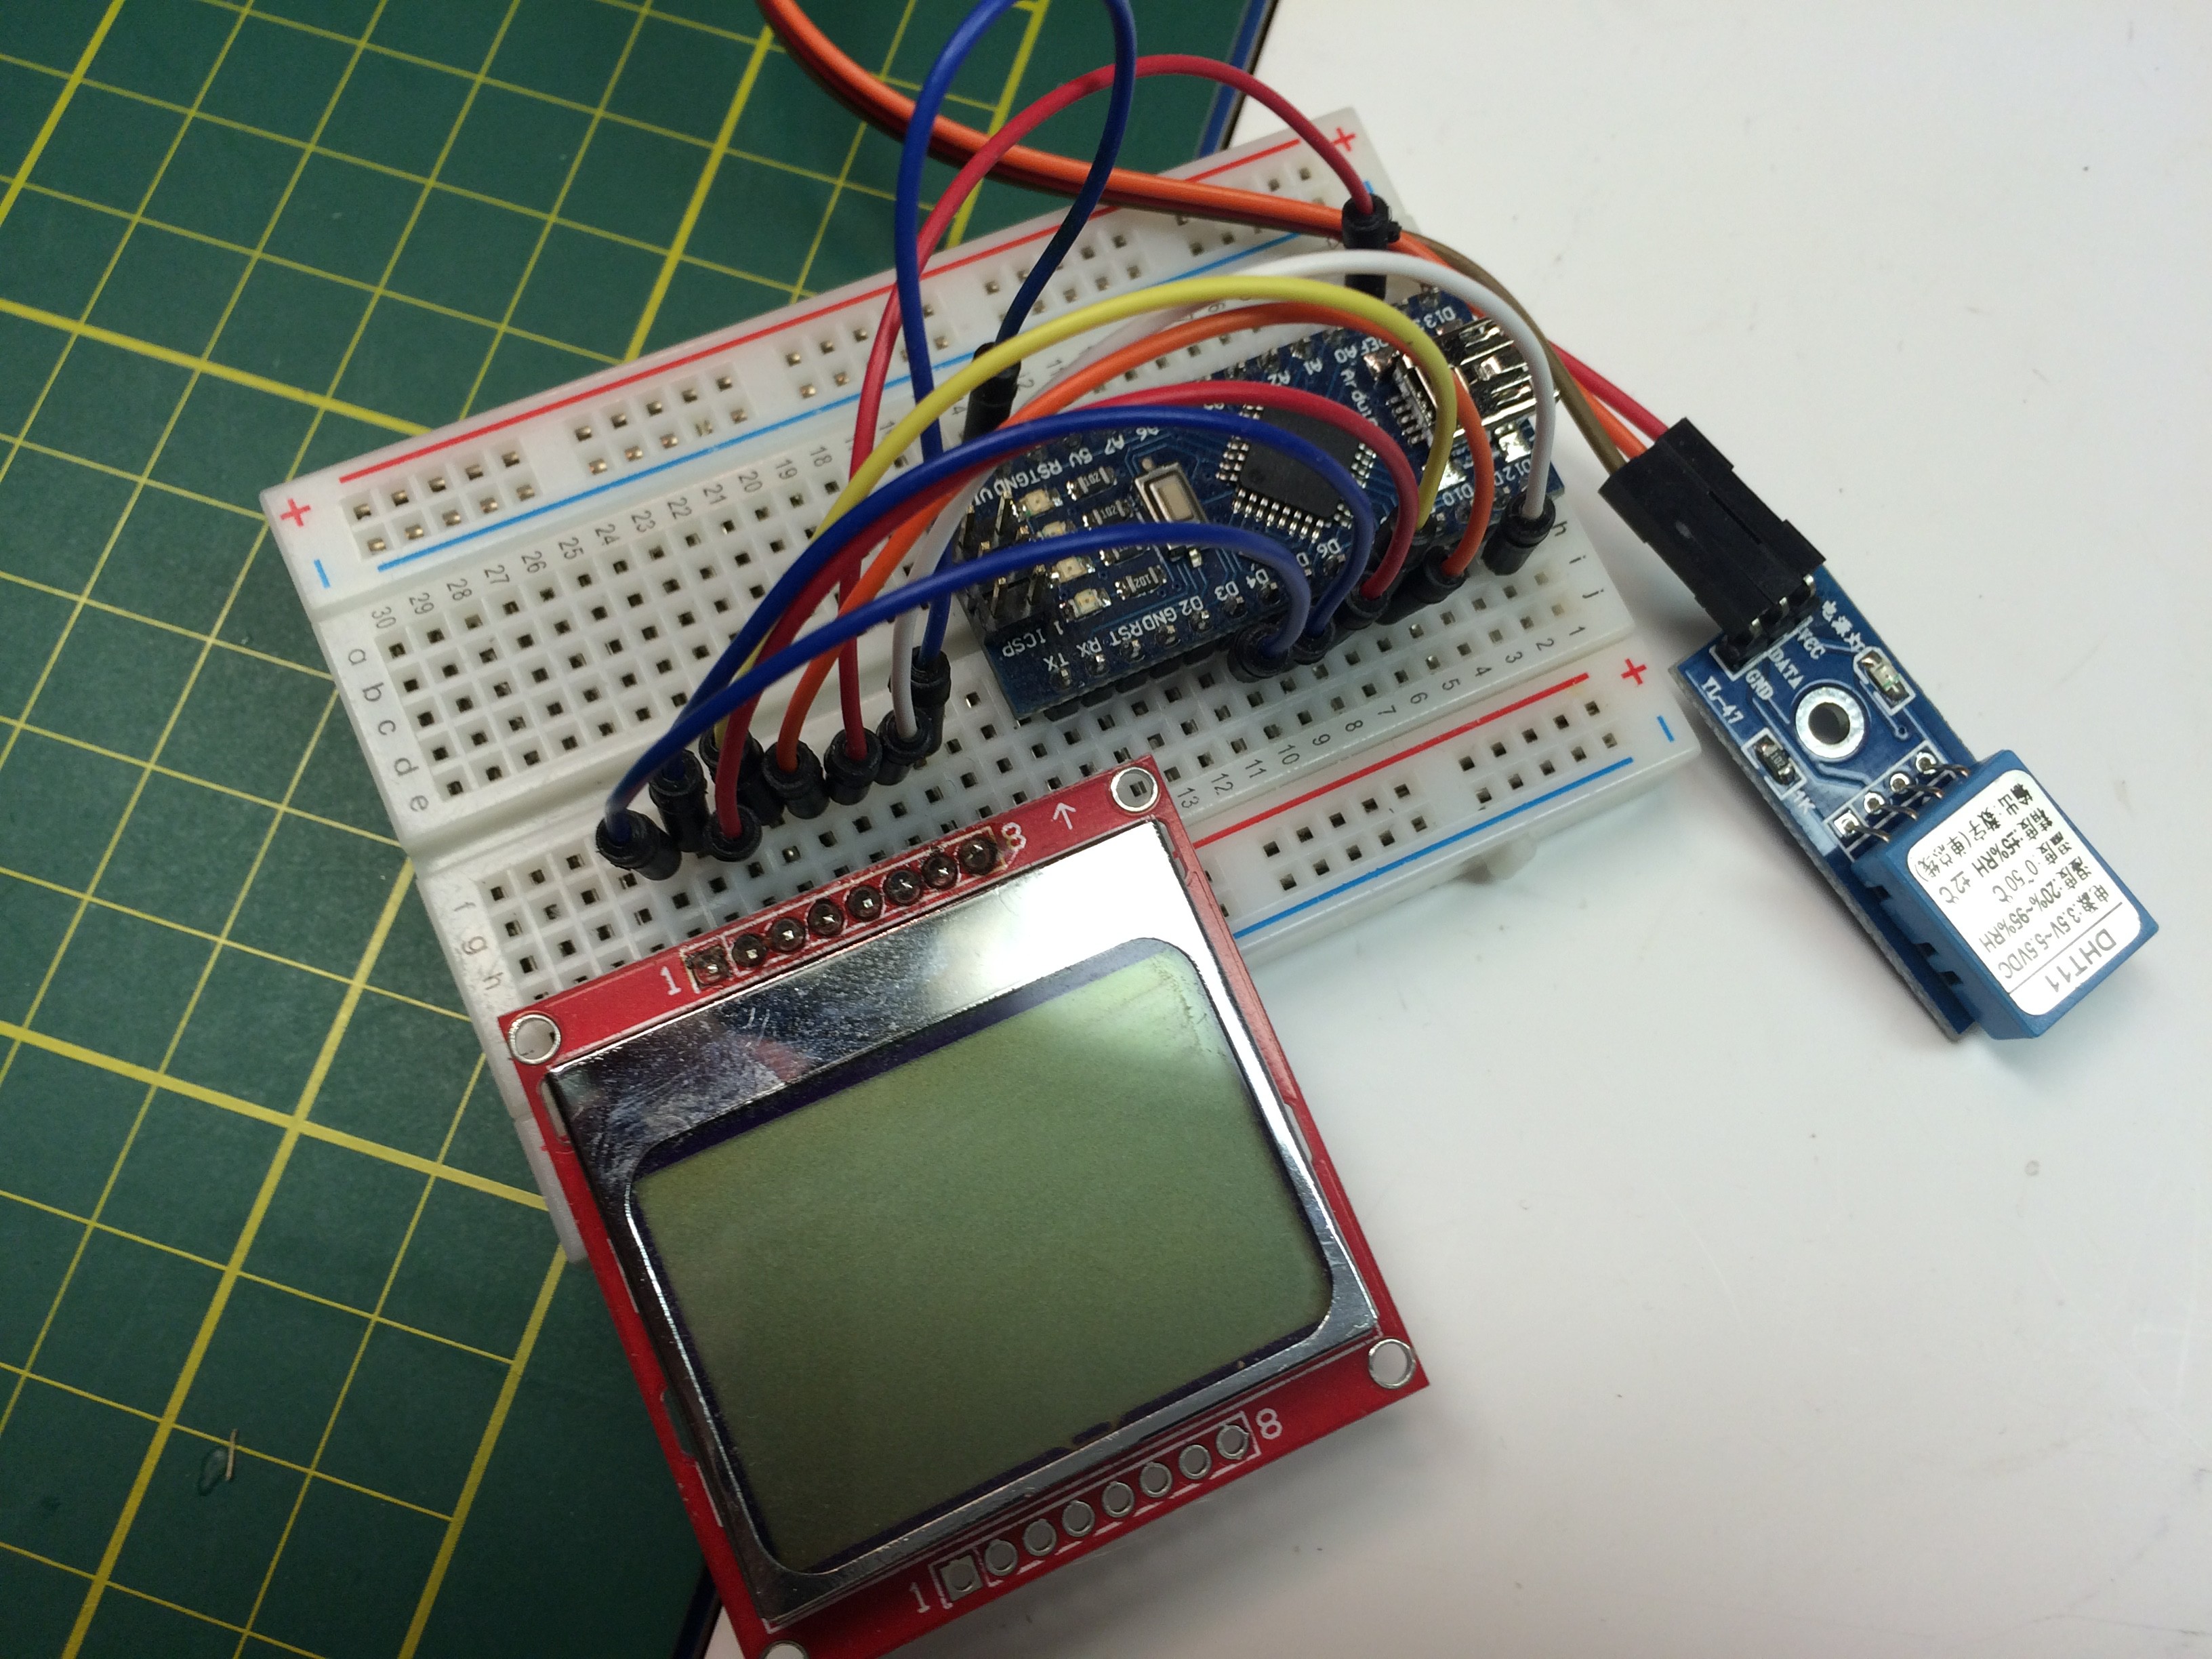
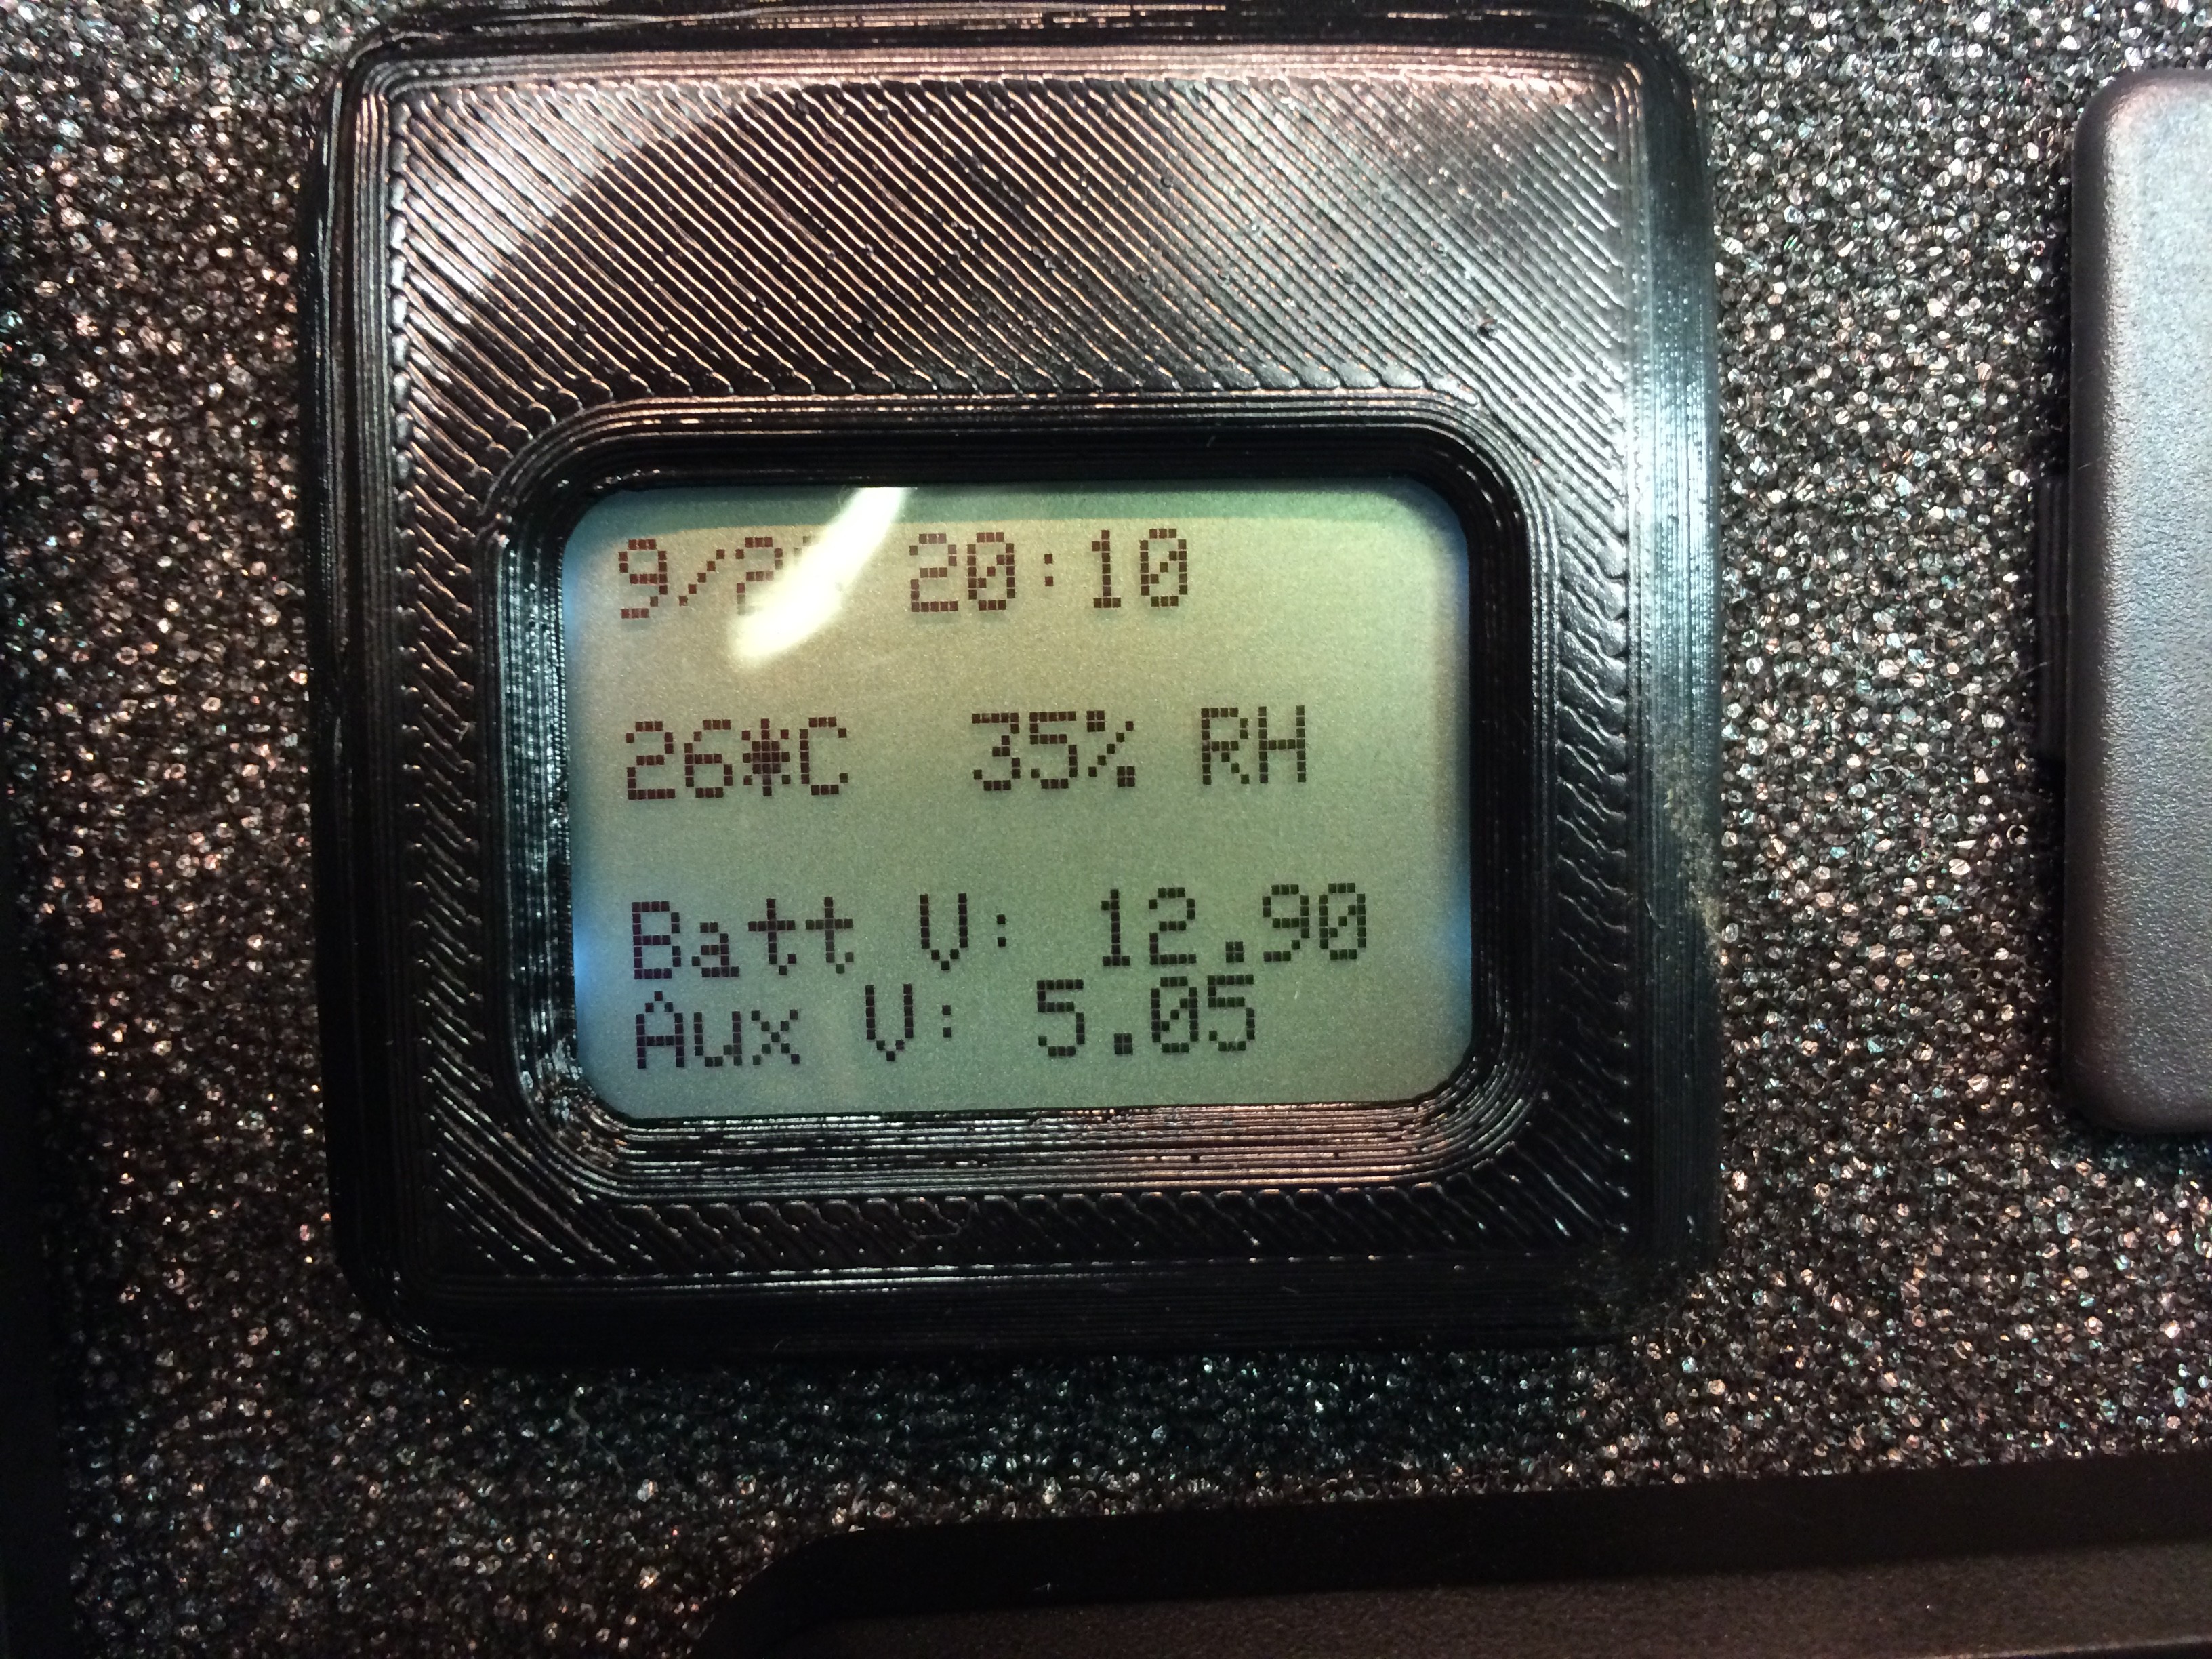
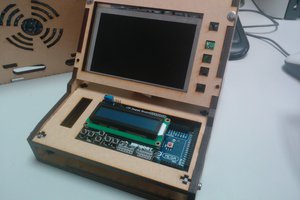
Over many months I gathered the components and assembled the first EduCase with great results:
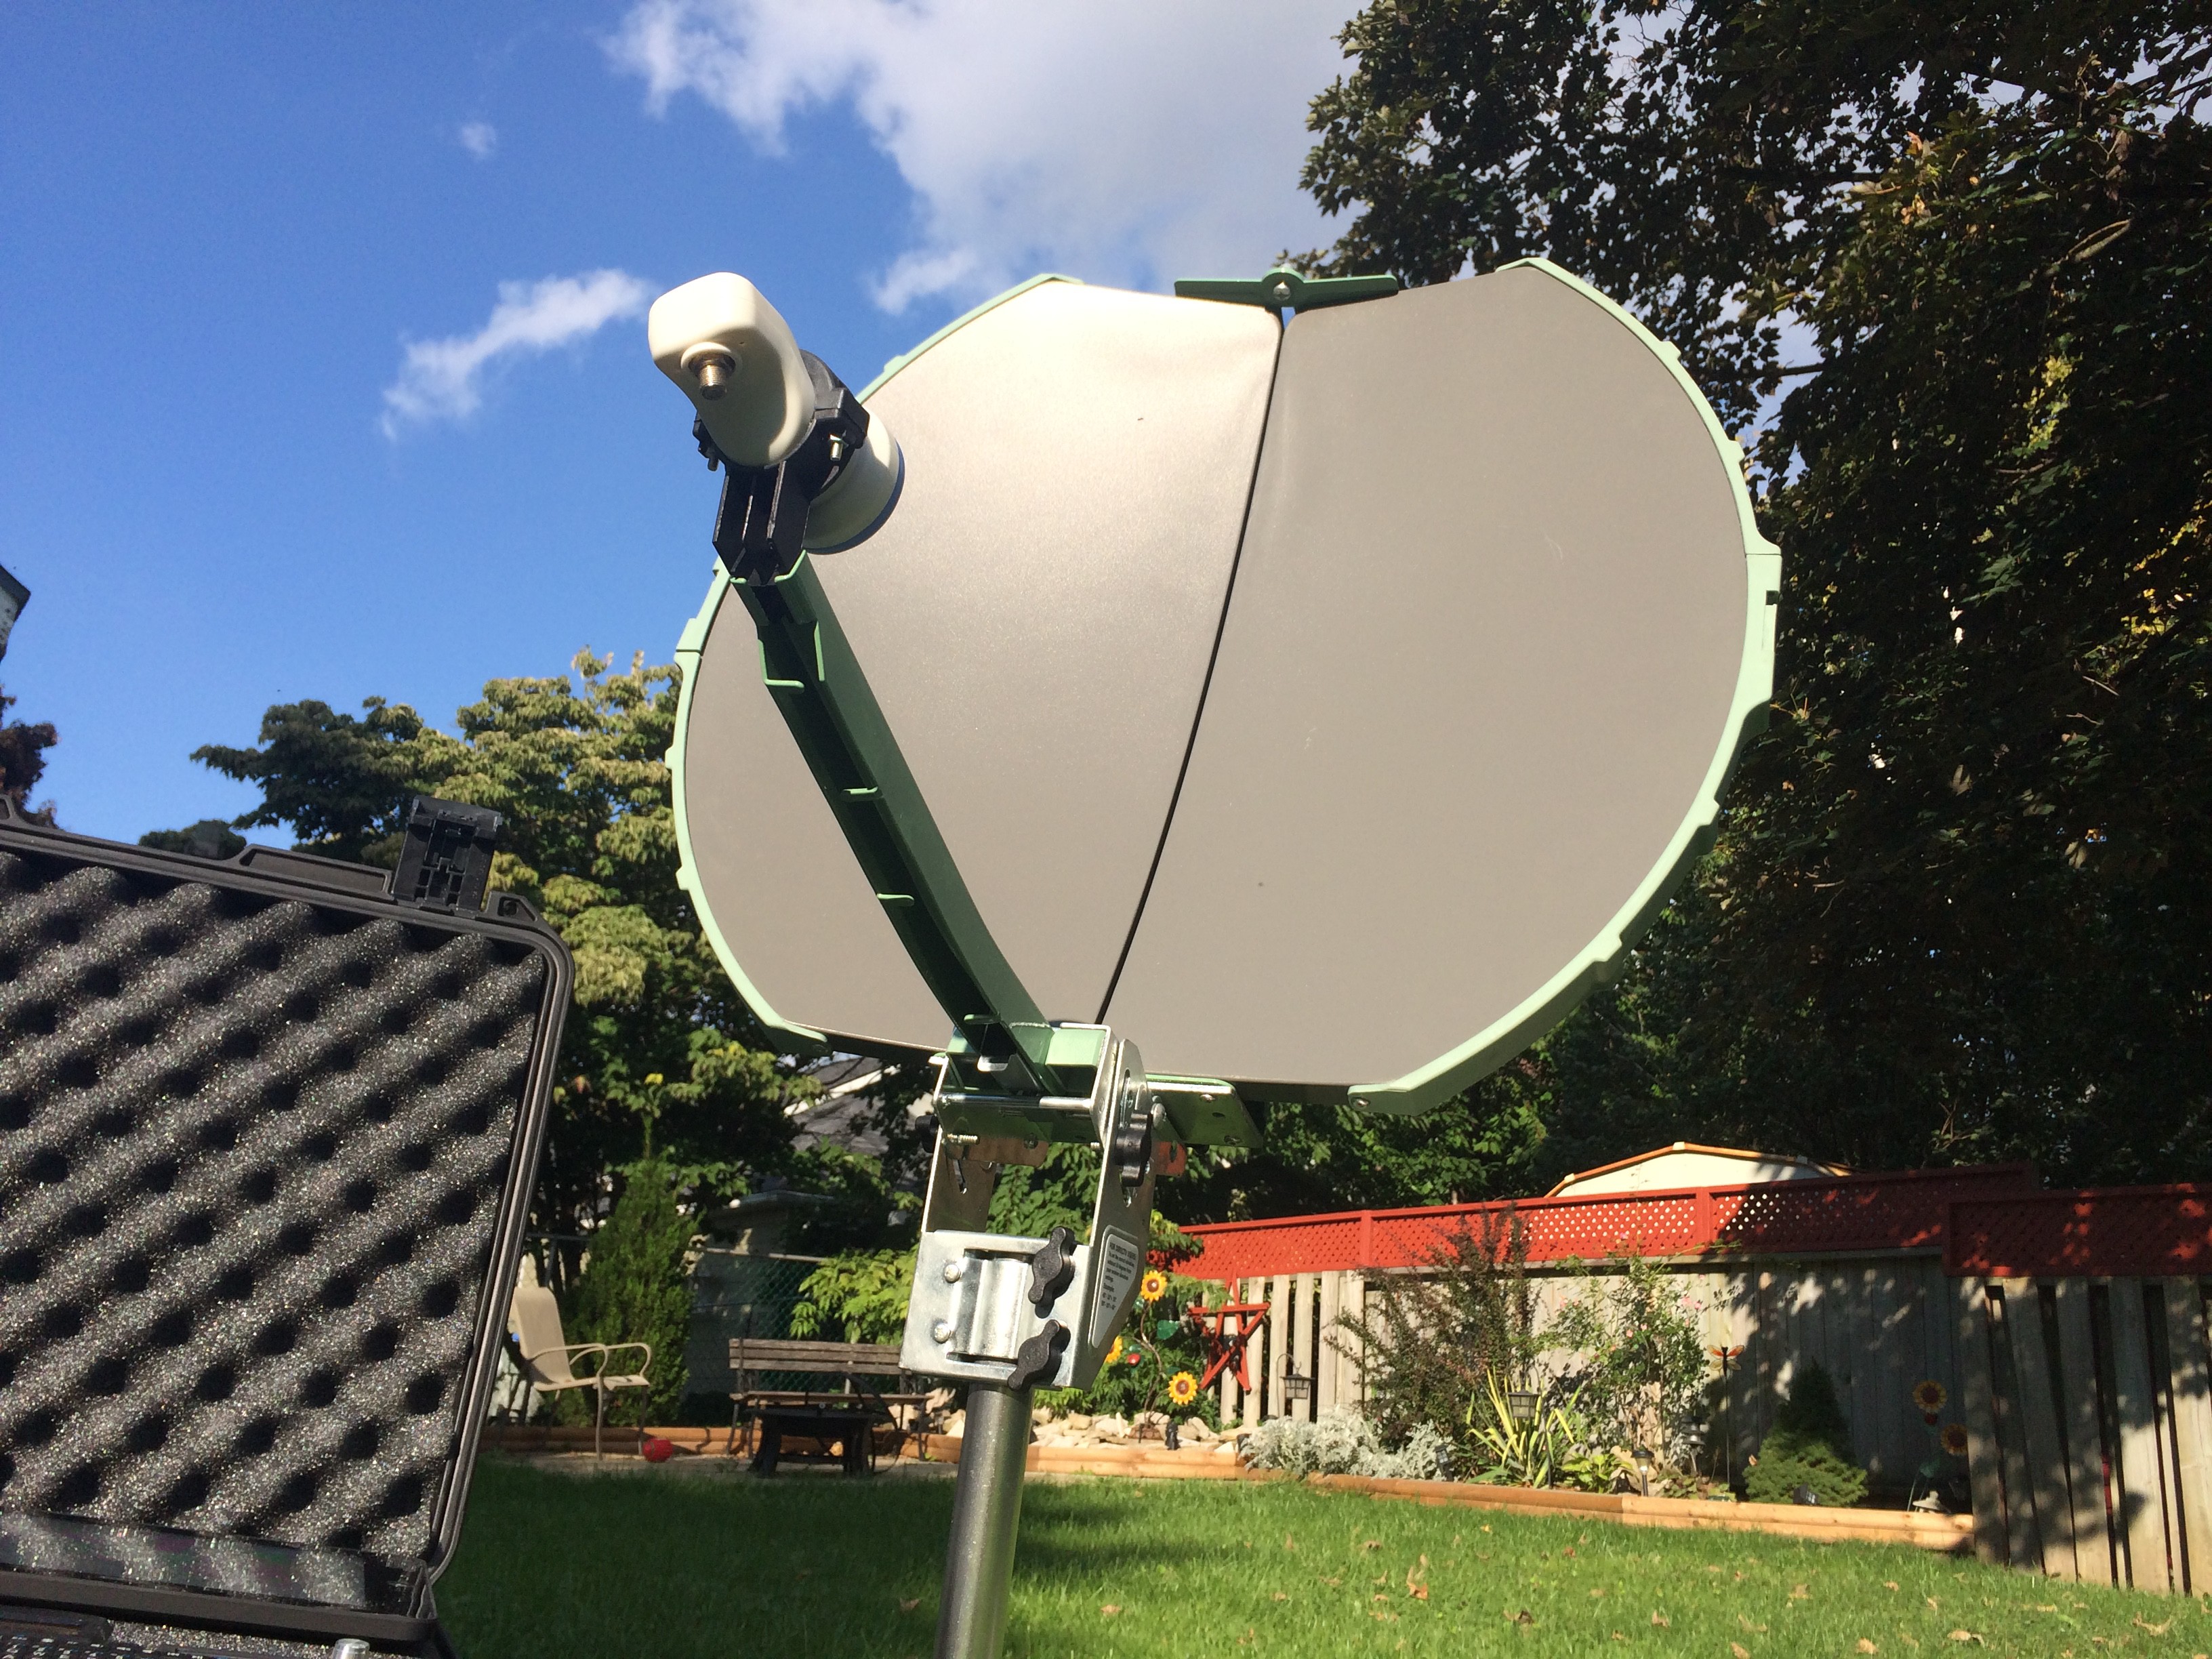
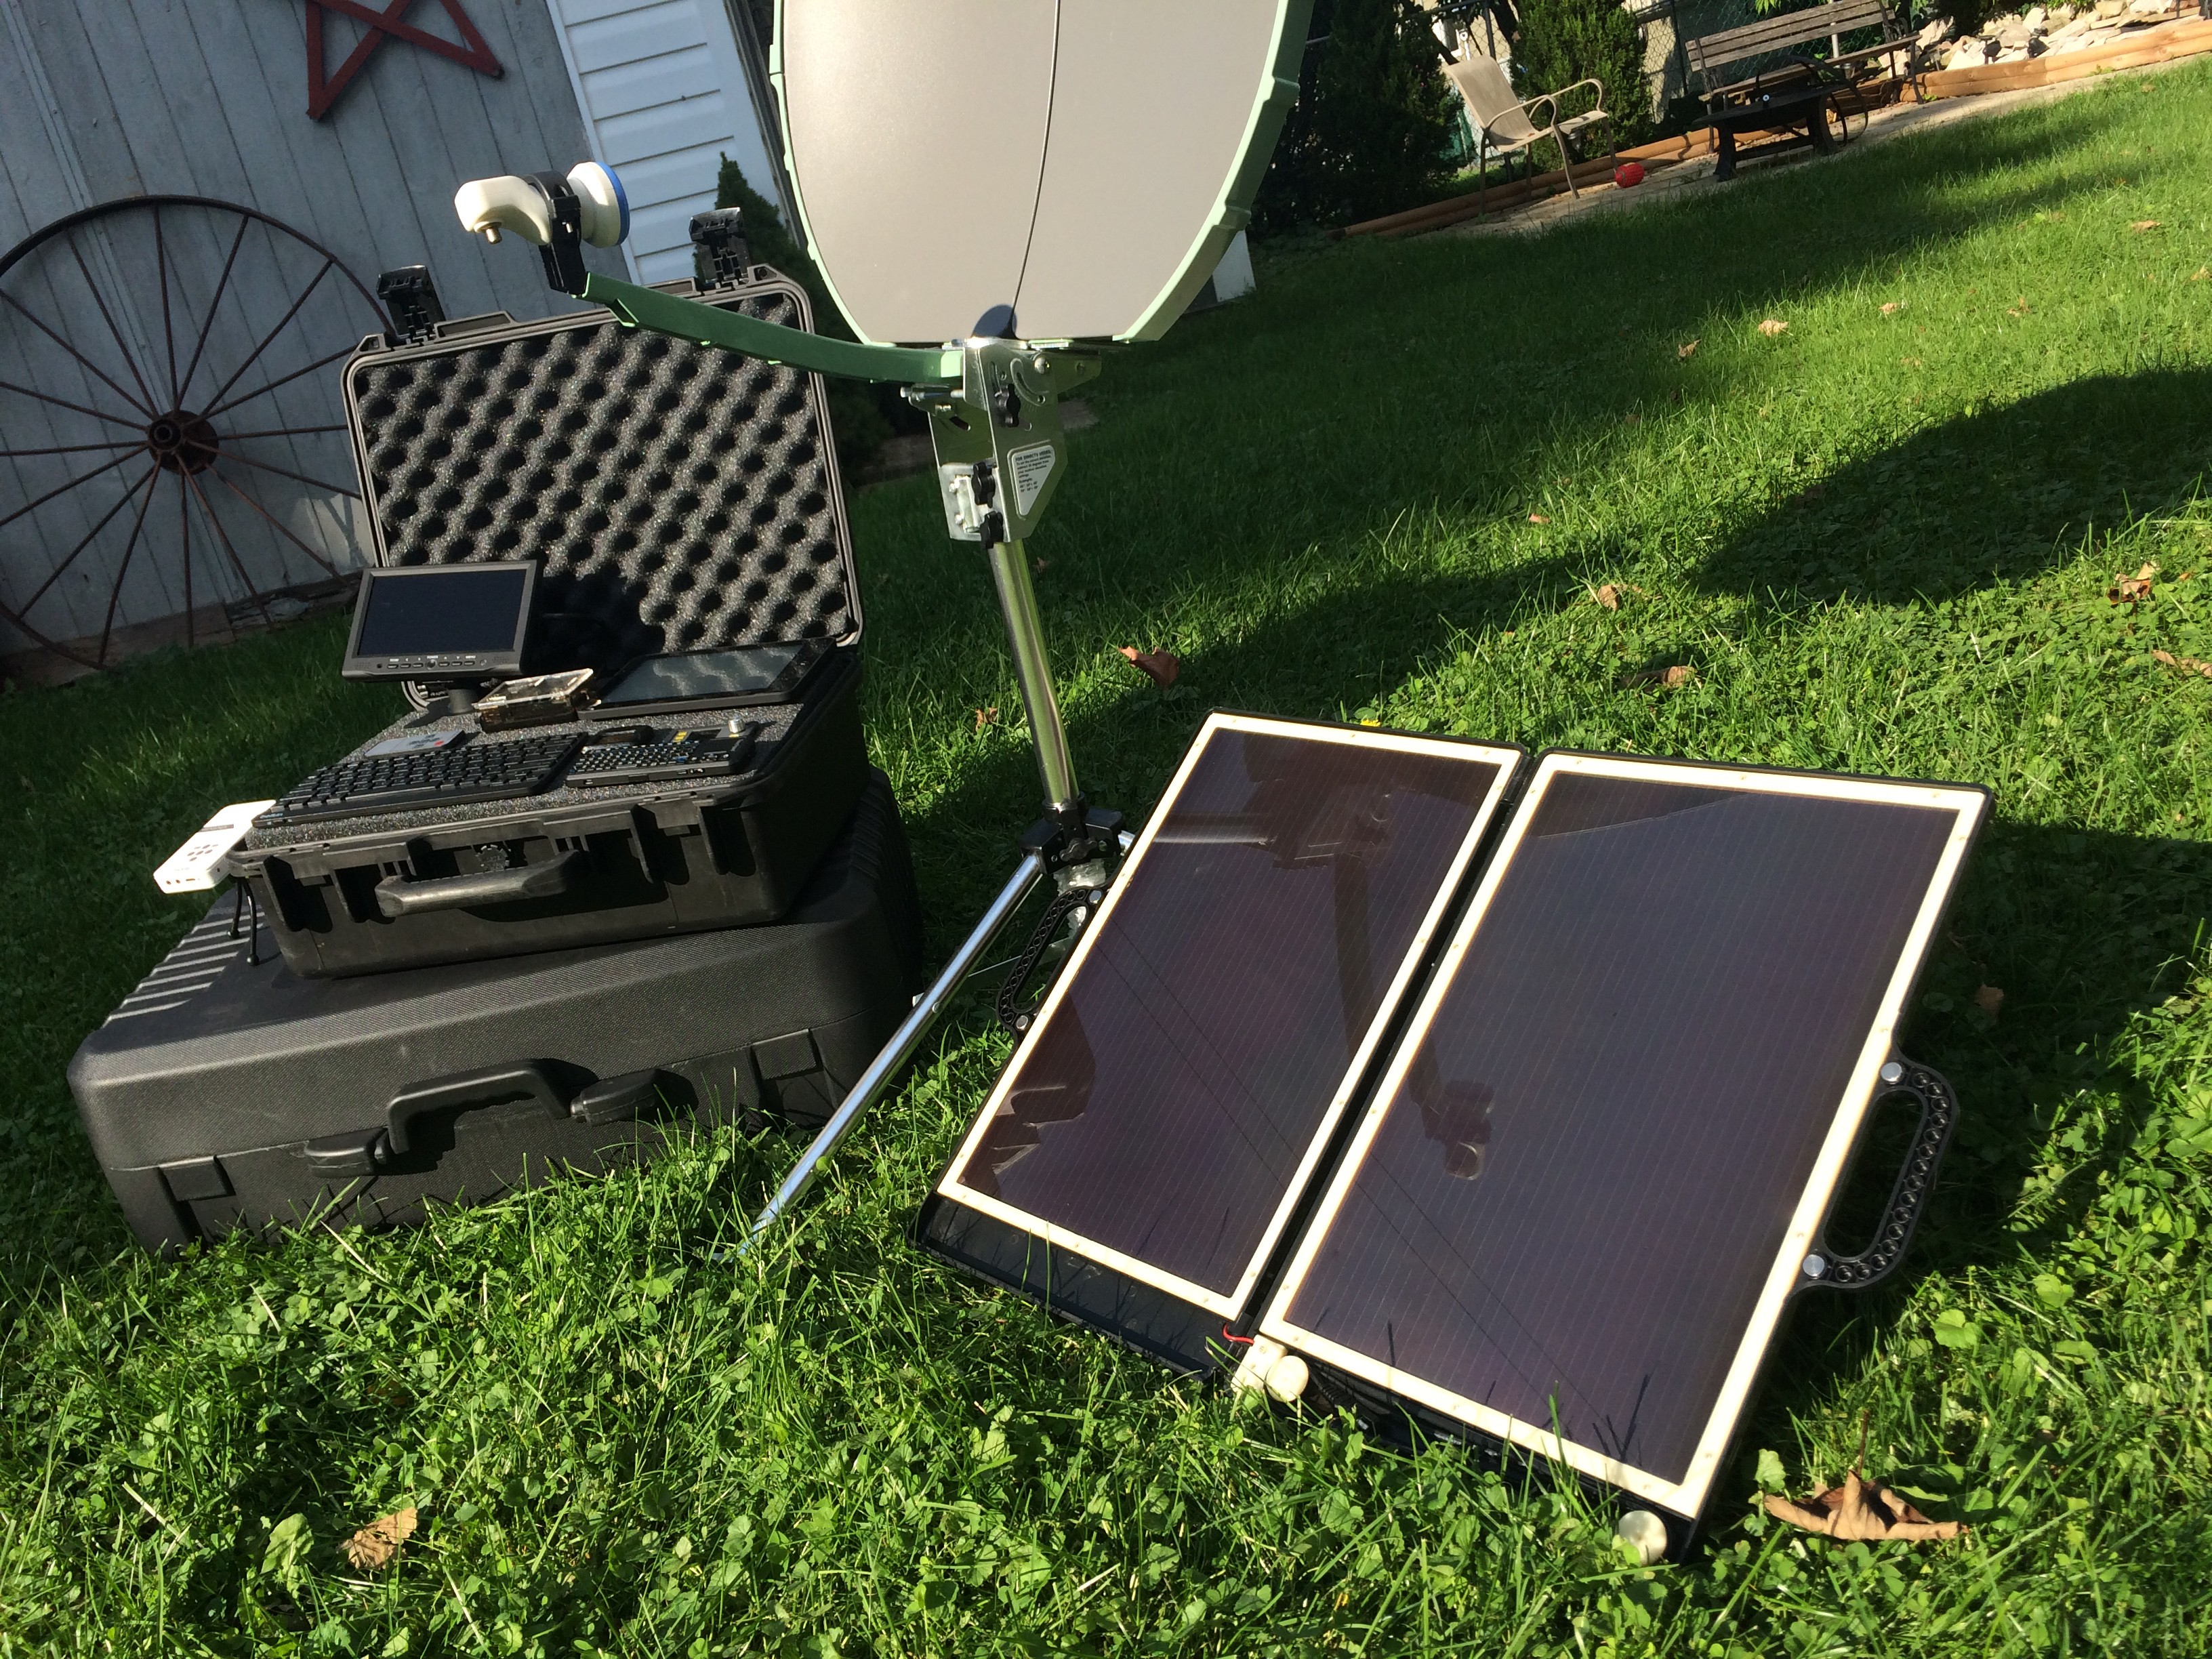
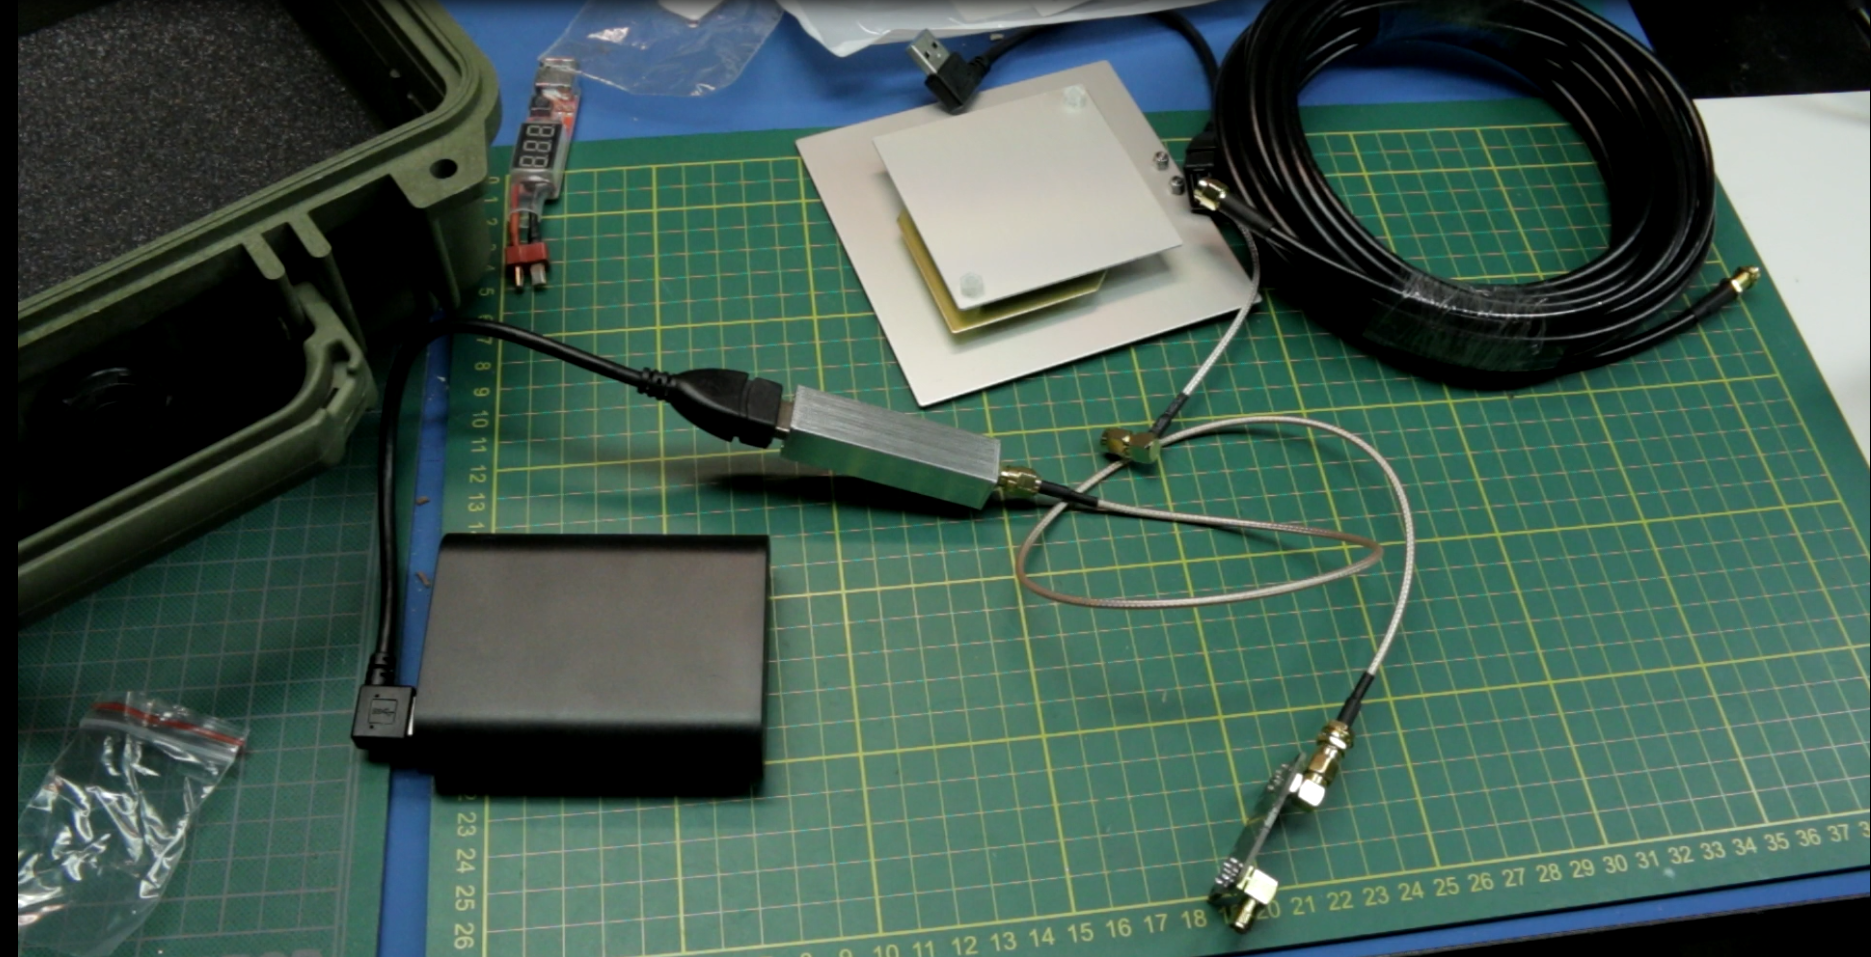
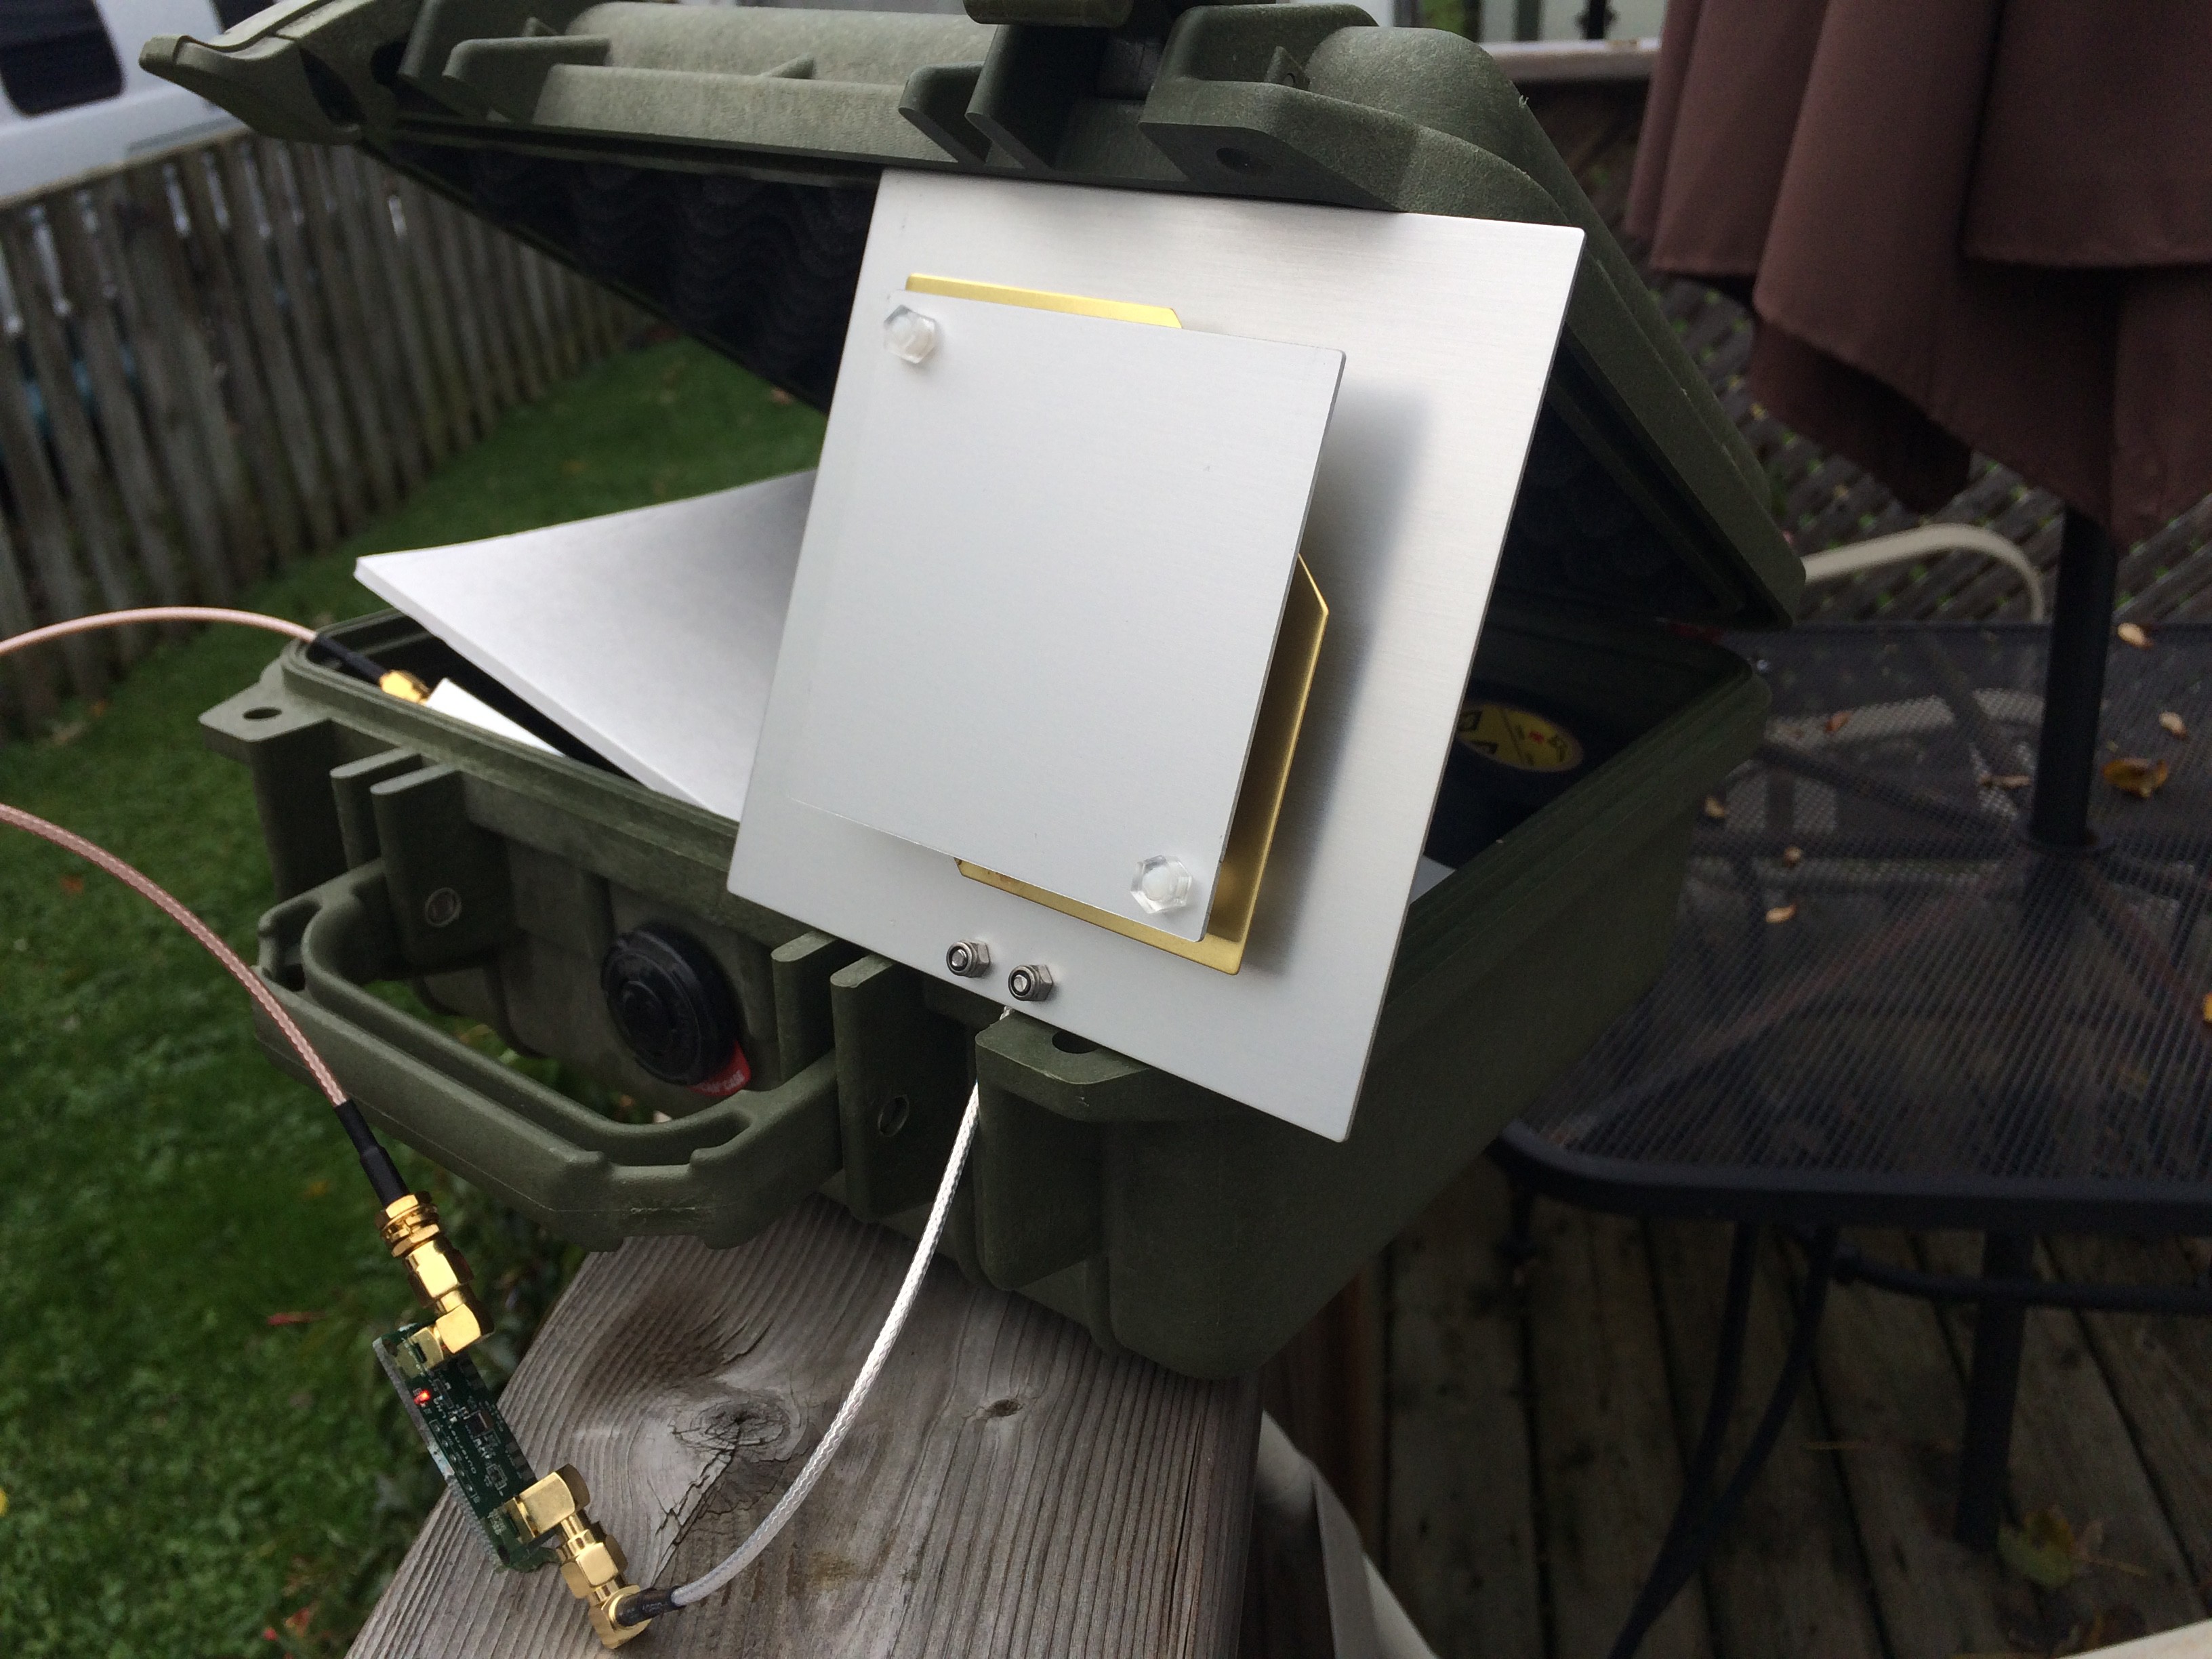
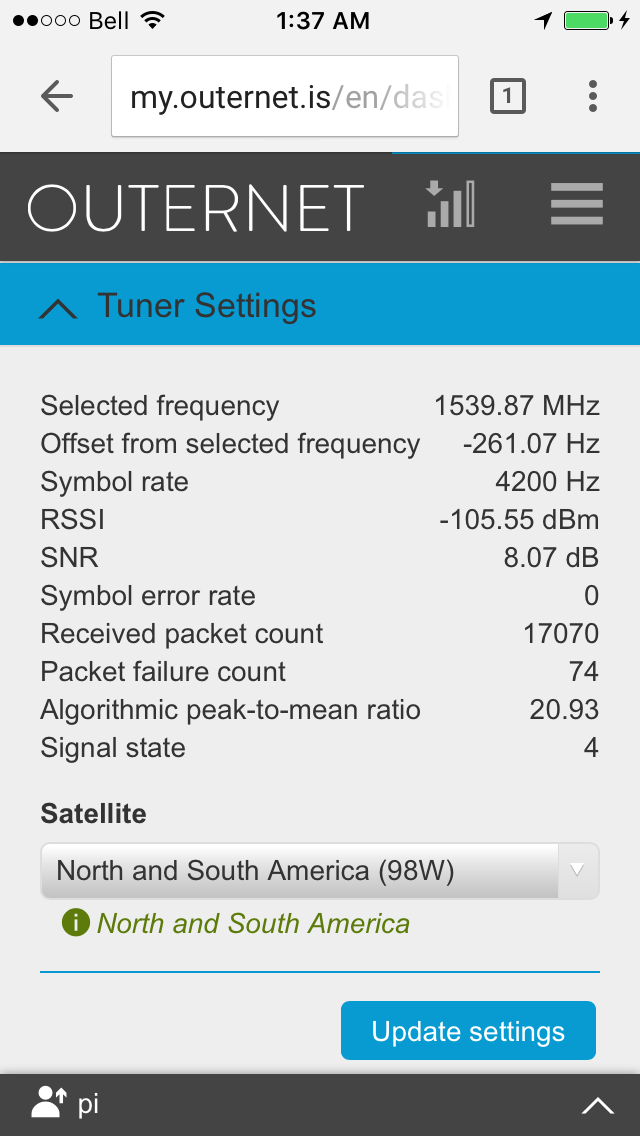
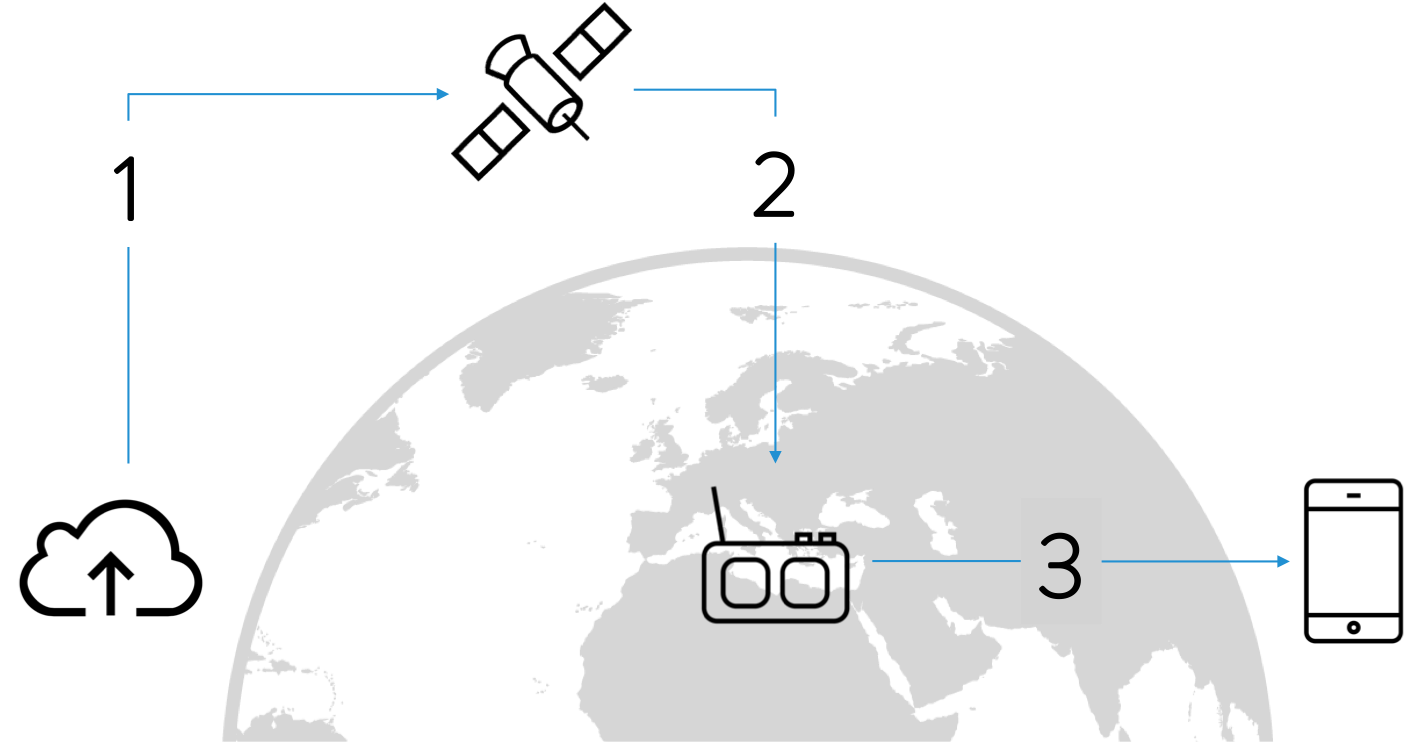
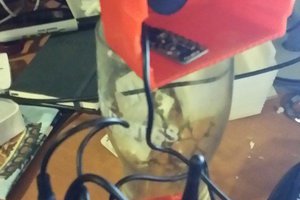
To support the project I also devised a method of receiving "Outernet" internet data transmissions using a portable satellite dish. Using a Direct TV folding satellite dish I retrofitted it to receive KU Band using a universal LNB.
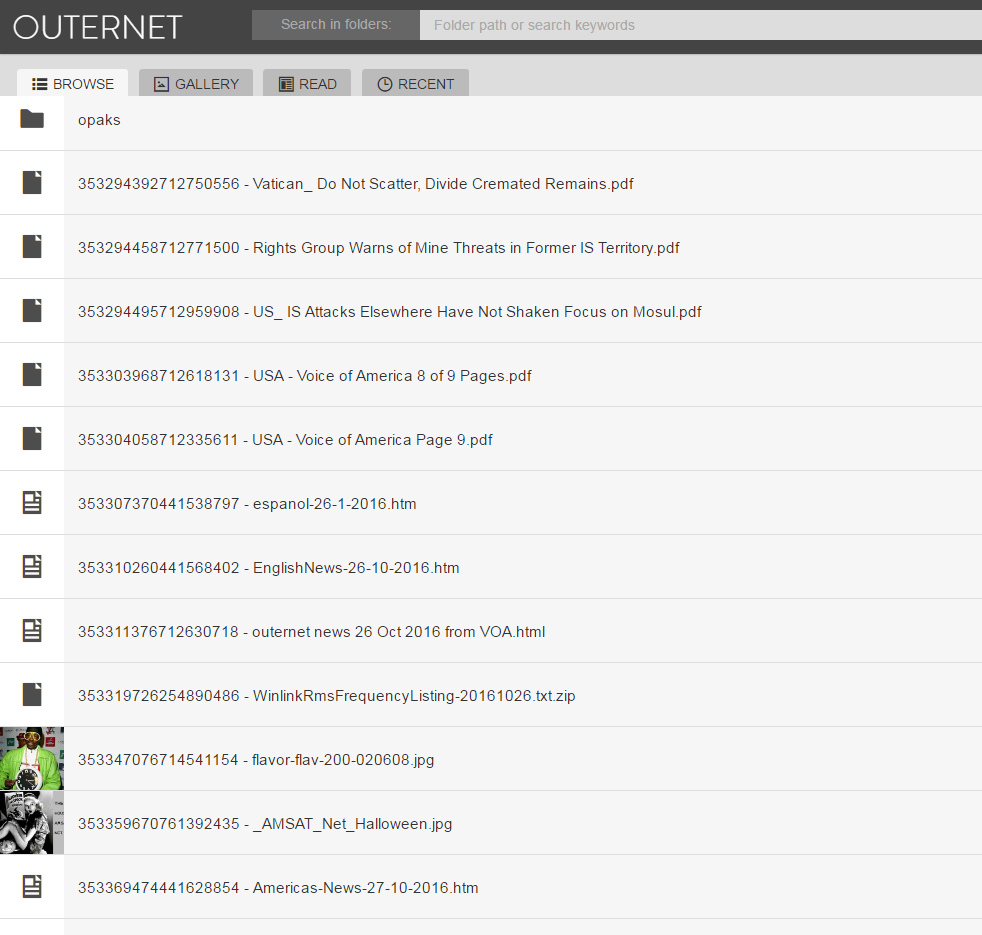
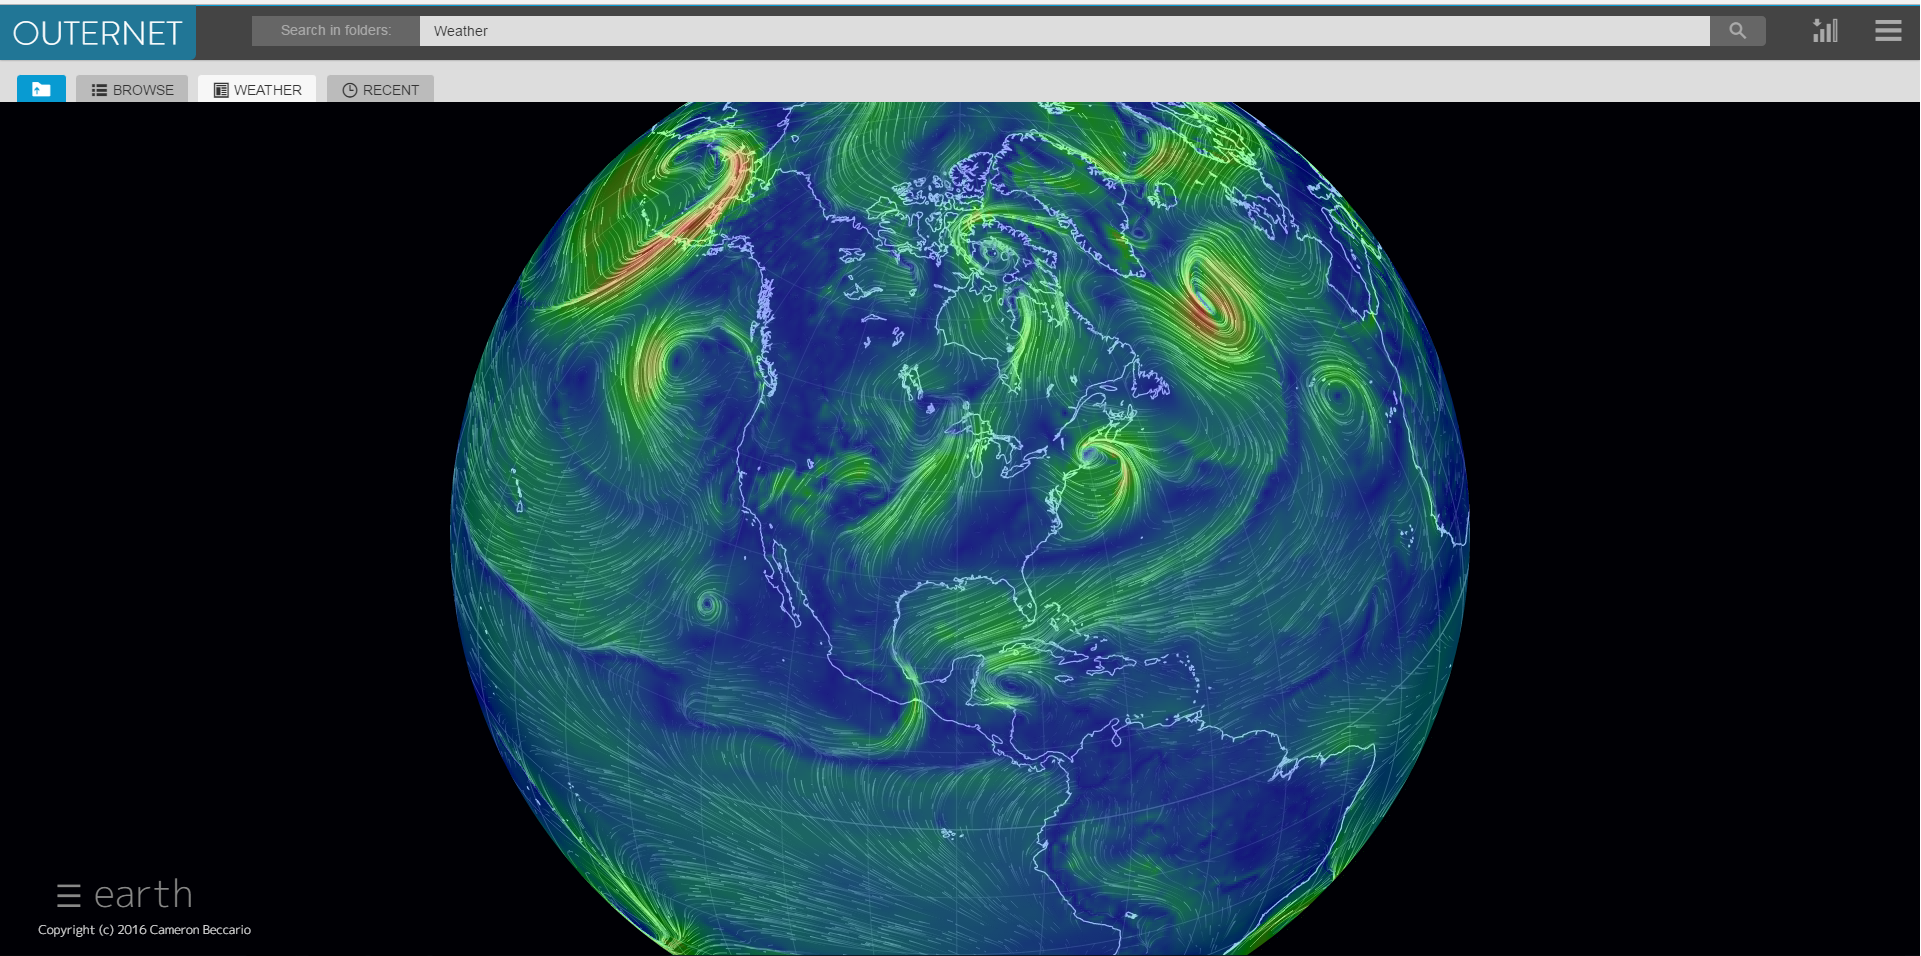
I was able to get the system fully operational and able to receive the data transmissions & content directly from the satellite using the "Lighthouse" receiver. This enables the project to receive news, events and content anywhere in the world (although this is not required for the project overall)
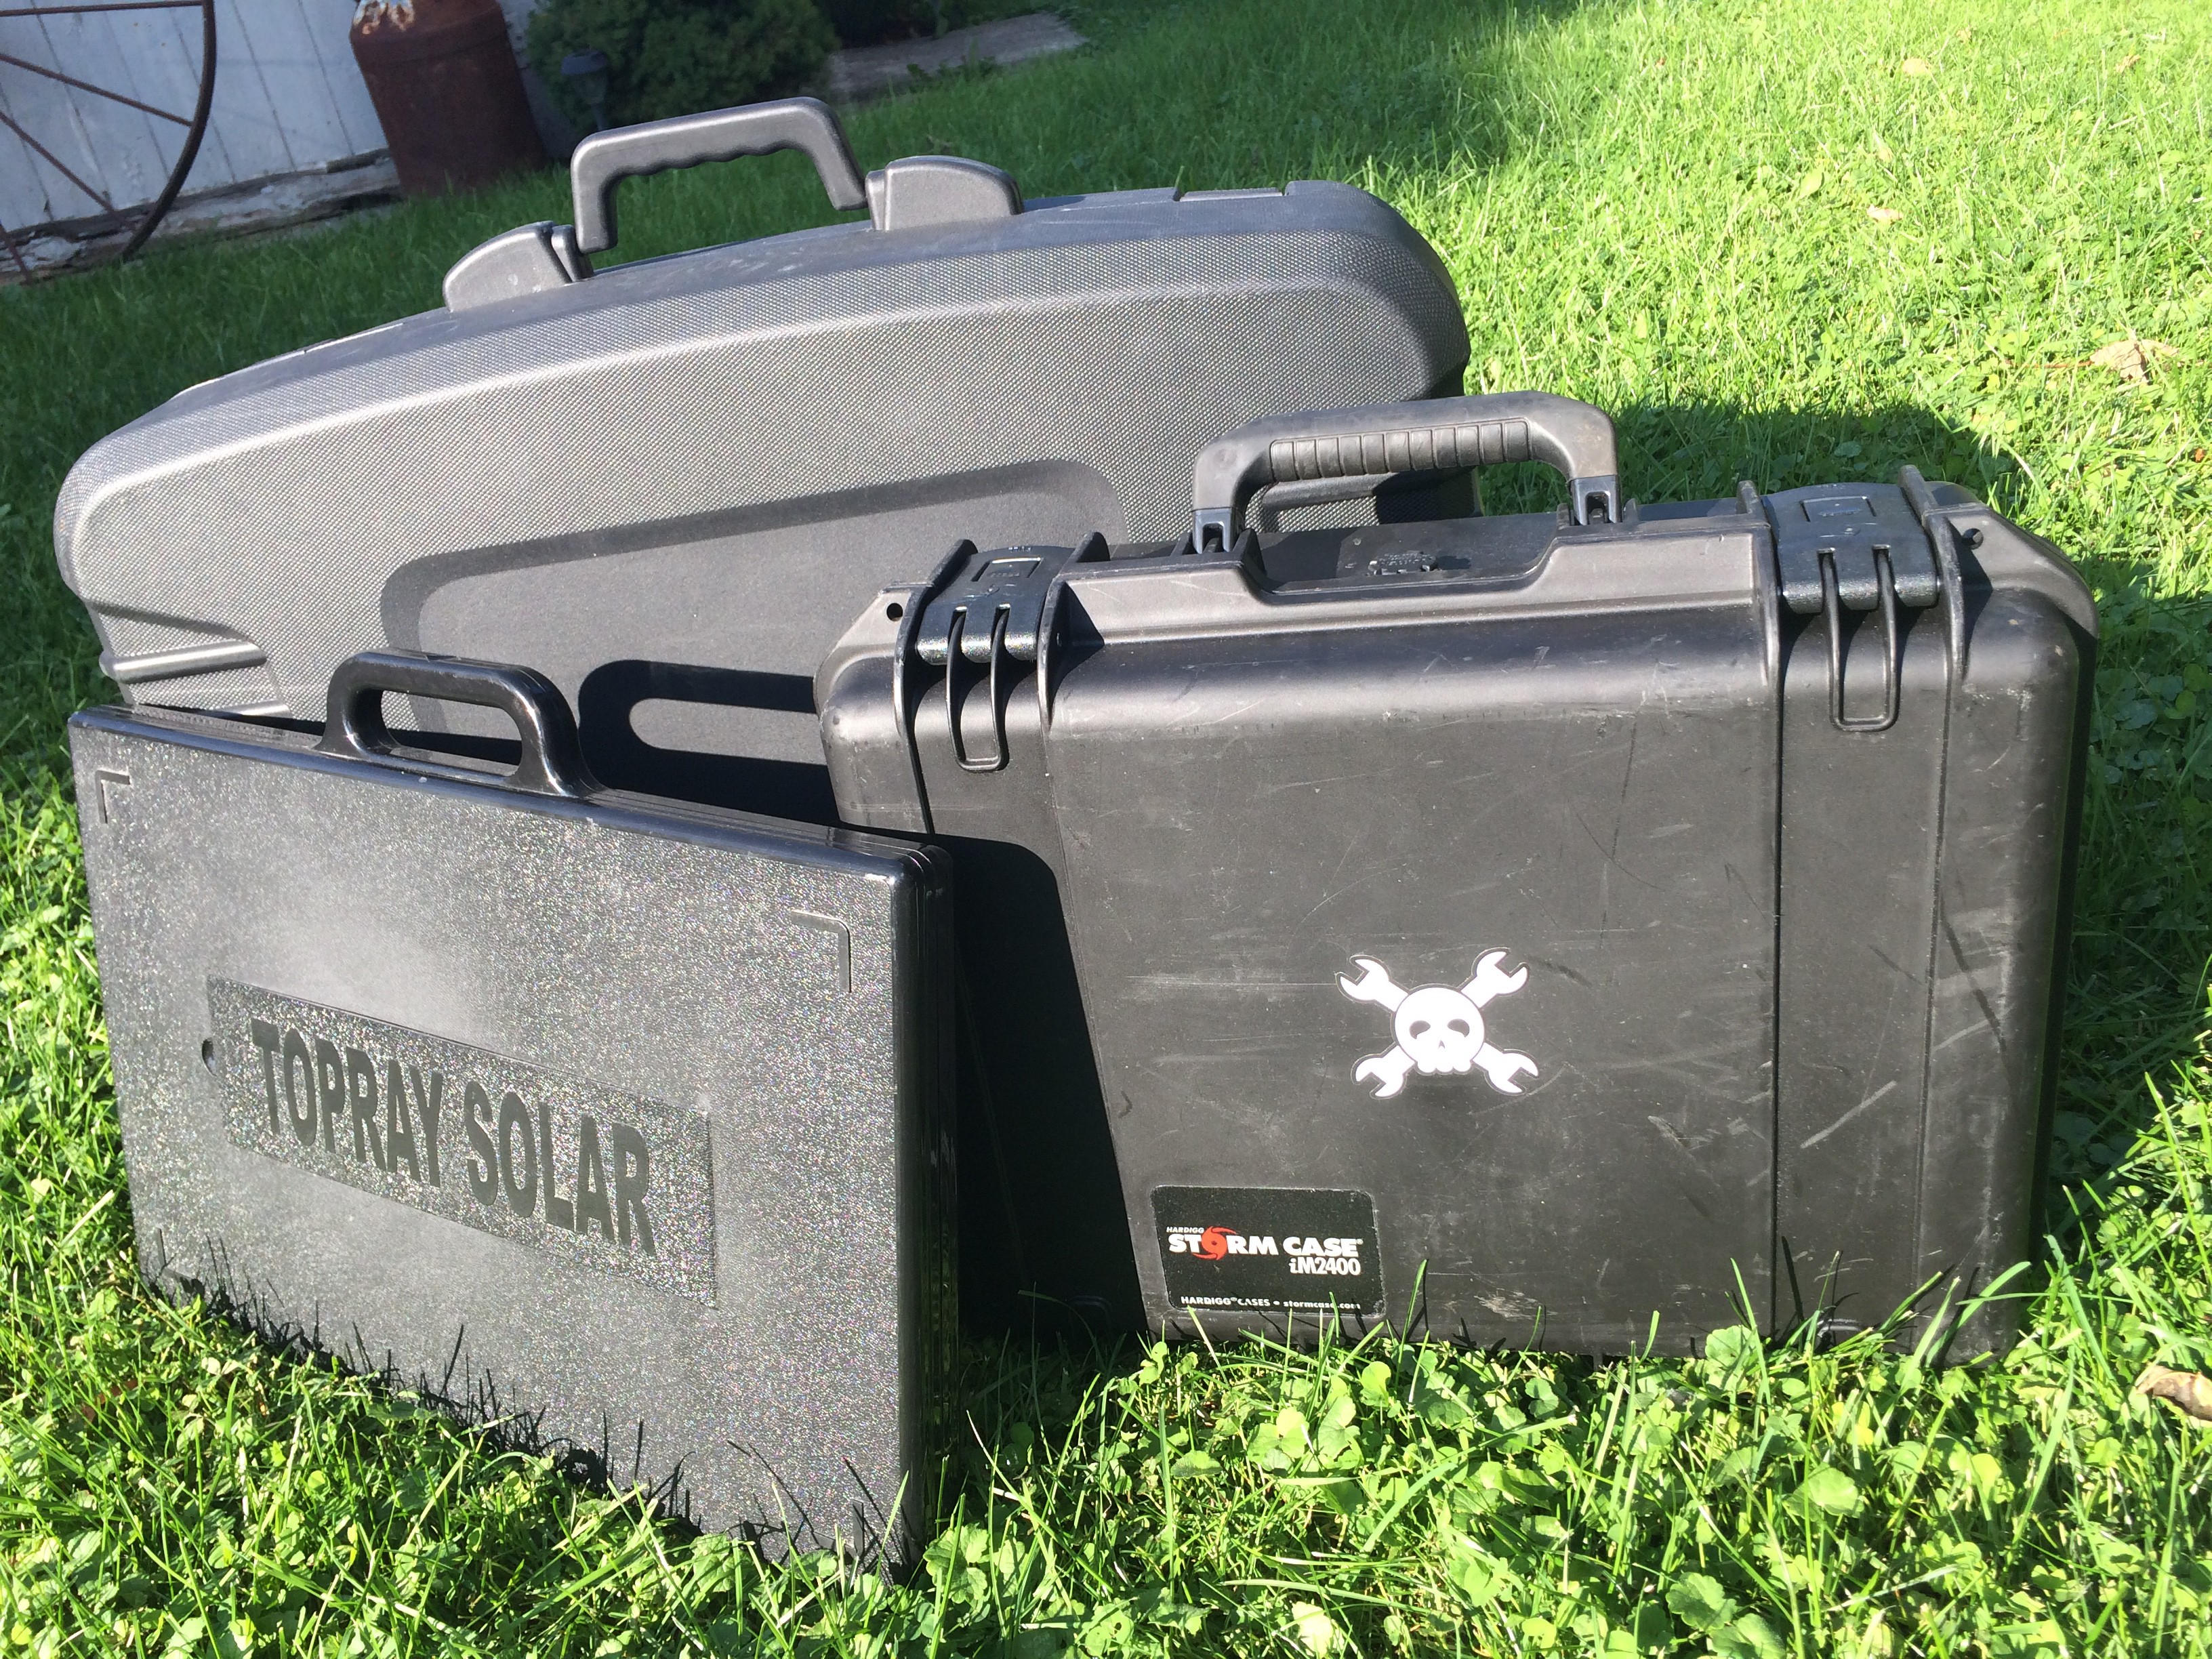
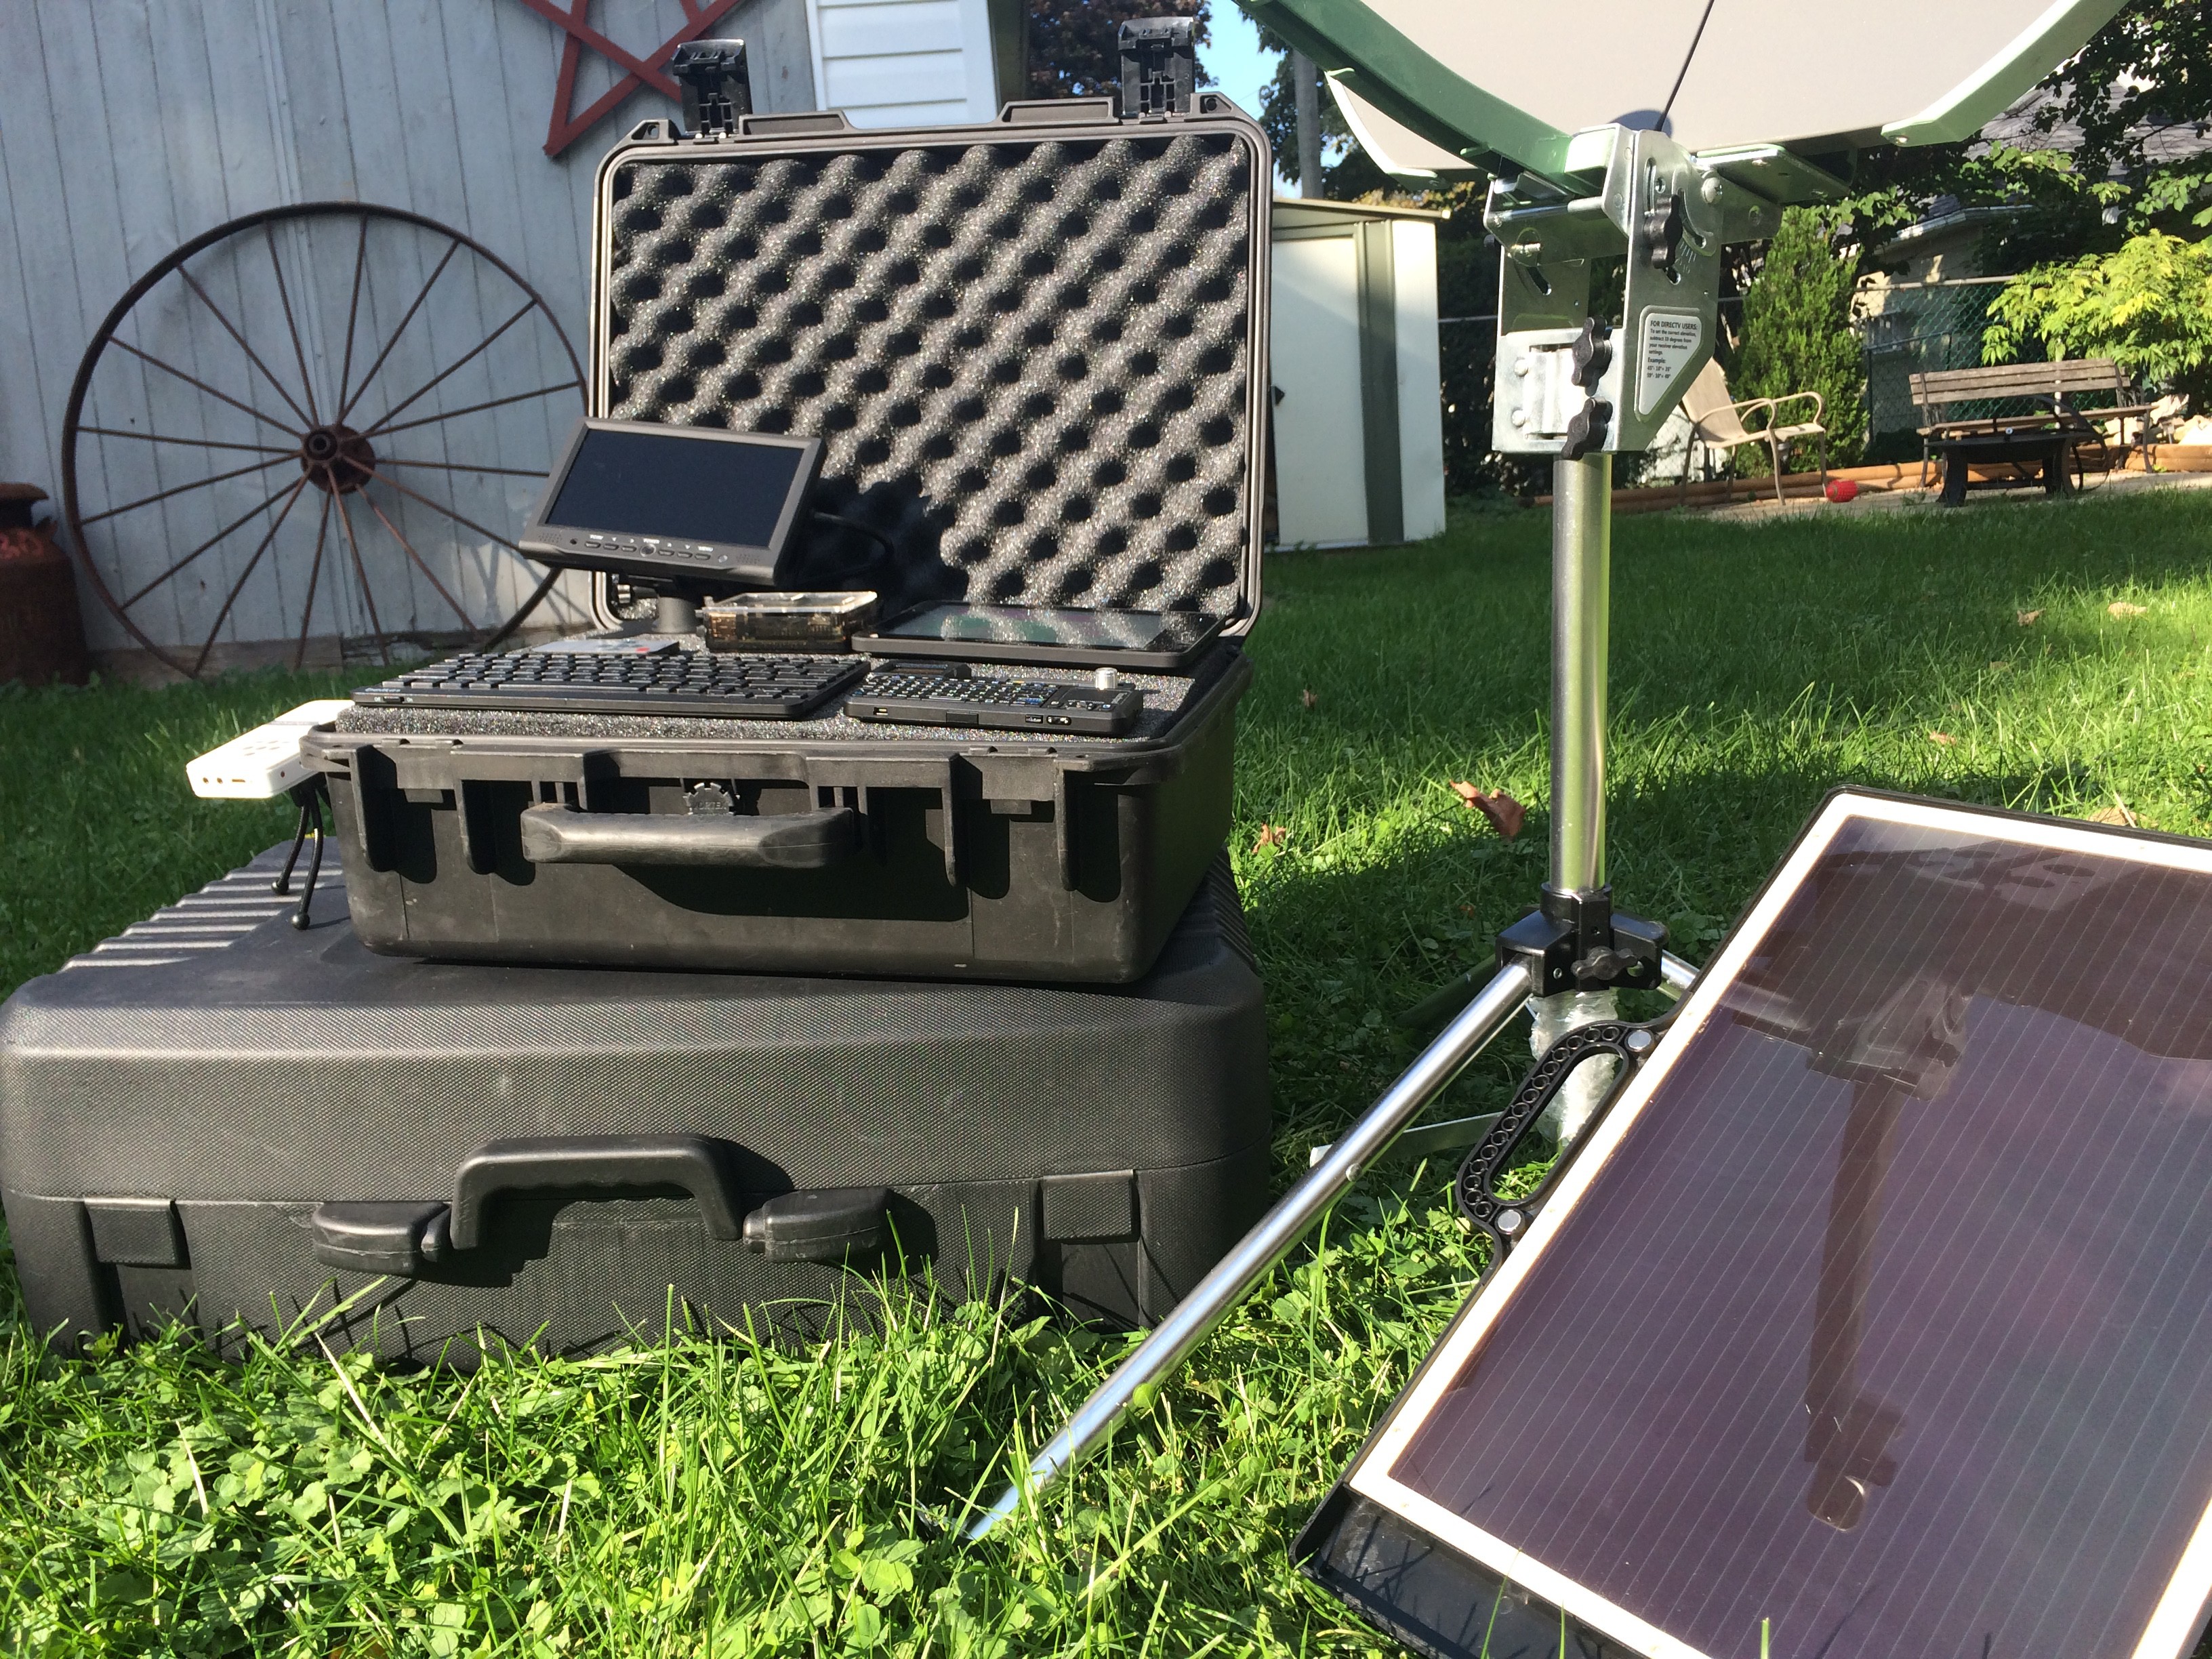
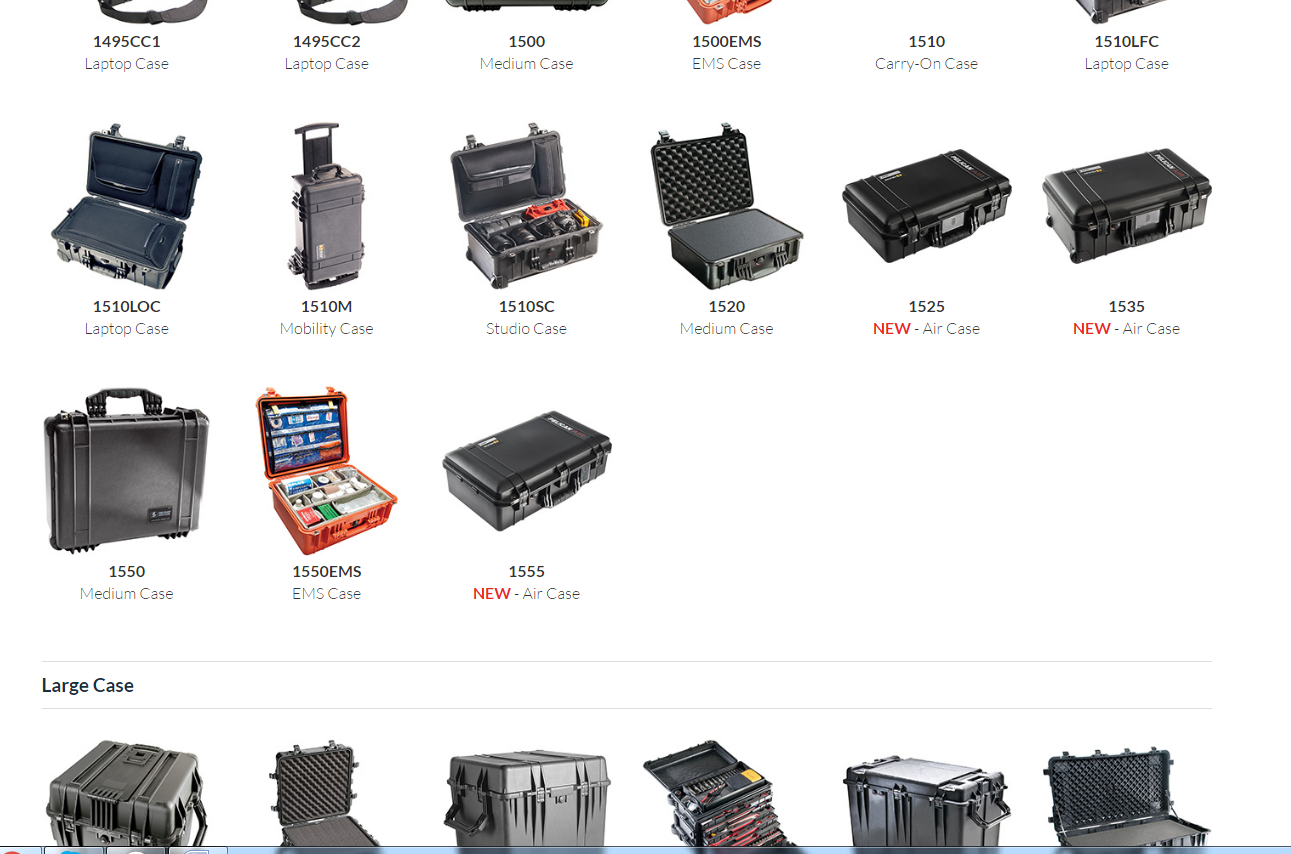
The result is a simple, modular, portable and fully self reliant system capable of deploying anywhere in the world (most as carry-on luggage)
Once onsite- the system deploys in a matter of minutes to become a fully functional education, communication, and information supply station.
I could not be happier with the results. My hope is that we can supply the EduCase to areas in need globally such as refugee camps, areas of conflict and remote areas world wide.
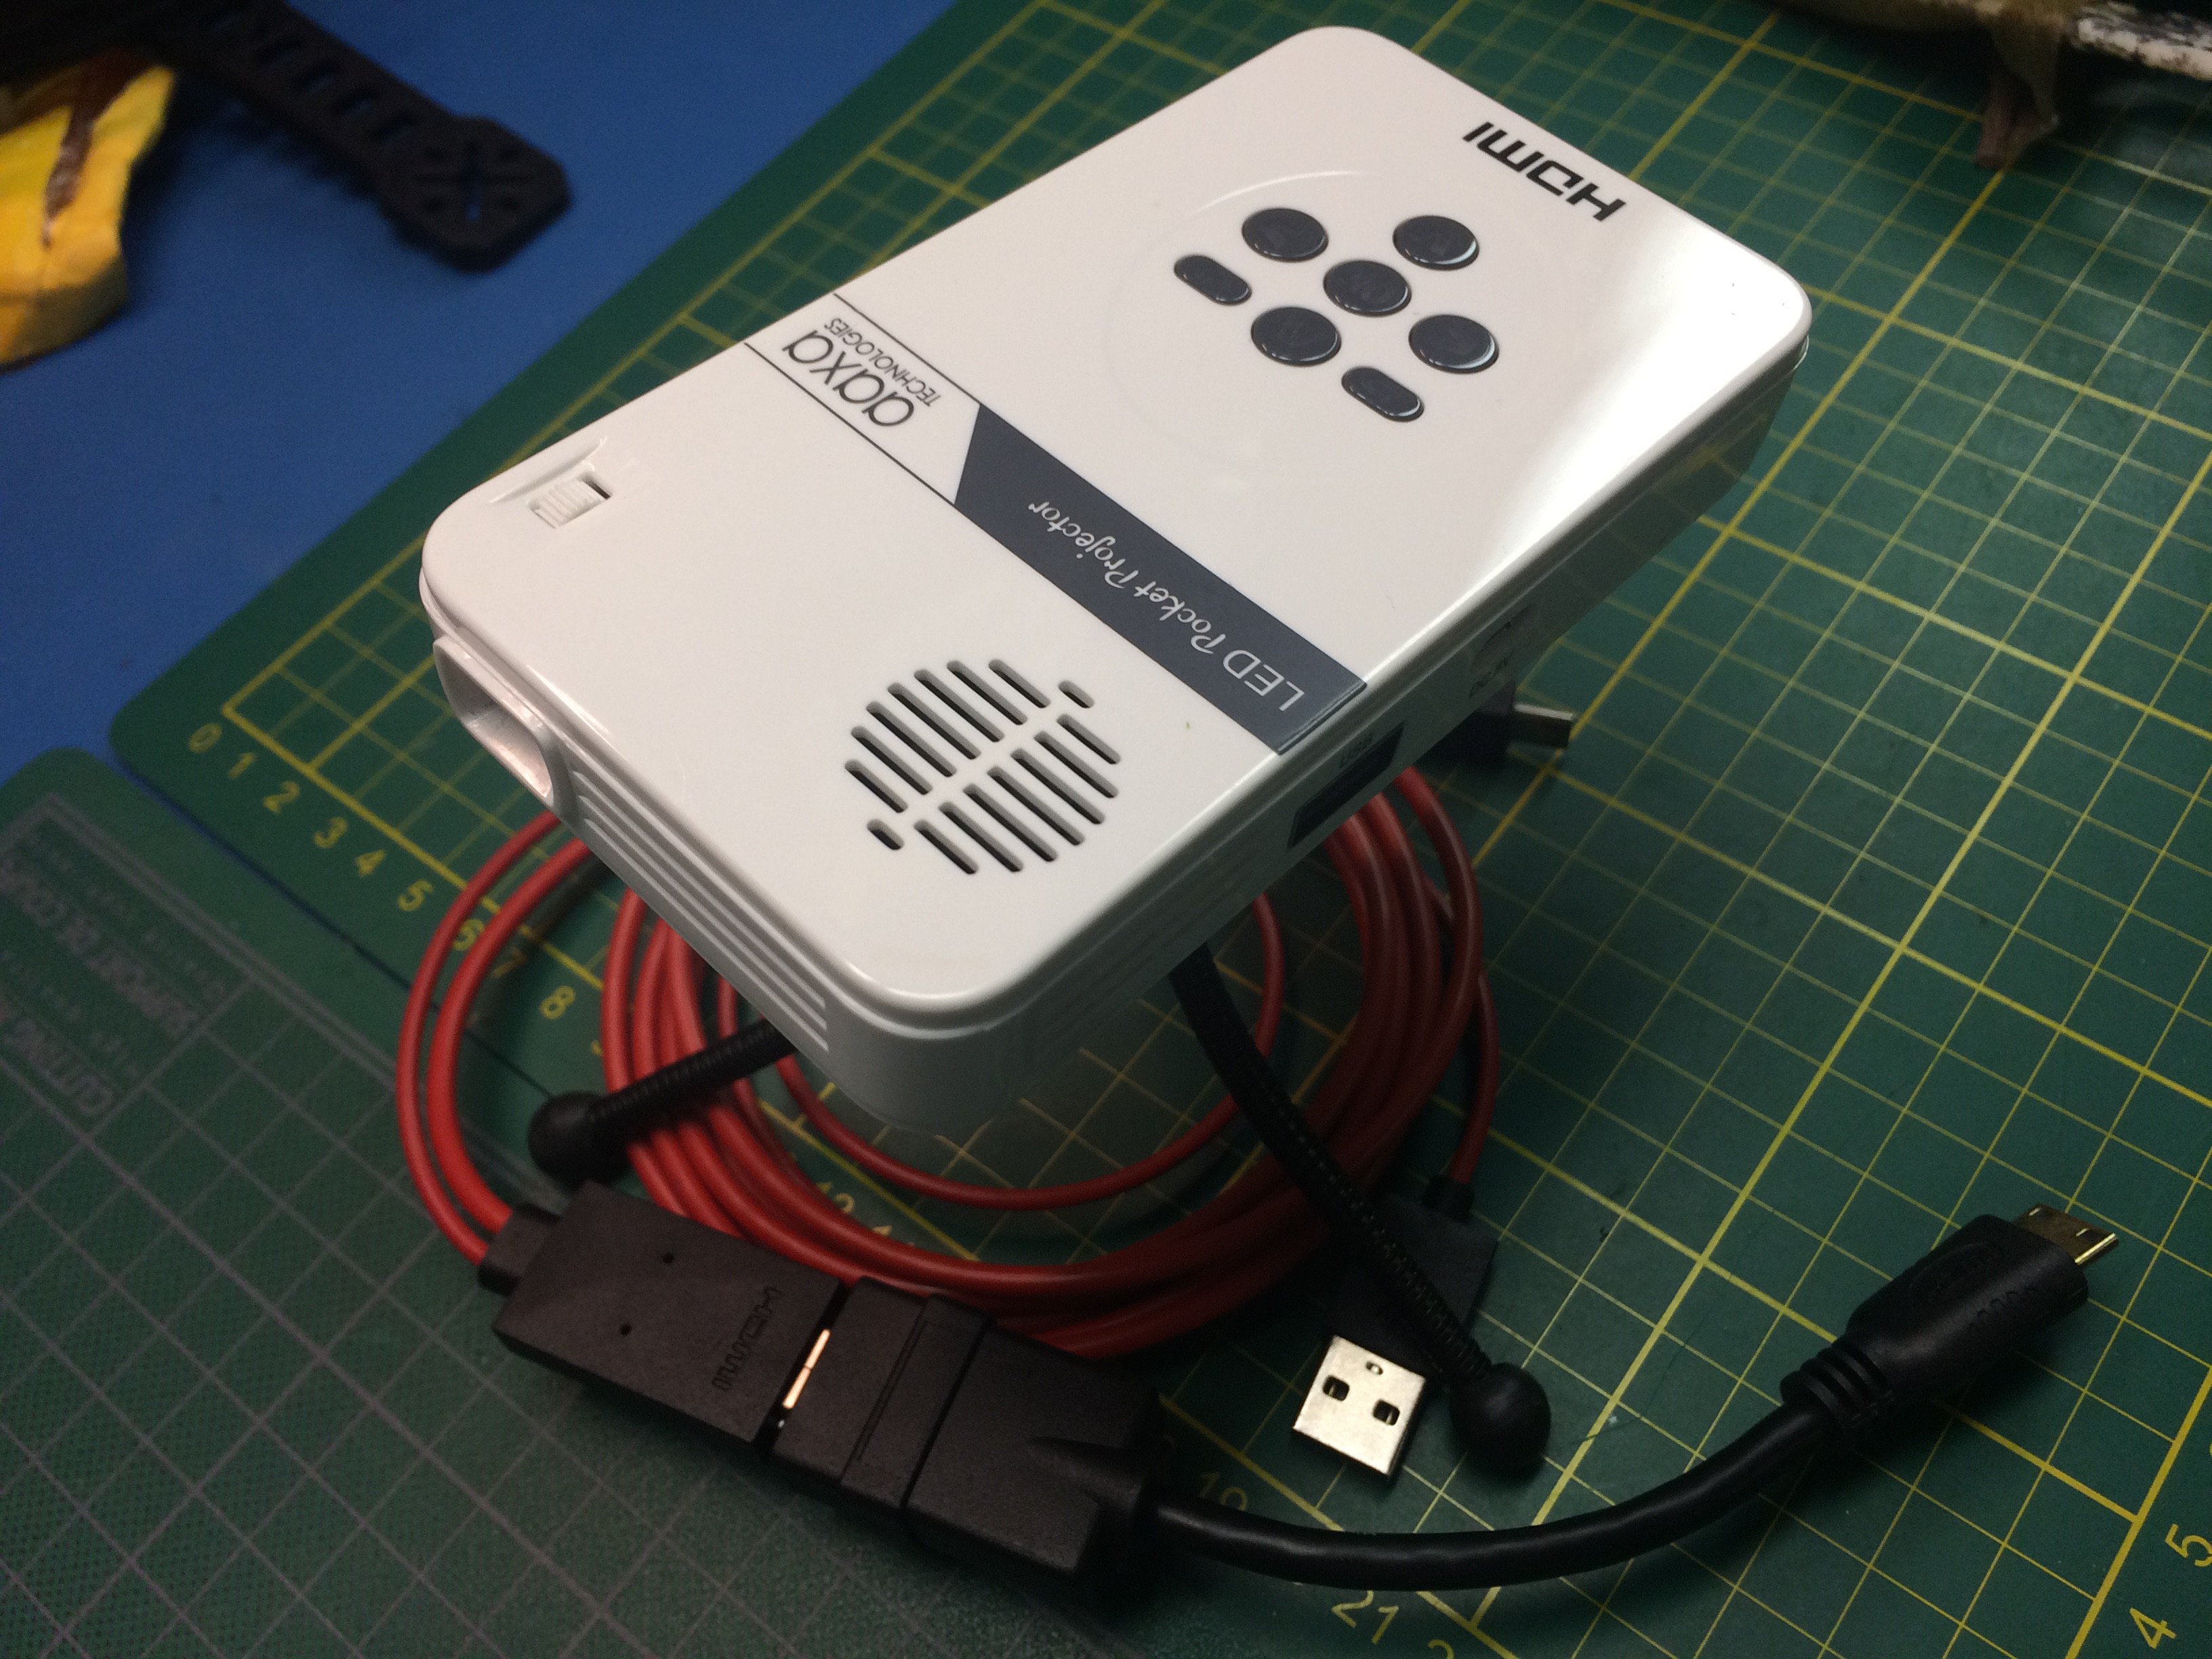
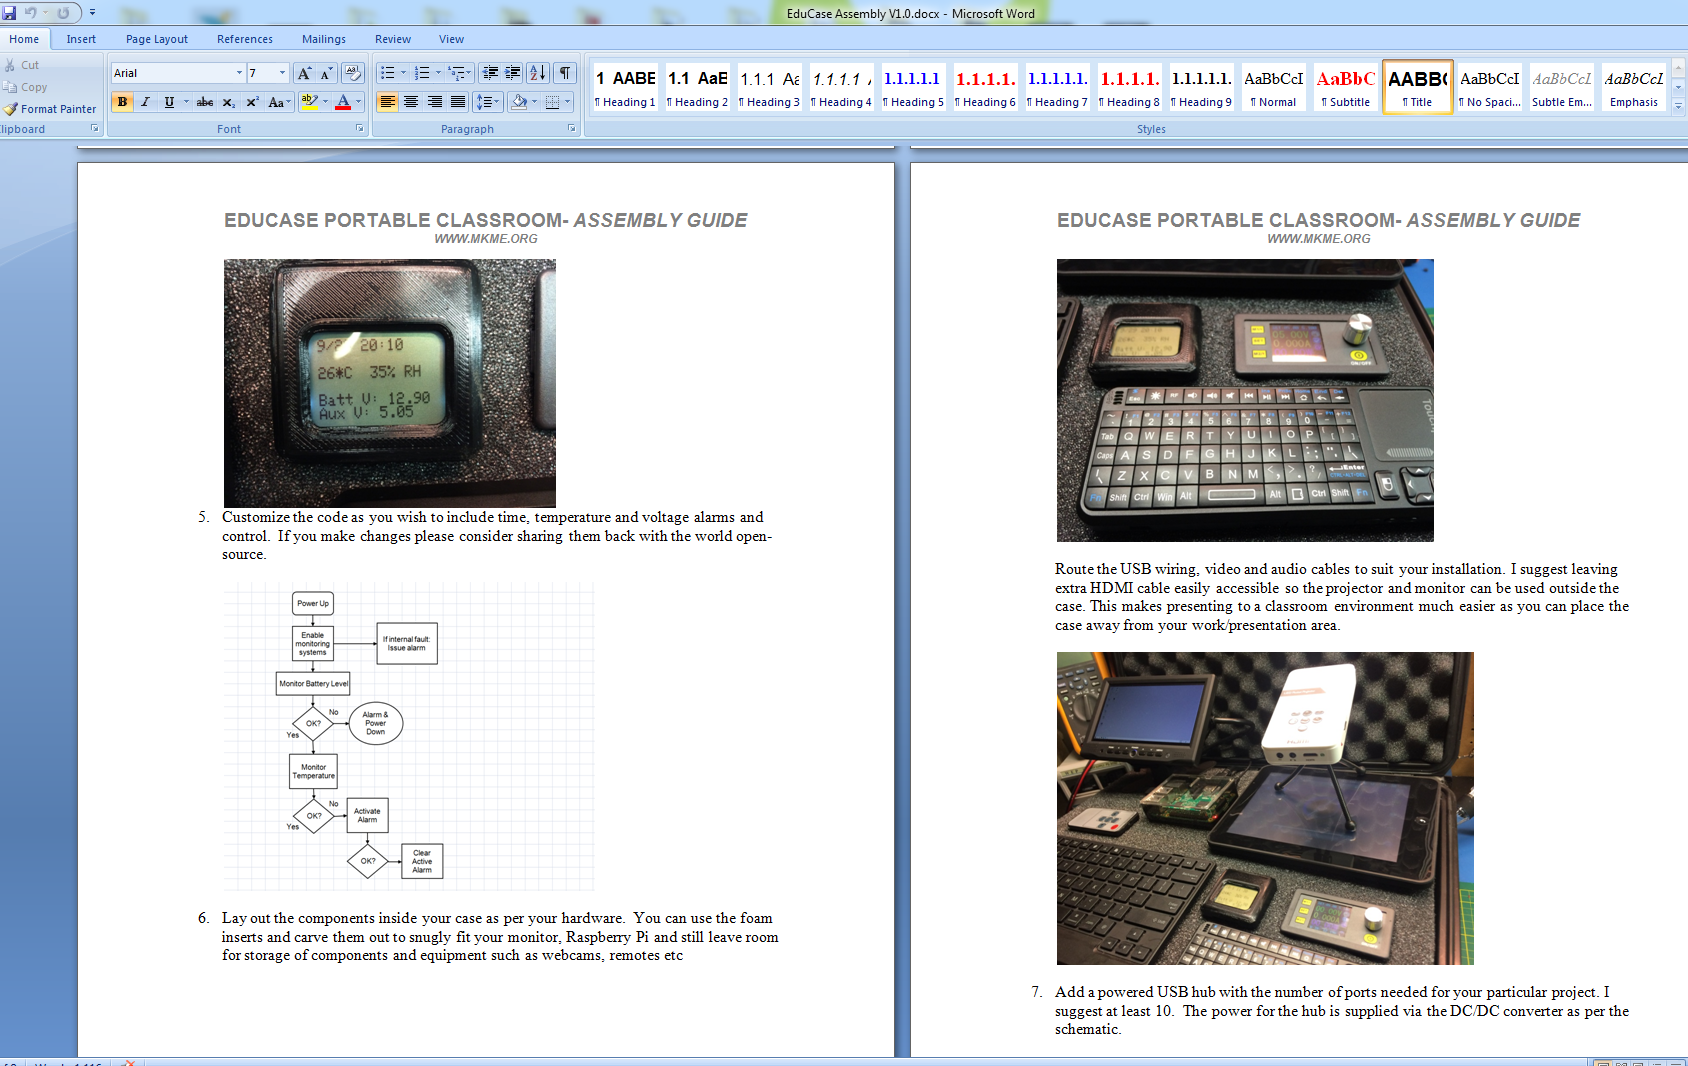
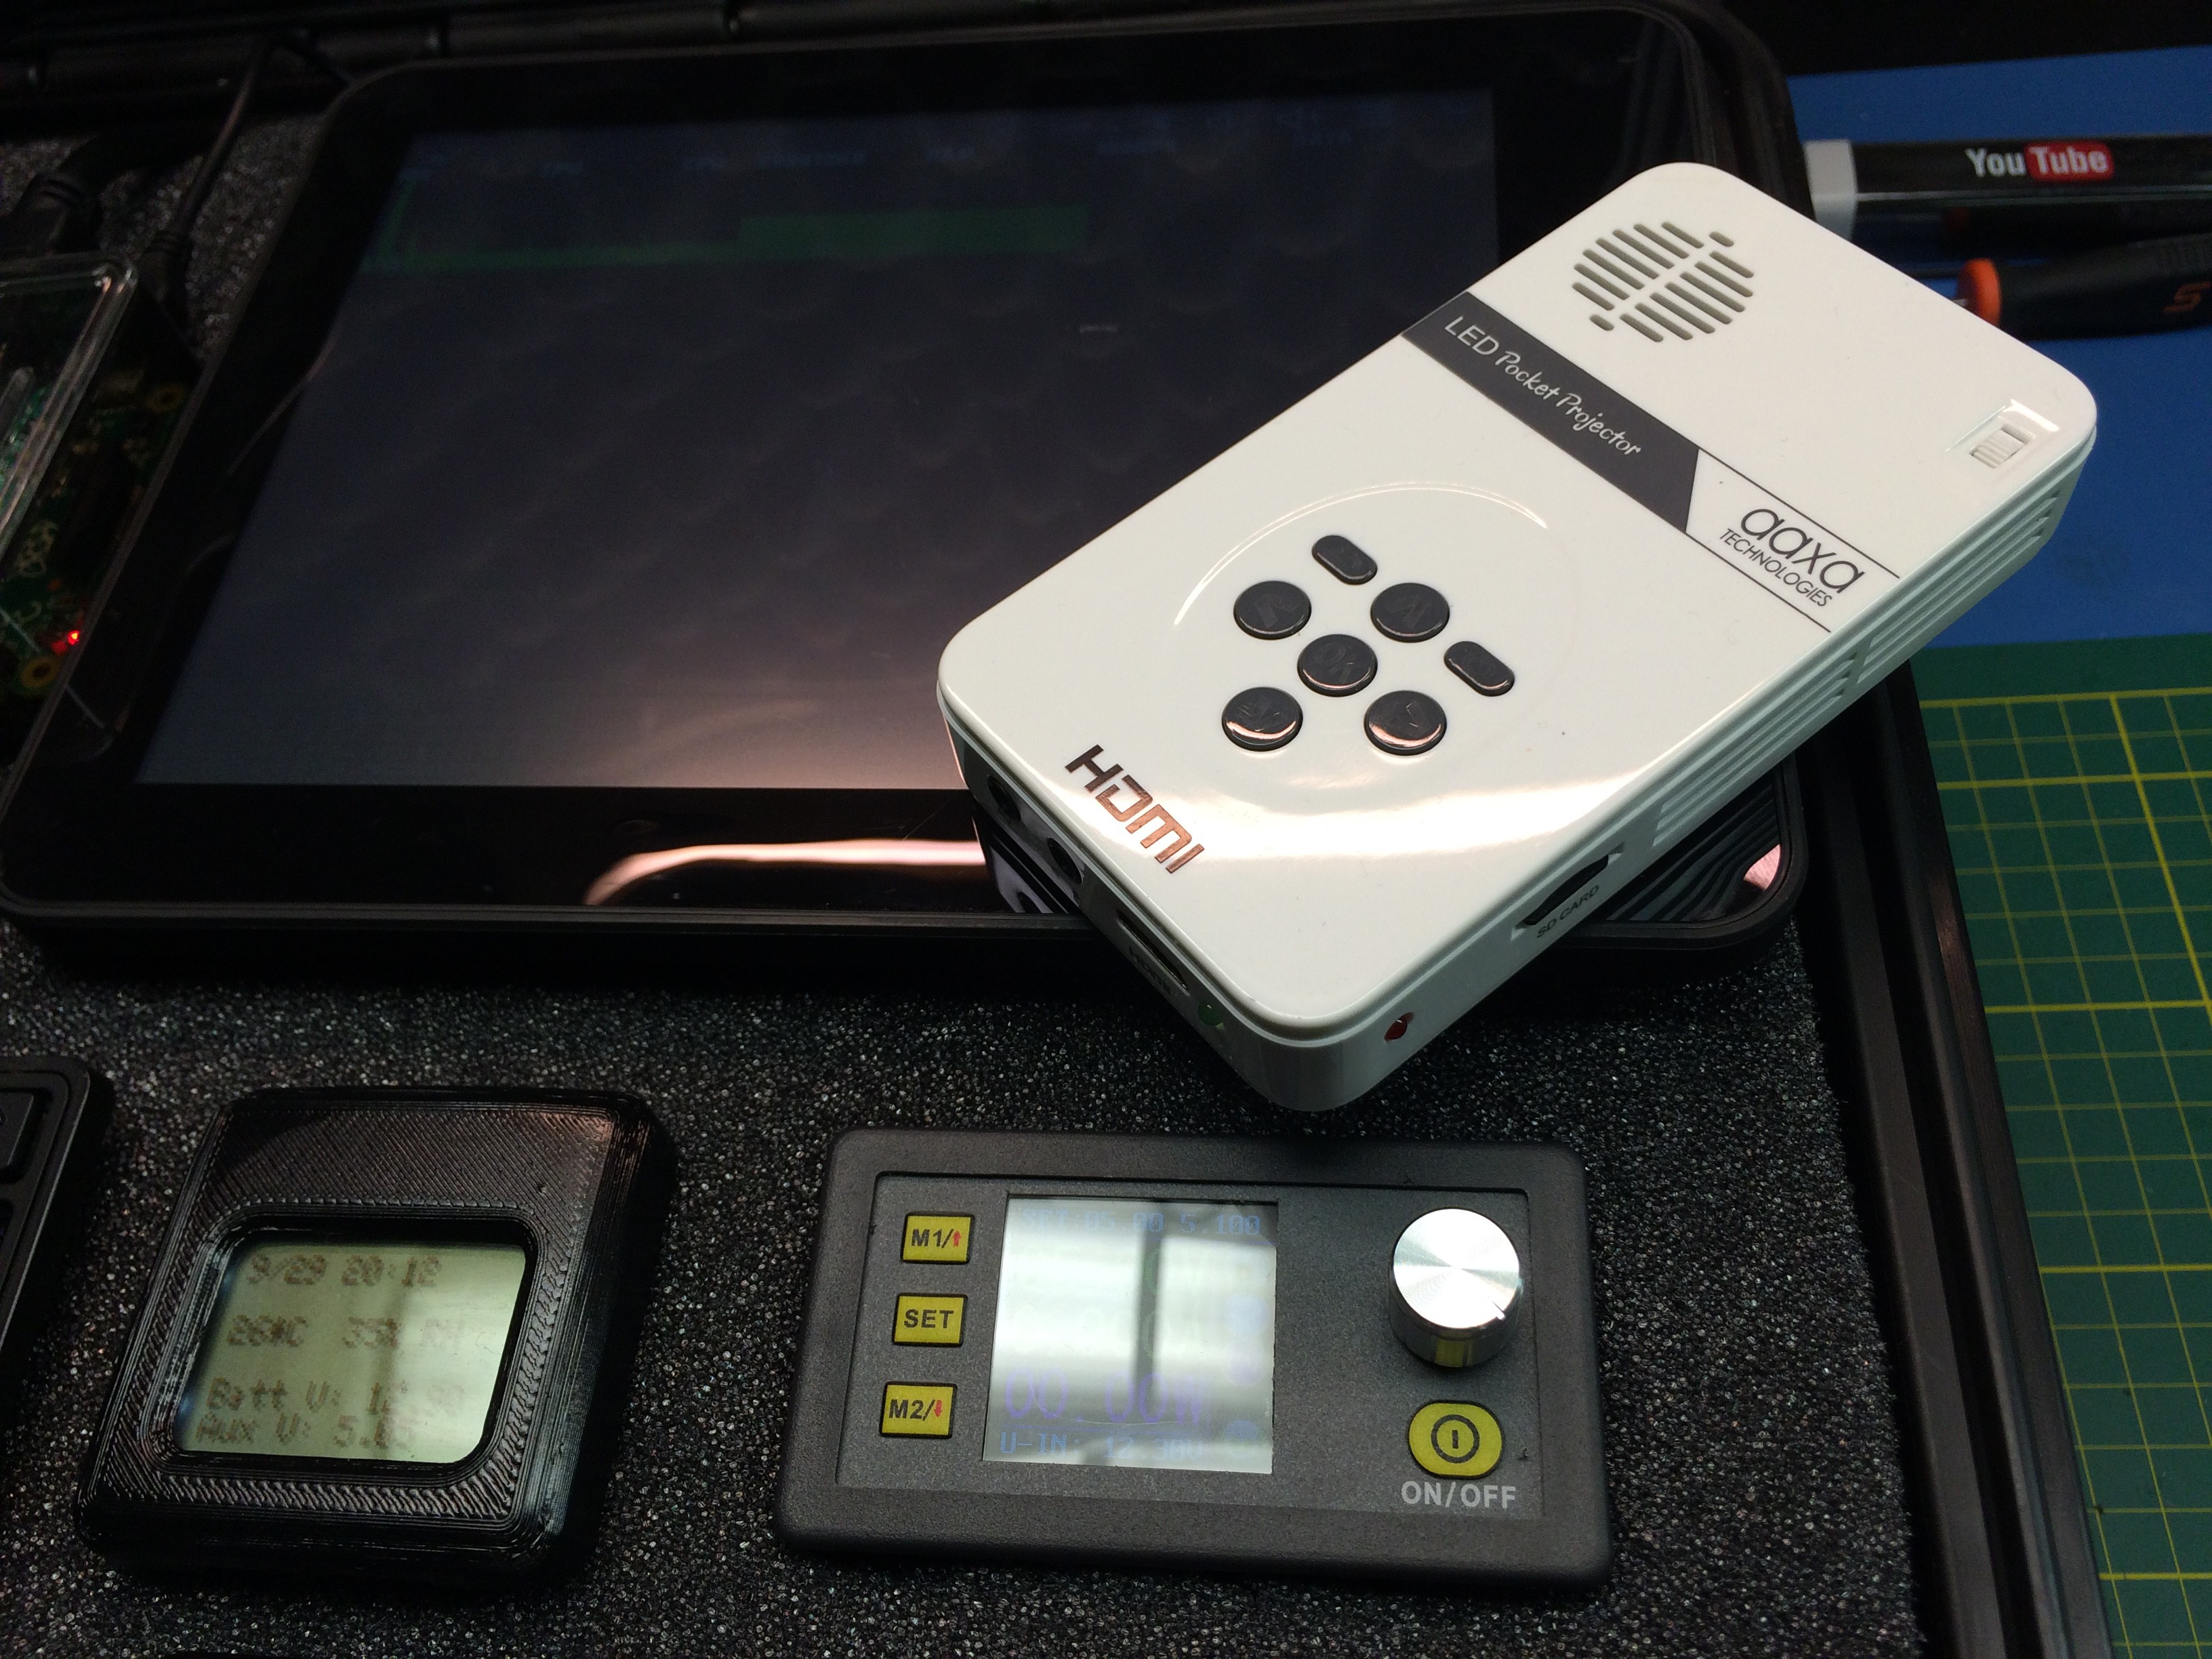
The tiny LED "Pico" Projector does a fantastic job of making any light colored wall/surface into a huge TV screen/monitor for the class to view. The projector interfaces directly with the Raspberry Pi, Android MK809 TV Stick or either mobile phone.
I also did a live stream while installing some of the supporting software, texts and tutorials. You can view it HERE (Warning LONG live format/streamed video):
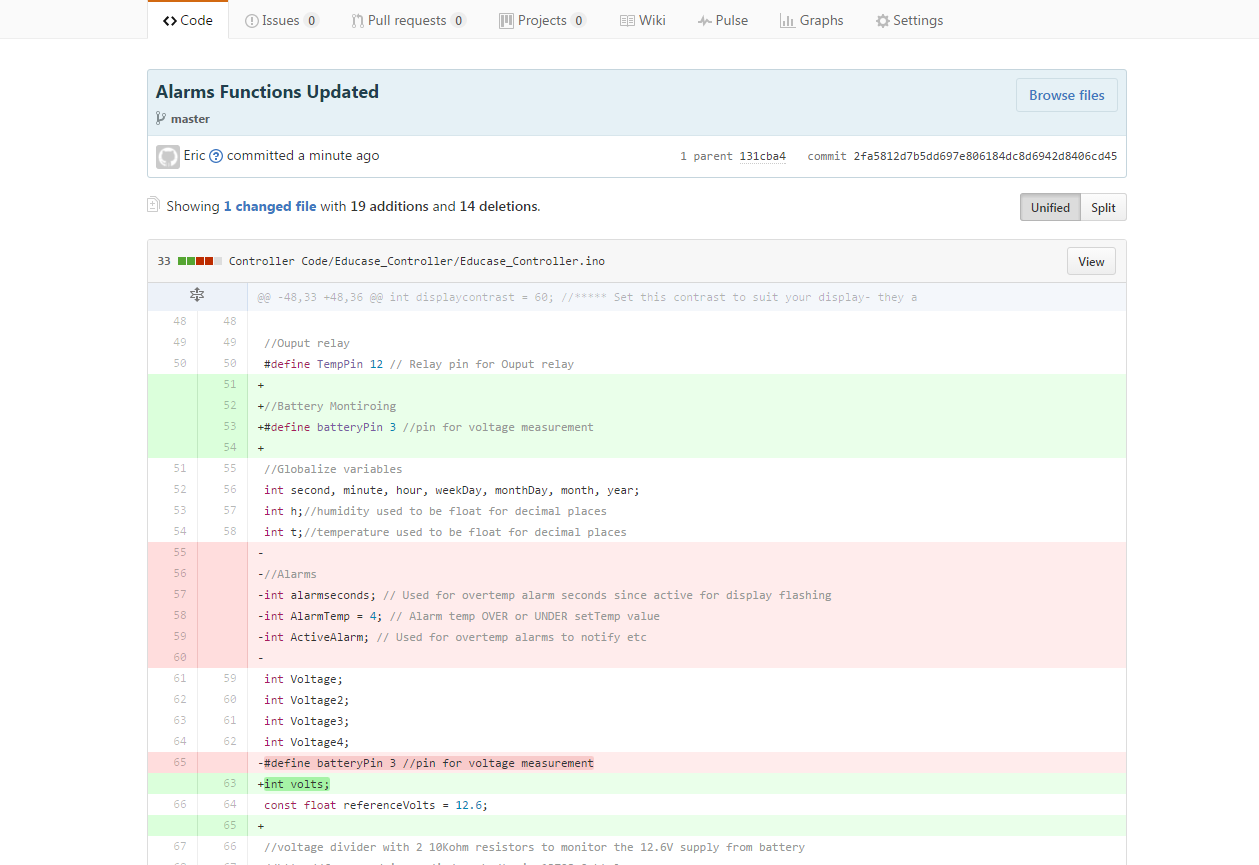
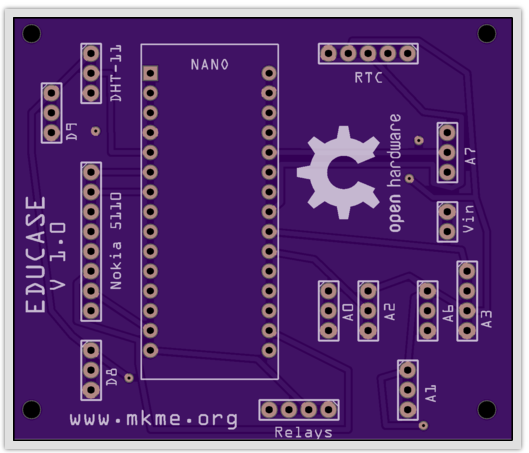
Overall the project is relatively cheap to produce and can be duplicated by anyone as it is fully open source.
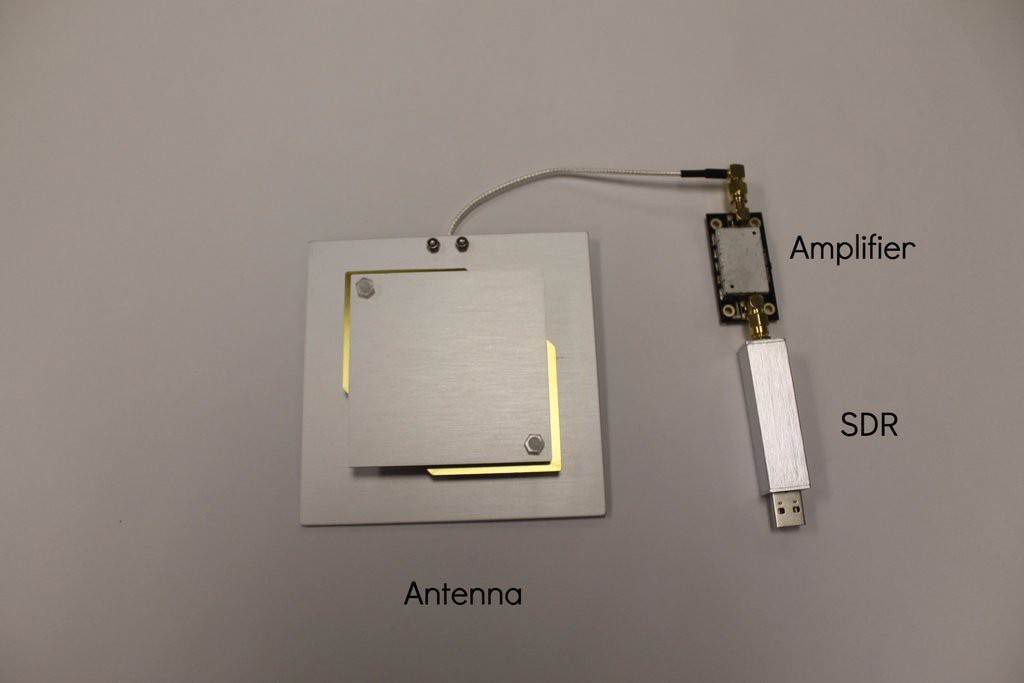
The KU band satellite downlink is now being replaced with an InmarSat L band receiving system which will work the same but much easier to transport. Stay tuned for that.
I hope to produce a production version of the EduCase and make it cheaply available to educators and disaster relief personnel worldwide. Fingers crossed it will make a positive difference in the world someday soon.


 Craig Hissett
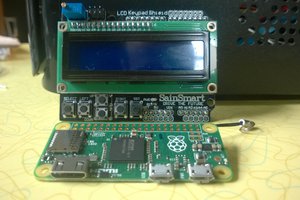
 tomwsmf
 x3n0x
x3n0x
outernet is great idea, but I cant buy normal device. working completed. Why?
Why i cant buy raspberry shield and antena?