facelessloser
tl;dr
It been awhile since I've played around with the IR library on a arduino, In fact my first project to have a printed PCB was using that library. I wanted to enter the hackaday prize again this year but couldn't think of anything to make, Then it hit me out of the blue. I've always thought it was weird that services like Netflix didn't have a random button that would display when pushed a random movie or TV show. I thought I would do this but for a set-top TV box with IR. While I was using a arduino Leonardo I would also make it into a HID device so it could be used as a make button like this.
Hardware
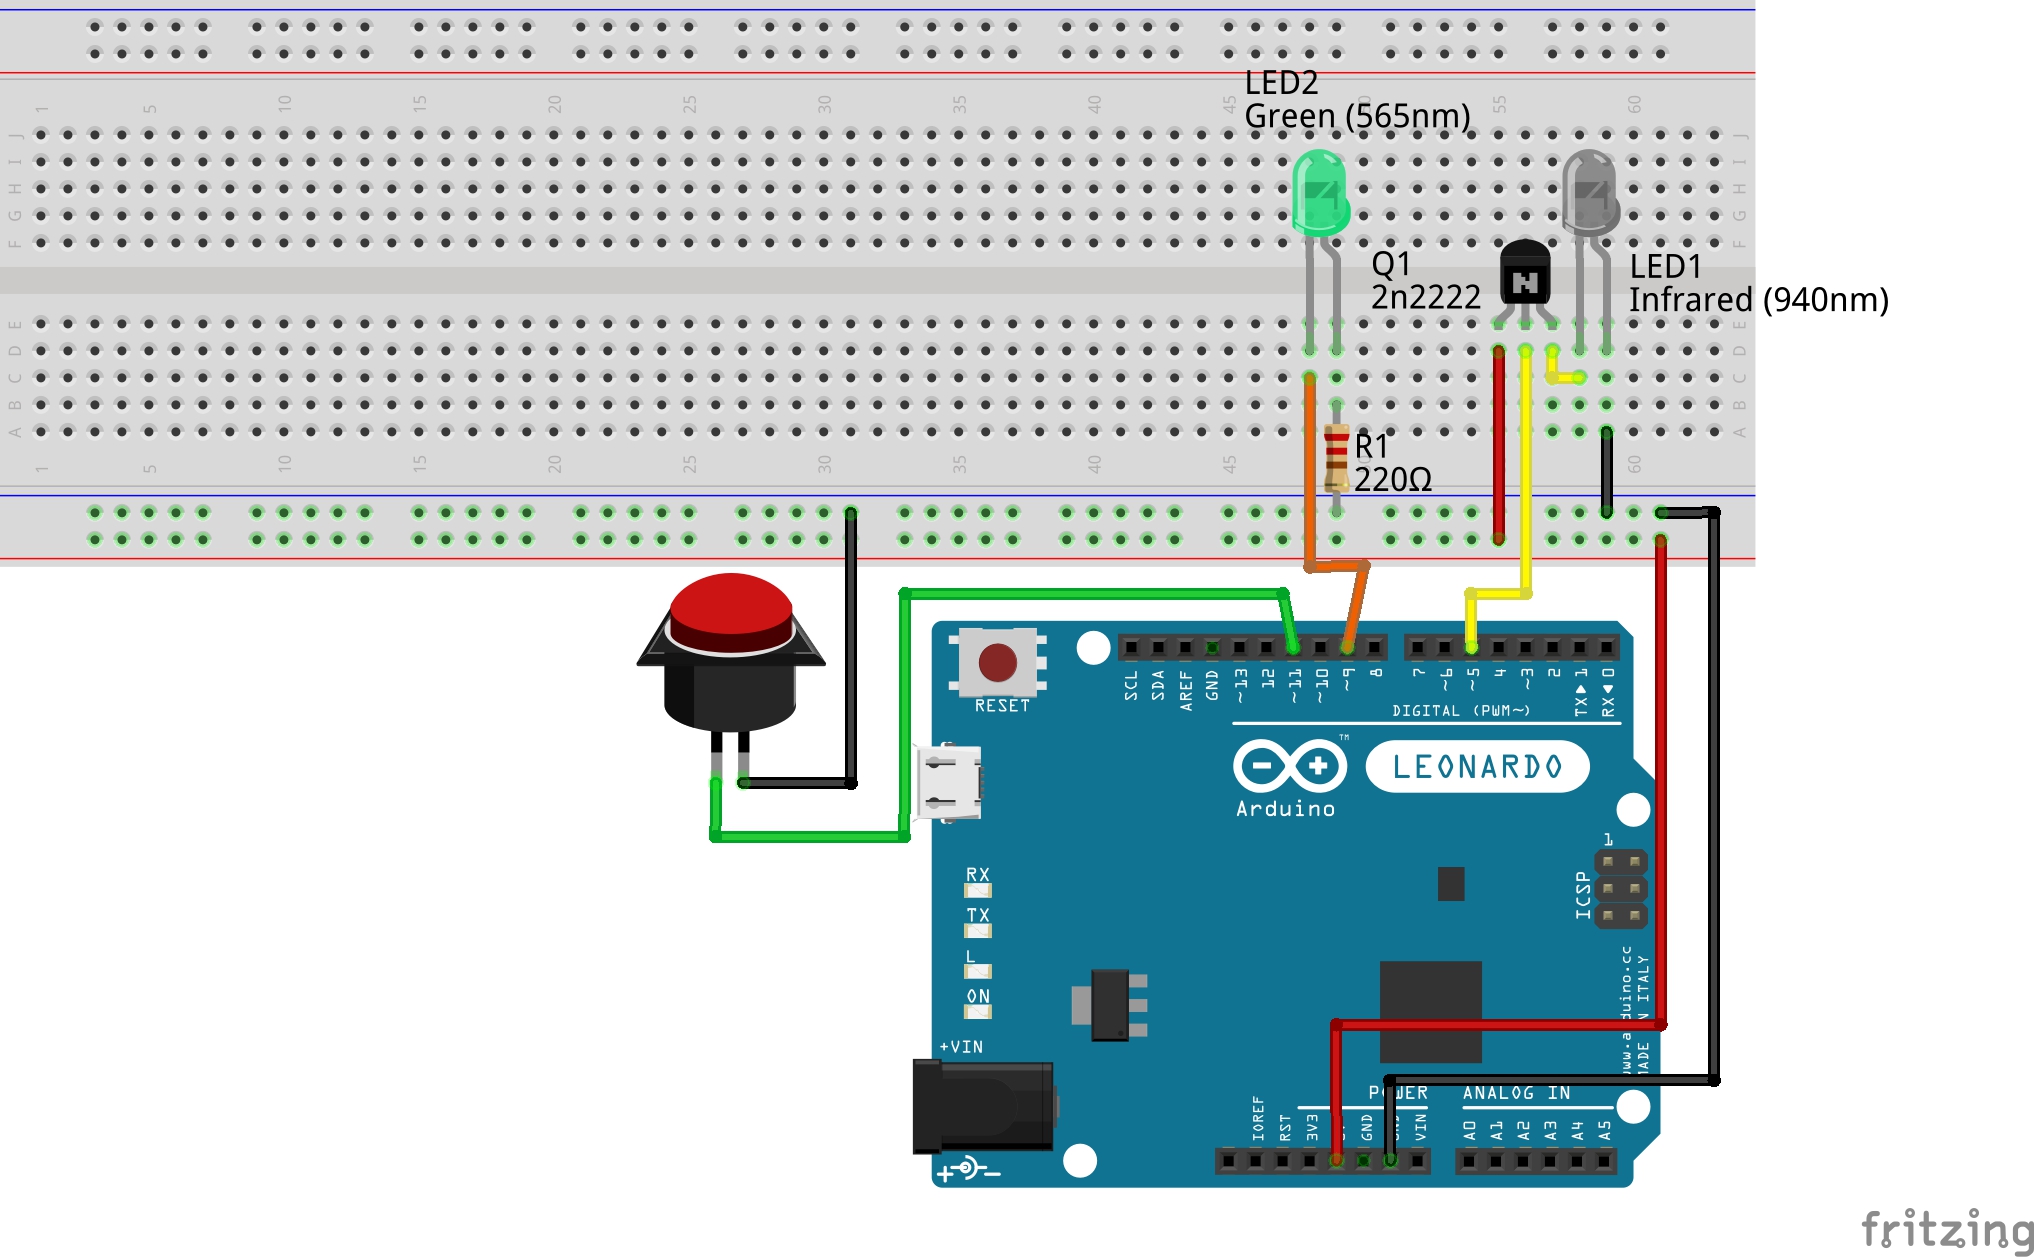
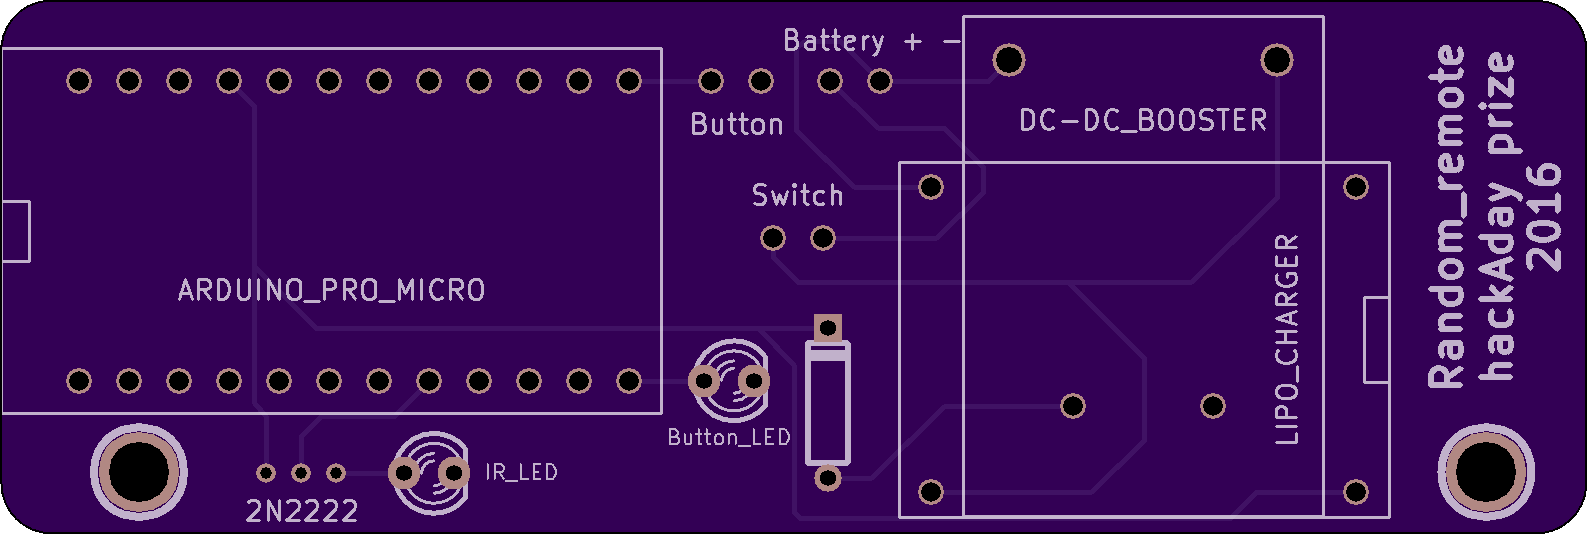
As I said earlier that I have made projects before with IR leds. But before I couldn't match the range of the remote I was replicating, I thought it was because I was only using 3v but this was not the case. After looking at a post about making a TV b gone I noticed that they were using a transistor to extend the range of the LED. I only had a 2N2222 transistor to hand but was a drop in replacement for the 2n4401 they were using. To my delight it working, It gave me the same range as a normal TV remote.
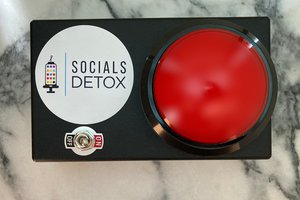
I was going to go with an emergency stop button but I found that the enclosure they came with wasn't going to be big enough for the PCB and a decent sized battery. Also I thought the button would be too high to fit in enclosure. I opted for an arcade button that had an embedded LED so it would kill 2 birds with 1 stone as they say, I wouldn't need a separate status LED now. The arcade button was pretty high and I struggled to find an enclosure of it. The enclosure I did find was a little on the big side but it was the smallest I could find that had the height (60mm) for the arcade button.
I couldn't find a female panel mountable micro USB port, Normally I would use a USB type b female port (The kind you find on a printer) that could be panel mounted but there big and no one really has that kind of cable any more. I just ended up cutting a big enough hole in the enclosure so that a micro USB cable could fit in as shown below.

I opted for a latching switch to turn it on/off but the switch also has another purpose. because it can be used as a HID device I didn't want it to be always charging when being plugged into the computer for long periods of time, So when the switch is on and plugged into a computer/charge it will allow the battery to charge but if the switch is in the off position and plugged into the computer/charger it will not charge the battery. I should have added a charging led so you could see the status of the charge cycle but I didn't think of this until after I had designed the board so I just left it out.
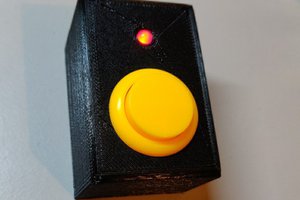
![Just about done]() Just about done
Just about done

![IR LED in mount on the front]() IR LED in mount on the front
IR LED in mount on the front

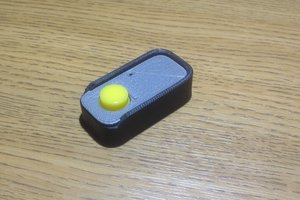
![Rubber feet for a bit of detail]()
Software
TV remote code - https://github.com/facelessloser/random_remote/tree/master/arduino_tv_code
HID code - https://github.com/facelessloser/random_remote/tree/master/arduino_hid_code
The software side is quite simple on the surface. I got the library from IR led HERE. All was going well when I was using it with a arduino nano but when I moved to using a arduino Leonardo I wouldn't get it to work, After a bit of searching around I found this thread which solved my problem. If you don't want to mess with your library files I've done all the hard work for you HERE.
I was toying with the idea of having one big button for the random button then having a few smaller buttons I could use for different tv channels or other macro uses on the computer. I decided against it because it would just complicate things and take away for the simplicity of this project so I just stuck with the one button. This is when I had my coding epiphany and thought why not have it so I could hold down the button for a few seconds then it would switch to a different mode. I thought I would have a look around because 1. I wasn't sure how I would achieve this and 2. someone else must have thought to do it so no need to reinvent the wheel. Sure enough someone was after the very same thing I was looking for...


 Robin Hartley