Close
0%
0%

ForEx display

A stylish desktop widget shows you the actual foreign exchange rates and the time of different locations

Similar projects worth following
Everybody working in export business require to know all the time the foreign exchange rate and the actual time in different places of the world.

For the date, we require being aware for many things we do in the office, we have a calendar on the desk or on the wall. The same awareness for the actual ForEx rates is required when you have a particular job. To check the actual rate you require an app, need to visit a website or something similar. In earlier Windows versions there were so called desktop widgets you could place on your desktop but they aren’t maintained anymore any in my experience they helped but weren’t perfect.

The idea of the ForEx display is to have a simple display for the mayor foreign exchange rates on your desk as you have a calendar or perhaps a clock on your desk. Along the rates also the actual time of different places as the local time and date is displayed. As everything is kept on actual by updating via Internet, no button or switch is req

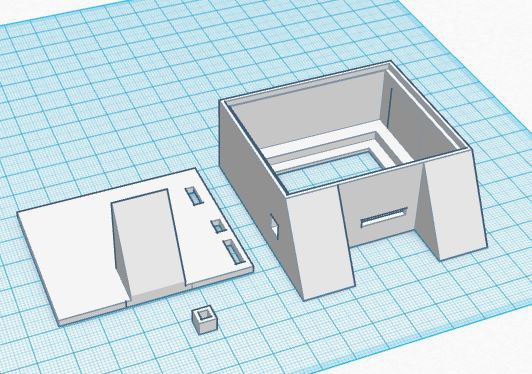
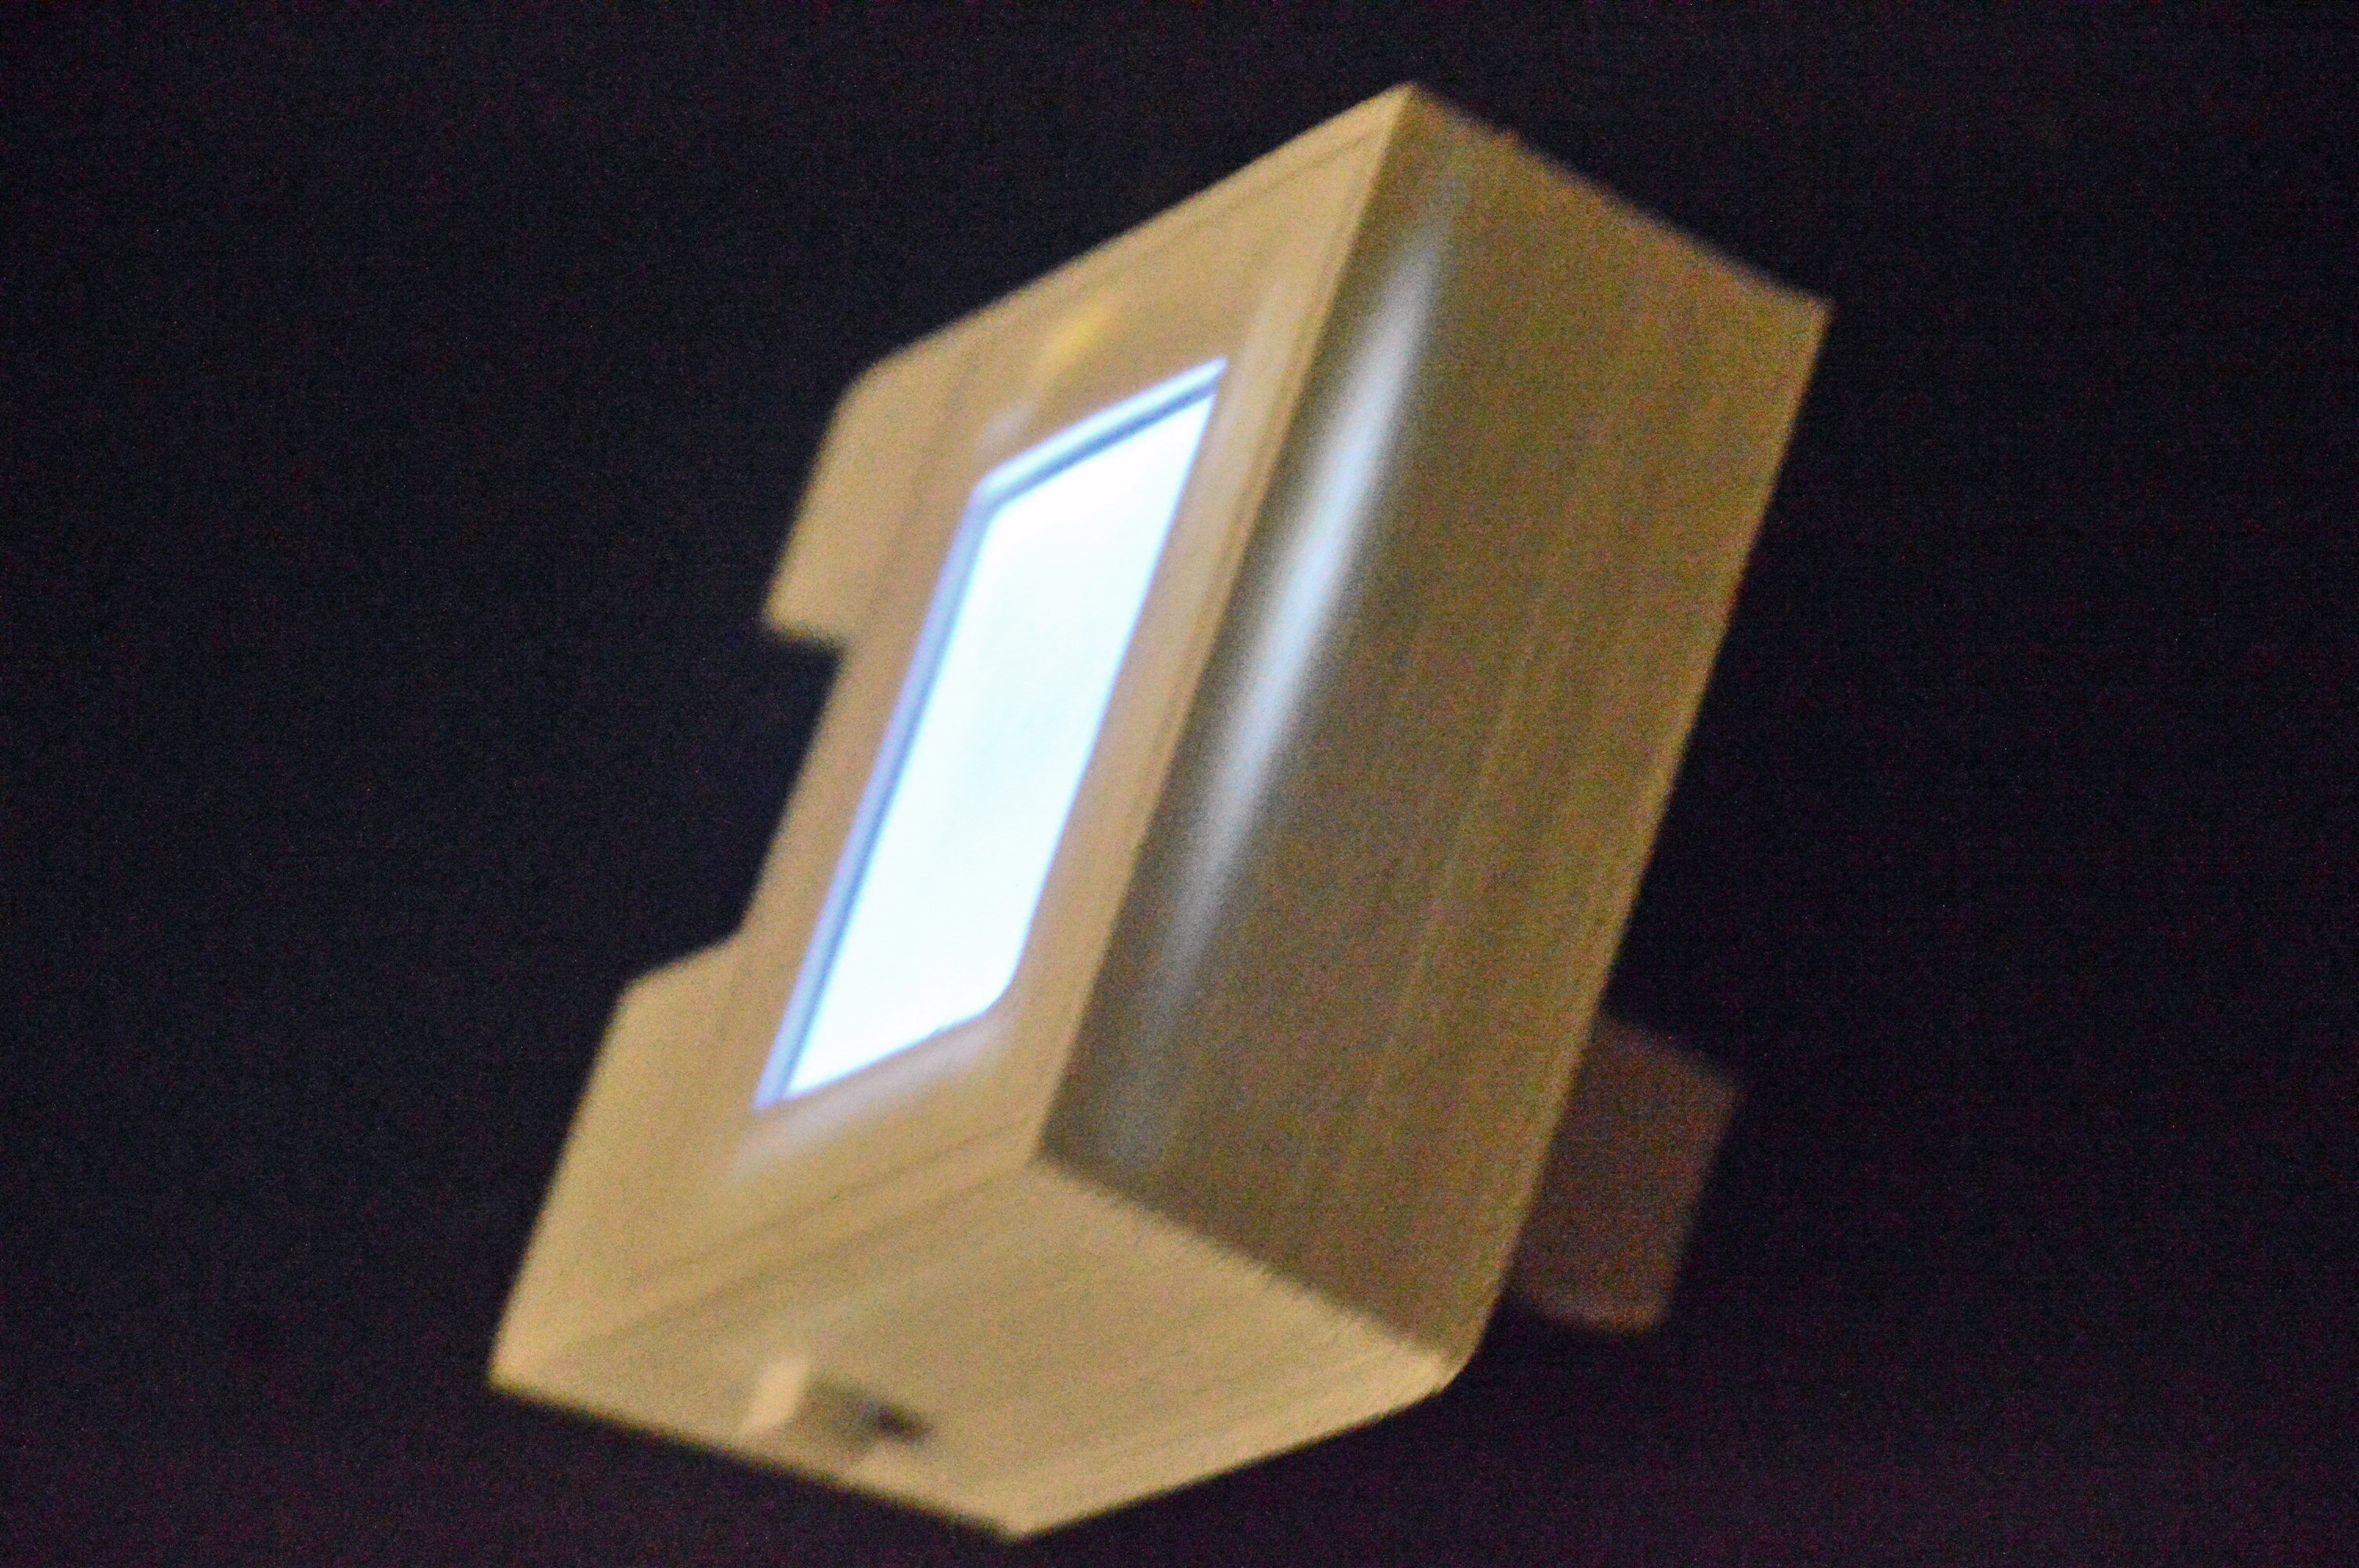
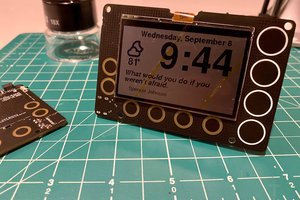
The basic idea behind the ForEx display is pretty simple. Connect a microcontroller with the internet, fetch periodically the required information from accessible API’s and display it on a TFT. Then put this electronics in a 3D printed housing, work a bit on a smooth finish and done.

Beside of this I added some additional things which aren’t absolutely required (optional) but can be helpful or increase the usability:

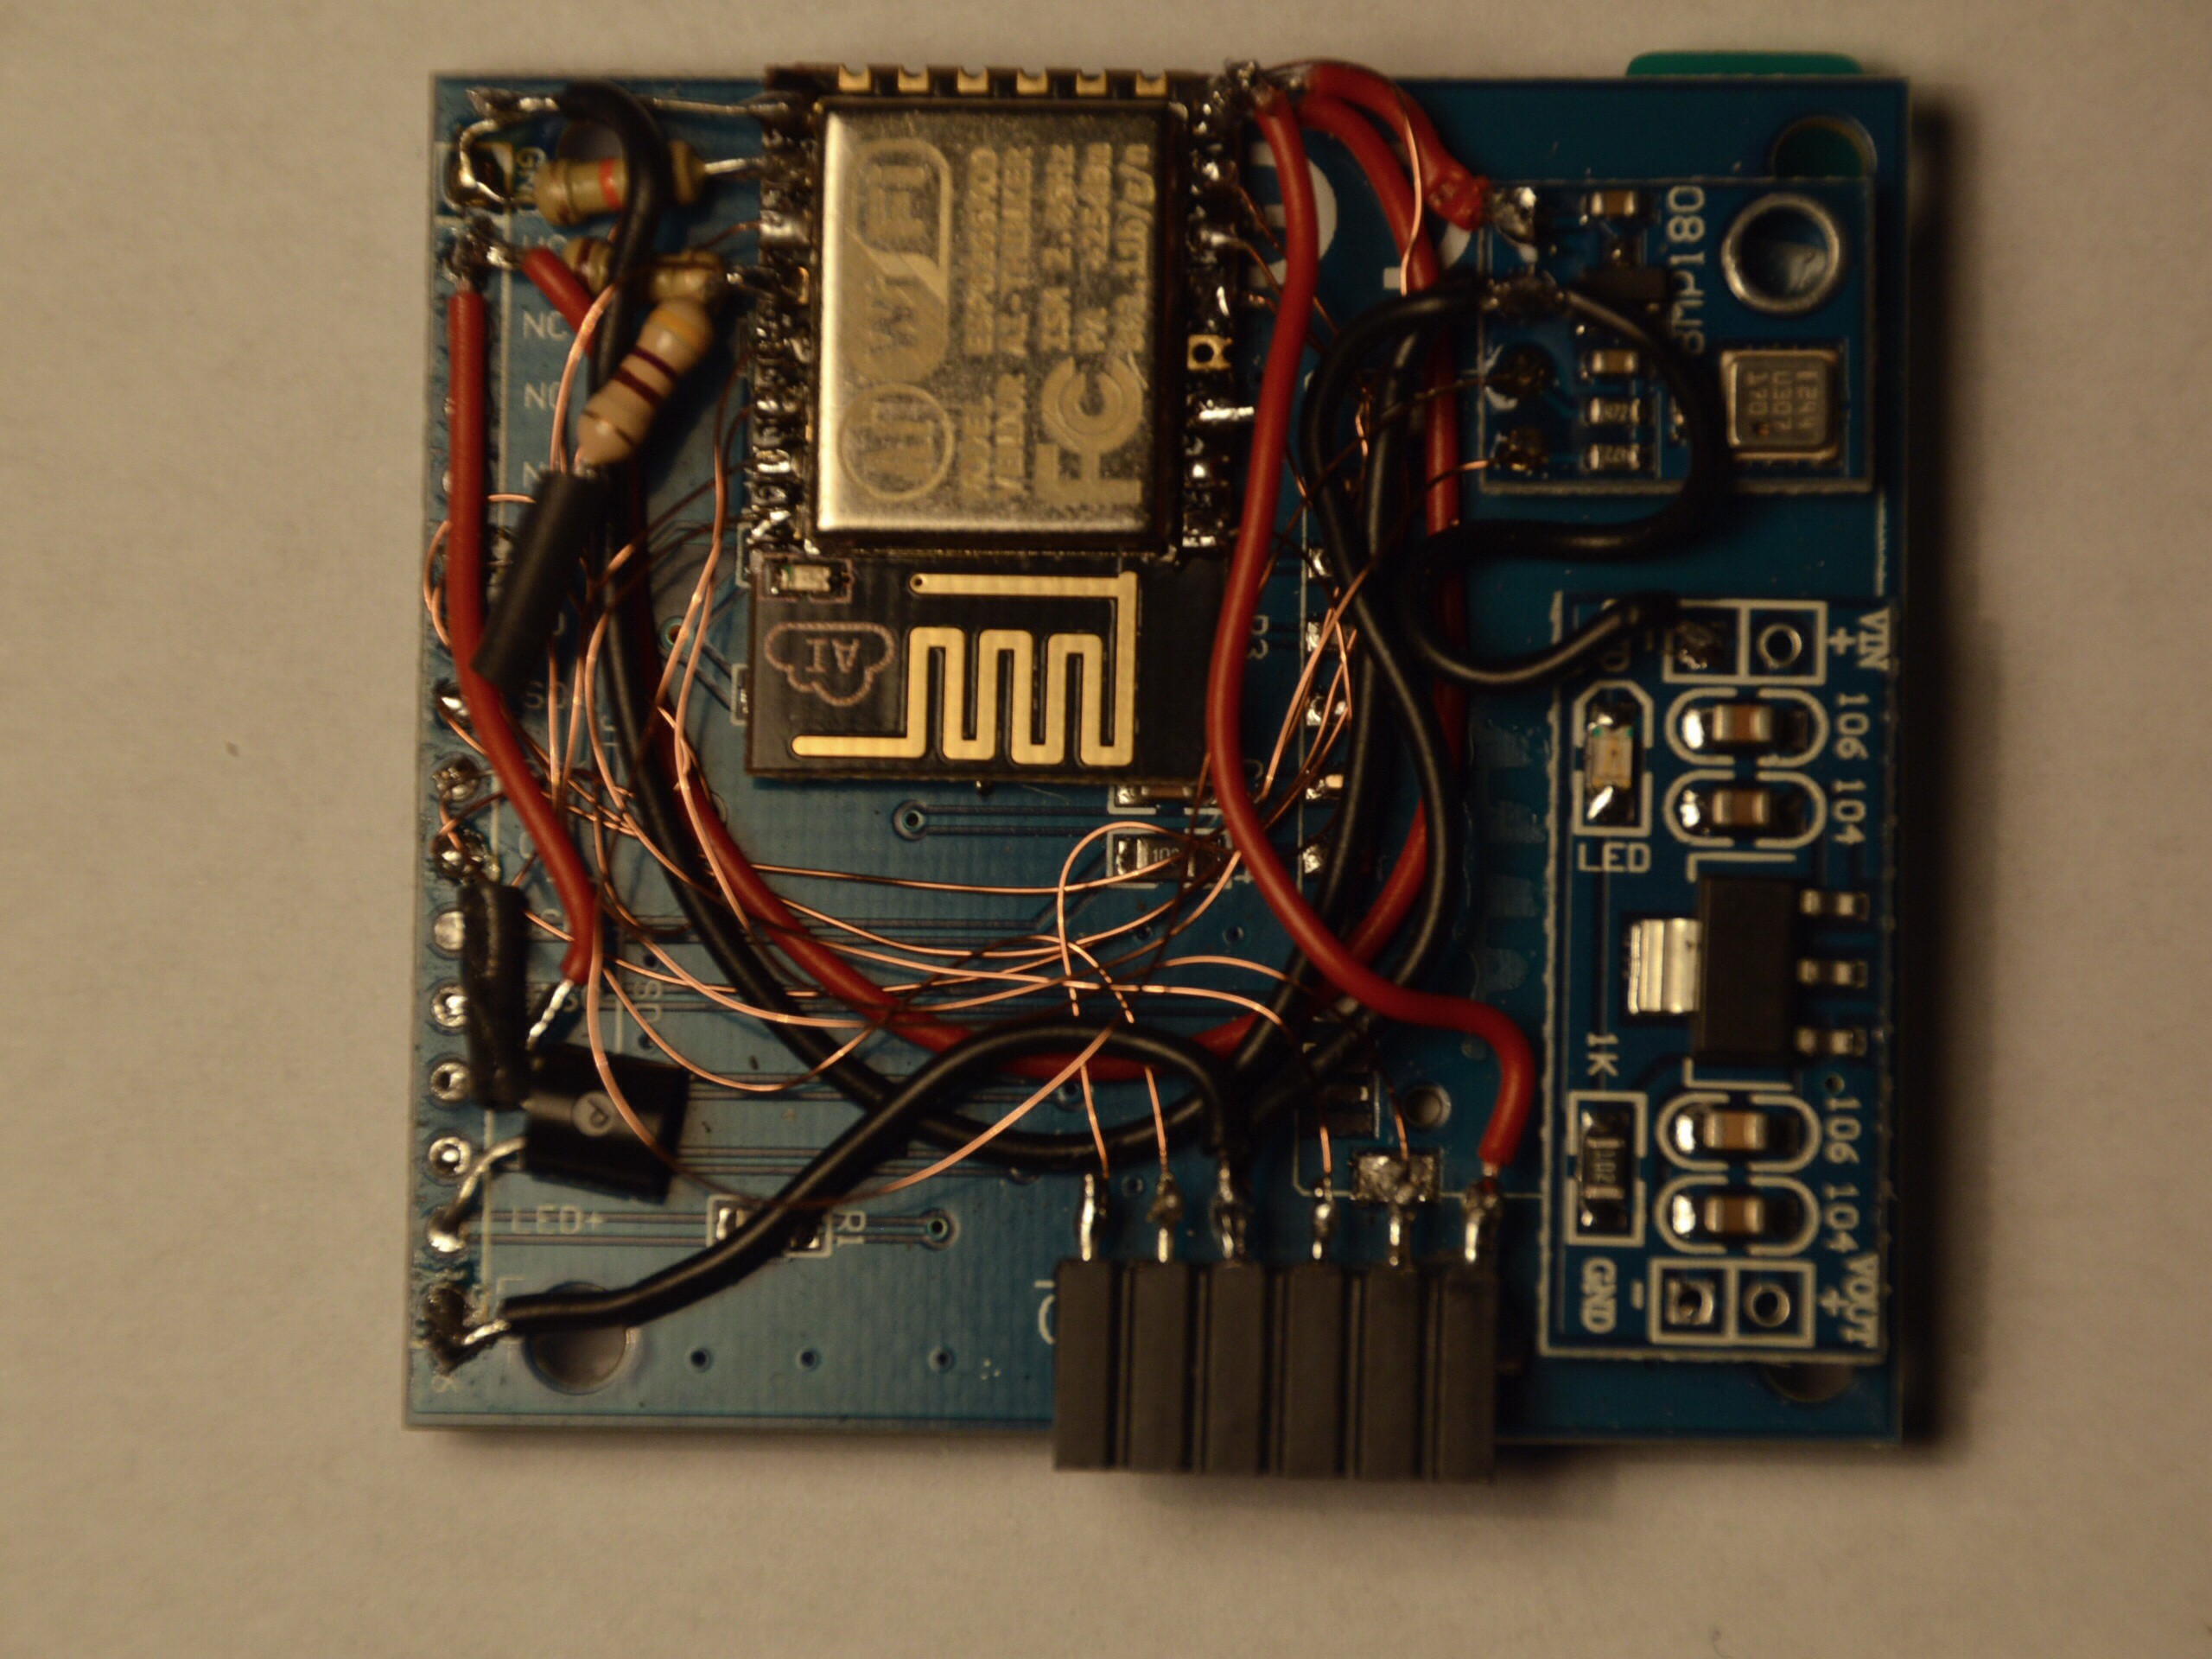
  • A photocell to measure the brightness in the room and dim - with additional transistor - the brightness of the display. This avoid the display to illuminate the whole office while the night time.
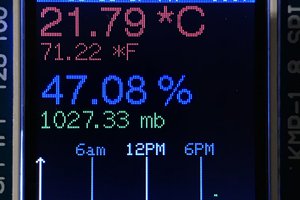
  • Sensors like temperature, pressure, humidity, etc. can be added to the I2C bus and do allow additional display of those values.

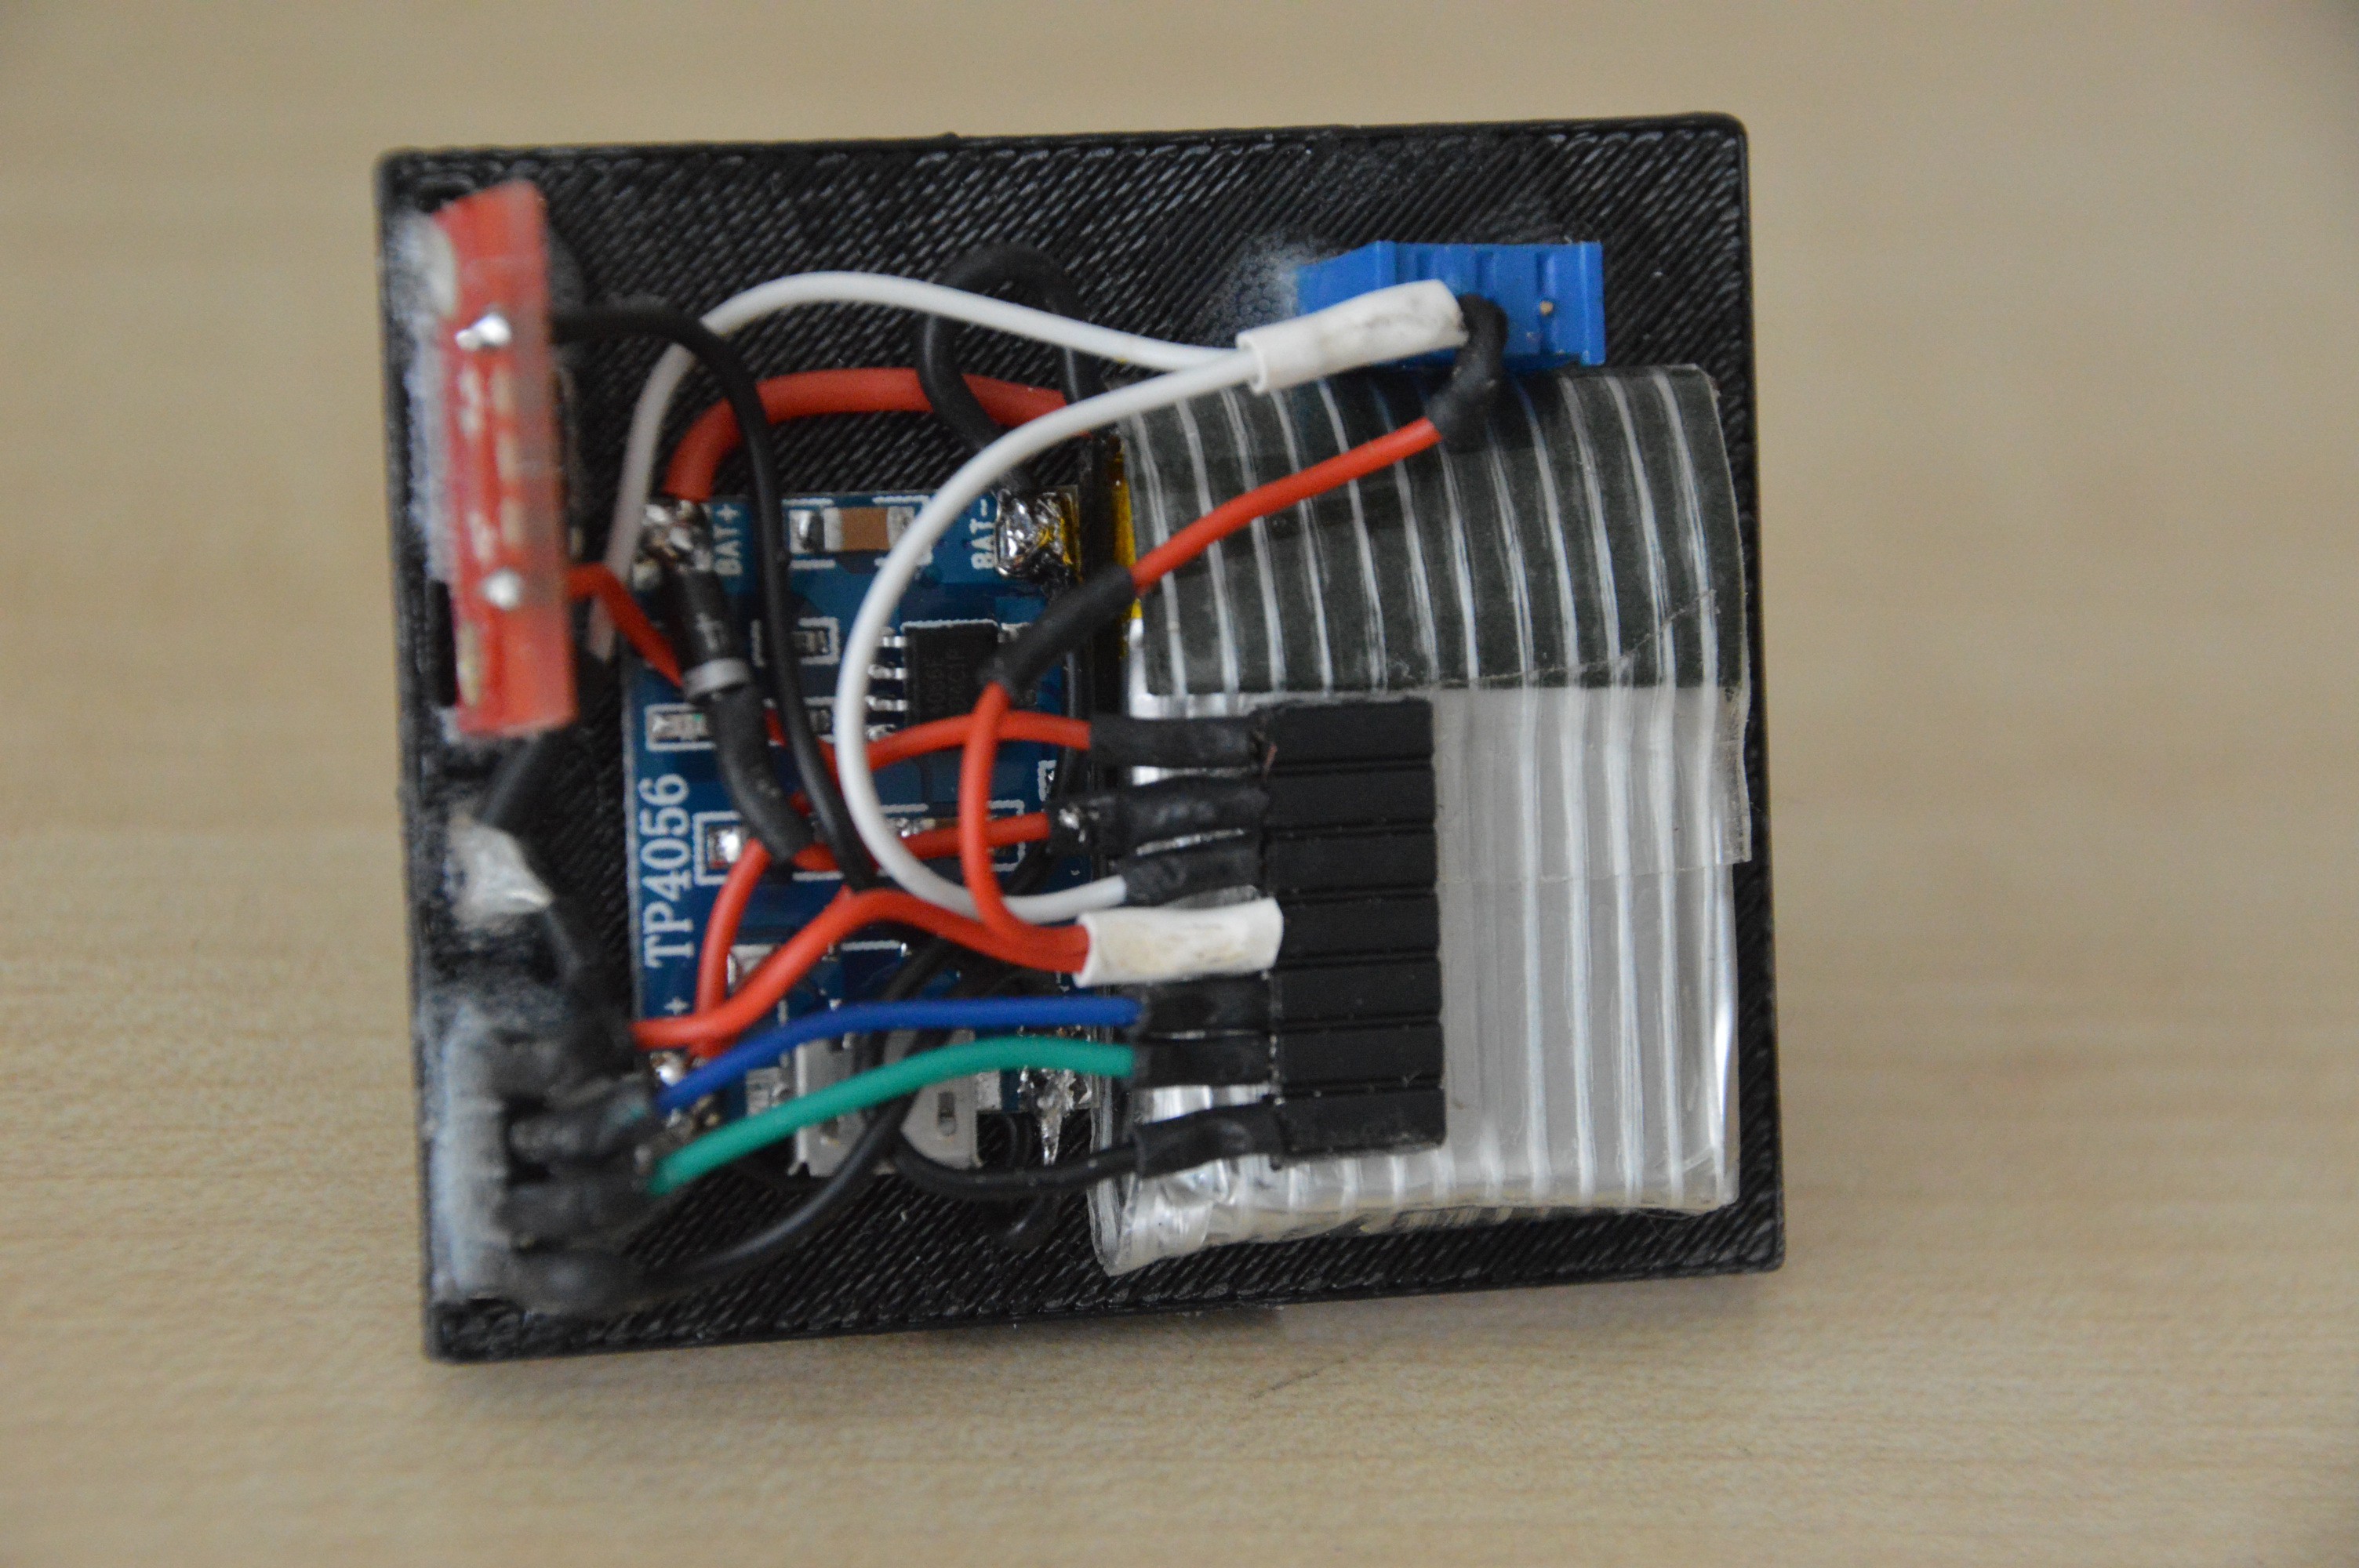
A rechargeable battery allows operating temporary without a power connection but makes a switch necessary as well.

The ESP8266 (ESP-12E) programmed with the Arduino IDE and a 128*160 cheap TFT work perfectly for this application and generate very low costs

Adobe Portable Document Format - 208.92 kB - 04/16/2016 at 22:37

Preview
Download

Standard Tesselated Geometry - 6.63 kB - 04/16/2016 at 22:36

Download

Standard Tesselated Geometry - 1.45 kB - 04/16/2016 at 22:36

Download

Standard Tesselated Geometry - 13.36 kB - 04/16/2016 at 22:36

Download

  • 1 × ESP8266 ESP12E
  • 1 × 1.8" Serial SPI 128X160 TFT LCD Module based on ST7735
  • 1 × DC – DC converter (5V to 3,3V) based on AMS 1117
  • 2 × Resistor 10kOhm
  • 1 × LiPo 370mAh (optional – battery operation)

View all 13 components

  • New API for the time zone base

    Stefan06/16/2017 at 20:16 0 comments

    The mechanism to determine the correct UTC time offset is a bit complicated. First the openweathermap.org API finds the coordinates to a given location and then the worldweatheronline.com API delivers the UTC offset to given coordinates. Of course I use the free developer pricing plan which allows some few API calls per day or per month.

    Since 2 weeks my ForEx display didn't worked anymore. Soon I realized how much I rely on that gadget in my daily work. A quick check showed that the worldweatheronline.com API didn't work any more. Well using free API bears that risk as we are aware all of us. But worldweatheronline.com stopped that free offer without any notification mail or similar. That's pretty poor and if they deal like that, I seriously would think twice before using that API for a commercial application.

    However I found the timezoneDB.com. It's free and unlimited, only for commercial usage a premium plan needs to be paid. This works fine but due the "one call per second" limitation the initial phase takes a bit longer as there are 7 API calls and a delay() call is require to prevent an API blockage with fast internet access.

    The updated code is stored on Github

  • Watchdog

    Stefan05/24/2016 at 19:50 0 comments

    I'm using now my ForEx display while the daily work. But now and then it hangs up (approx. every other day) . Some times it's clear as wrong city entry or web-API not available but some times it's really not clear. Therefore I implemented a watchdog. My first try with the ESP8266 SDK watchdog (ESP.wdtEnable(WDTO_0MS)) didn't work at all and as my intention was to make it running and not to figure out mistakes I tried an other watchdog mechanism. I followed that instructions:

    from Andreas Spiess

    This works now (even it doesn't make always what it's intended to do) . Thanks Andreas

    -> All Github files are updated

  • WebServer - analogRead conflict?

    Stefan05/01/2016 at 10:54 0 comments

    When programming this little gadget everything worked well. Then I removed all the debugging stuff did a quick check and uploaded it - fine. Since that it runs on my desk but as I required Singapore Dollars the web interface didn't responded last week. Restarting didn't helped a lot - no answer. Analyzing that matter isn't a big deal. There are only 4 activities in the main loop: 1. Refresh the entire screen every minute. 2. Request the information from the API's and NTP server every 24h. 3. Check whether there is a request from internet port 80 (which obviously didn't work). 4. Measure the brightness and adjust the current for the display back light. As 1&2 are executed only rarely and 3 is the matter to fix, it needs to be cased by 4. And indeed commenting out the brightness control the web interface worked perfectly. By further activate and deactivate elements of the brightness control sequence it became obvious that the analogRead function caused the conflict. Without the web server worked, with no response. I was able to solve the problem by adding a delay() statement after the analogRead statement. Playing a round with the length didn't give more insights. Pretty often the time delay(1) was already sufficient and I could place it before or after the analogRead. With delay(100) I had absolutely stable results. As the ESP8266 Arduino does quite some activities I guess this is based on this but finally haven't an idea why it's really the case. As the delay statement in this configuration (ESP8266 Arduino ) execute some other stuff in the background I tried the yield() function as well (as this should do the same) but without any impact. Even I'm not sure about the effective problem it's solved now and uploaded to GitHub

View all 3 project logs

  • 1
    Step 1

    Electrical circuit

    All together is built together according the attached circuit diagram. If no brightness control is implemented the LED+ of the TFT must be connected to the VCC.

    As building platform the TFT is used. I removed to connector for the SD card, as this isn’t required, and fixed the ESP8266 as the DC/DC converter print (and in my case a BMP180) with double sided adhesive tape to the TFT and sold it together. I general I used two types of wires. For all signal lines a 0,2mm polyurethane enamelled wire. This wire is really thin and allows a high packaging density. The isolation can be “burned” with the soldering iron. On the other hand require the lines with power as GND and VCC a larger diameter because of the current. For them I used standard 0.14mm2 wires.

    In case an optional battery is used, the back side of the housing can be used as building platform in the same as the display. As connector for the programing (and I2C) soldering pins can be used the housing contains slots in which they can be glued in.

    The freehand wiring works well but some experience in soldering is probably required as the pitching of the ESP8266 is pretty narrow.

  • 2
    Step 2

    Housing

    The housing of the ForEx display consists of two halves and one knob. All printing can be done without support in the finest resolution. After printing some fine sanding is recommended. This works best if ABS is used. After sanding fine painting with an airbrush gun provide a proper finish.

    When you print without a raft the window for the display becomes a bit too small. This is necessary as a too wide window will lead to an ugly appearance as the frame of the TFT becomes visible. As a help to sand the window to the right size the test mode of the program can be used. This test mode draws a frame which makes easy to recognize whether the whole scree is visible.

    If the white plastic for the housing is chosen, it might be necessary to paint the inside of the housing black. This is because the cheap TFT scatter some light around the frame which might become visible.

  • 3
    Step 3

    Program

    The ES8266 is programmed with the Arduino IDE (https://github.com/esp8266/Arduino), the Adafruit TFT libraries (https://github.com/adafruit/Adafruit-GFX-Library and https://github.com/adafruit/Adafruit-ST7735-Library) as the TimeLib- and Textfinder-Libraries as referred in Arduino playground.

    An UDP get the actual UTC time from a NTP server. This time synchronisation could be done with the timeLib but this is left out as the time zone references and the exchange rates must be requested anyway periodically, so the NTP request can be included in the periodical cycle as well.

    The time zone references are fetched a bit complicated but this method works and deliver accurate results. Further it allows using the effective name of the city which makes easier to use. In a first step the coordinates of the desired city are evaluated using the API of openweathermap.org. This works by sending the name of the city in a format like “Sydney,au” to the API which will response with its coordinates. In the second step the momentary offset to UTC of this coordinates is calculated. This can be done by sending those coordinates to the worldweatheronline.com API.

    With this UTC offset information the time at the current location and the time on the defined cities is calculated and displayed. The advantage of this slightly complicated method is the always respected day light saving state at any place including the actual location.

    For the evaluation of the currency exchange rate the fixer.io API is used. There are forex API’s offering much more currencies with a shorter update cycle. But this API is simple to use, doesn’t require an API Key and can easily provide the exchange rate to a chosen reference currency.

    All in all is my code for sure to the most elegant and not completely cleaned but it works and this is what matters.

View all 4 instructions

Enjoy this project?

Share

Discussions

jtdavis0492 wrote 07/08/2017 at 17:49 point

This project is awesome, you did a great job with the modern/simple display.  I'm currently working on a modified version of it for our office. I bet you could do something really awesome with the 1Forge forex API that we offer.  It offers realtime quotes and an API call to indicate if the market is open or closed as well. https://1forge.com/forex-data-api

  Are you sure? yes | no

IW0HJZ wrote 05/13/2016 at 14:33 point

Hi Stefan, nice project. I'll print the case cause is really smart . Can find a lot of isolated  wire in any transformer U have around. 

best Alberto IW0HJZ

  Are you sure? yes | no

nathanstein wrote 05/02/2016 at 15:01 point

Where is a good place to pick up the 0,2mm polyurethane enameled wire and the 0.14mm2 wires?

  Are you sure? yes | no

nathanstein wrote 05/06/2016 at 23:27 point

thanks!

  Are you sure? yes | no

fargoadvice wrote 04/25/2016 at 00:30 point

Finally, a new version of the Chumby! Thank you! 

  Are you sure? yes | no

Stefan wrote 04/16/2016 at 22:51 point

License discussion

The adafruit libray isn’t distributed with this package. However it could as it’s under BSD
license. The entire ForEx display comes under Creative Commons Share-alike 3.0

  Are you sure? yes | no

Similar Projects

Does this project spark your interest?

Become a member to follow this project and never miss any updates