 Camilo Parra Palacio
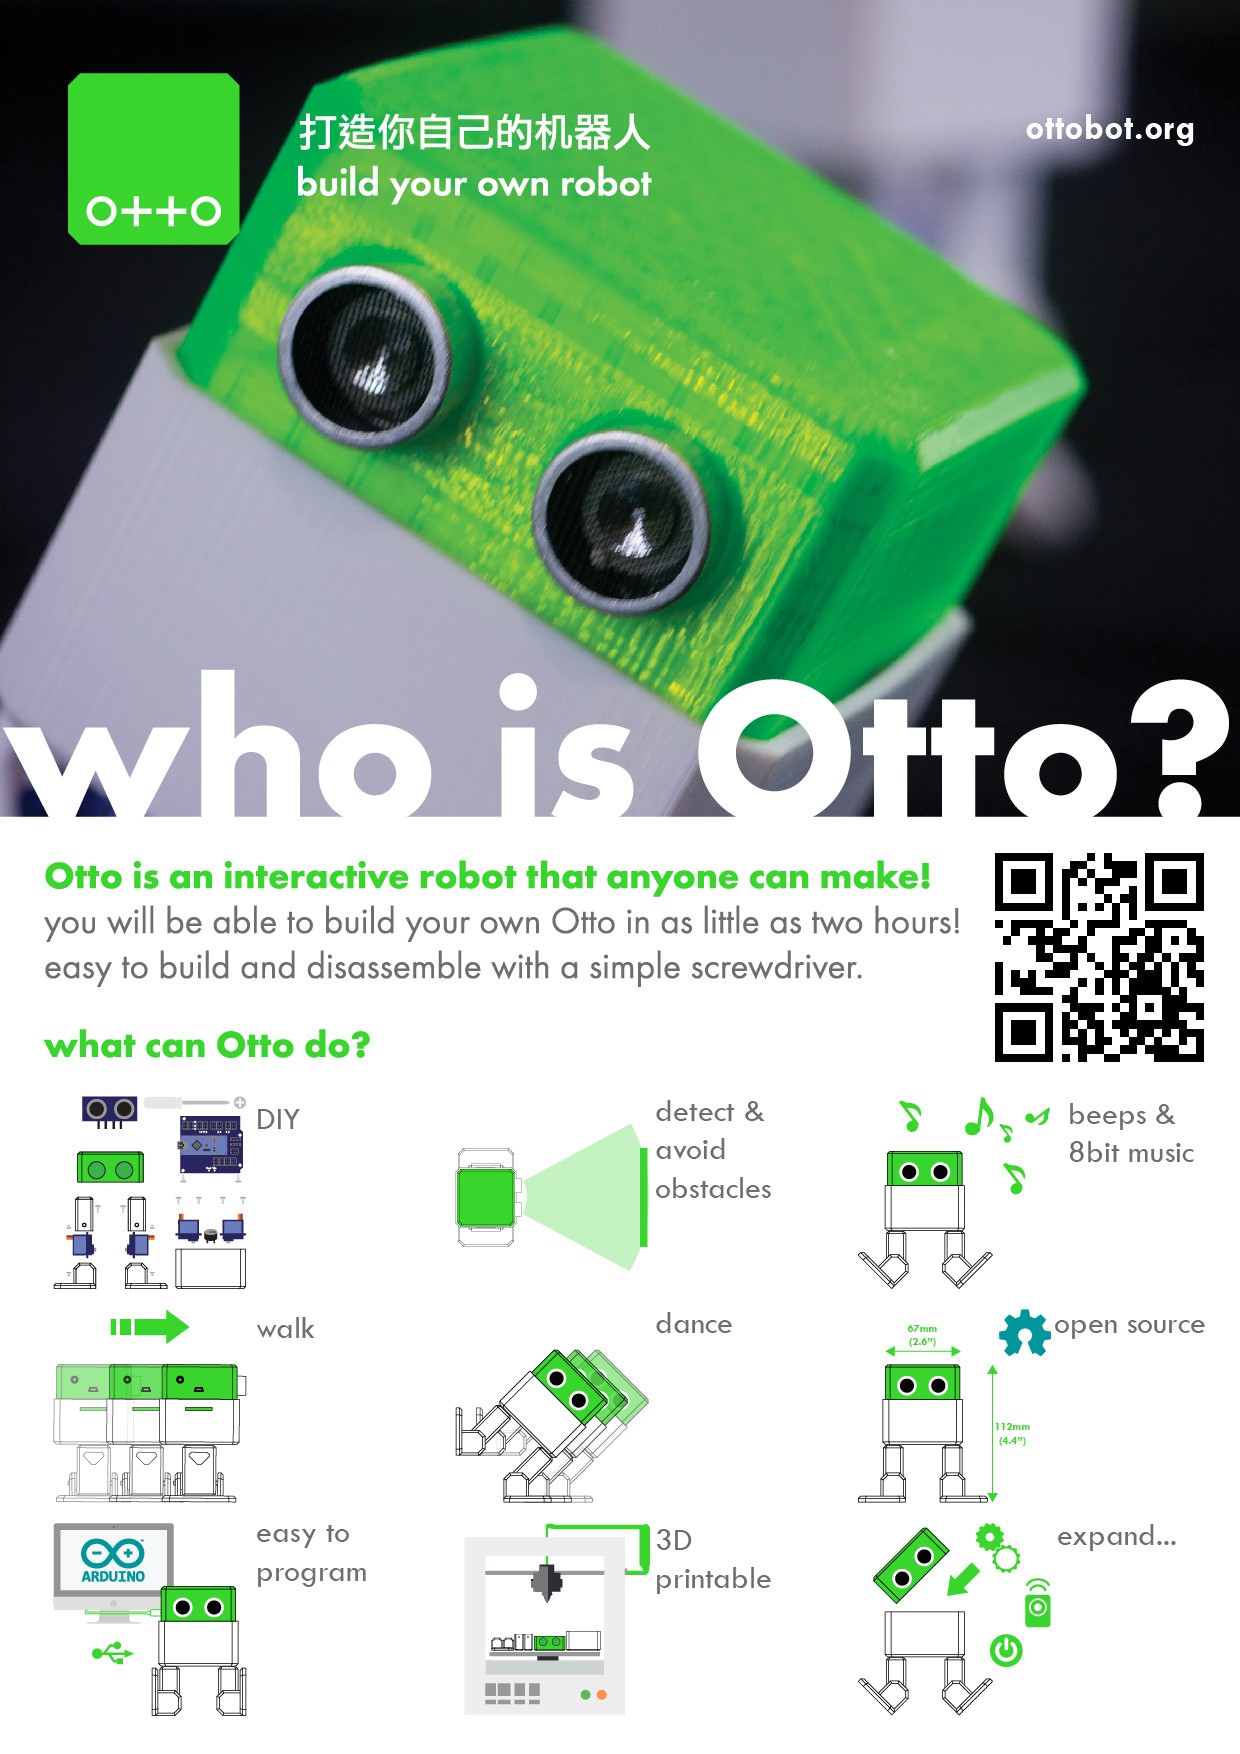
Otto was inspired by another robot instructable BoB the BiPed and programmed using code from Zowi.
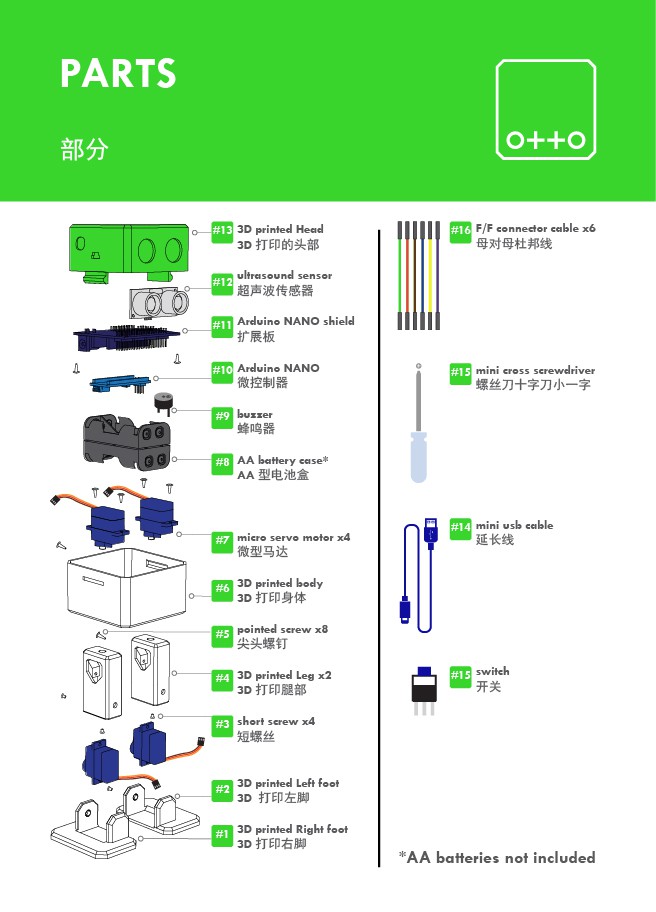
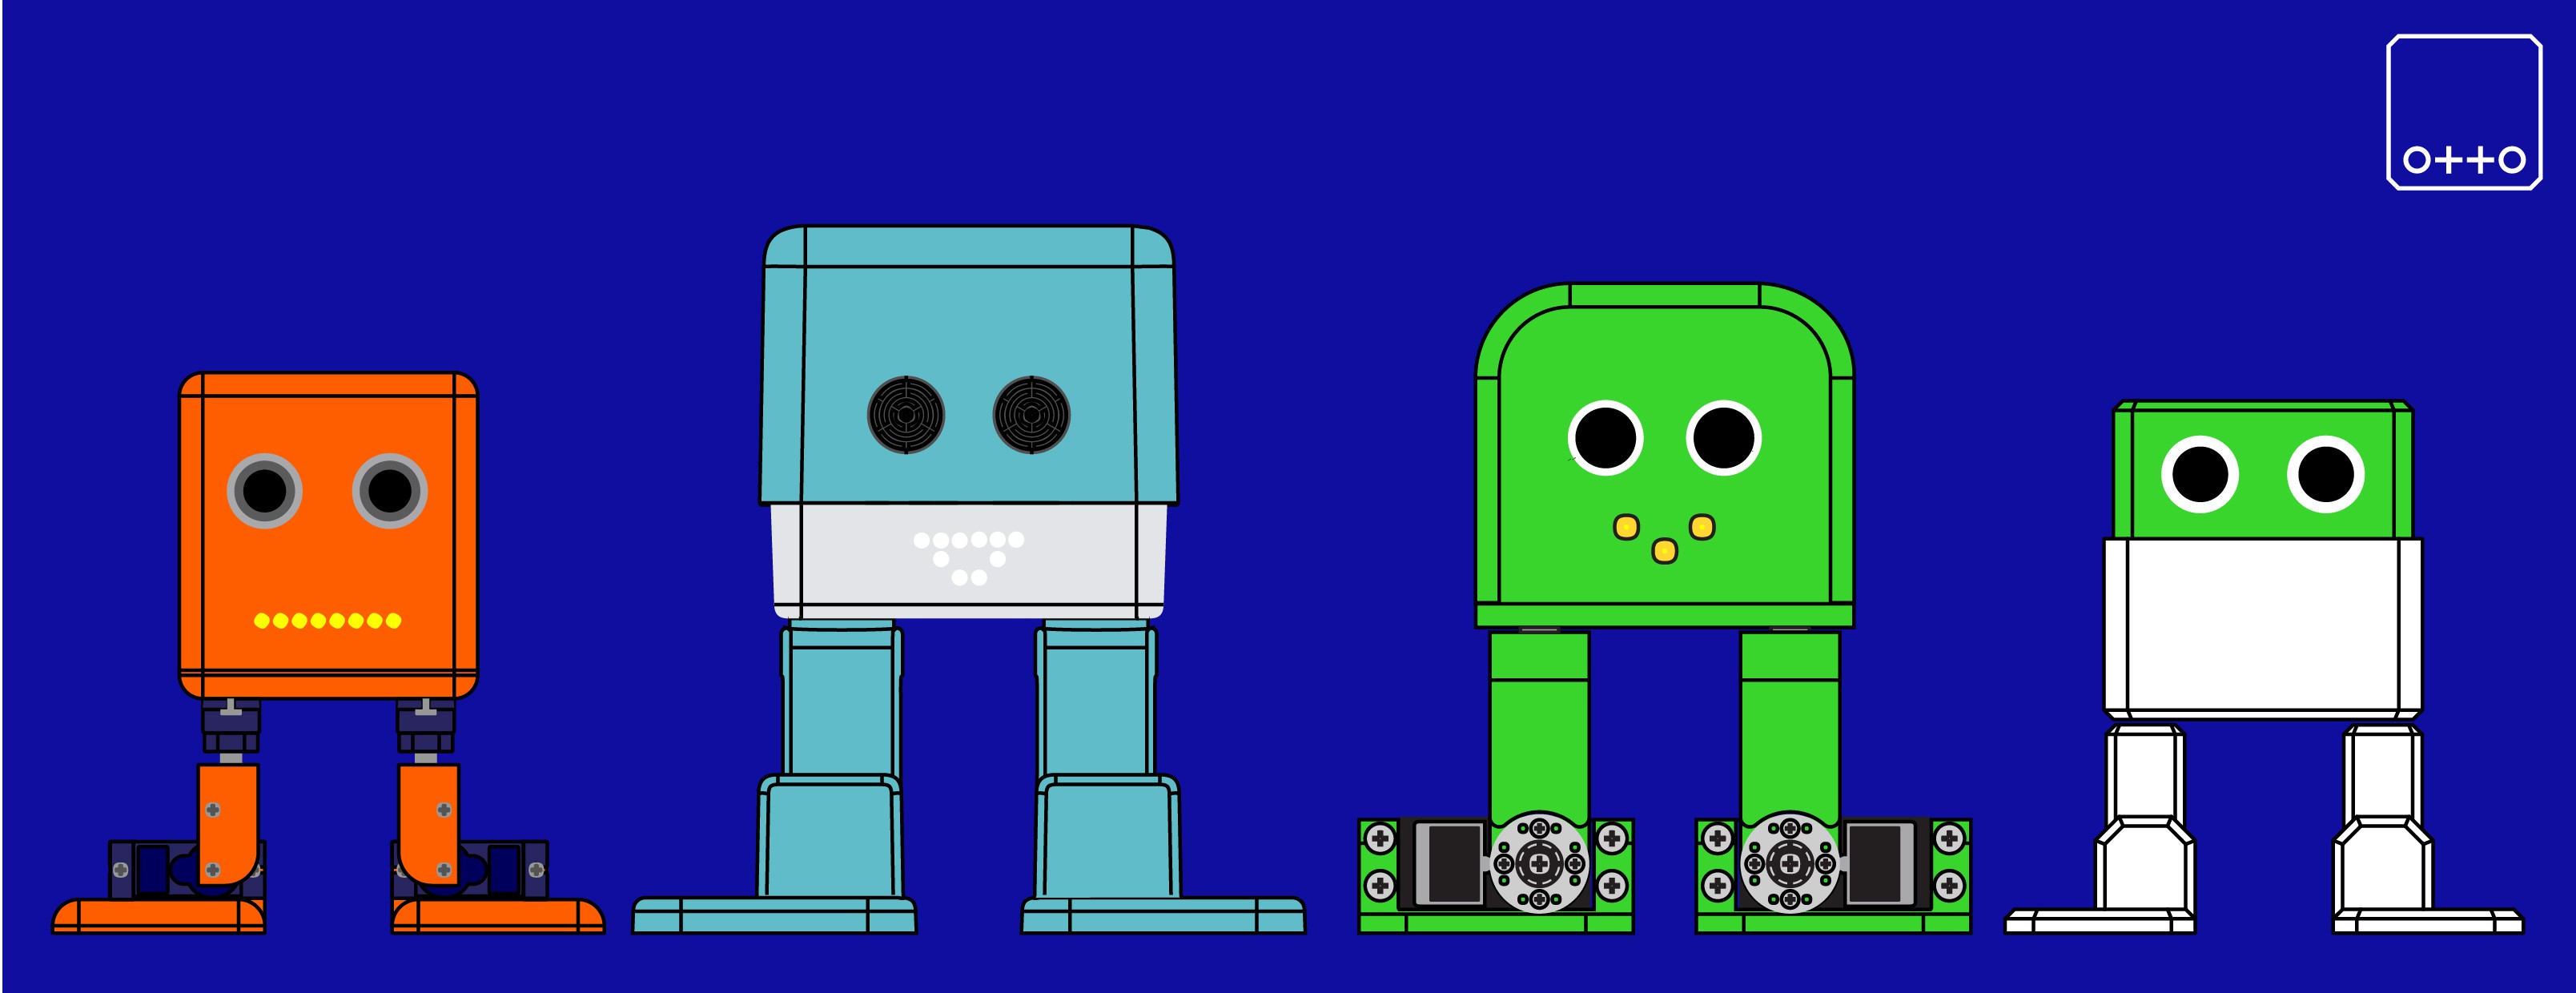
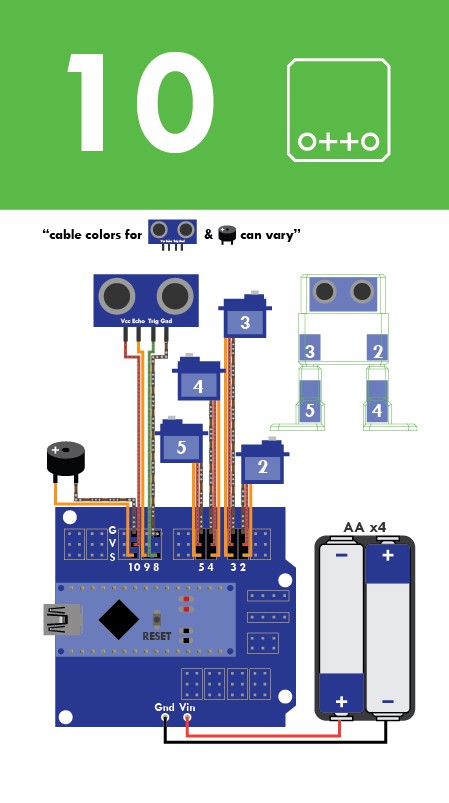
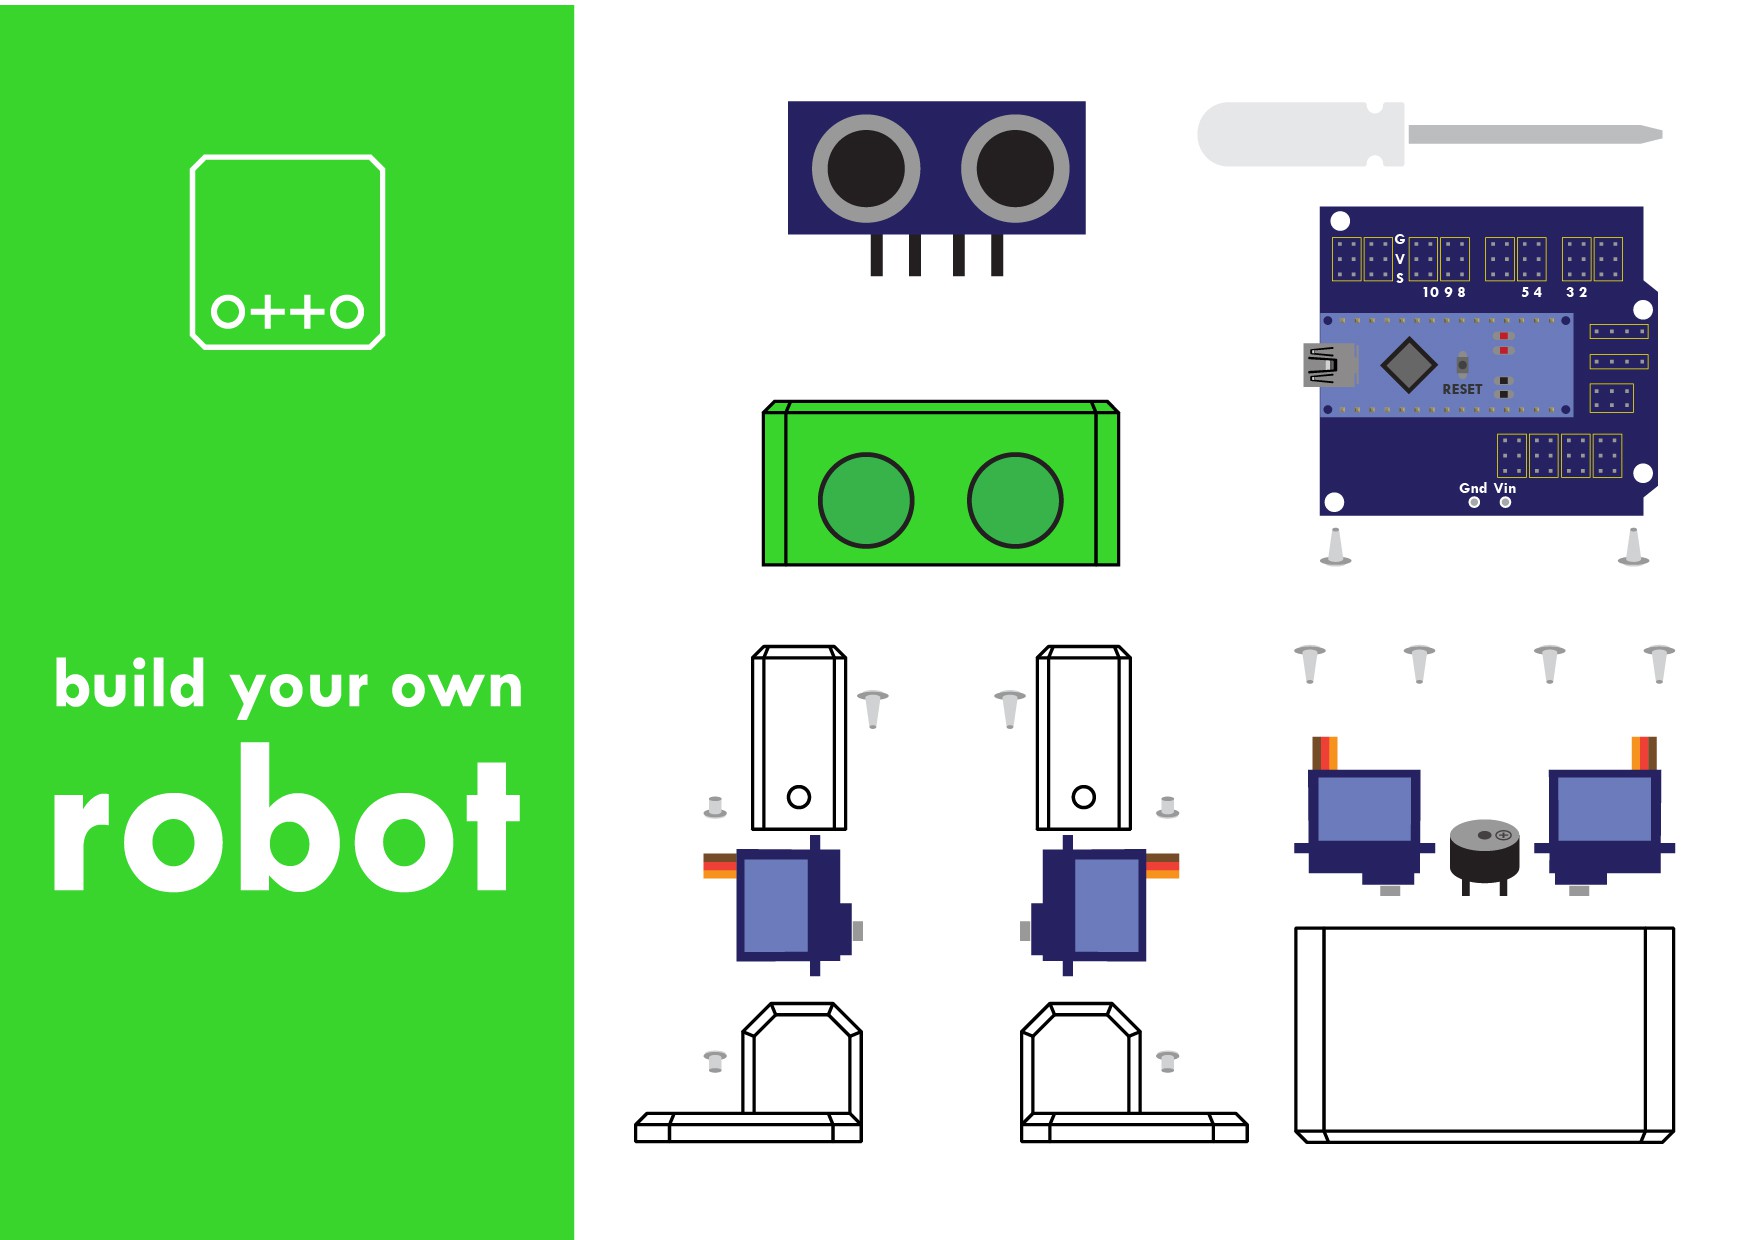
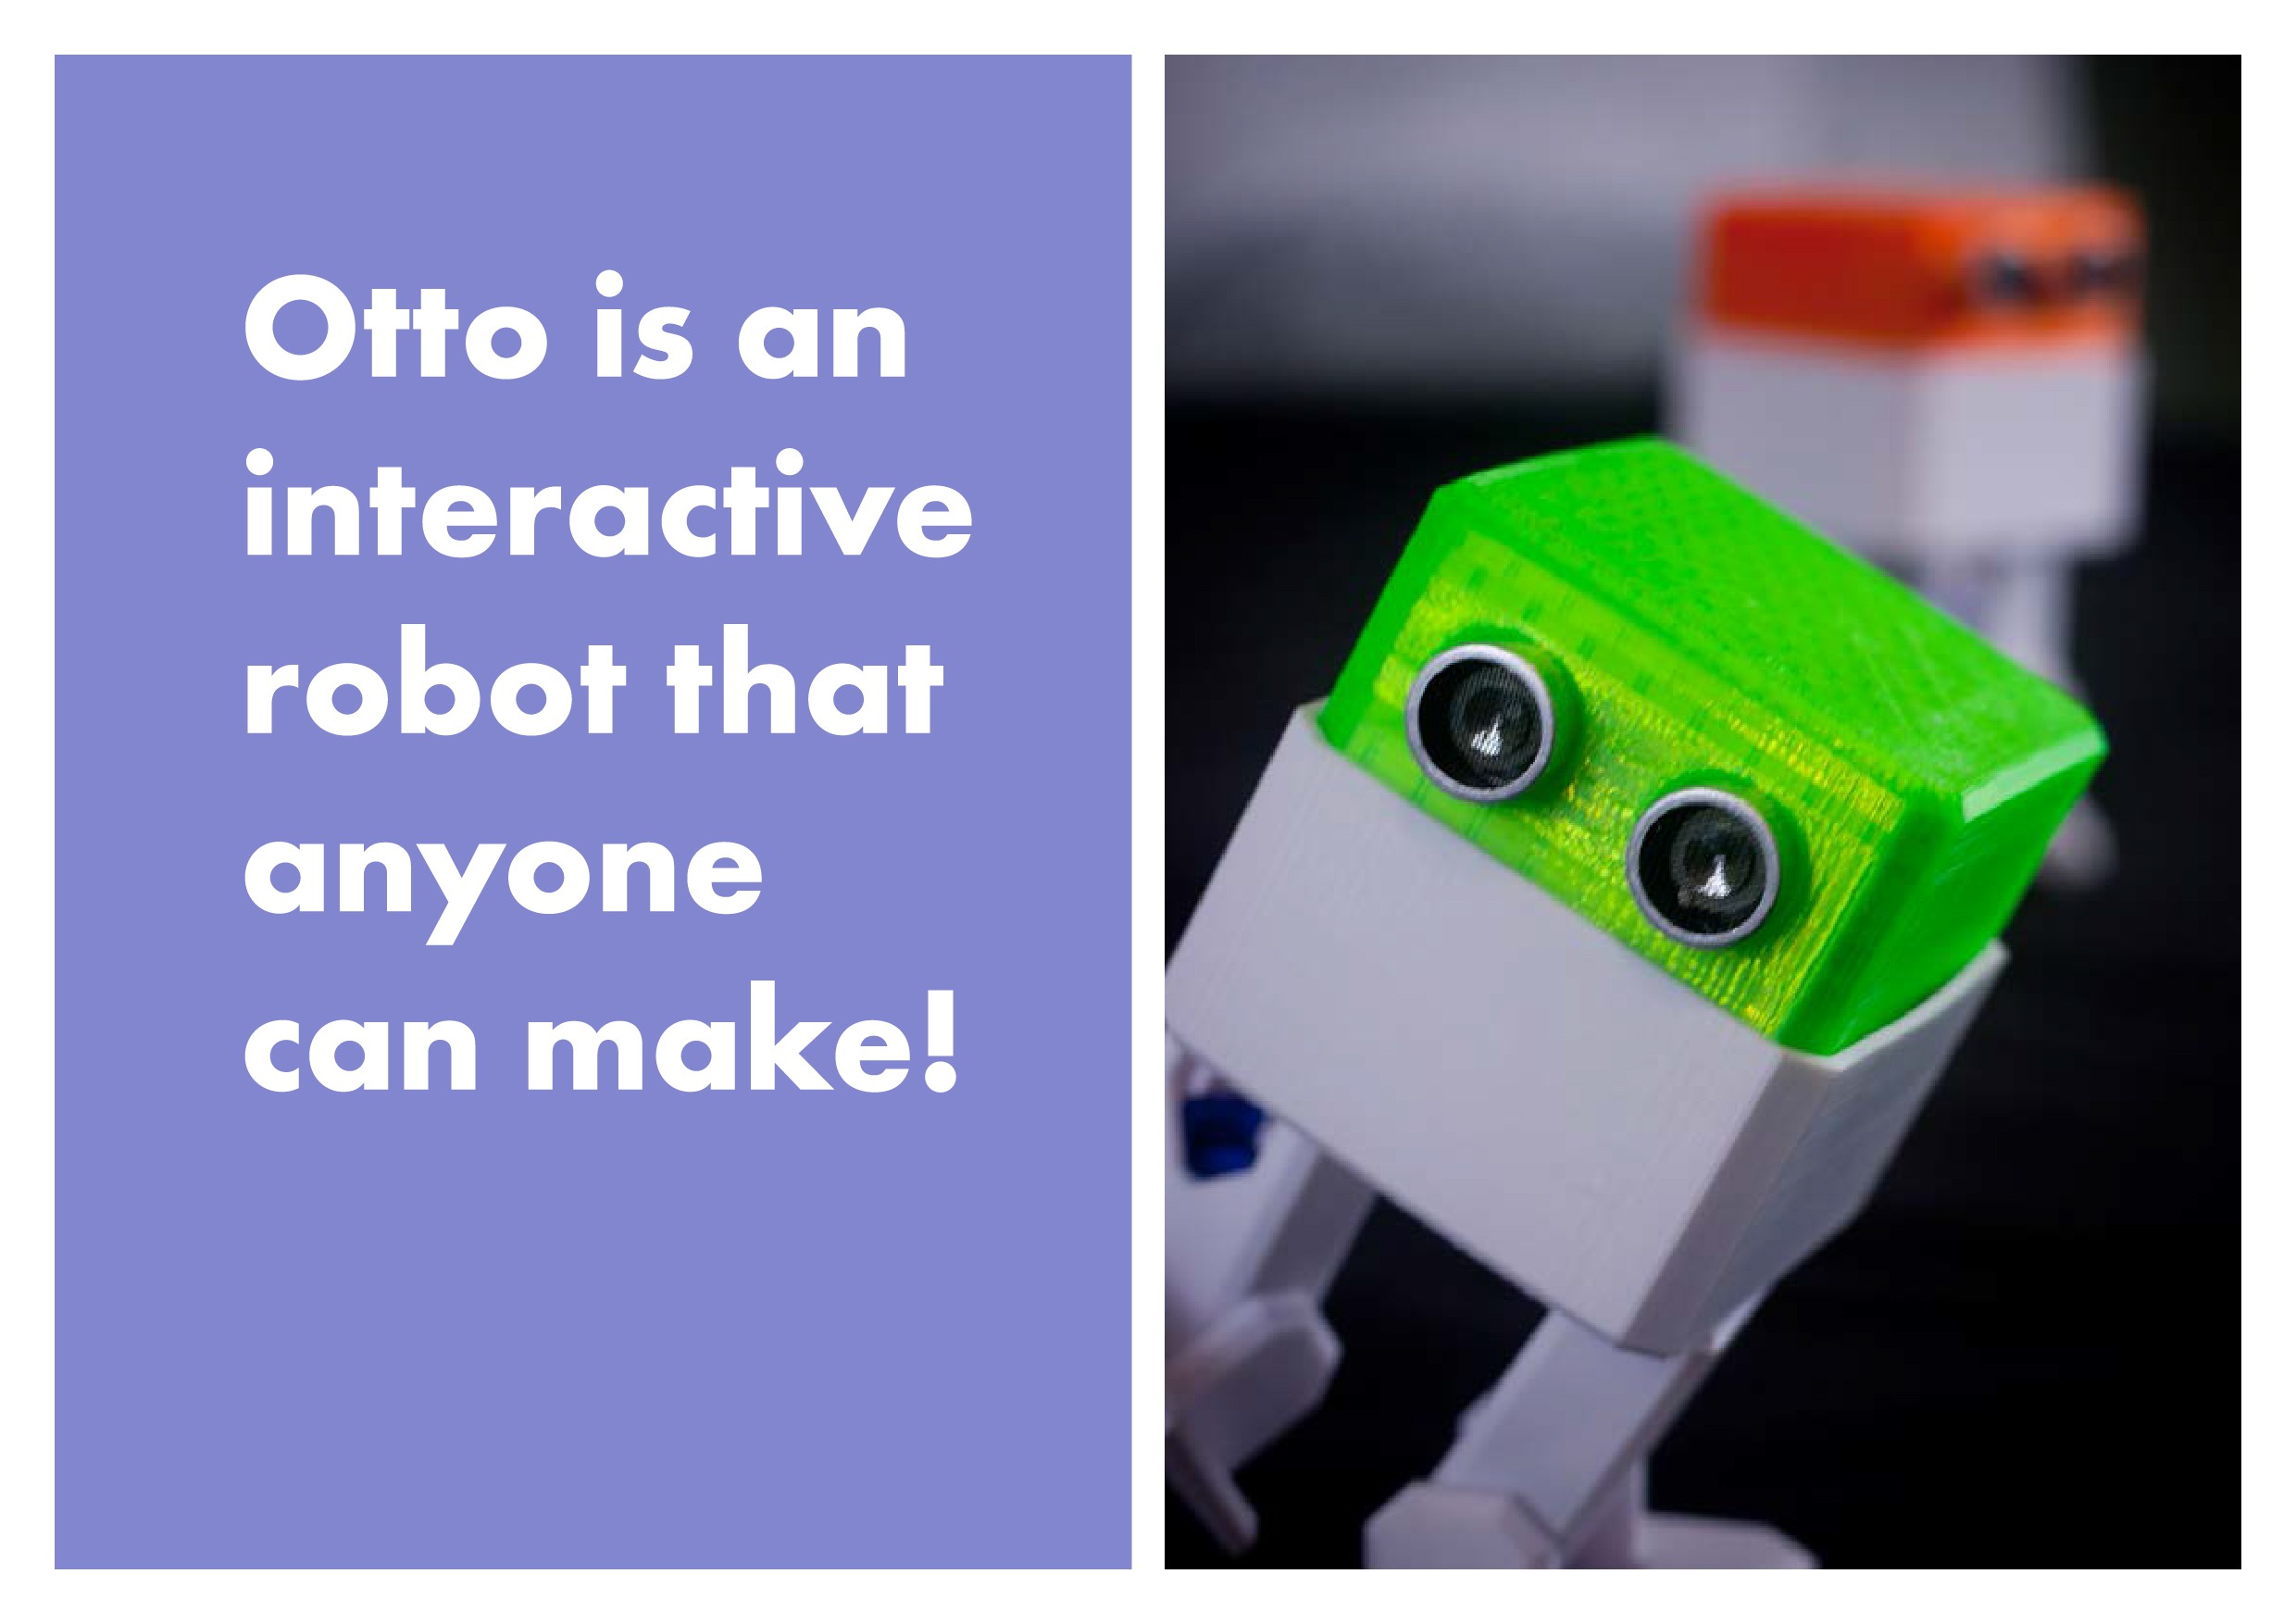
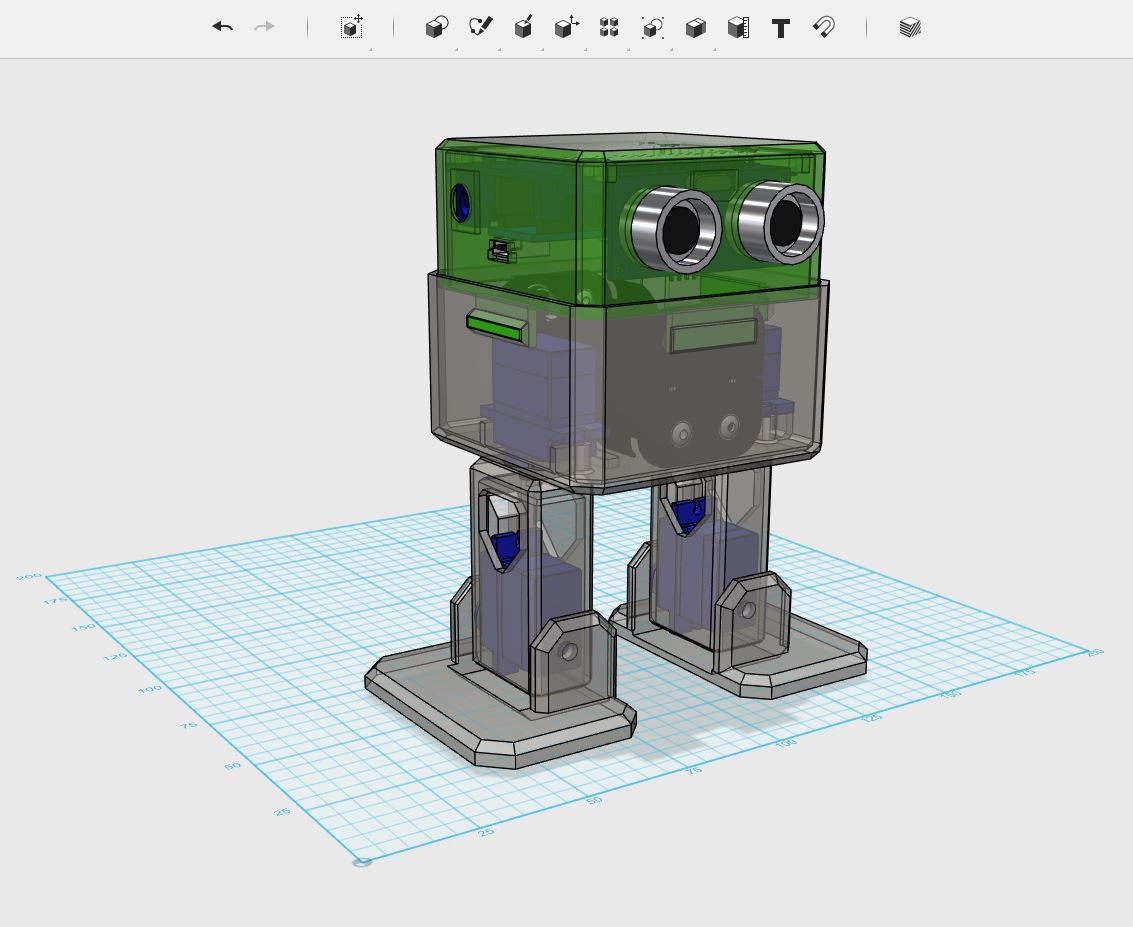
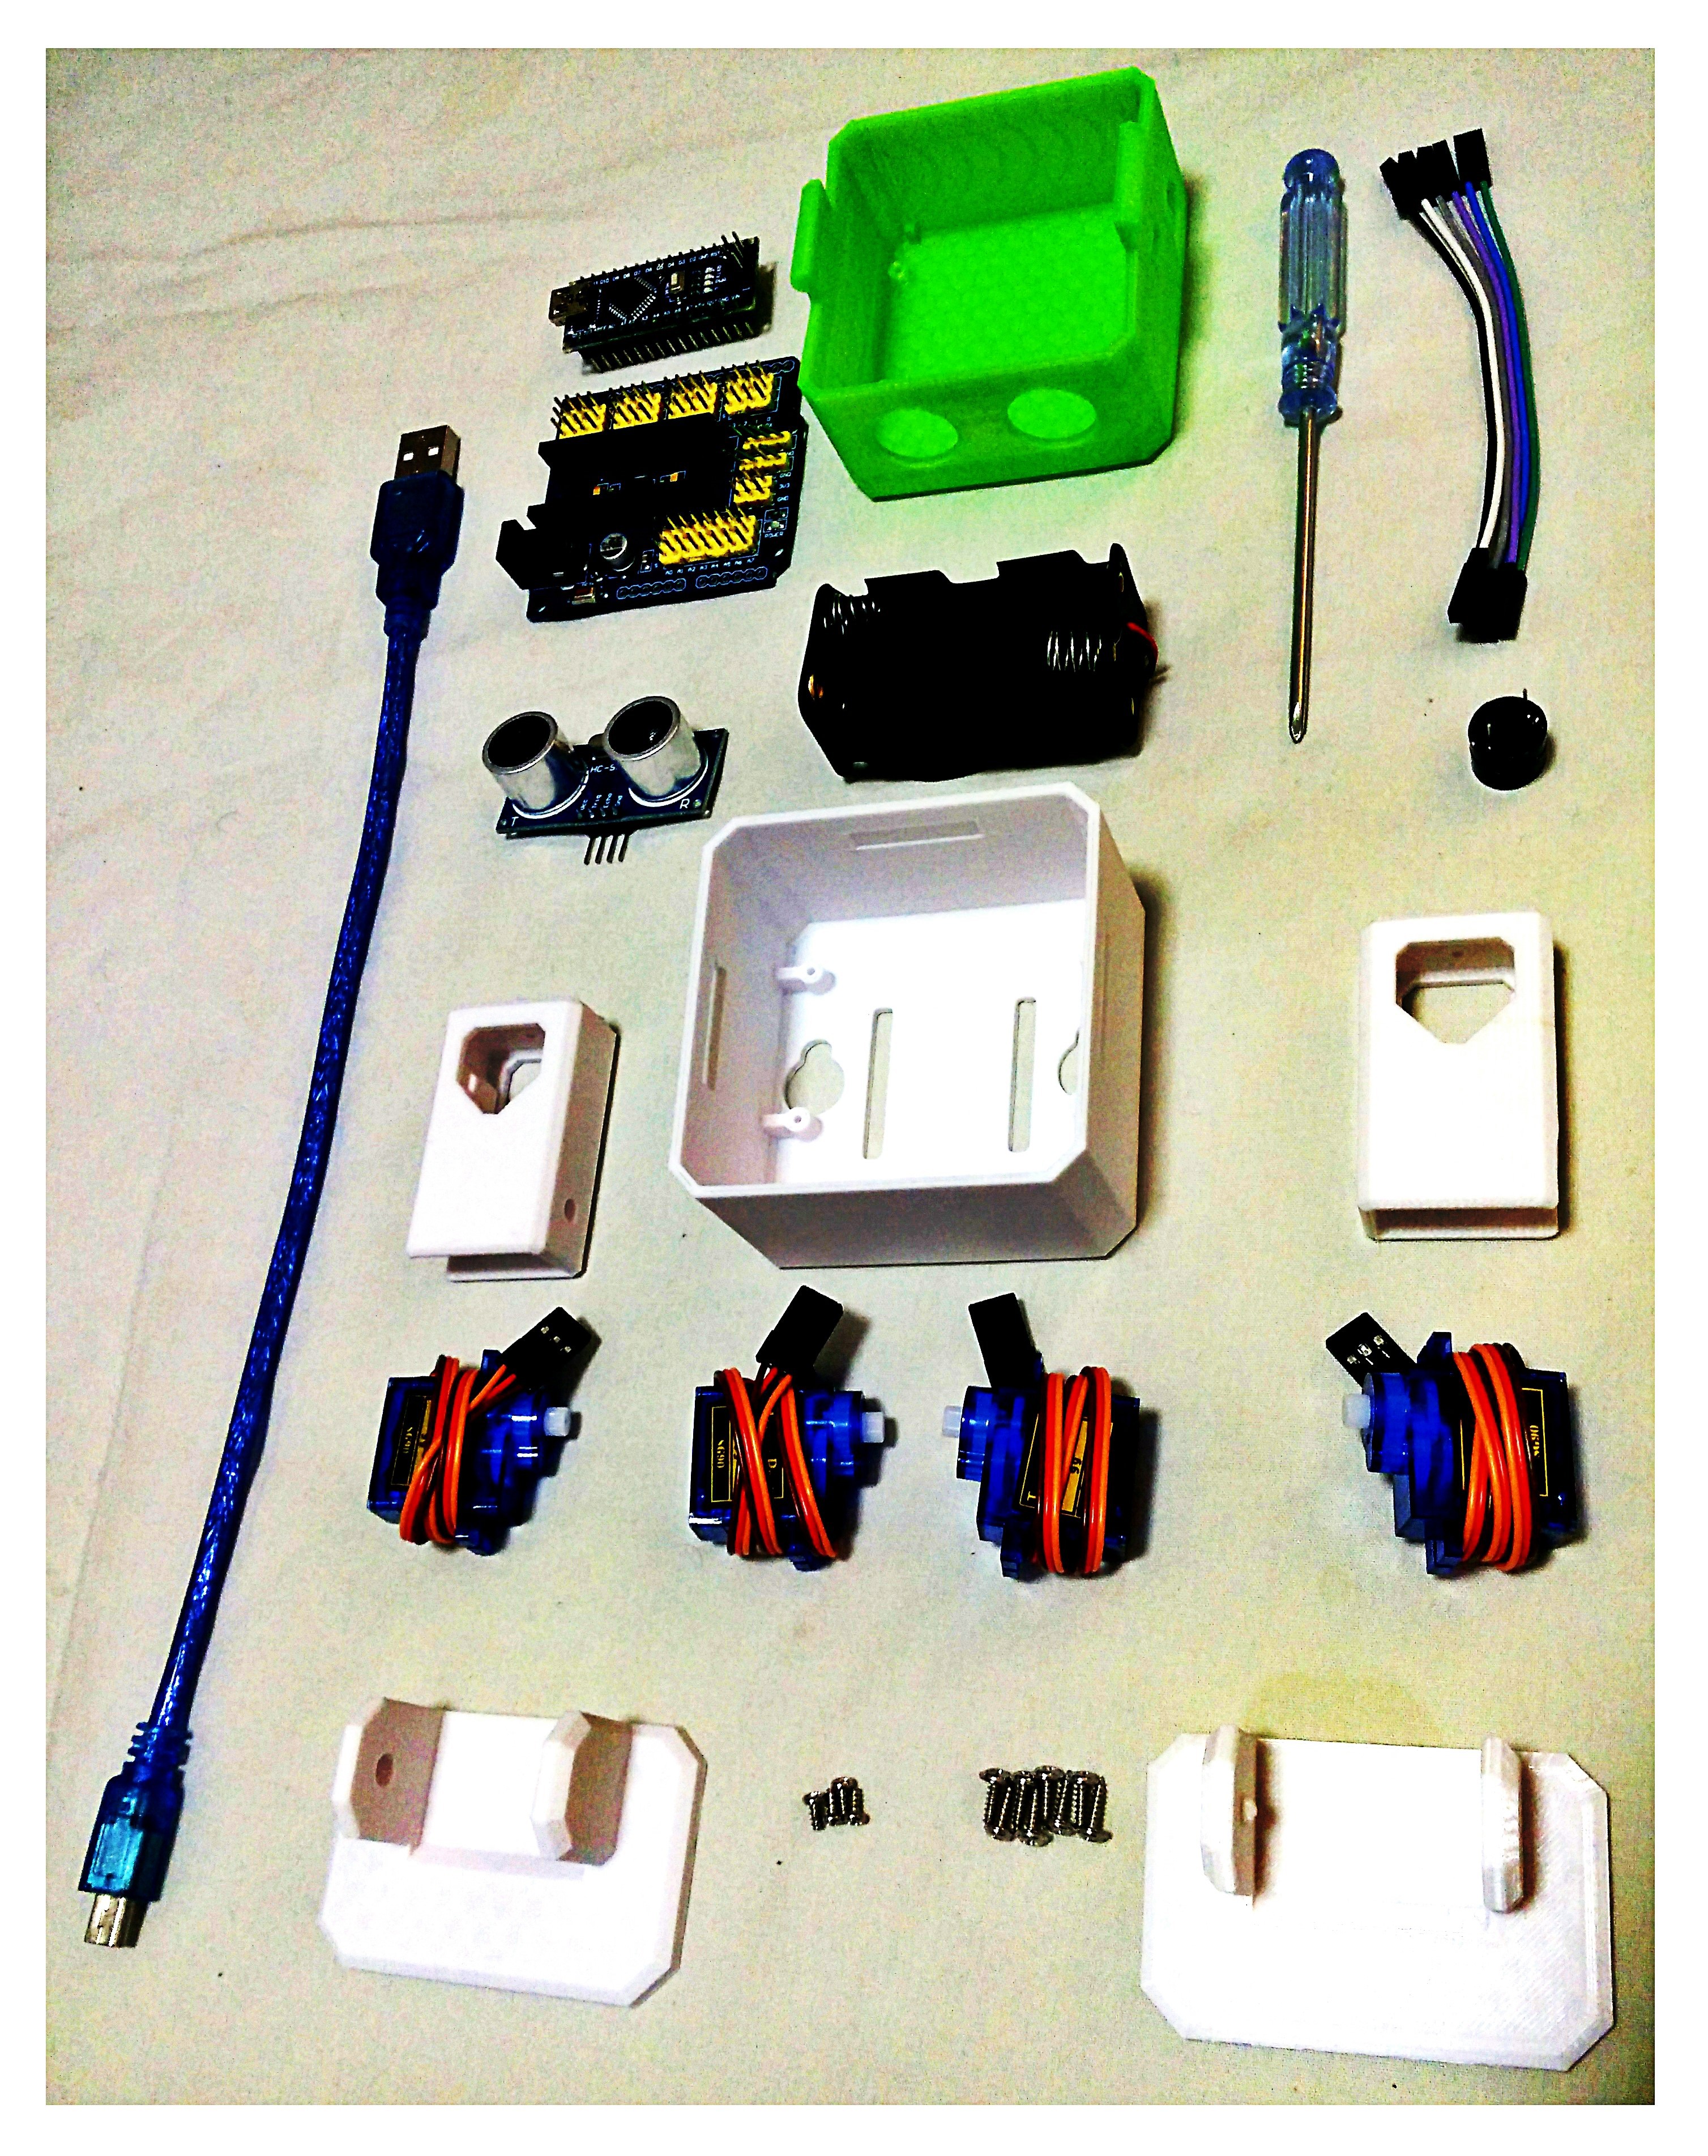
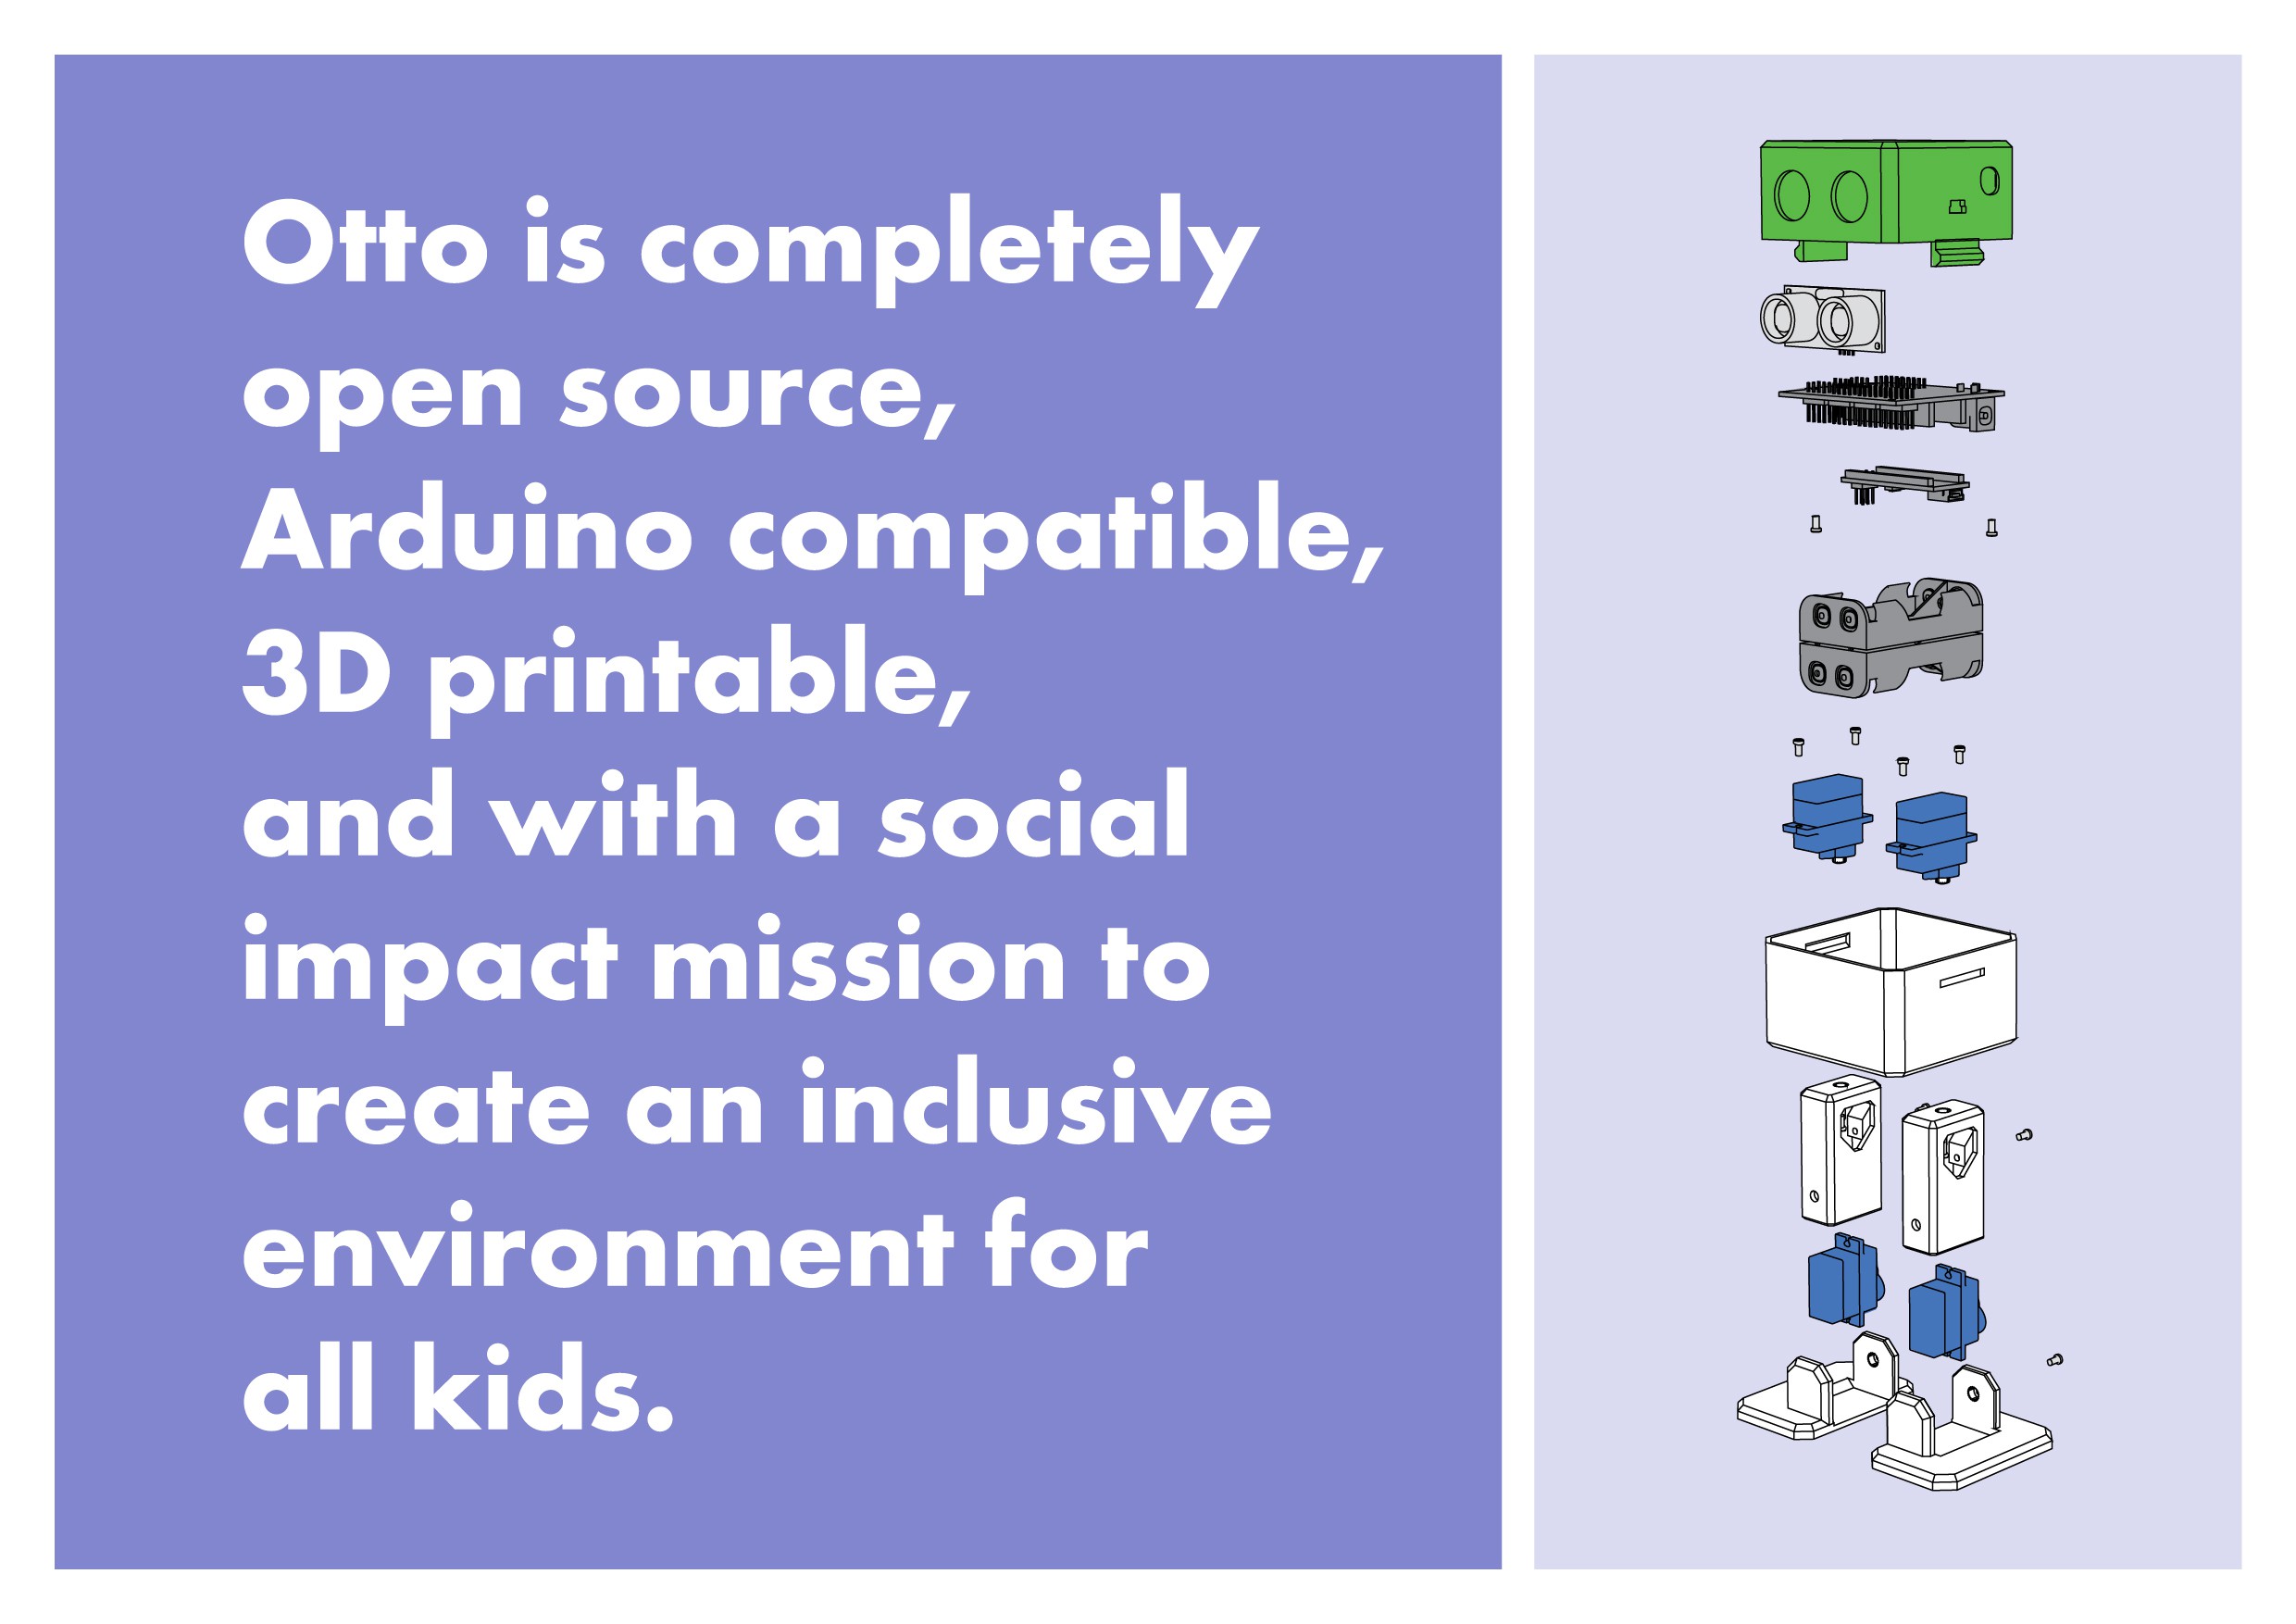
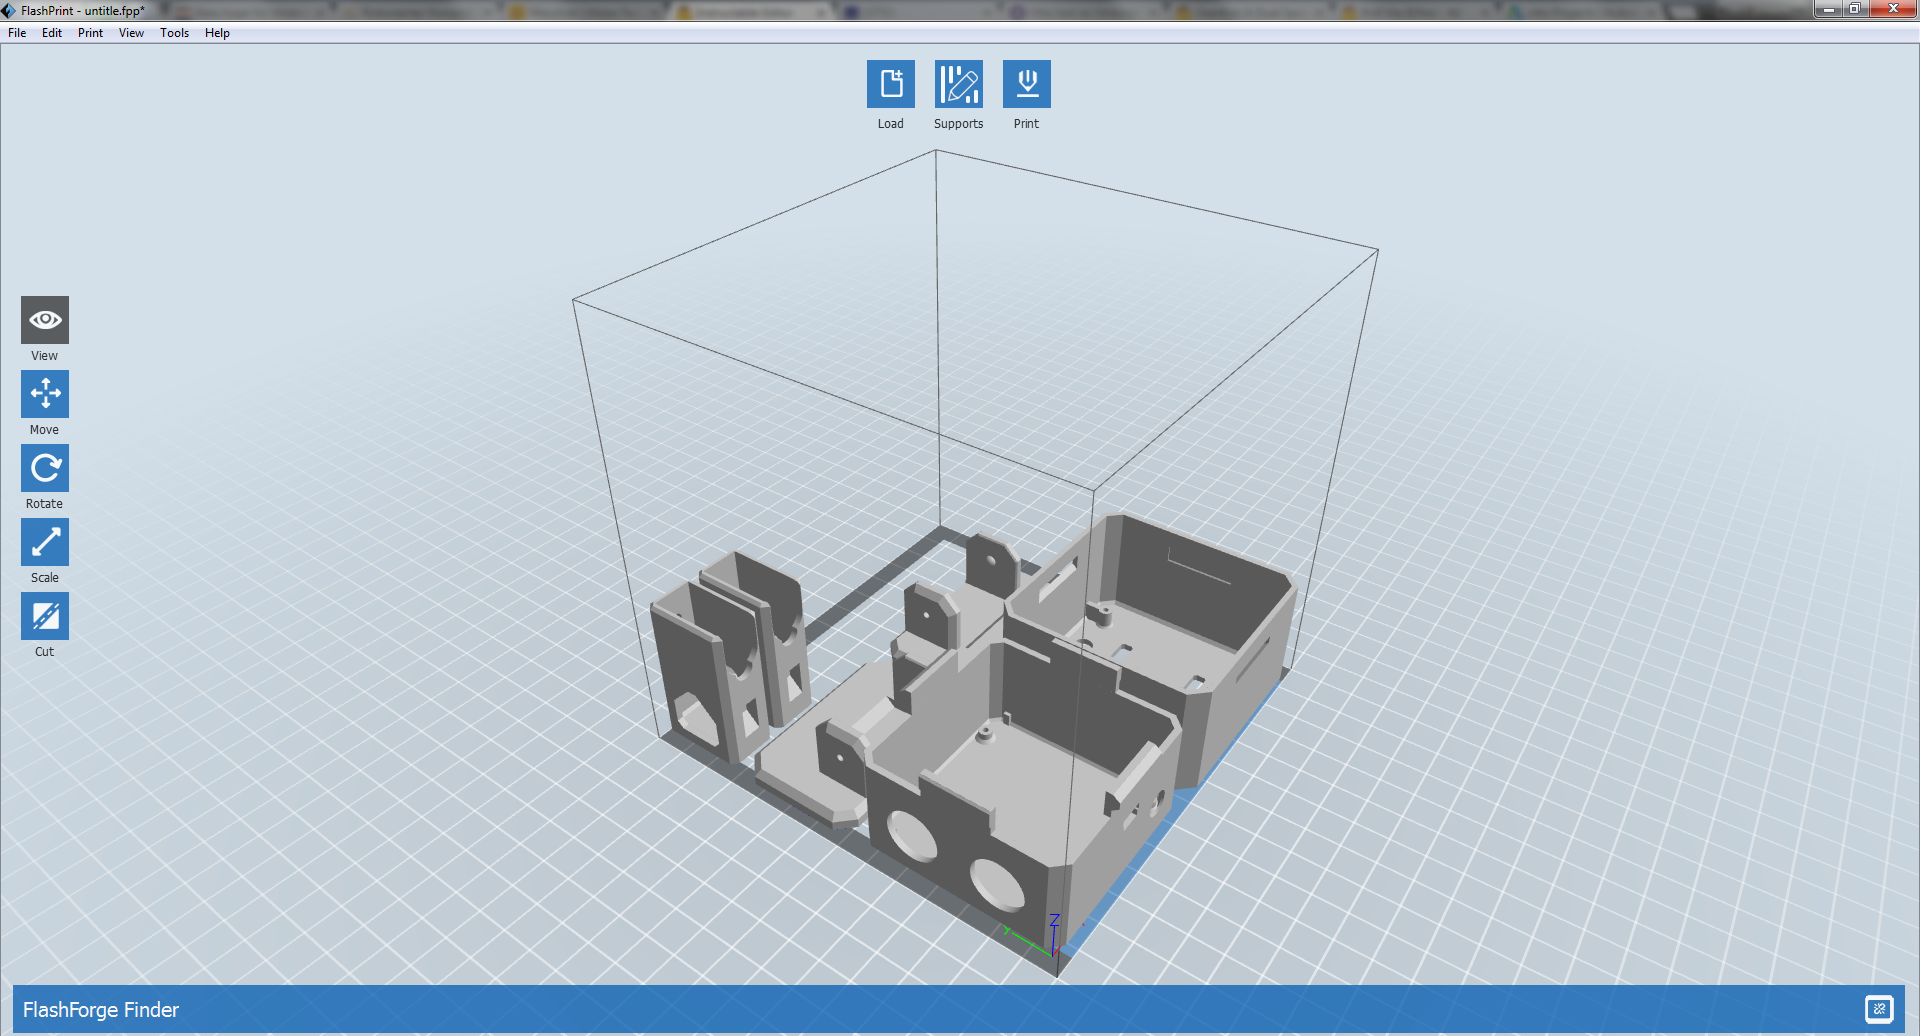
Otto's differences are in the assembled size (11cm x 7cm x12cm), cleaner integration of components and expressions. Using off the shelf and 3D printed parts, simple electronics connections (almost no welding required), and basic coding skills, you will be able to build your own cute Otto friend in as little as two hours!This Project focuses on how to build the Otto DIY entry version "green", if you want to control via Bluetooth go to Otto DIY PLUS)
 OttoDIY by www.ottodiy.com is licensed under a Creative Commons Attribution-ShareAlike 4.0 International License.


 Cole B
 Dan Royer
 Afreez Gan