 Charles Yarnold
This project is a realisation of a stalled project back at the first emf to bring light and interactive fun to the whole of the event at night.
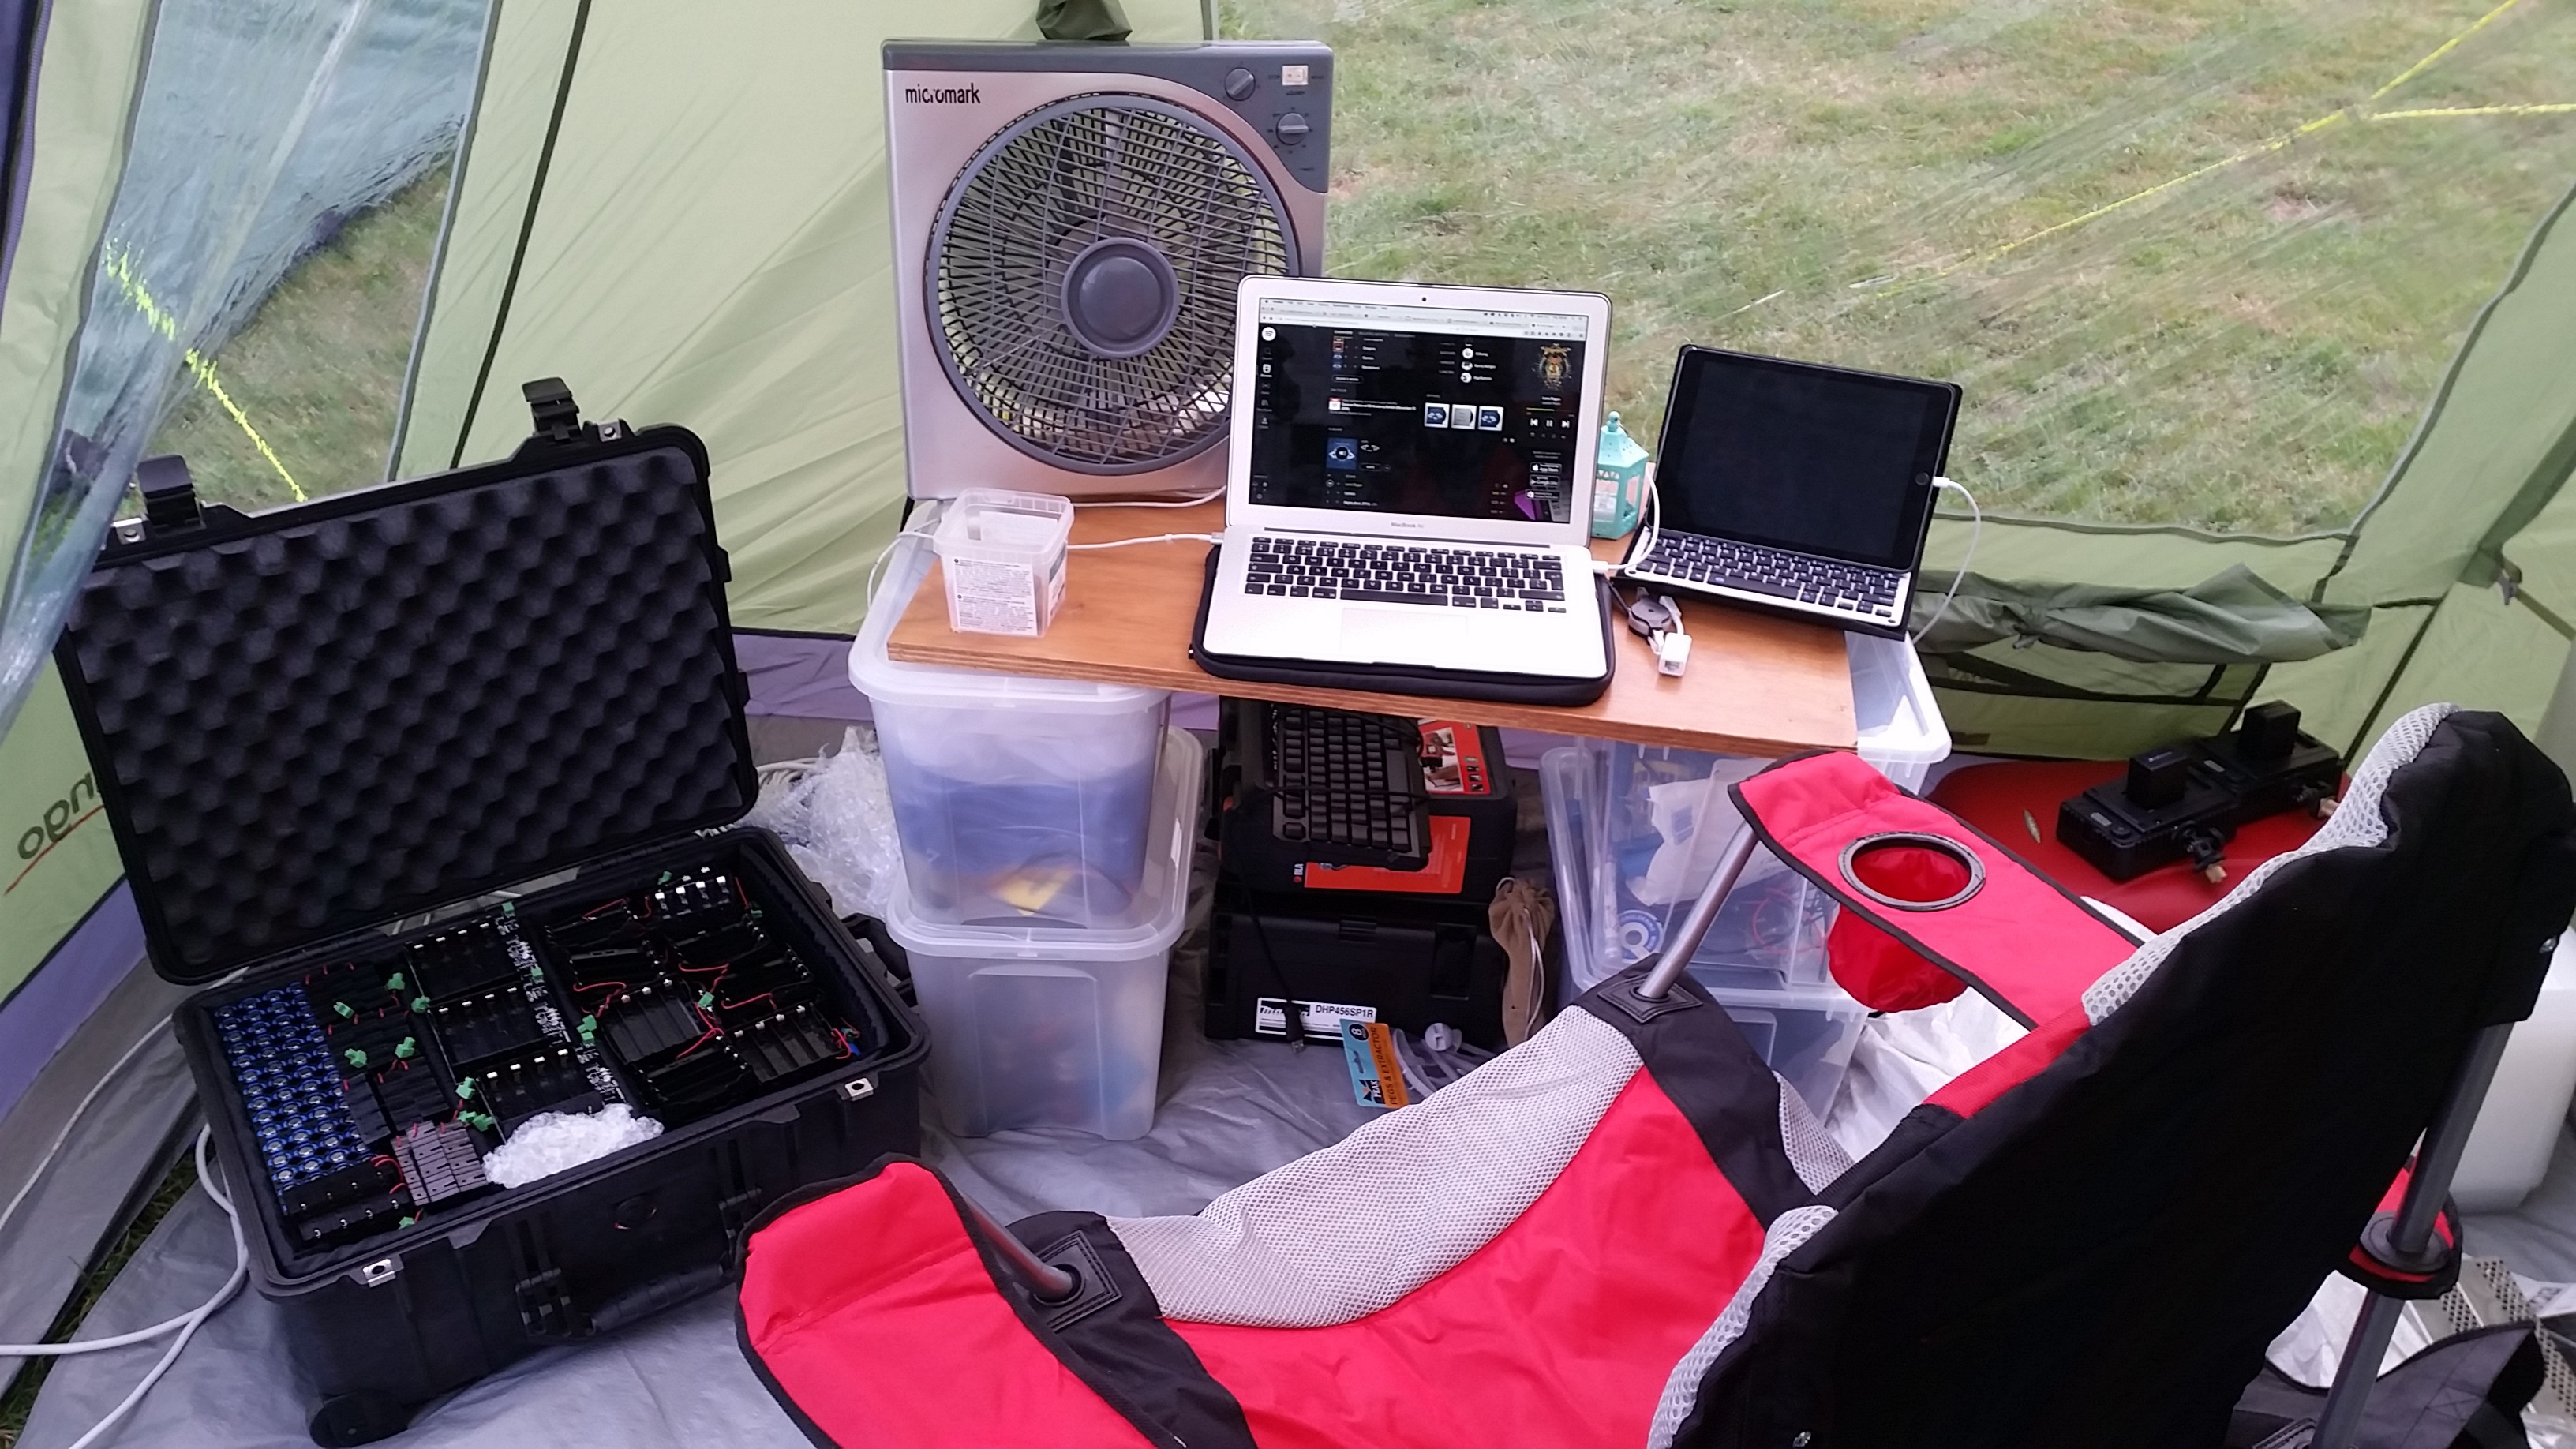
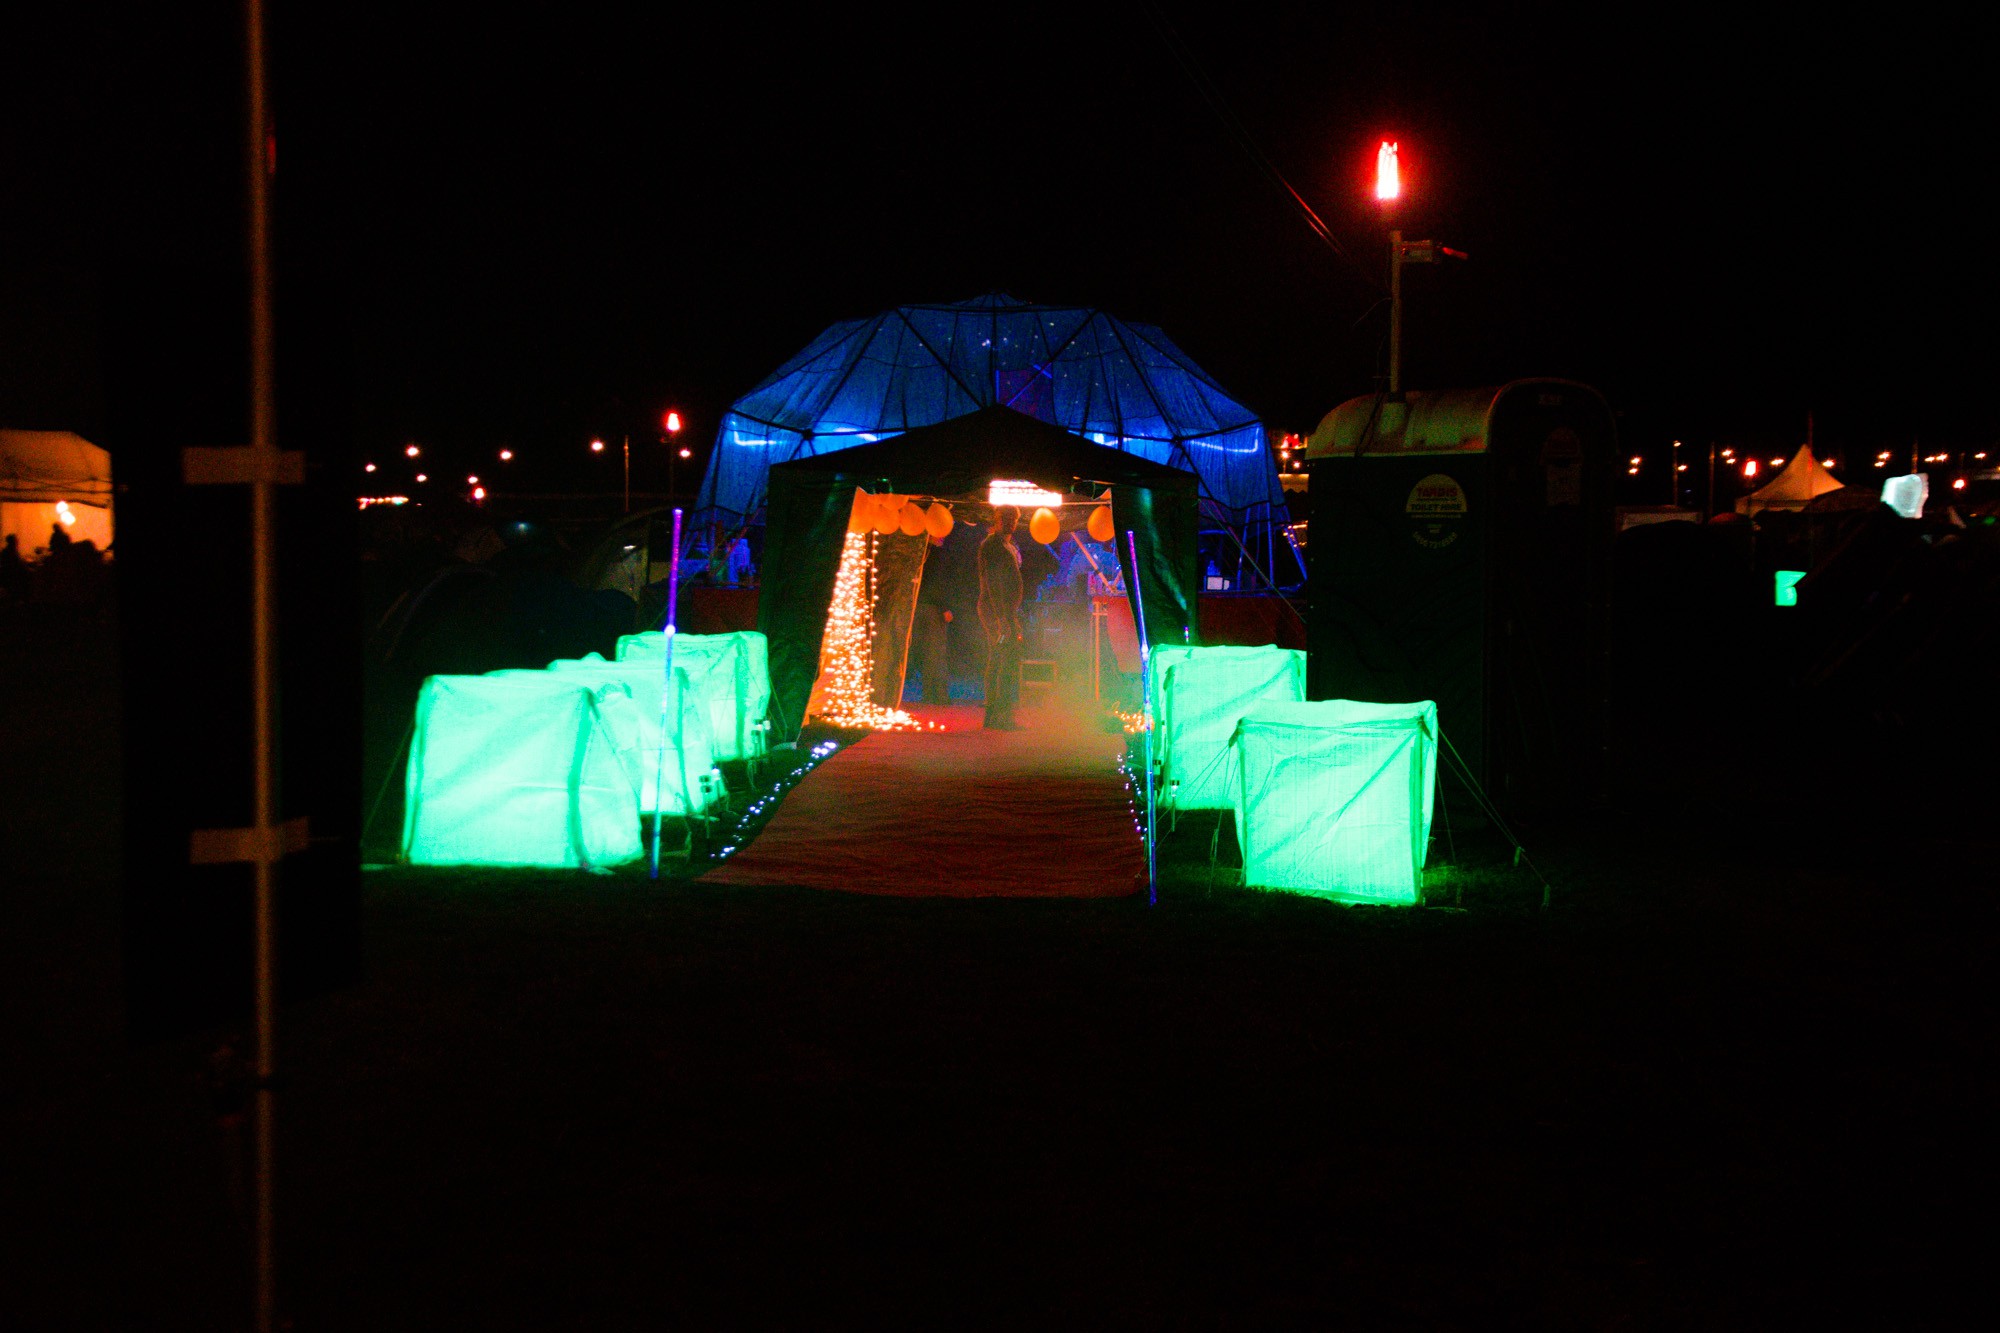
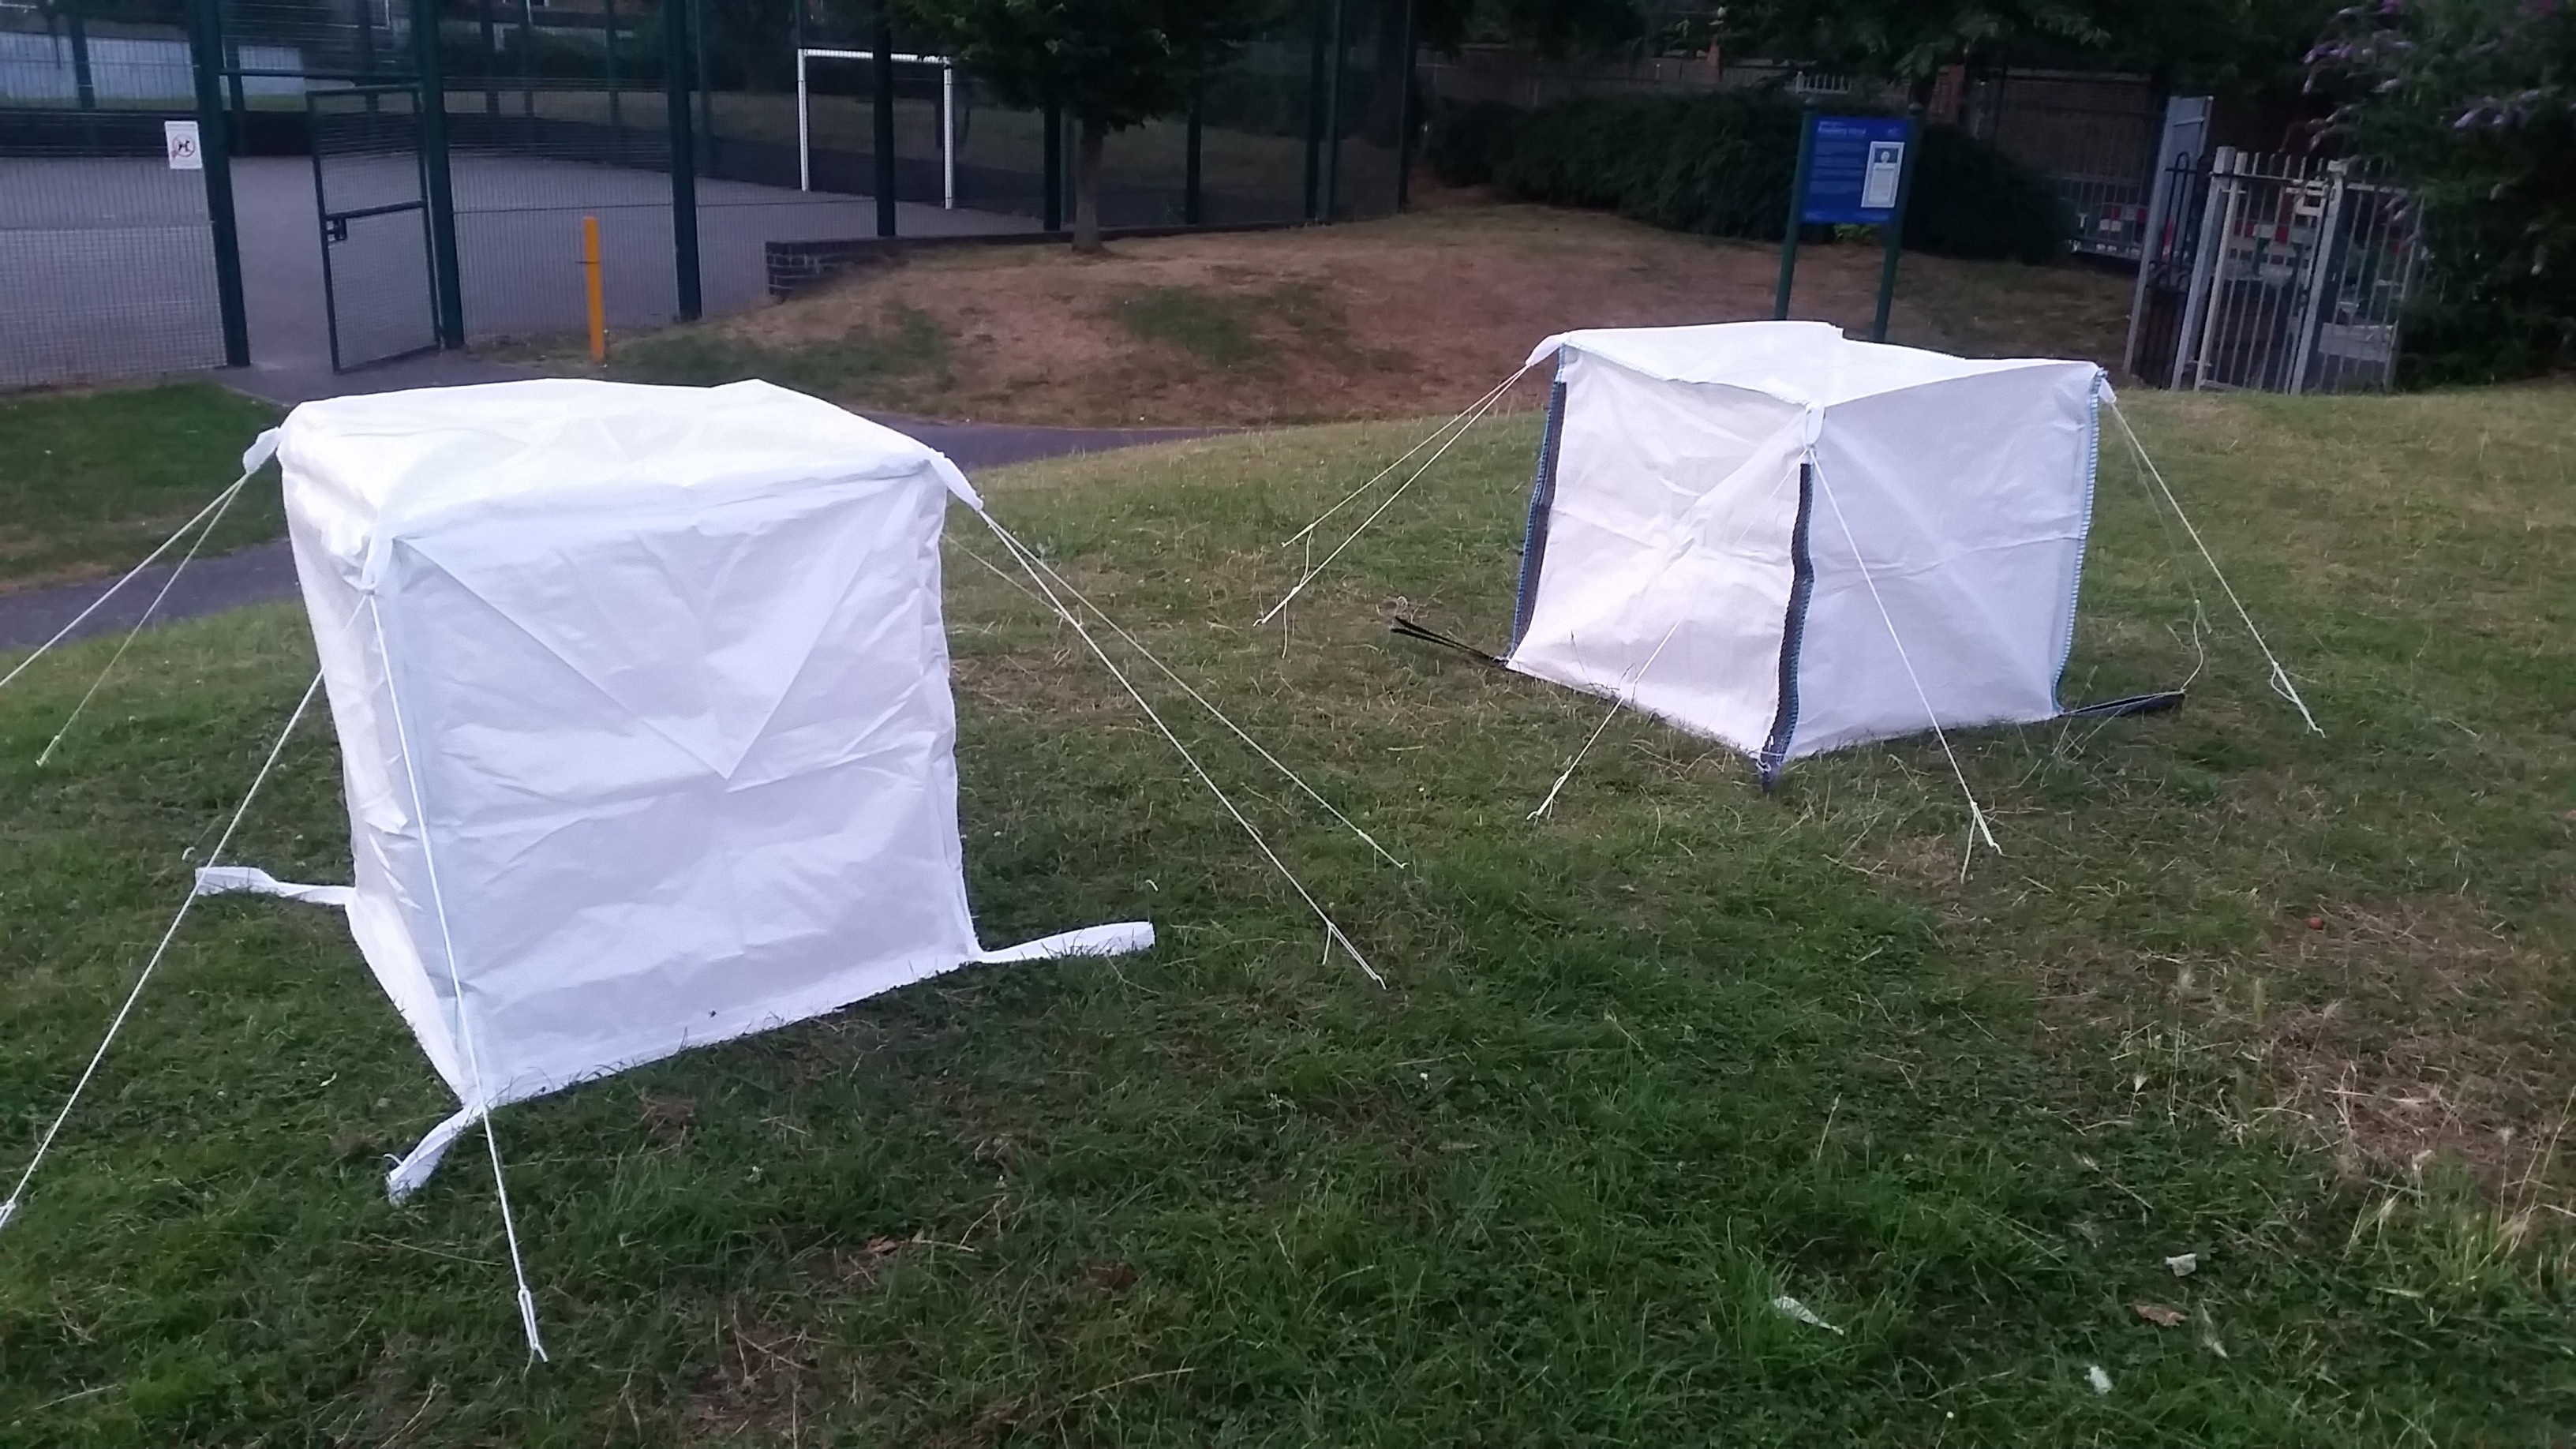
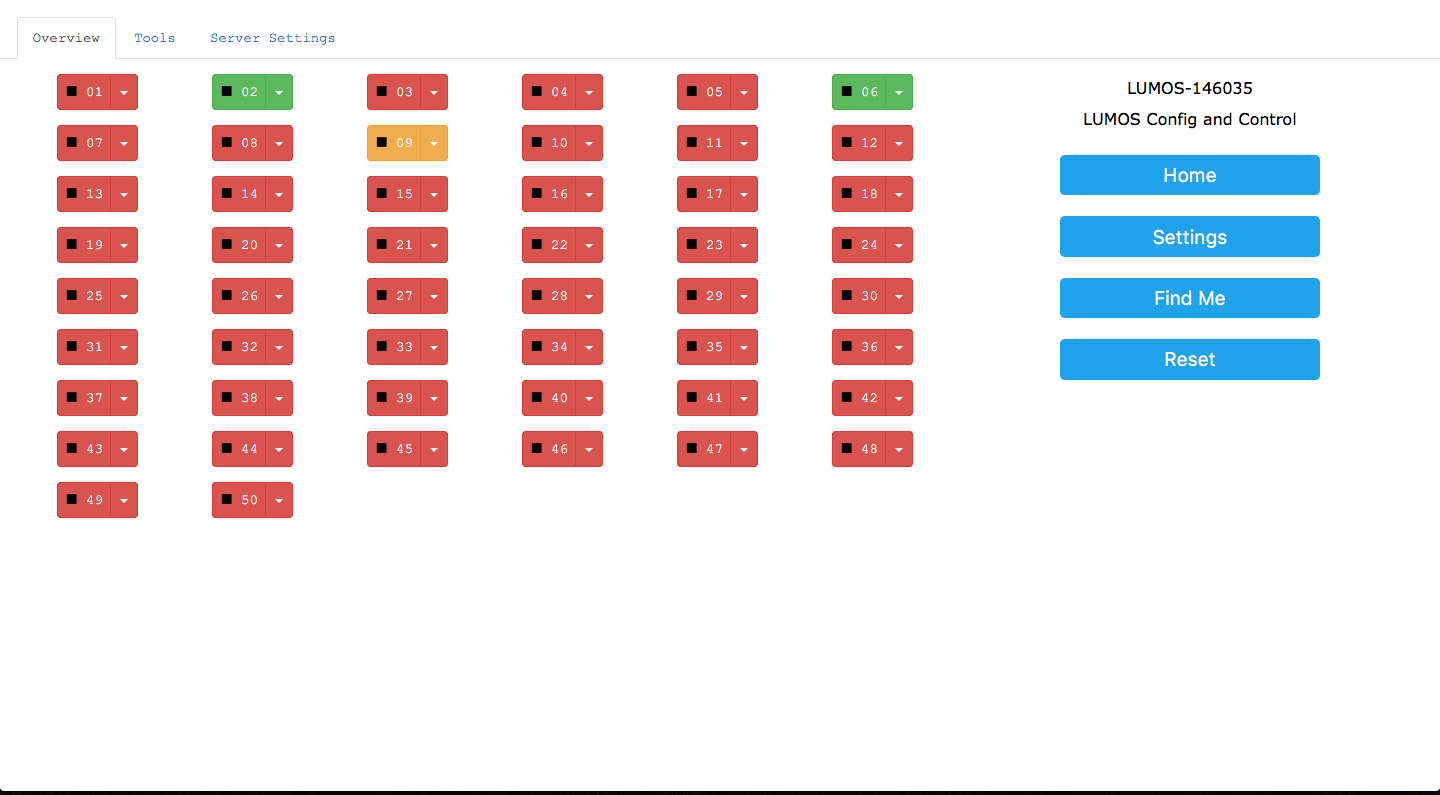
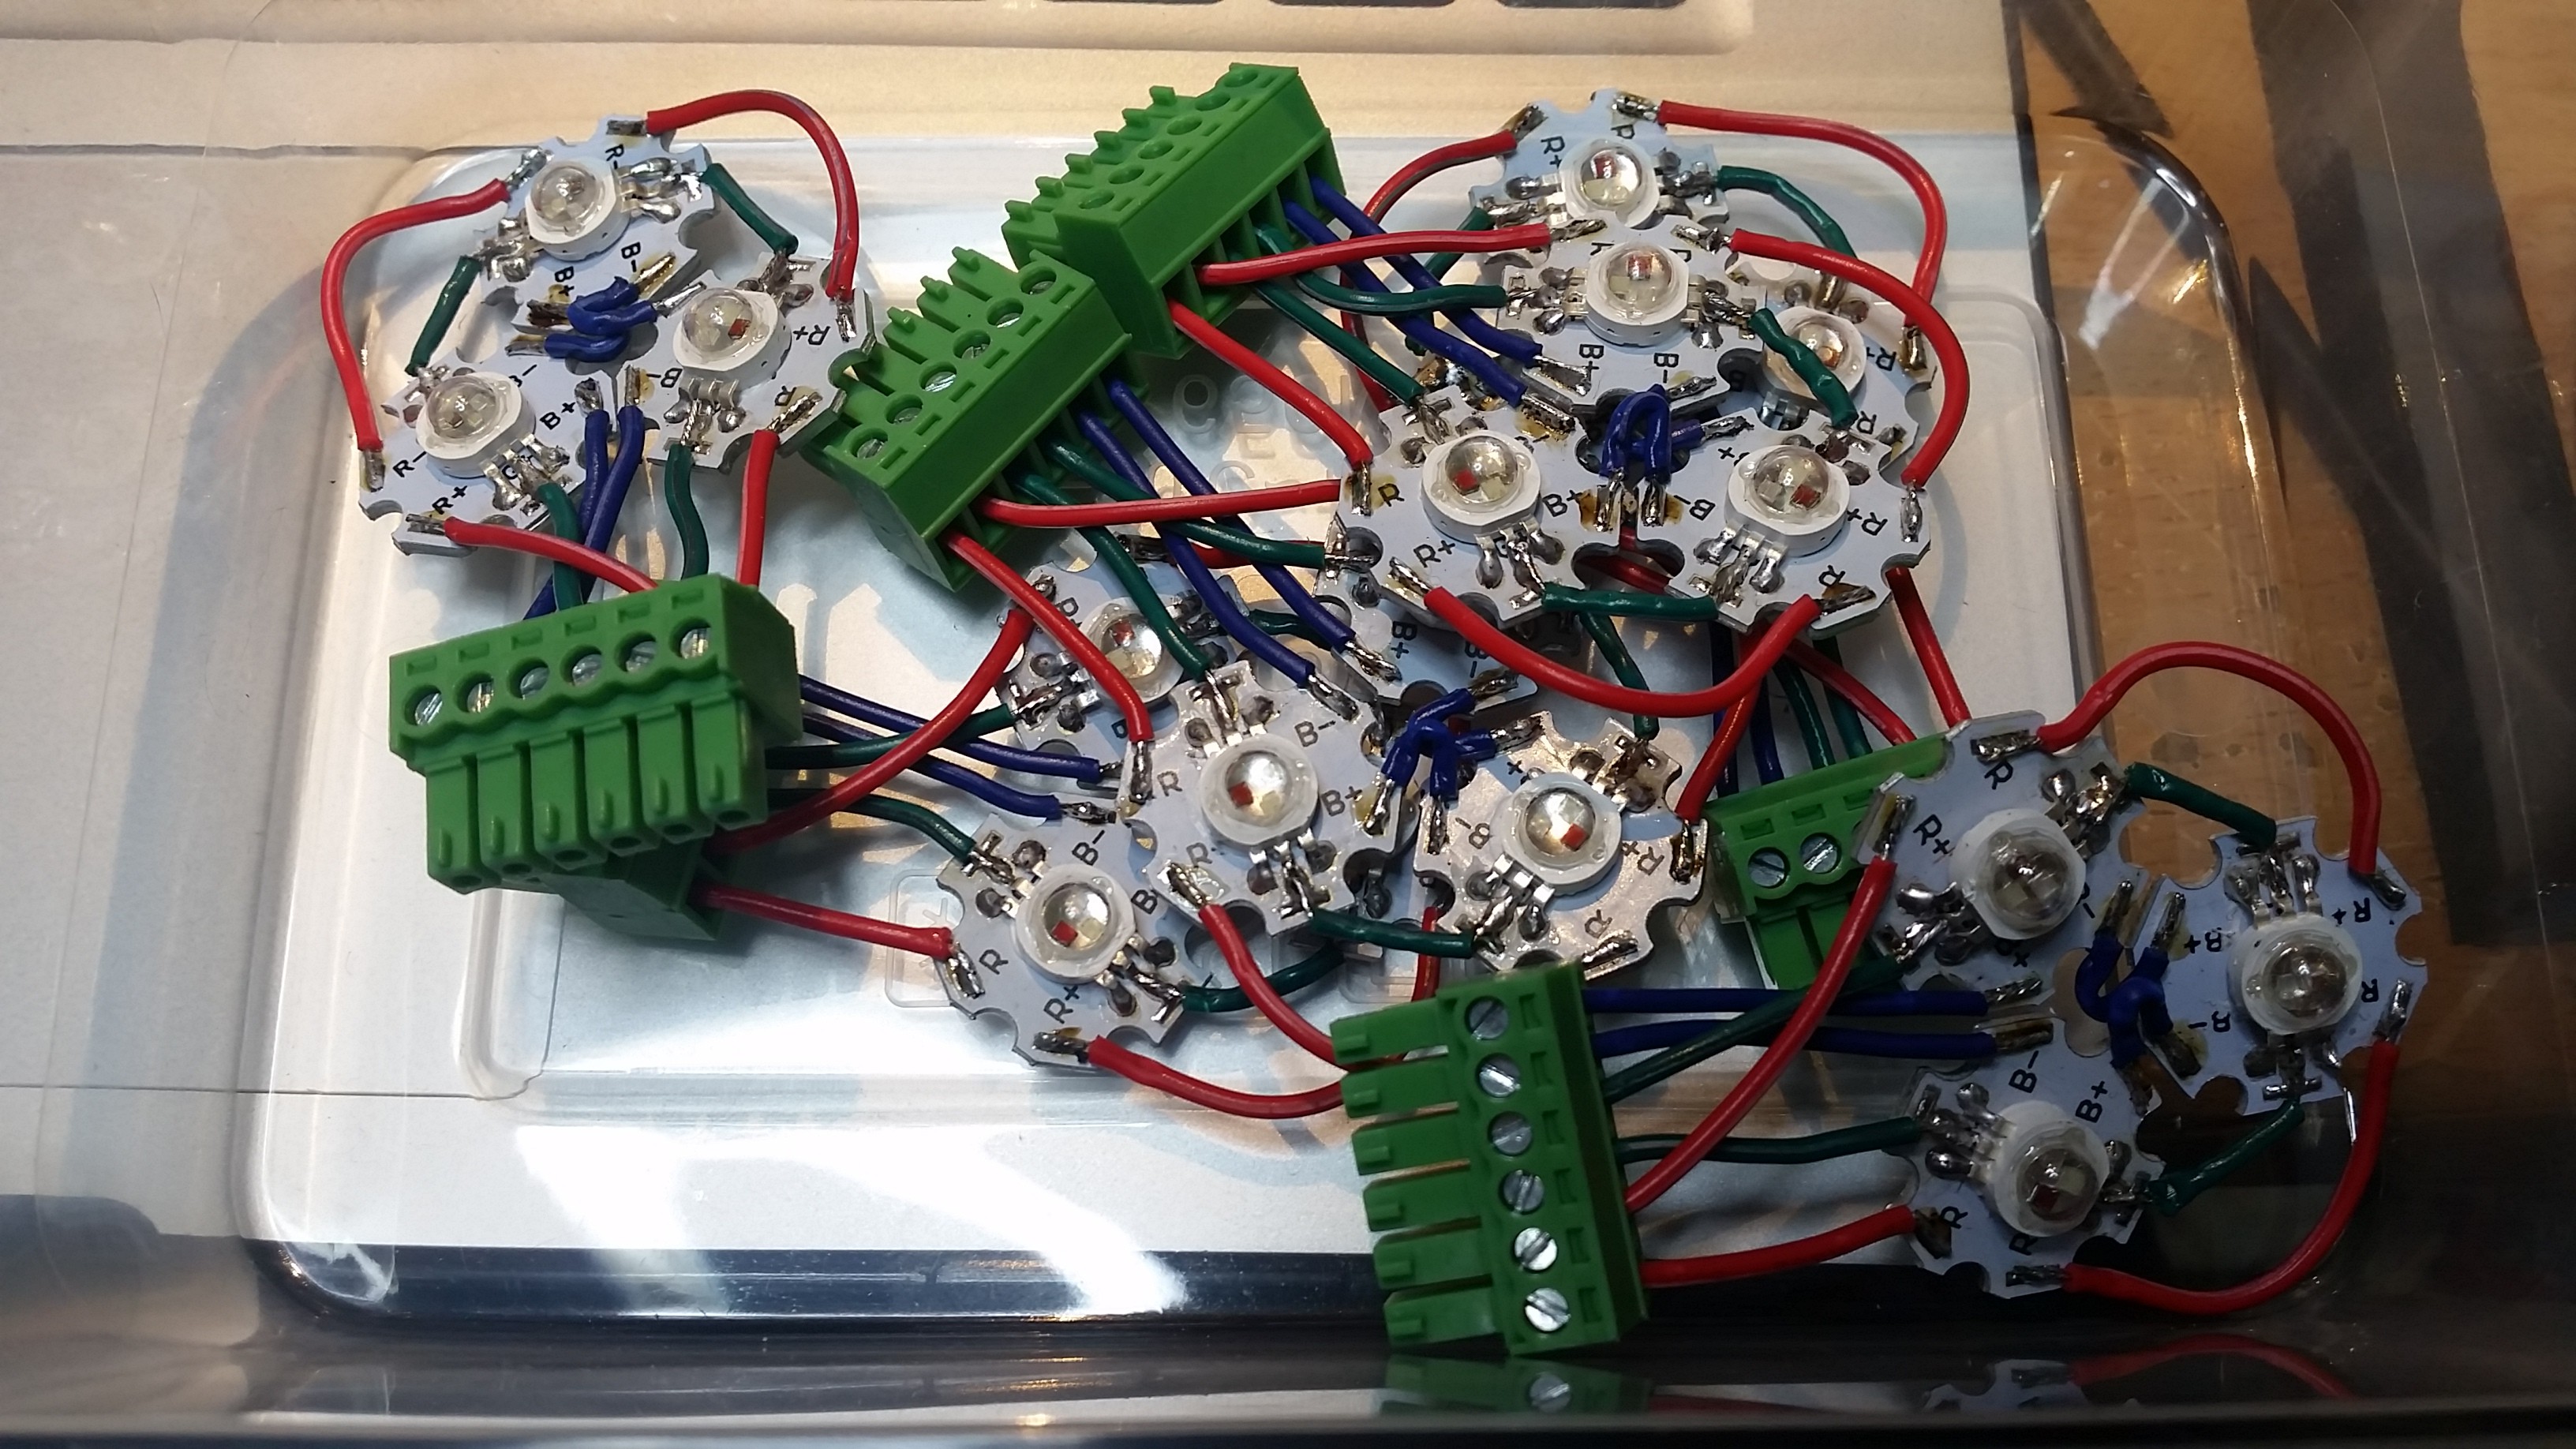
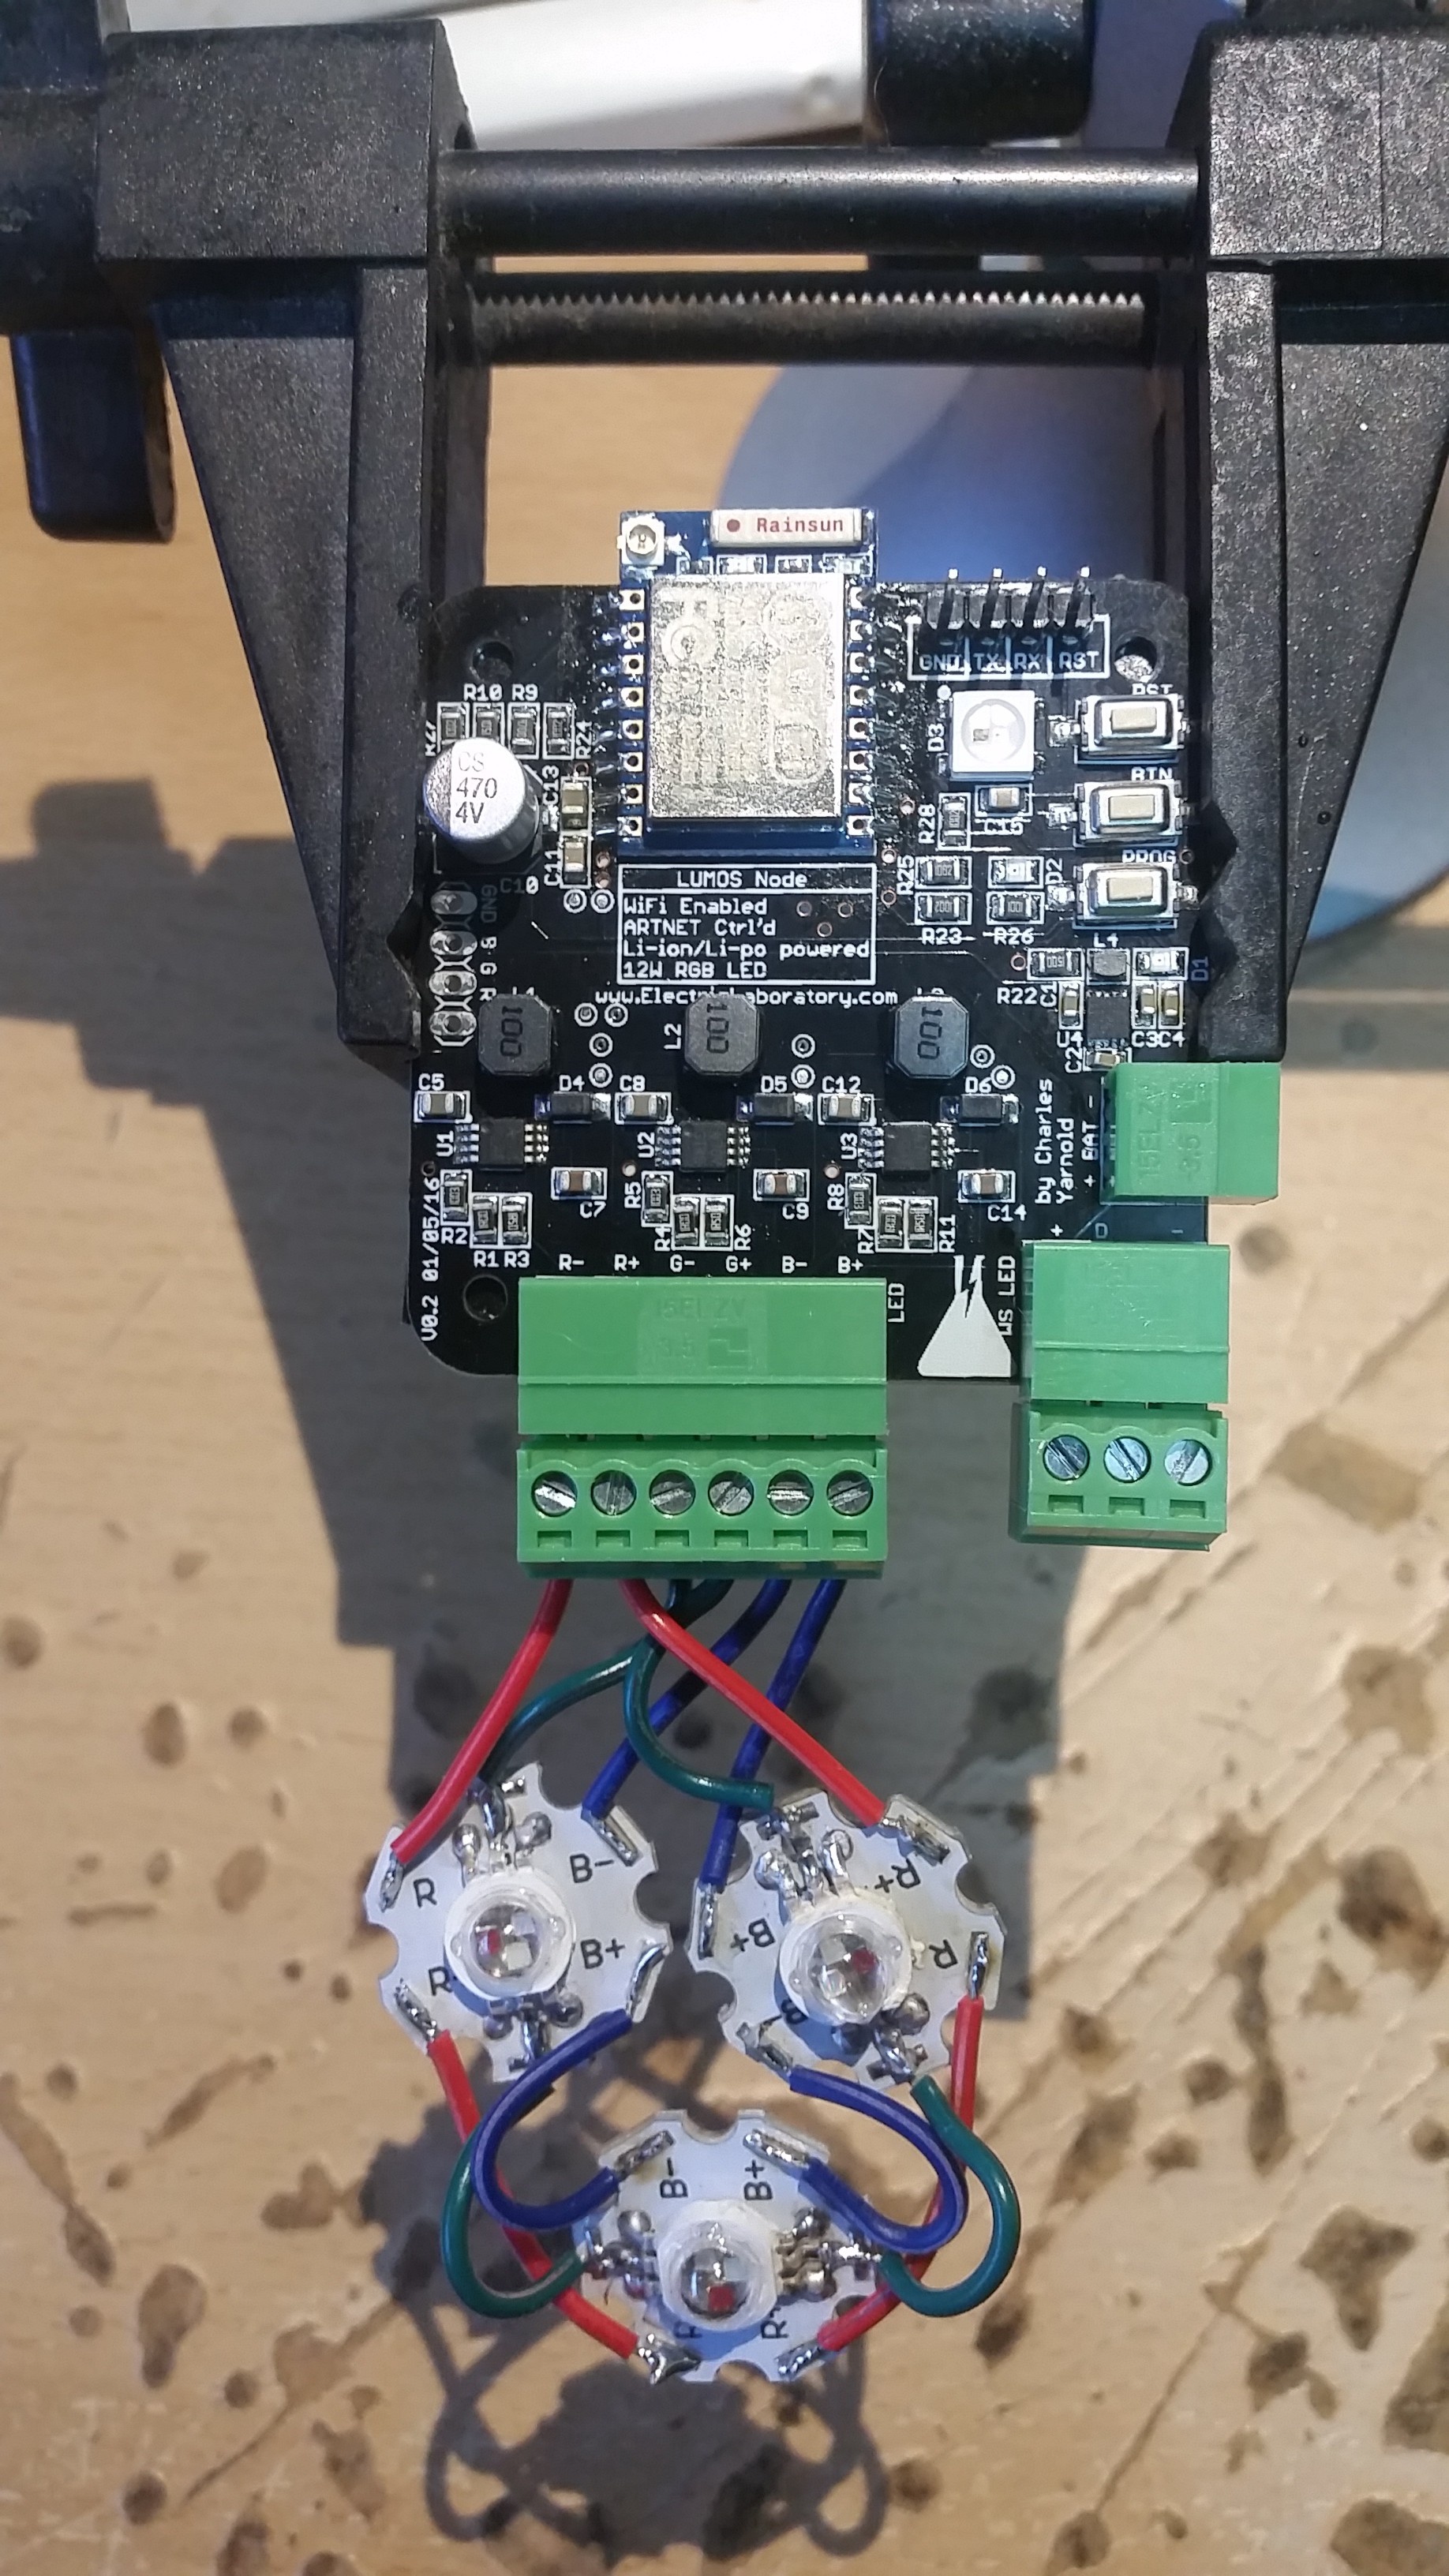
Spread over 50 cubic meters of glowing led cubes, the nodes will be responding to the central control server via the camps wifi network. They will be nestled around the camp in prominent and hidden locations, perfect for a timed treasure hunt based on blinking morse code nodes, or a visualisation of data from tweets about the event. The magic of the nodes will come from what the attendees make of them.
There are currently plans for some control uses, but we are also issuing a public call for participation to the emf camp atendees.
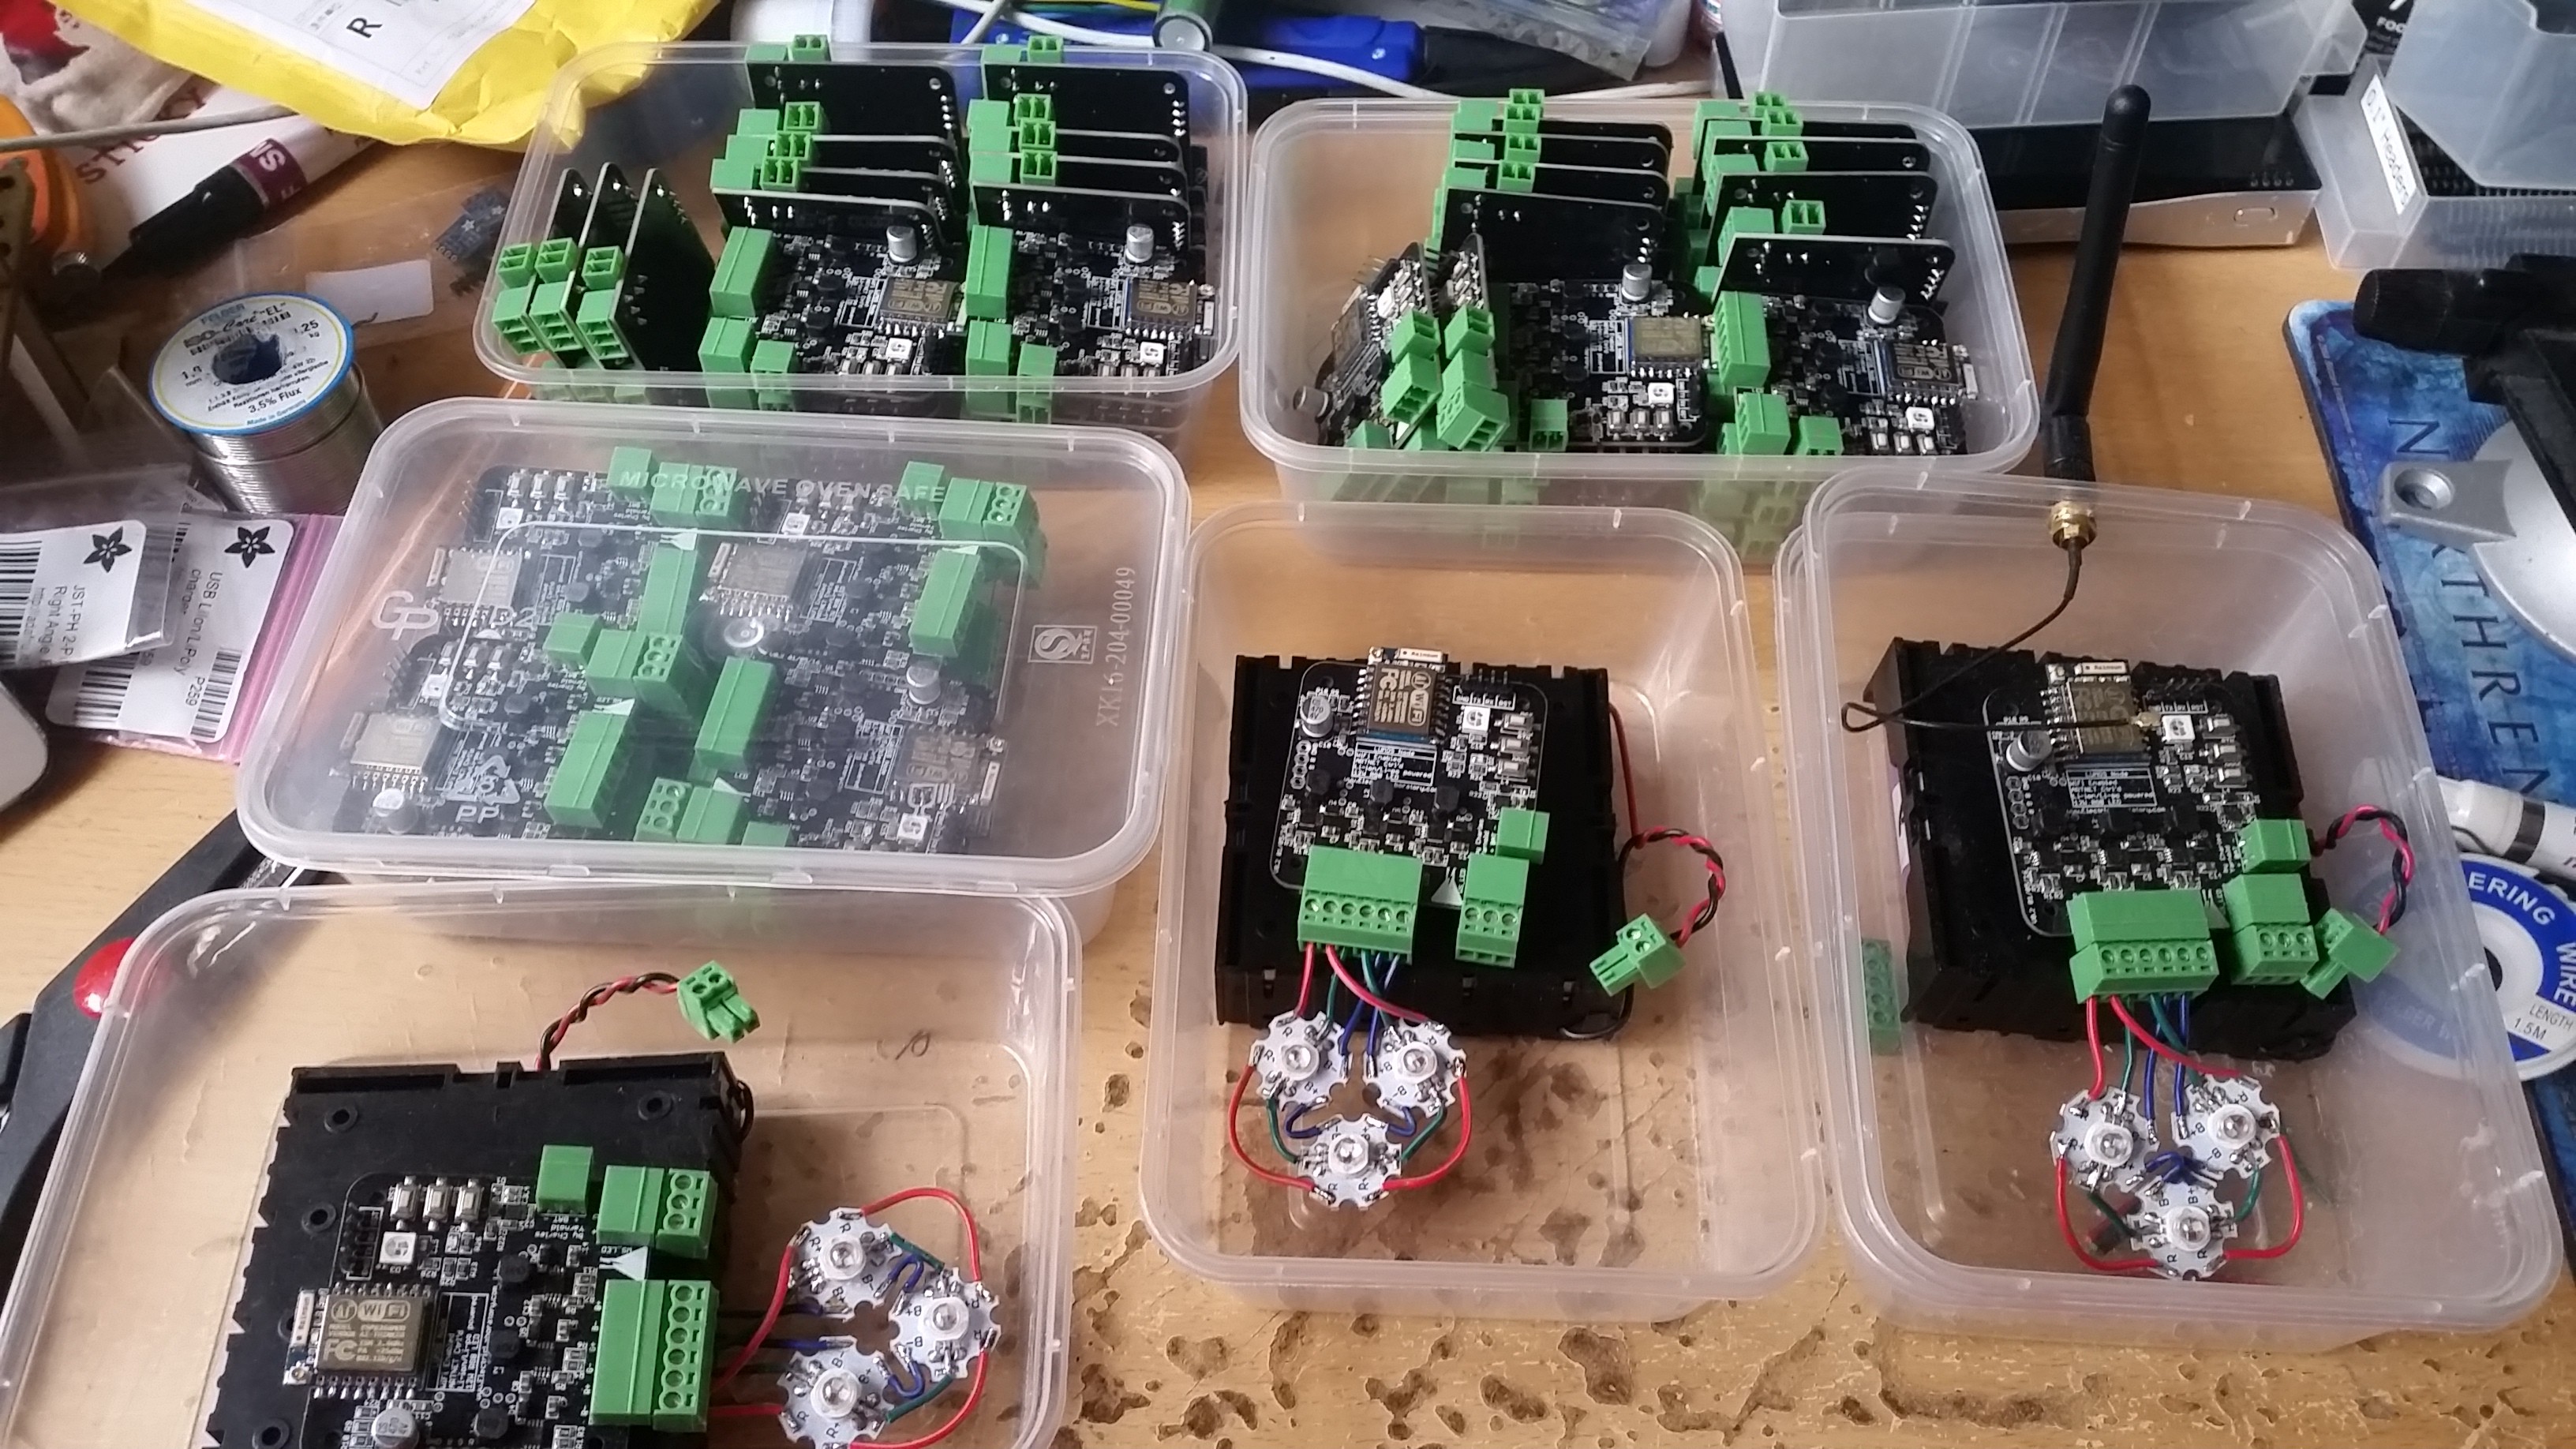
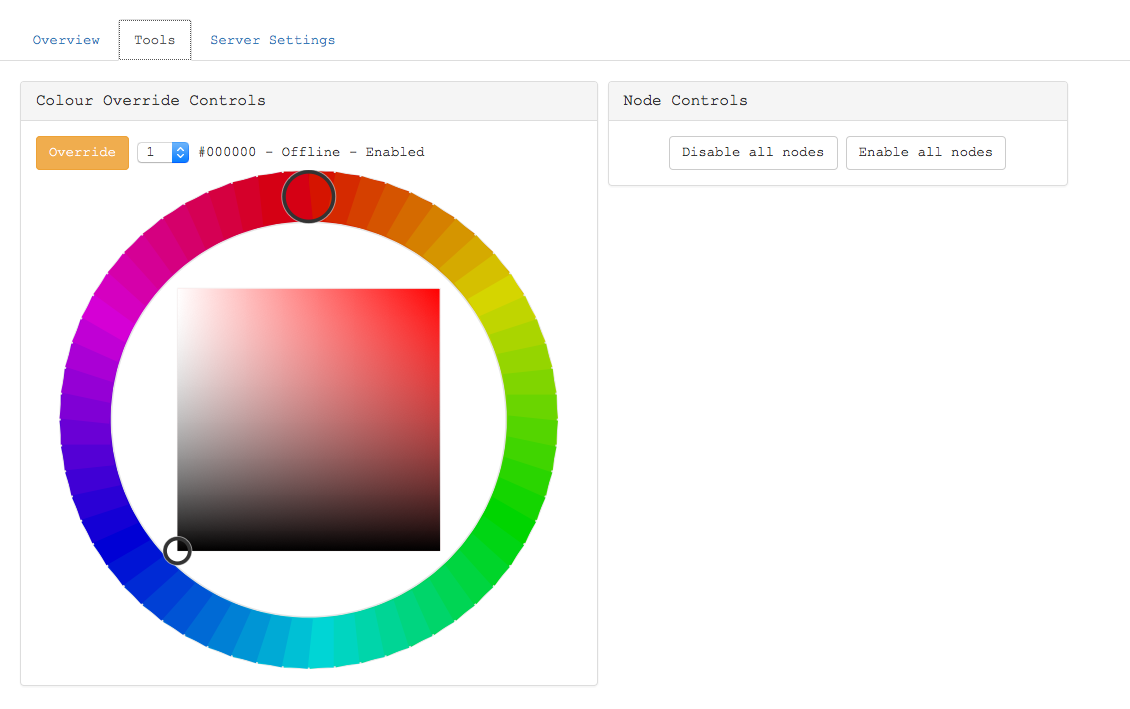
Currently the hardware is locked down for this year but there is an open call for people to design control software to change the colour of the lights at the event. If you would like to make something, see the "LUMOS - Server" link on the left of the page to see details of the json rest api to make control calls and apply to join the team on hackadayio or contact me via email: charlesyarnold@gmail.com or via IRC on freenode nick: solexious.


 TheBestJohn
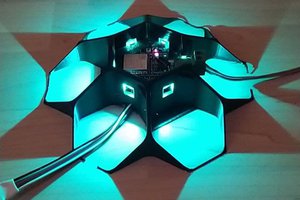
 Xasin
Xasin

 Owen Trueblood
I think this is a good idea. Also, I'm working on a similar project with my site, you can check it out https://nyapk.com/