aaronbehman
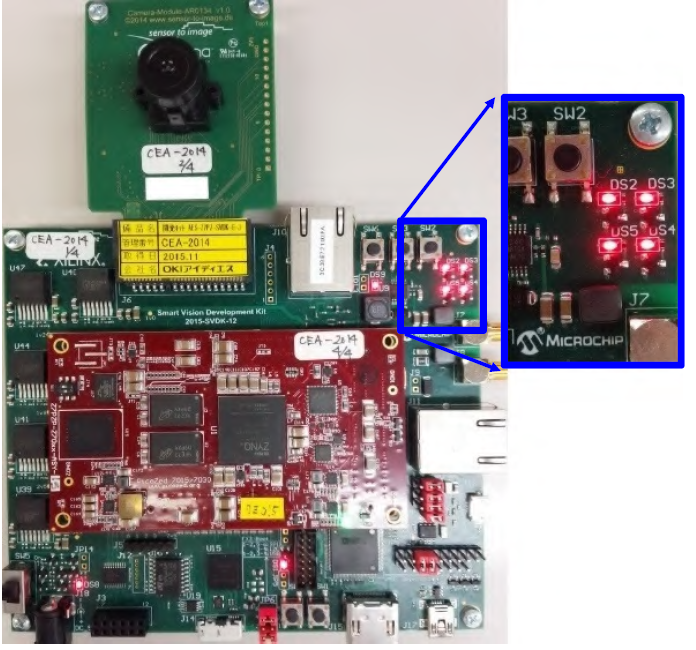
Major Features
- Monochrome video input 1280x720(720P)
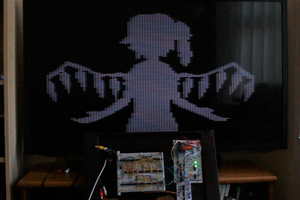
- Edge detection(Harris Conrer Detect)
- Graphic of Detected feature point (Graphic Overlay)
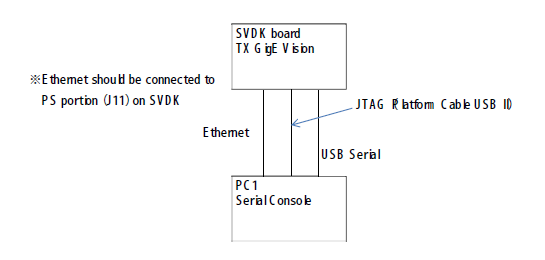
- GigE-Vision v1.2 protocol video packet(720PRaw Data) transmission
- Download Data includes
- Demo data
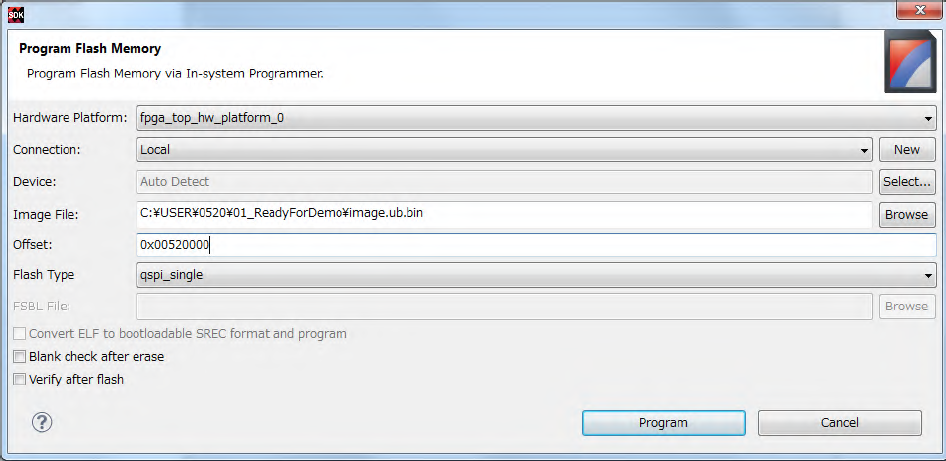
Corner Detect HW/SW Evaluation Bit stream for SVDK_PicoZed 7015 SOM:.bin - GigE-Vison Evaluation Driver, Demo Application for PC:. bin, .exe
(PC driver and application support Windows 7 or 8) - Installation manual and user’s manual
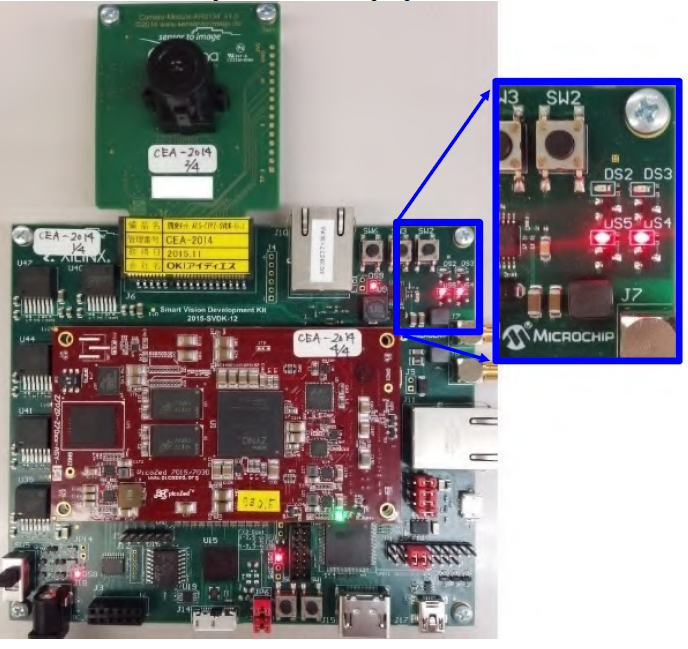
Evaluation Demo Platform Free Download
SDSoC Corner Detect GigE-Vision Tx DEMO data is available for free.
Download evaluation demo platform and test running it!


 Kurt Kiefer
 Sarang Nerkar