rawe
rawe
As this is a quick start guide, I'll provide all the info that got me going. Of course the plotter can do way more. Big Thanks to @Mathias Lam for providing critical questions and additional info that helped to write this.
hardware setup
Setting the device up should be straight forward:
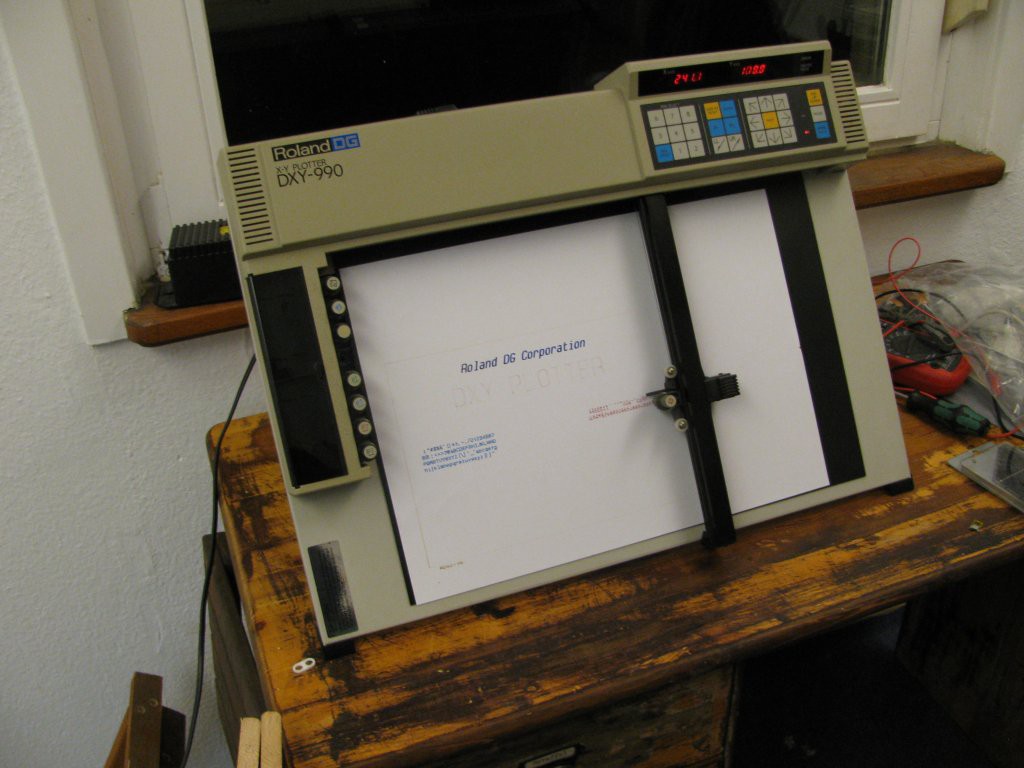
connect power cord/power supply, switch on (latching switch on rear). After that the plotter finds the lower left edge ("home"). Pens can be easily inserted in the holder on the lower left (press down rubber pen cap). The plotter can plot a self-test drawing (using all 8 pens). This is initiated by the button panel: Press and hold "Enter" during power-on.
A common shipping damage occurs on the end-switches as the piece the end switch meets got a round corner right next to the "normal" meeting point that easily breaks the switch if the device shakes during shipping. I had to replace mine with the tray switch from an old CD drive:
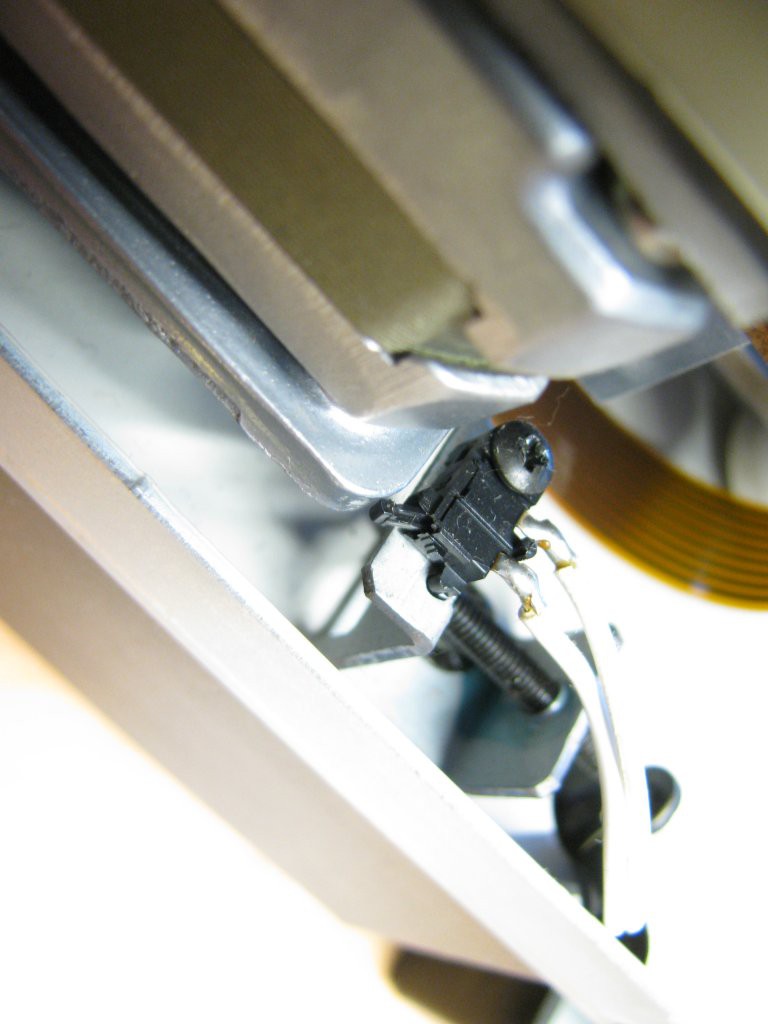
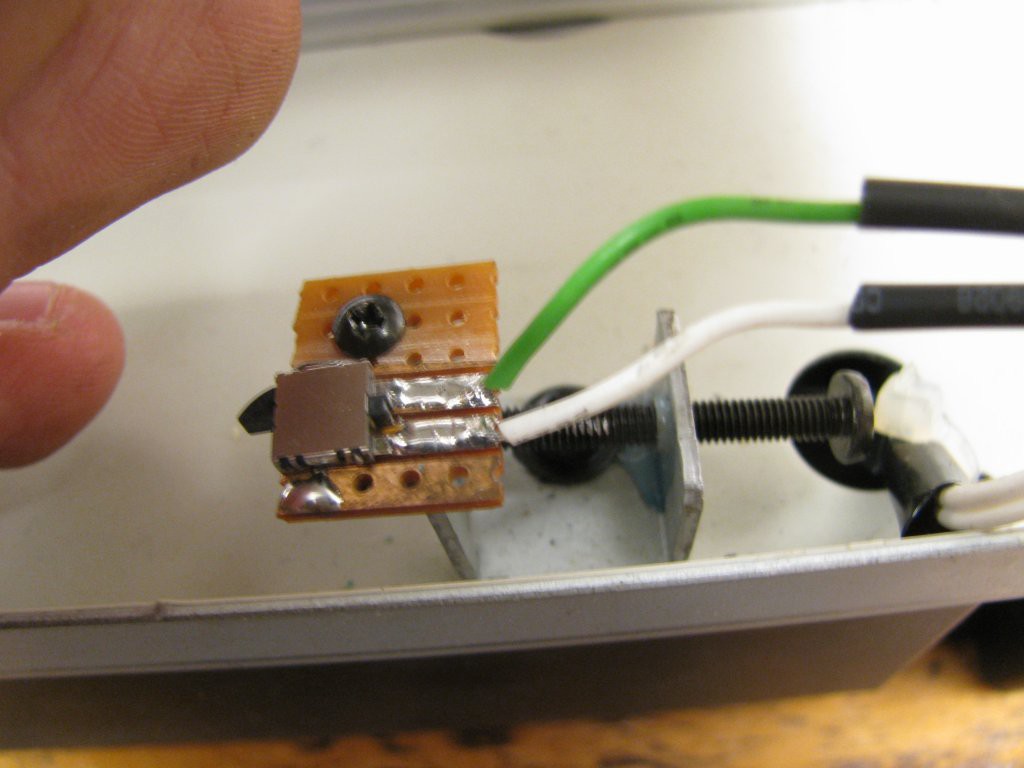
If the end switch is replaced, the adjustment screw needs to be played with so that the plotter reliably picks up and drops pens from the pen holder.
I drive the plotter by RS232/UART, for this it is important to set up the configuration switches on rear of the unit:
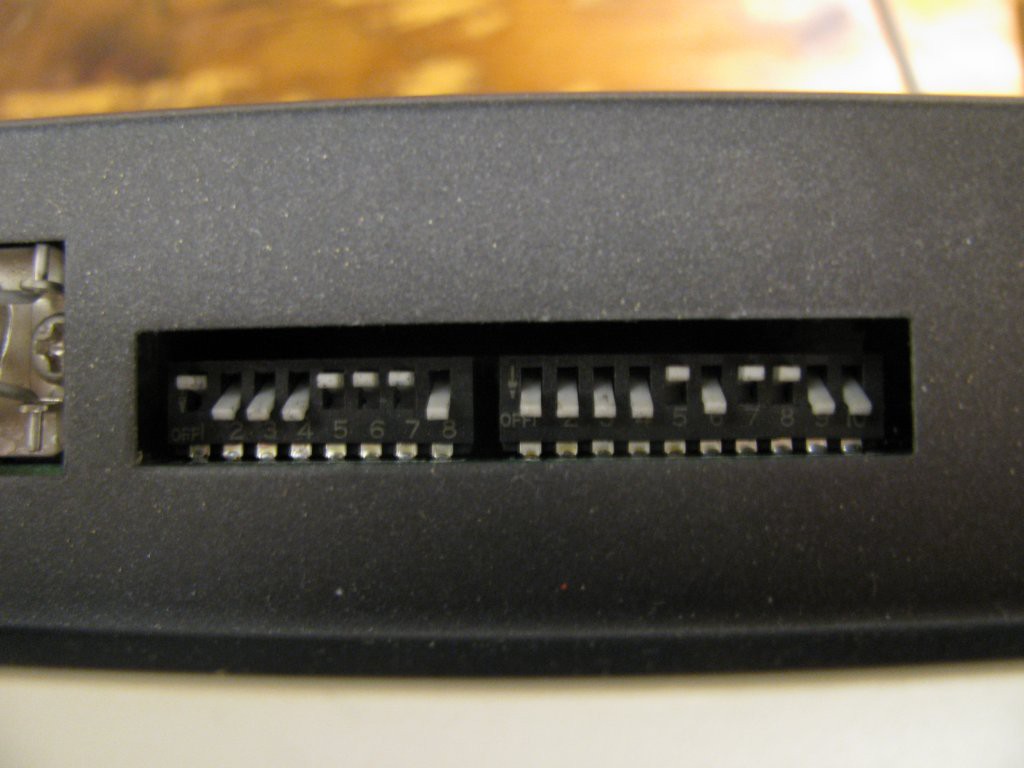
Plotter switch settings used by me:
SW-2 (left one in picture above): 100 (baud 9600), 0 (D), 1 (EN), 1 (even parity), 1 (7 data bits), 0 (1 stopbit)
SW-1 (right one in picture above): 0000 (charset), 1 (serial), 0 (reserved), 11 (A4; 10 = A3), 00 (reserved)
The USB-RS232 cable from US robotics, part Number USR995700-USB ( 067b:2303 Prolific Technology, Inc. PL2303 Serial Port ) is recommended; It is available for ~15...30 Eur, depending on source. In addition, an Nullmodem cable is required. Mine came with the plotter and got the following cabling/pinout:
| function | DB25 pin (m) | wire color | DB25 pin (f) | function |
| Shield GND | 1 | black | 1 | Shield GND |
| TXD (output) | 2 | brown | 3 | RXD (input |
| RXD (input) | 3 | white | 2 | TXD (output) |
| CTS,DSR (input) | 5 and 6 | yellow | 20 | DTR (output) |
| System GND | 7 | grey | 7 | System GND |
| DTR (output) | 20 | green | 5 and 6 | CTS,DSR (input) |
This Nullmodem cable got the following labeling: BestNr. 200003, V24 Kabel IBM PC/XT zu Plotter HP7475, Länge 2m
The US robotics cable plugs into an Laptop (USB) and with the UART side to the nullmodem cable which plugs into the plotter. Other cables should work too, but think that a complex plot may take hours and consume some pens and really cheap adapters (or multi-adapter-chains) may not be as reliable.
software setup (platform independent)
There are a few things I use to get from graphics to plotter, some of them require additional libraries etc:
- USB-UART driver: Any recent Linux ships with PL2303 drivers, for Windows or Mac there should be drivers available on the manufacturer website.
- Vector graphic tool: Inkscape is available via your favorite packet manager or via its website.
- Python runtime: Python 2.7 should be available via your favorite packet manager or via its website (verify its the latest 2.7 (2.7.<biggest number>) and 32 or 64bit, depending on your OS).
- Python library to talk to serial port: pyserial is available via distribution packet manager (apt-get install python-serial), python packet manager pypi (usually ships with python; pip install pyserial) or via its website.
- Script to feed plotter TODO
software workflow
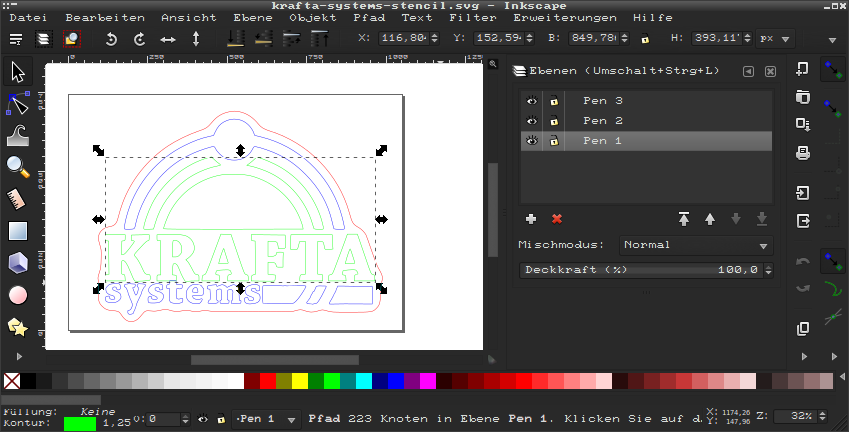
Inkscape: get ready for HPGL export
Inkscape can be used to create HPGL files. From version 0.92 the HPGL export plugin supports multiple pens! To get this feature for earlier versions it is possible to grab a copy of 0.92-beta-pre-whatever (source code) and copy all files beginning with "hpgl_" from the folder /share/extensions to the path your local Inkscape installation finds its extensions. For debian linux, it is possible to drop these files in the ~/.config/inkscape/extensions folder without modification. These files will be used with higher priority than the ones shipped with an earlier Inkscape version. Remeber to delete these files once upgraded to 0.92 or above.
I won't provide a full Inkscape guide here. Key facts are:
- create layers named after the pens and assign paths to these layers (Pen 1, Pen 2, ...)
- Pen plotters plot lines, so convert everything to paths (select all + Path -> object to path). Filled paths are ok but only the outline will be plotted.
You can export ( File + Copy as... + select "HPGL") or plot ( Extensions -> Export -> Plot...) directly from Inkscape.
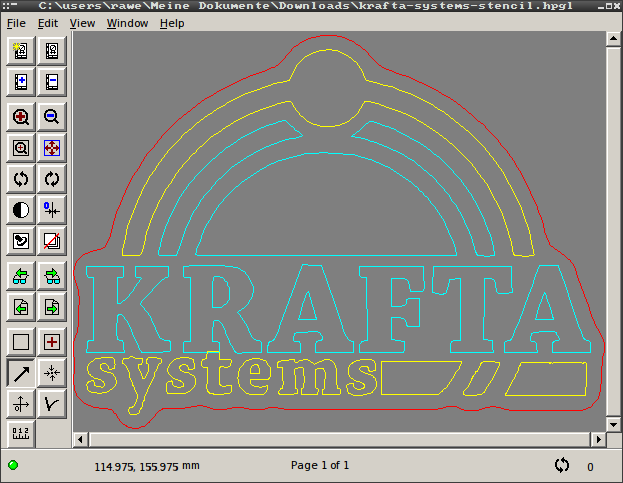
The best tool I know of to check HPGL files is by far the CERN HPGL viewer.
 TODO
TODO
links
TODO
Pen adaptors
TODO
use as cutting plotter
TODO
troubleshooting
Pen does not lower: Magnet got a rubber dampening thing for softer "up" movement (provided by spring). This rubber mat gets tacky over time. Try moving the mechanism carefully a few times to make it move again.
Windows usage with parallel port
Benefit should be clear: Just plot from Autocad or whatever CAD software you are using by pressing the print button. No hacking, no tweaks, just works. Downside: Costs money (too much for hobby use), Windows only.
It is possible to use the plotter with an parallel port USB adapter and the winline plotter driver (expensive for hobby use!): http://www.winline.com/
plotting results to give some ideas what is possible / how a pen plotter can enhance your life
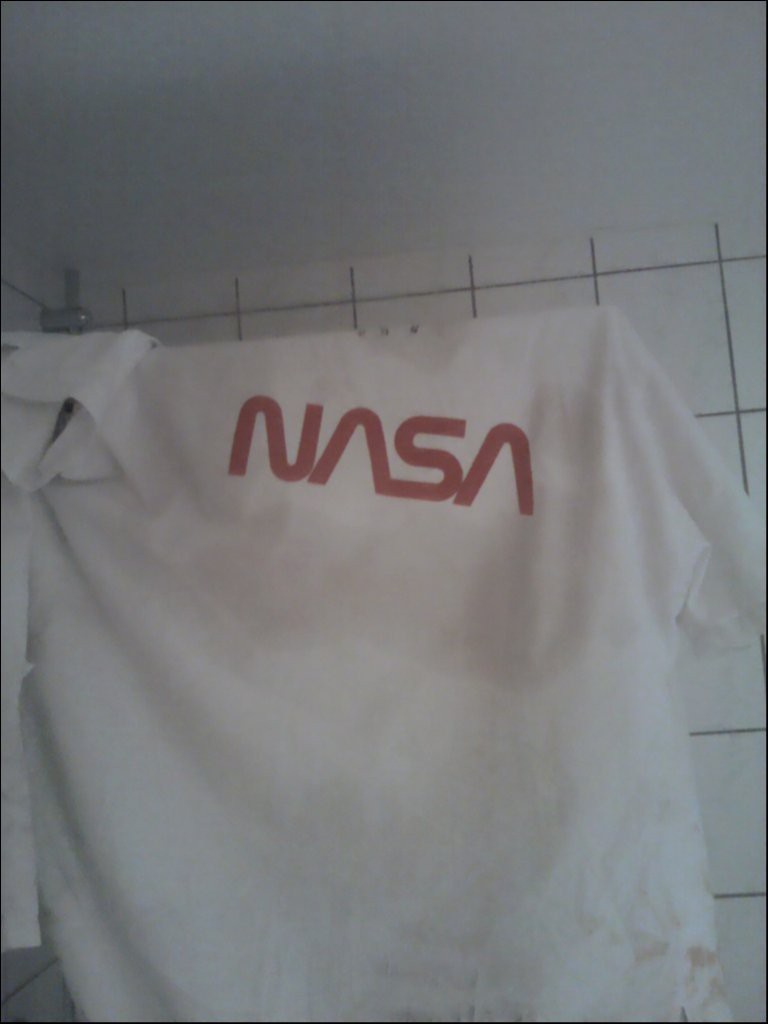
NASA worm logo lab coat. Stencil cut out from normal label paper (80g/m²), sticked on there, spray painted red.
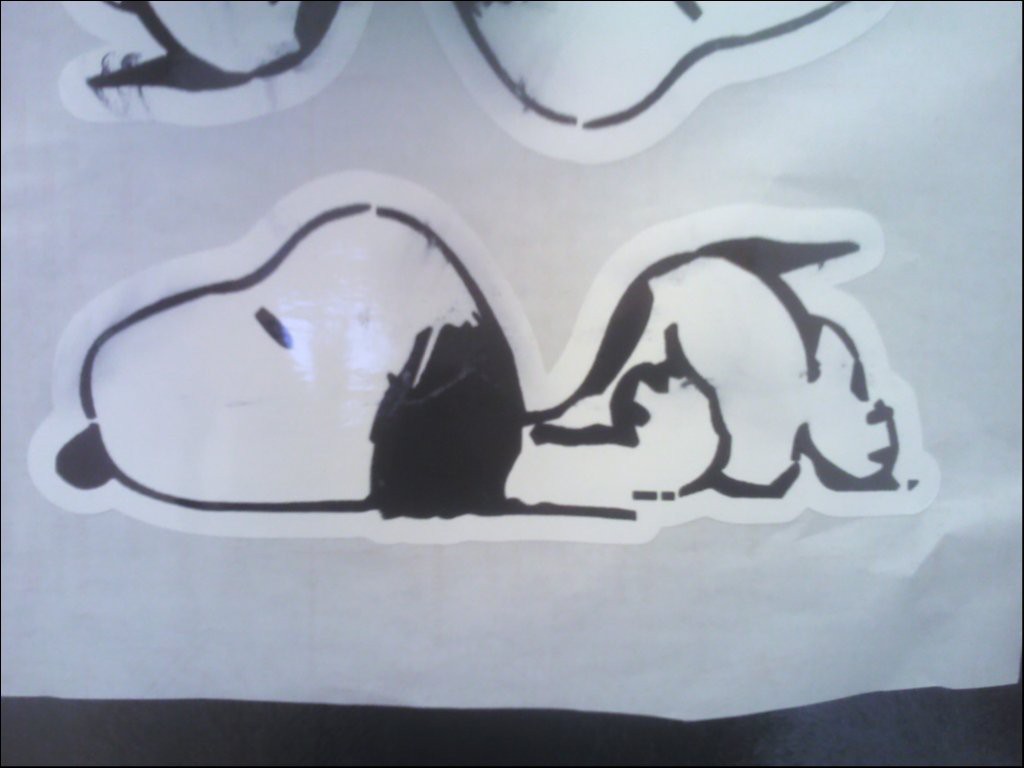
snoopy. plotted with black pen on white vinyl foil, cut out contour:
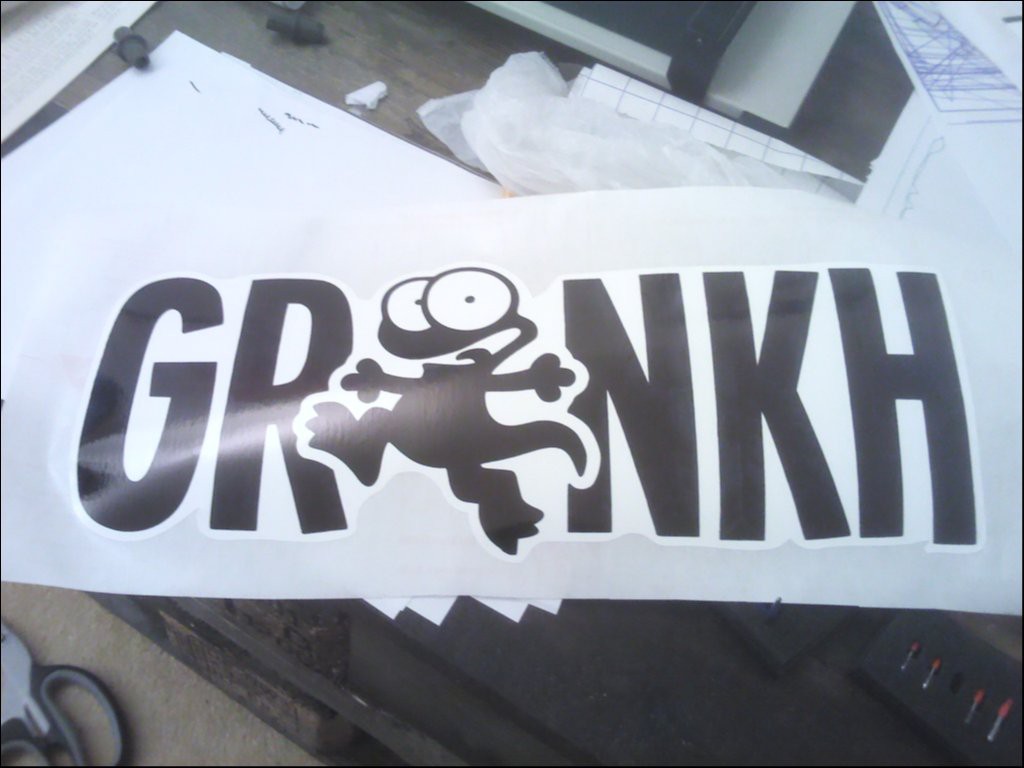
gronkh-logo (youtube lets-player) with same technique (A3 size):
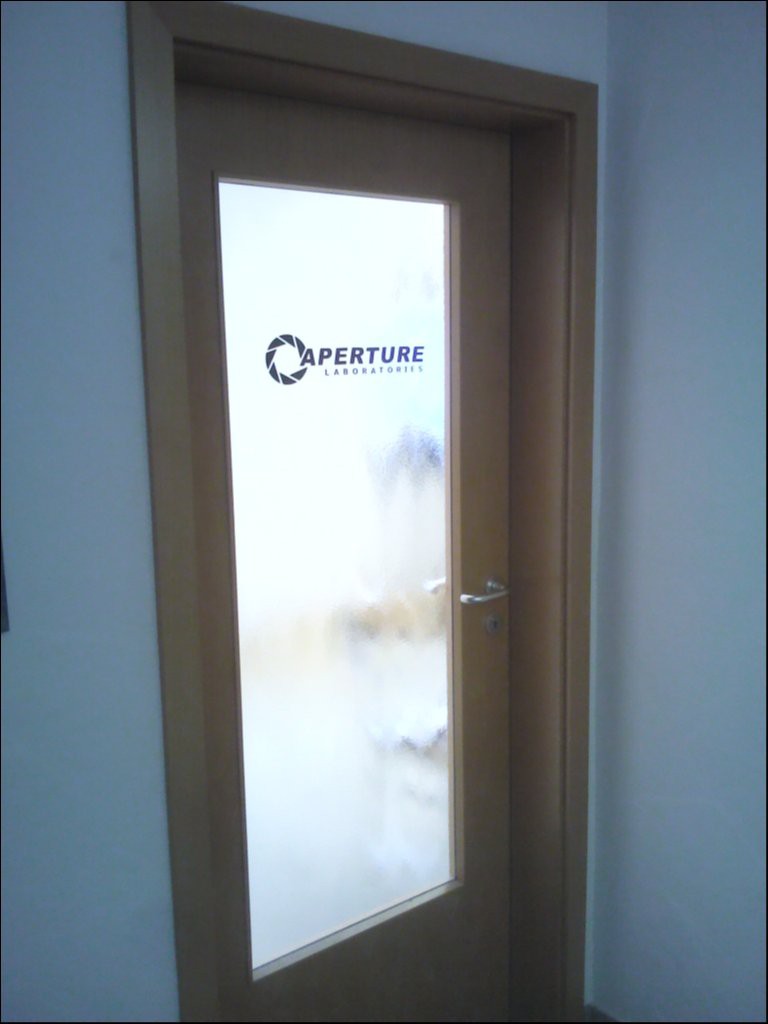
Aperture science labs door label. Cut from black vinyl foil.
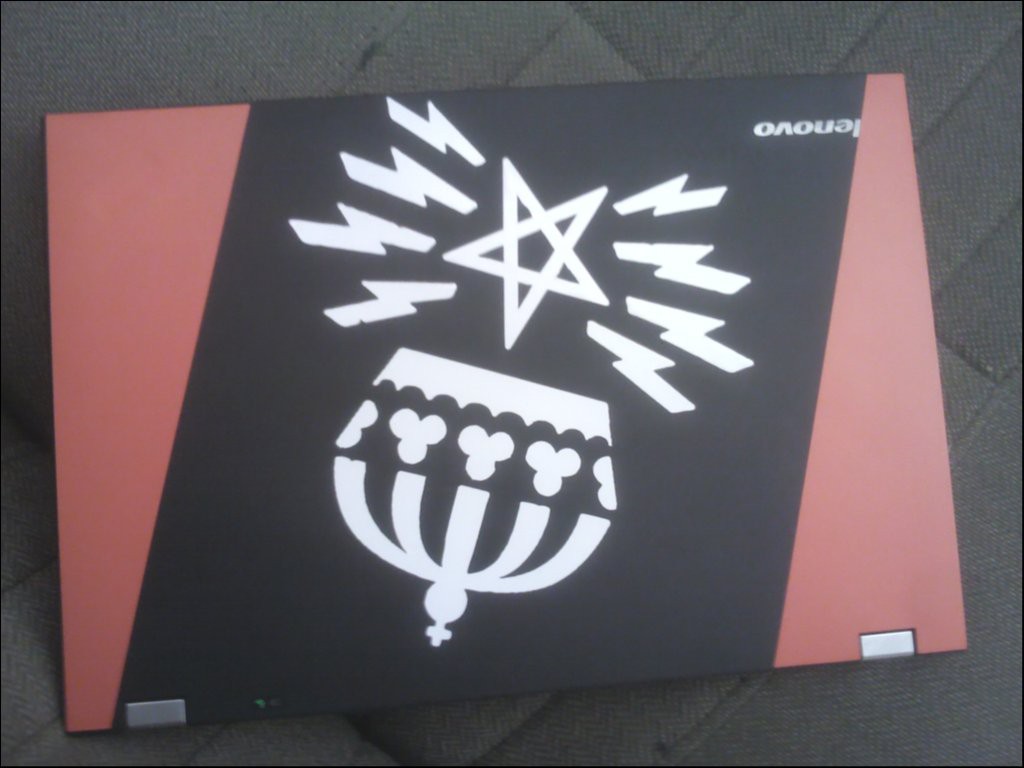
laptop sticker from white and red vinyl foil (artwork taken from https://www.reddit.com/r/gaming/comments/3x2s07/the_lan_by_simon_stalenhag/ ). Yes it got a Swedish keyboard, yes thats a 80s volvo seat. No, no religious or state-related bs on there, just satanism, an upside down crown and stuff, you know.