My very first Greenhouse.
I startet by digging a hole about 30cm deep in the Ground, because i wanted to use different Soil. The natural "Dirt" in this area had a lot of sand and would hold water pretty bad.
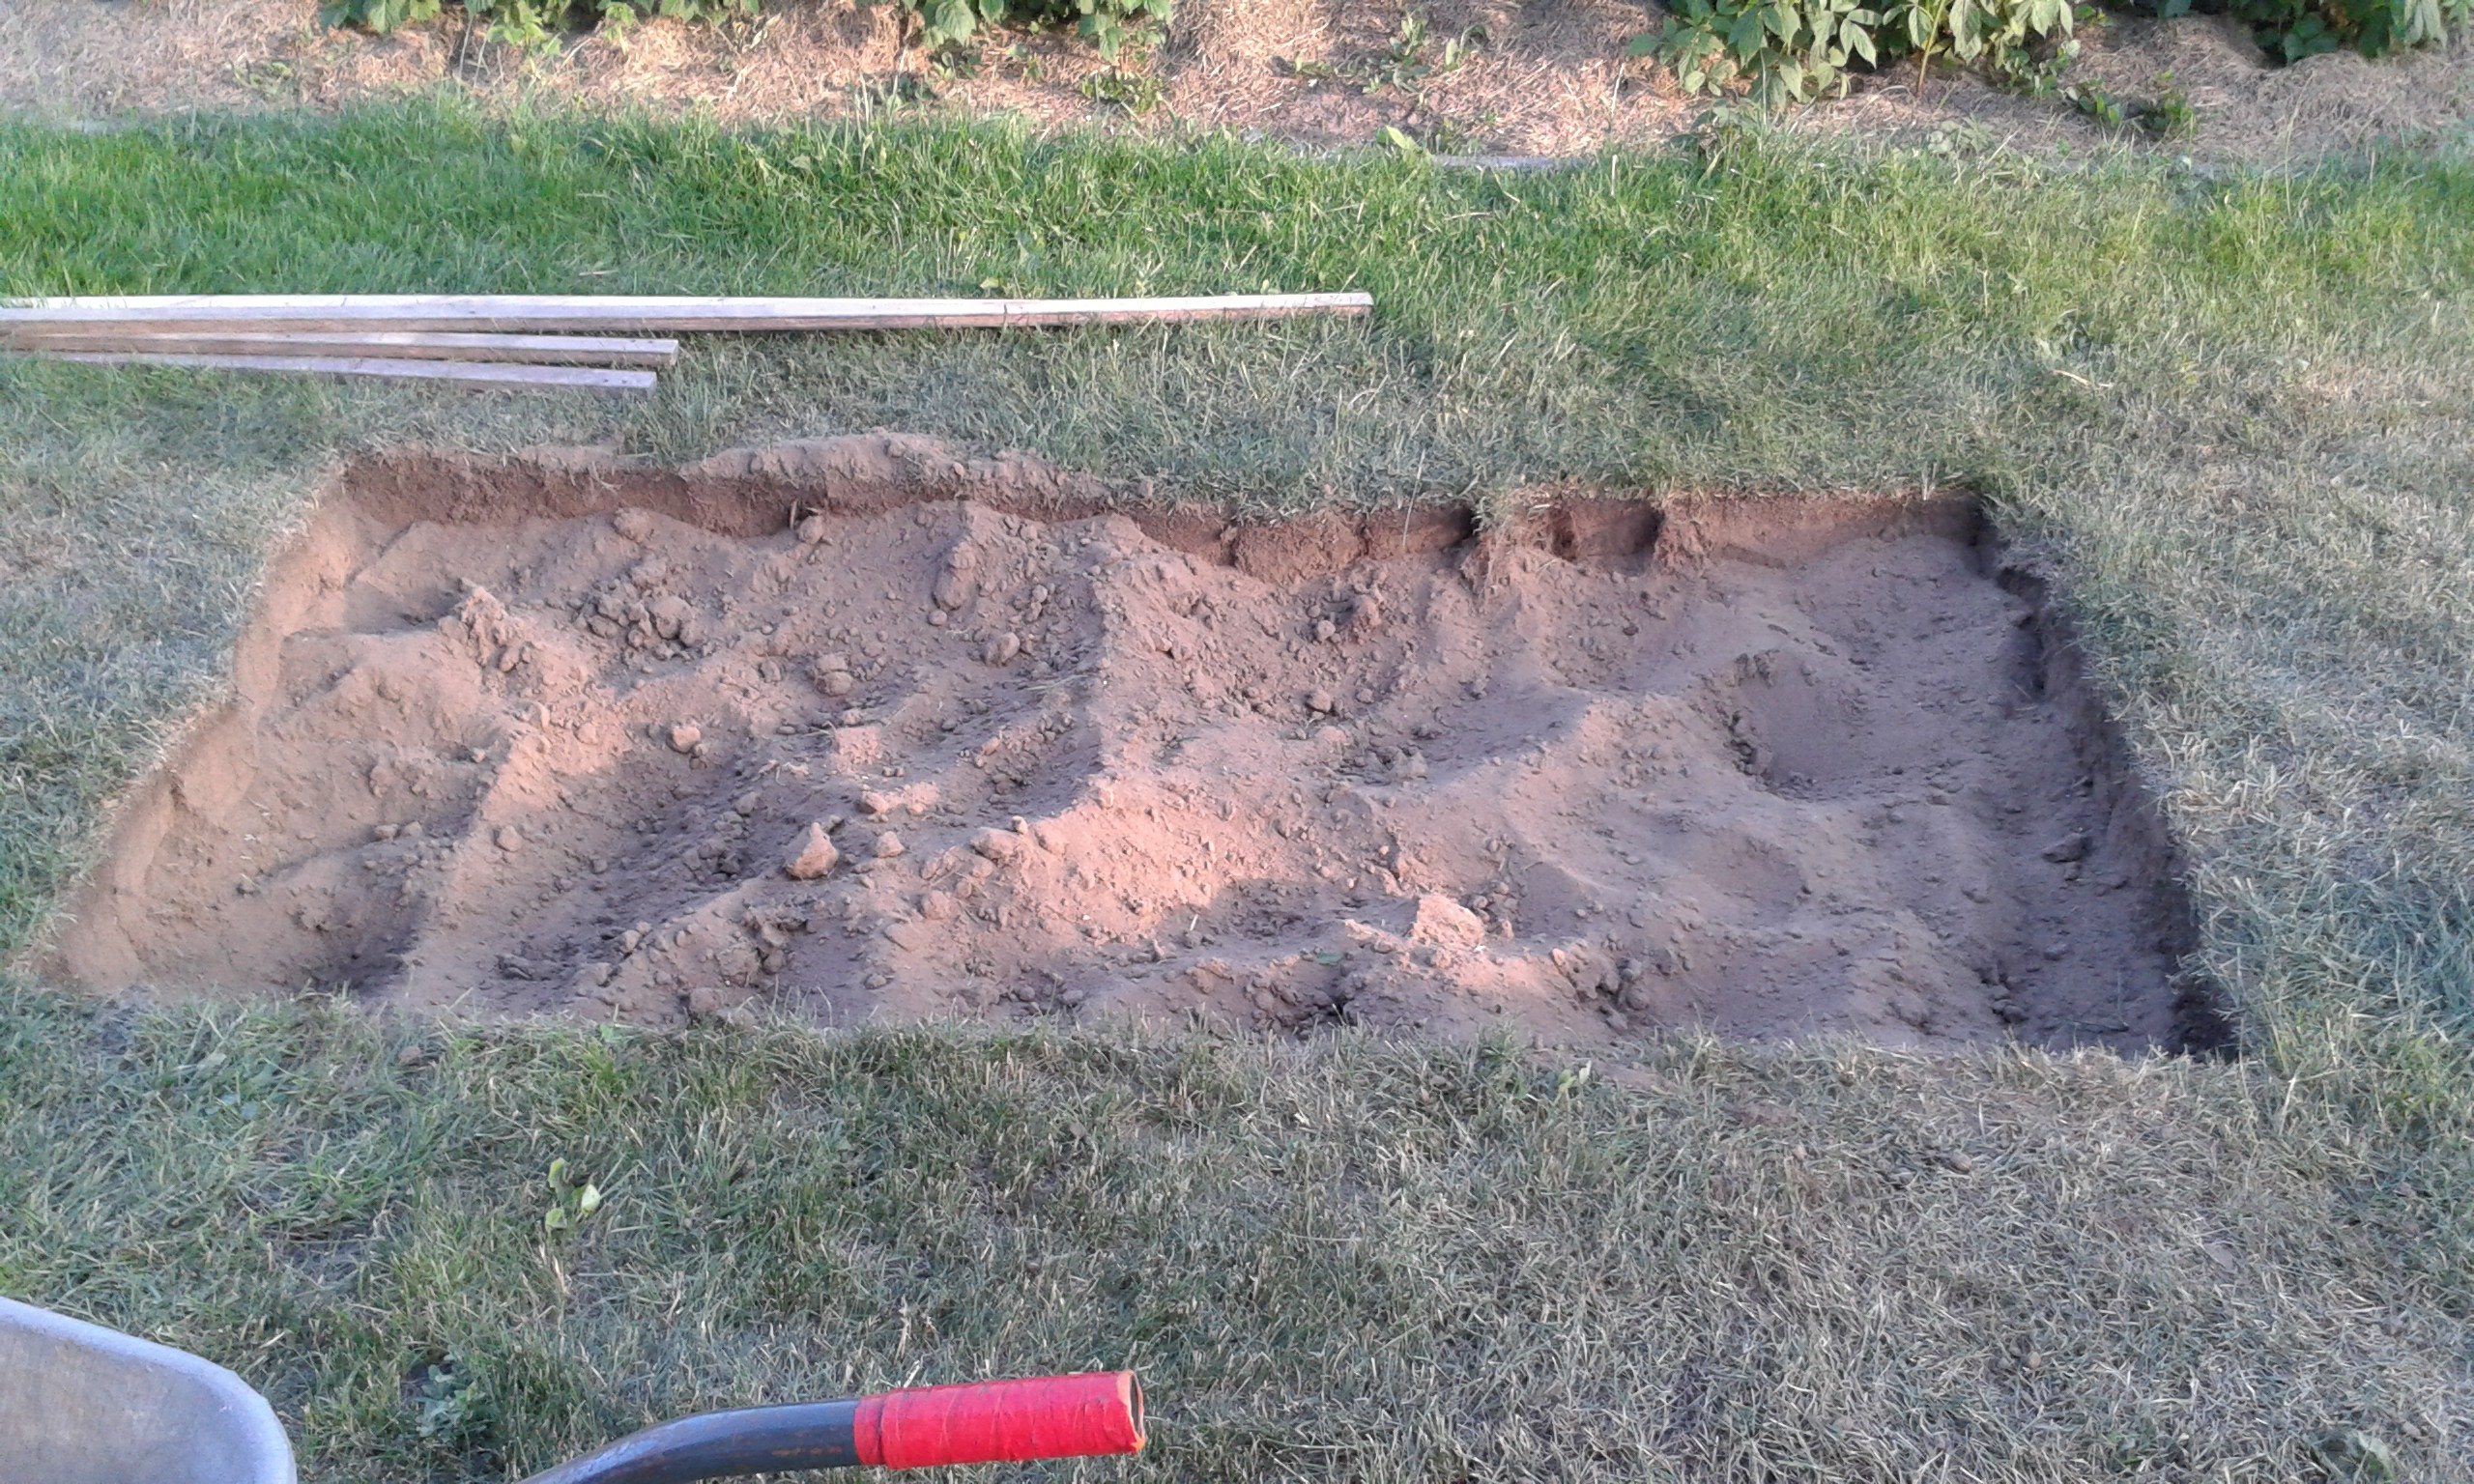
Unfortunatelly, i did the hole Greenhouse in one Weekend and didnt take any Photos. So i give you V1.0
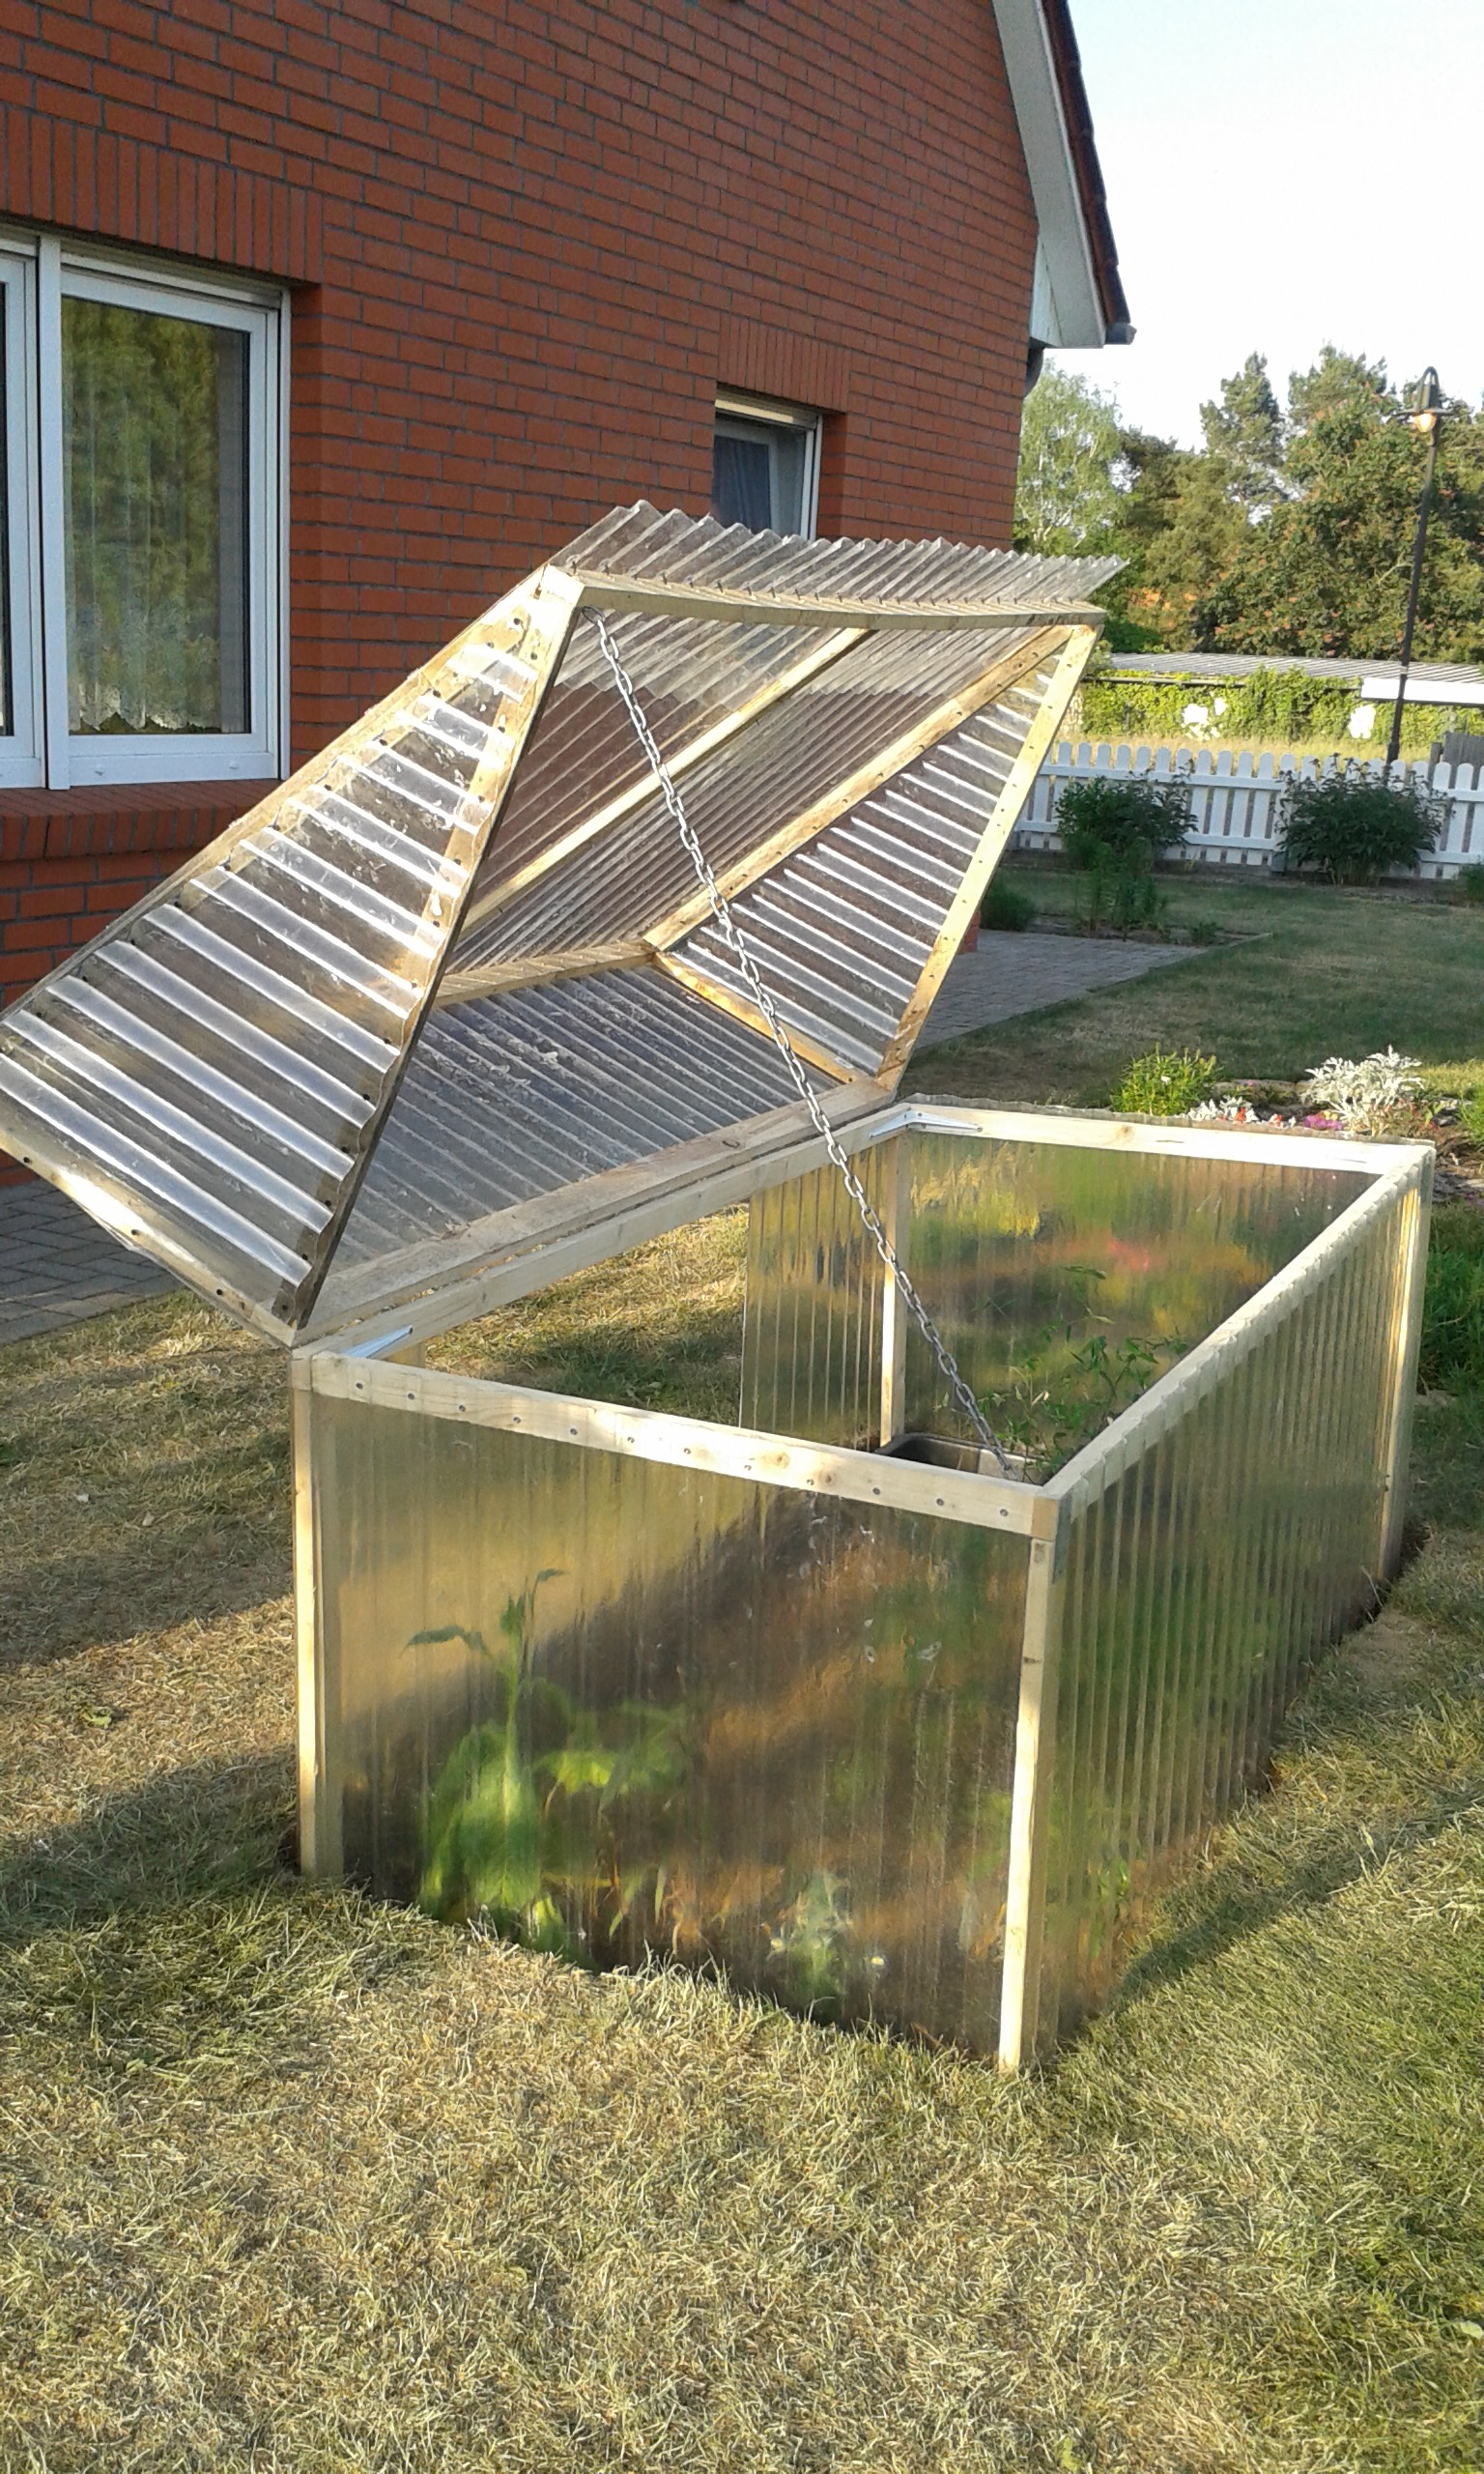
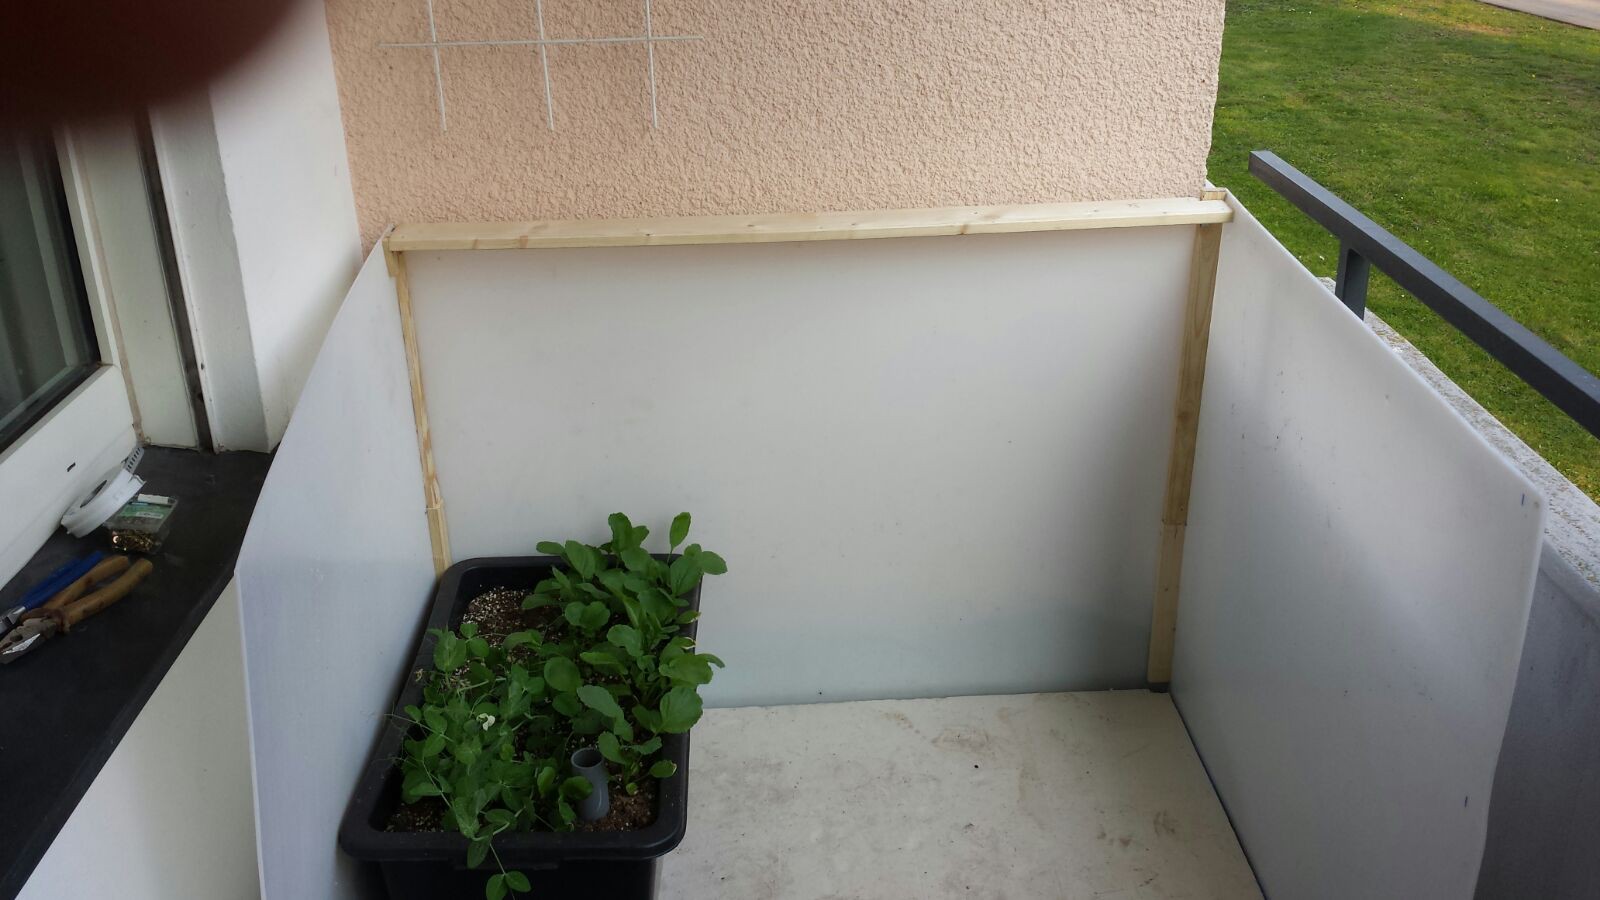
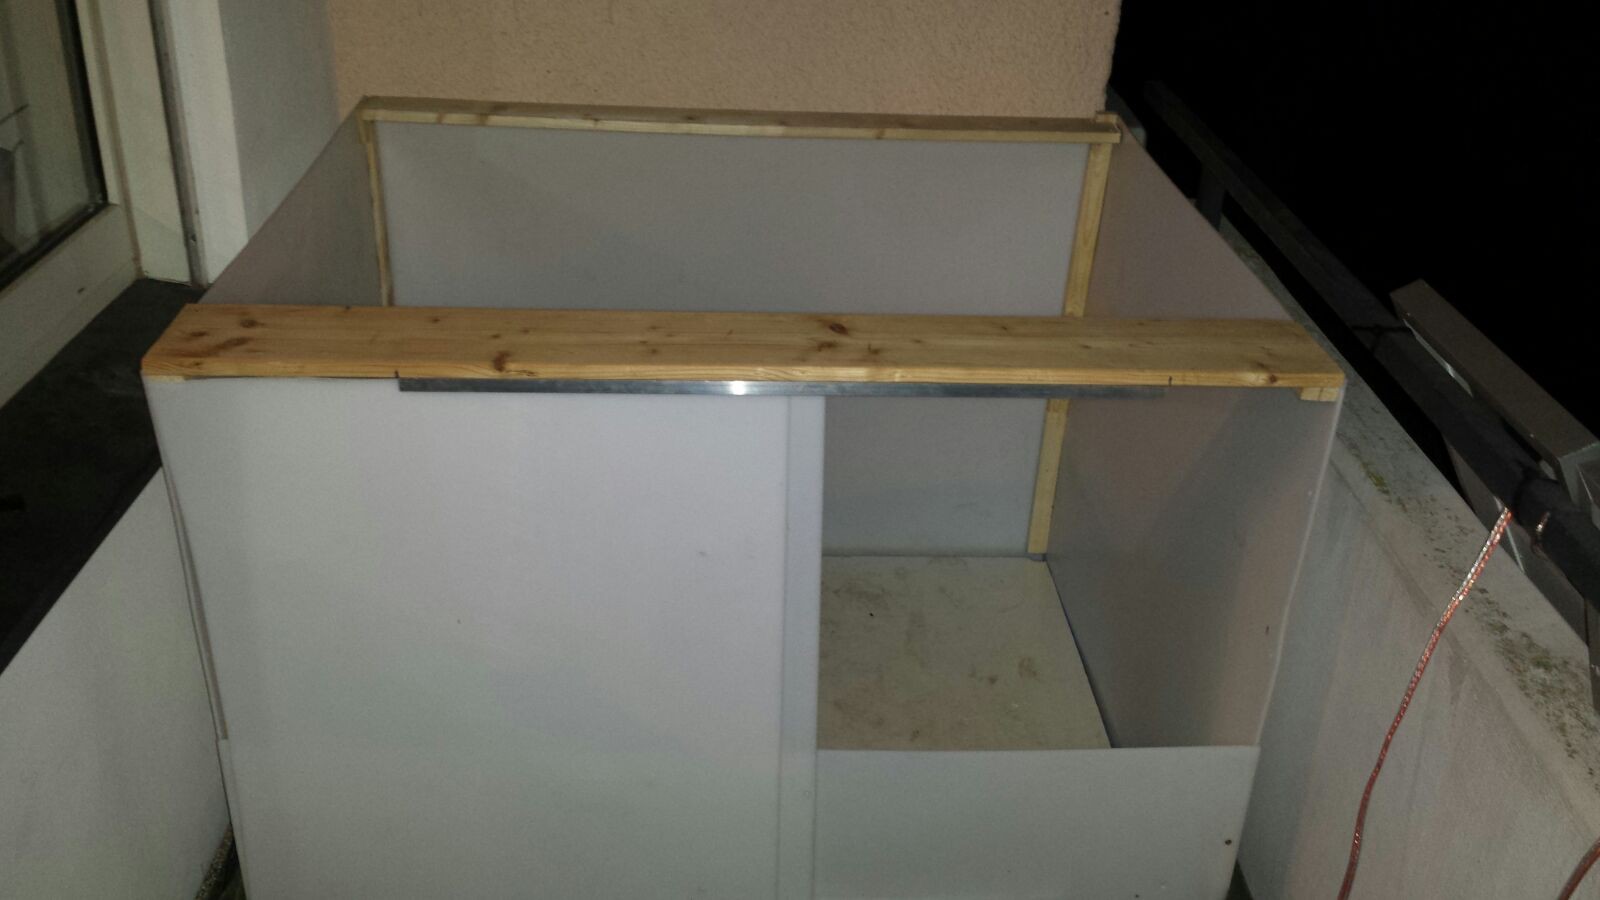
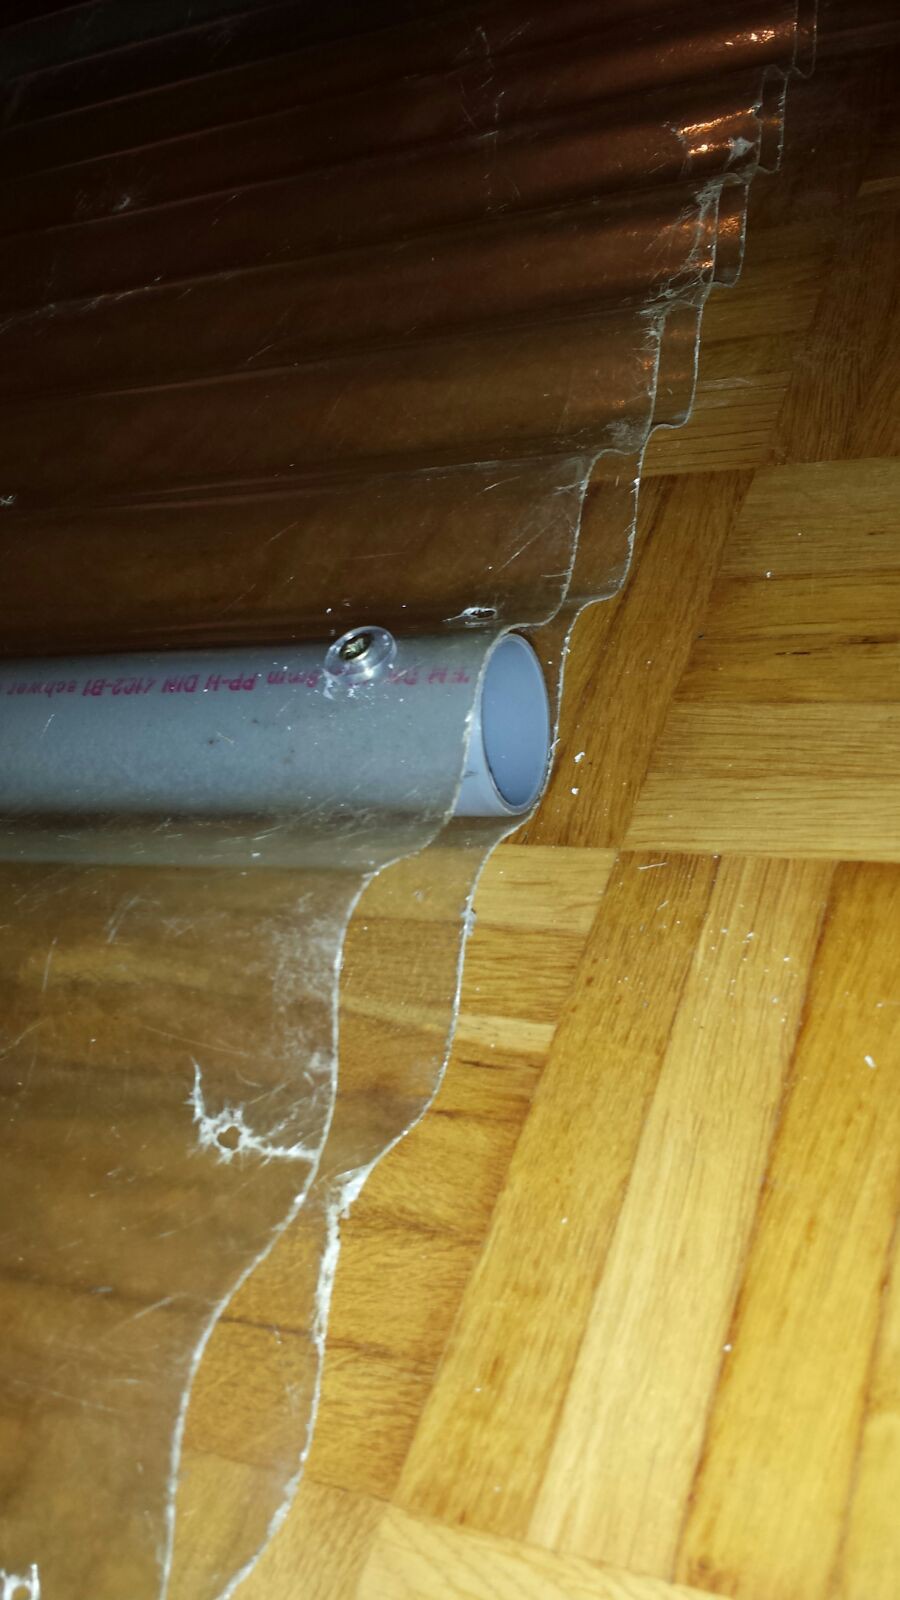
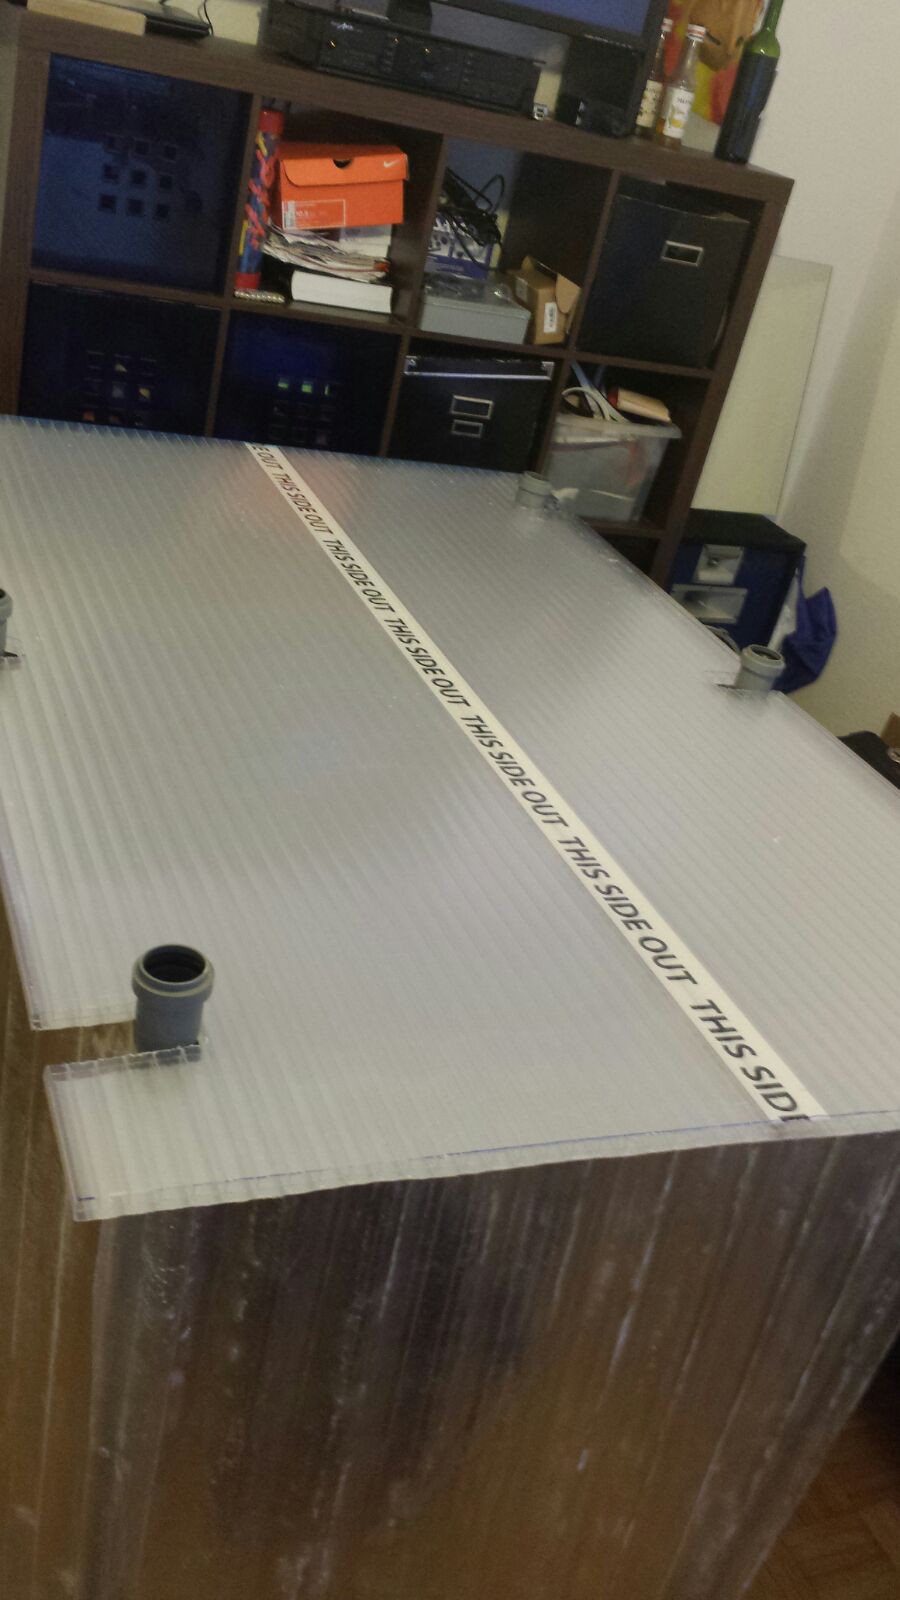
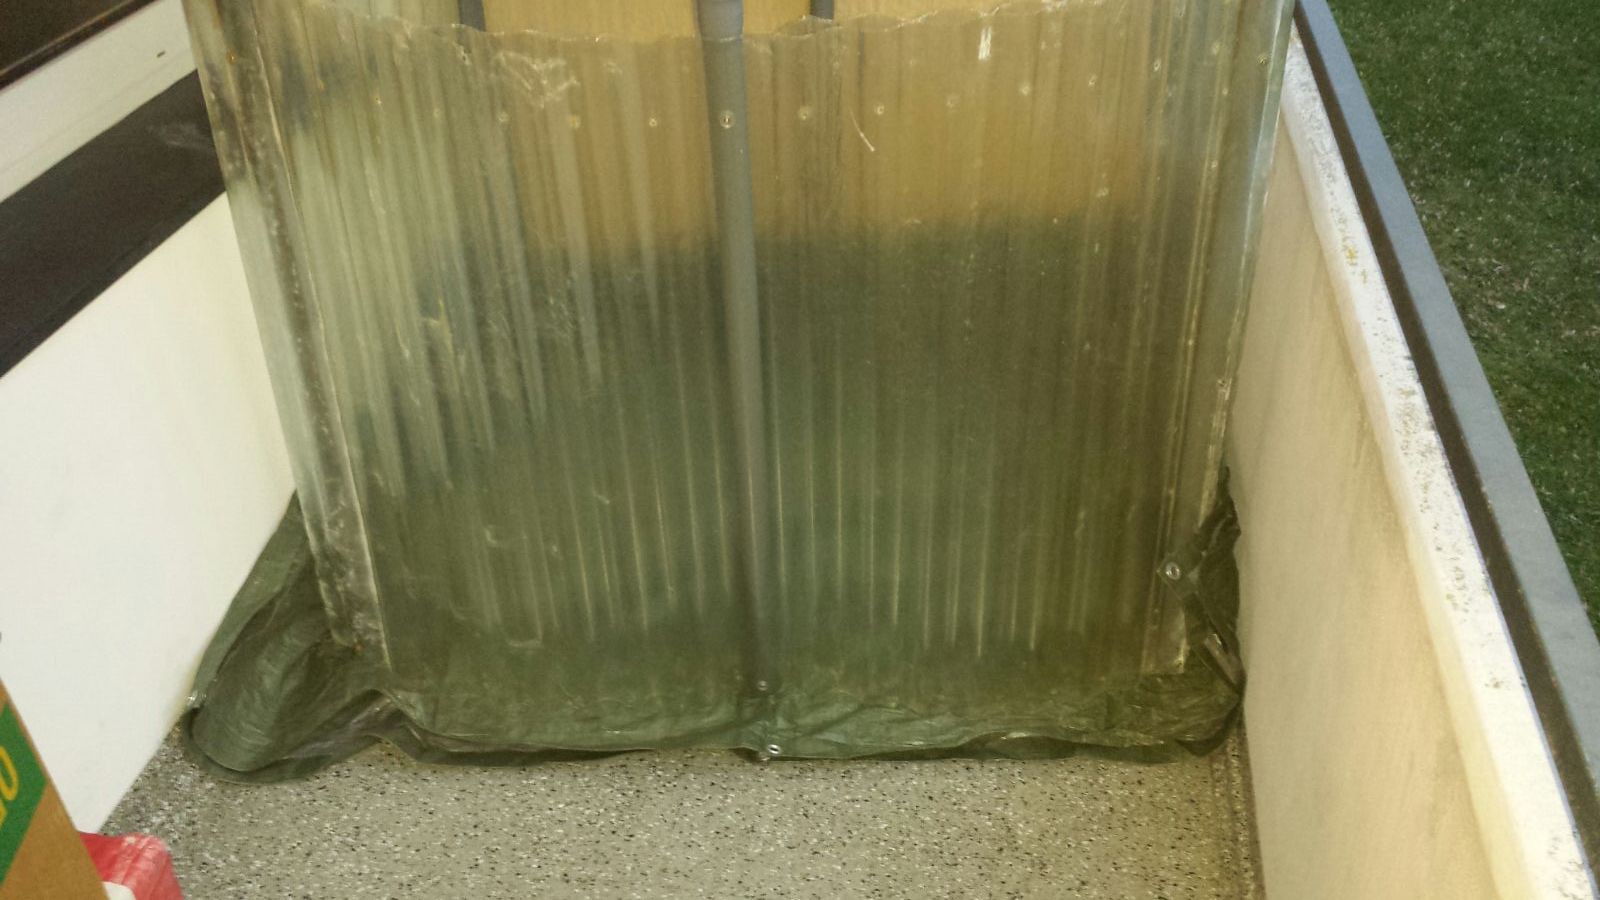
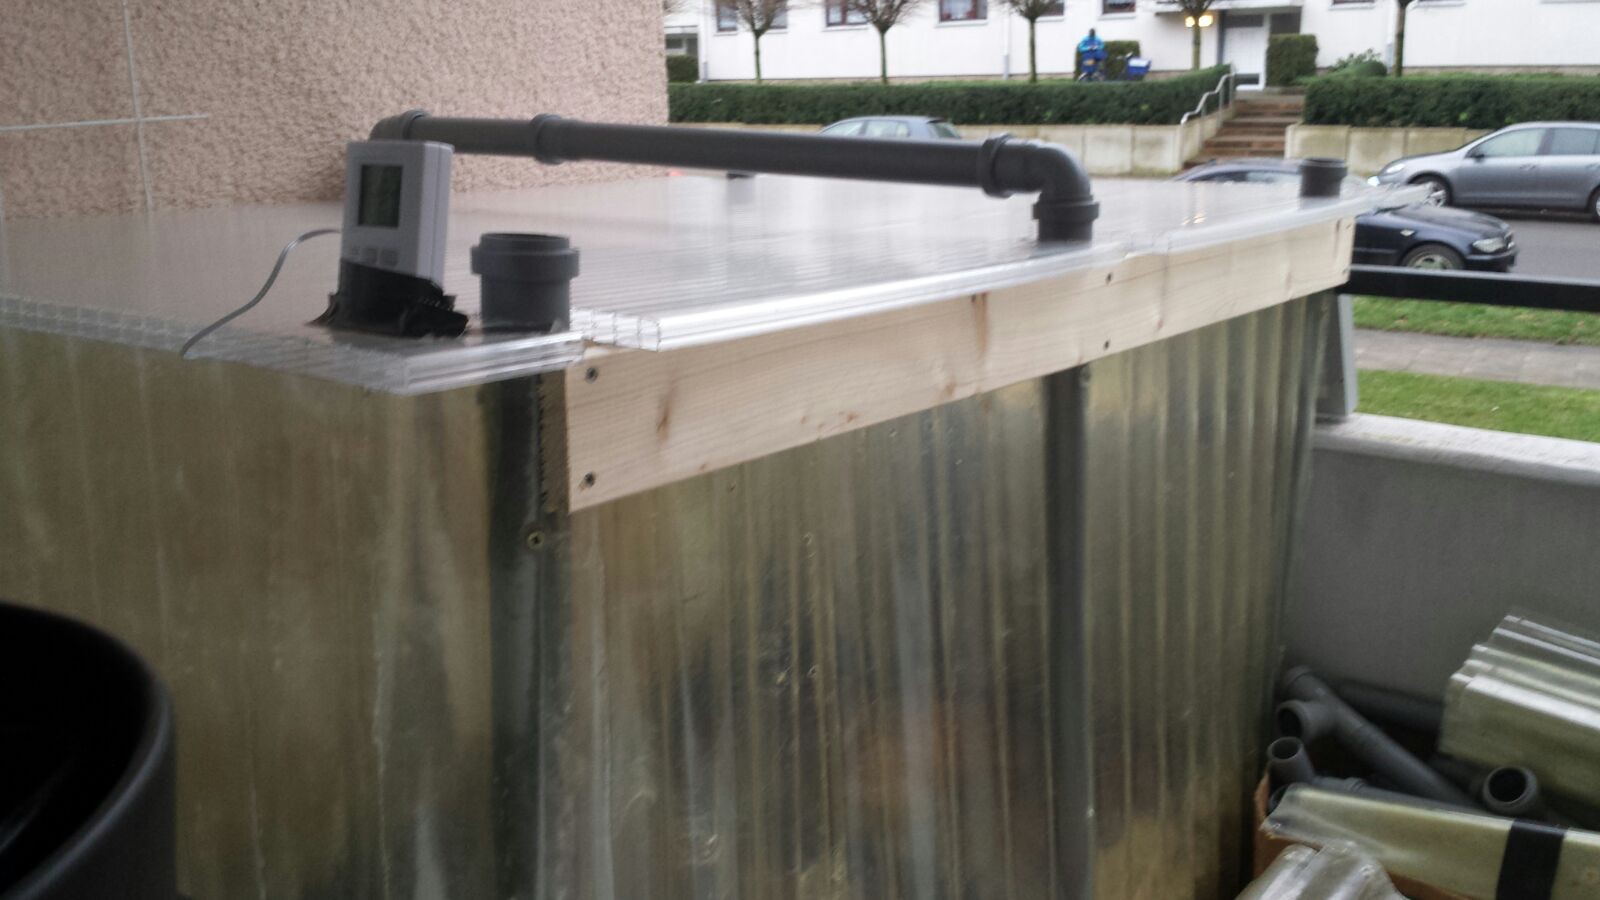
 For the Frame i used the cheapest wood i could get at a local Hardware Store. The Outer Layer is Fiberglas reinforced with epoxy.
-Its cheap
-its available
-its a pian to work with
I started with stainless steel Screws, to prevent rusting. But i didnt buy enouth, so i had to use regular iron Screws, wich startet to rust within 2 weeks. not great, but it was suppost to withstand nature for only one Summer.
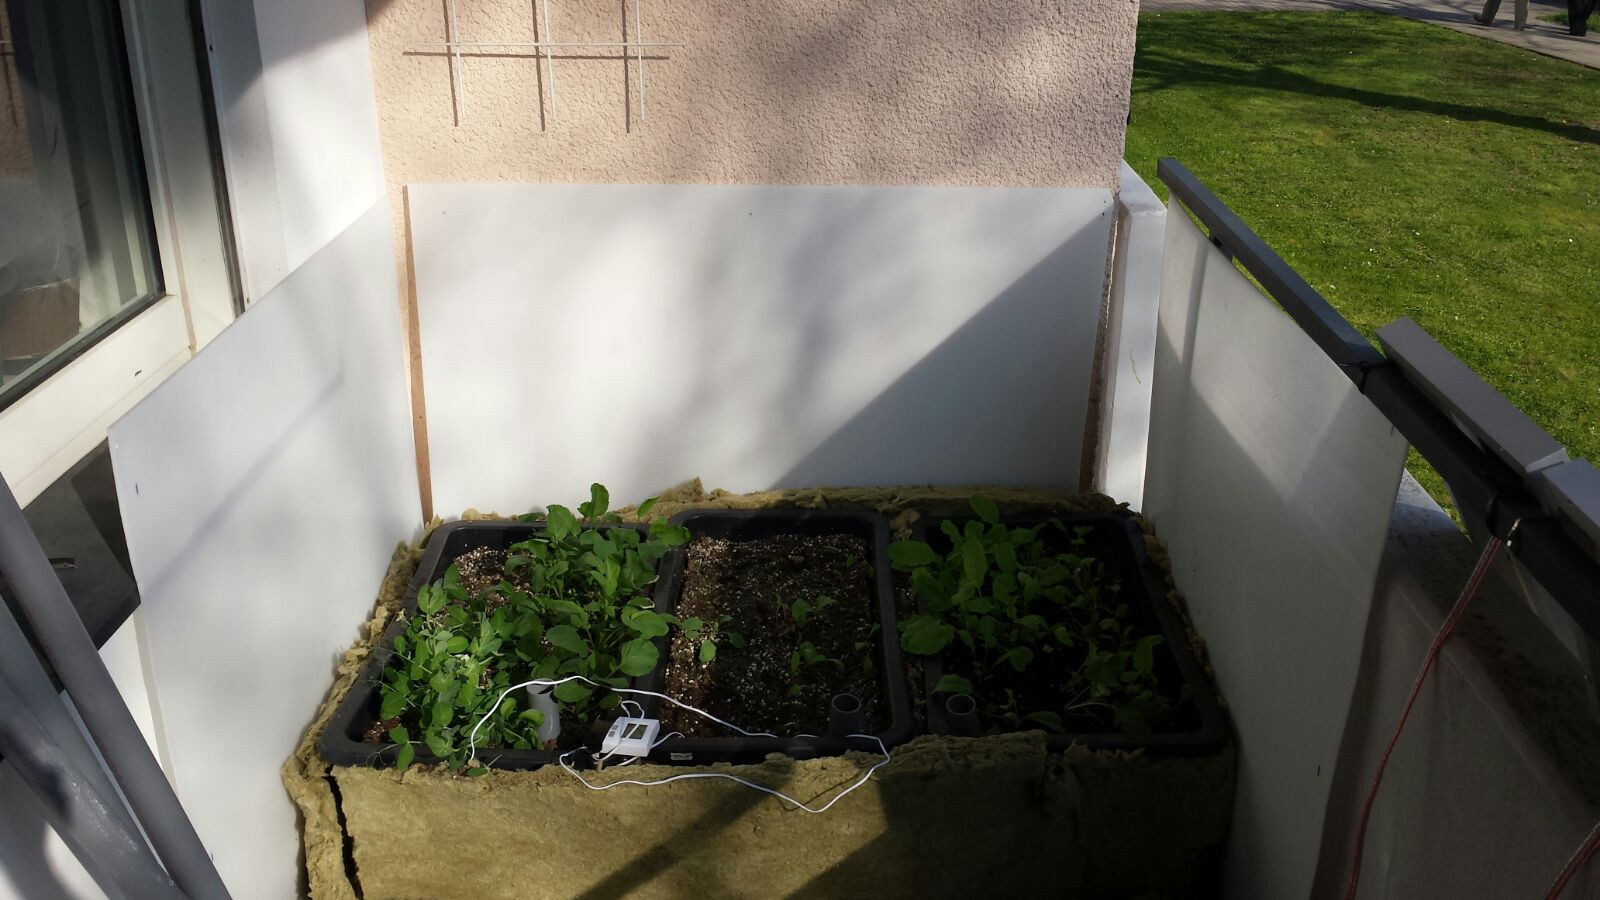
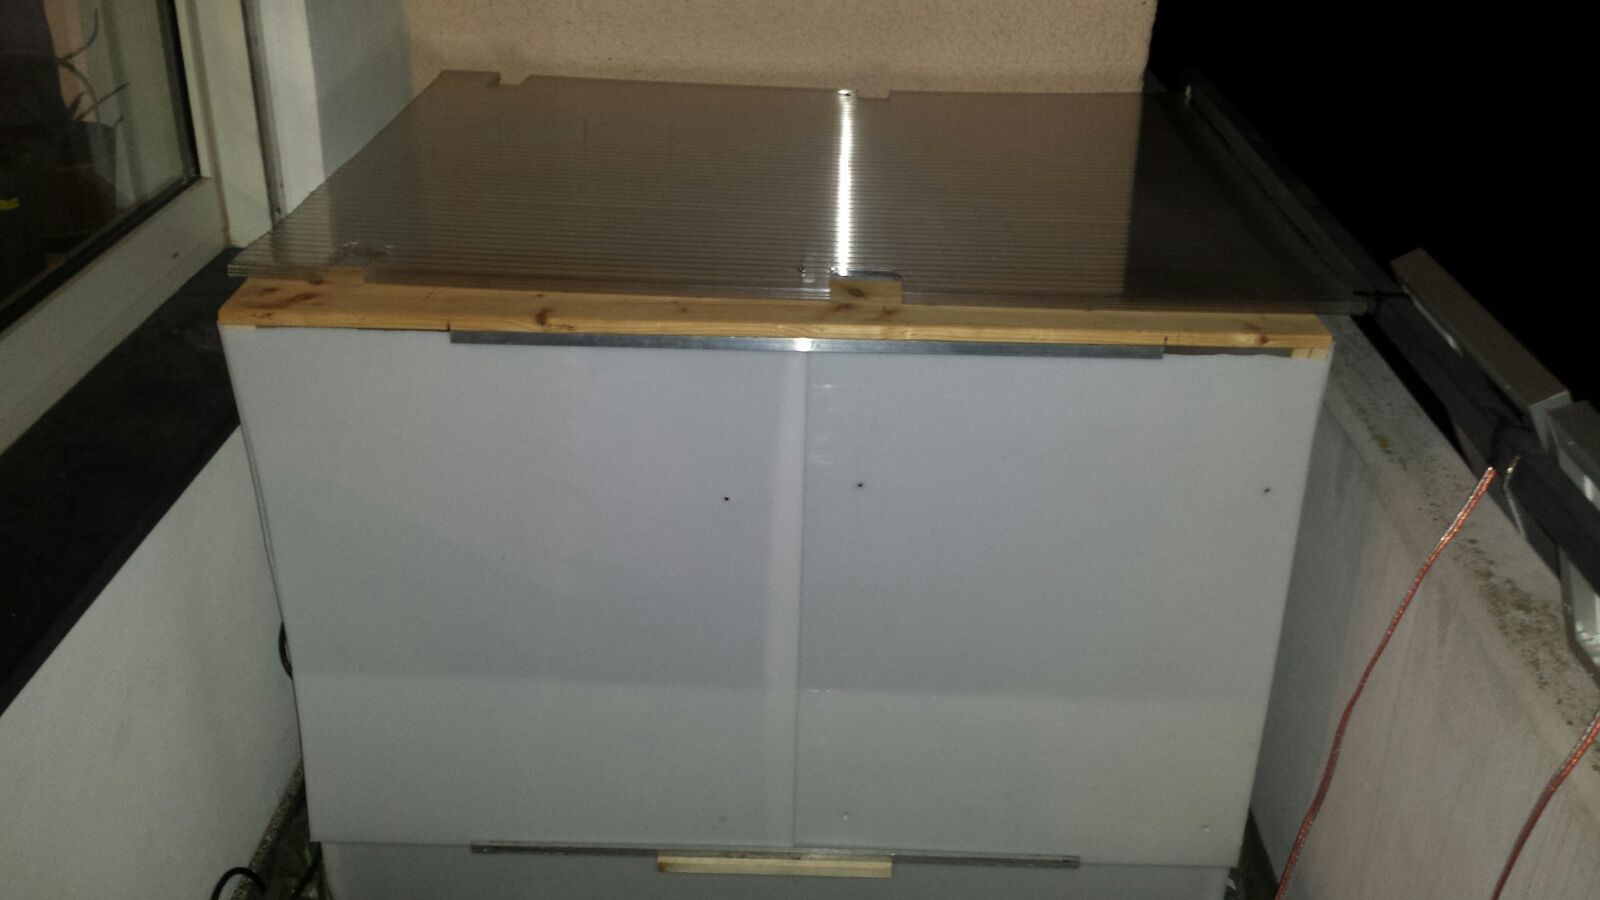
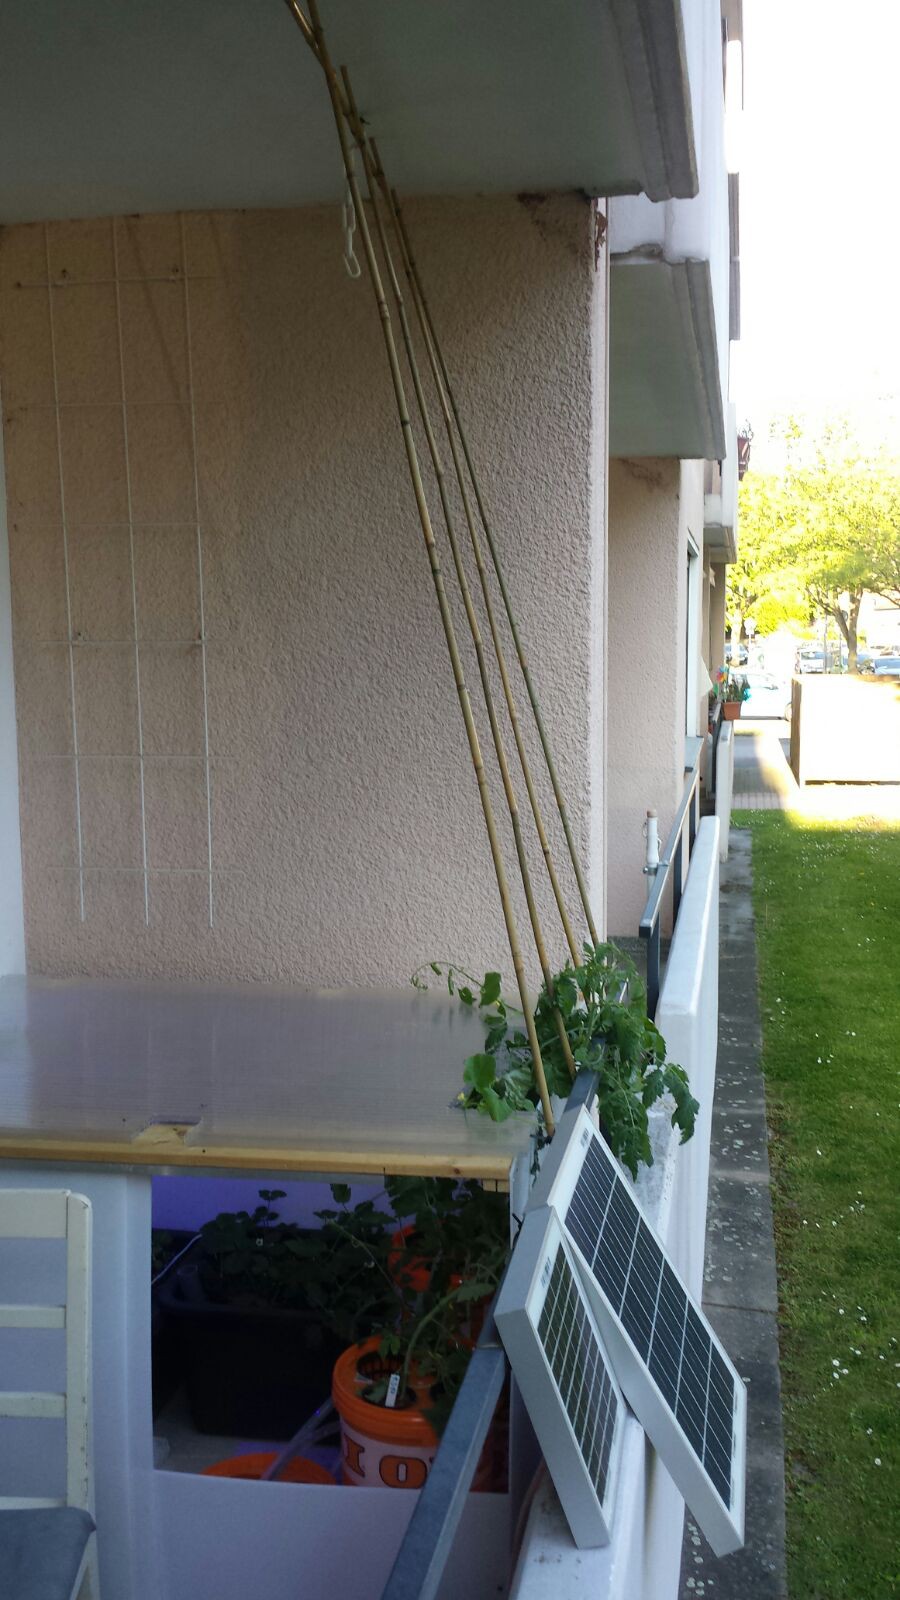
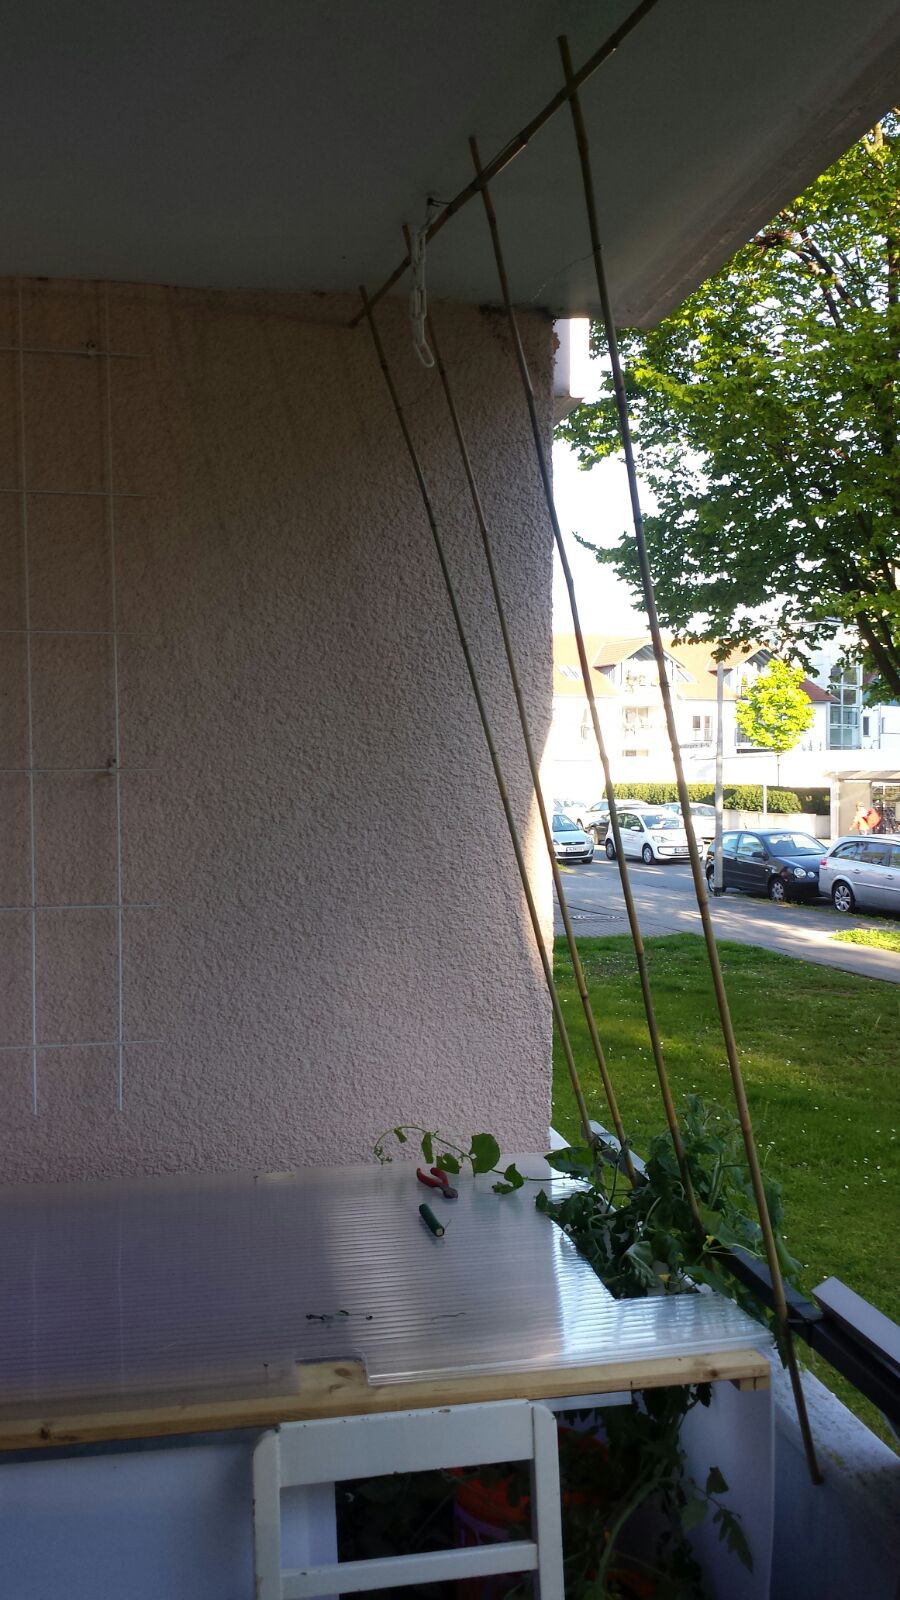
For Ventilation i could Flip Open the Top part and i left a hole in the side for acces to my plants.
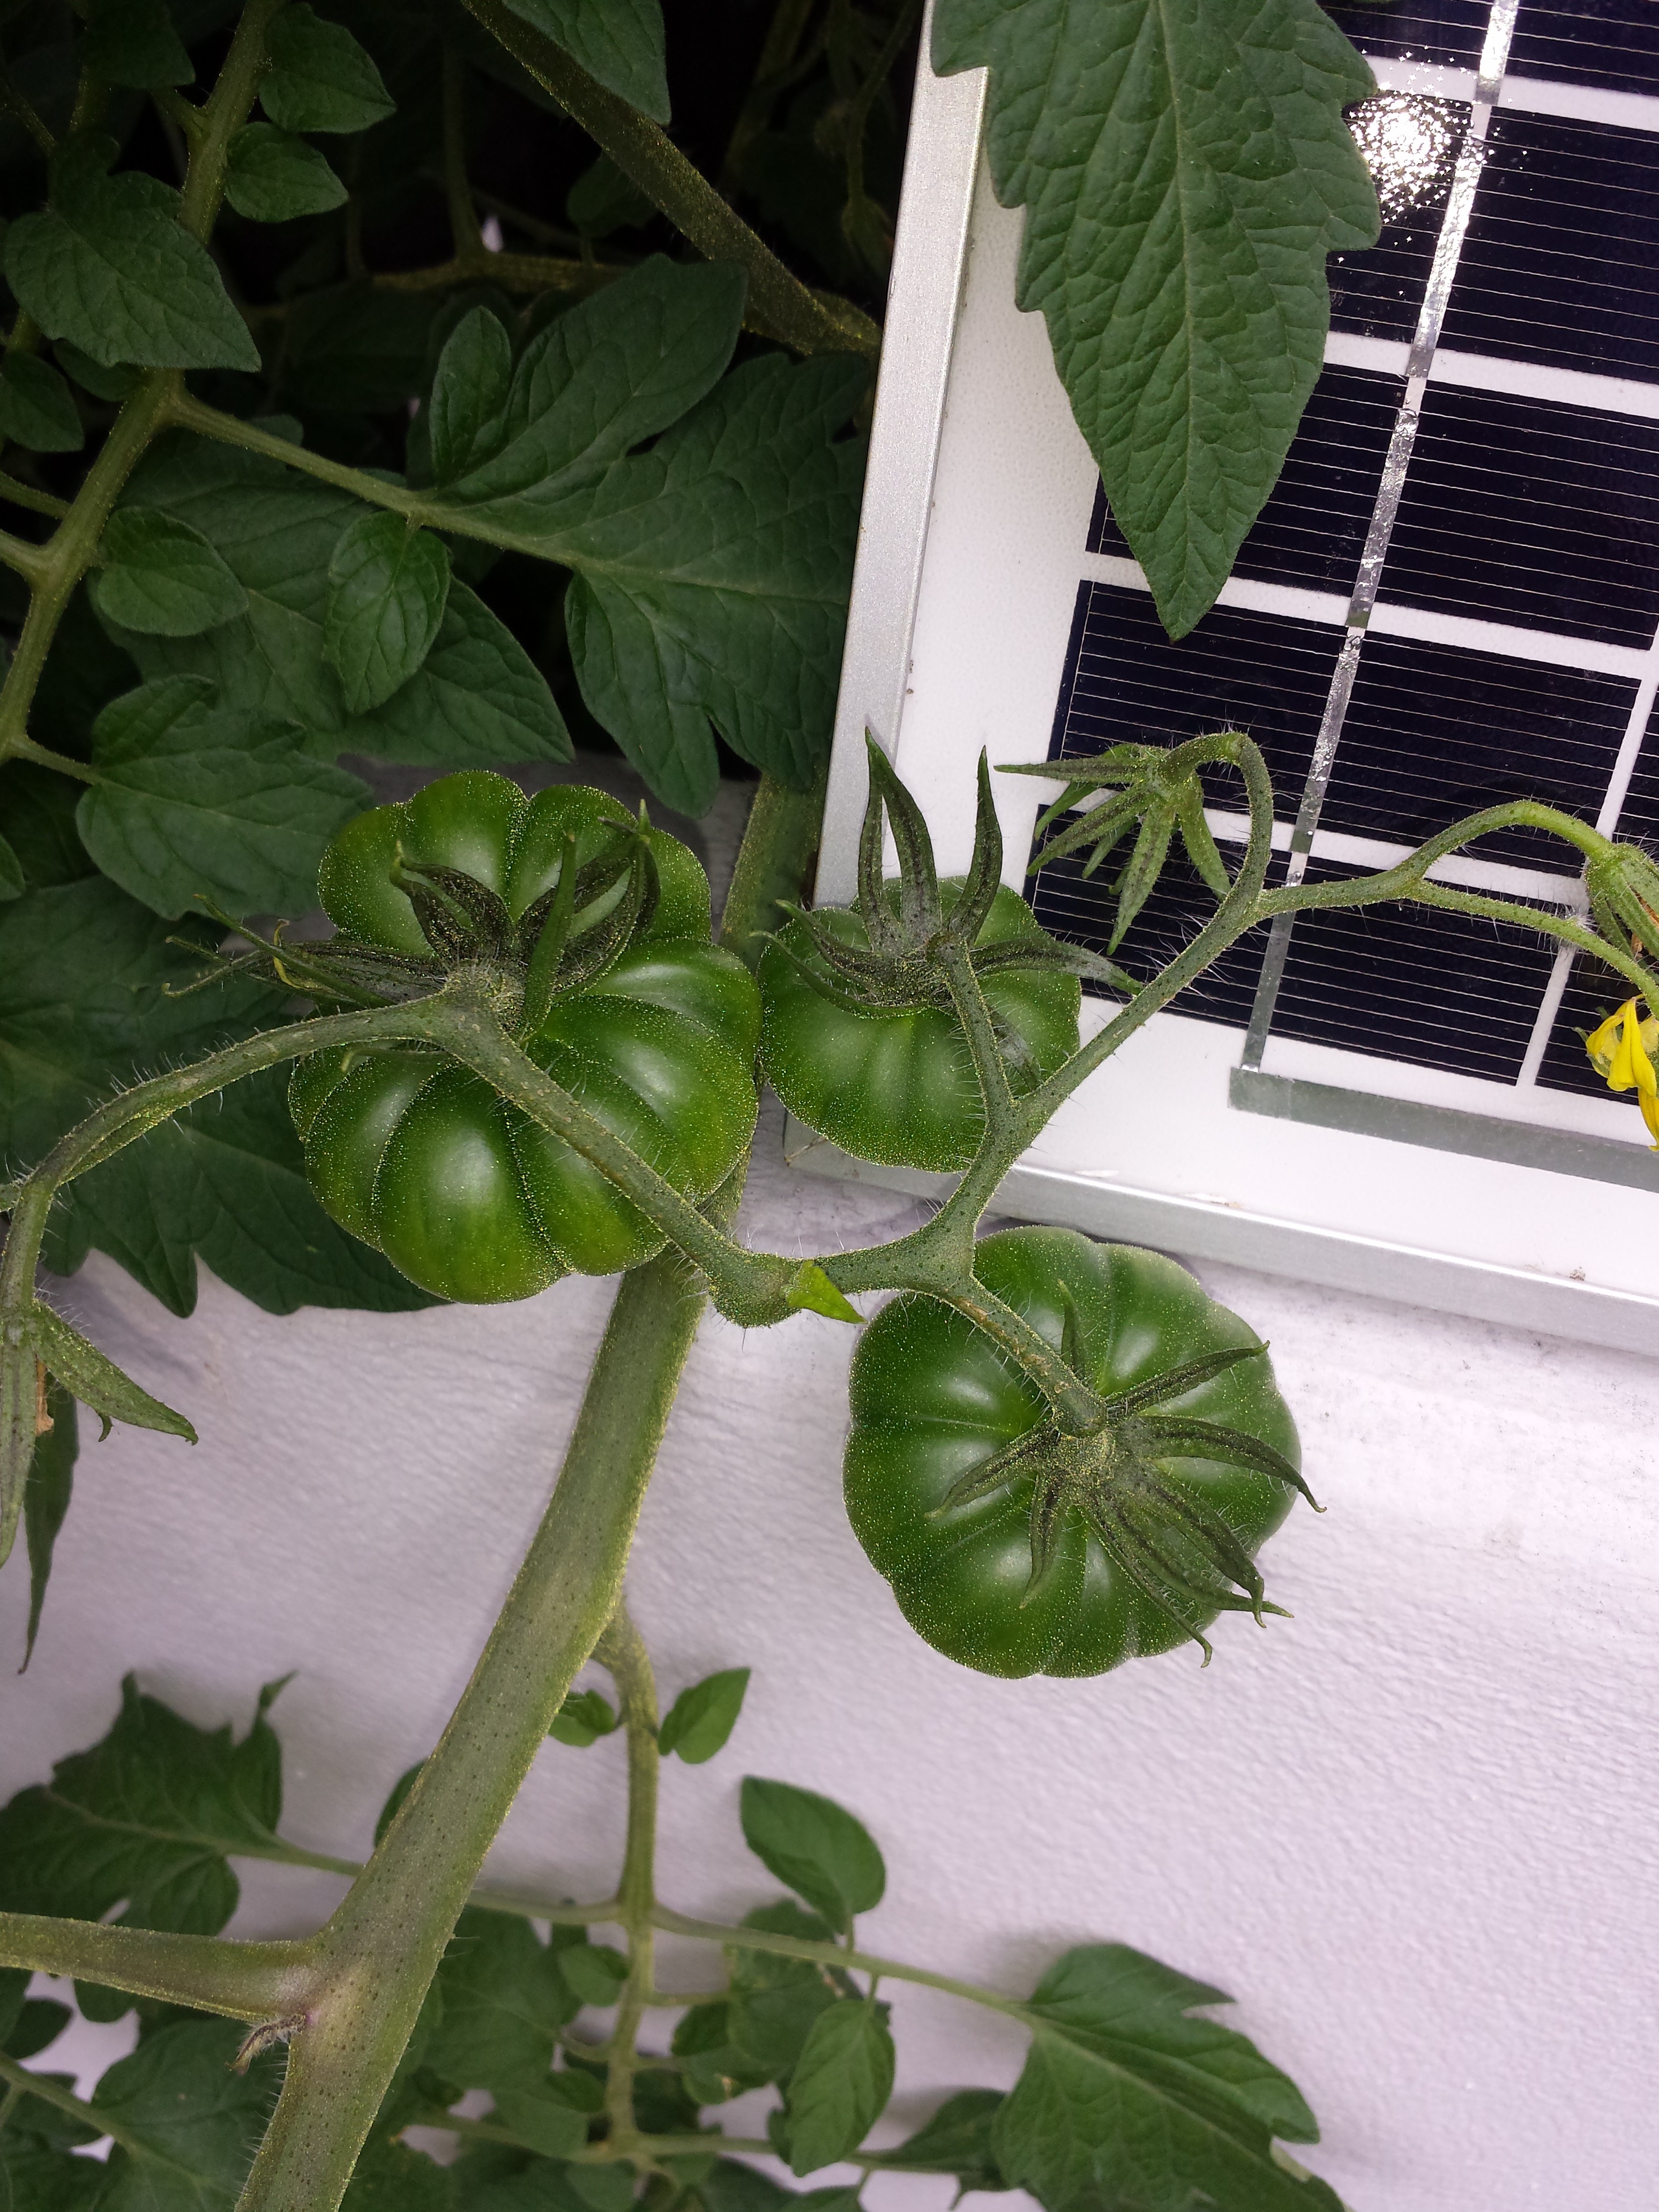
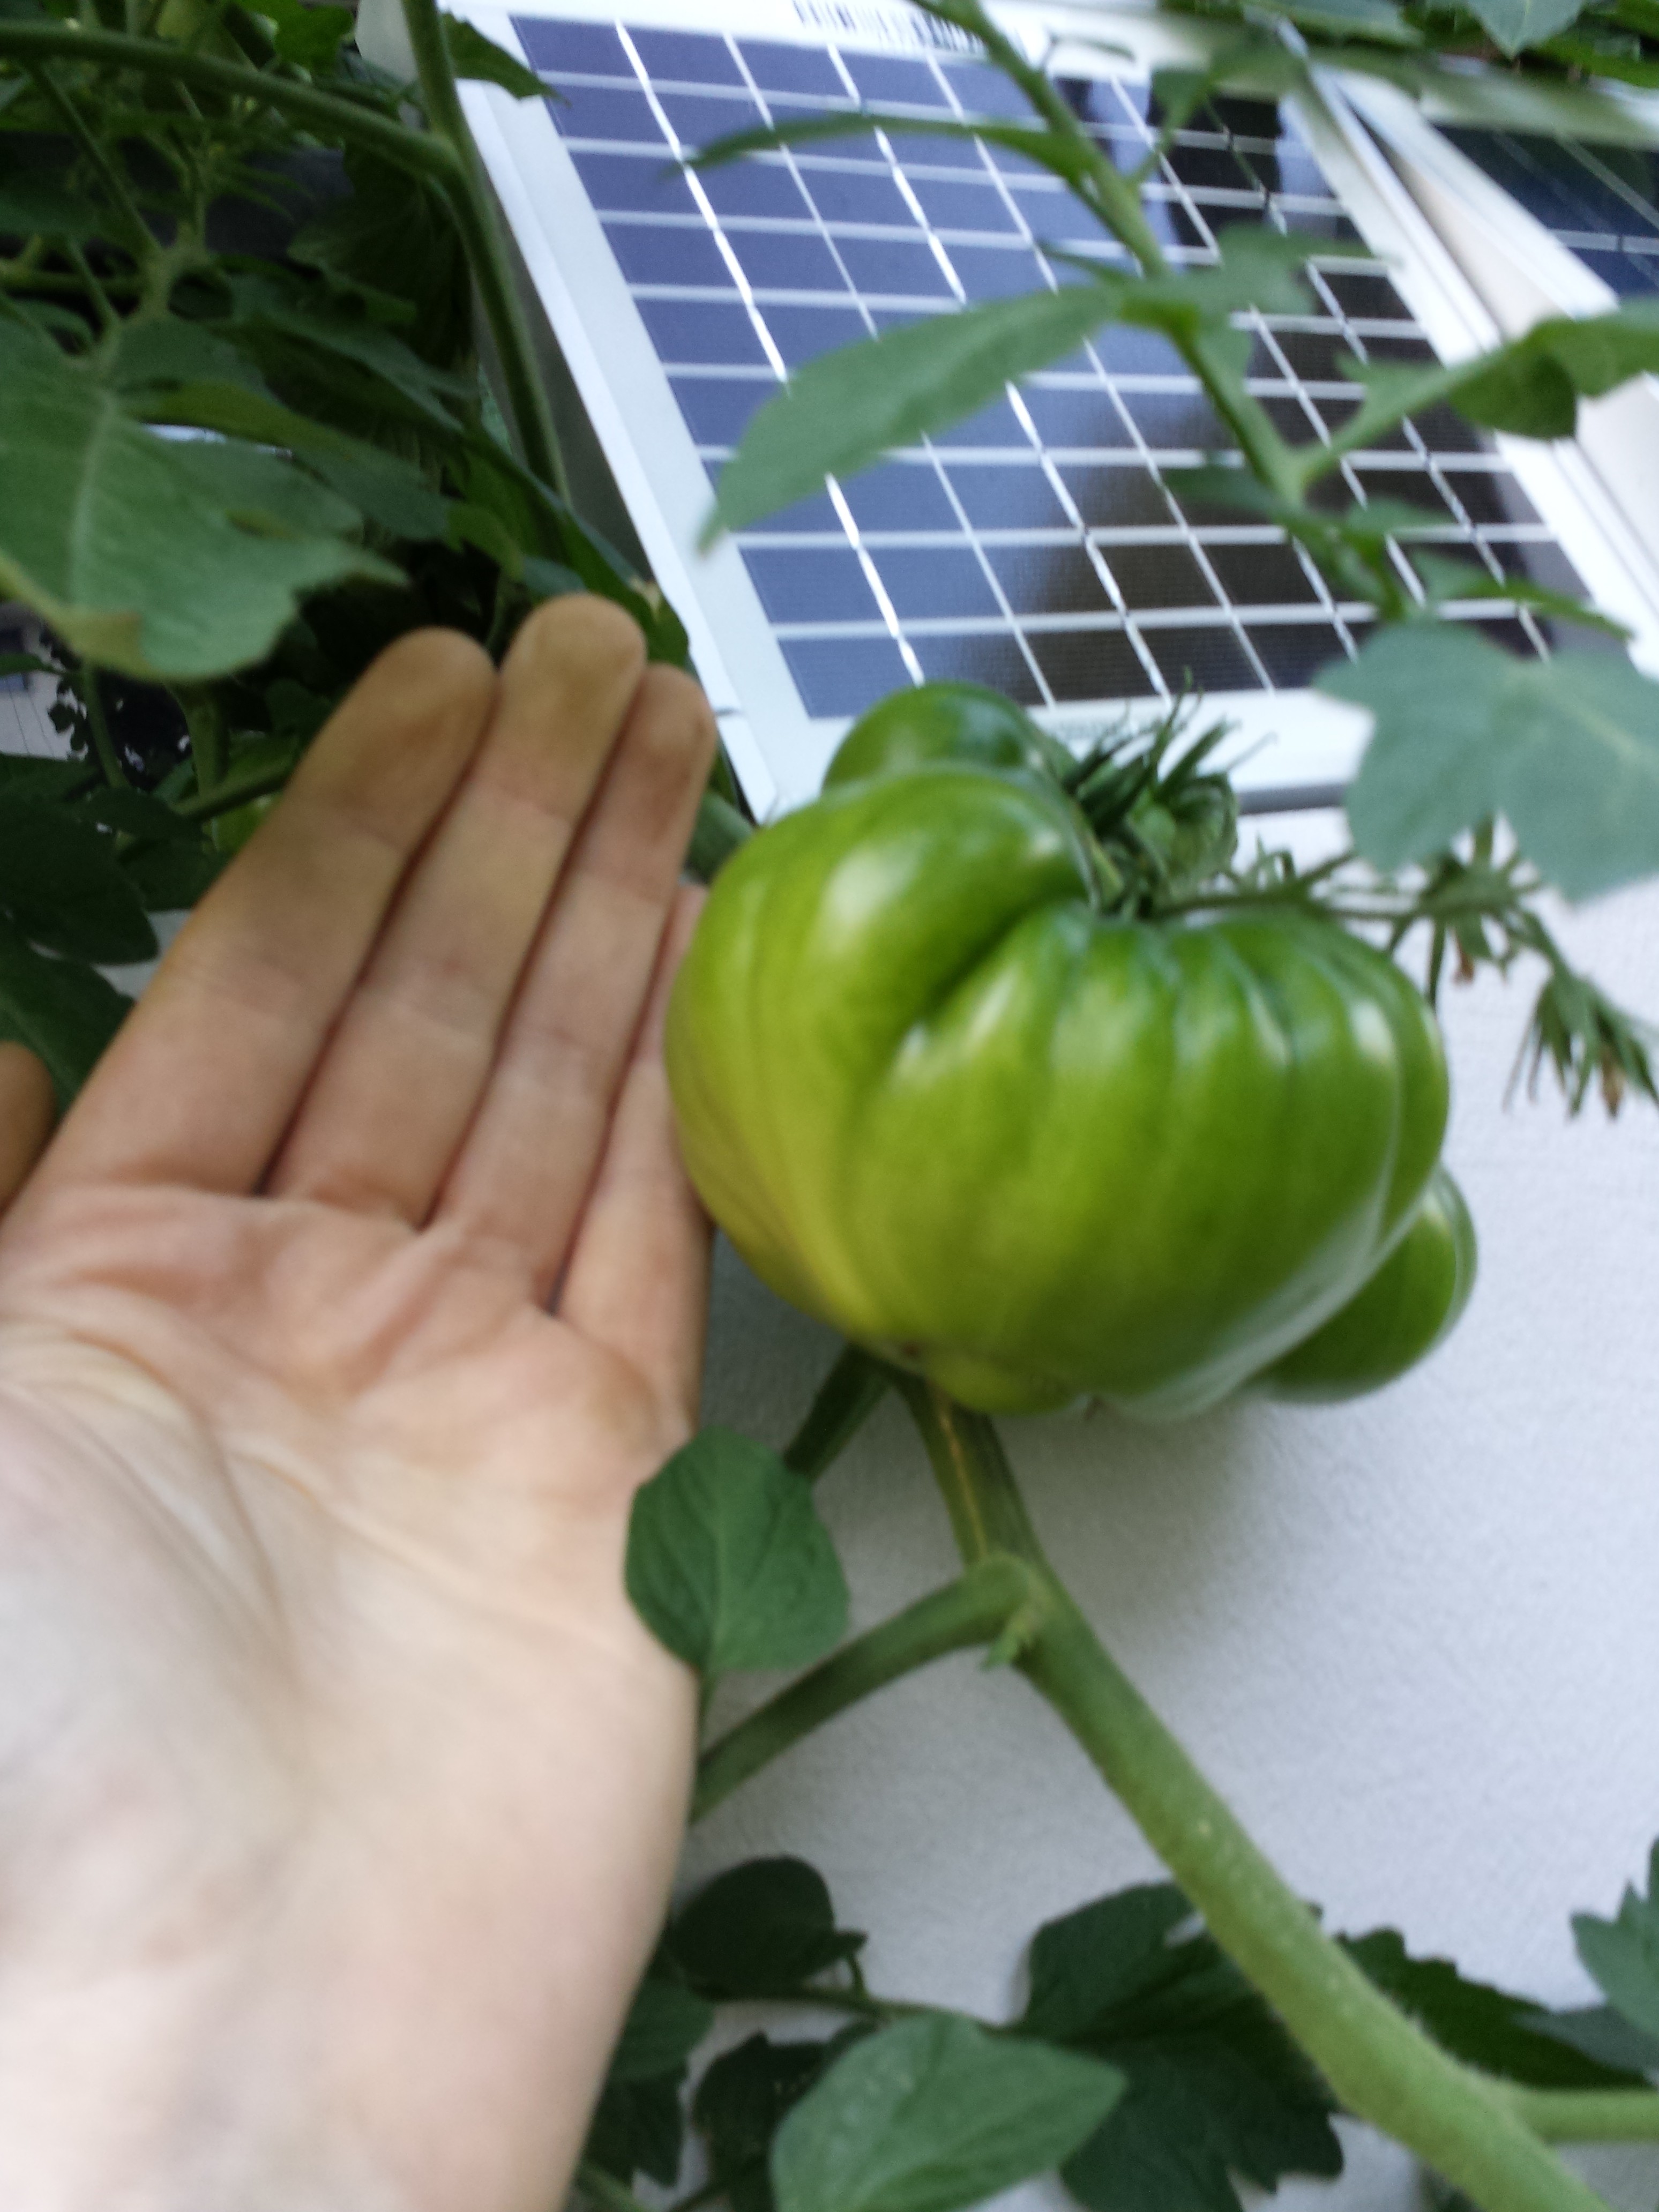
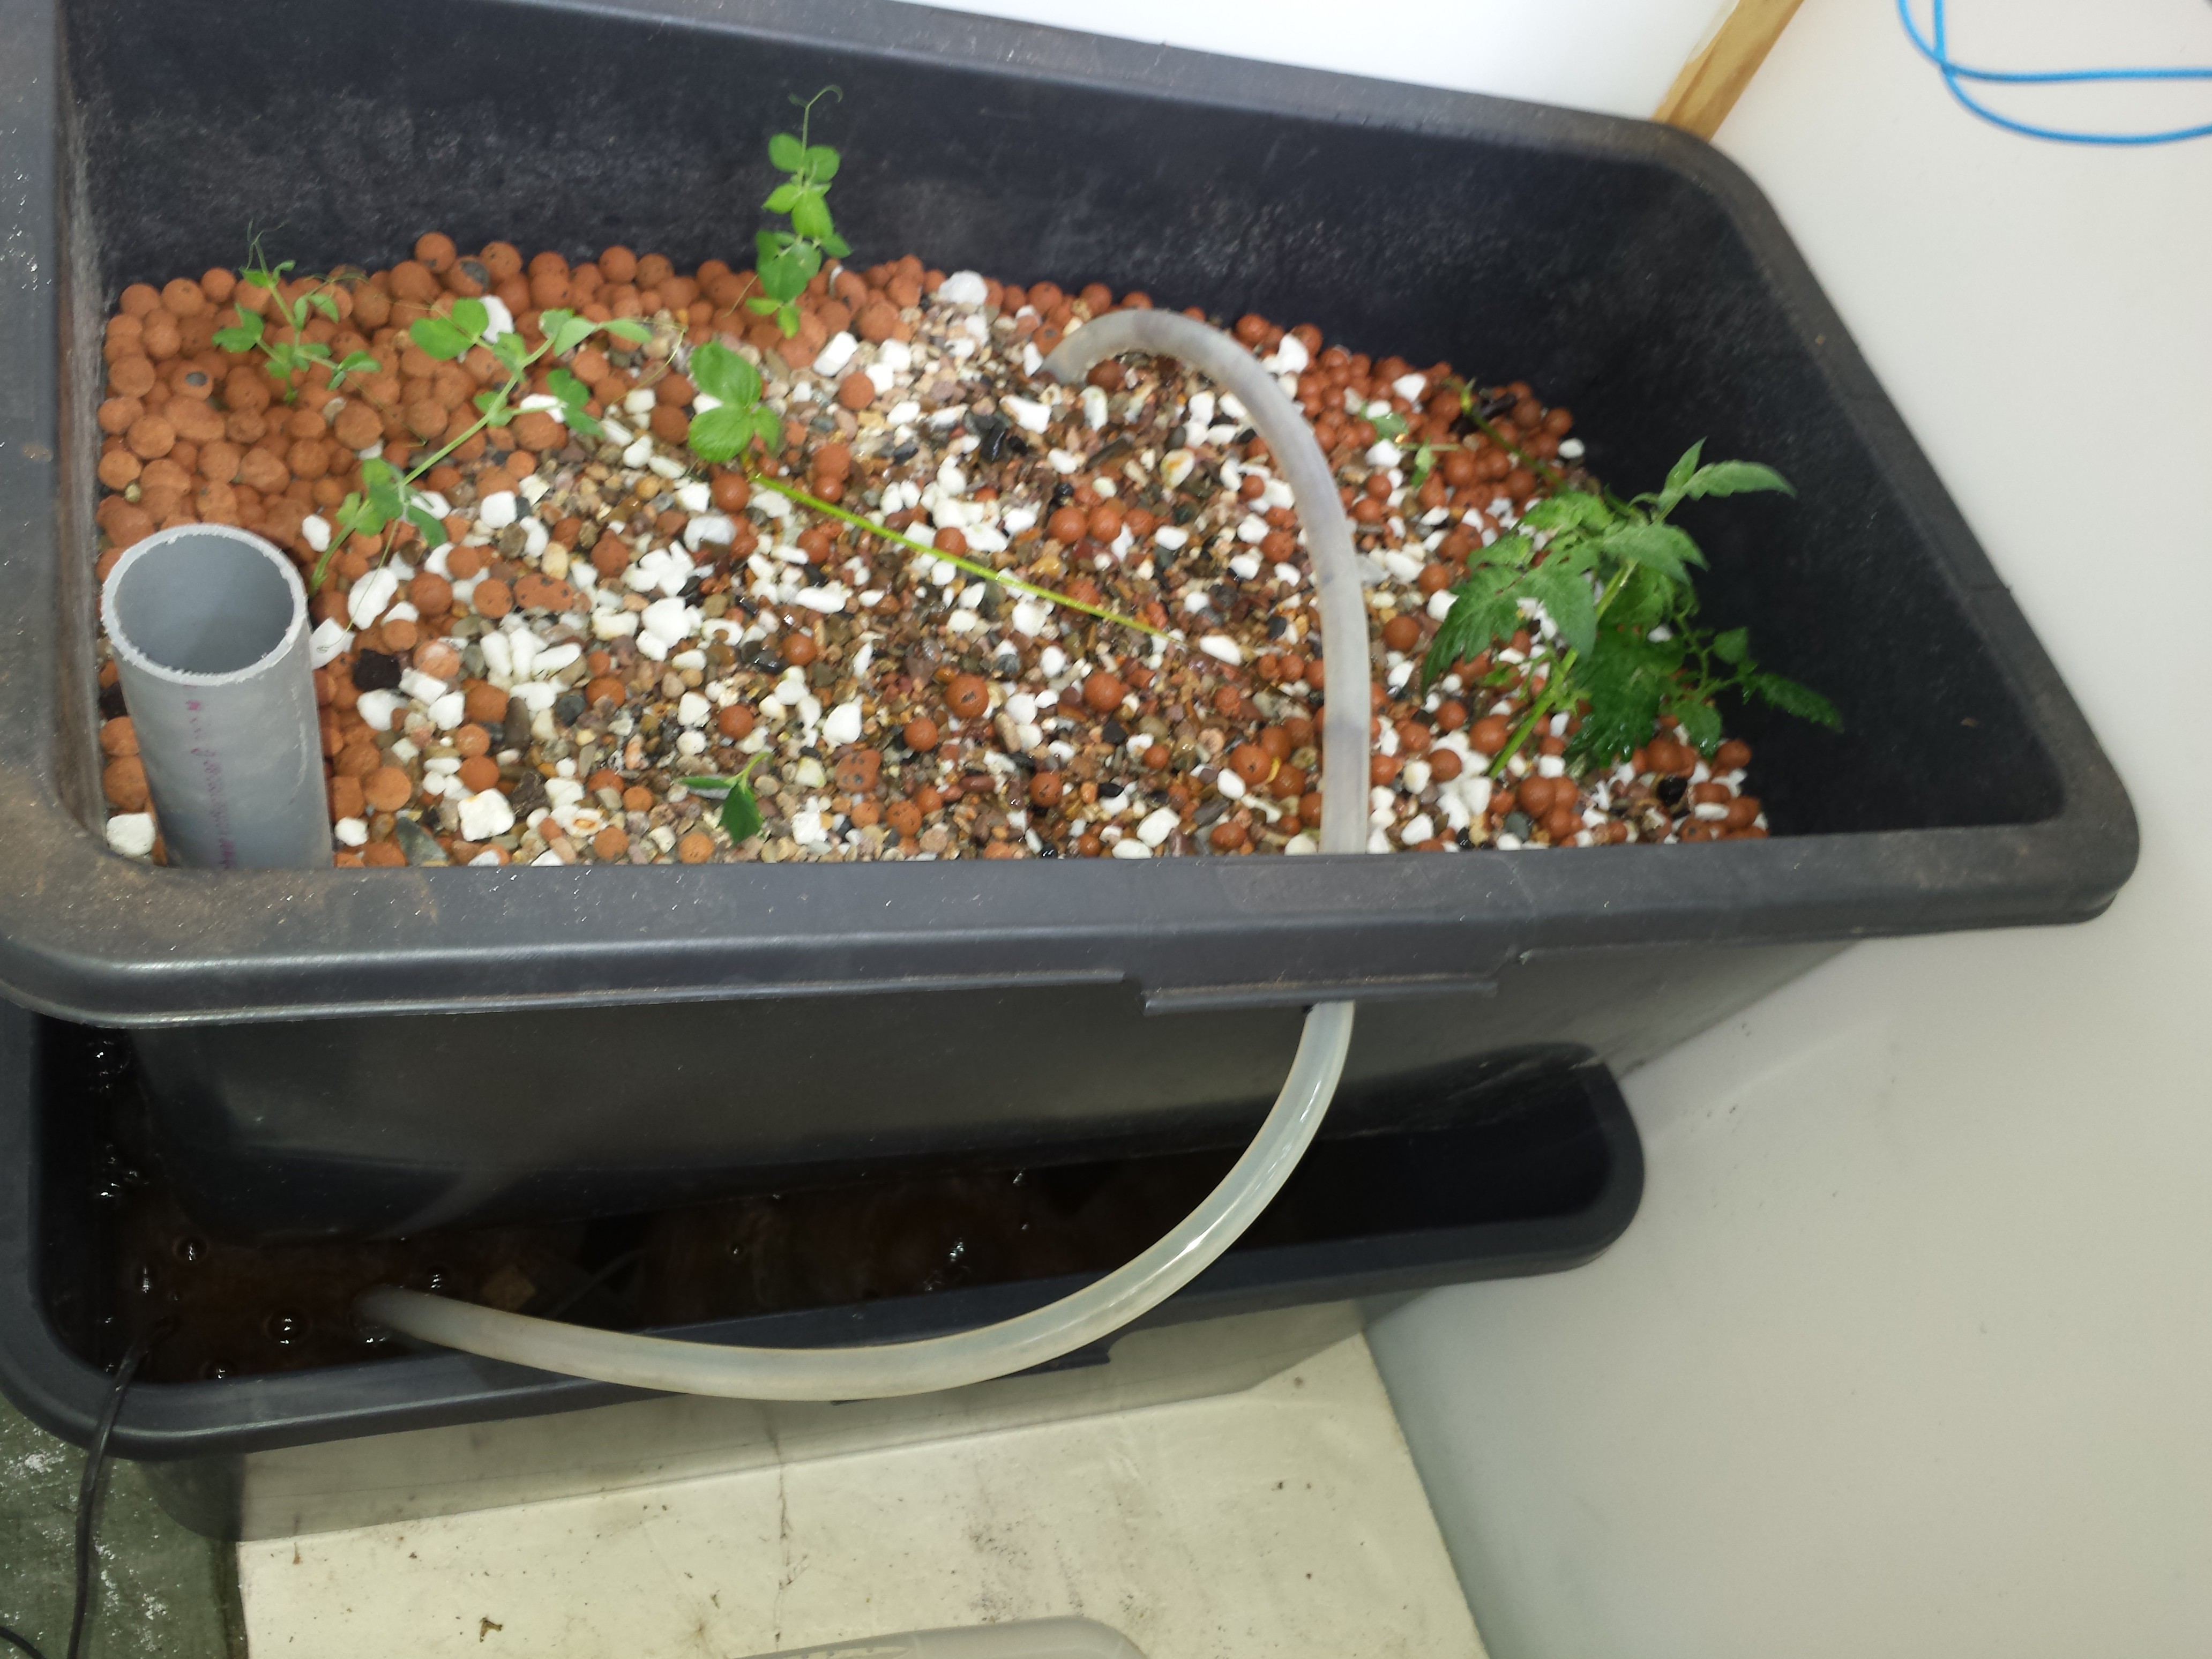
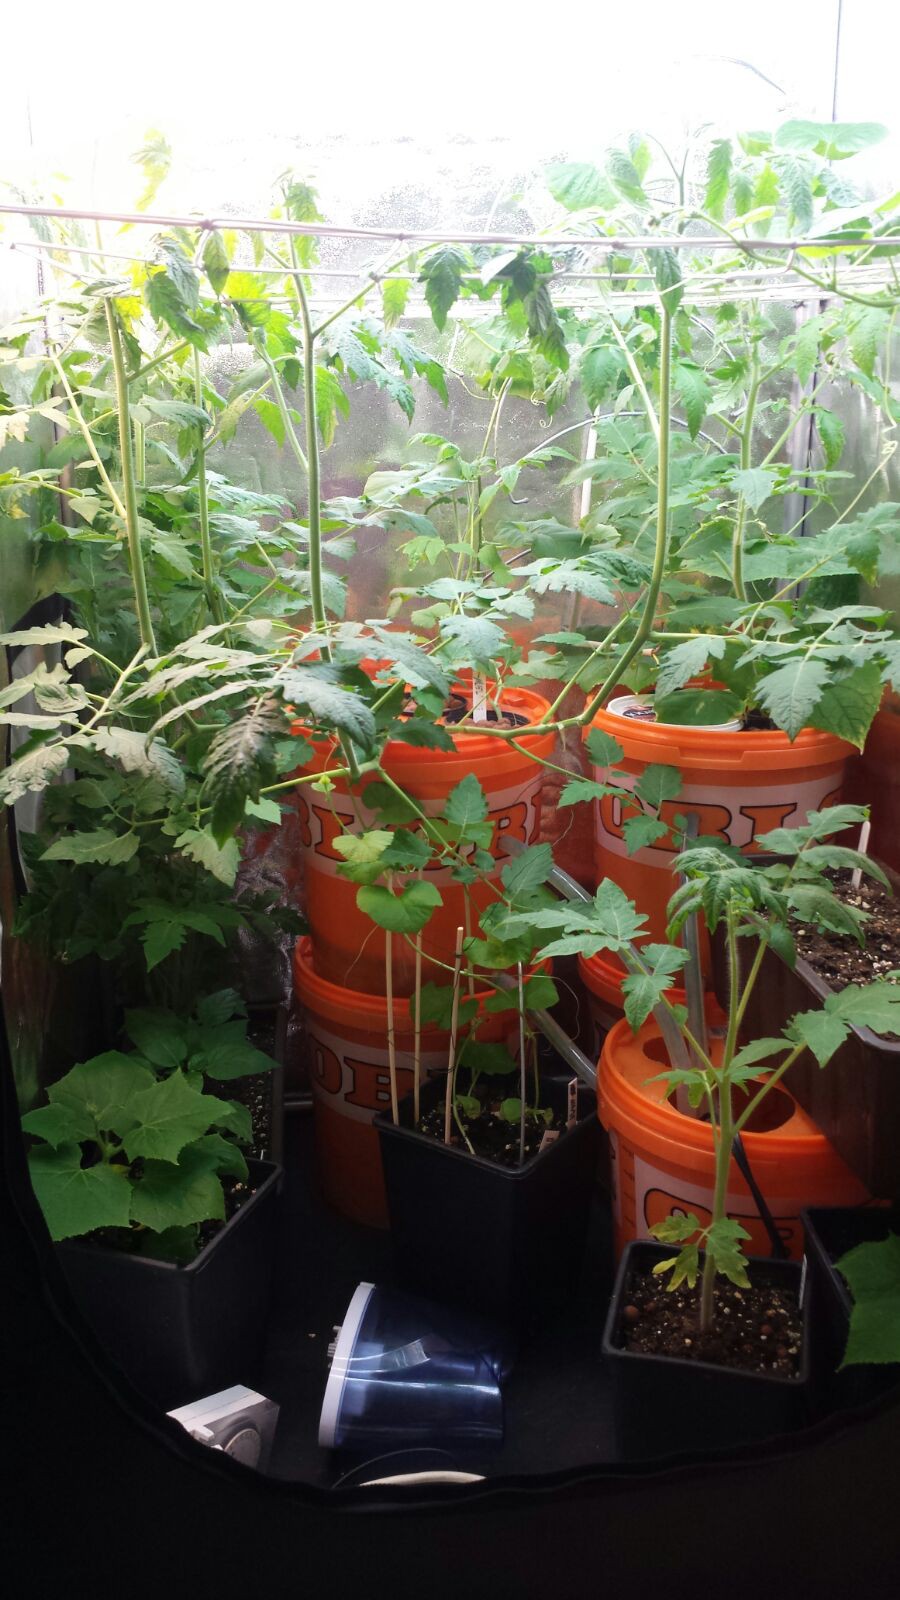
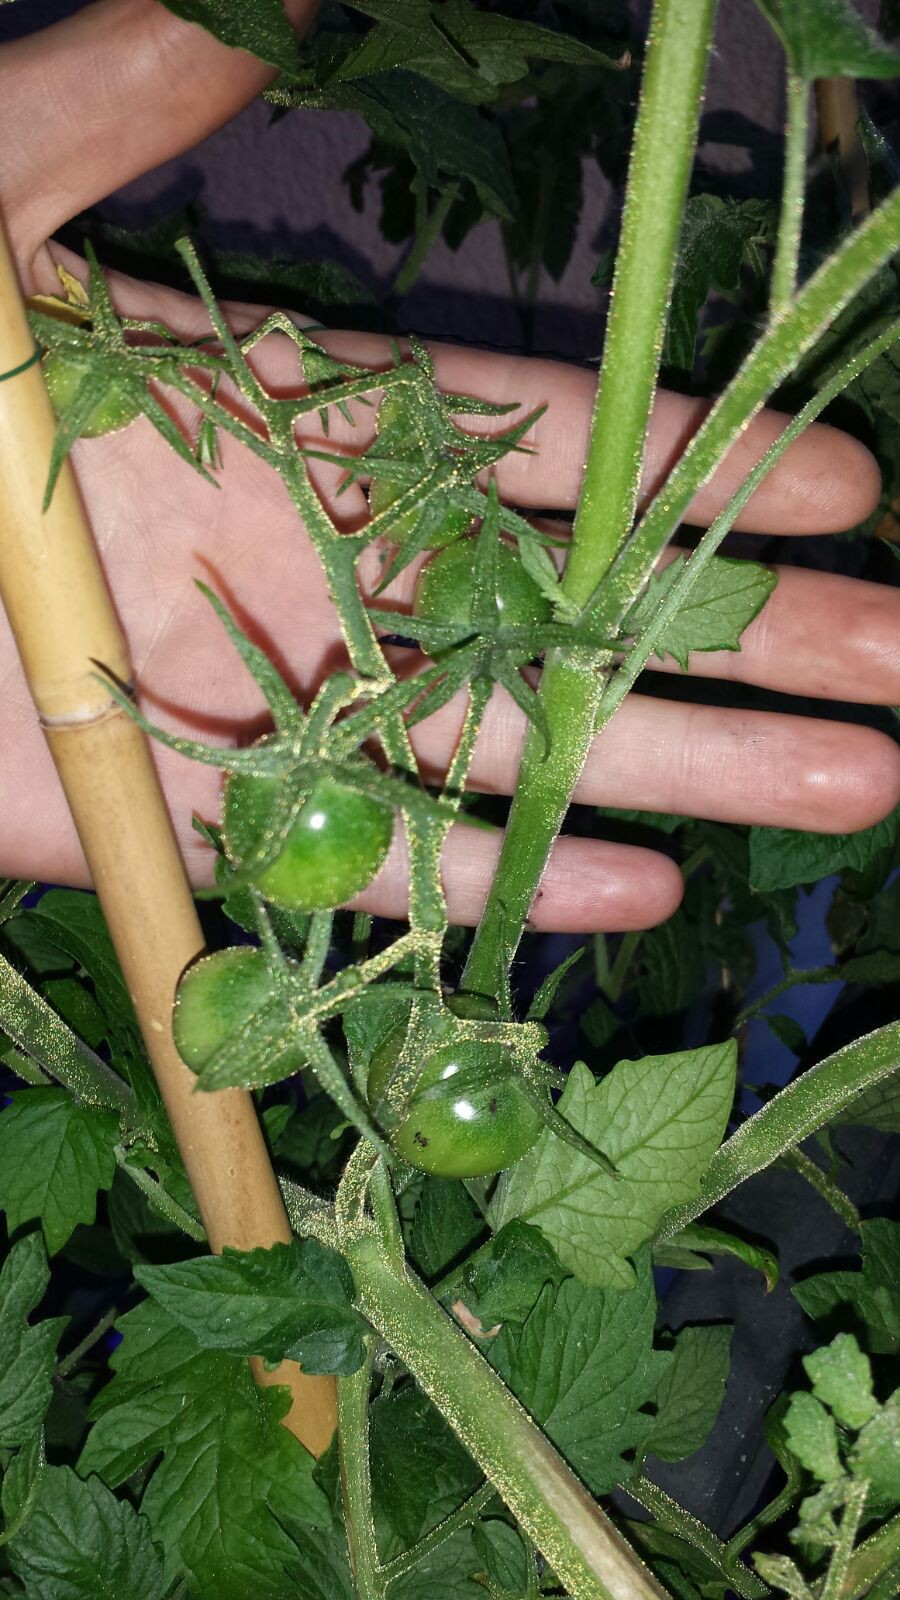
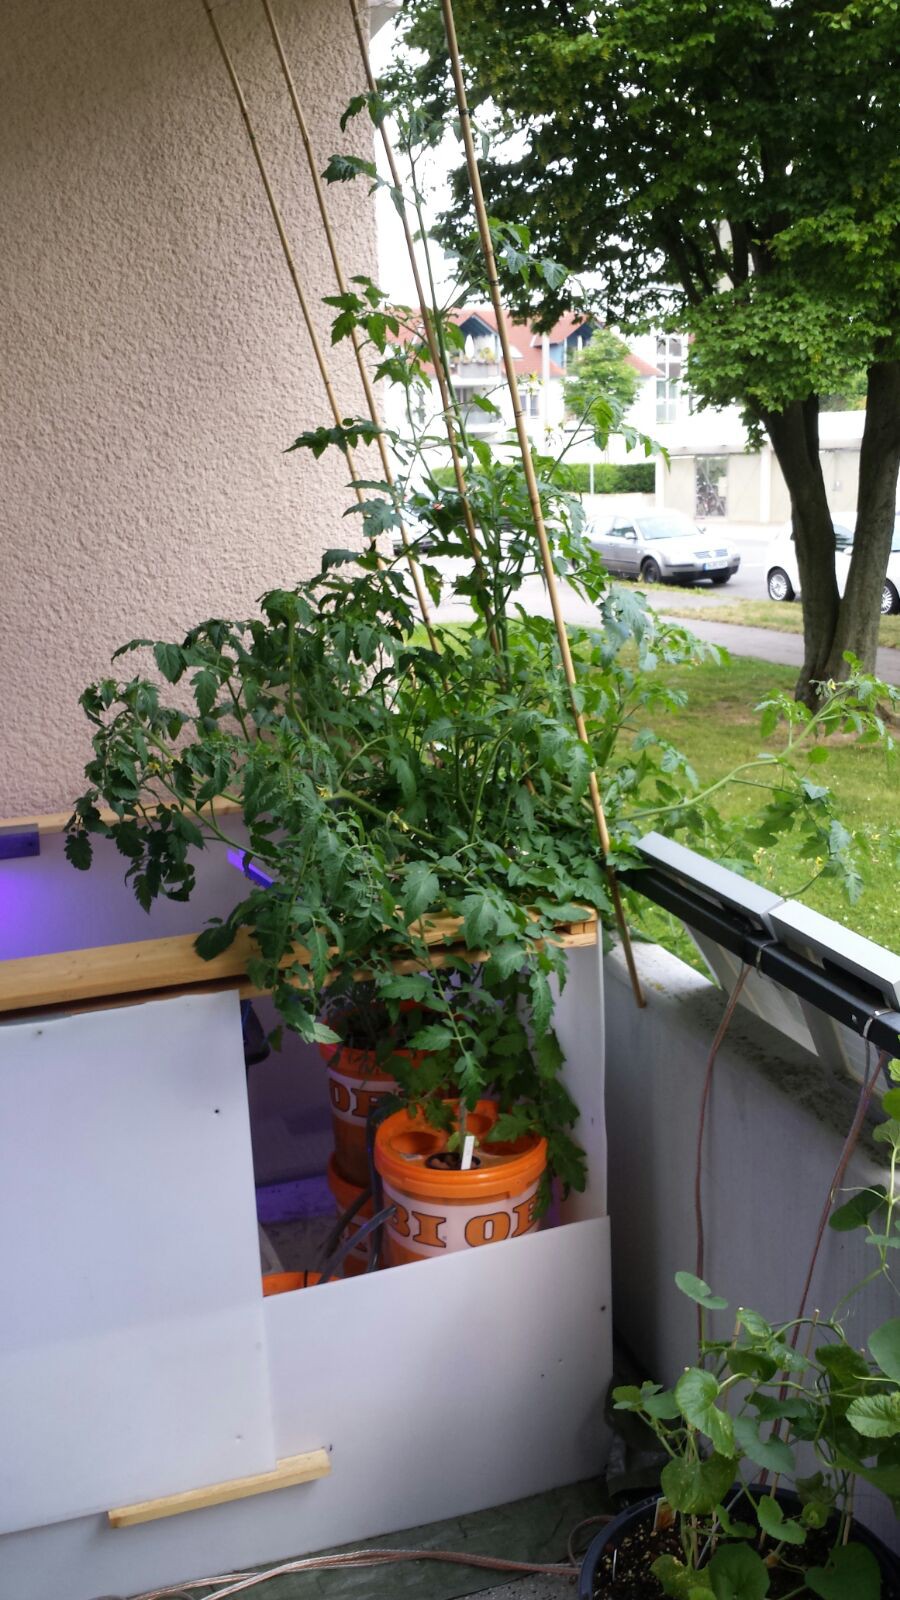
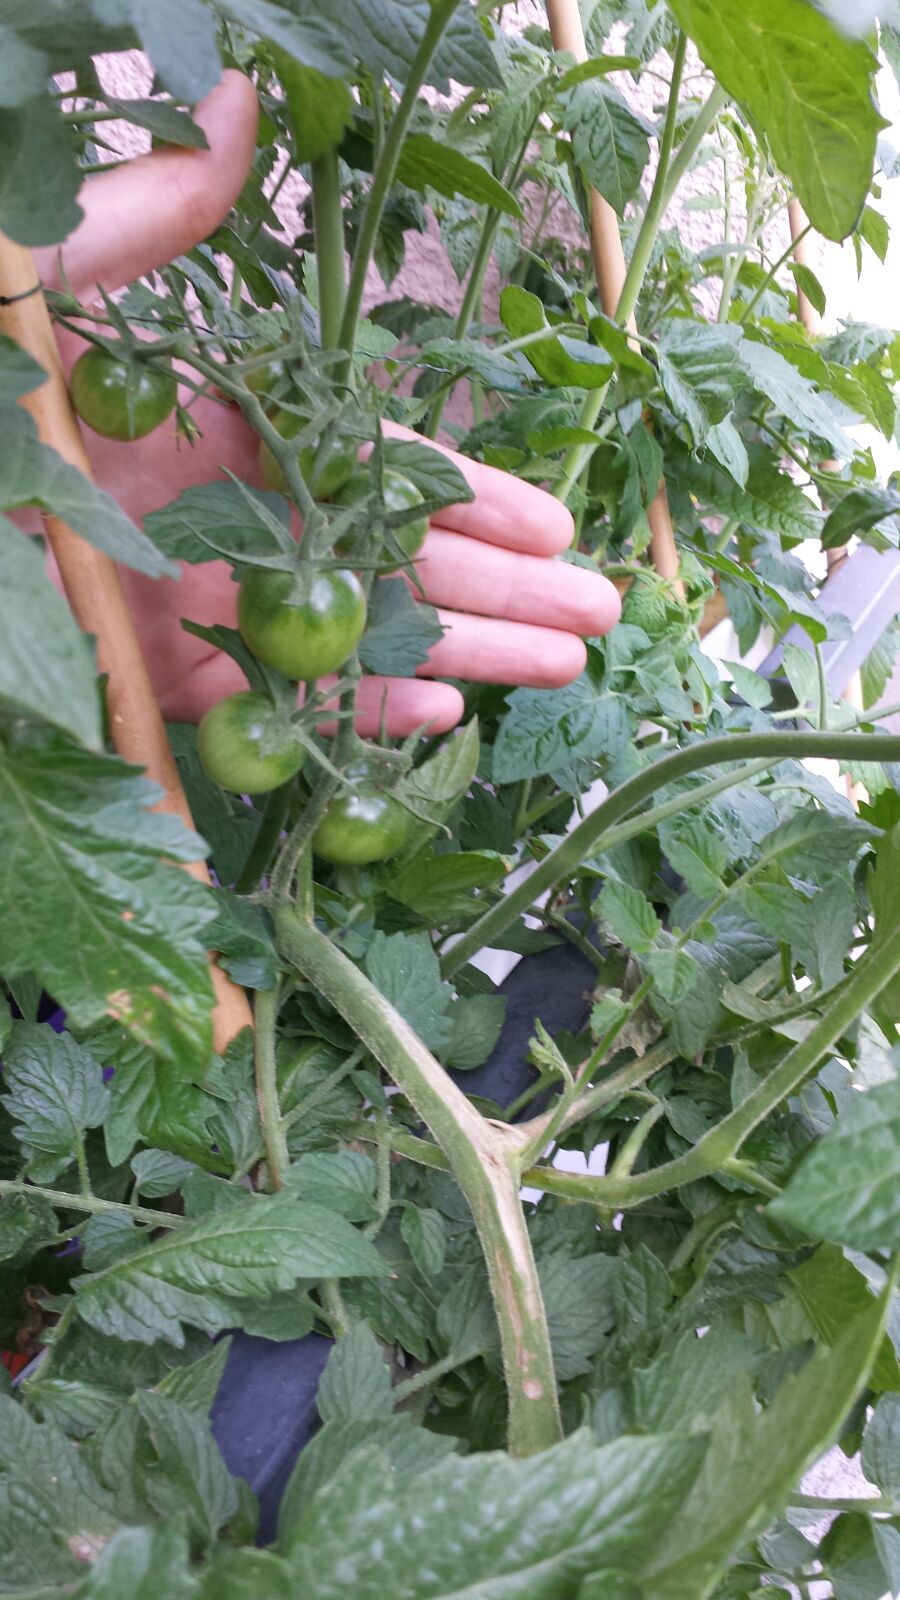
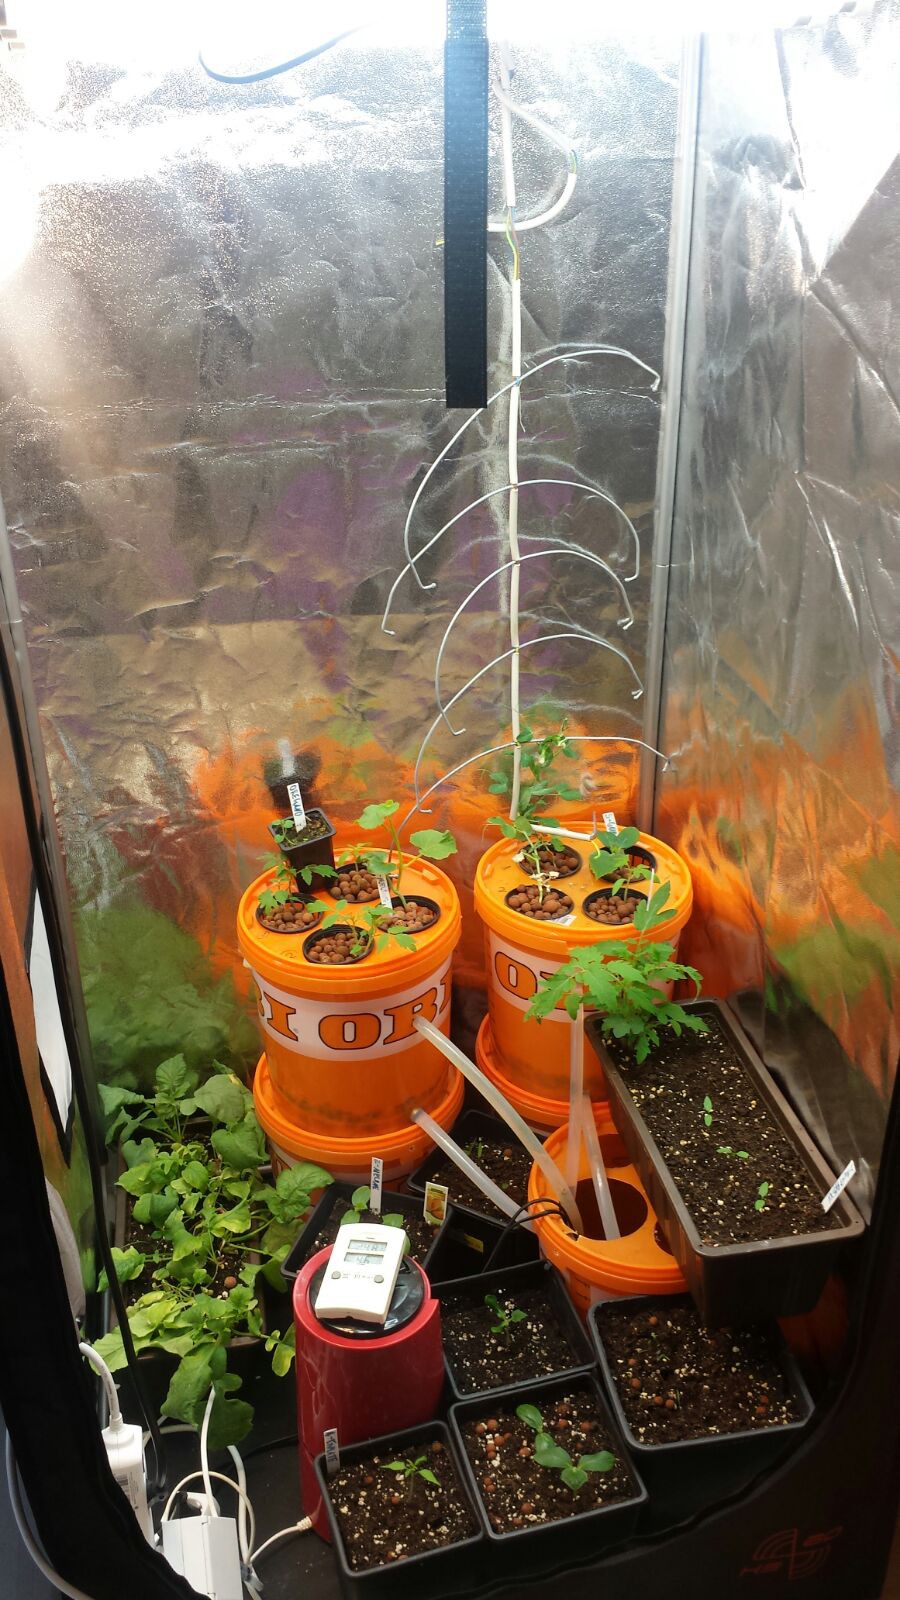
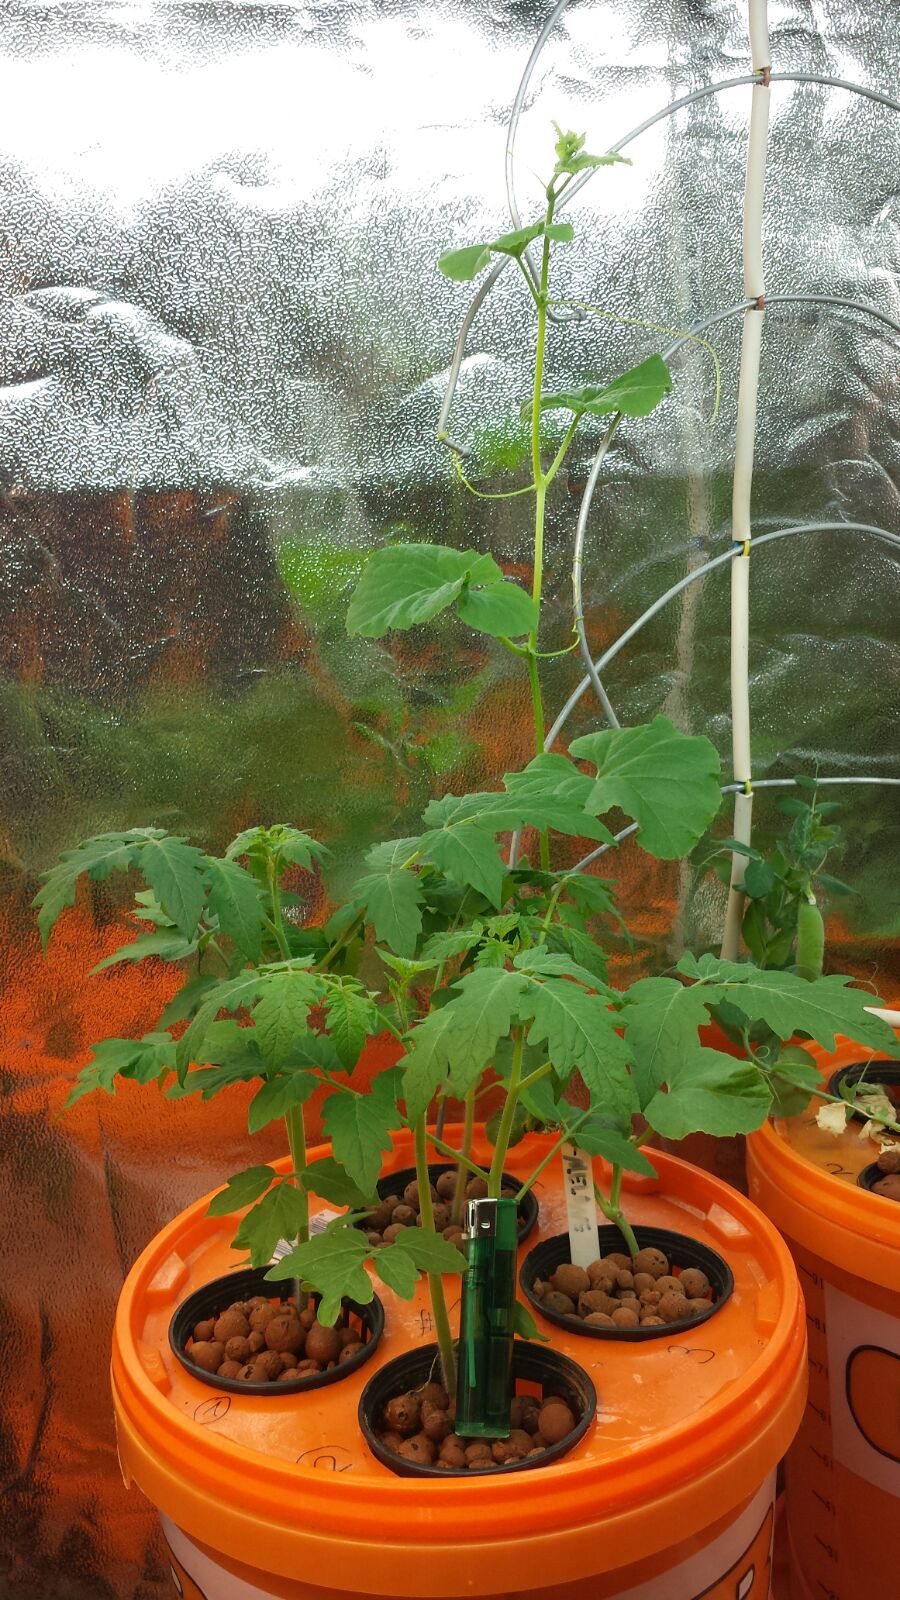
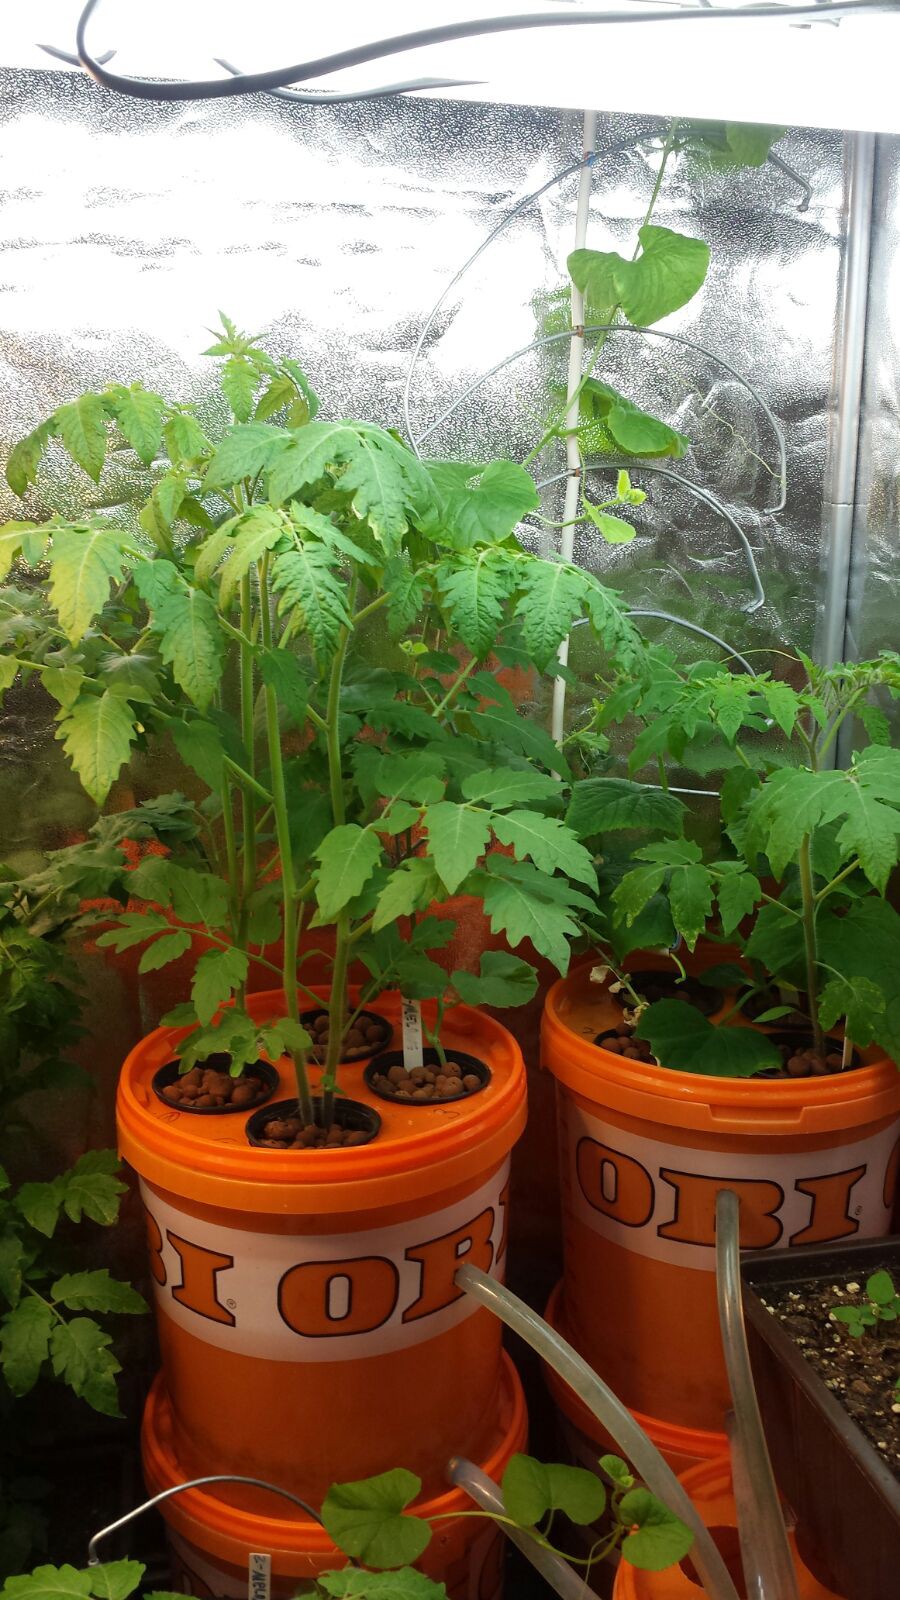
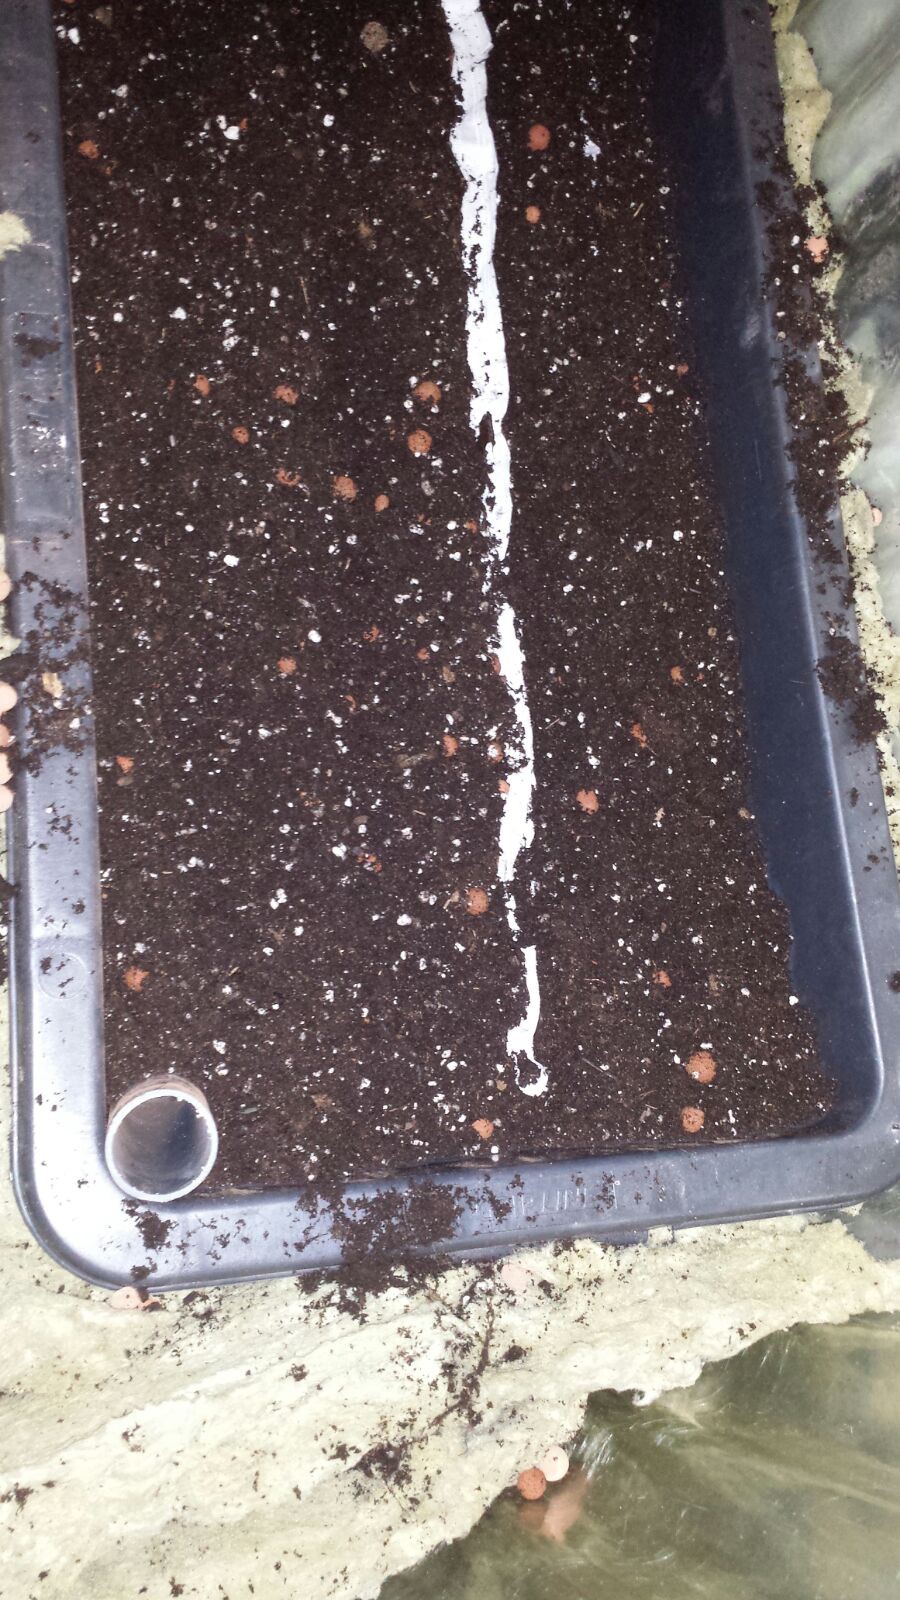
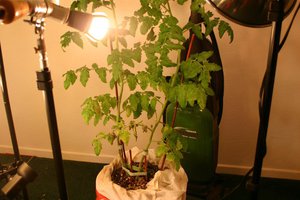
I bought 500 Liters of Growing Soil and placed my Plants. The Bamboo is in a Plastic Container , to prevent it from spreading all over the garden.
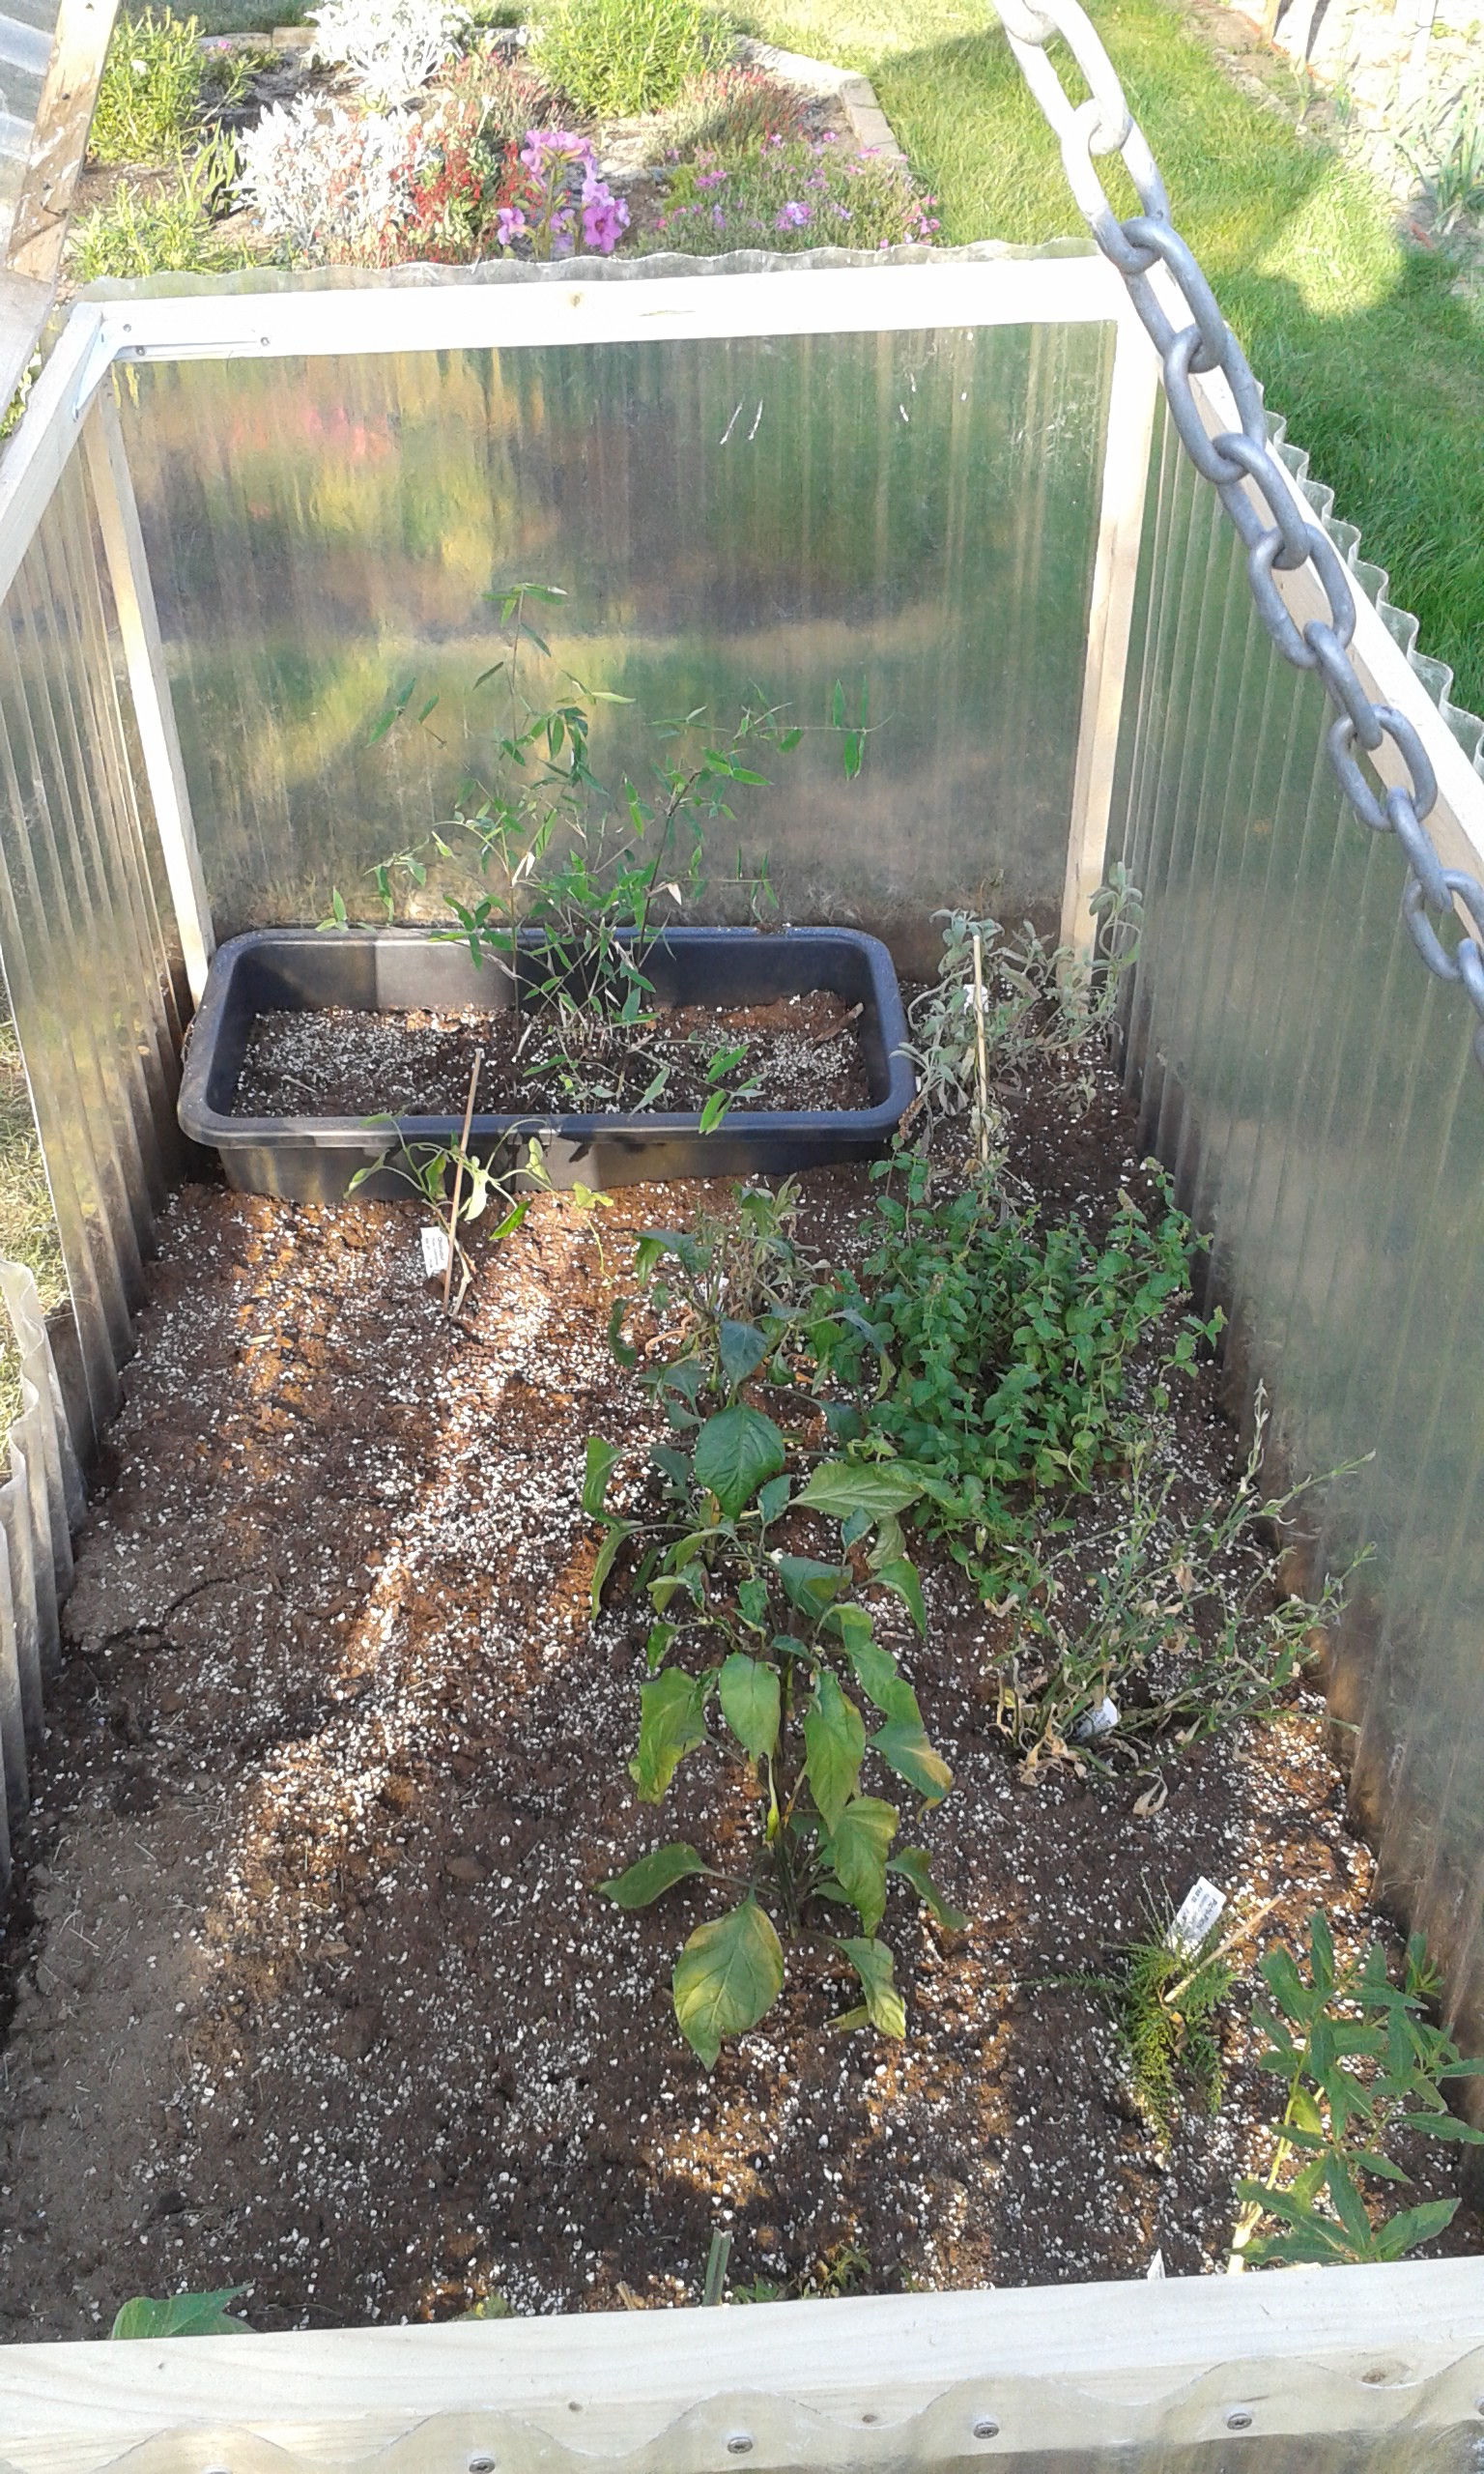
Plants from Top to Bottom:
Bamboo
Salbei ceres (german Name)
Chillis
Peppermint
Sugar cane
Waldmeister (german Name)
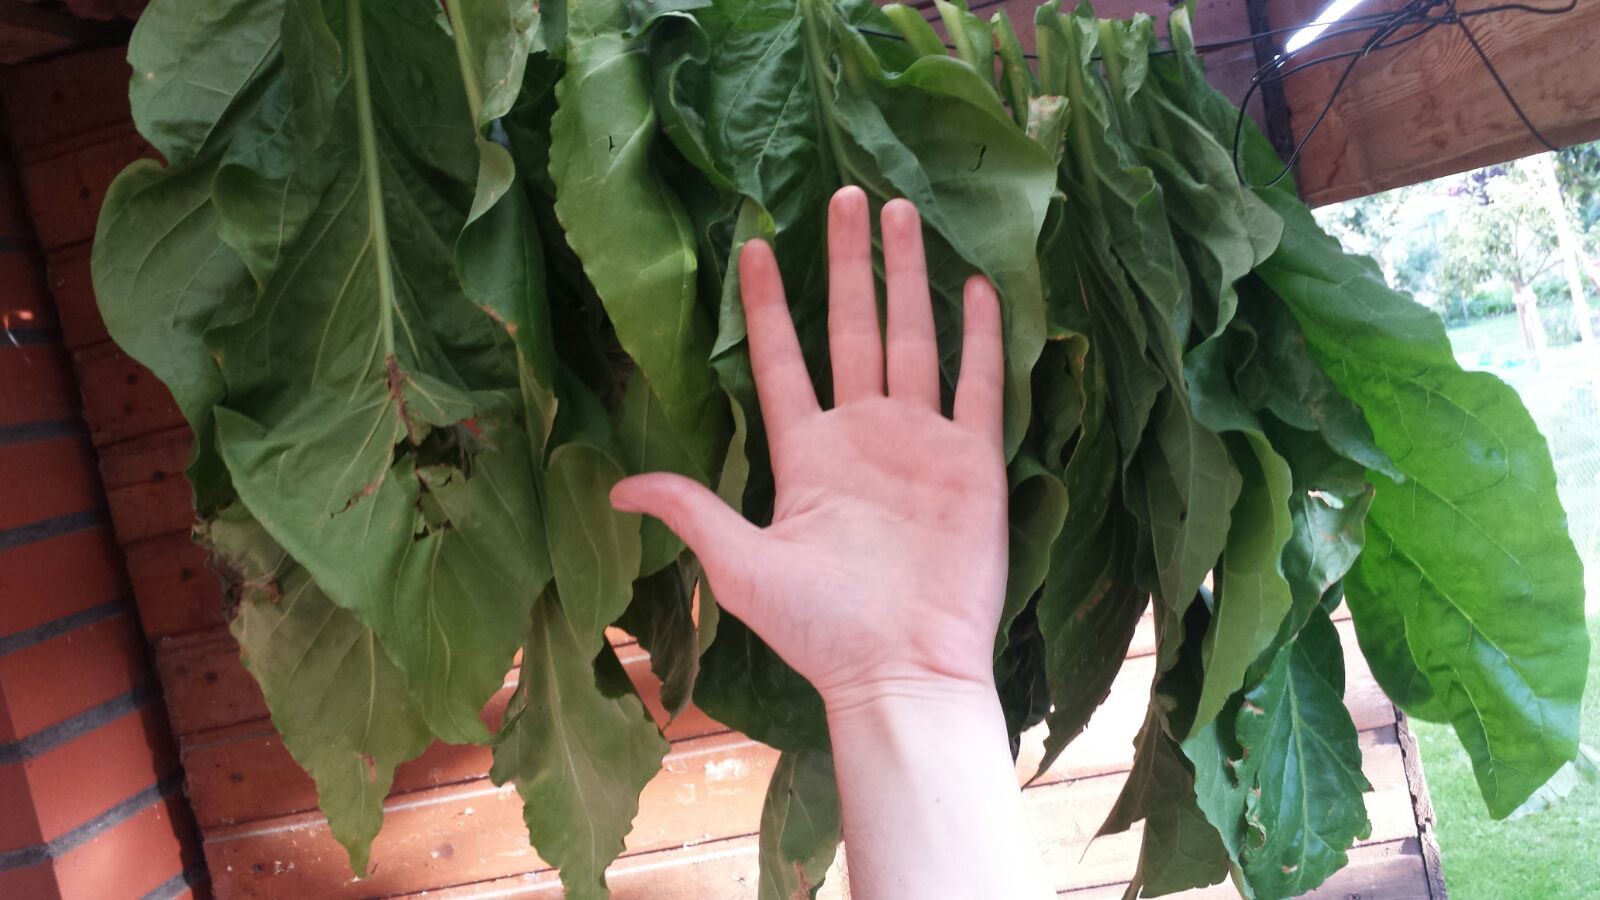
Tabacco
and some other herbs, i dont have the names anymore. sorry for that.
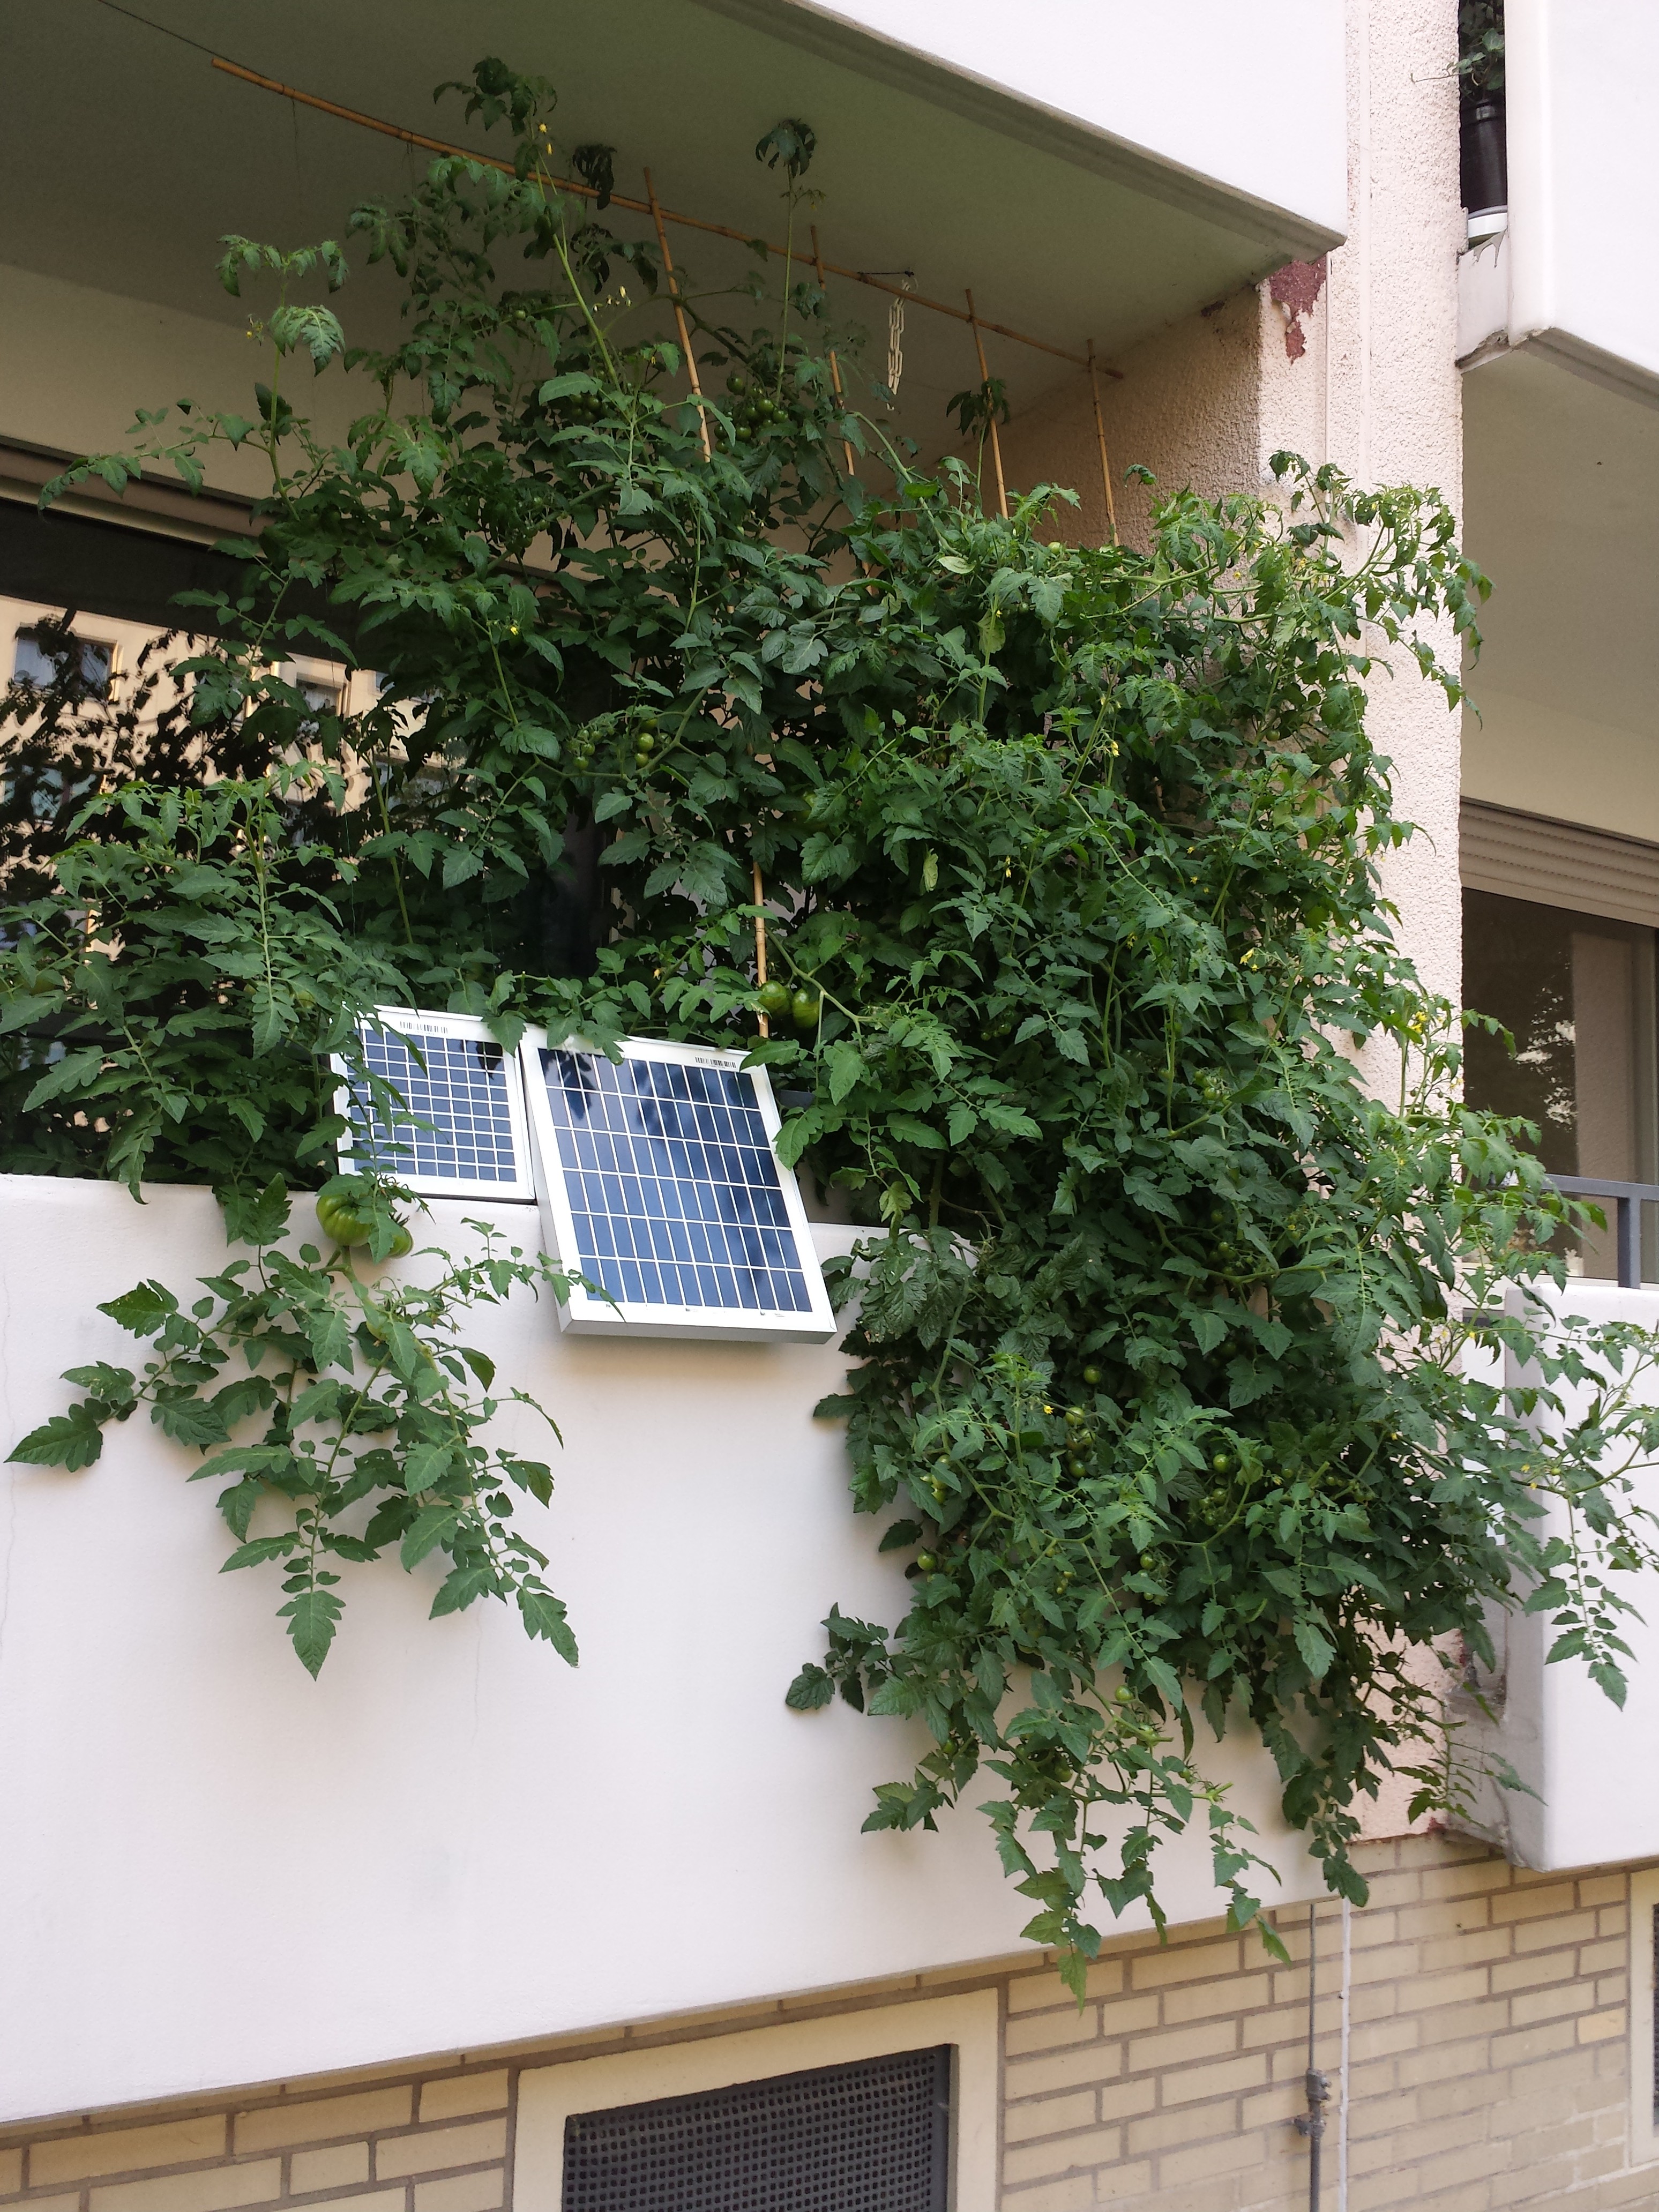
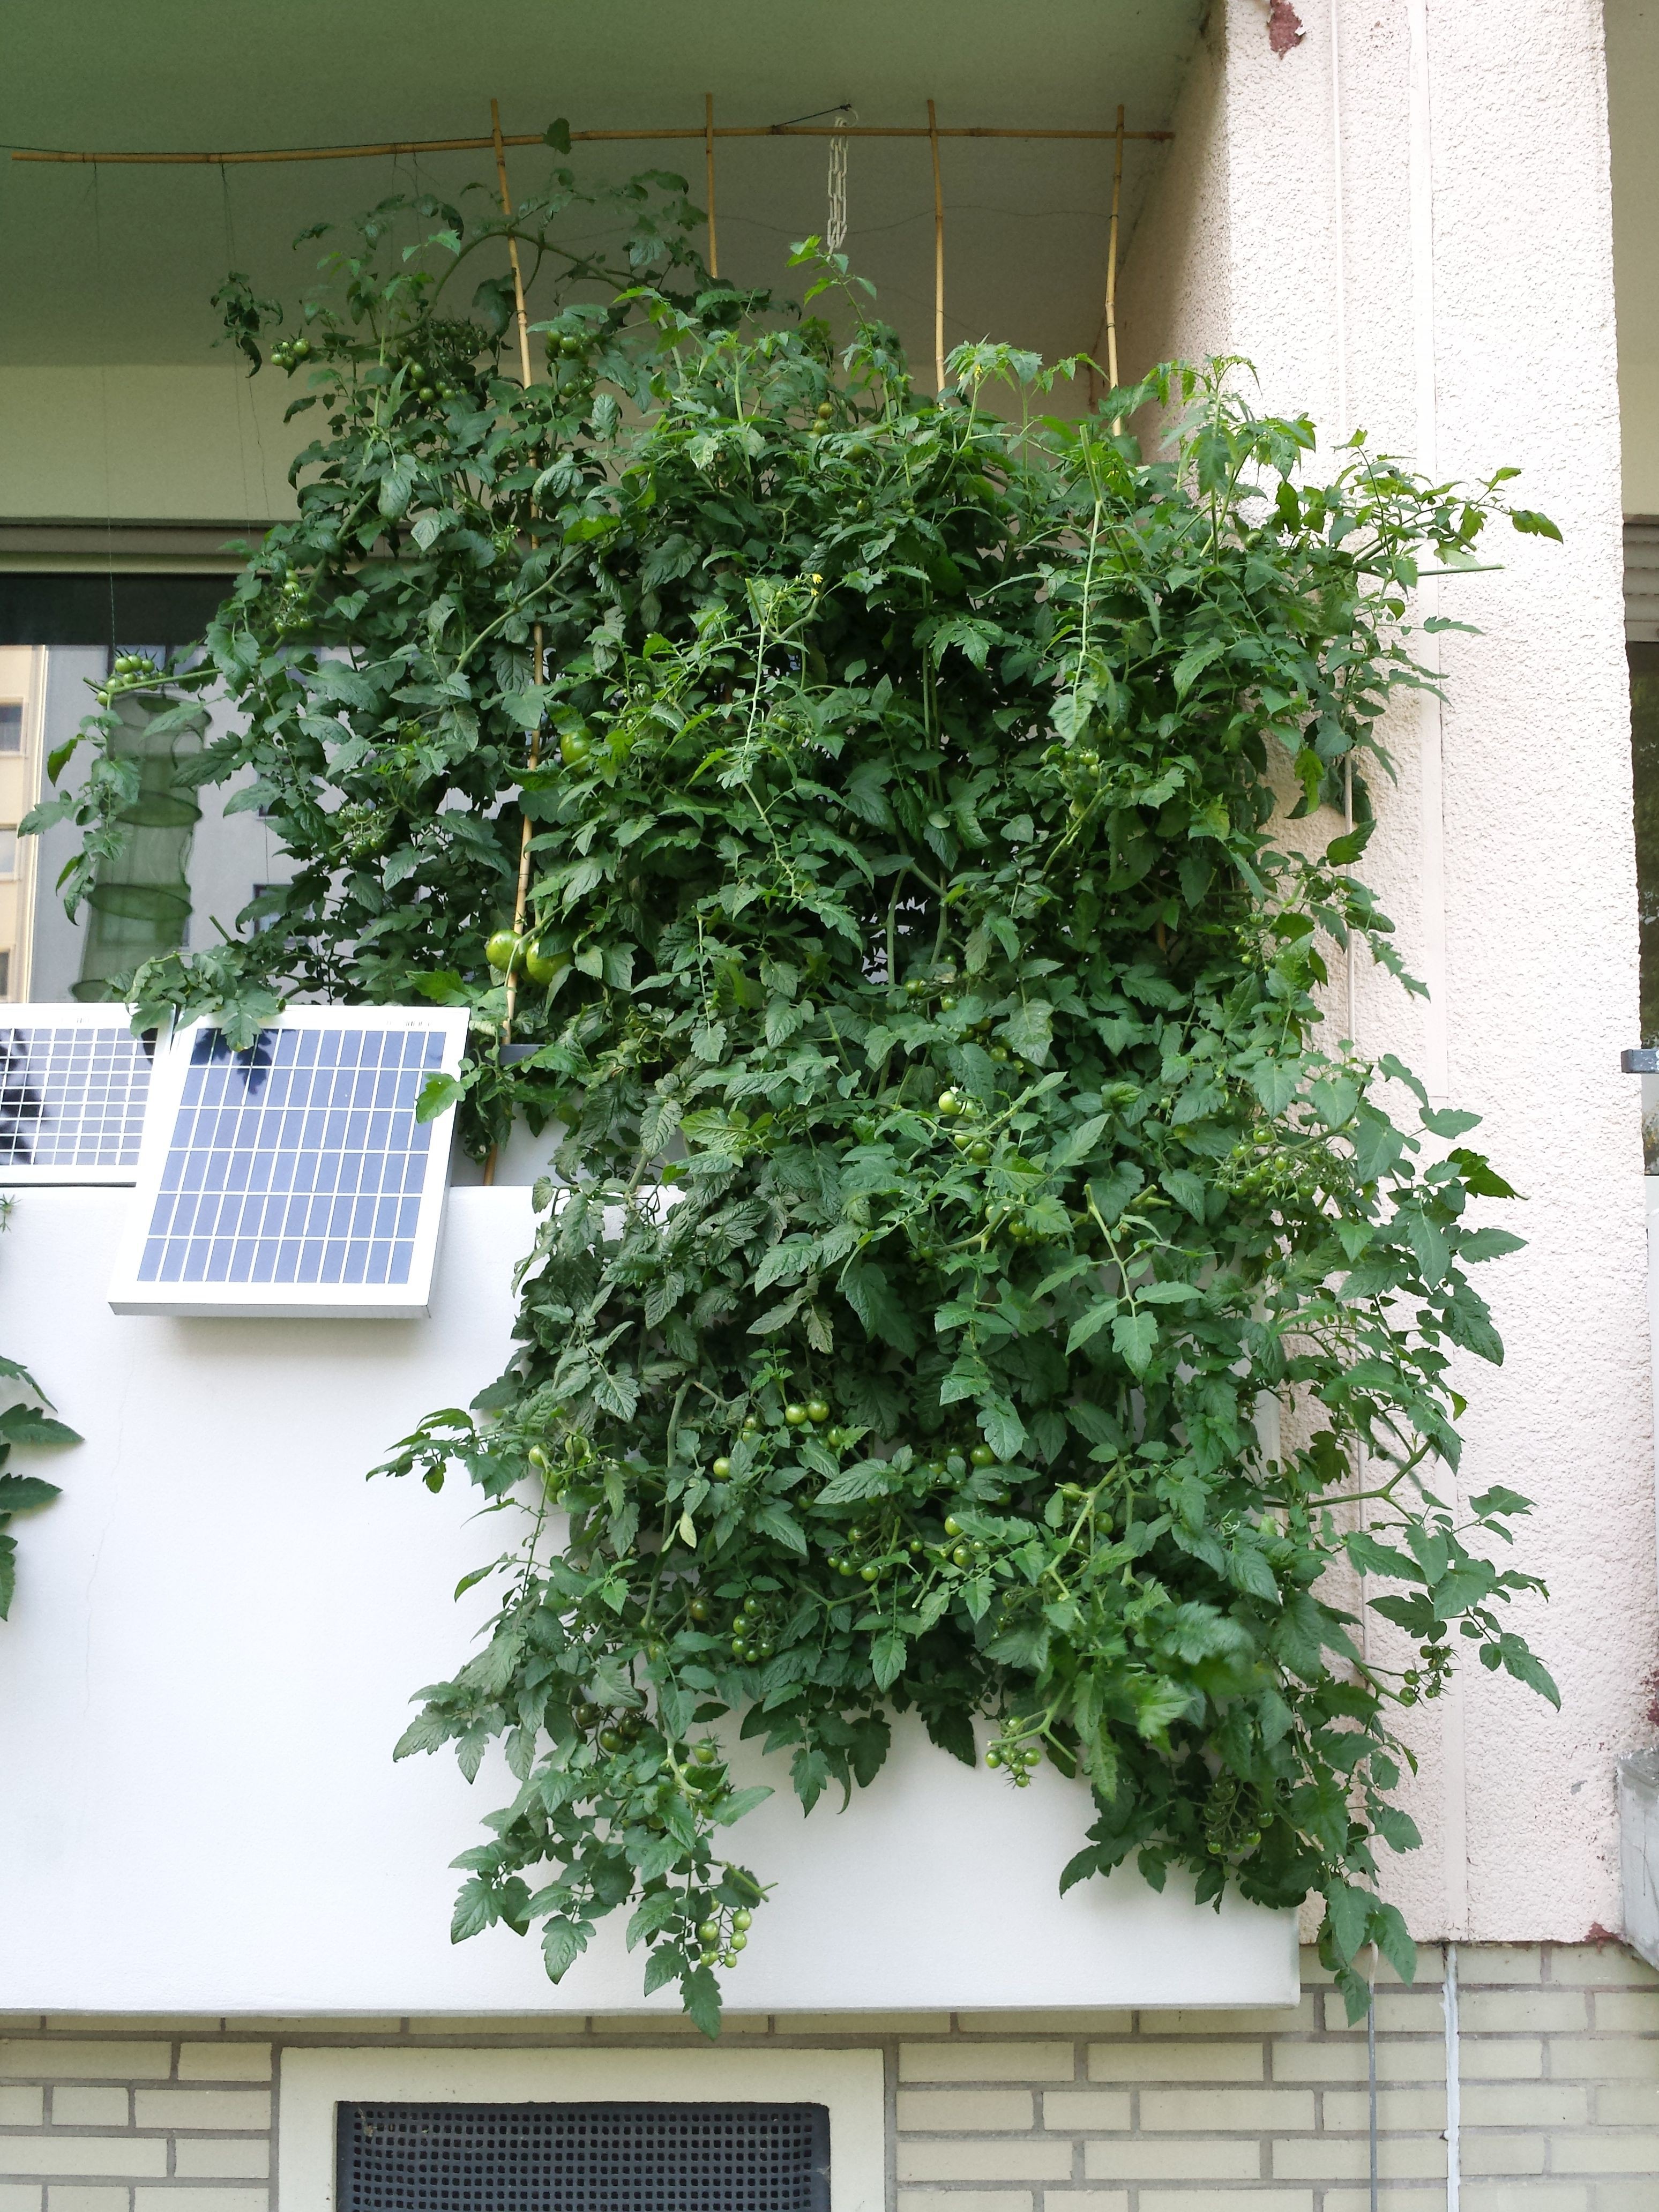
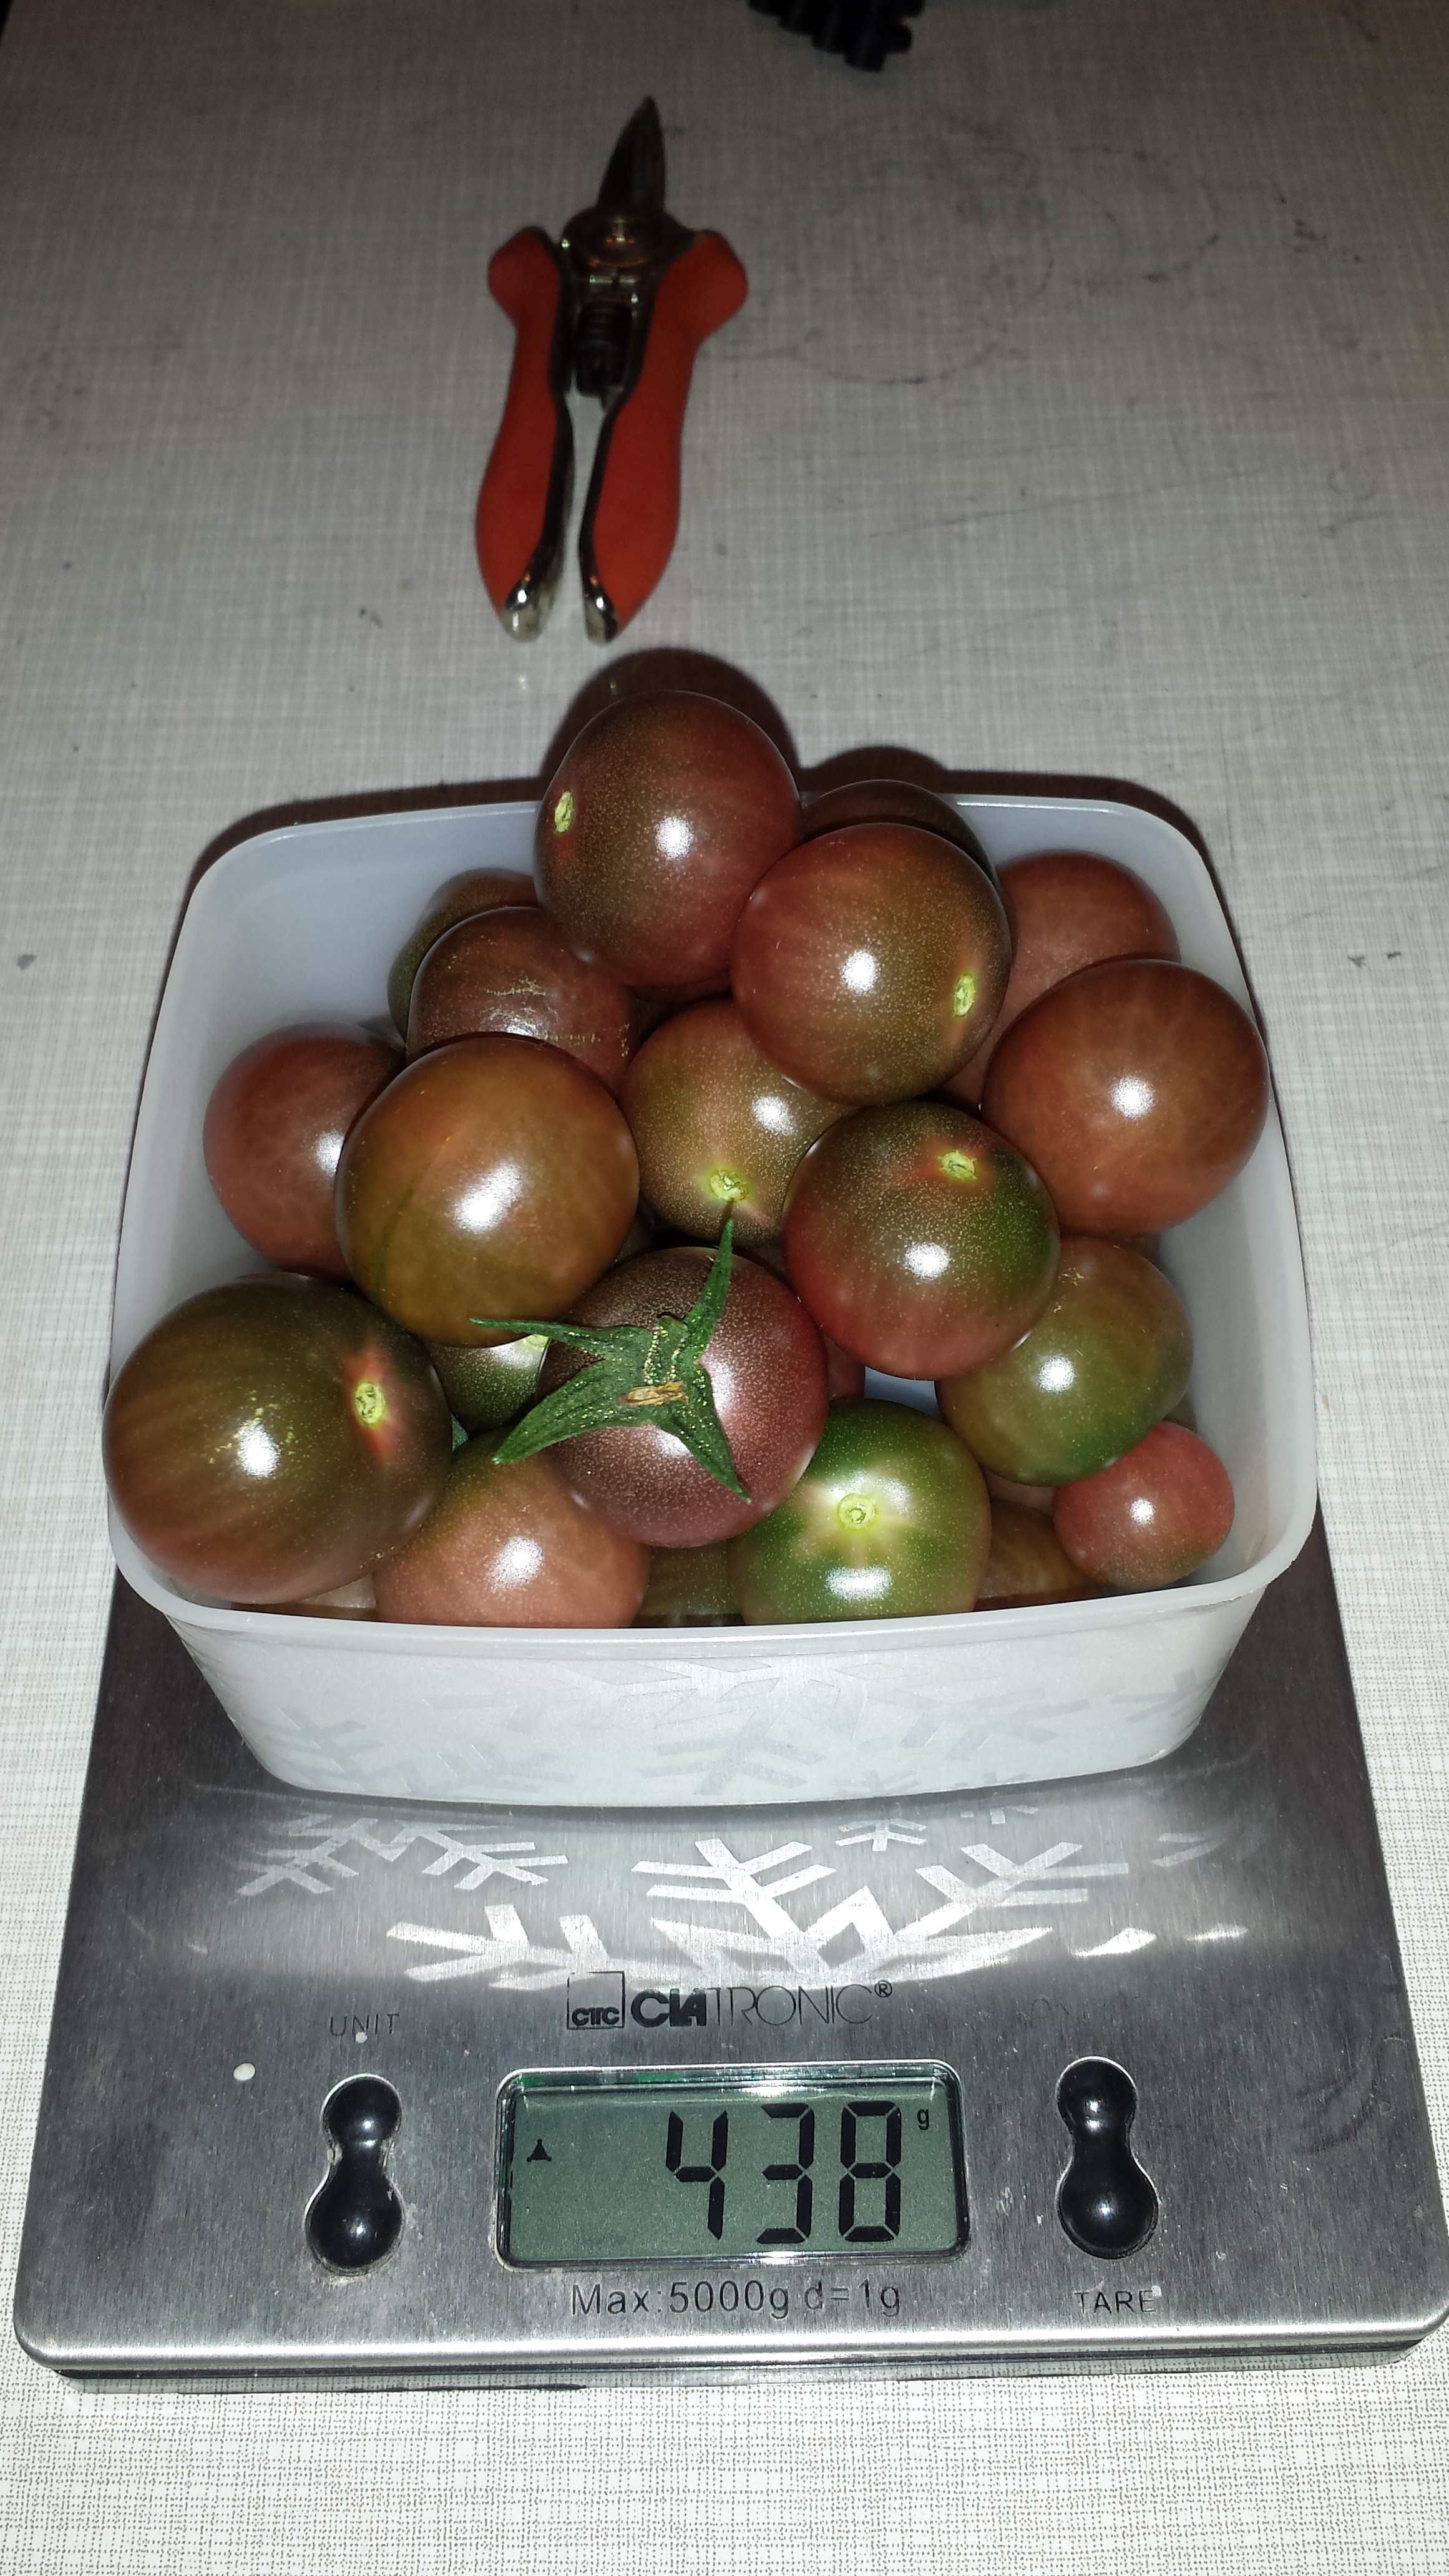
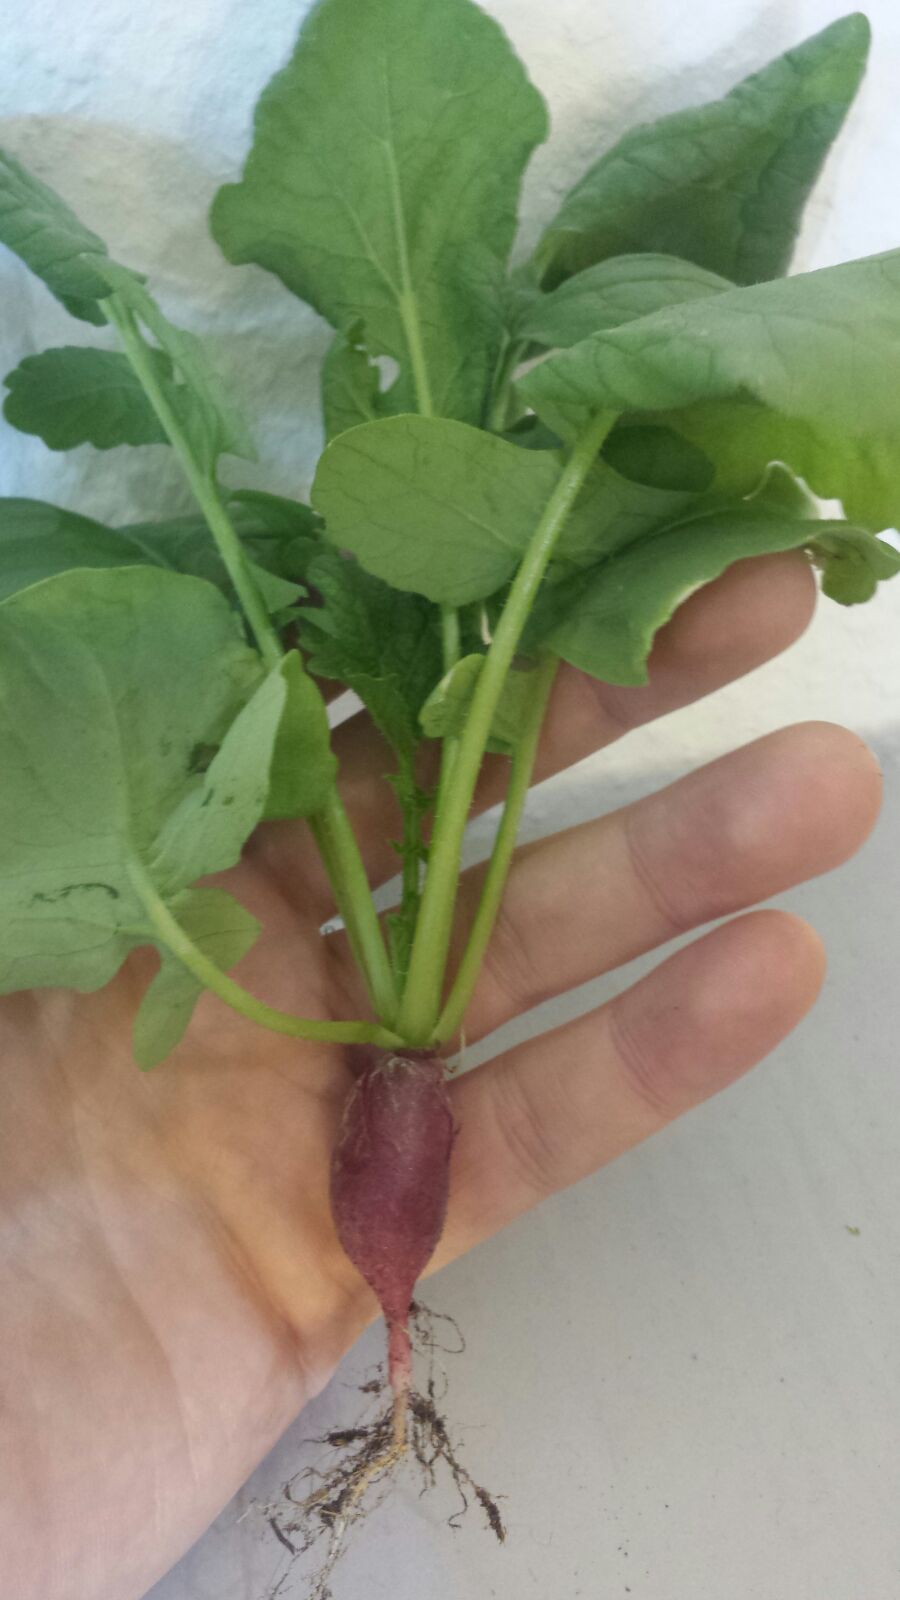
More Updates from Harvest at the end of 2015 summer comming soon
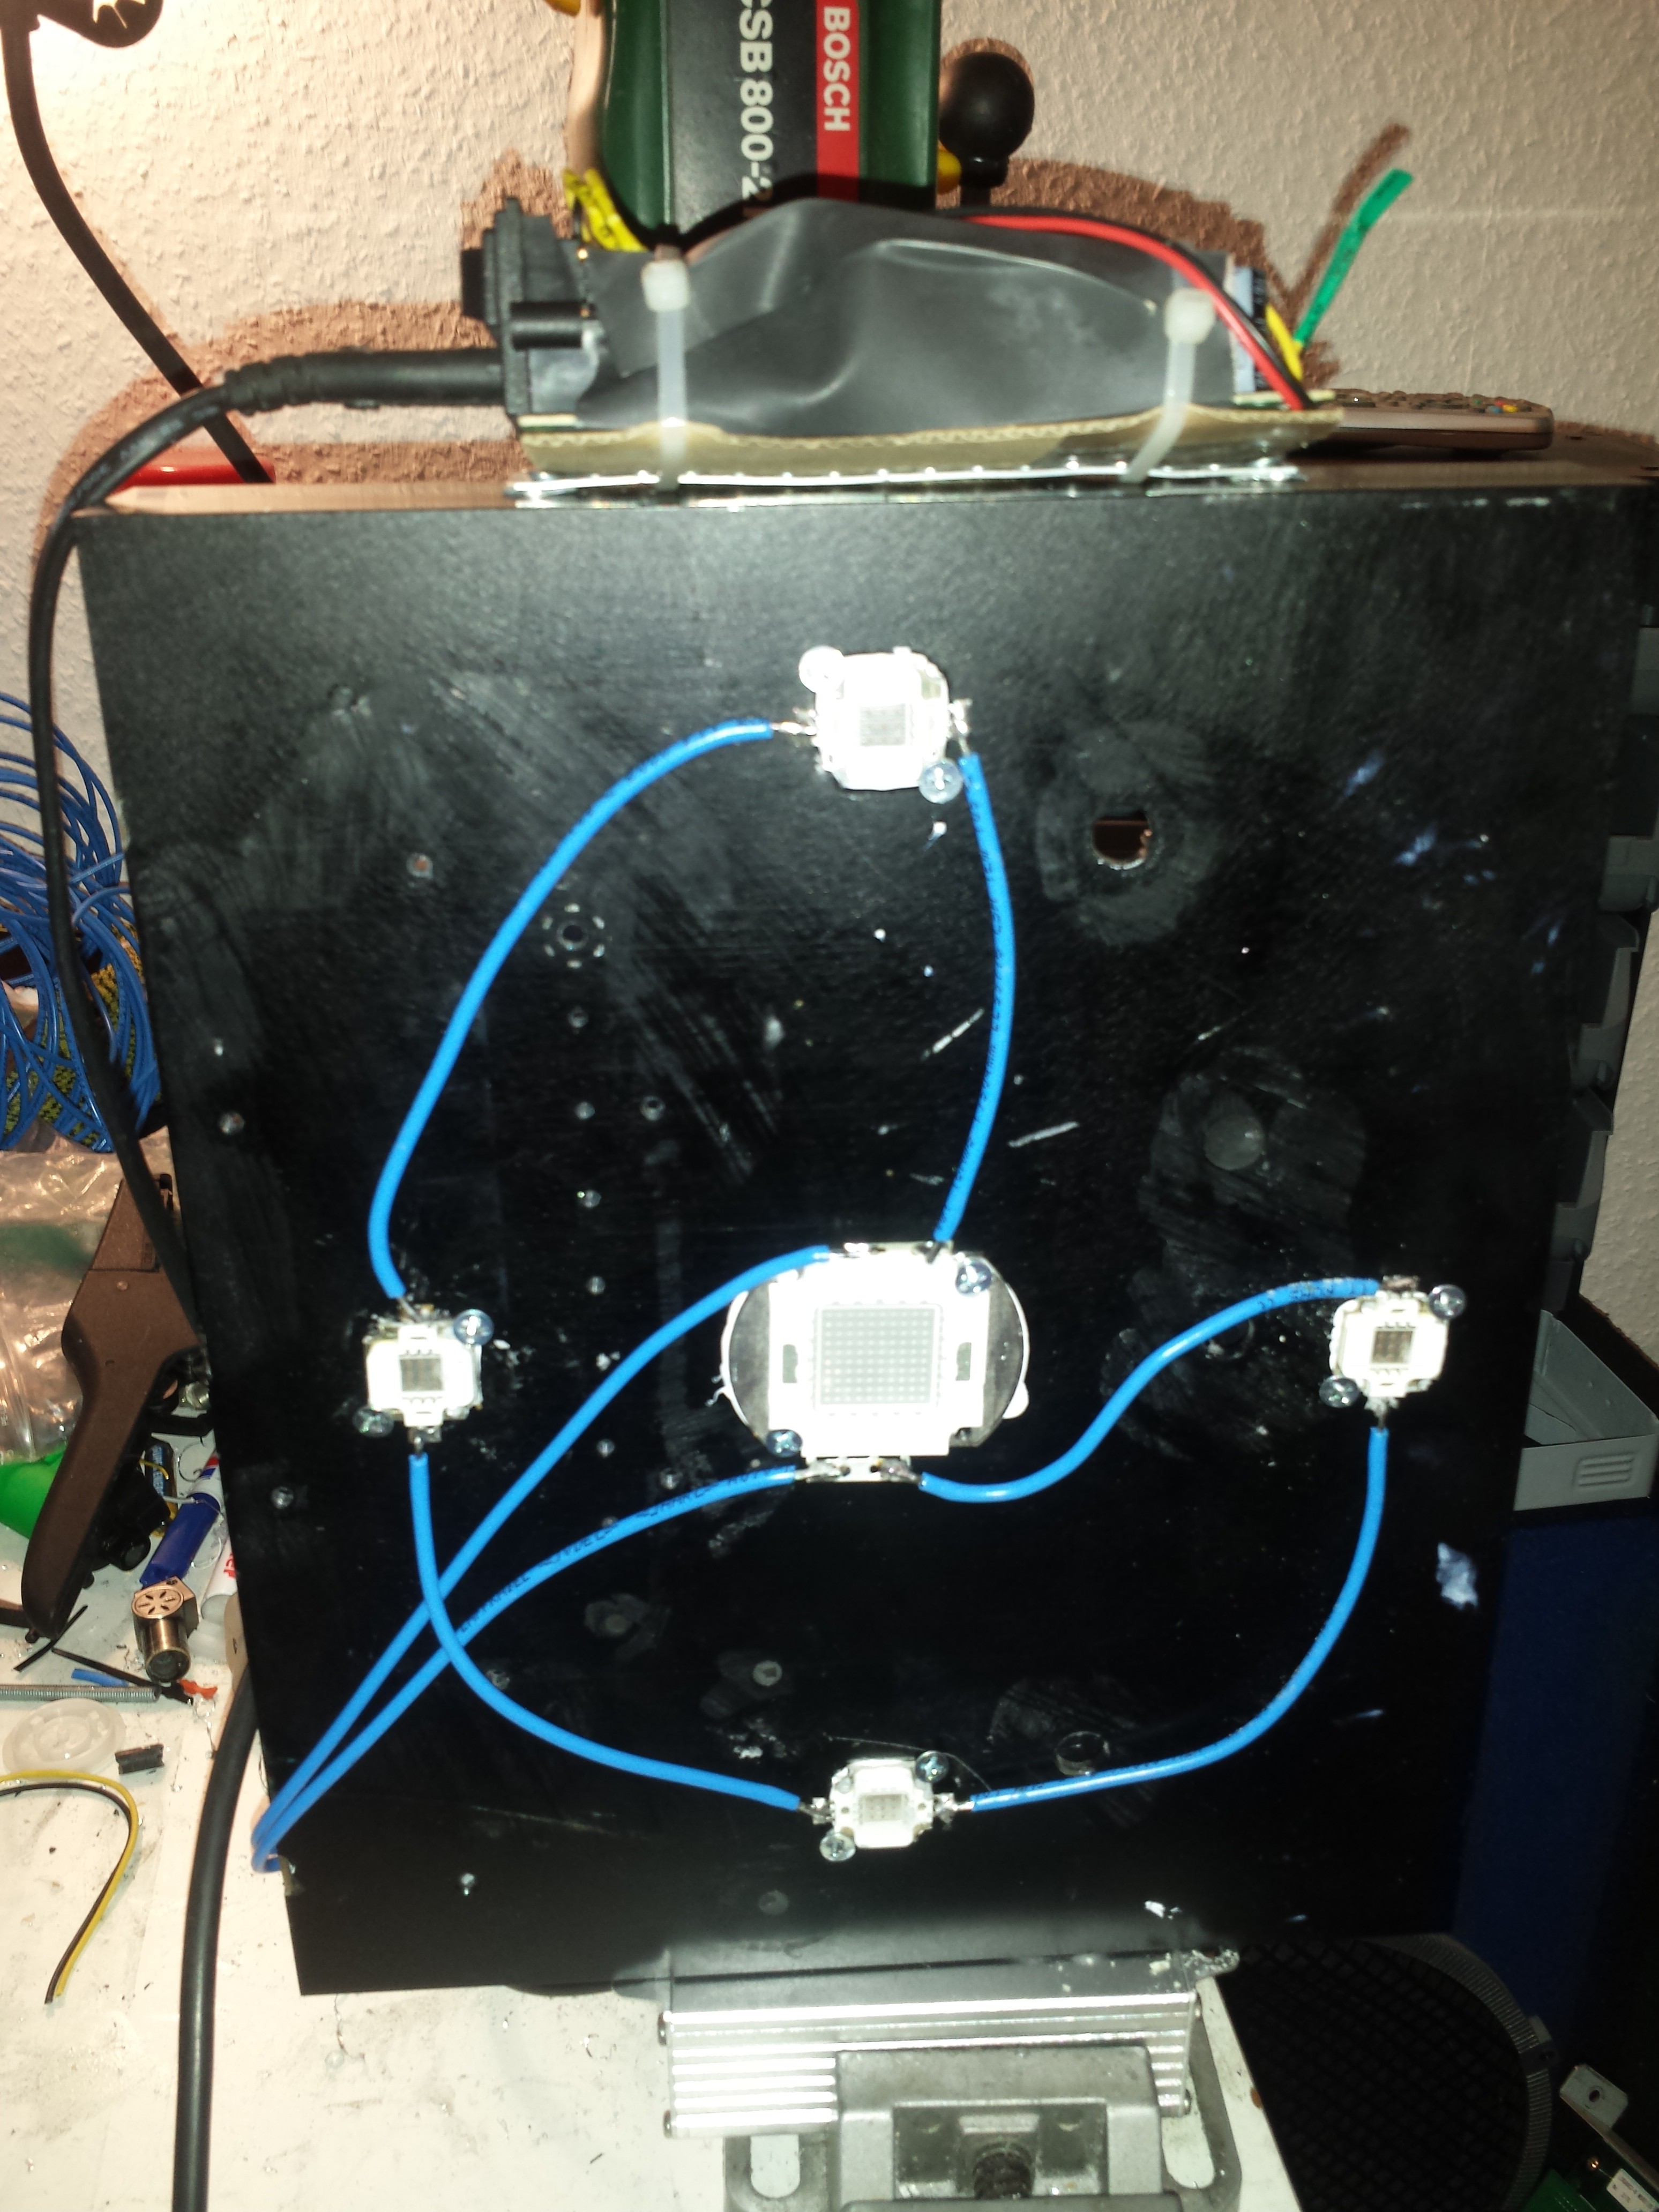


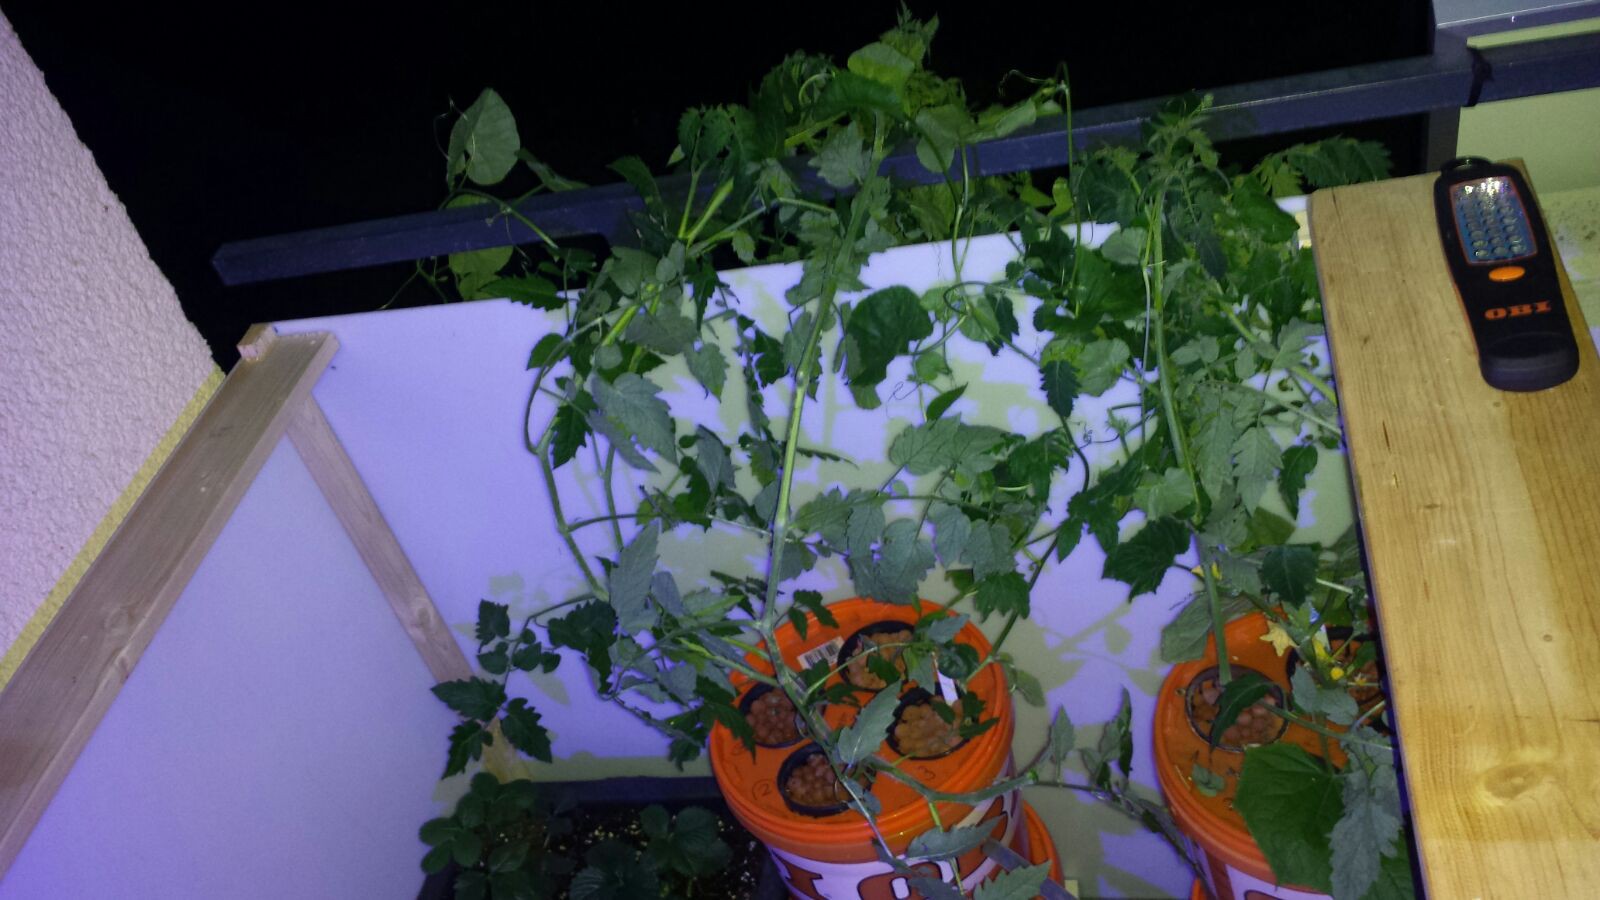
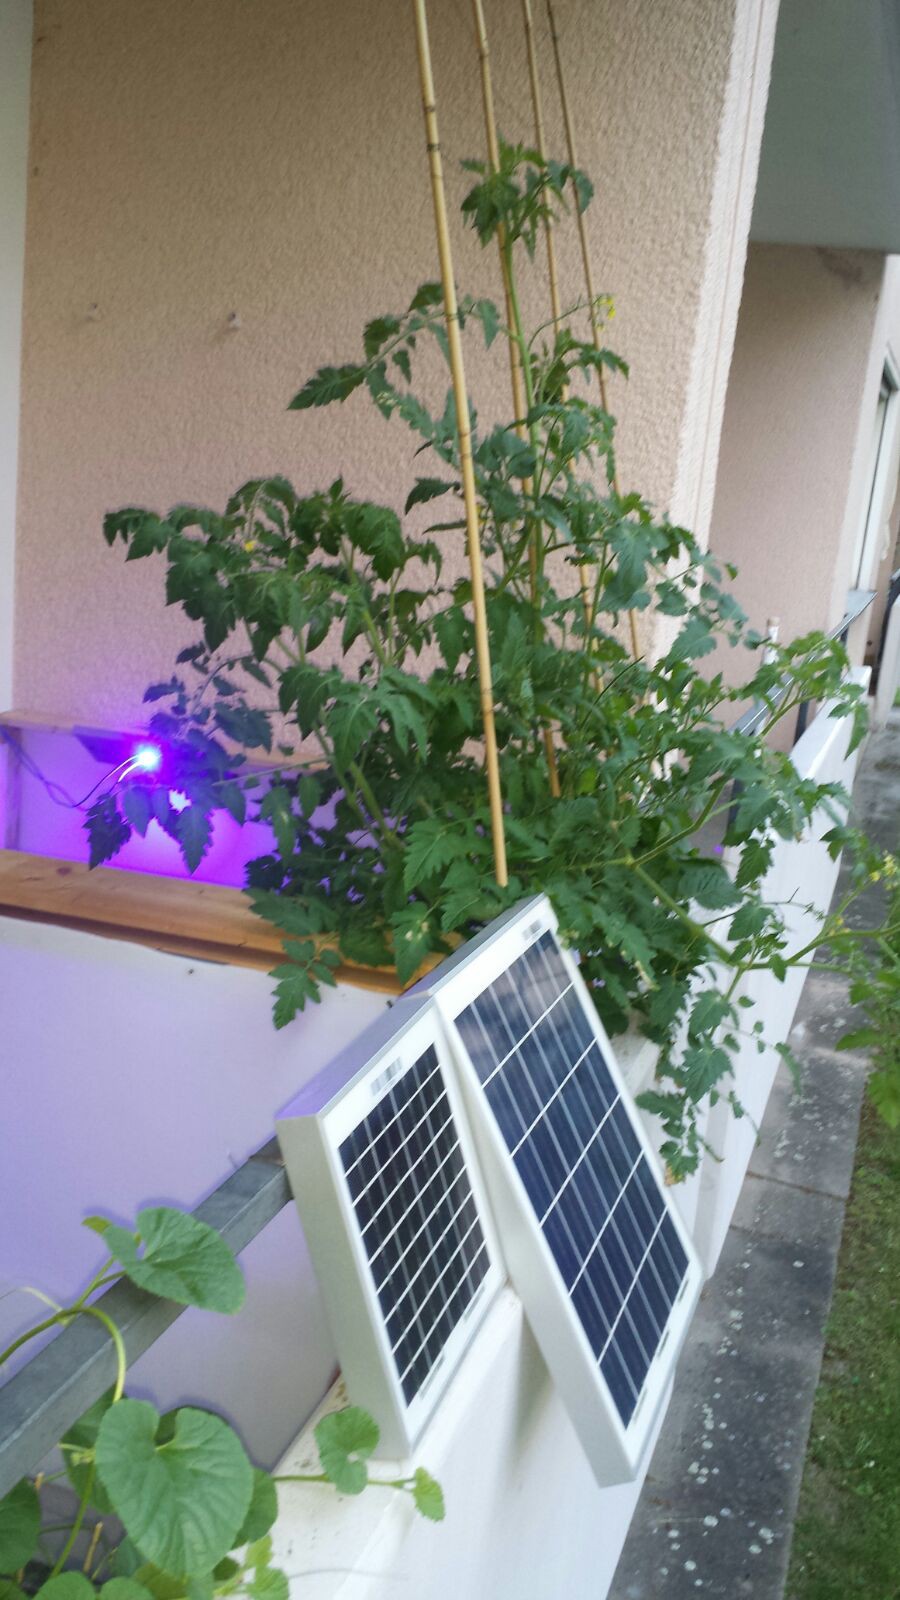
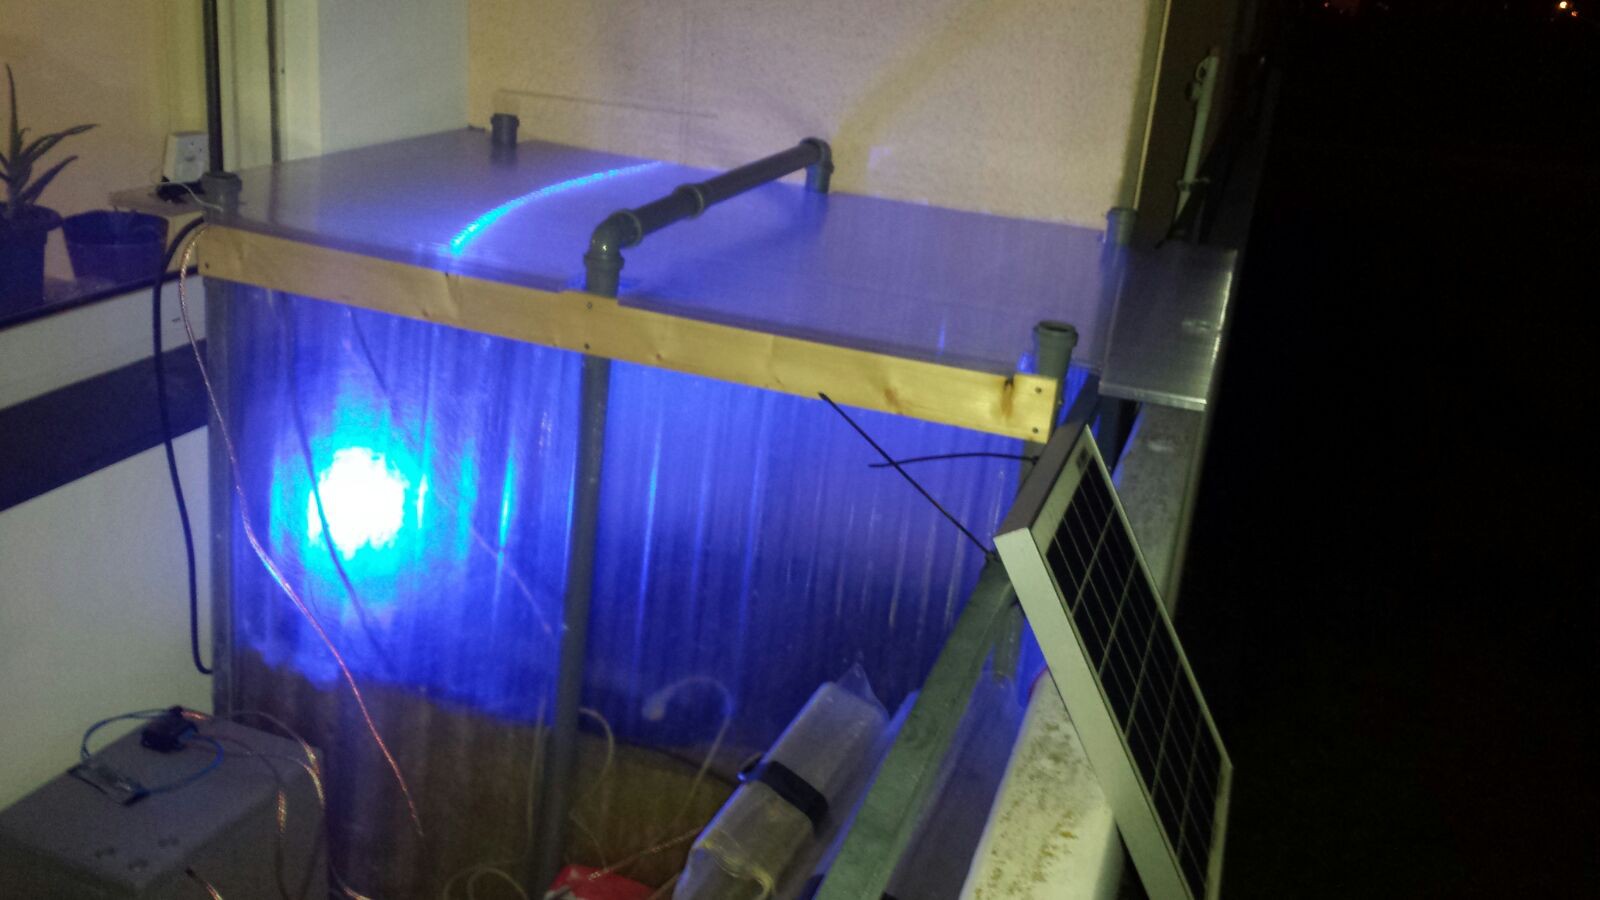
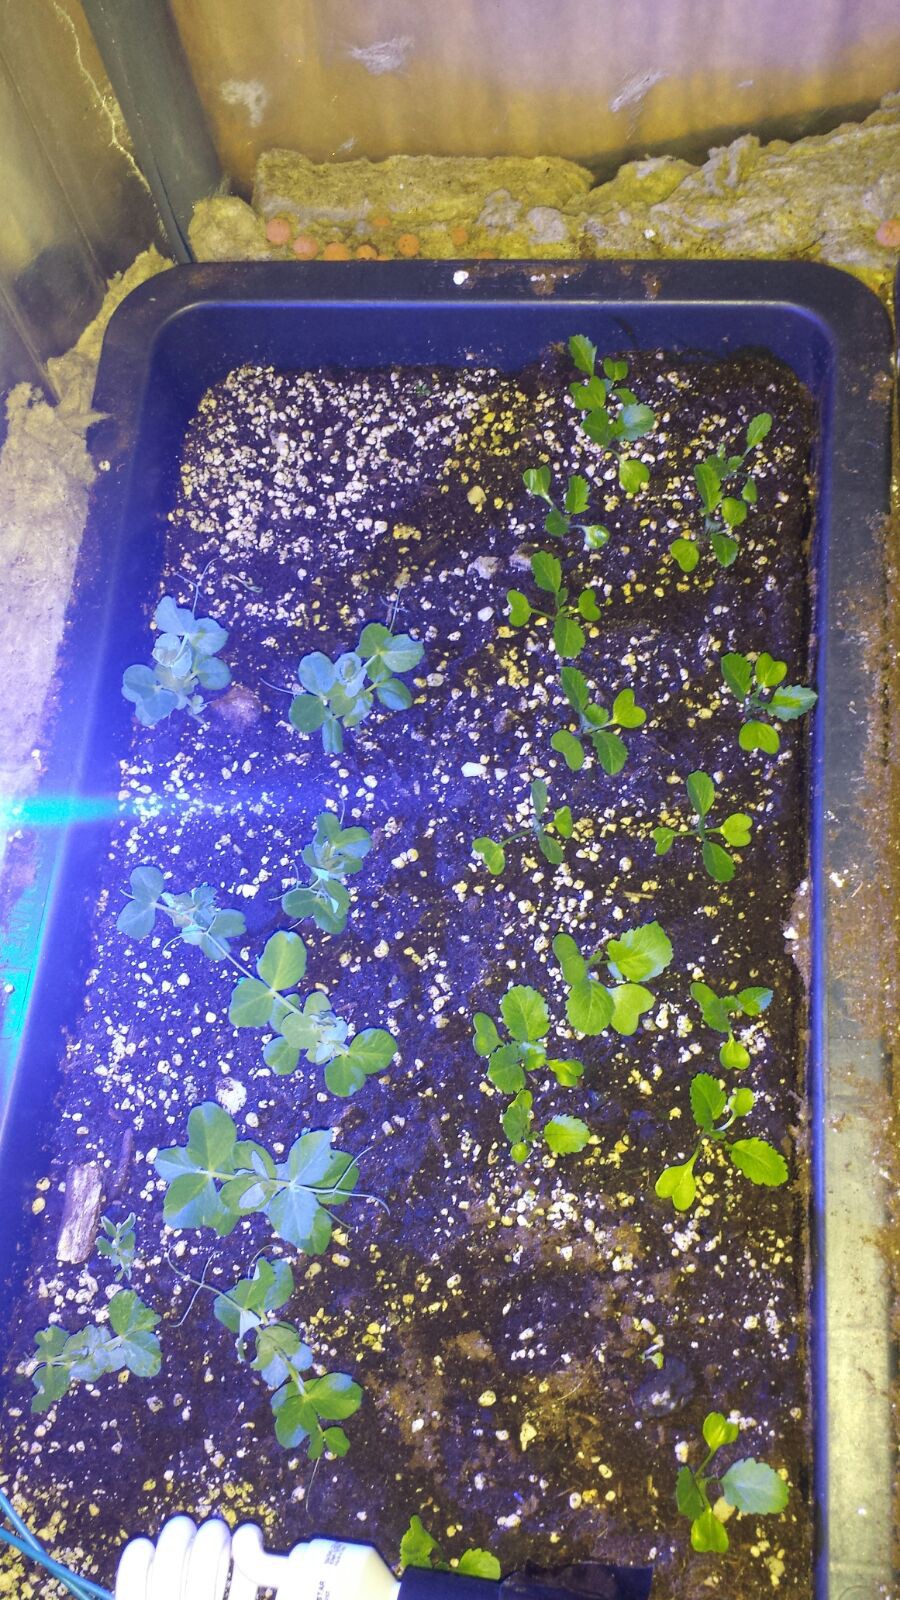
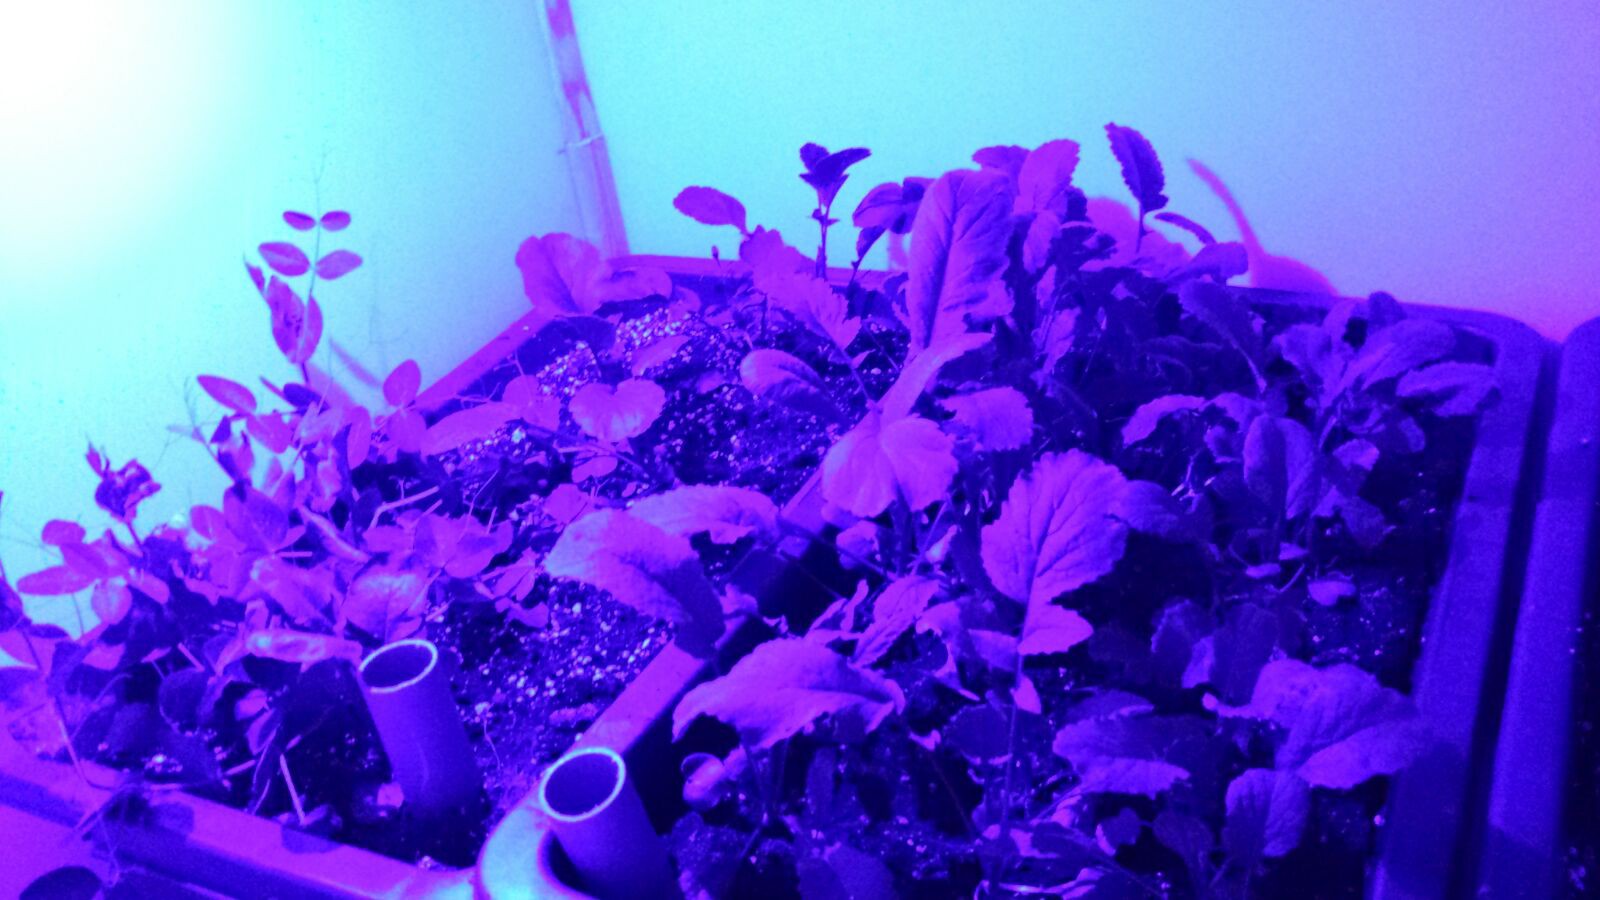 It is still the same blue led, it has a low wavelength and my camera is making it really purple. Still blue! The plants are growing faster, as temperatures are staying in the positives (still below 10°C at night)
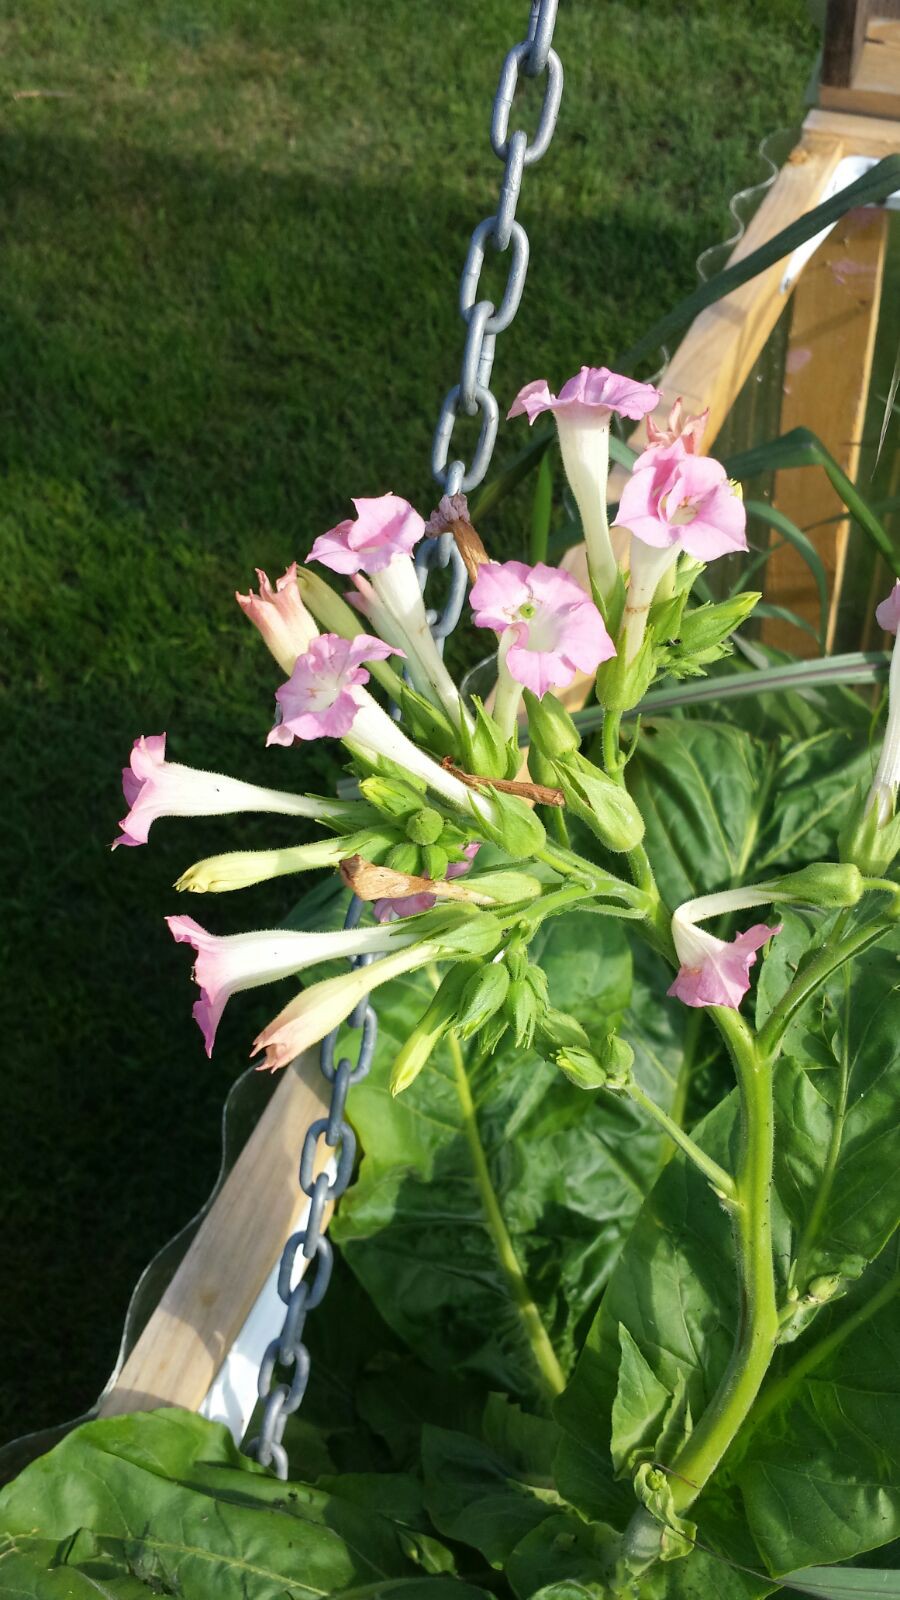

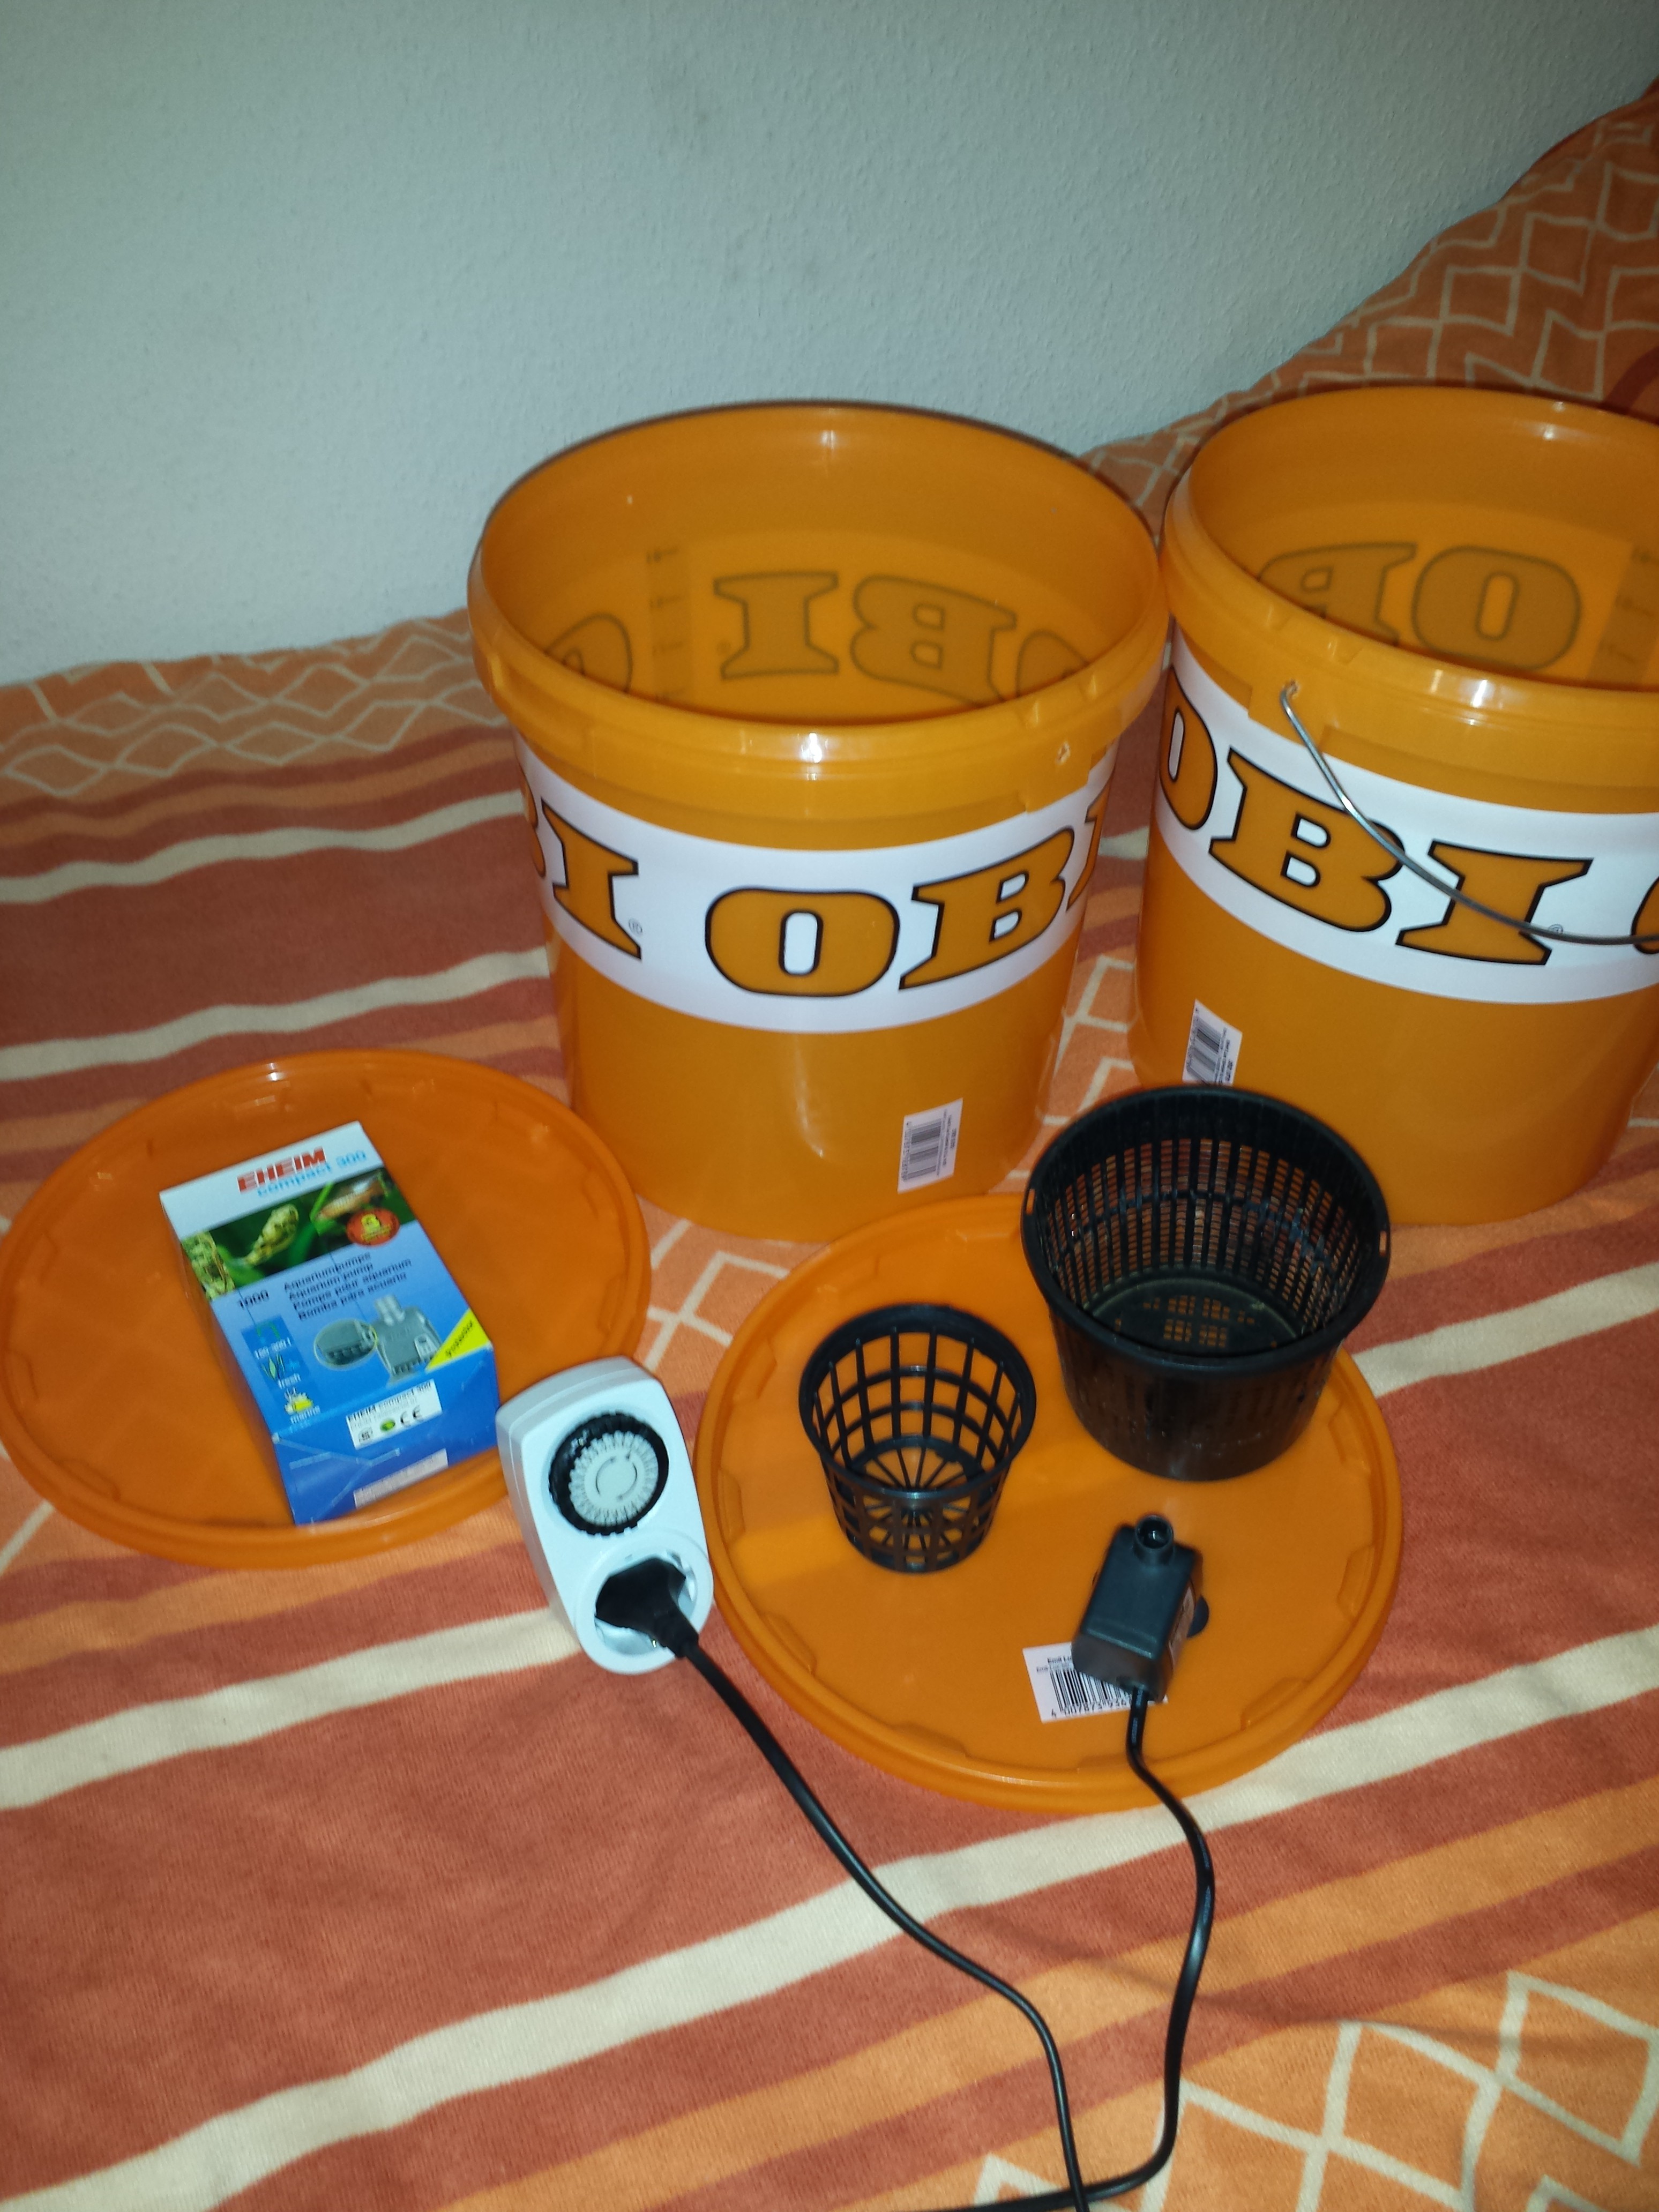
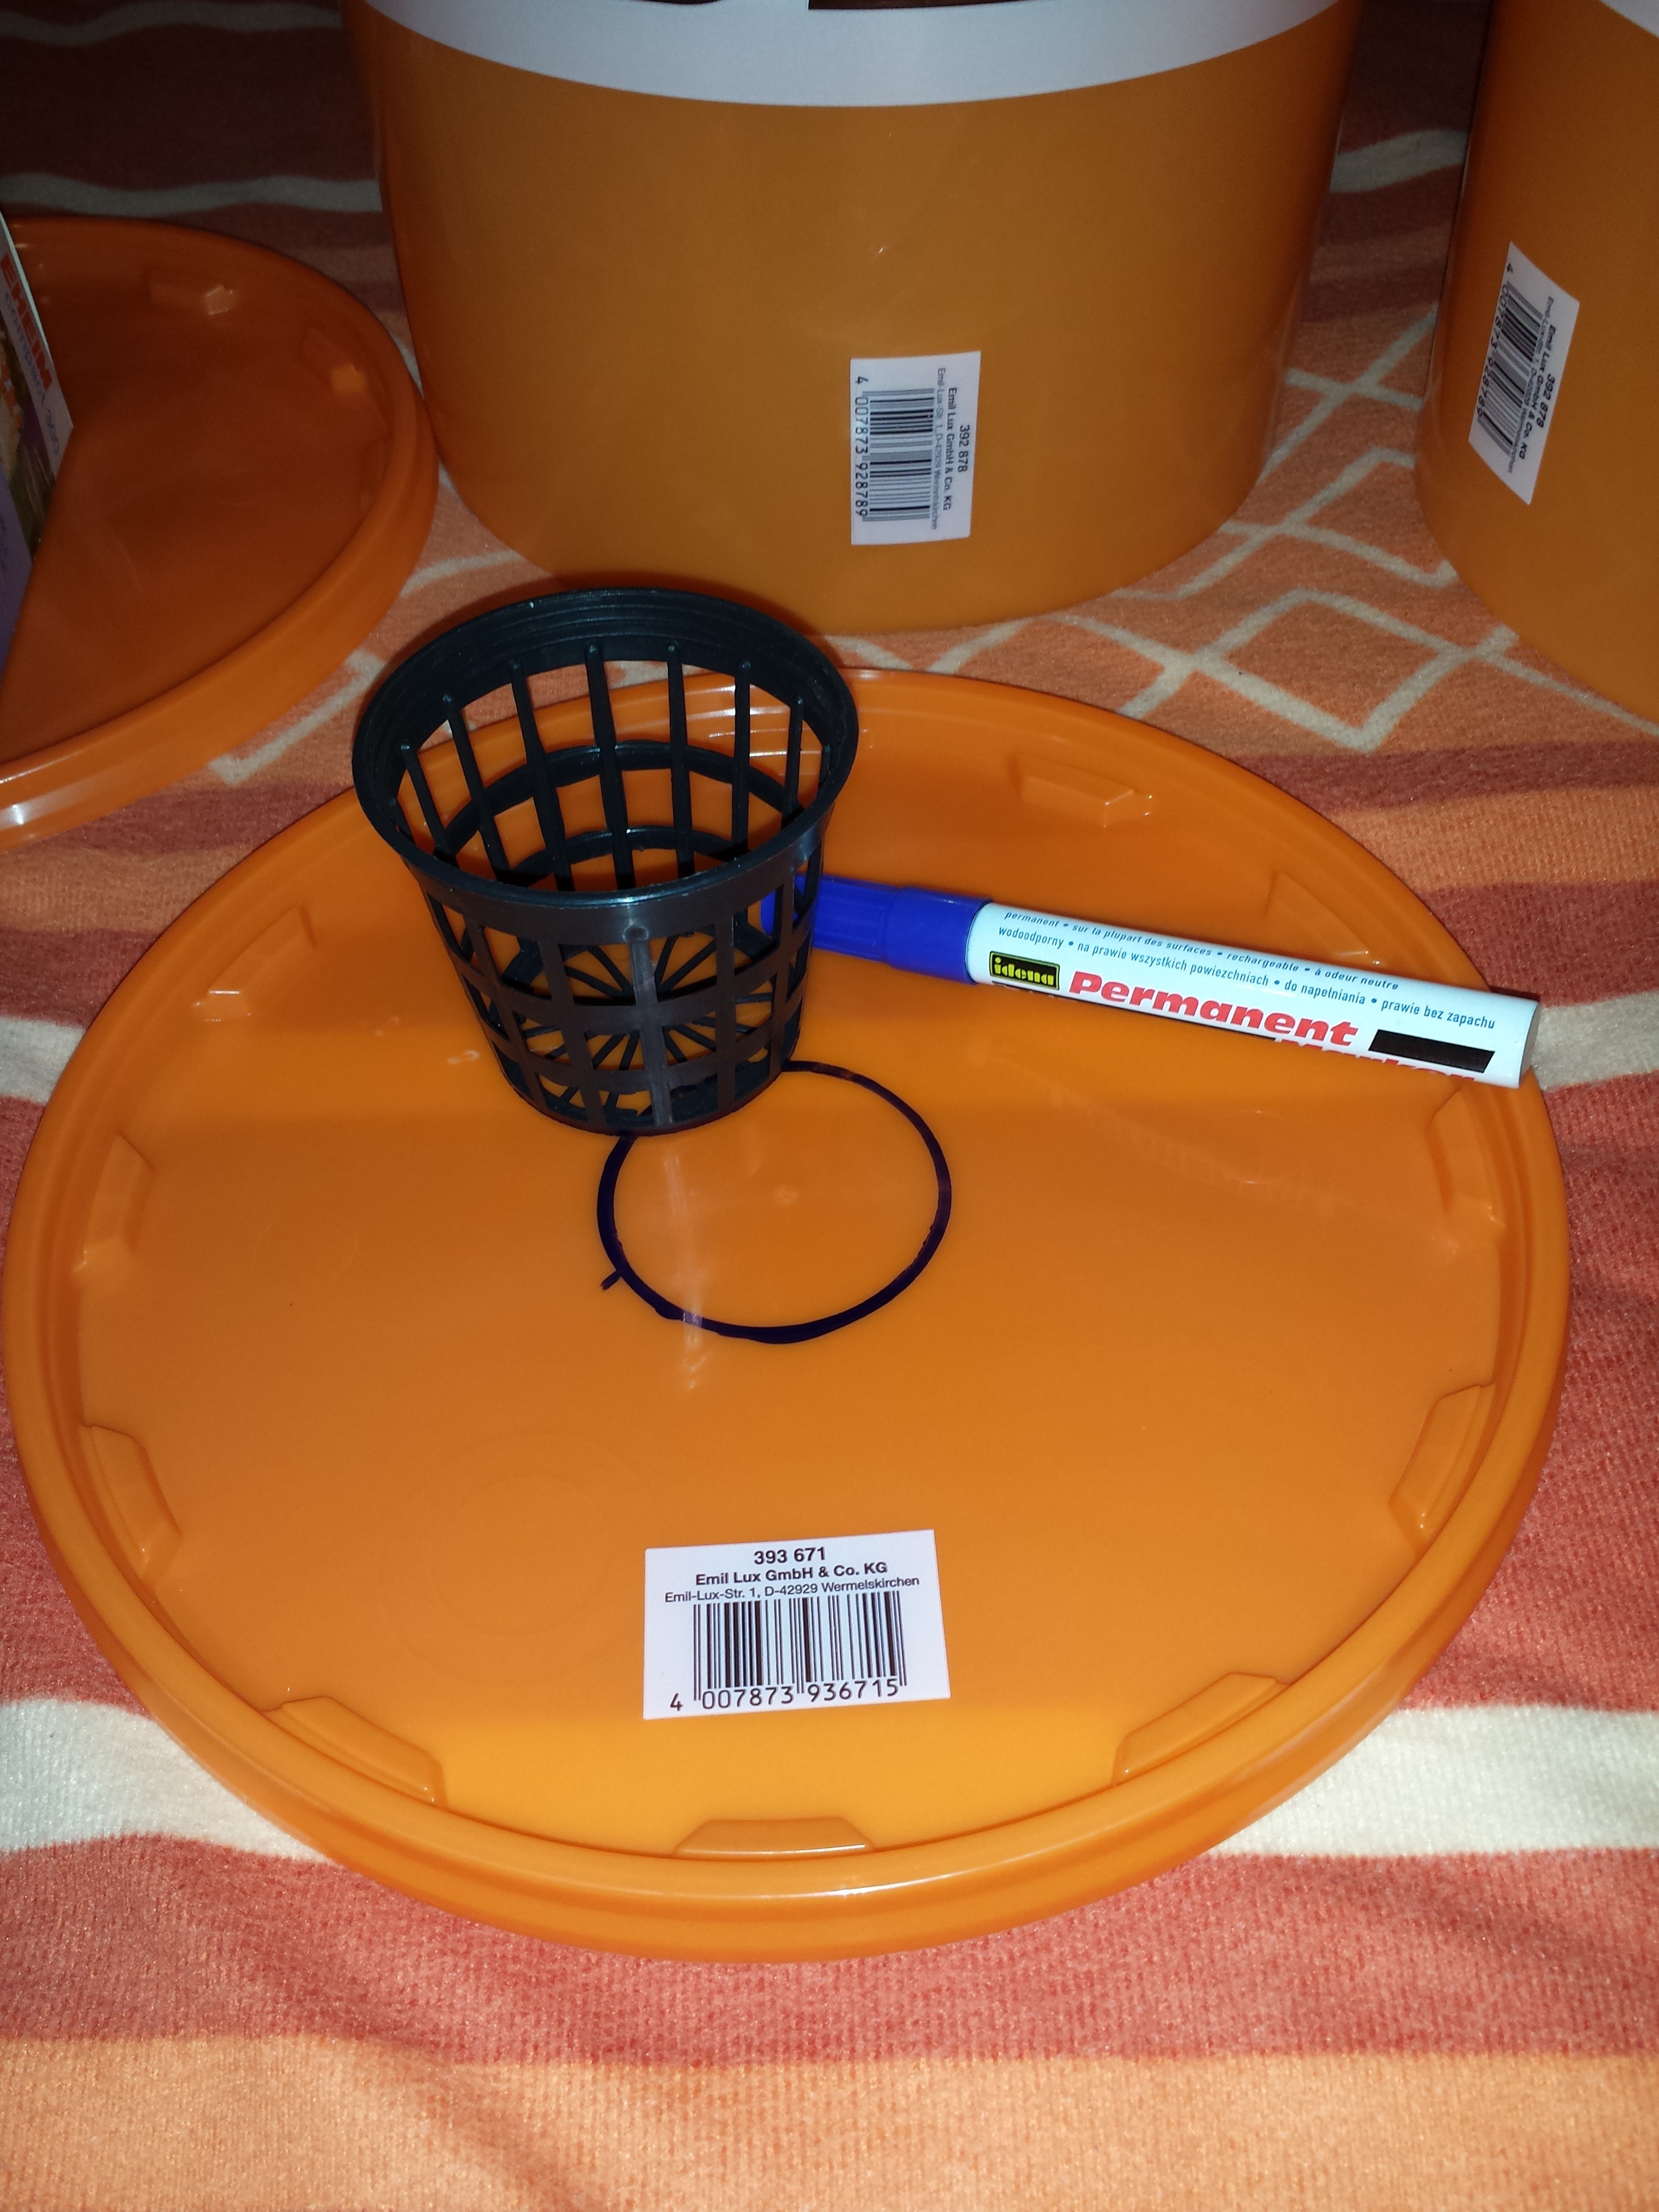
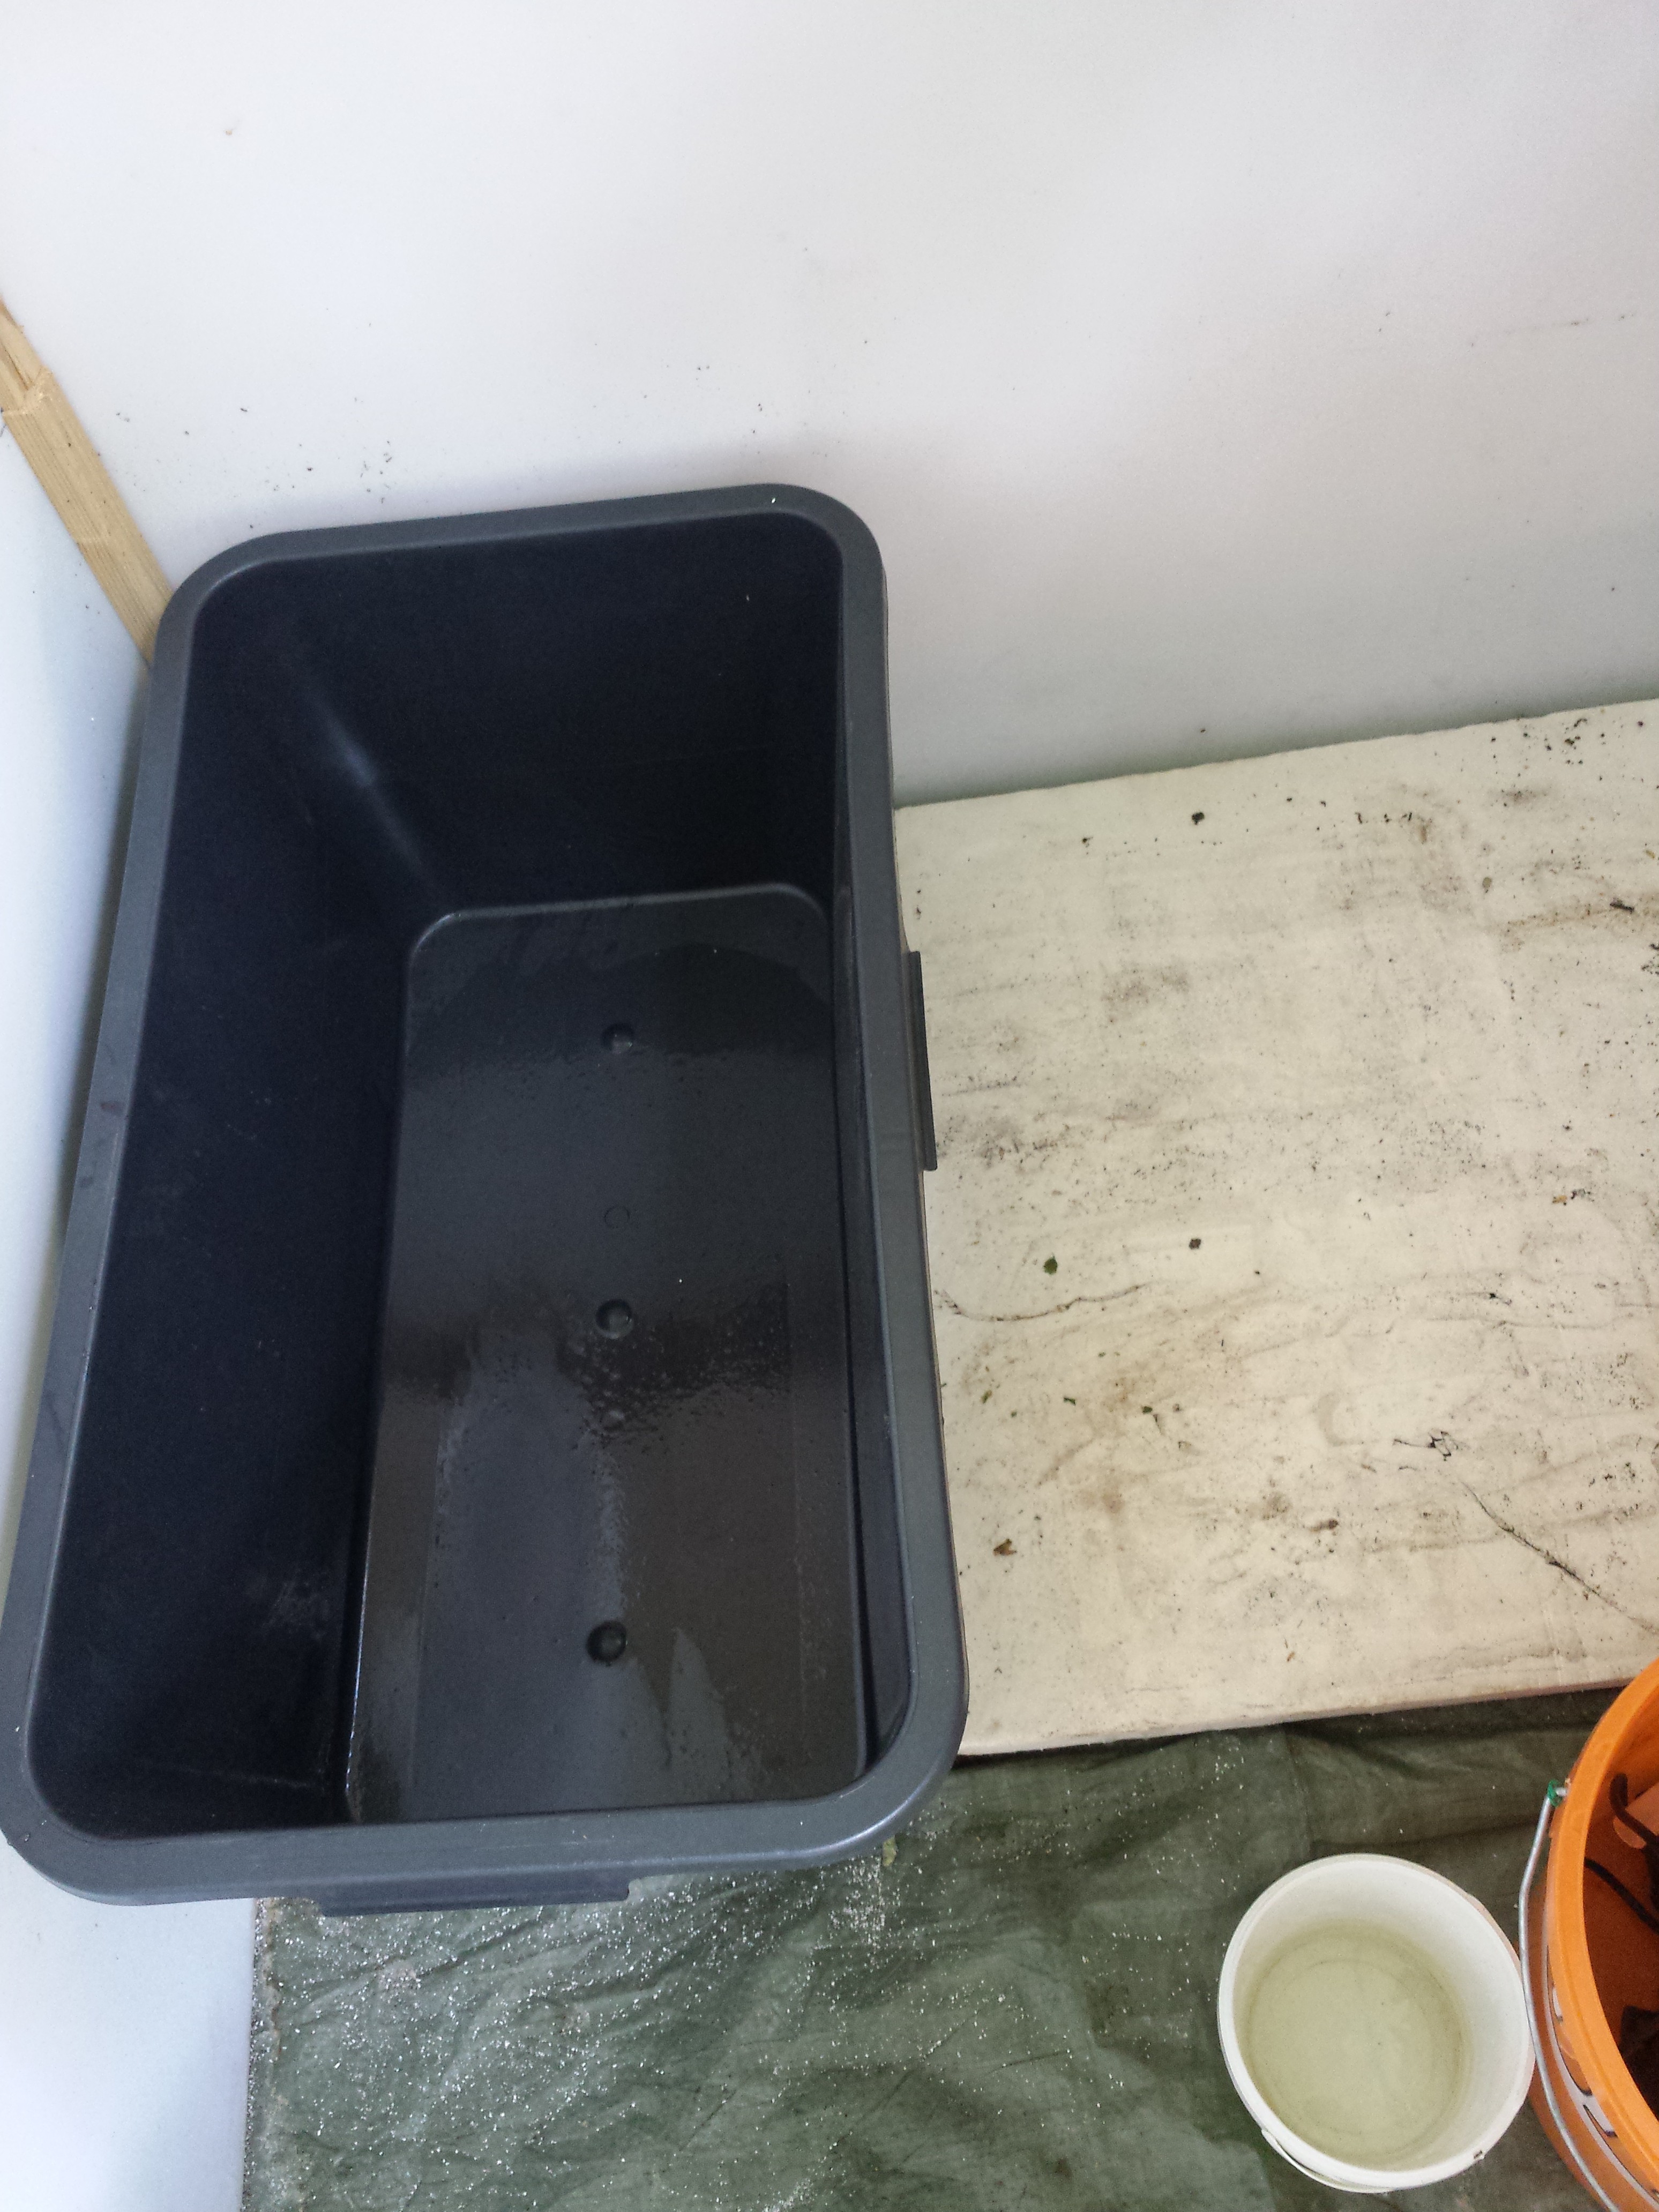
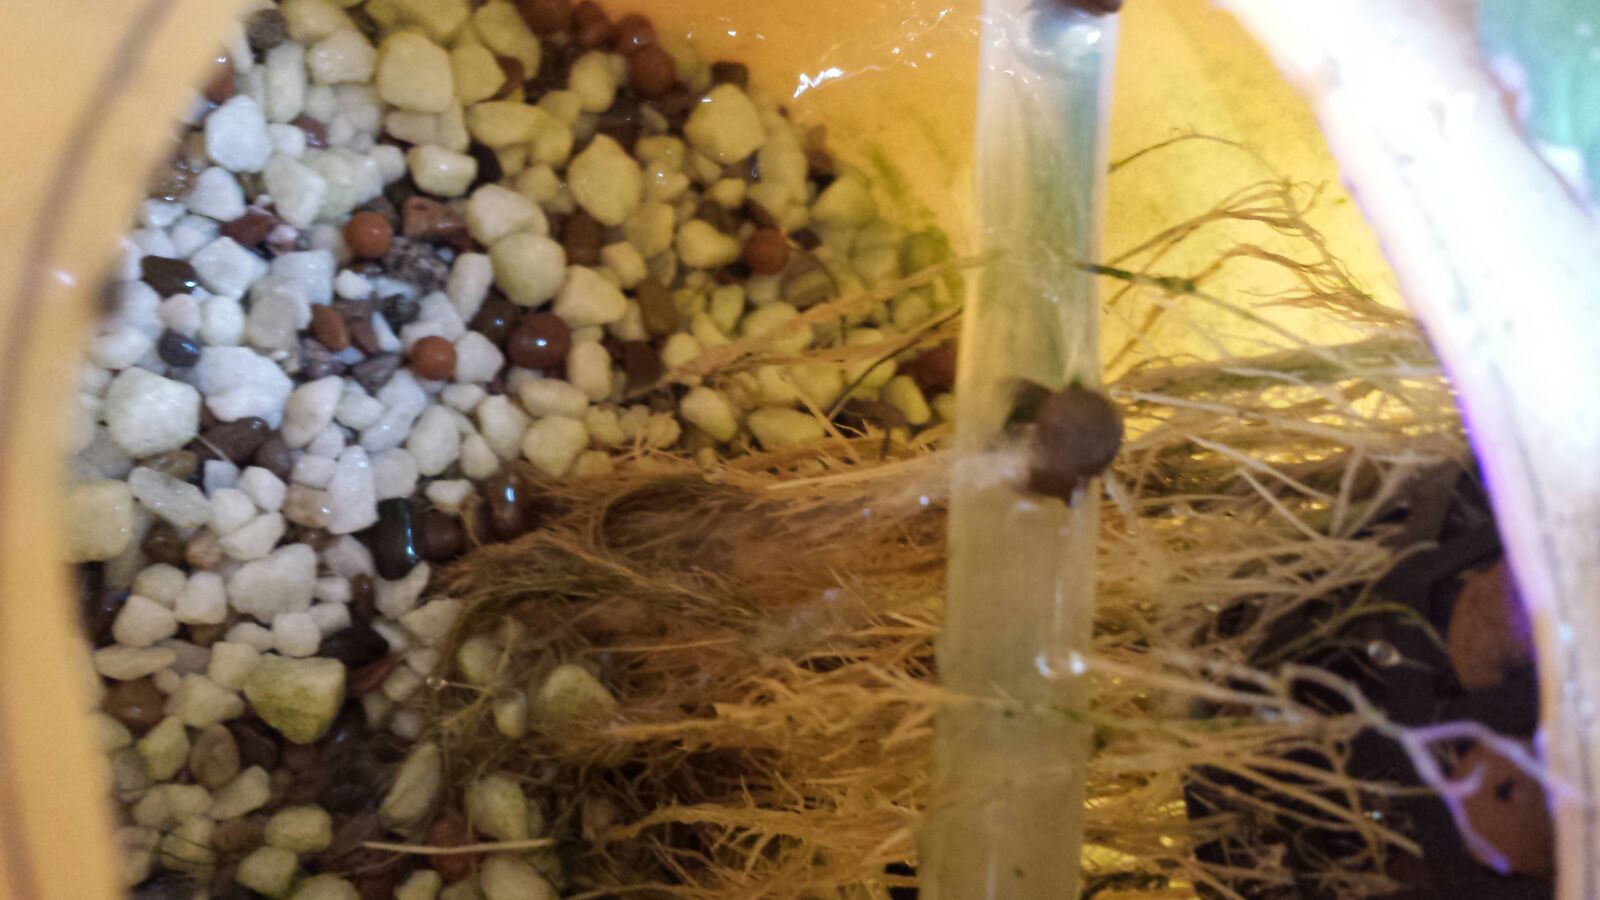
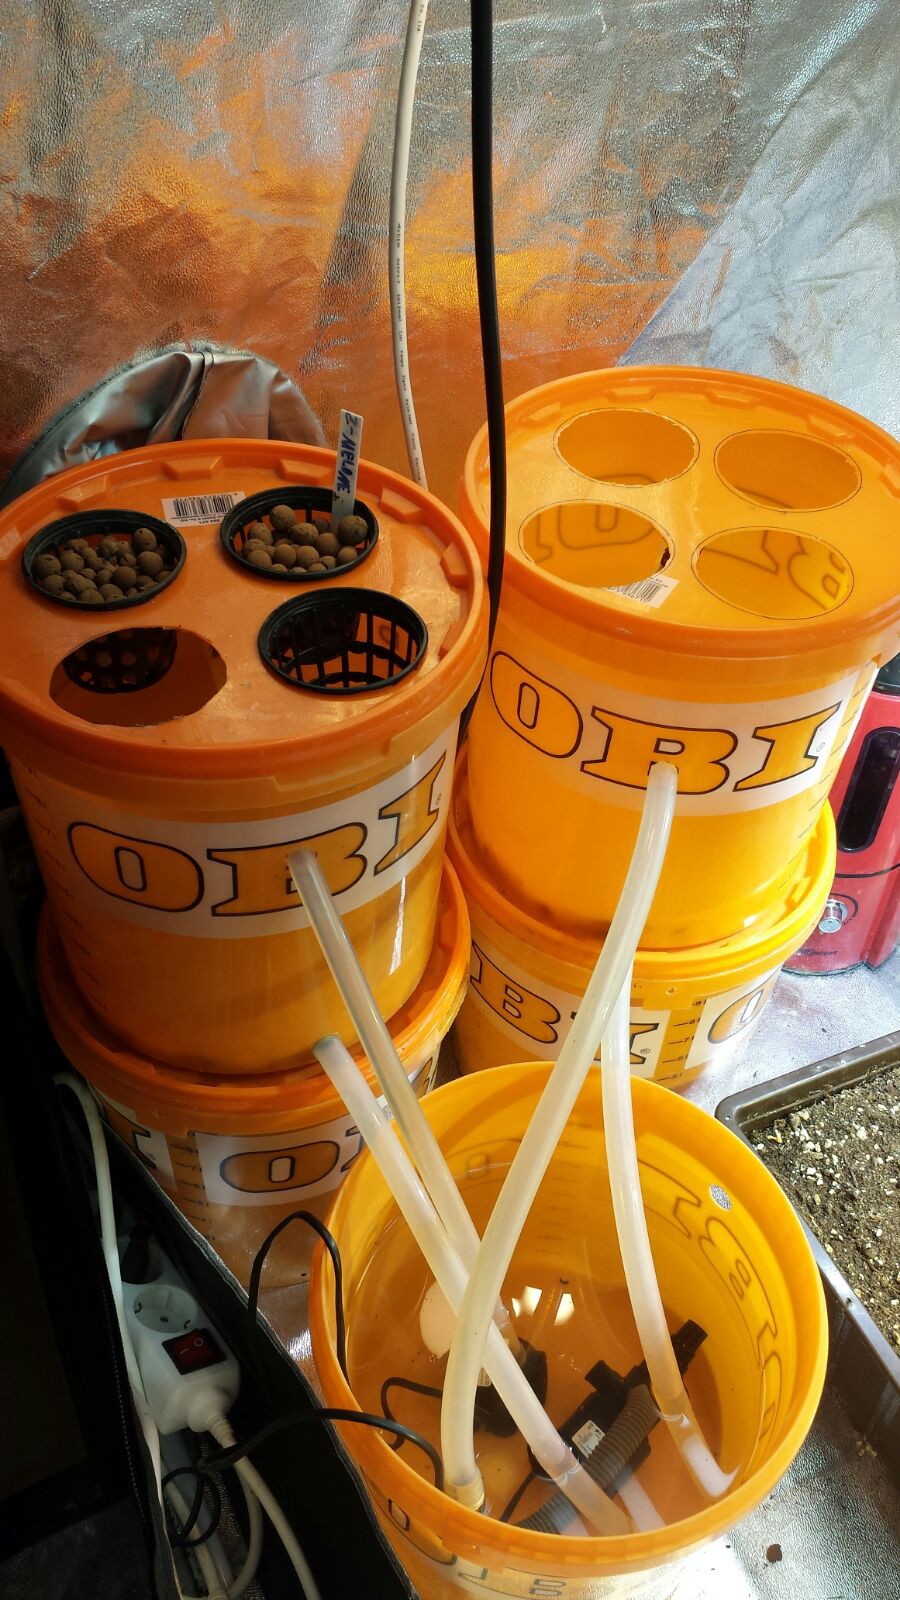
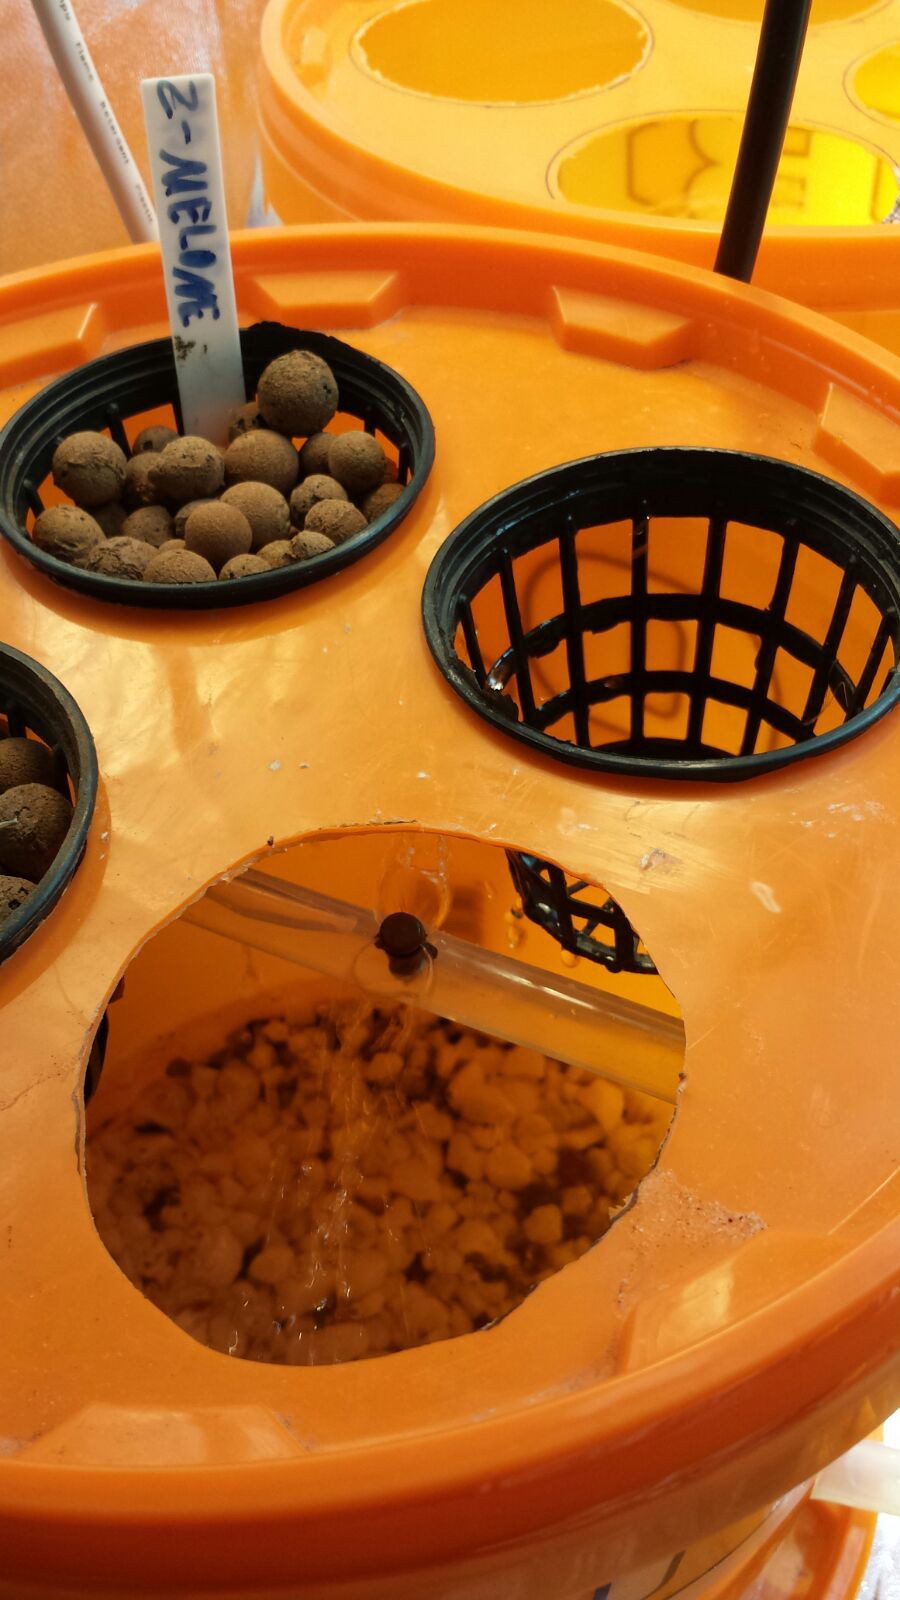
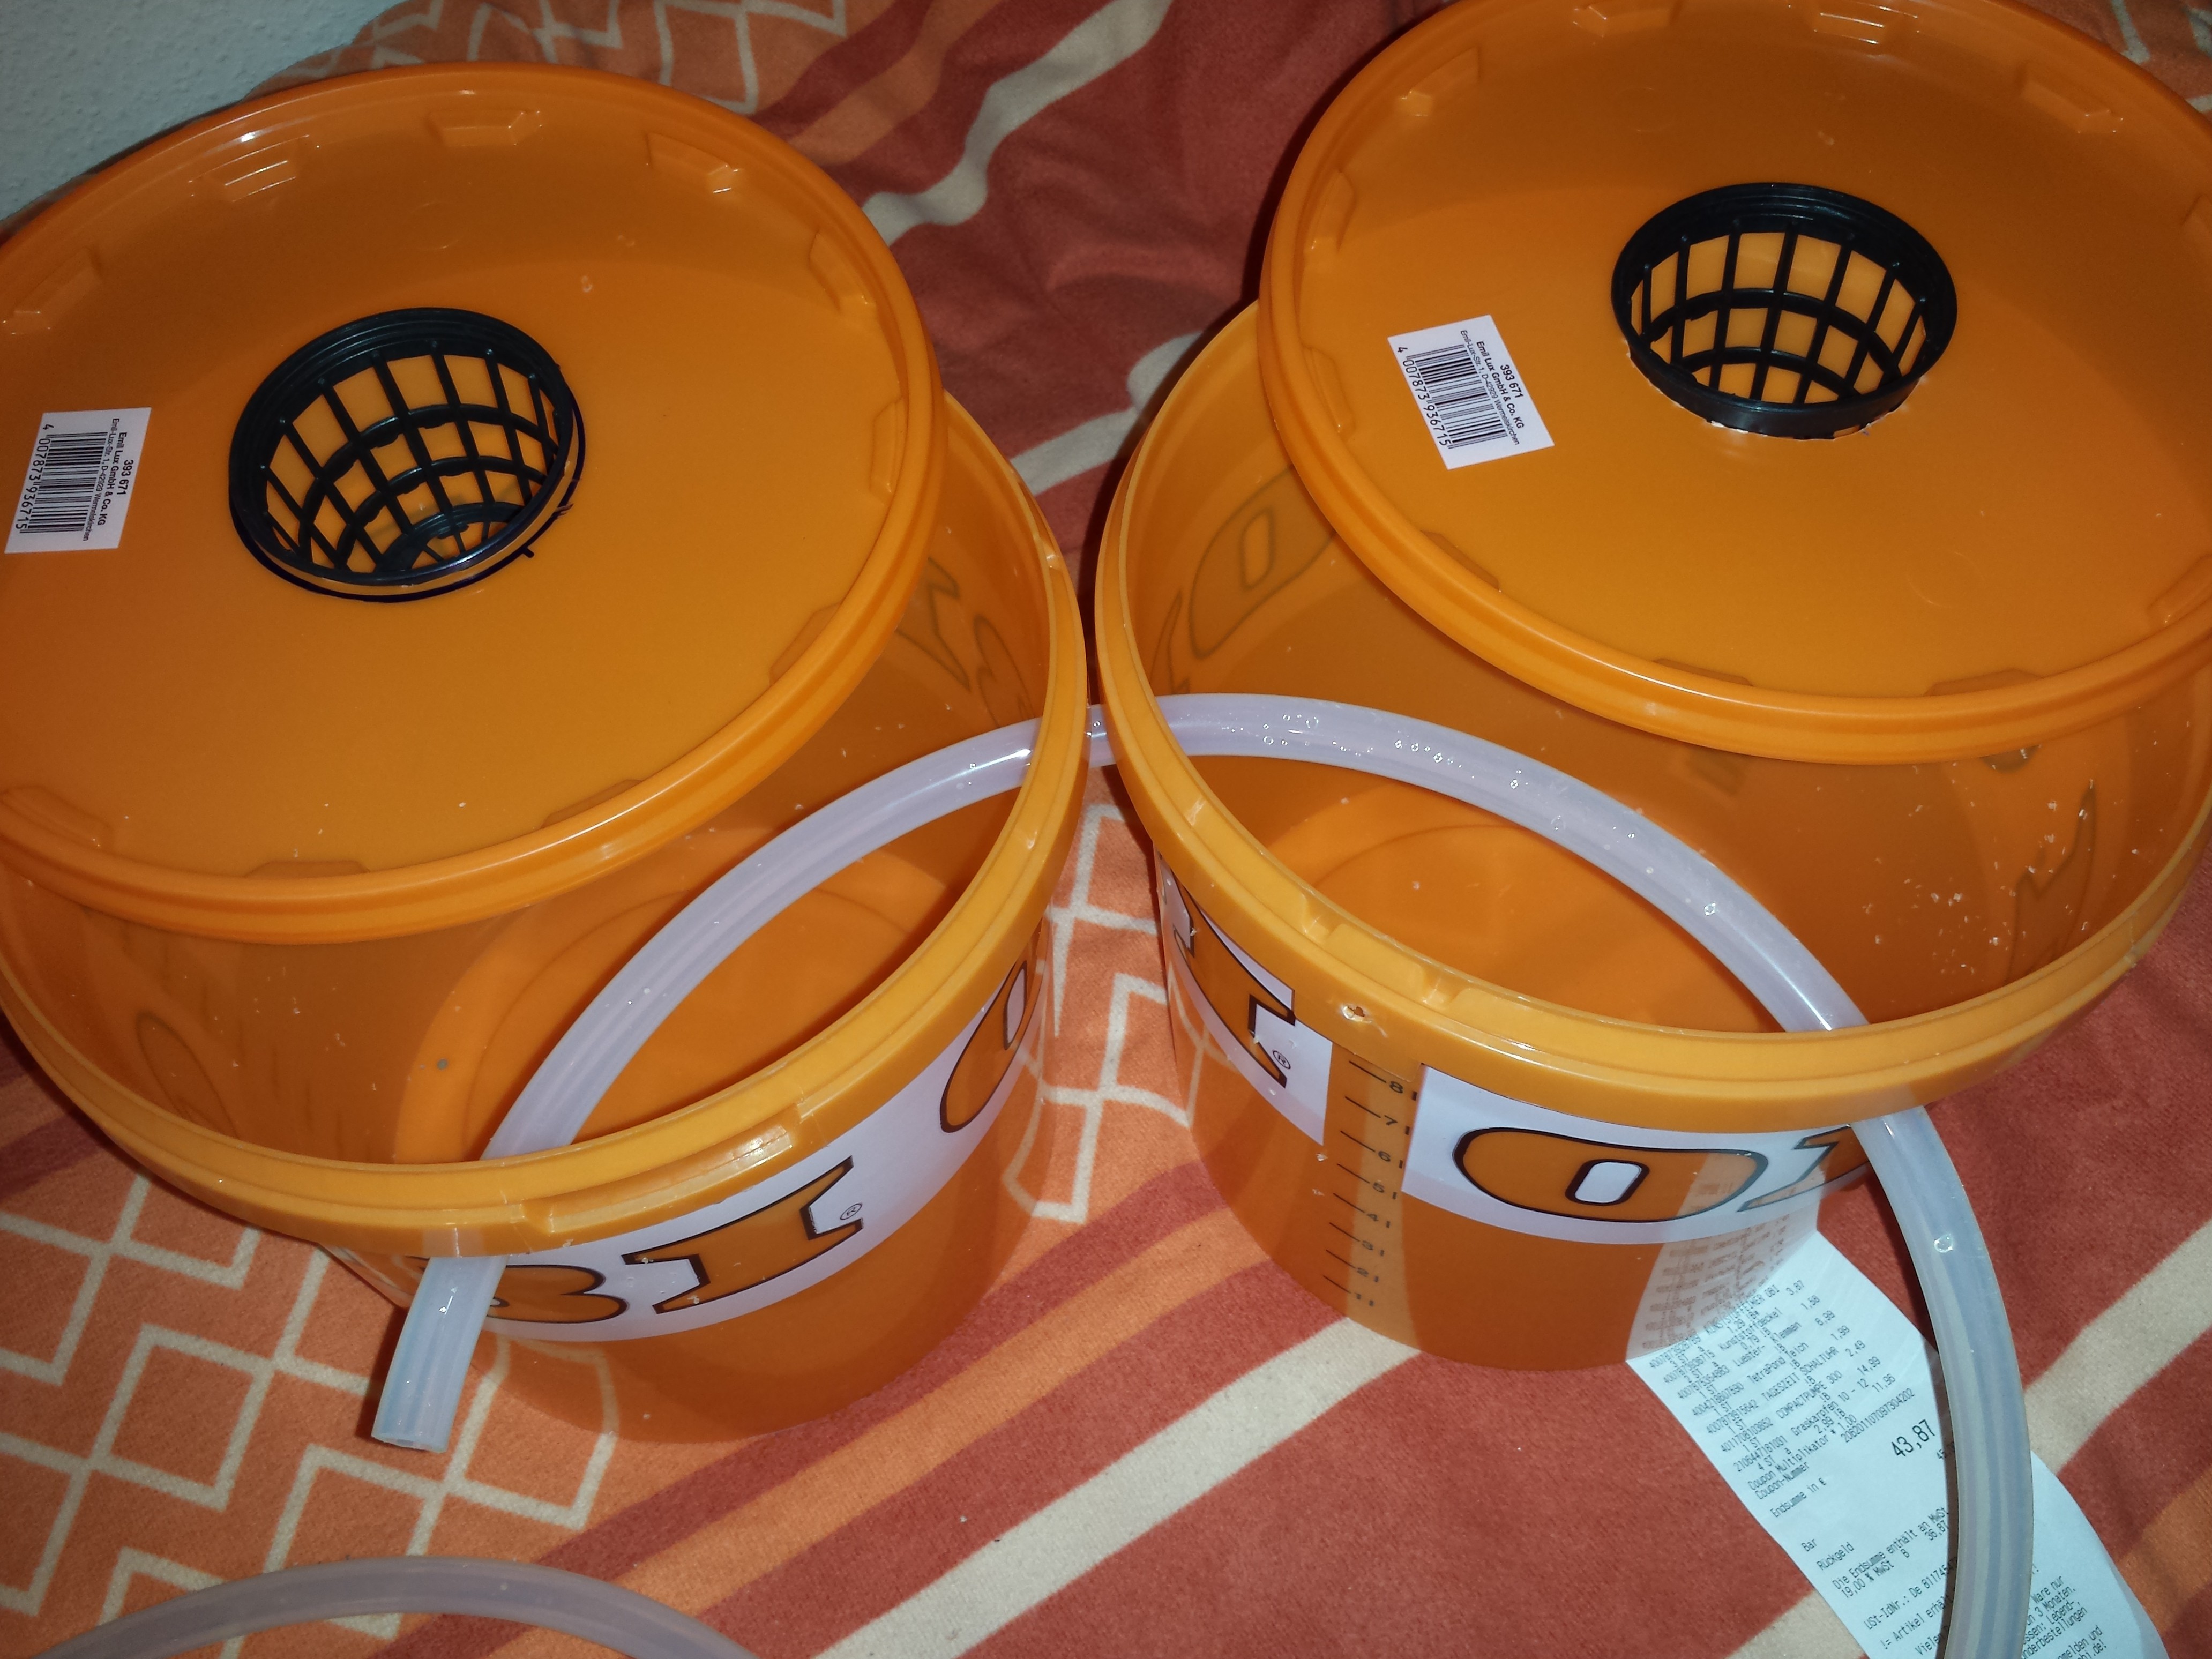
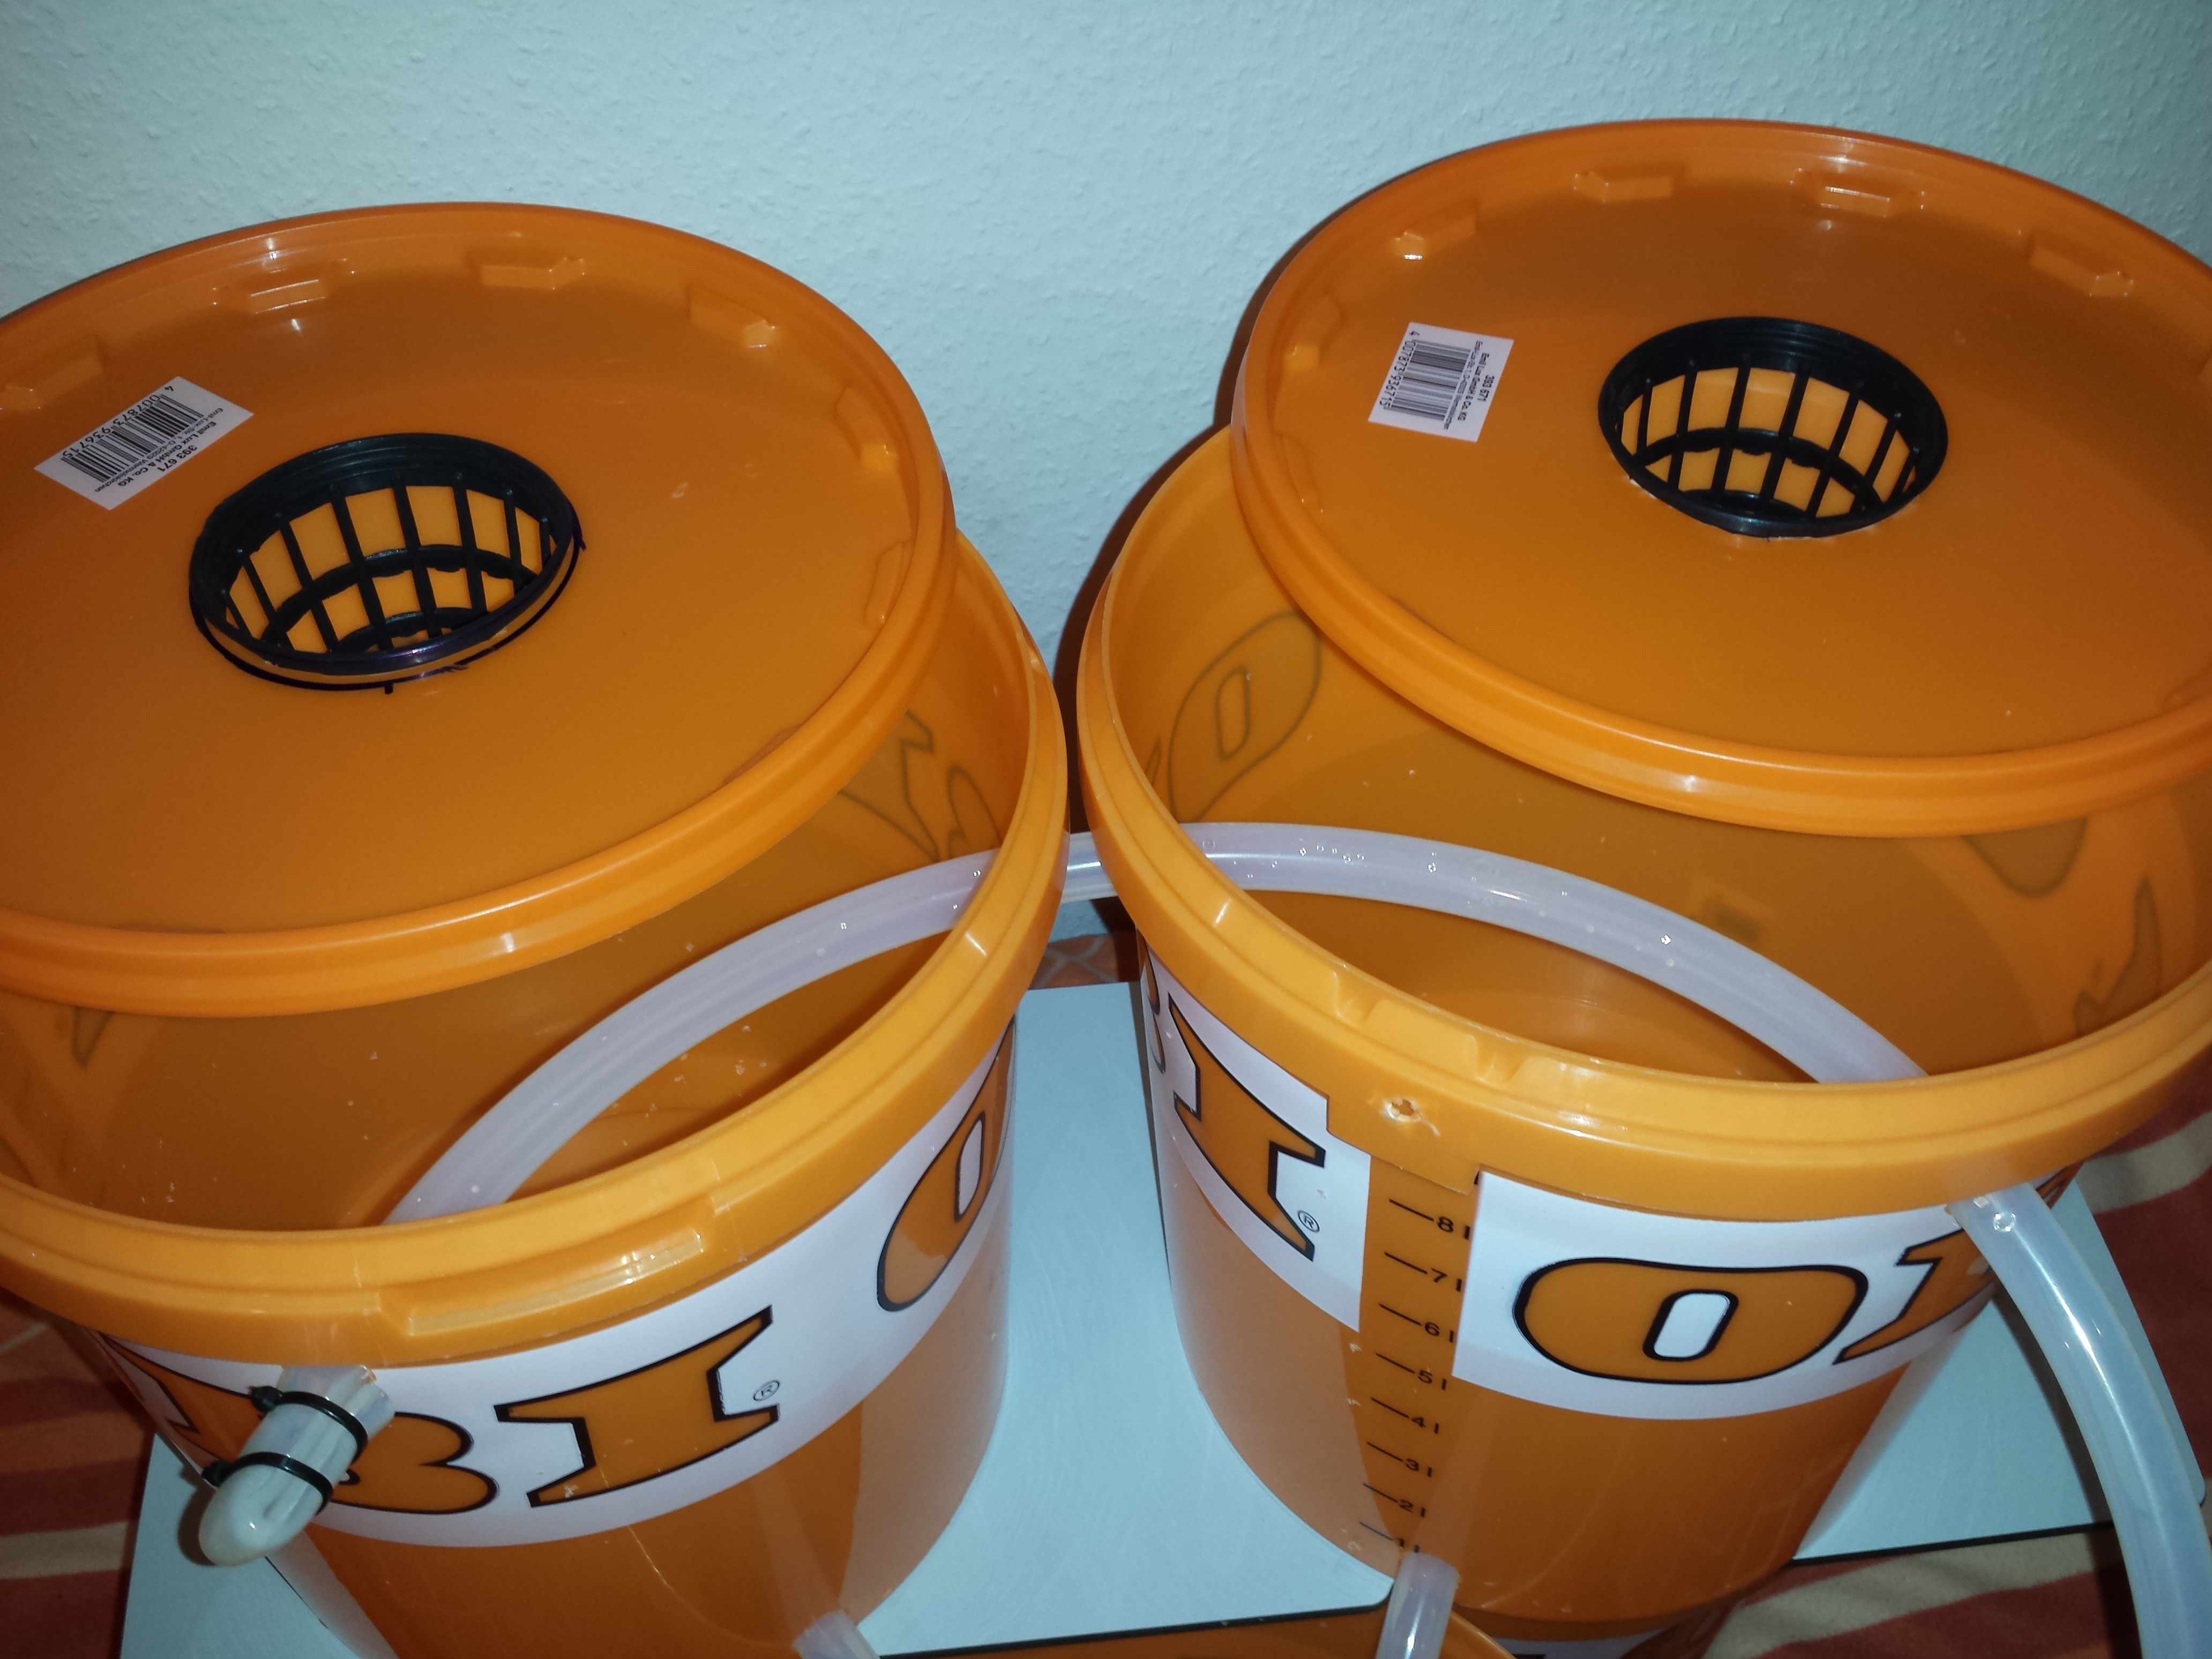
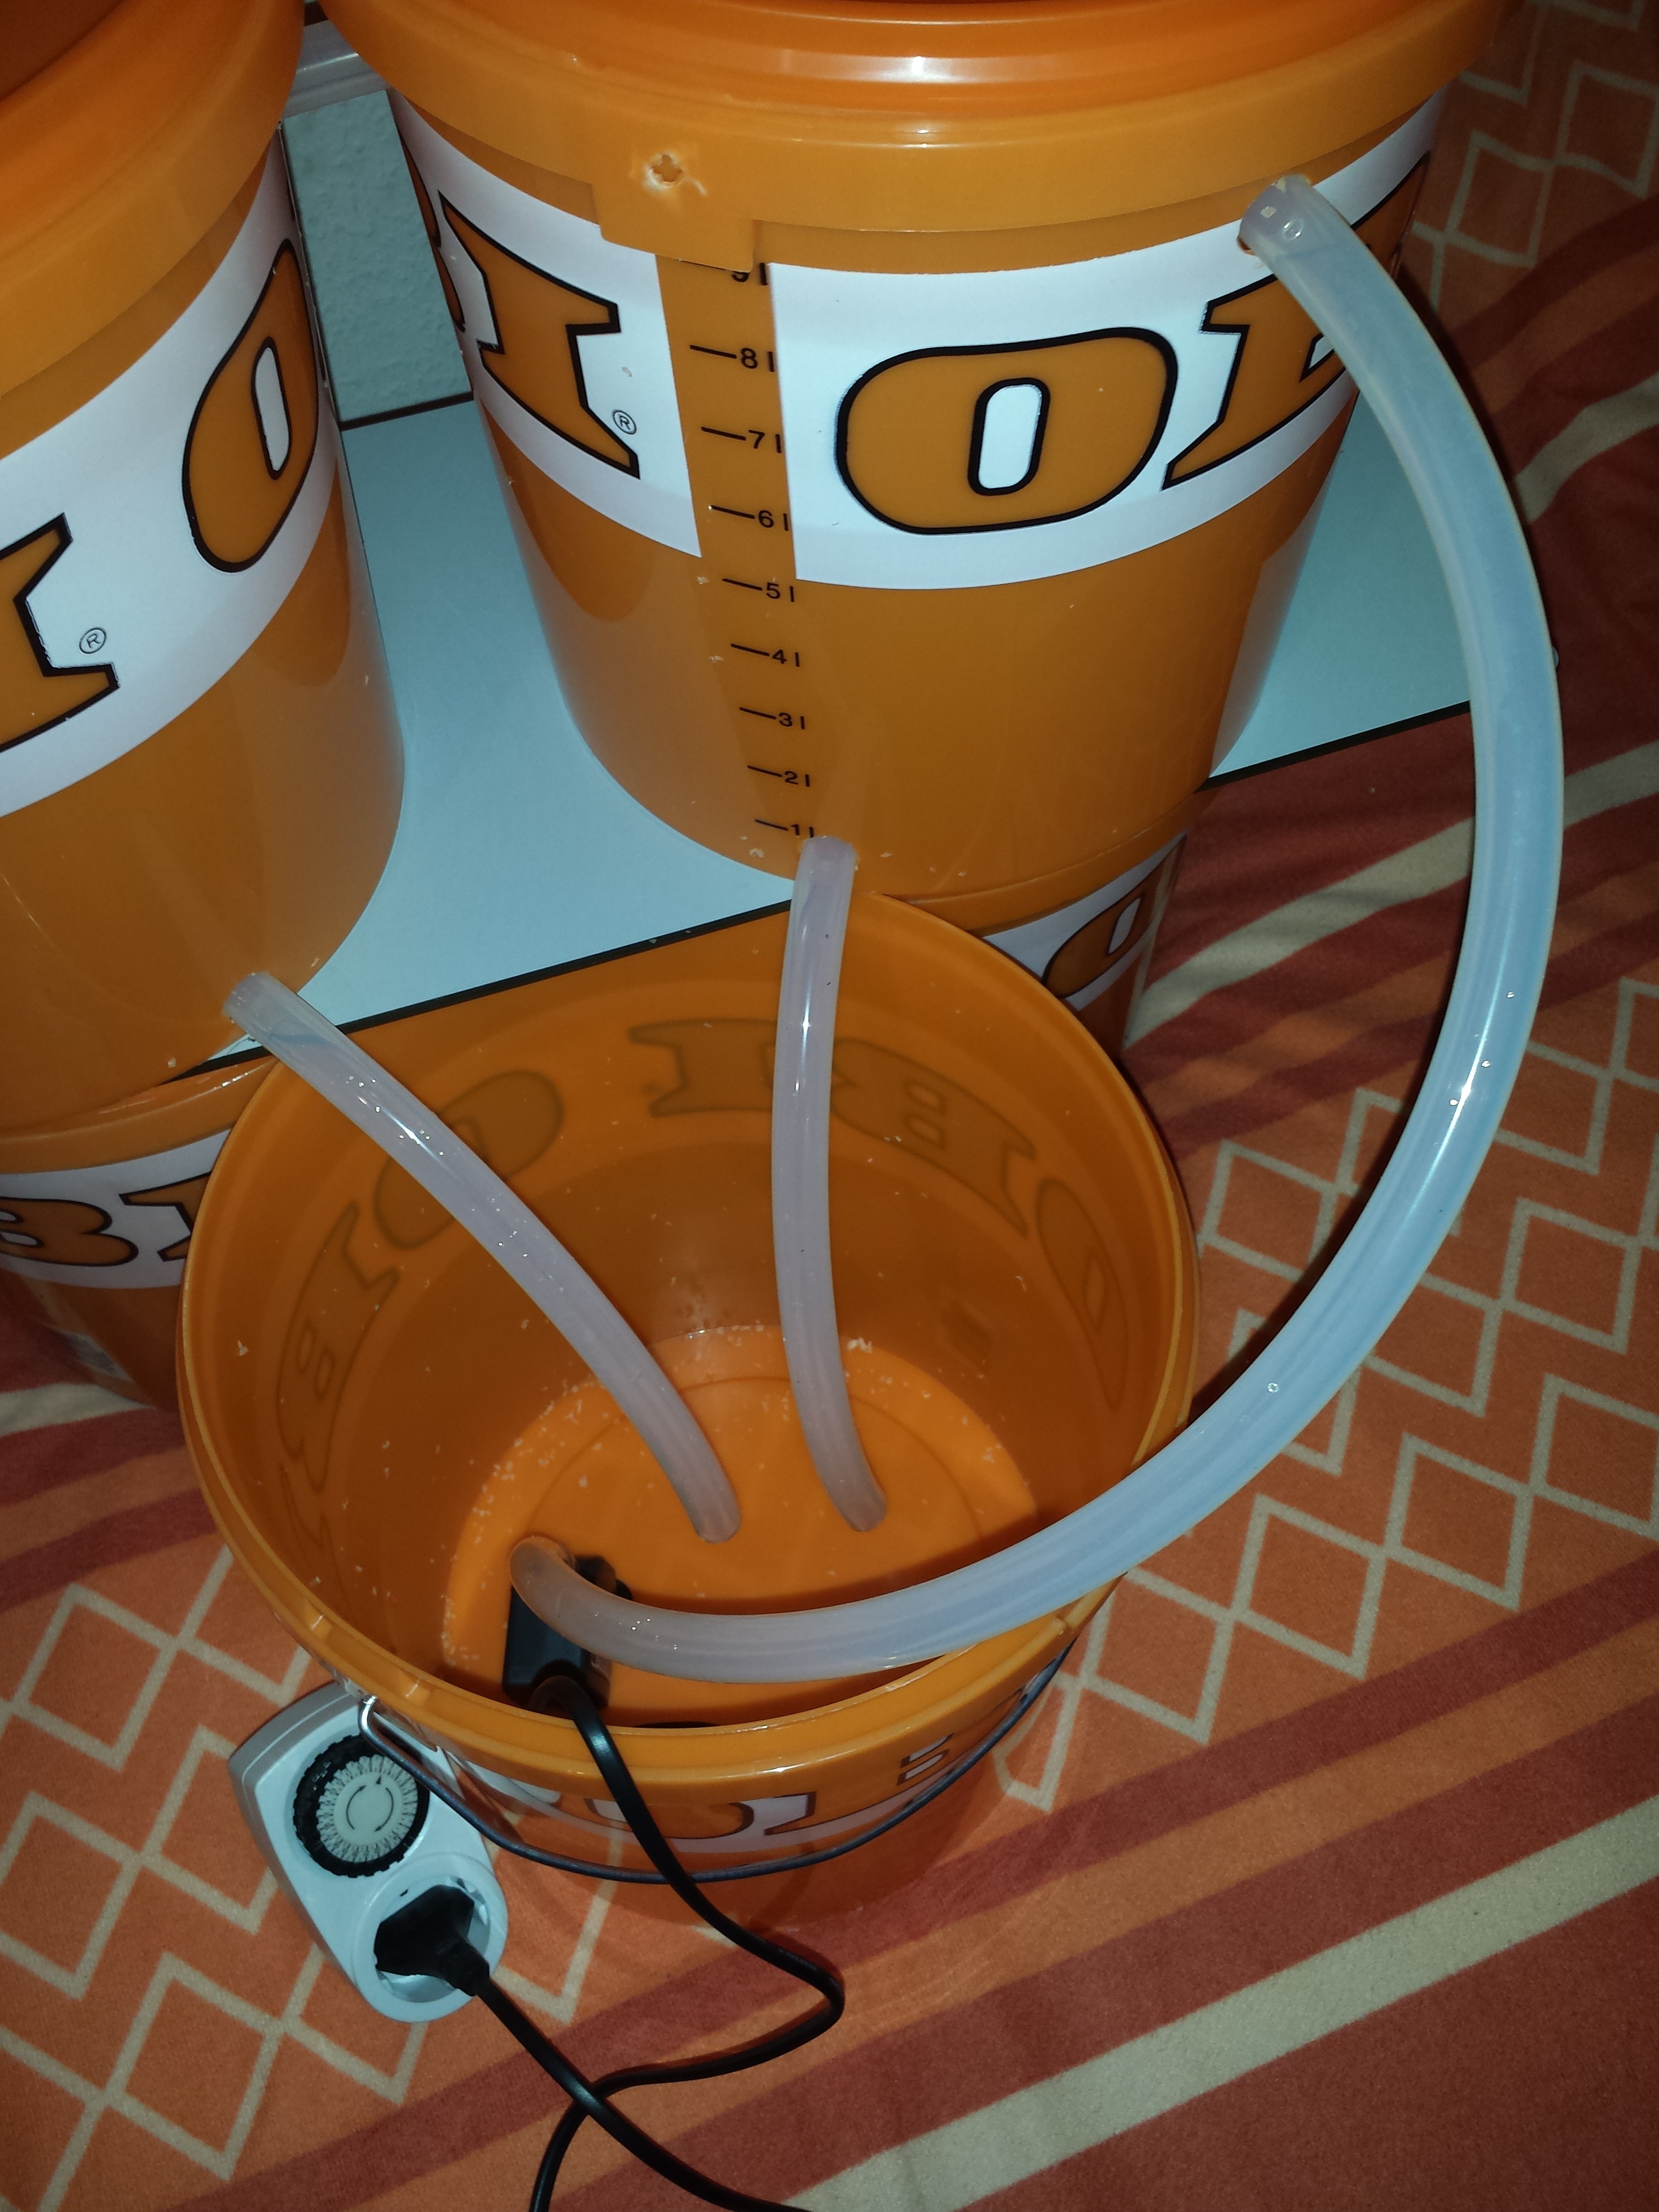
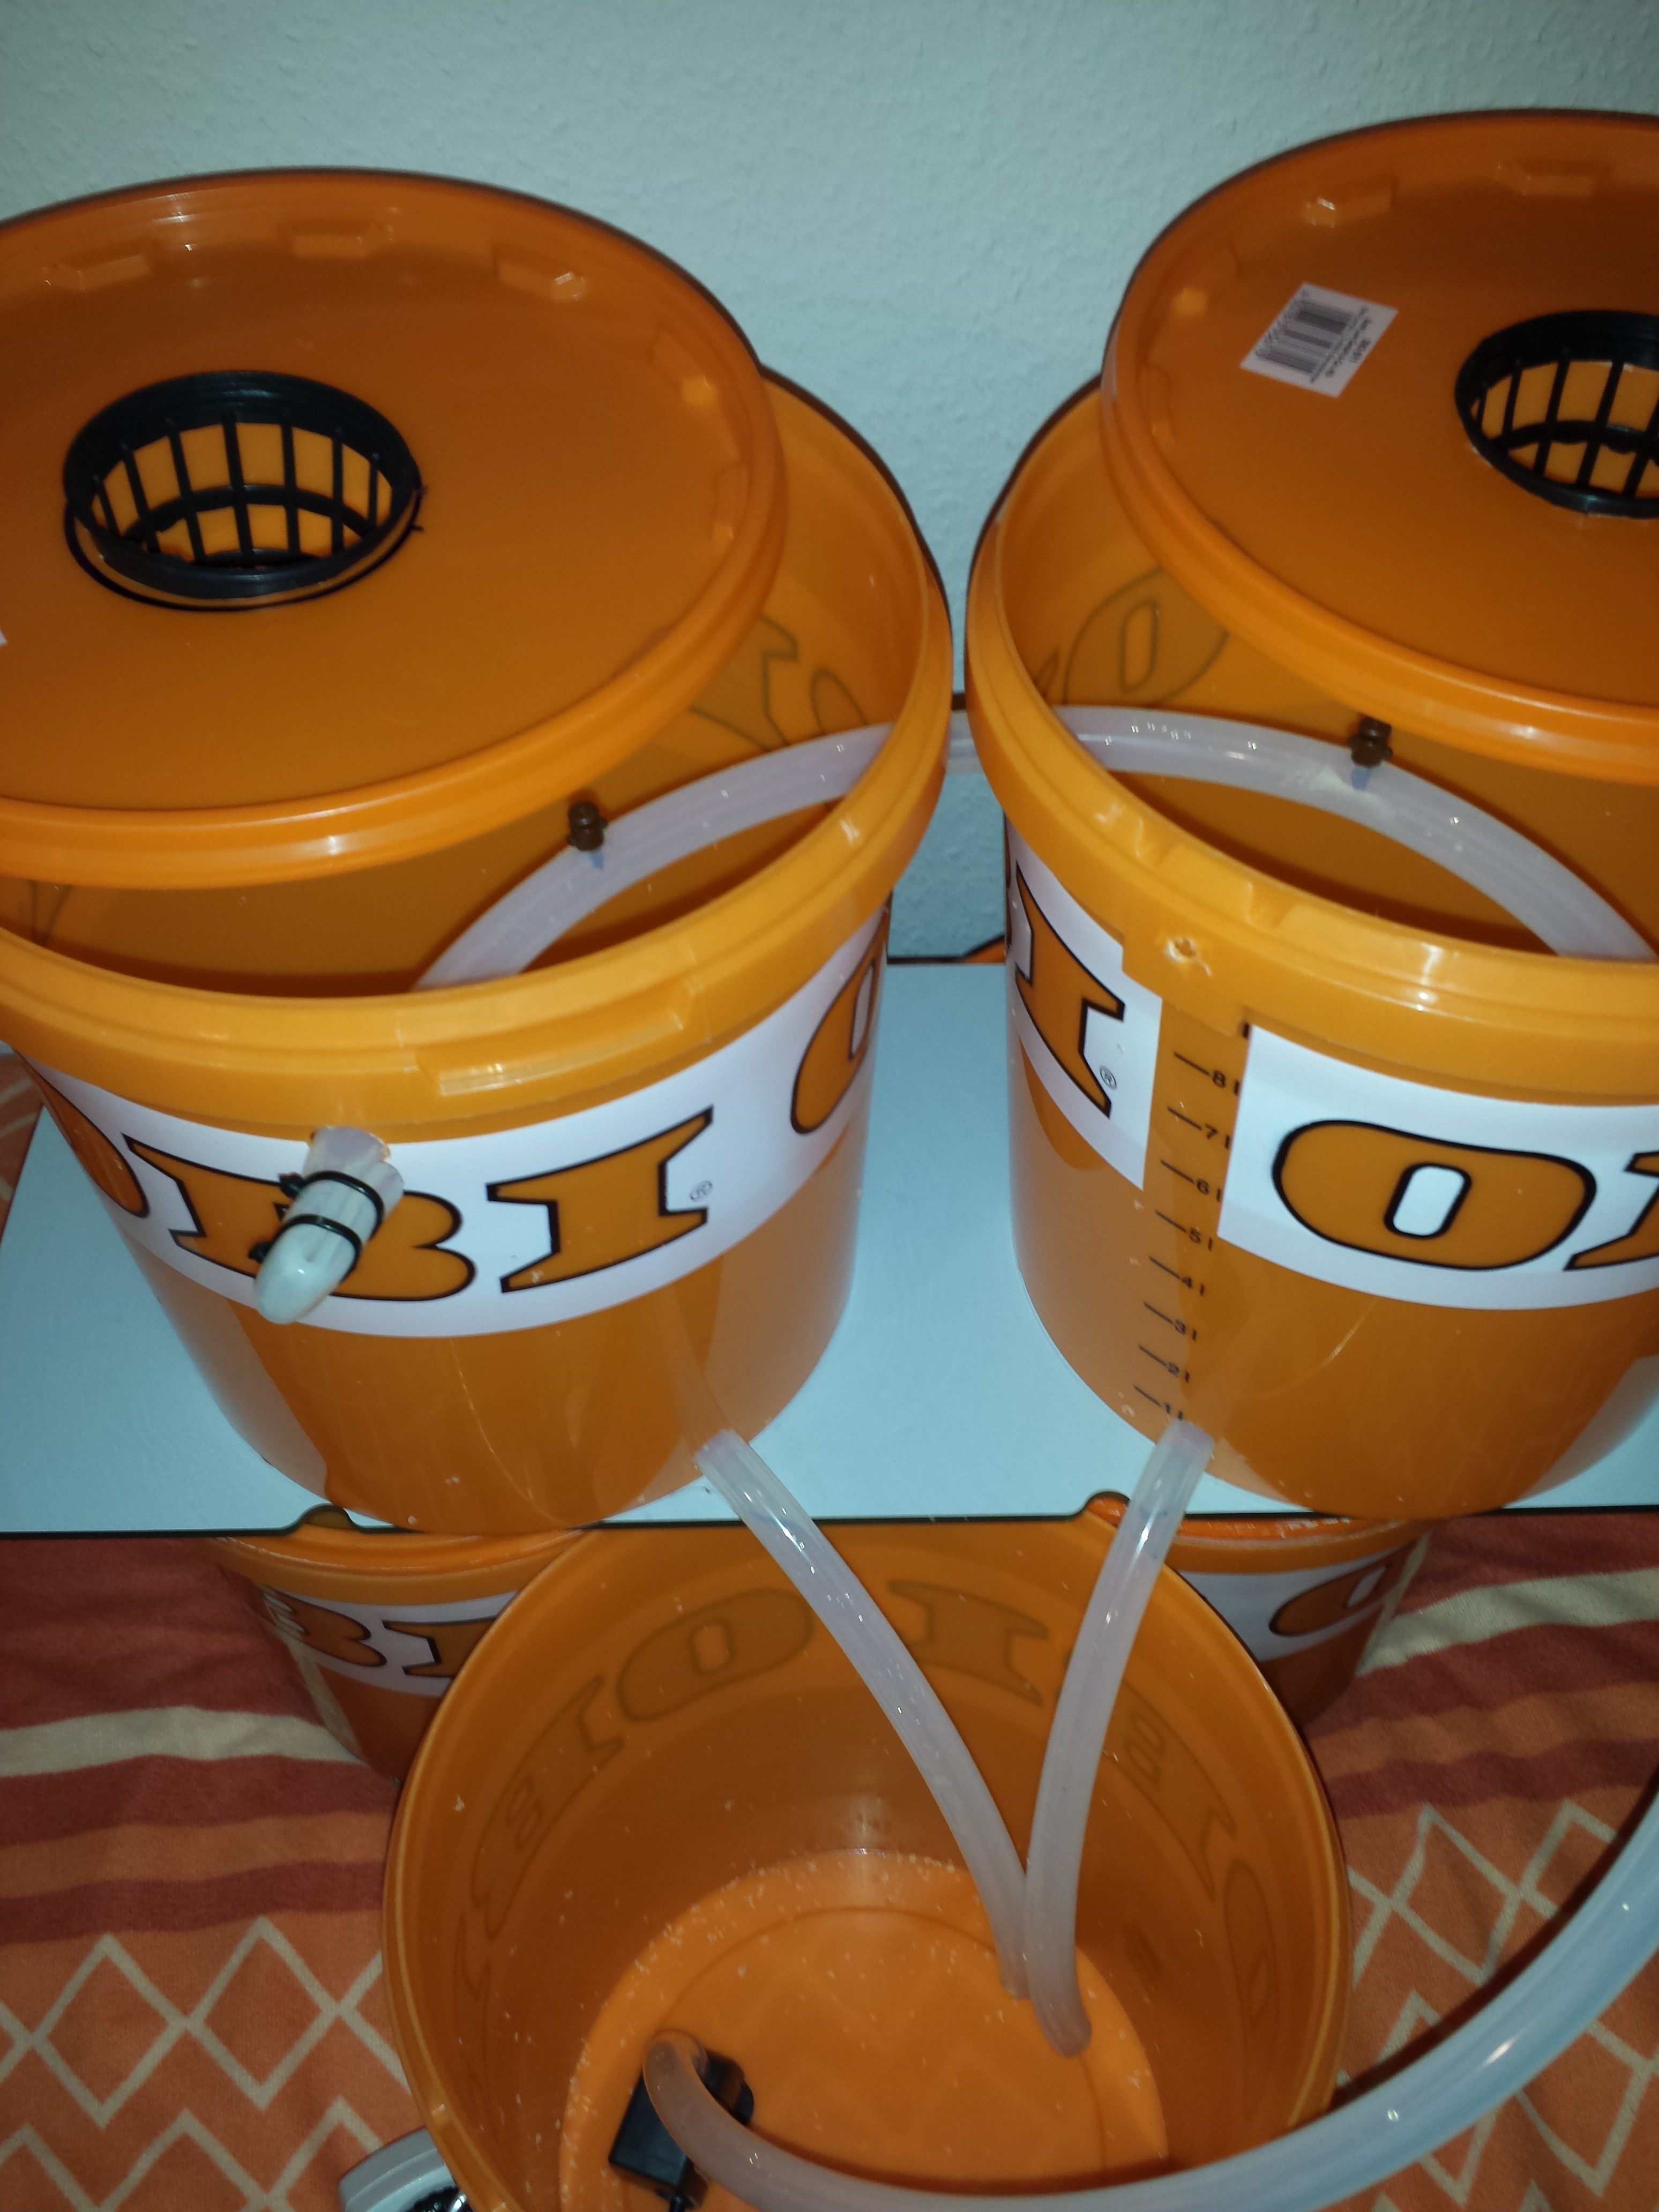
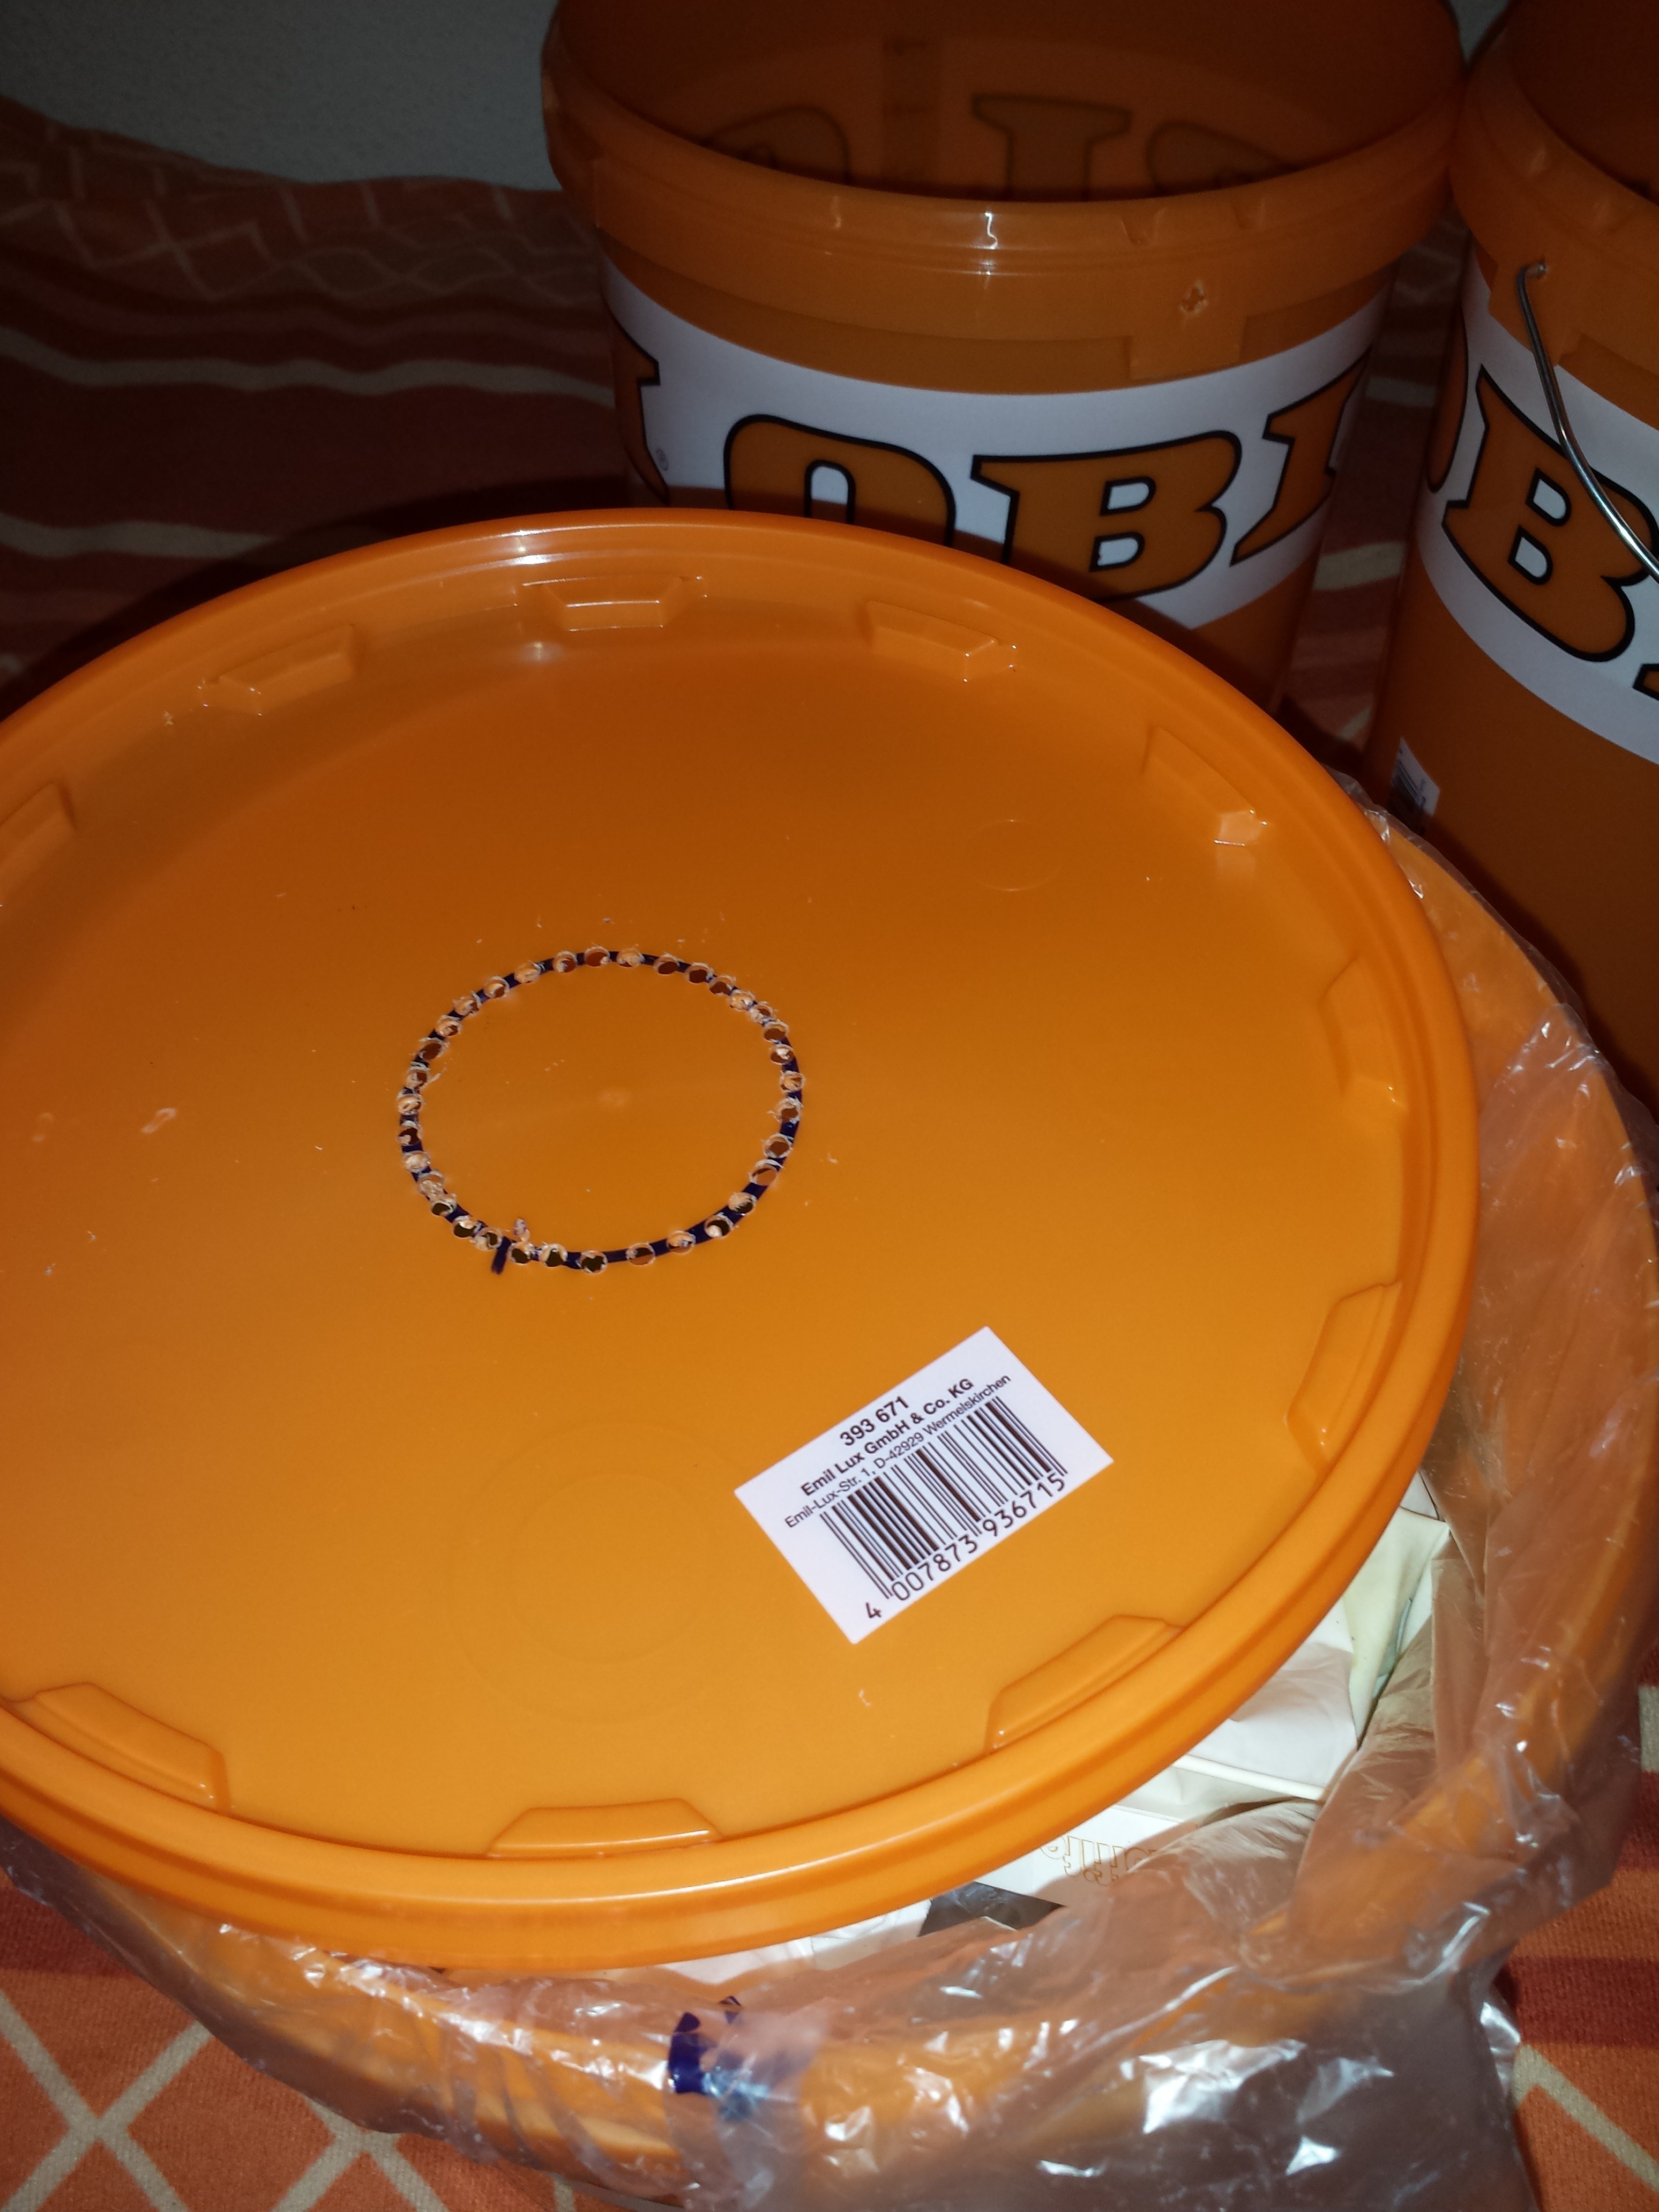 Because i use these Buckerts for everything (including my trash bin), the lid was placed on top of a bucket, to collect the dirt from drilling. The final step of the hole was done by a good 'ol knife.
 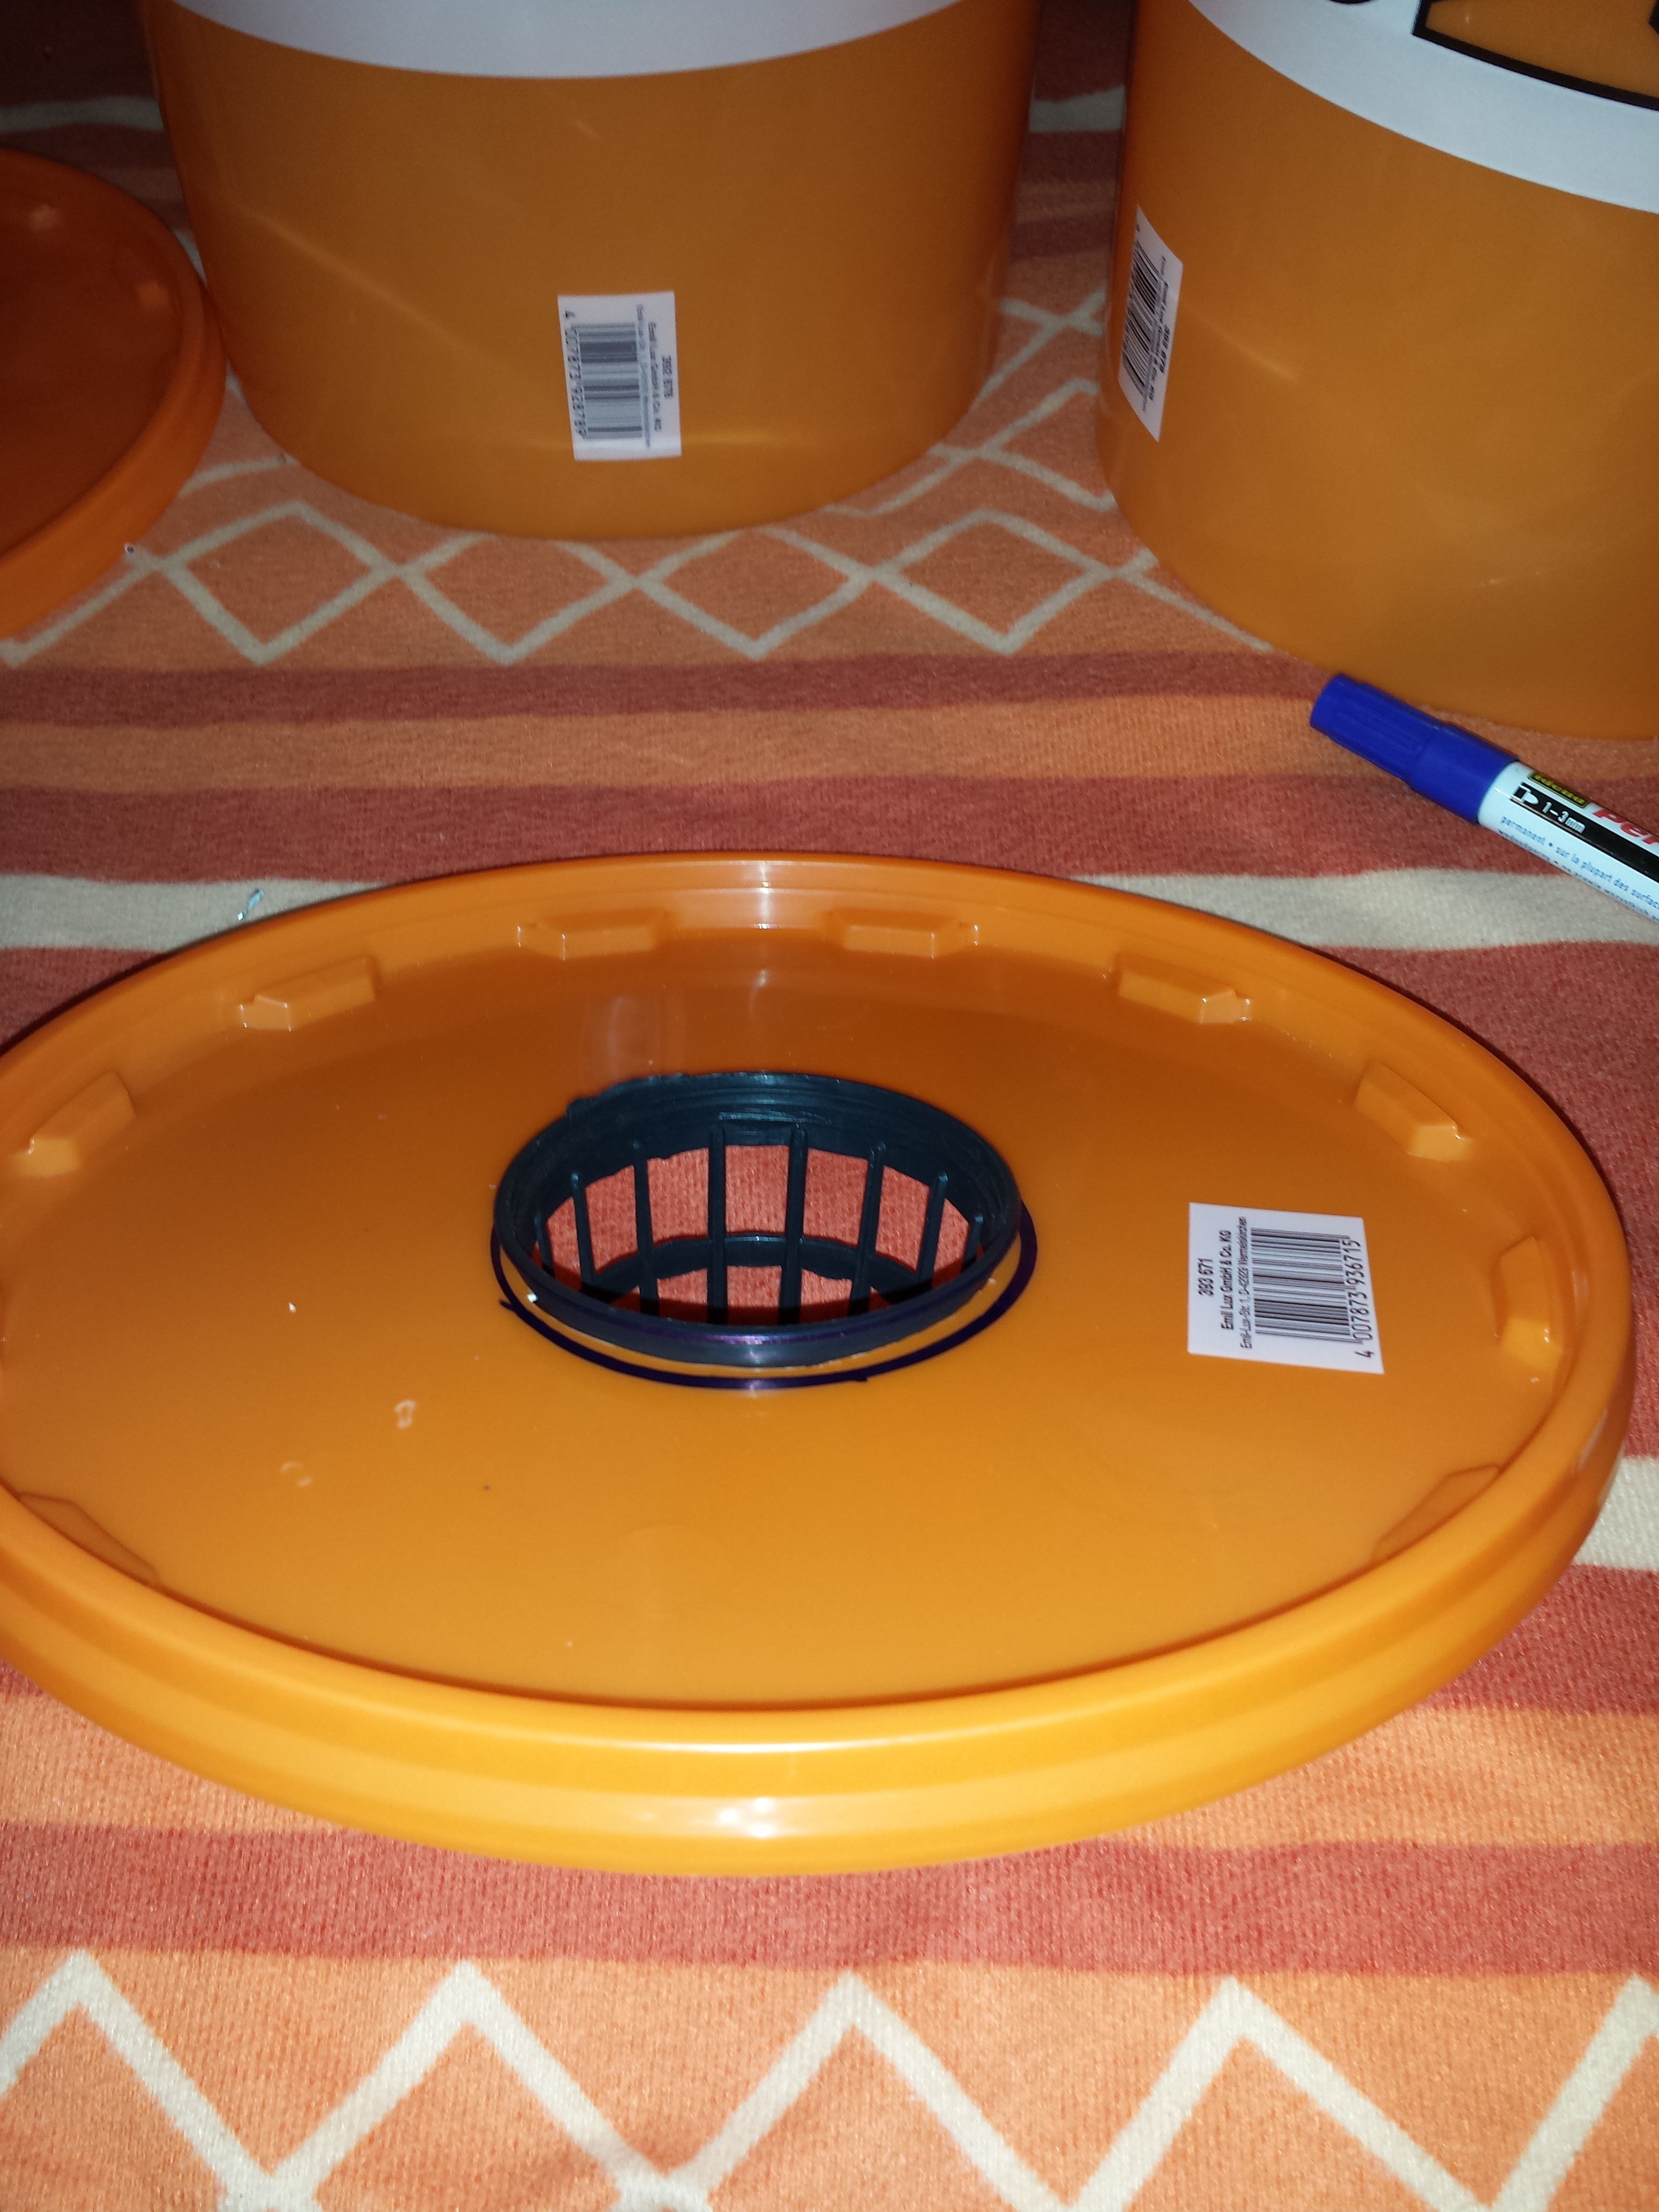 The pot should fit tight inside the hole, so it cant fall through, when the plant gets big and heavy.

 Em
Em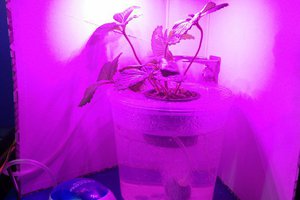
 Domen
Domen
 Made2Hack
 AVR
AVR
Hi
Nice to meet you after viewing your profile i am Jacinda, from (jakarta) indonesia,
i have a project discussion with you please email me on: (jacinda.seiler@yahoo.com)