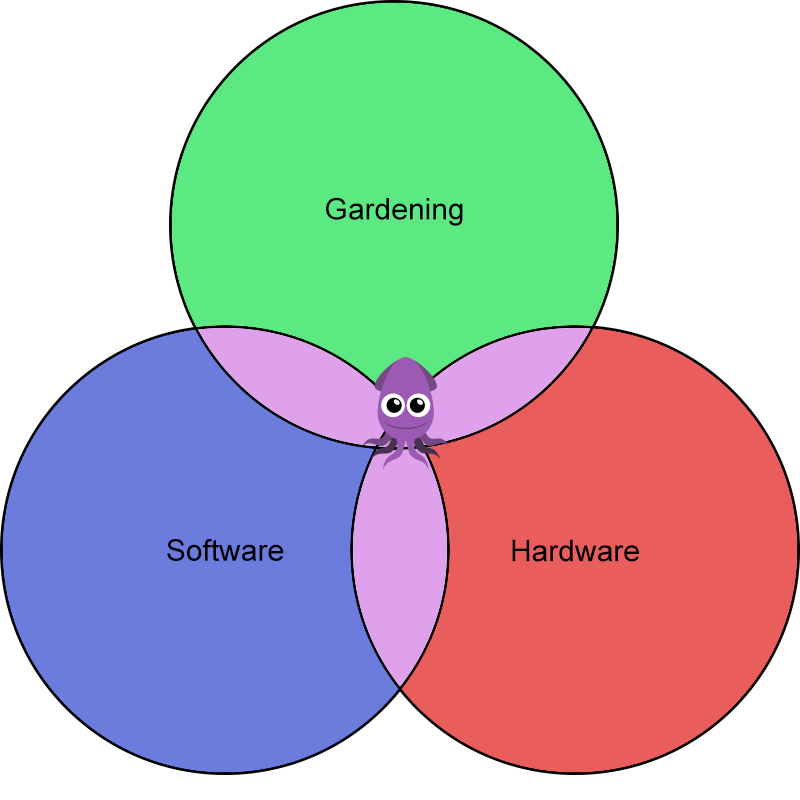
The garden squid is the open platform that sits at the intersection of hardware, software, and gardening. Many people love to garden, write software, and develop hardware, and sometimes these passions overlap. By keeping the design incredibly simple, I hope to build a platform that can automate simple gardening tasks out of the box, and easily allow for augmentation for your next garden hack.
Many hackaday.io gardening systems are custom built to a specific growing type (like NFT) and size, including lights and how many pumps are involved. The garden squid is different in that you use your current garden equipment (pumps, lights) that plug into AC outlets, and plug them into wireless X10 modules. Any combination of devices can be attached, with custom rules and timers about when to turn them on and off. By using X10 as opposed to soldering relays, we allow for less wires, less AC risk, and more flexibility over time.
By allowing the garden to grow, we also need the ability to sense the conditions in the garden. While CO2 and humidity levels are fairly constant in well mixed air, the temperature differences in a garden can be huge between the light, canopy, and undergrowth. Using 1-wire temperature sensors over ethernet cable, we can map the microclimate and provide more efficient temperature control to maximize efficiency and yield, and prevent plant burn.
Gardening is a great hobby, but having to tend to it every day can turn it into a chore - especially when you want to go on vacation. That's why the garden squid can be accessed via a web server to provide data on the go about your garden, to let you know everything is running smoothly.
The architecture of the garden squid is simple: sense the conditions, log the conditions, respond to the conditions. I hope to keep this project simple and flexible, so that it might be a base for both future expansion and repurposing for other home automation or data logging activities. By keeping the hardware approachable and safe (no need to touch AC power), the garden squid is safe and simple enough for someone to approach as a first project. The software will be written in python, using flask and other standard technologies. The sensor loop will also be modular to allow for new sensors, or omitting sensors from the design.

 sdfgeoff
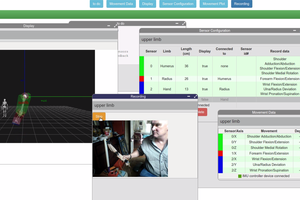
 Jonathan Kelly
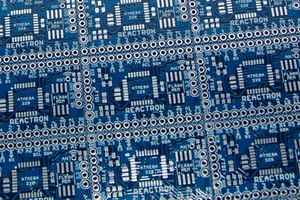
 Kenji Larsen
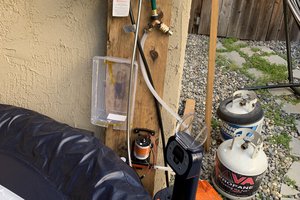
 alexwhittemore
Please don't worry about being the first person to ask a question. Ask a question! :)