 Jaques Lopes Schroeder
It all started with a youtube video that shown a 3 channels dimmer with arduino. It didn't have the visual part (so you couldn't control it, it was a simple function changing the lights luminosity "randomly"), but it was a good start. Also, I found an Instructable with a 1 Channel 220V / 50 Hz AC dimmer controlled by an Arduino that seemed promising. I had to do some calculations and to adapt some parts to my 127V / 60Hz local voltage. Not too hard, but...
For starters, you have to know how many channels you're going to need to make this kind of project successful. For me, 4 channels. Second, you would have to have an idea of how many levels would you permit your users (me and my wife, in this case) to interact with this dimmer. I thought of 100 levels would suffice. Later, with some experimentation, you will realize that you will NOT need that level of granularity for this kind of application: about 20 will suffice. I've ended up using 80 levels, much for laziness than any other specific reason. Going a little further in the planning part, you may add a kill switch if you just want to turn off all channels at once. That could be a hardware or software switch, it will depend on how much of space you will have left in the interface. Also, I've added a "presence" detector (a simple PIR sensor did the trick), so we can turn off the display in case that the space is empty.
 davedarko
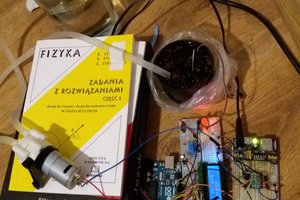
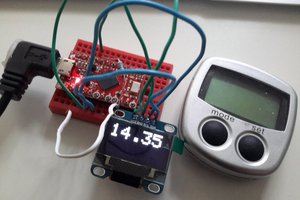
 Wiktor Gonczaronek
 Sam
Sam
 CJ Rose