0%
0%
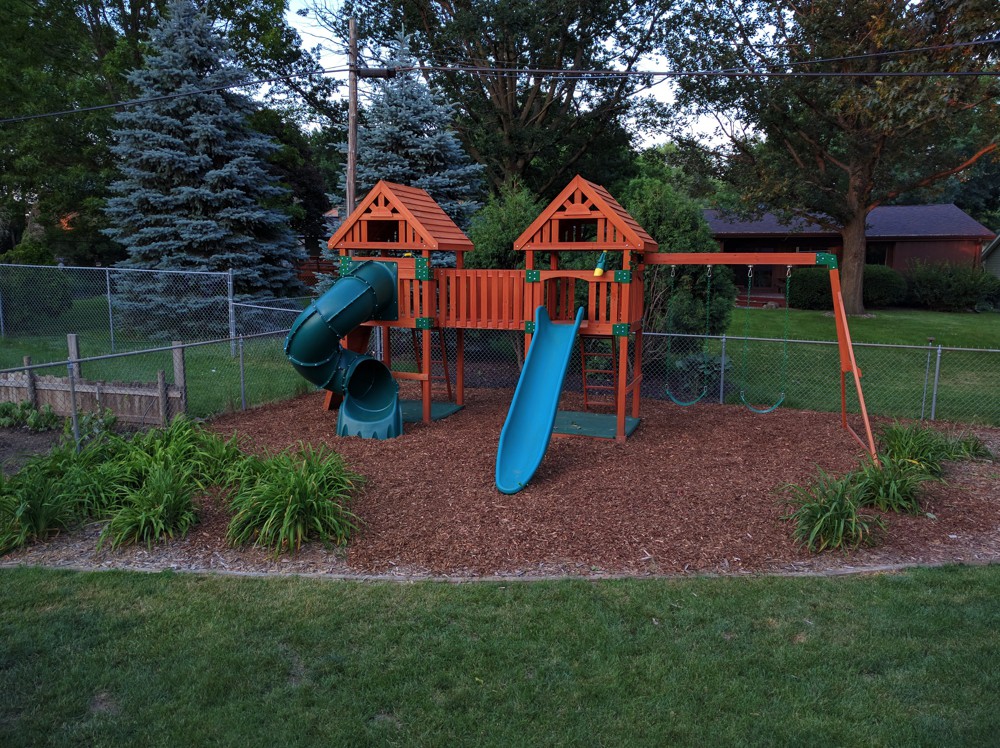
Water-Cooled Slide
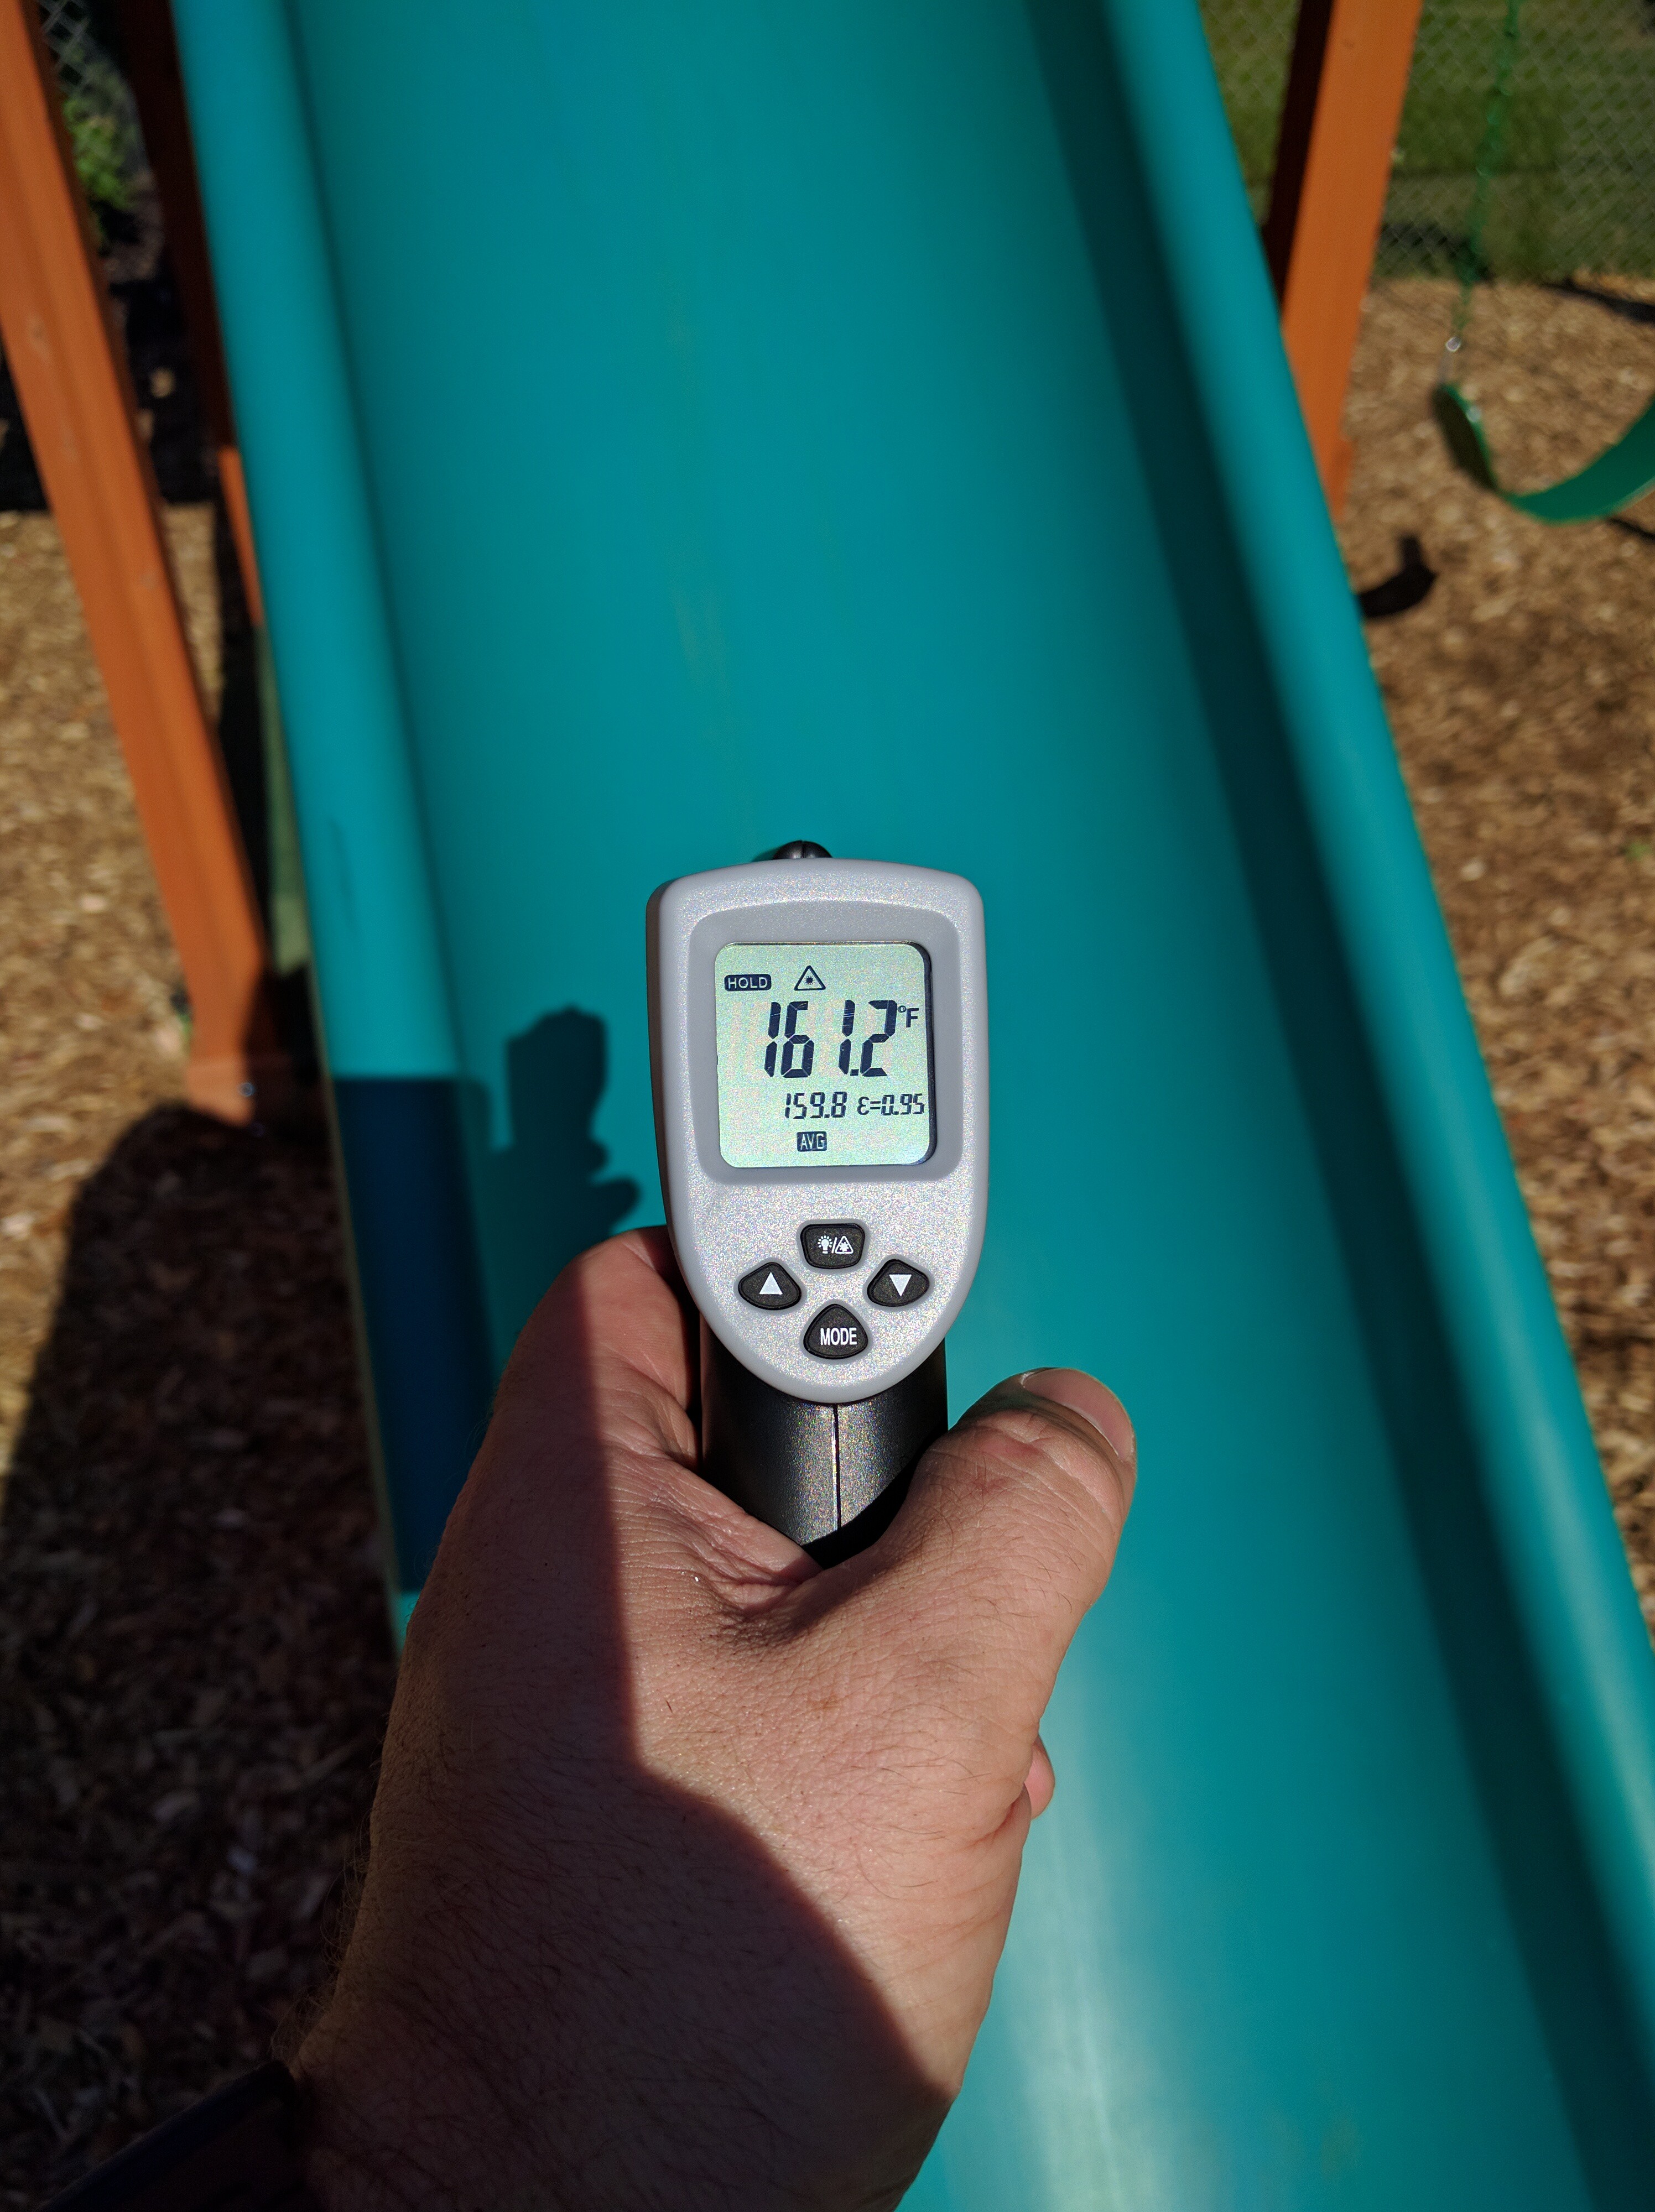
Because Fun Shouldn't Equal Seared Flesh
 Brandon Hart
Become a Hackaday.io member
Already have an account? Log in.
Just one more thing
To make the experience fit your profile, pick a username and tell us what interests you.
Pick an awesome username
hackaday.io/
Your profile's URL: hackaday.io/username. Max 25 alphanumeric characters.
Pick a few interests
Projects that share your interests
People that share your interests

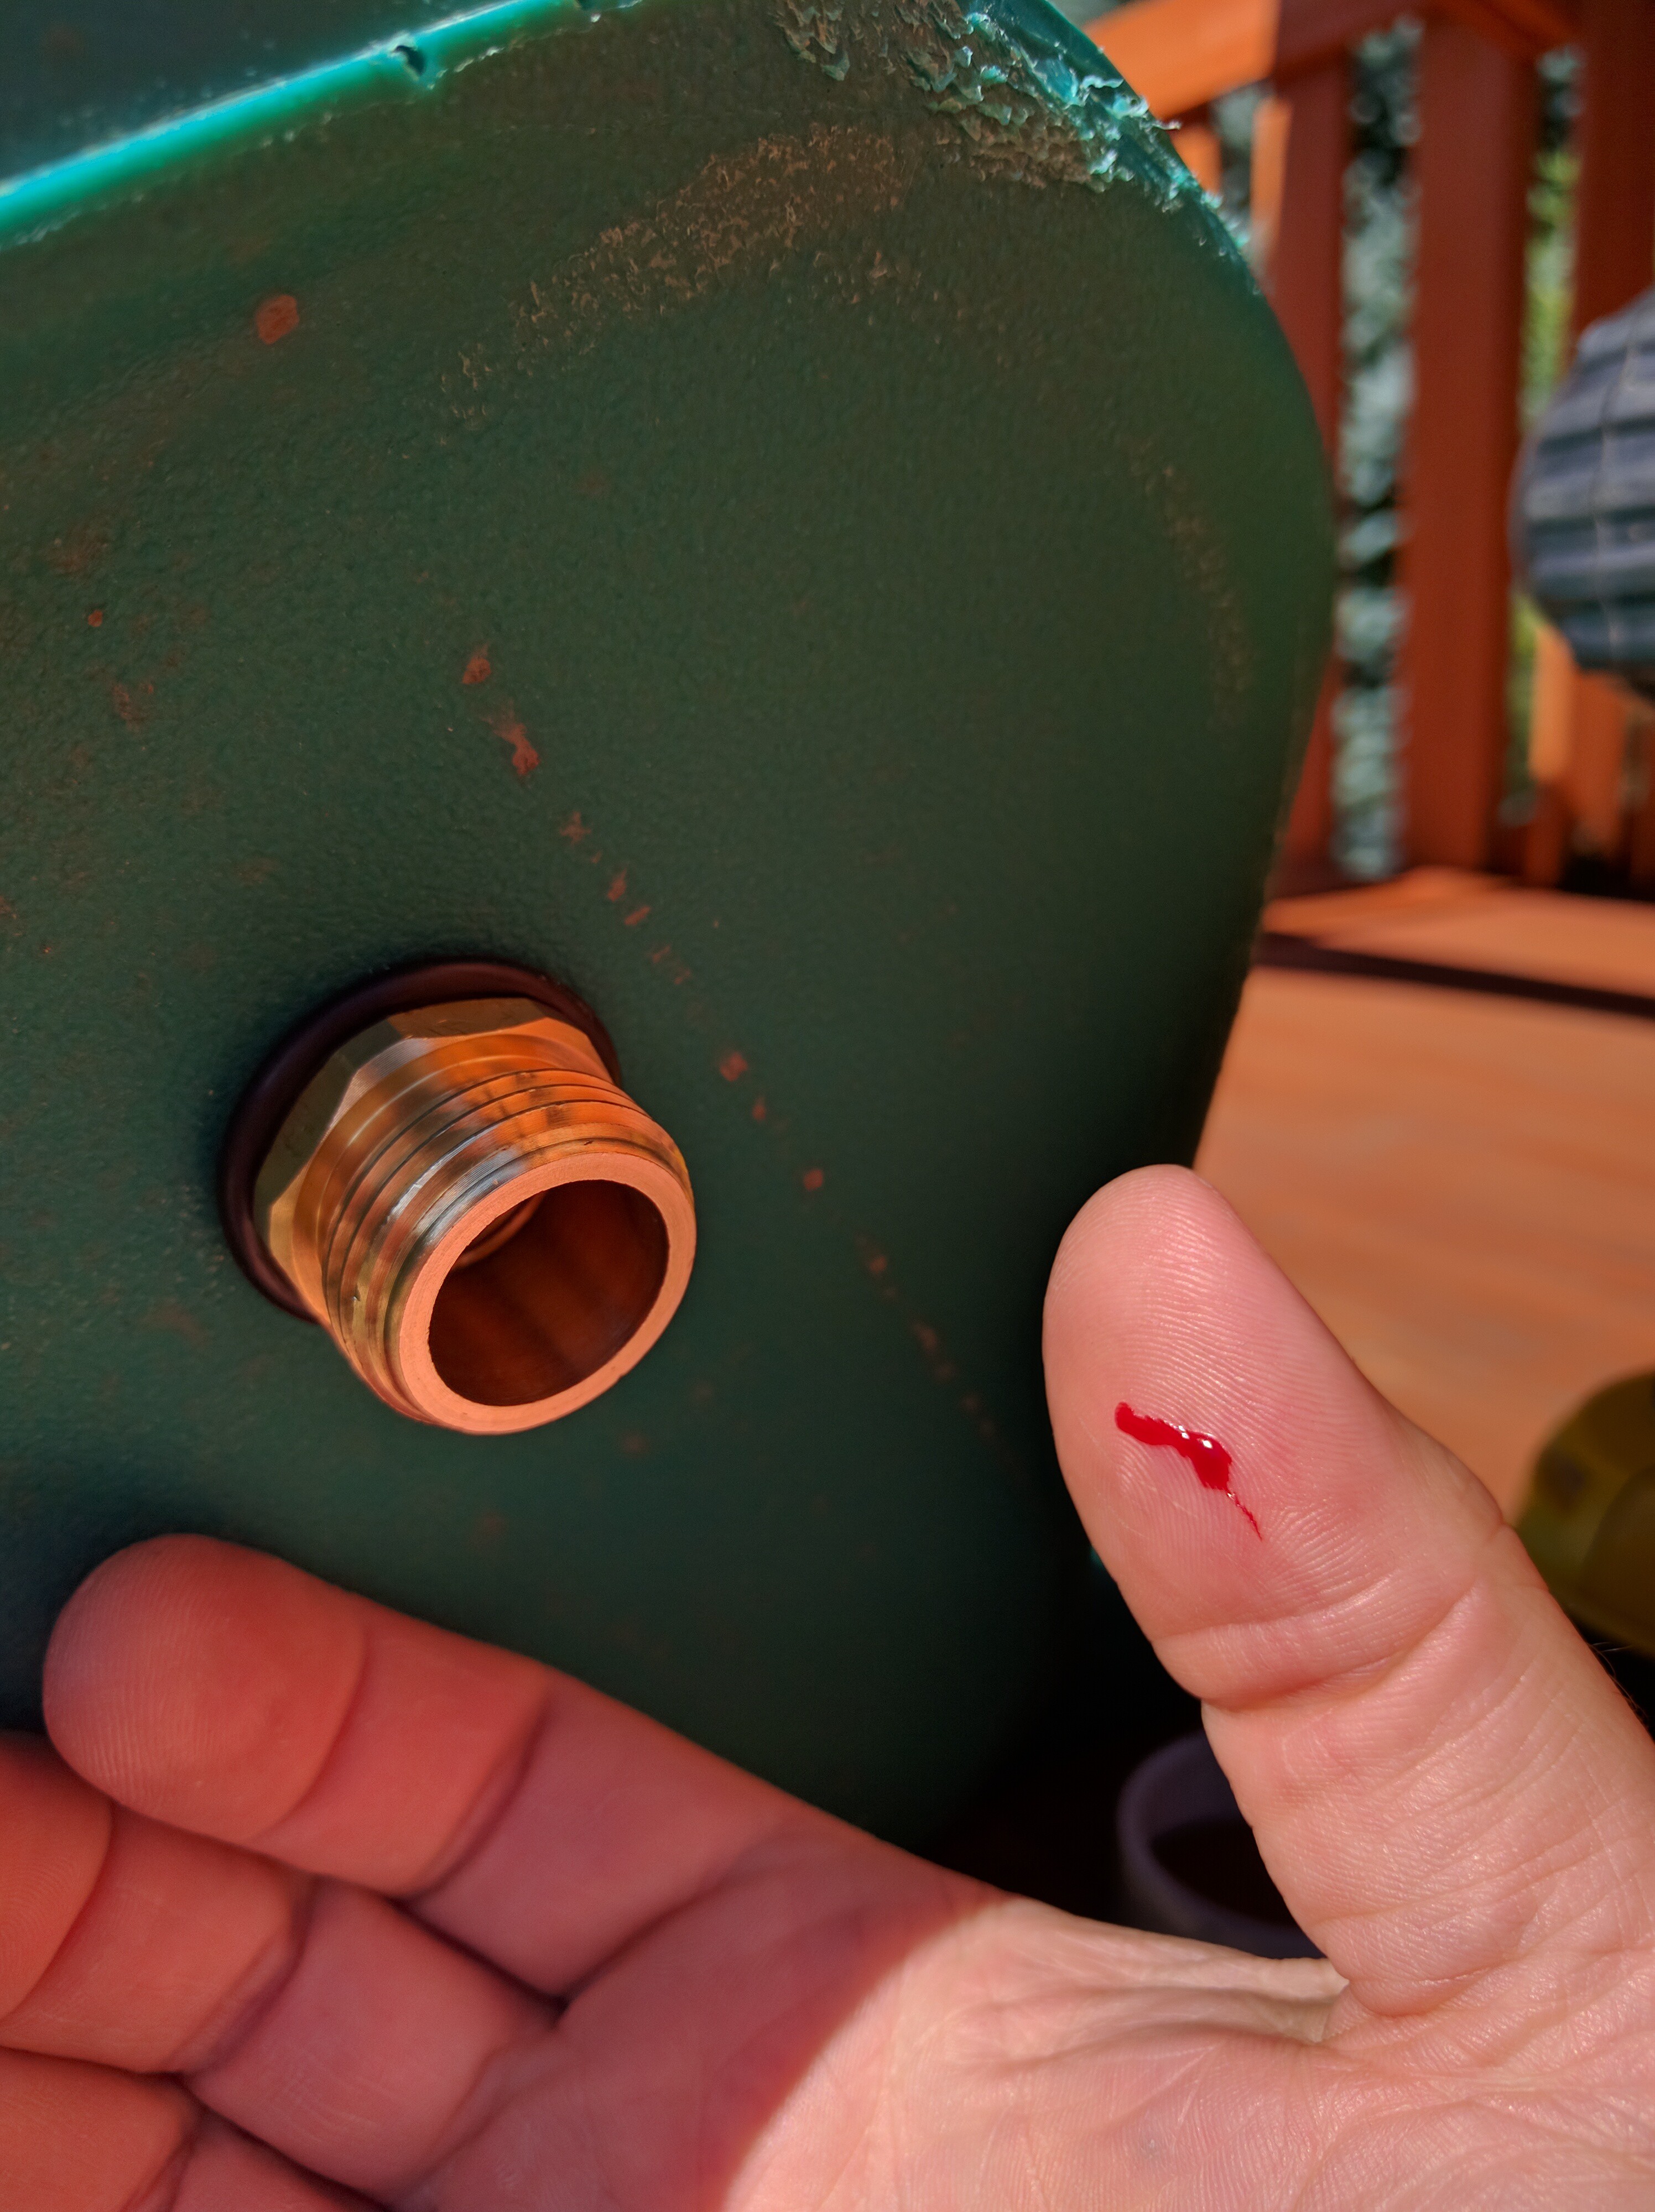
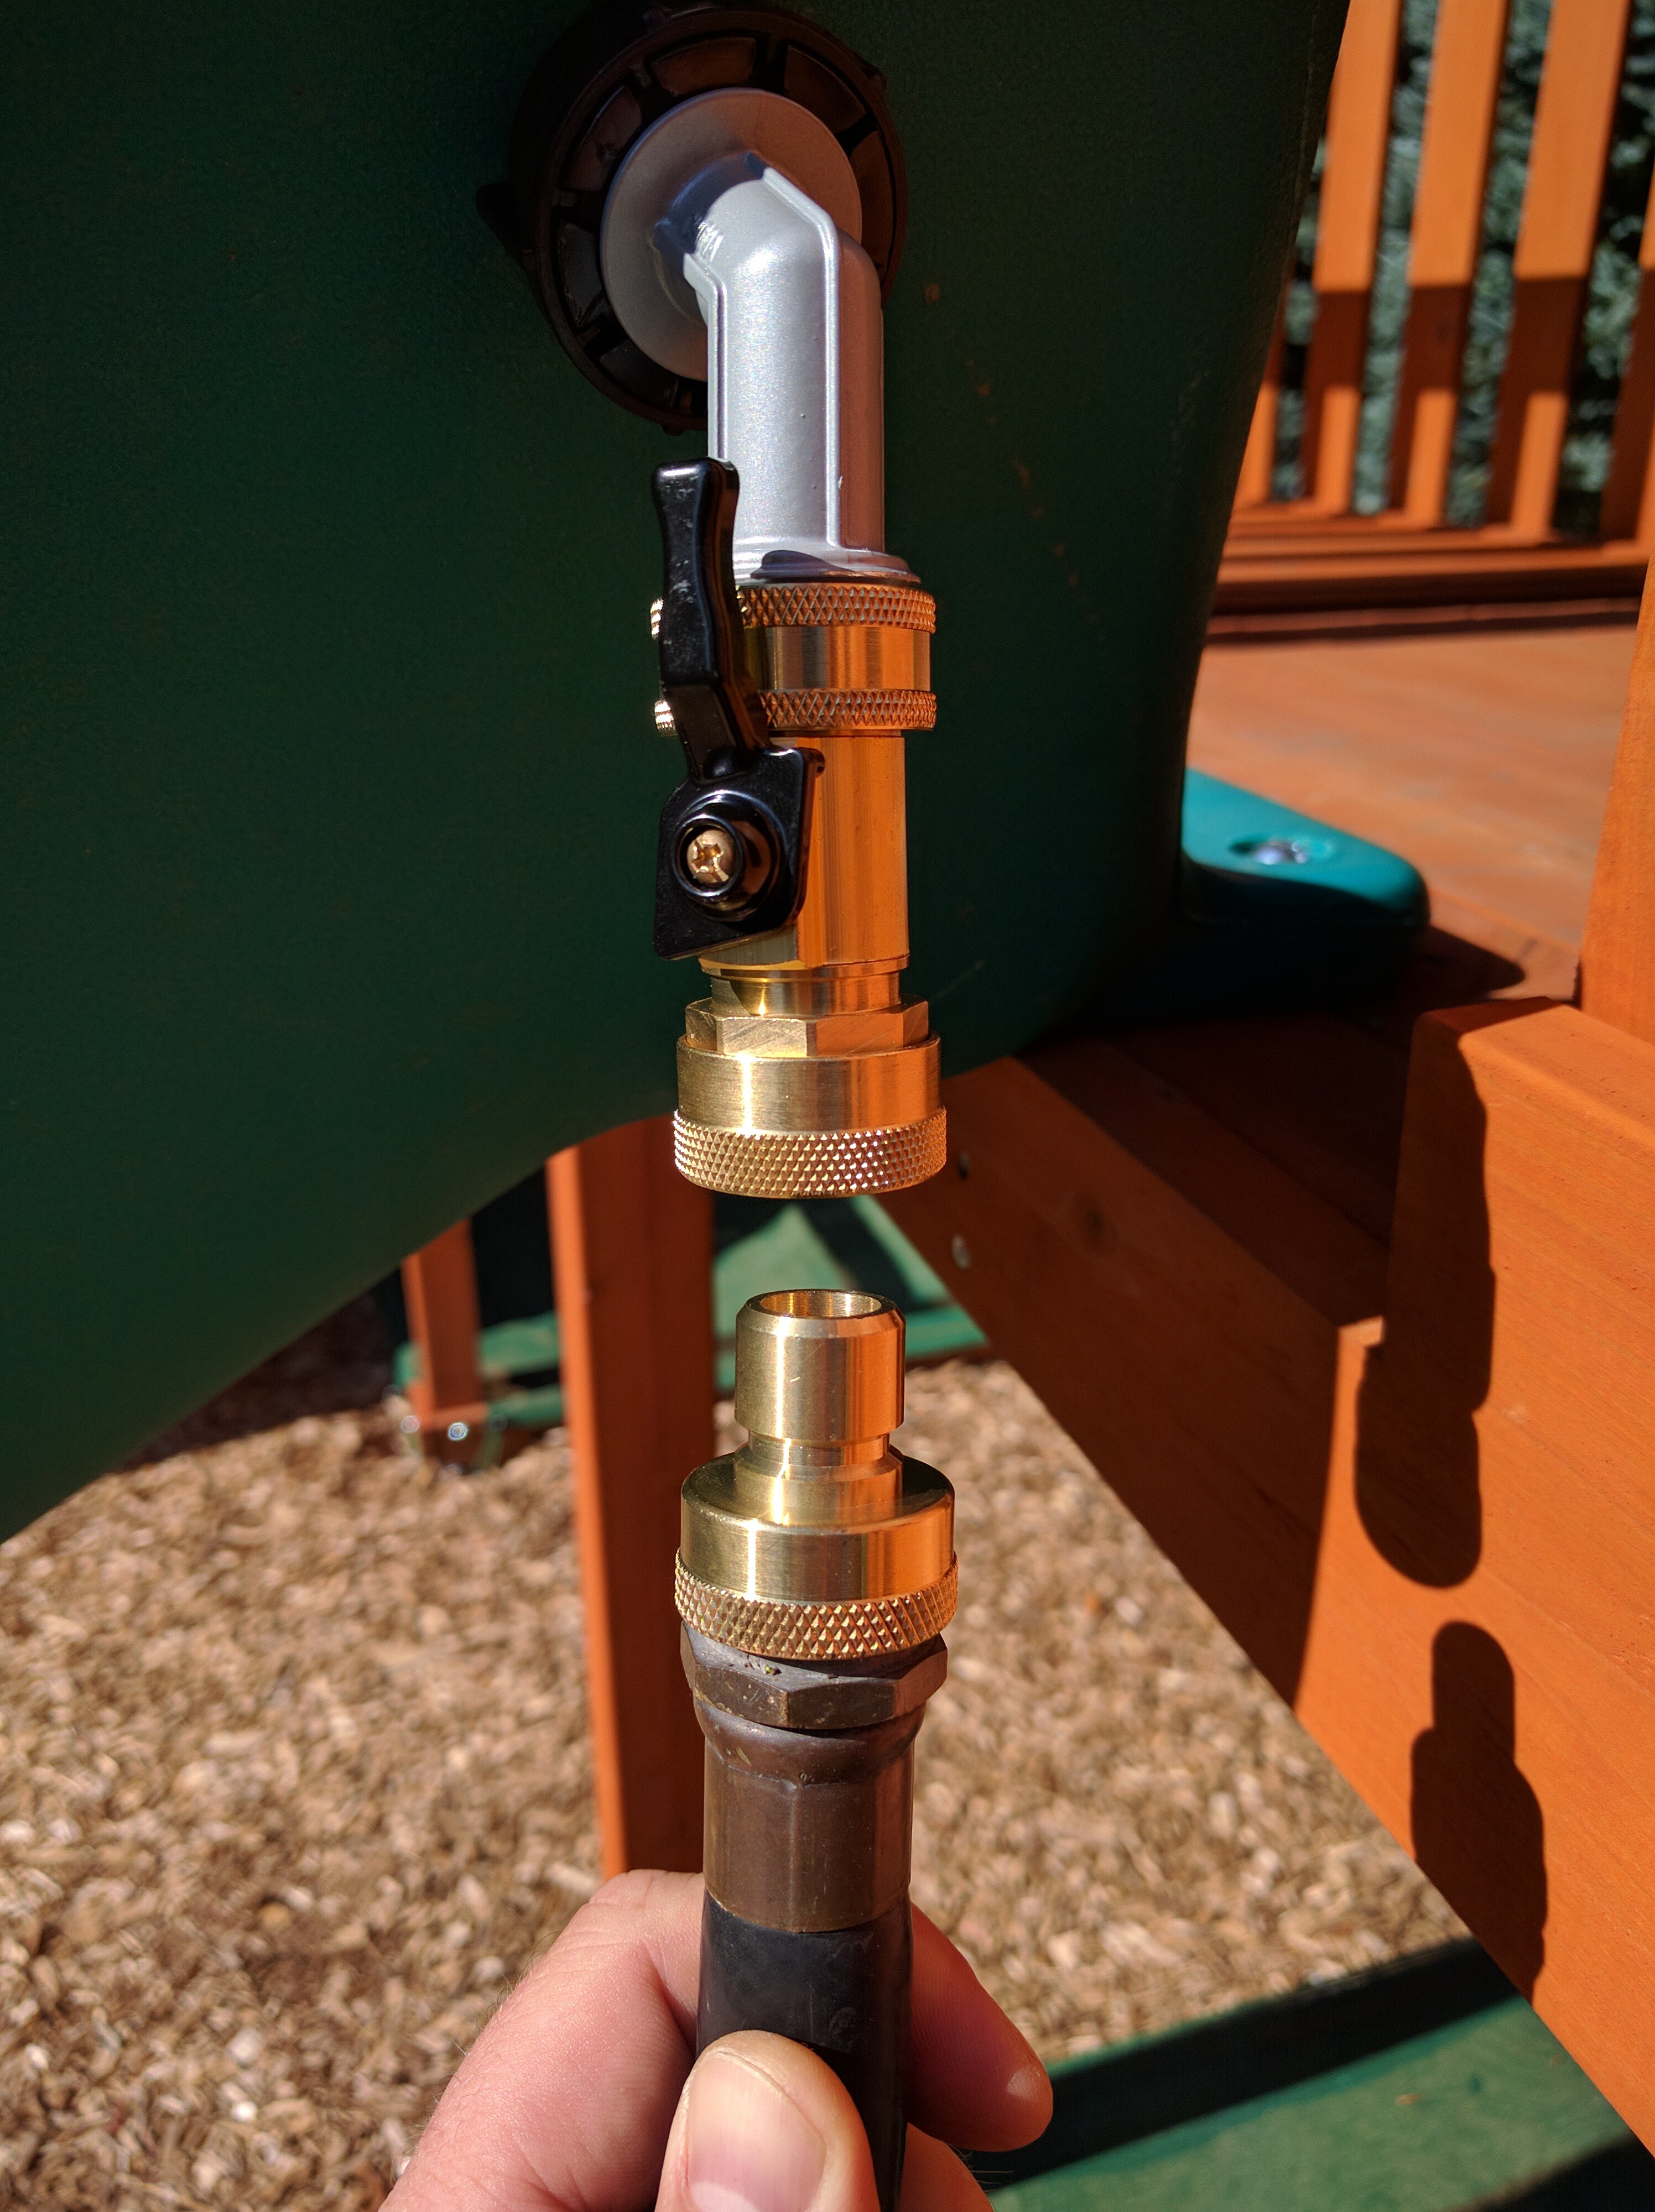
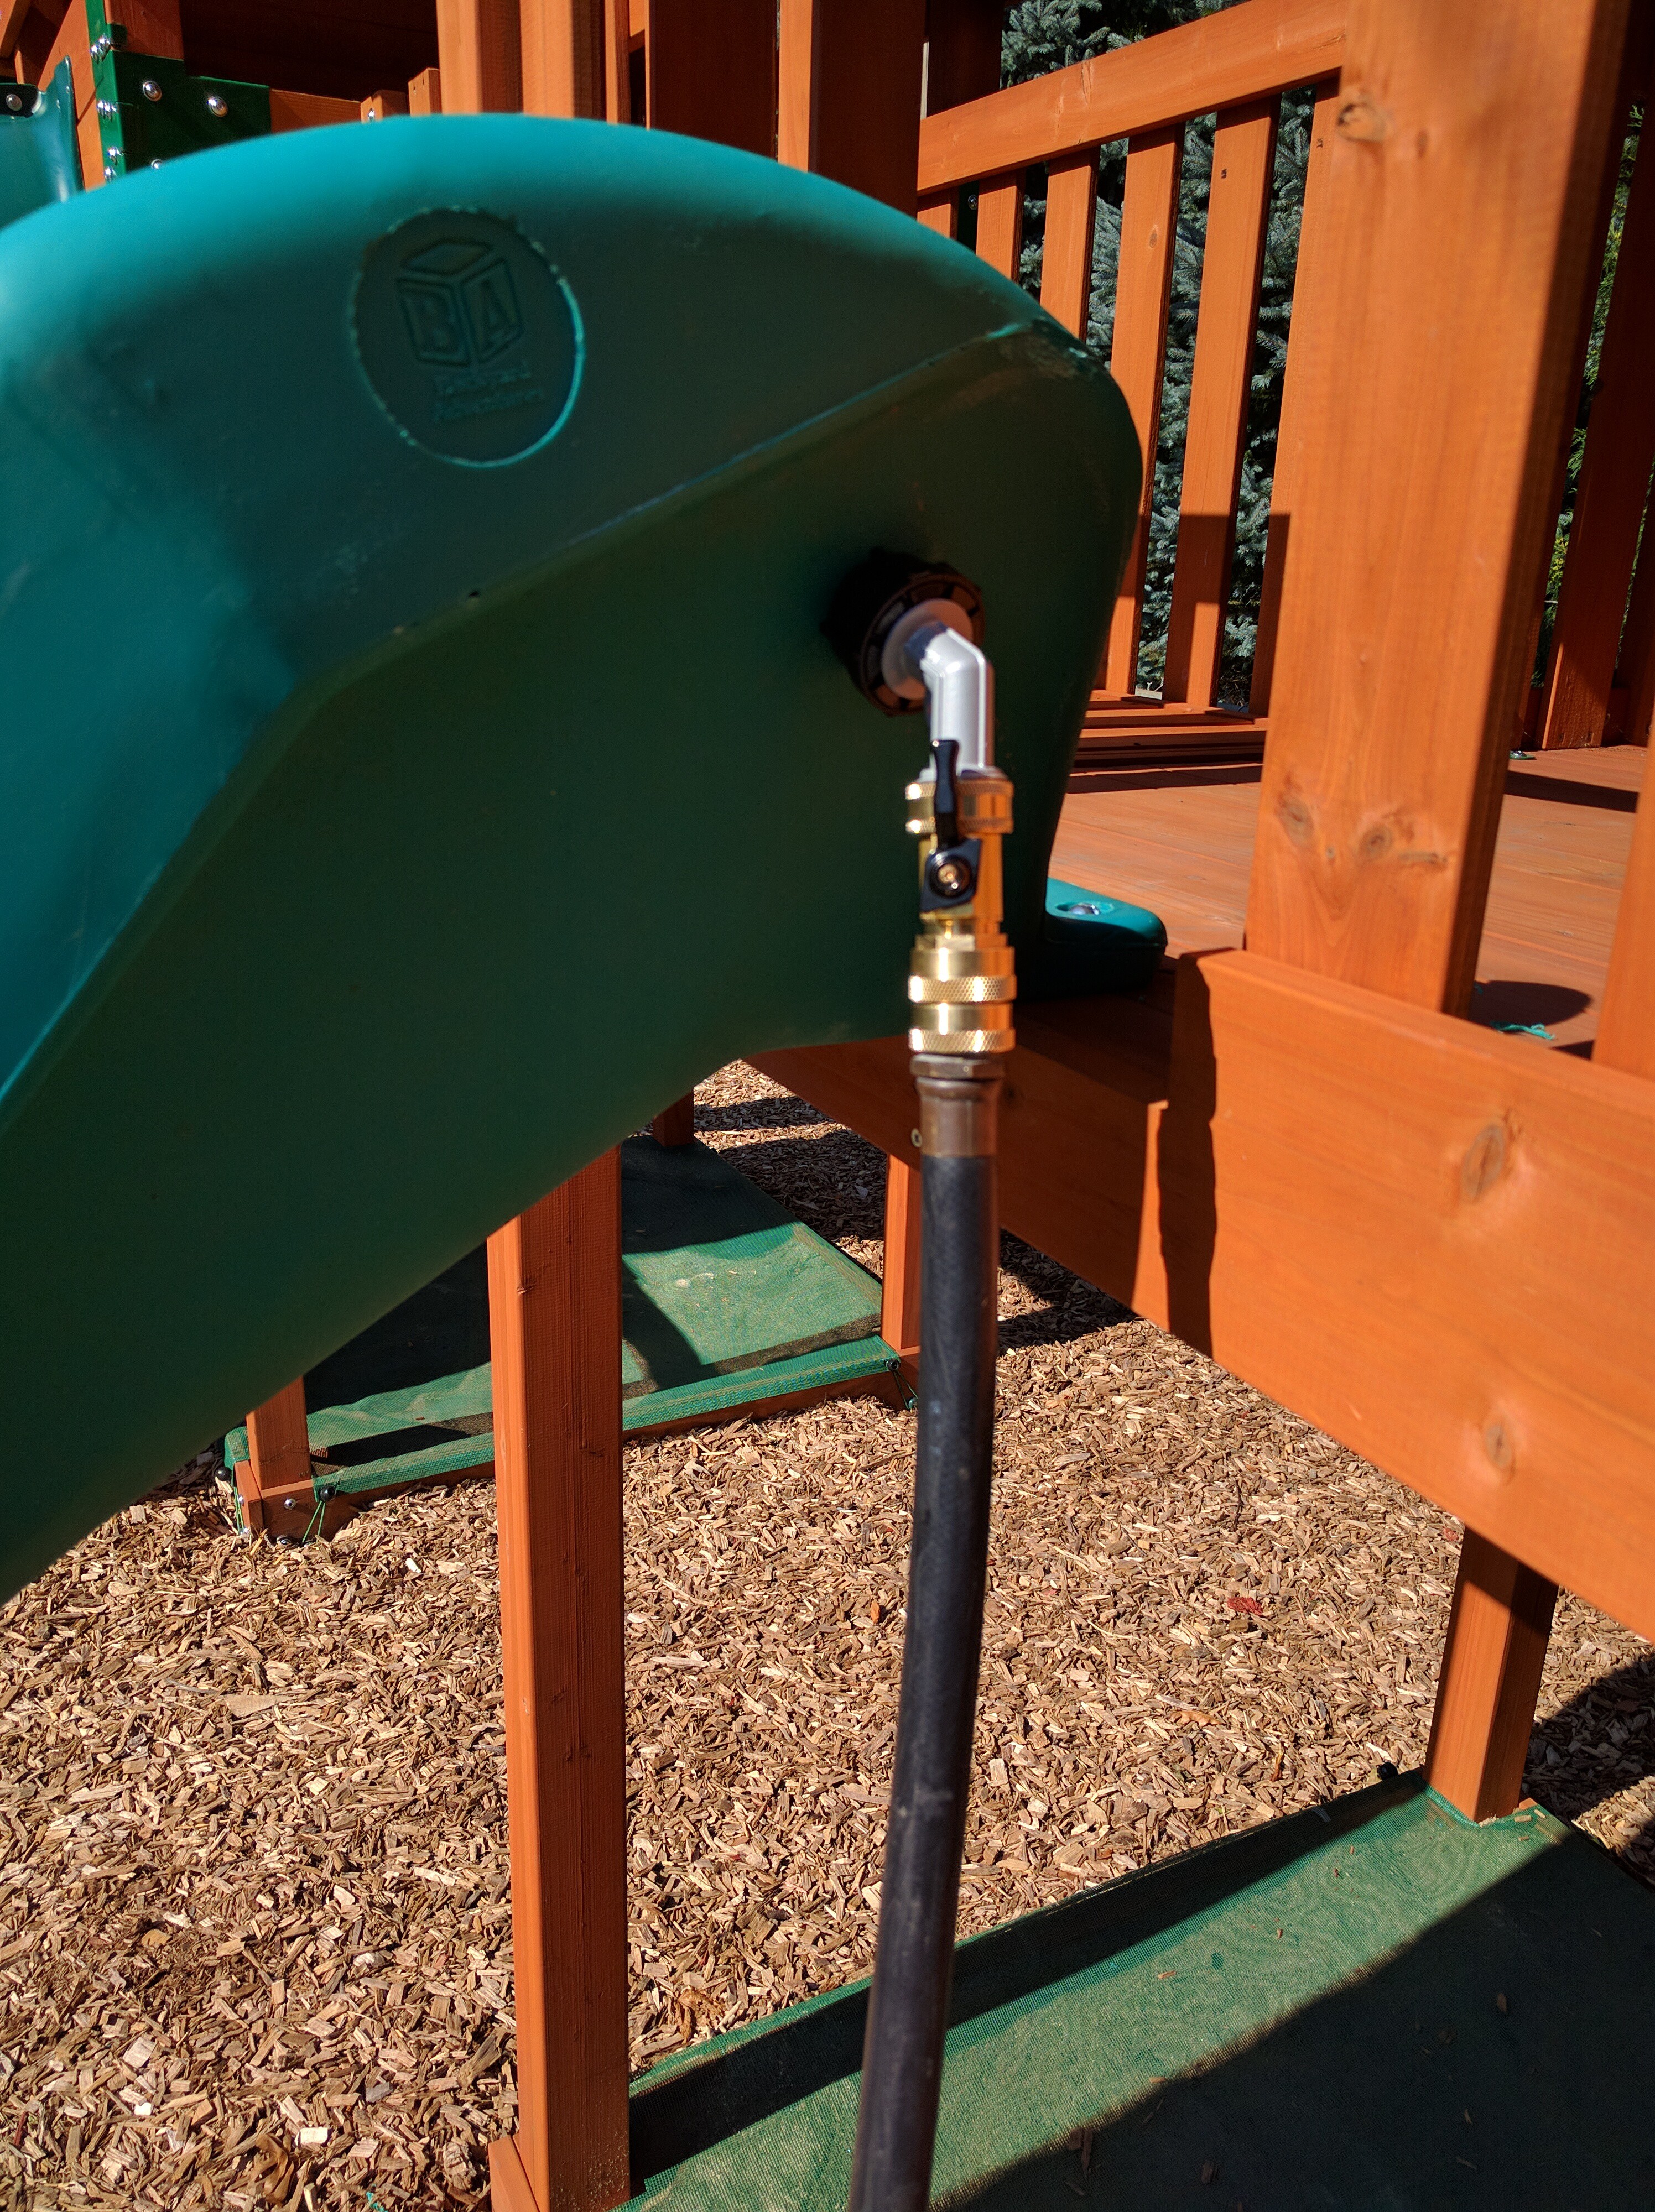
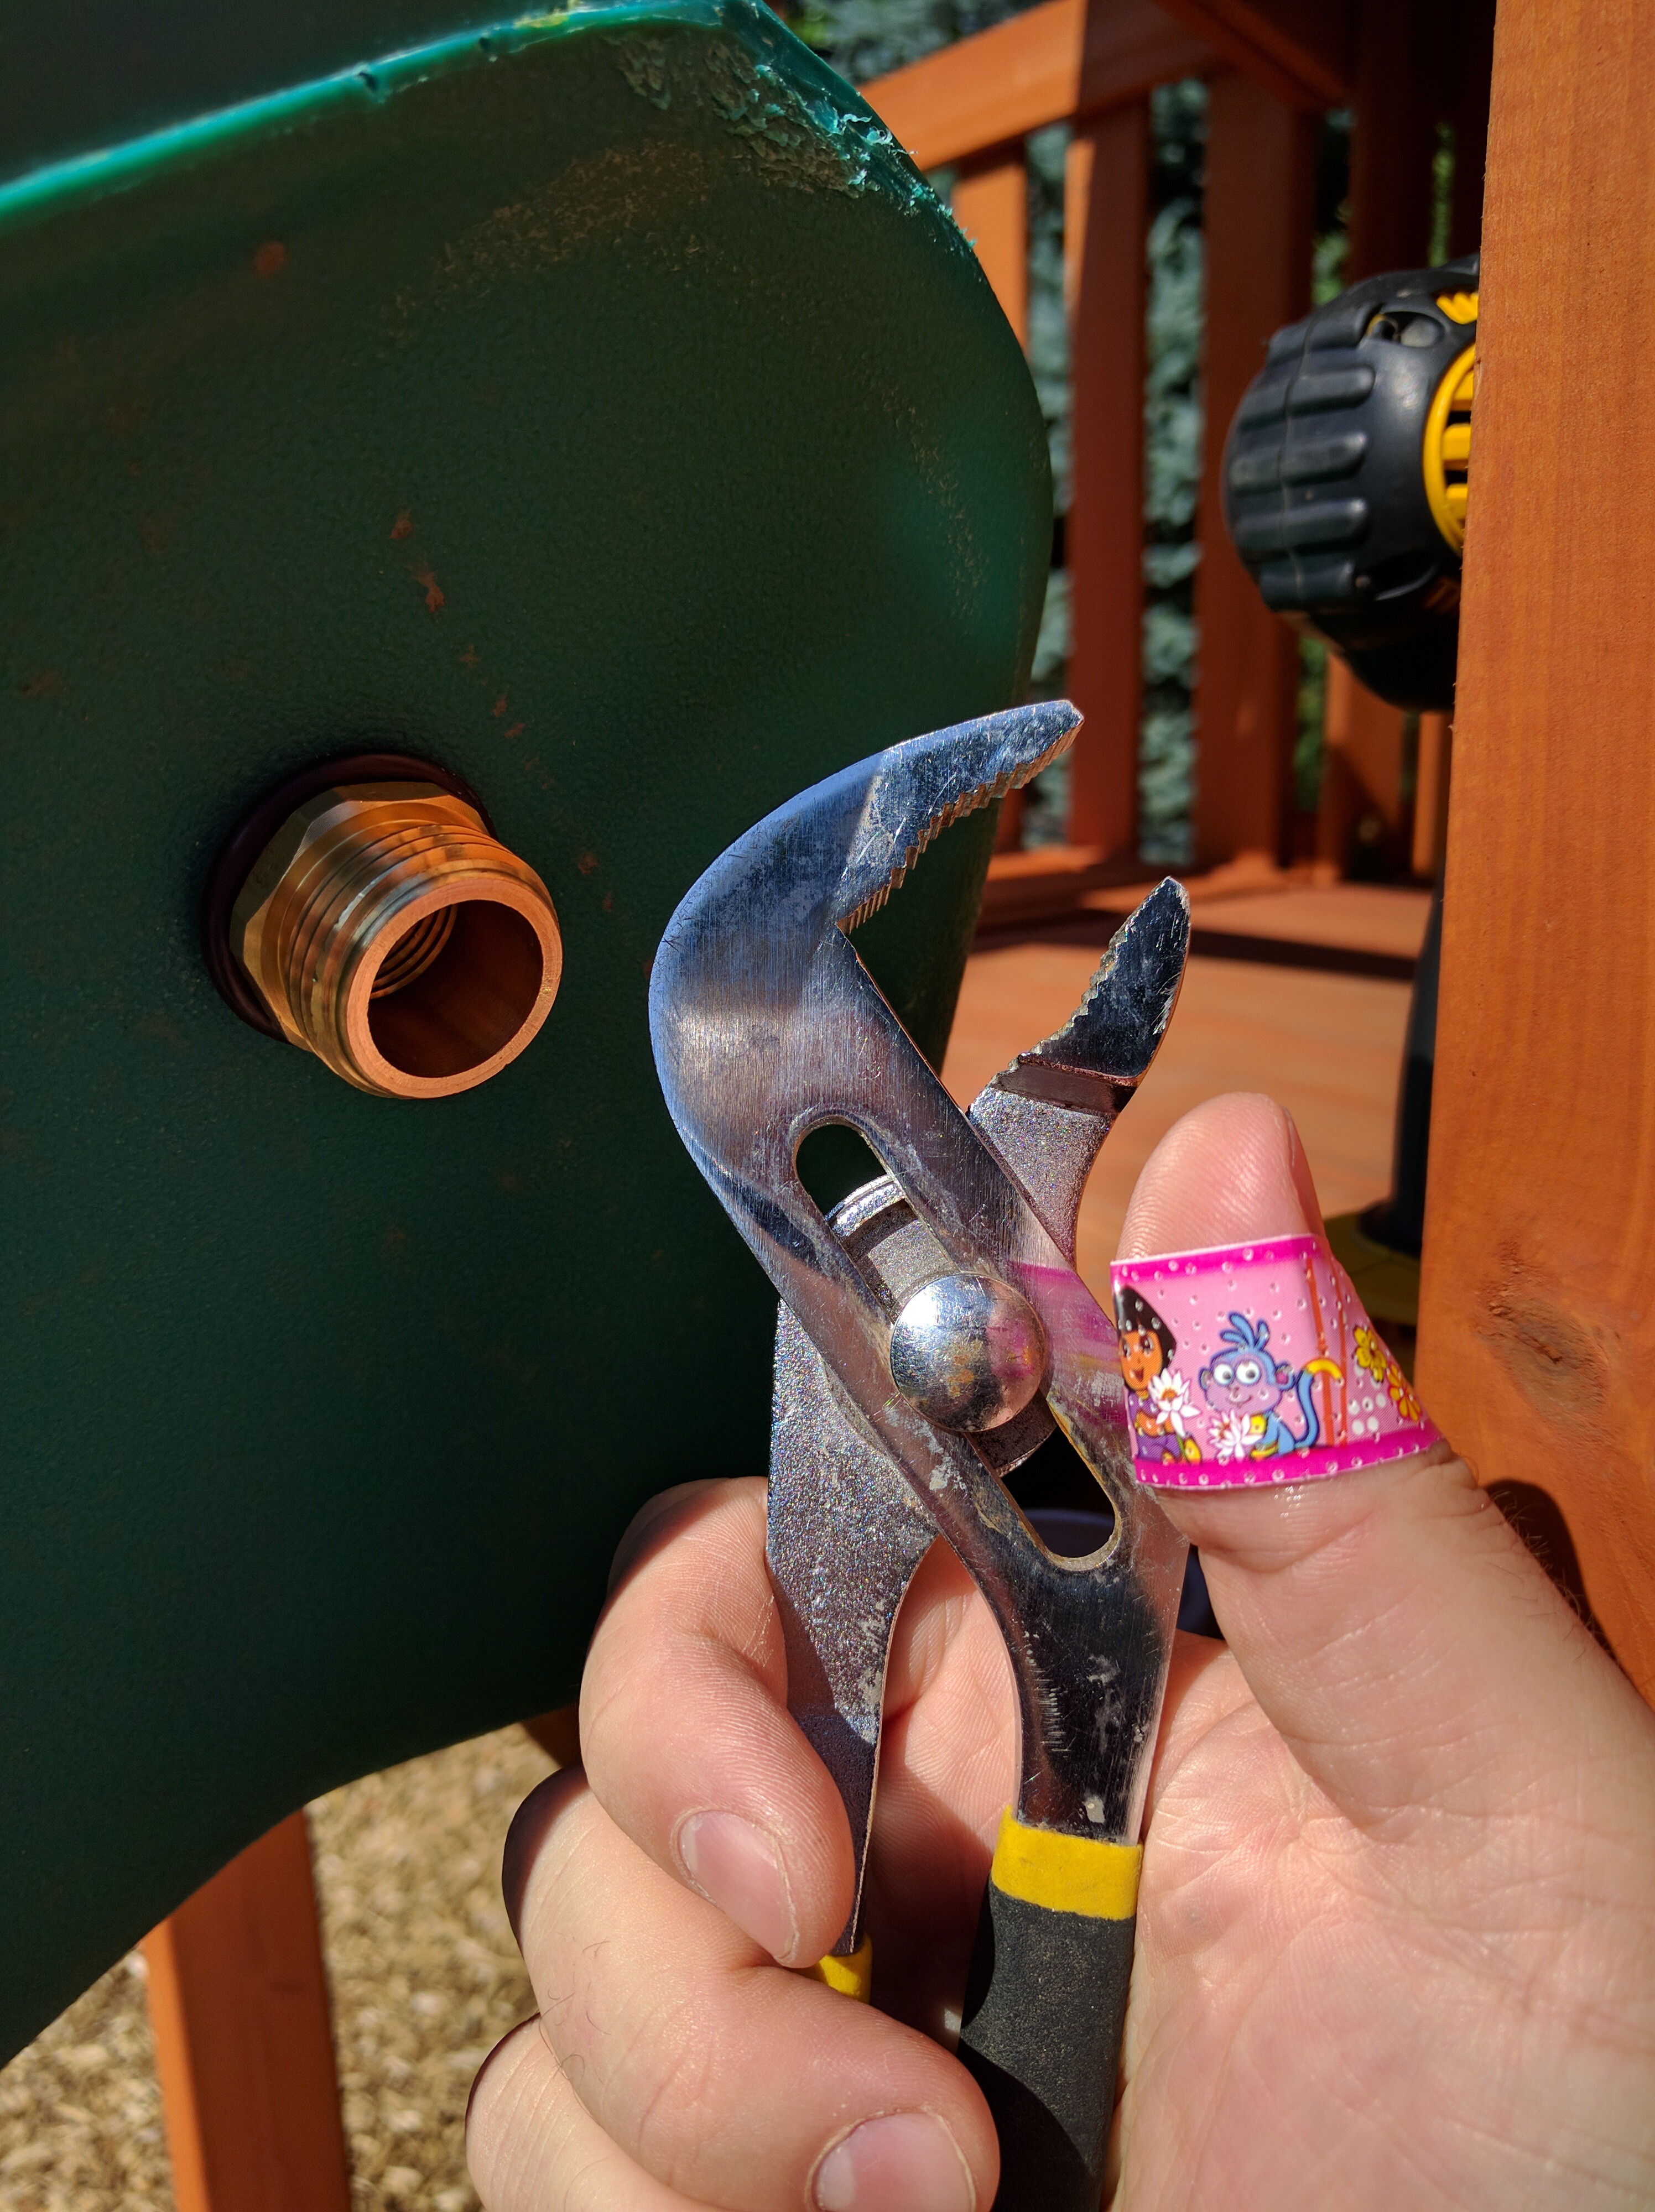 Adding a 45 degree adapter and a quick-connect with a shutoff valve makes it convenient to control the water flow from the slide instead of from the spigot!
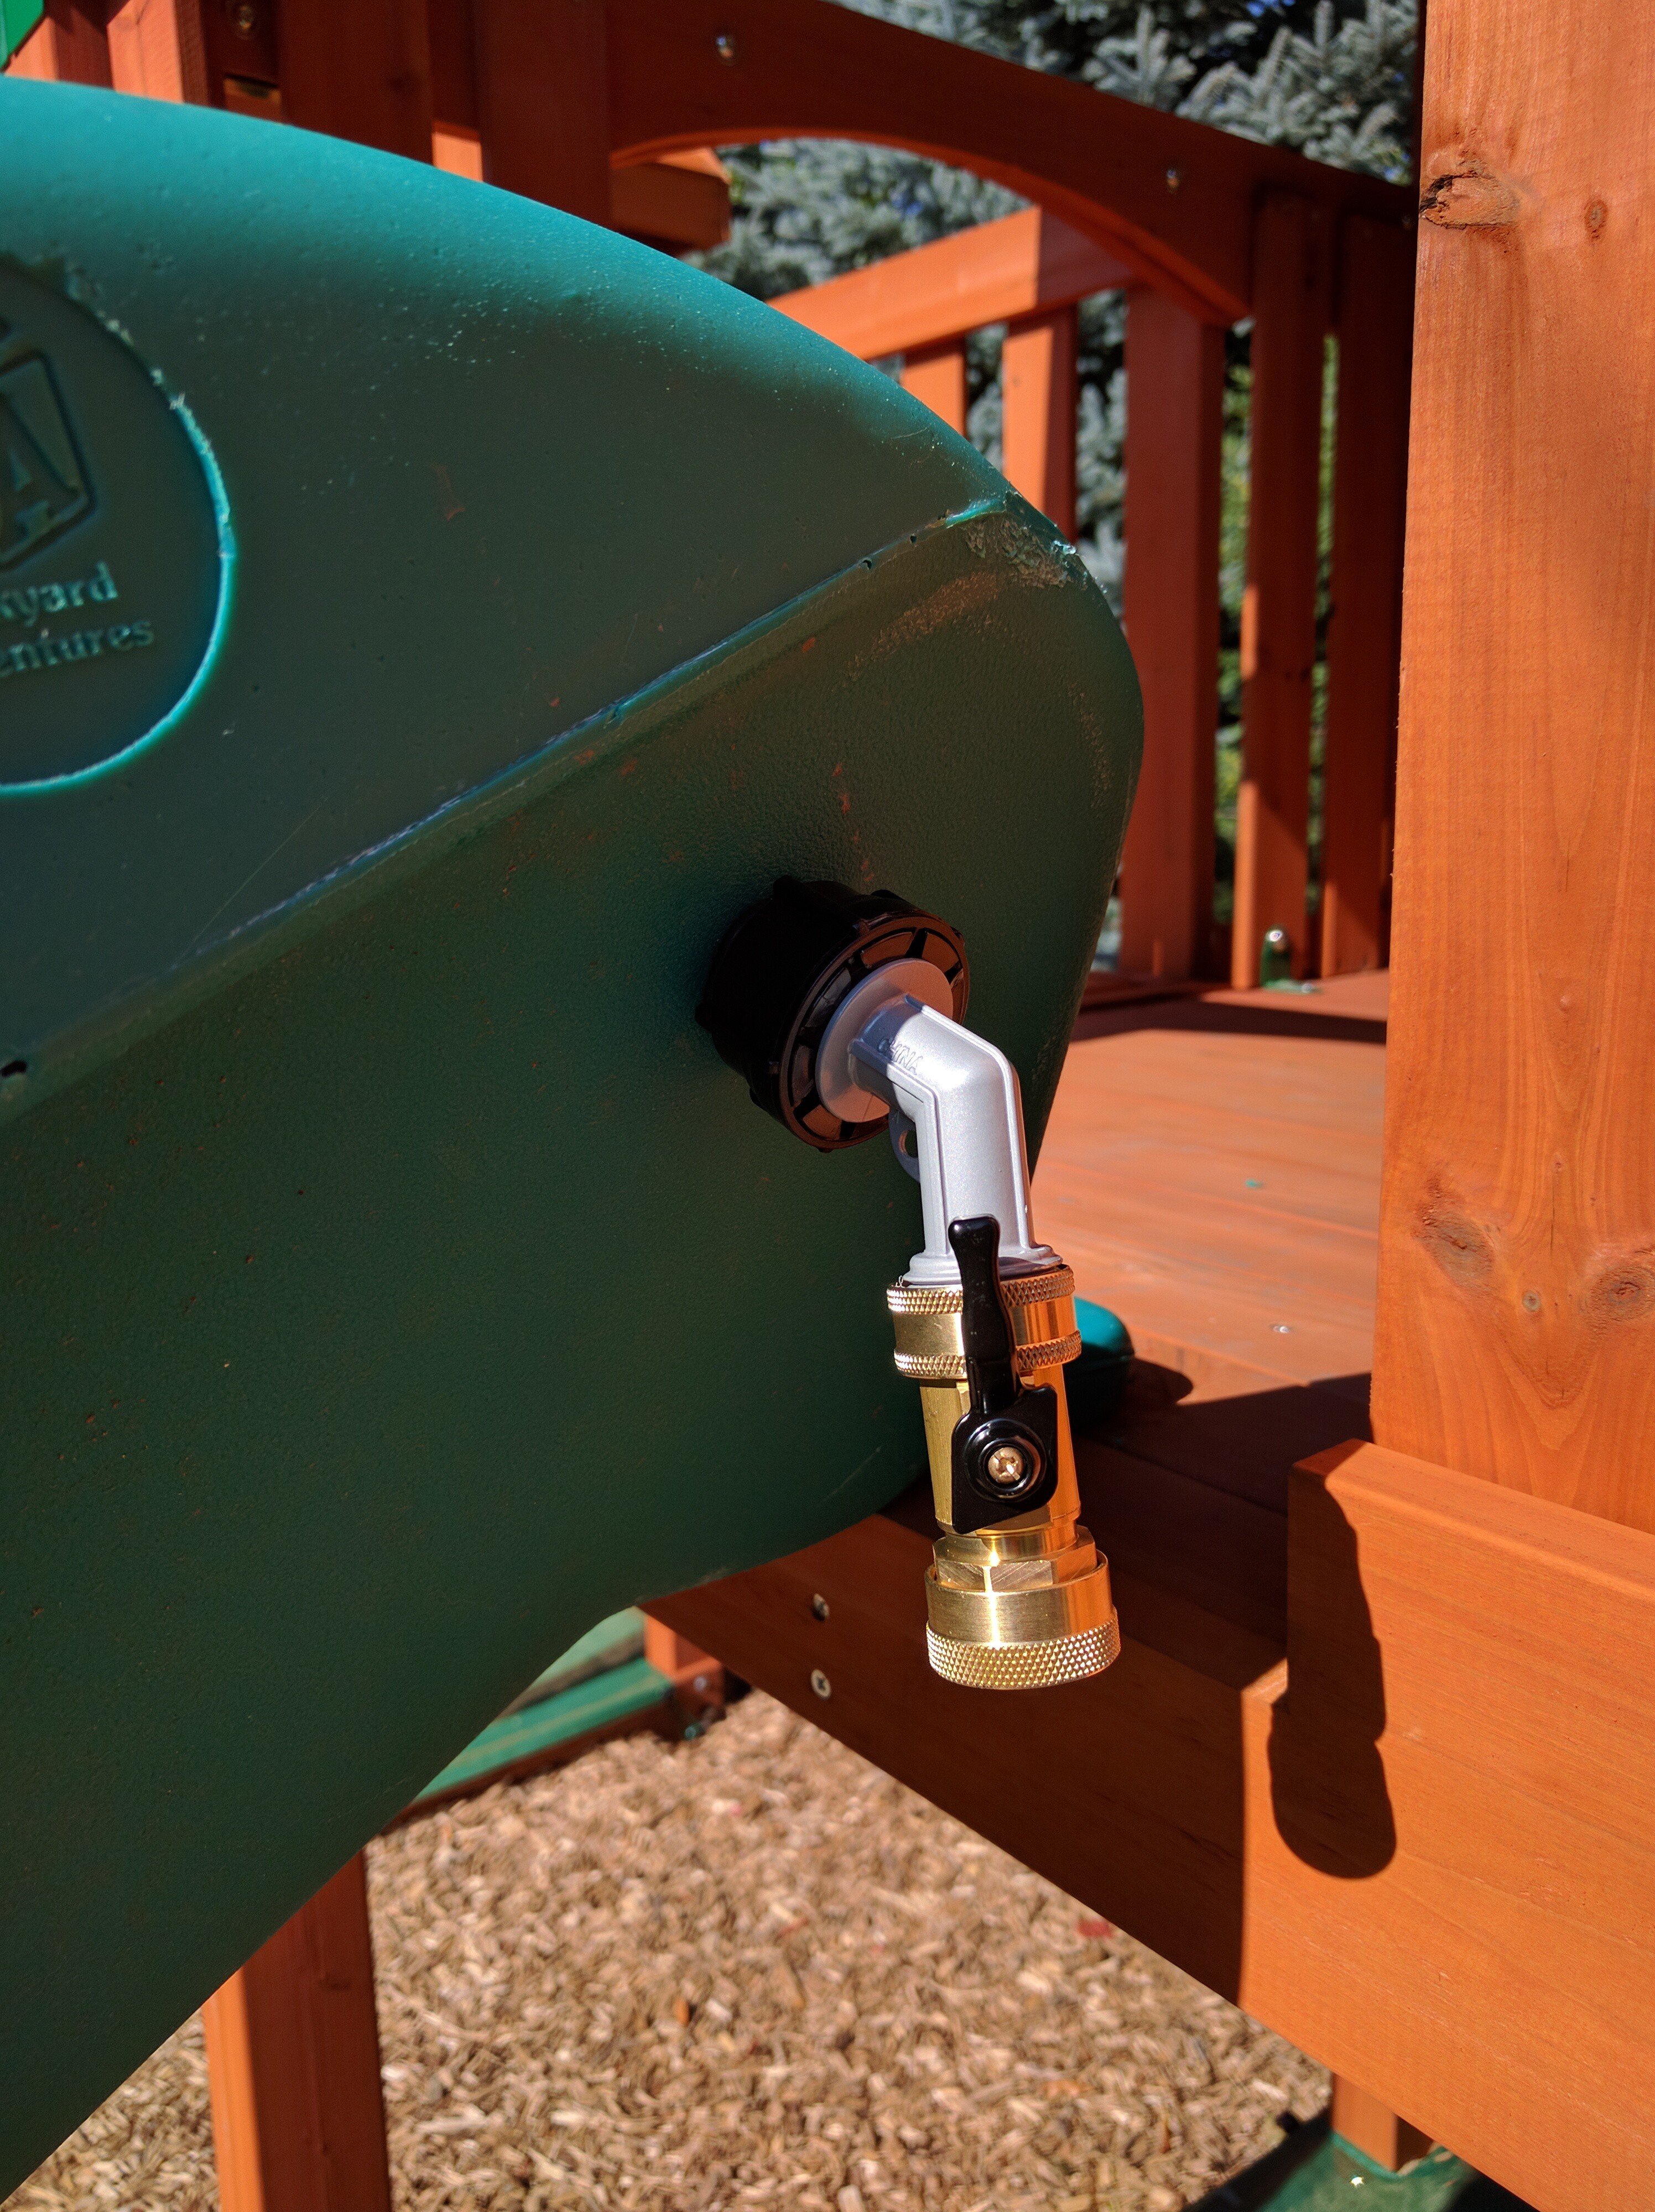


 matthewkleinmann
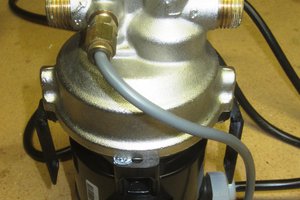
 ogdento
 Em
Em
 Julius (Mr. Seeker)
Where was this back in the 60's when I was a kid :-) Man, those metal slides were hot :-D