 Kevin Osuna
I'm trying to add this log using an stupid IPad and let me tell you what ...it really sucks!
Anyway, I was trying to explain how to duplicate the face buttons using household materials mainly, but there was an error in the page and it reloads itself without asking!!! So I will try to do my best with the little patience I still have. My laptop died two days ago during a thunderstorm while I was out, I would normally avoid using an IPad at all costs but this is all I can do for now.
So, here's a picture of the finished button next to the original one:
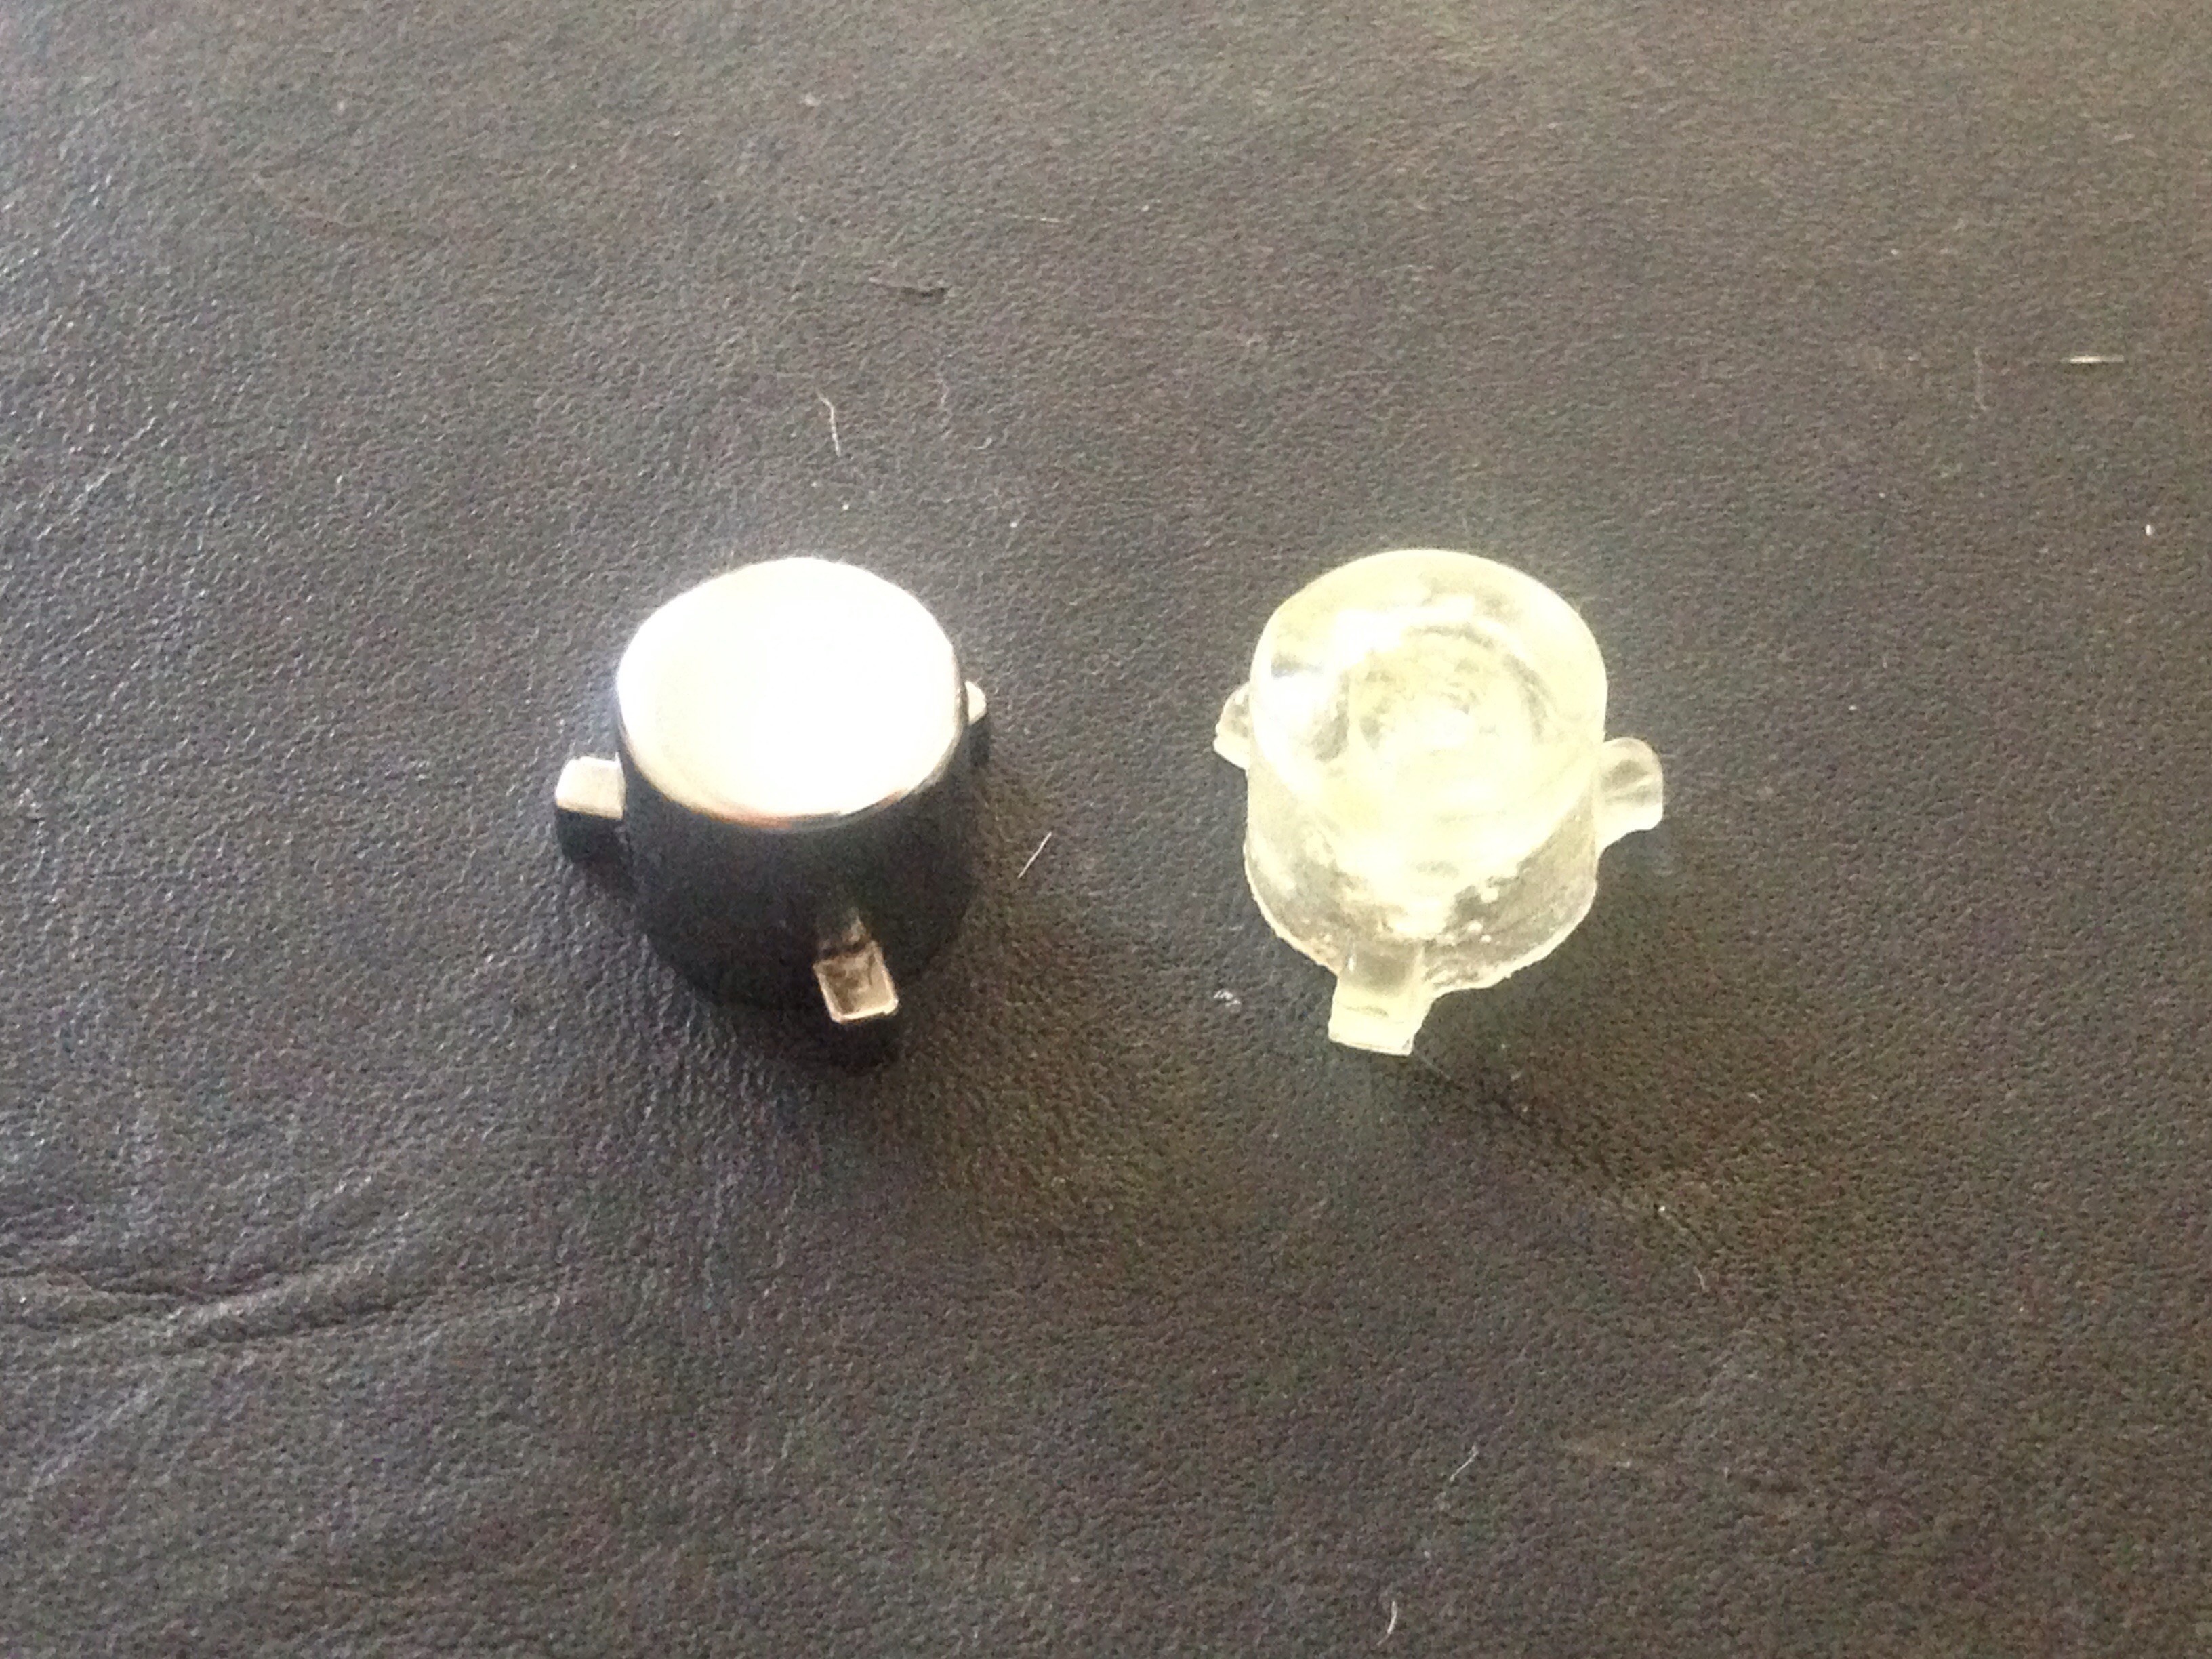
The image quality may not be the best, but in person it looks and behaves excellent. It was made with epoxy, that's why it has lots of bubbles in it, which is not a big problem since they are inside and not in the surface of the button. I plan to paint the buttons in order to make them look identical to the original ones.
These are materials you will need if you want to attempt the same:
- Hot glue gun + silicon (duh)
- A small sheet of glass
- "PAM" anti-adherent
- A lot of patience
Basically, you'll be making a two part mold just like any other. You can find hundreds of video tutorials on YouTube.
I particularly got the idea after watching a video from Tested's channel in which they try to explain how to make props for movies, like rubber hammers, knives and even a light saber, maybe that was a separate video (we'll never know).
The main difference here is the materials and the size of the project. This difference has it's pros and cons. The low price being one of the pros, while the difficulty of and short working time of the hot glue and epoxy are on the negative side.
On the next pucture you can see my molds:
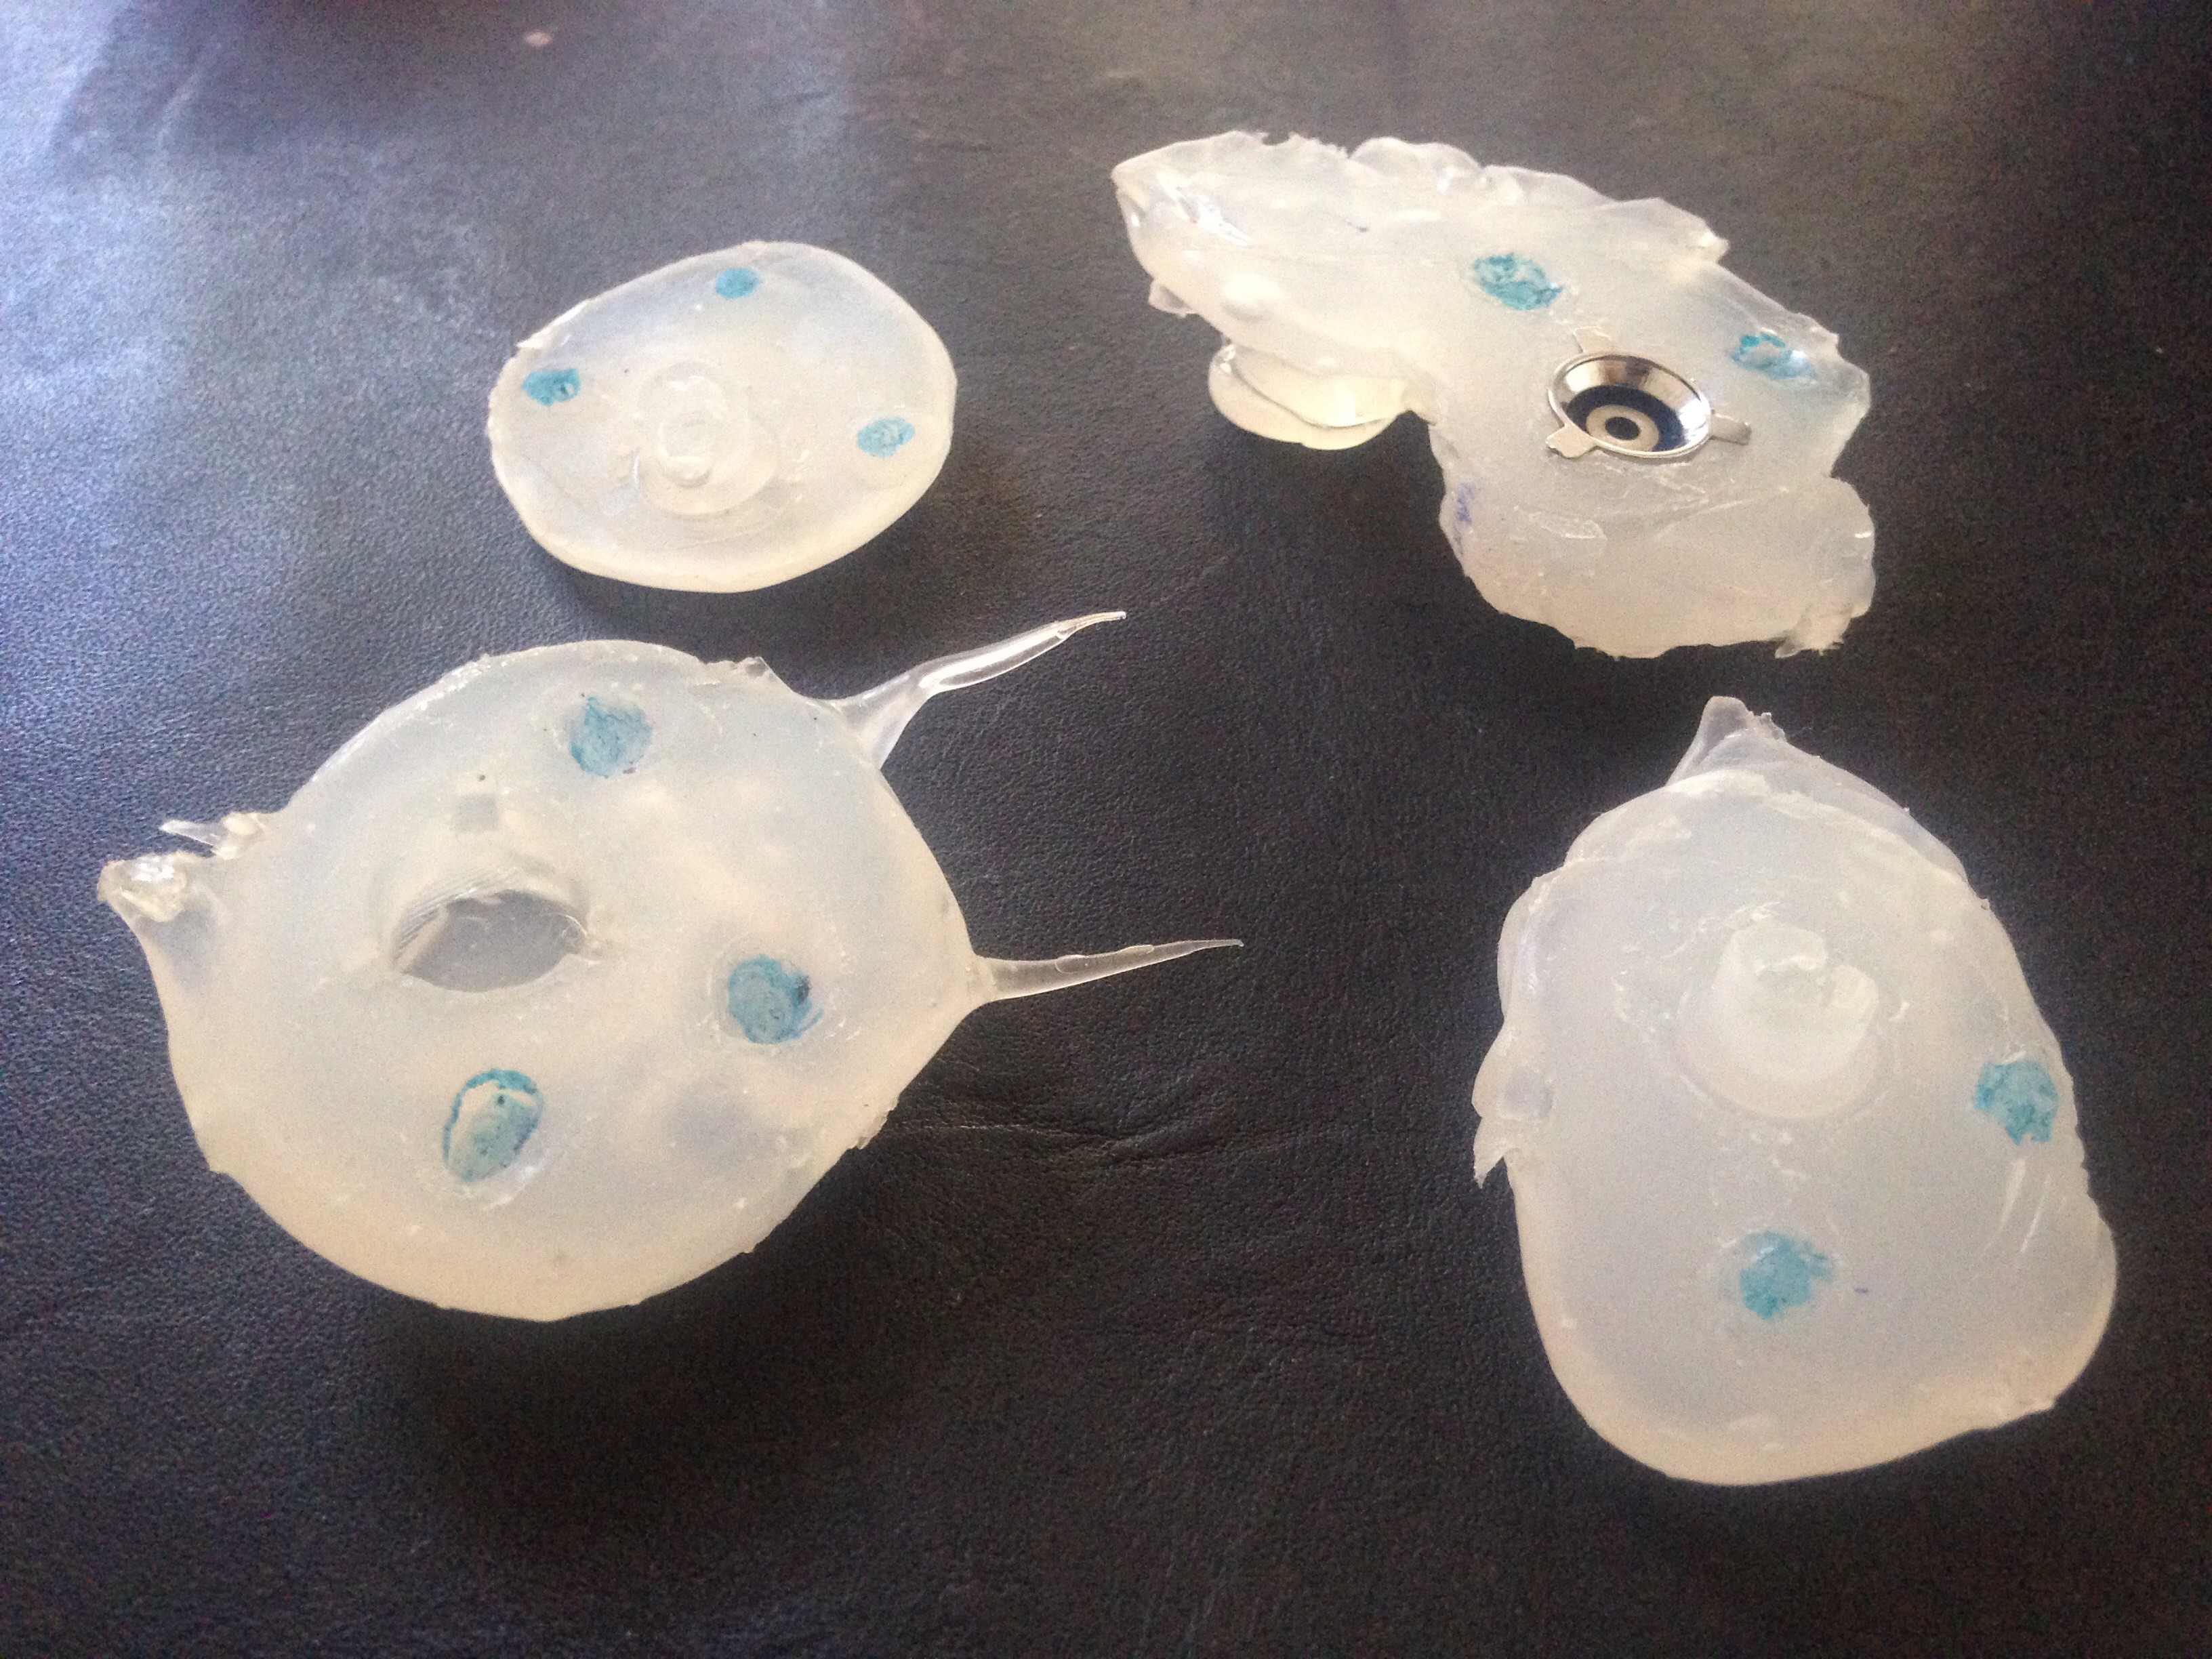
I made two sets of molds the first one didn't convince me (left one) so I tried a second time (right side) and that one came out pretty much perfect.
Basic Instructions:
- Spray the original button and the small glass sheet with "PAM" making sure you cover the button completely.
- Place the button on the center of the glass with the top of the button facing up. Keep a needle near you, you may need it to get rid of bubbles.
- Take a deep breath and start covering the button with silicone, start from the side, going around it while pressing the button against the glass sheet. It's important that you press it the whole time, otherwise, it will lift up an the silicone will get under it. The inner part of this first half of the mold needs to be completely flush with the bottom of the button.
- You can use the needle to move the bubbles away from the surface of the button while it is hot. Or you can keep "shooting" silicone at the part with the bubbles and they should move away.
- If you feel everything is right then you can let it cool down and once it is at room temperature you can carefully remove it from the glass.
- Examine everything and if it is okay m, then move on to step 7.
- Spray it once more with the anti-adherent making sure that the oil reaches even the small holes on the back of the button.
- You can remove the button from the mold to examine it but must put it back in place to make the second half of the mold.
- Put it back together and place it on top of the glass. Put everythin inside of a topper and make it spend around 5 minutes in the freezer.
- Take it out and remove it from the glass sheet. Use an xacto knife to make some holes on the bottom that will serve as registration mark so that both halves of the mold fit in place prgectly every time. Rub your finger over the bottom part to make sure it still is greasy, if not, add some more oil with your finger. The first half needs to be cold so that it doesnt deforms with the heat of the second half you will be adding.
- Add the second half, making sure that the silicone reaches the deepest part of the inside of the button and that there's no bubbles.
- Let it cool down completely and separate the two halves.
- Prepare the epoxy and put it inside a suringe without the needle.
- Carefully, inject the epoxy into the first half until it reaches the surface.
- Add the second half of the mold and press them not too hard. Stay like that for 6 minutes and then make them stay together overnight with sume rubber bands.
- The mold making fairy should do her magic while you sleep if you did everything right.
- In the morning you may enjoy the fruits of your hard work!
when I get some free time I will probably add some pictures for every step or maybe even a video
Discussions
Become a Hackaday.io Member
Create an account to leave a comment. Already have an account? Log In.