Close
0%
0%

Long zero, LiTZ wilderness protocol

Ham radio LiTZ decoder

Similar projects worth following
While not widely used in urban areas , LiTZ is used by a number of backcountry, winderness support groups. Its a formally adopted ARRL protocol as noted in the ARRL repeater handbook.
Some repeater controller support this, some ARES/SAR groups monitor for LiTZ.

Here is an overview
http://forums.qrz.com/index.php?threads/wilderness-protocol-and-litz-long-tone-zero.204743/

This project is a easy to build with off the shelf modules to build your own LiTZ decoder.
Using new parts from ebay project cost for componets is under $10.

Long_zero_litz_decoder.ino

Arudino code to support this project.

x-arduino - 3.29 kB - 07/24/2016 at 21:28

Download

  • 1 × Arduino Any 5v arduino with 6 digital ports
  • 1 × MT8870 DTMF (about $2 on ebay) You can also use a DTMF chip to make the package smaller
  • 1 × Relay module Optional depending on what you want to trigger. Relay can be used to open up a seaker
  • 1 × Momentary push button Anything will work.
  • 1 × misc wire, enclosure to meet your need.

  • SMS alerting of litz

    Gary08/29/2016 at 14:29 0 comments

    Since the code is portable to several platforms under the arduino IDE, you should be able to use an esp8266-12 and add wifi capabilities to this. Either show a log of when the litz was trigger or using an outbound wifi connetion SMS page/email when a litz signal is recevied. I dont have time to explore this option as this time but may do so in the near future.. If you give it a try let me know.

  • Software

    Gary08/28/2016 at 20:14 0 comments

    In the files section is the arduino software needed for this project. It has a number of optional features that I didnt implement. It has the ability to support a secondary speaker for alerting only with an alarm or you can use as I have chosen to just turn the speaker on. About the only change I might make to the software would be a timeout on how long the speaker is open. If this is used at a monitoring station then triggering and leaving trigged would be fine. For home operations you might not want to come home and fout that sometime during the day the alarm kicked off.

    While attended for LITZ wilderness protocol use, it could be modifed to support DTMF paging for an ARES group. Change the code to use whatever tones you want. Single or mutli tone could be supported with minimal code changes.

    Let me know how you end up using this project.

    Gary N8EMR.

  • Final assembly

    Gary08/28/2016 at 20:05 0 comments

    Once all the glue dries re-assemble the speaker and give it a test.

  • All parts ready to go in the case

    Gary08/28/2016 at 17:53 0 comments

    After I had the sub-assemblies built and tested I started the assembly.

    I use a glue gun to hold all the parts in place. You dont need to drowned the parts in glue for your going to need more than a couple of dots..

  • Arduino layout.

    Gary08/28/2016 at 17:50 0 comments

    I put the arduino on a small perf board more as way to mount the unit into the speaker. A little glue from the glue gun on the perf board would allow me to savlage the parts at a later time if I wanted to. I use wirewrap for most of the computer,module connections.

  • Fitting the electronics

    Gary08/28/2016 at 17:43 0 comments

    I found that if I used the are around the speaker frame the electroncis would fit and not interfere with the speaker frame. I started with how to get power into the unit. Since this was a ham radio application 12v would be availalbe. Using a 12v to 5v converter and using ham radio standard power poles my power needs were covered. I added a toggle switch from my junk drawer to allow me to turn off and reset the LITZ as needed.

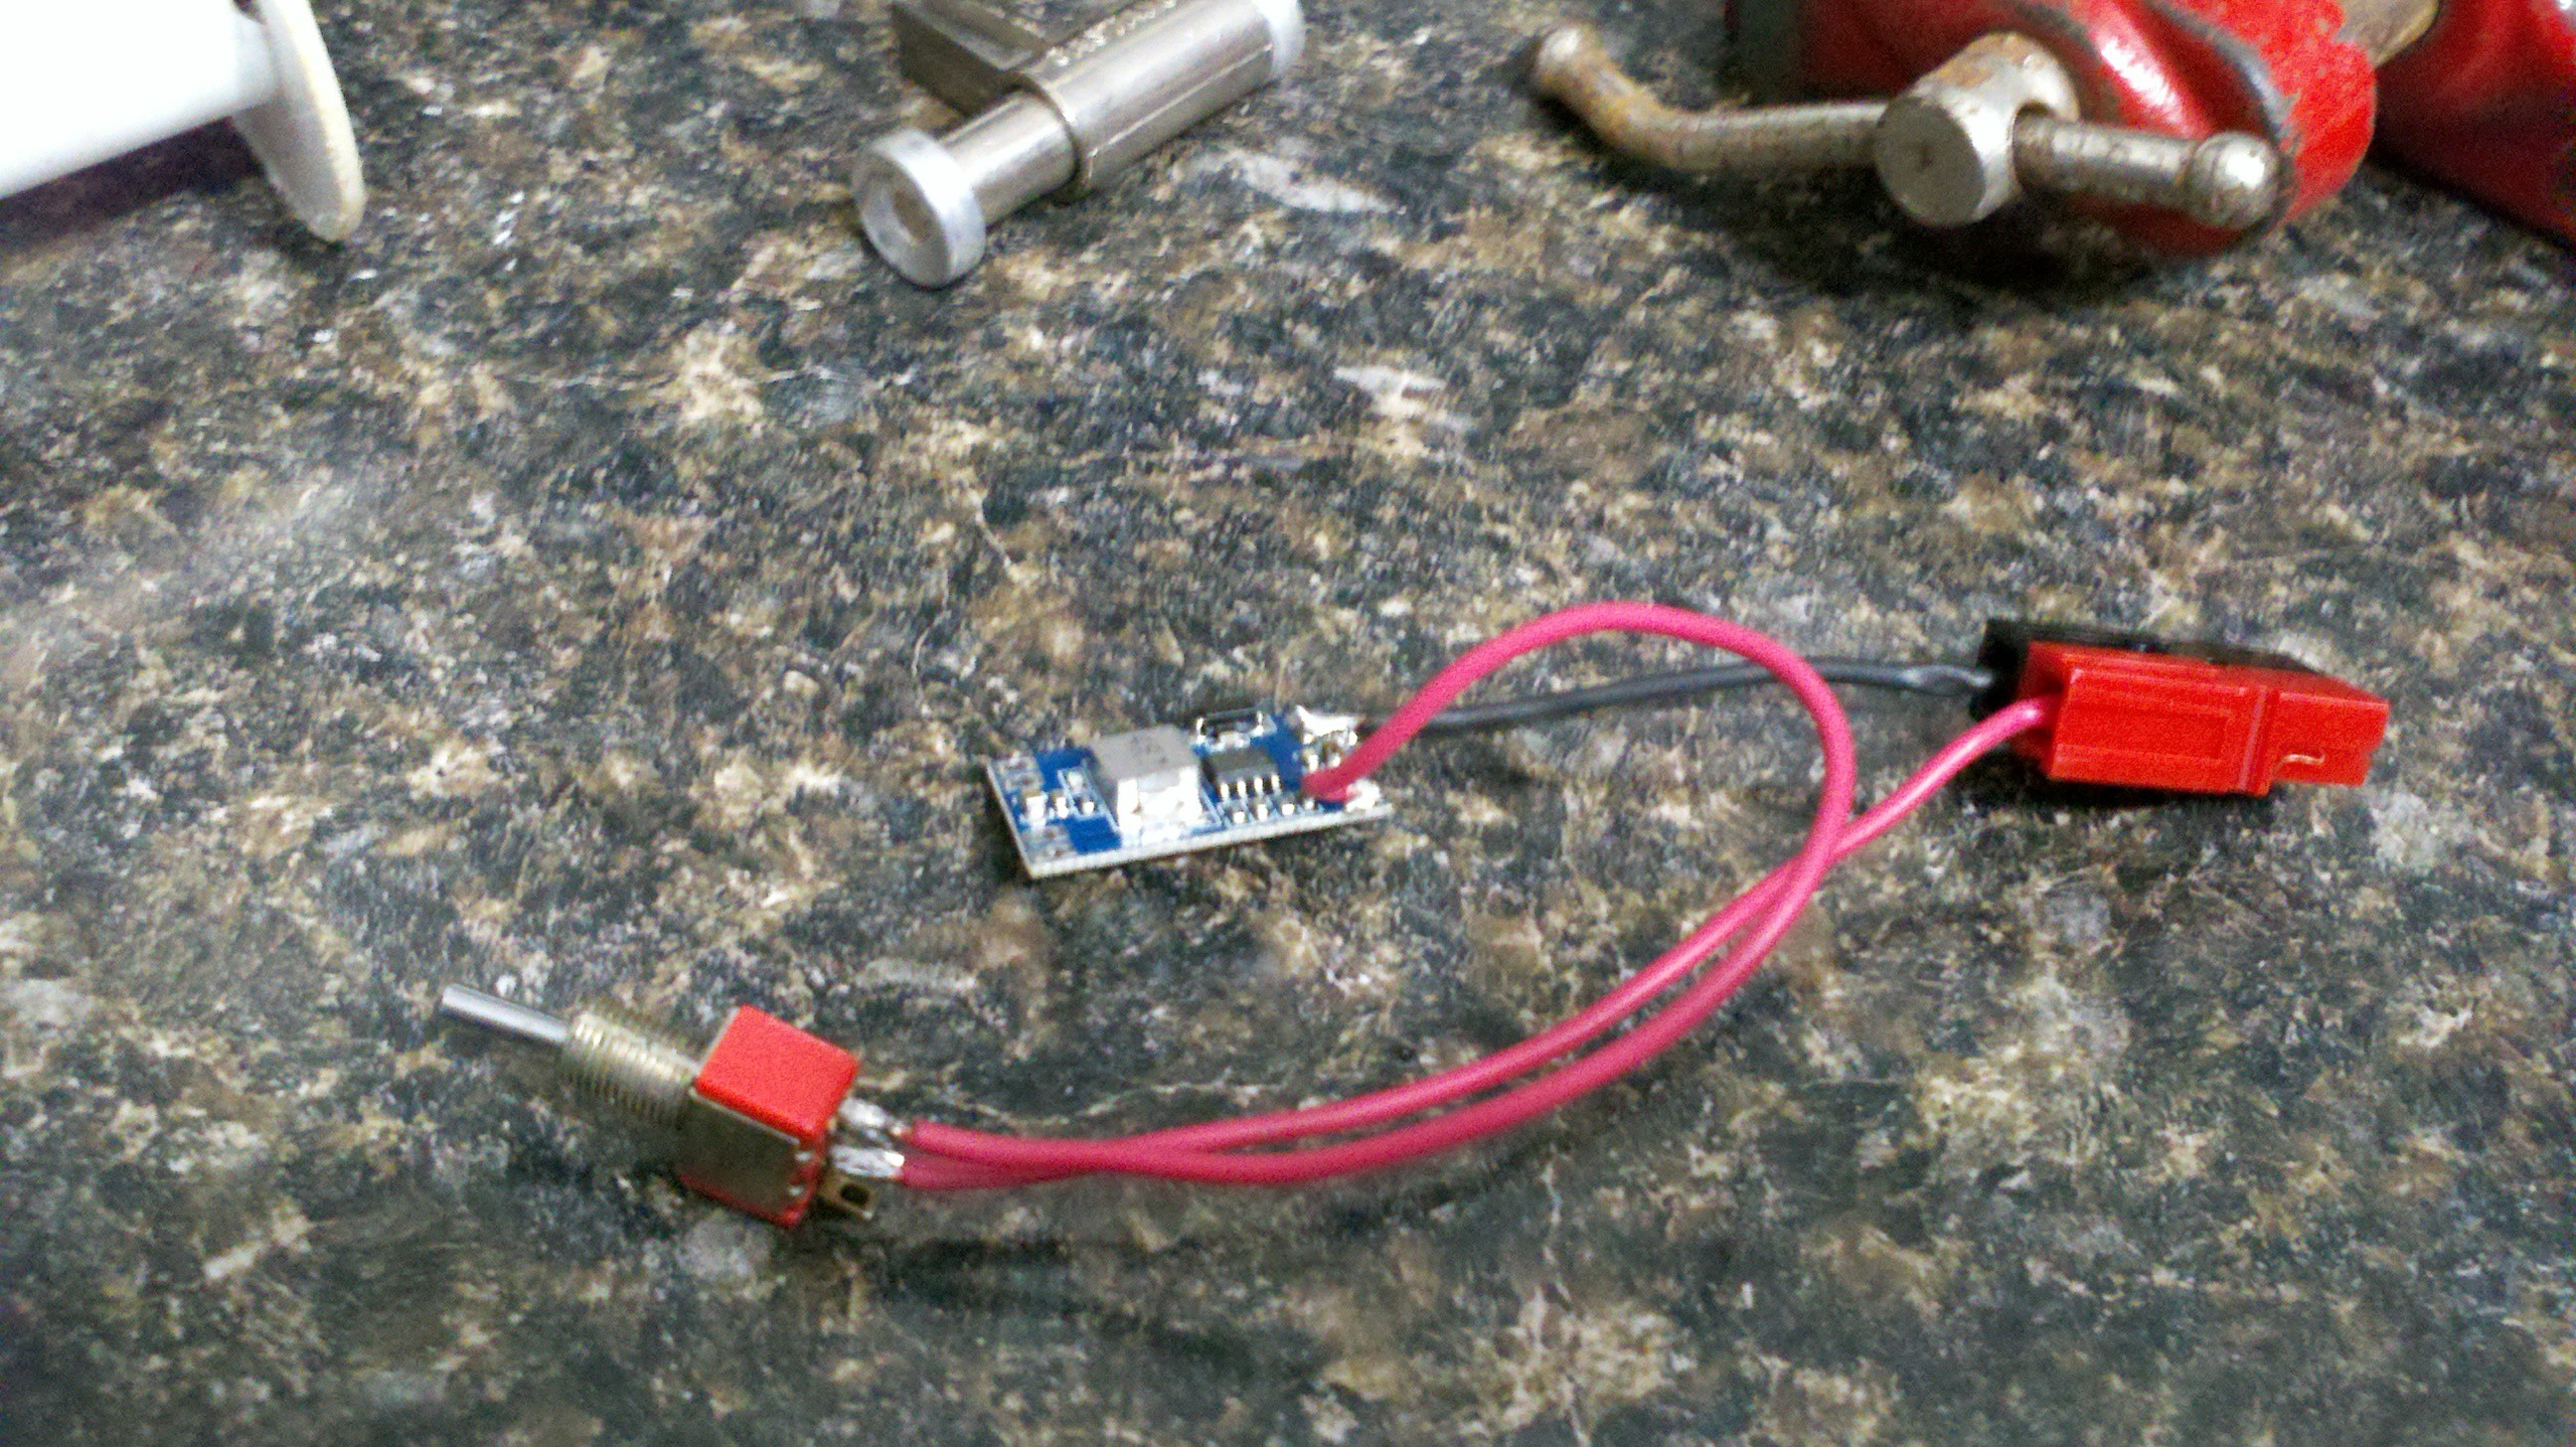
    I drilled a hole and mounted the switch and drilled several small holes and with a file fitted the power poles into a hole. Hole ended up a little larger than I would have liked but some super glue and liberal amount of glue from the glue gun it will hold fine.
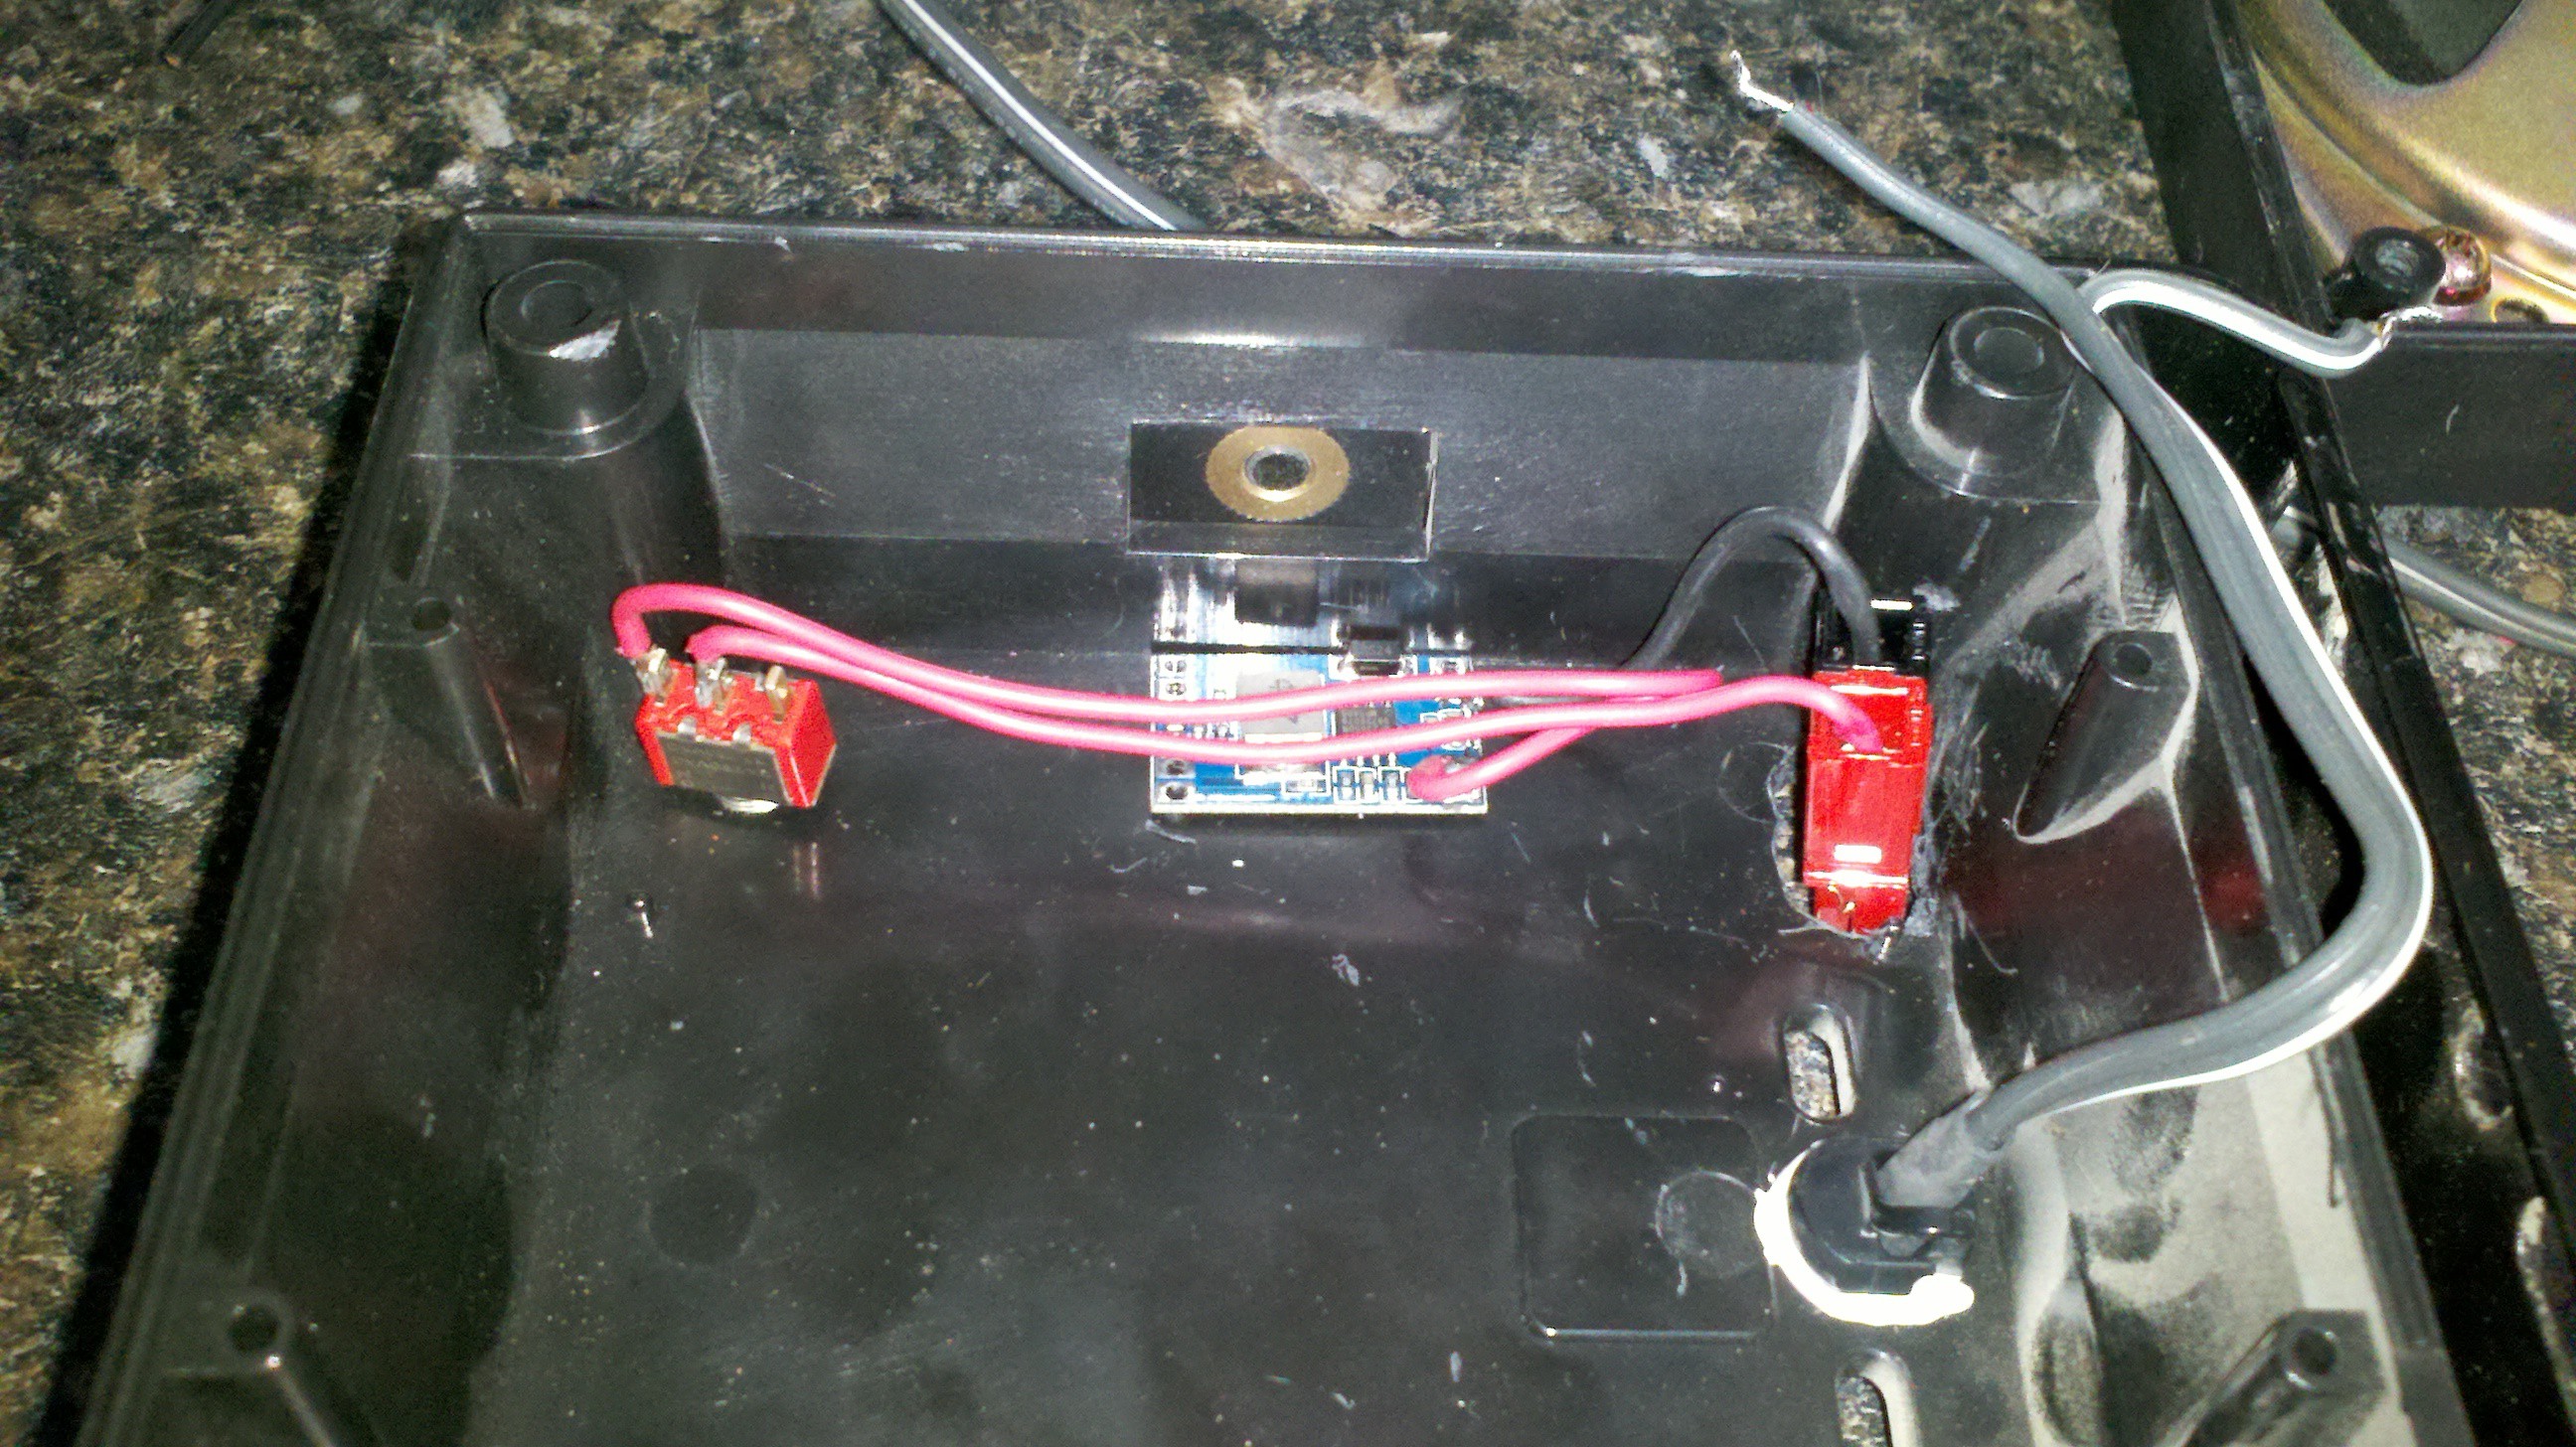
  • Putting the prototype in a case.

    Gary08/28/2016 at 17:37 0 comments

    I was finally able to get this into a non protoype form. I change the code a little to make it more usable. Contruction techniques for the final version was a mix of wire wrapping and some small guage wire soldering. I replaced the relay module I use in my proto type with a much smaller unit to fit in the speaker enclosure.

    I found a Kenwood speaker in stock pile and it was large enough to house all the electonics..

    When the case is open there is a lot of room around the outside edge. I tried several other speakers but just couldnt find the room and didnt want to use an external box for the electronics.

View all 7 project logs

  • 1
    Step 1

    Wire the 3 modules per the schematic. Wireing is not critial. The relay is optional depending on what you want to do when a LiTz signal has been recevied.

    You might want to use the relay to trigger an external alert or just pass the audio from the radio to a speaker.

    Not very well documented in the schematic, the switch between d6 and vcc is a reset. Once the Litz triggers the relay, the pressing the button will reset the Litz/relay state

  • 2
    Step 2

    Load arduio code from the files section to your arduino and test.

View all instructions

Enjoy this project?

Share

Discussions

Similar Projects

Does this project spark your interest?

Become a member to follow this project and never miss any updates