 Squonk42
3D printing is a great technology, allowing people to prototype 3D parts at a minimum cost.
But like all technologies, 3D printing with a Fused deposition modeling (FDM) has its own limitations, different from other techniques to produce 3D parts, like plastic injection using a mold.
One major drawback is that all parts must have a flat surface lying on the 3D printer bed, and overhangs cannot be too steep or bridges too long. This seriously limits what shapes you can obtain. Also support material is not always ideal, or easy to remove especially in such small and detailed prints.
In particular, it is not easy to get fancy enclosures for electronic devices like we need for the FunKey Zero project: as you can see, the casing has no flat surface, it has many fillets and holes outside, and ribs, bulkheads and standoffs inside. Of course, the enclosure needs to be split into 2 parts (top & bottom) in order to put the PCB inside, but still, each half of the case is still pretty complex on both of its sides.
Moreover, we would like to get 3D-printing parts that are as close as possible to the equivalent achievable plastic-injected parts, in order to validate them before making an expensive mold.
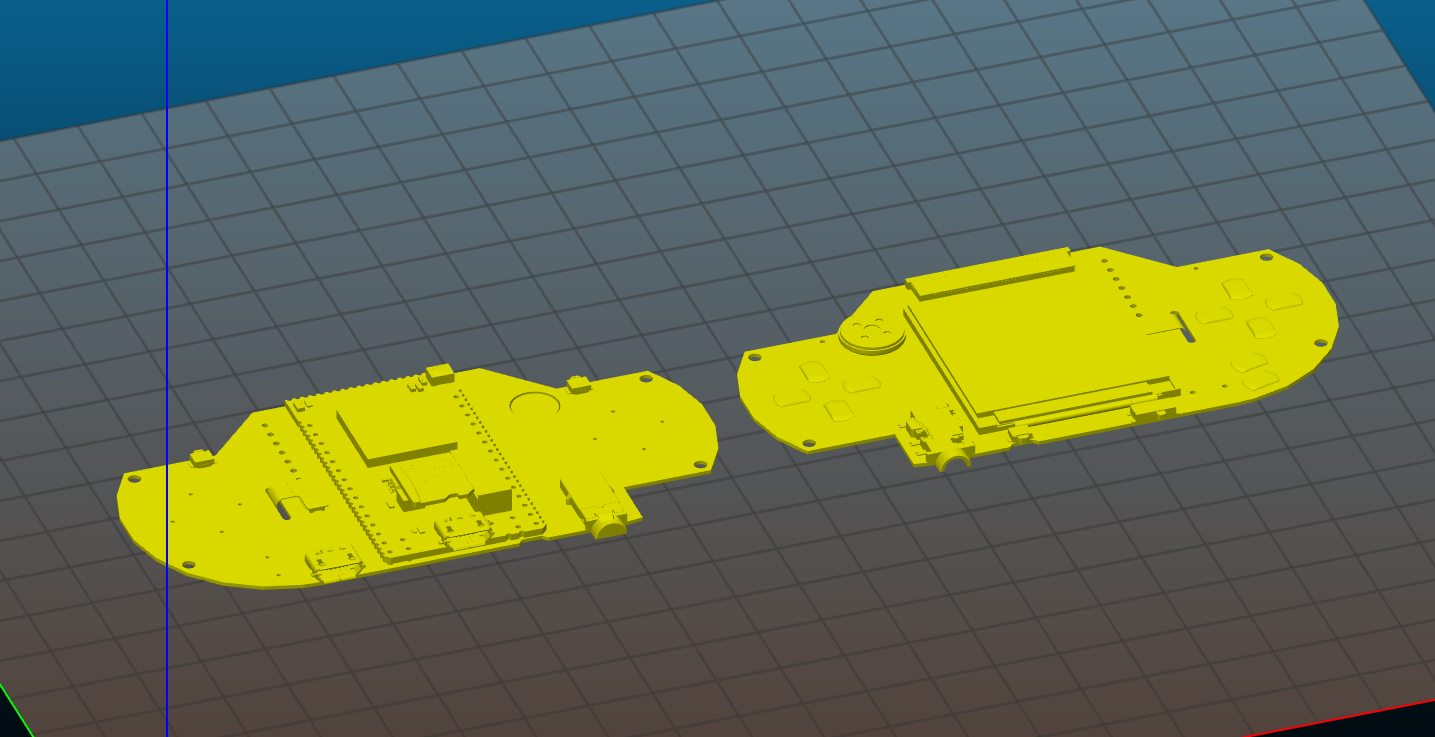
We used one technique that we did not see anywhere else for such a purpose: further cut each half of the enclosure shell top & bottom part into 2 sub-parts featuring a flat joint plane and glue them together. You can find similar techniques to 3D-print a horse body for example, but it looks like nobody had the idea to apply this to complex enclosures. We may try to get a patent from this idea ;-)
Seriously, here is an example print for the FunKey Zero PCB assembly which is everything but flat:
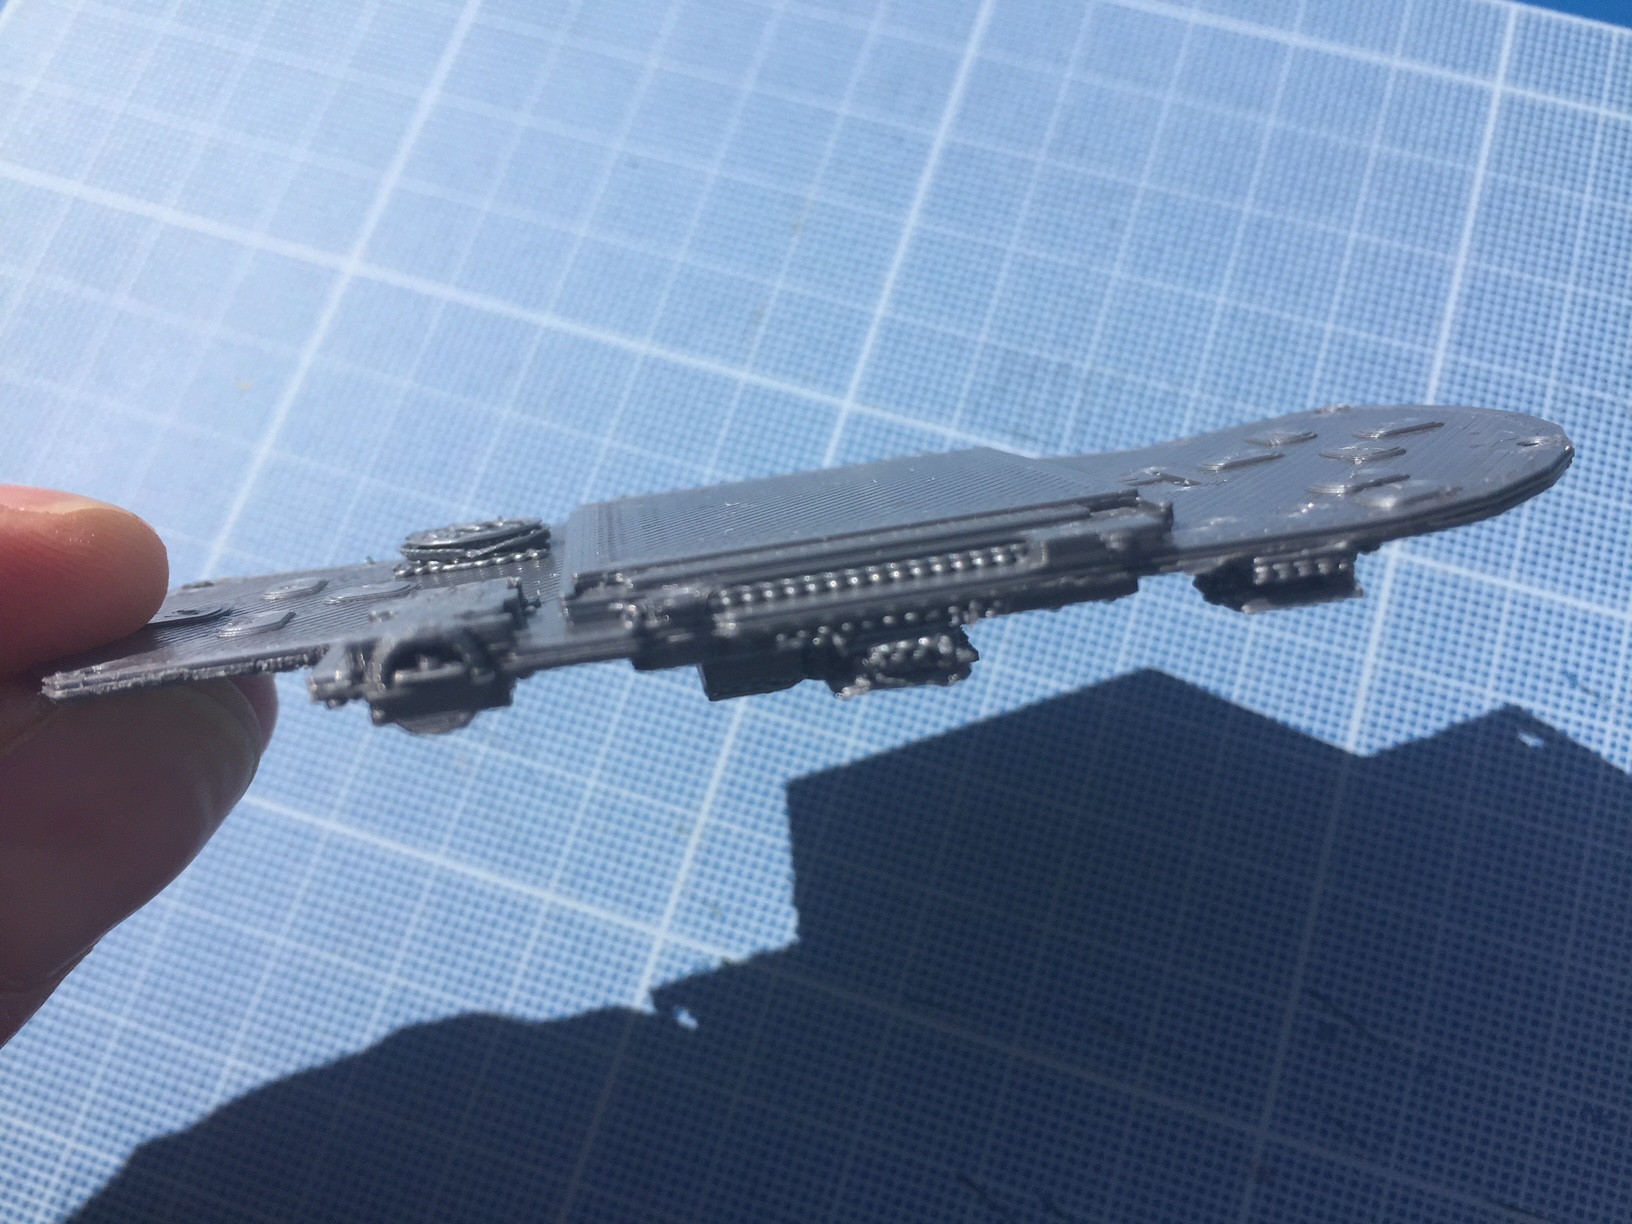
And here is how it is actually 3D-printed:
You can then assemble the 2 halves using Loctite glue to obtain the final complex part while still respecting very precise dimensions.
We did the same for the top & bottom part of the enclosure, resulting in parts that have many details both inside and outside with no visible flat surface (the glued joint plane is almost invisible and with an added thickness so small it's indistinguishable).
Let us know what you think of this idea and if this is helpful for your projects!
Discussions
Become a Hackaday.io Member
Create an account to leave a comment. Already have an account? Log In.
If I understand that correctly, you still need to have a plane going through the whole part that slices it into two printable parts. So it only works with flat things that have protrusion on both sides, but not with, say, curved top.
Are you sure? yes | no
Yes, but it is not necessarily a strict plane, it may also have stairs if you can remove the supporting material with sand paper or a Dremel tool. But not with really curved shapes like an egg, for example.
Are you sure? yes | no