Current mounting solutions offered on the market are relatively expensive, so we set out to find an affordable way to mount the LipSync to a wheelchair. Since every wheelchair is different in terms of shape/points available for mounting, it was difficult to find a universal option to solve this issue. By taking different parts used in several industries (i.e. photography, music, machine tooling) and combining them, we managed to create a list of mounting options that are both safe and durable. We also made use of 3D printing, which greatly reduced cost. Below you'll find some information gathered during this process. For the complete file on mounting the LipSync, refer to the files section!
When choosing a mount, many things need to be taken into consideration to ensure the safety of the user. Some of the questions we kept in mind when developing the list of mounts were:- Is the clamp secure and does not move when attached to the wheelchair?
- With the mount attached is there clearance around the wheelchair components (wheels/wires/chair frame)?
- Does the wheelchair fit through doorways with the mount attached?
- Is it possible for the mount to be snagged on obstructions as the user drives around?
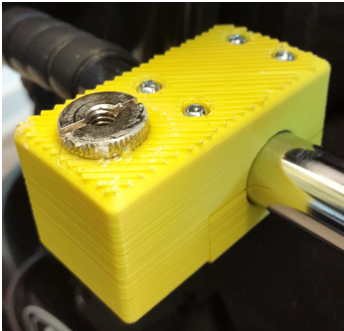
One of the most costly components in wheelchair mounts is the clamp. Our solution was to 3D print a clamp that serves as an attachment to the wheelchair and the base for the mount. The clamp is attached to a round bar on the wheelchair and is then secured using screws and "Magic Wrap" to keep it from rotating. Other components such as adapters can then be glued onto it as seen in the figure below.
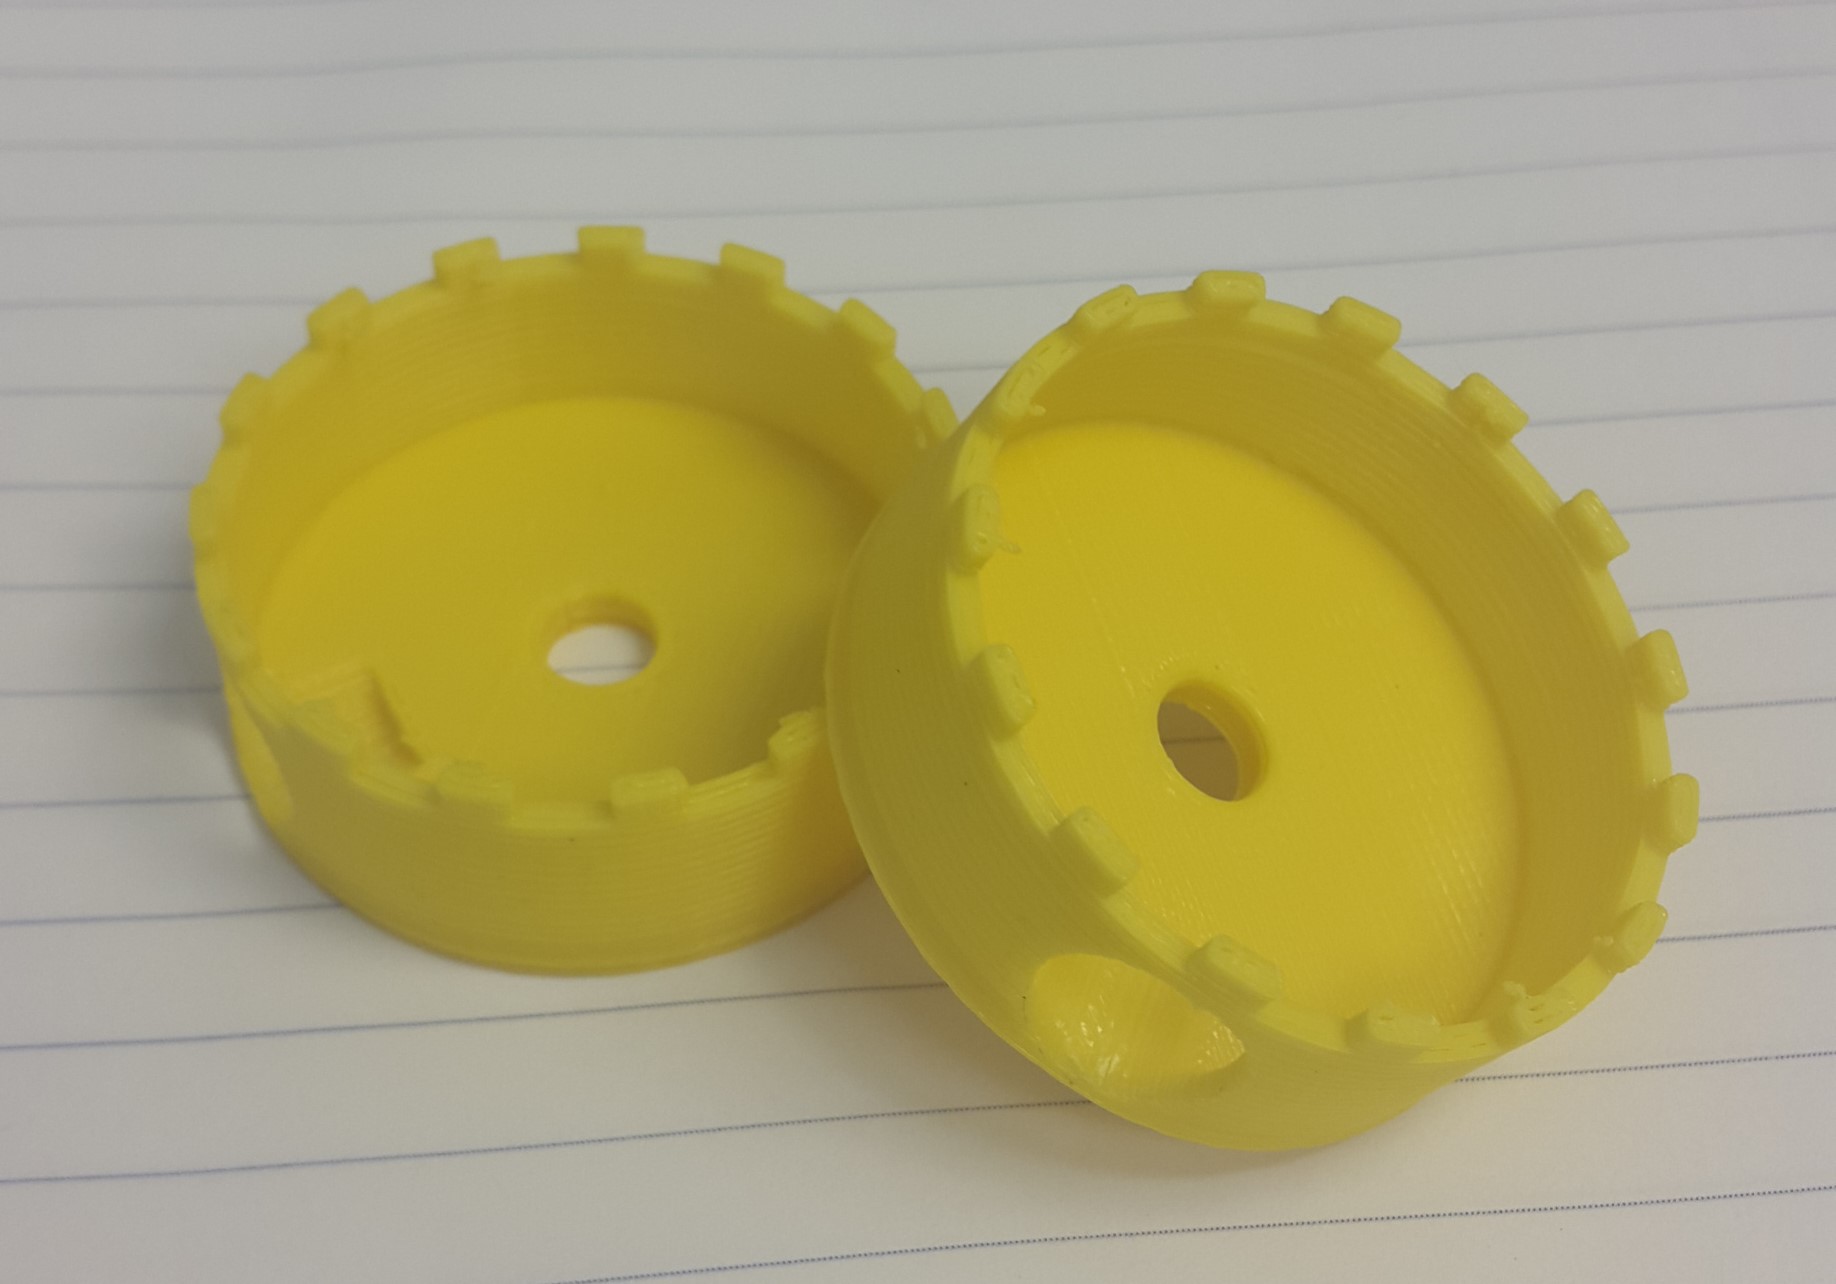
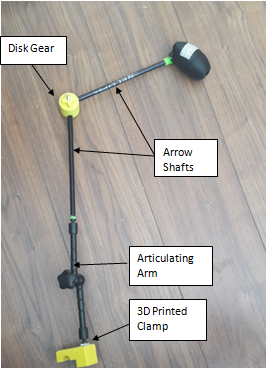
Another important part of the mount was the flexibility of it and the ability to rotate it in order to place the LipSync in the right position for the user. Therefore, we designed a disk gear that allows for angle adjustment in 2D.

Discussions
Become a Hackaday.io Member
Create an account to leave a comment. Already have an account? Log In.