 Guus van der Sluijs
The criteria for this project are as follows:
- Low power
- Off the shelf components
- Portability
- Ease of use
Low power
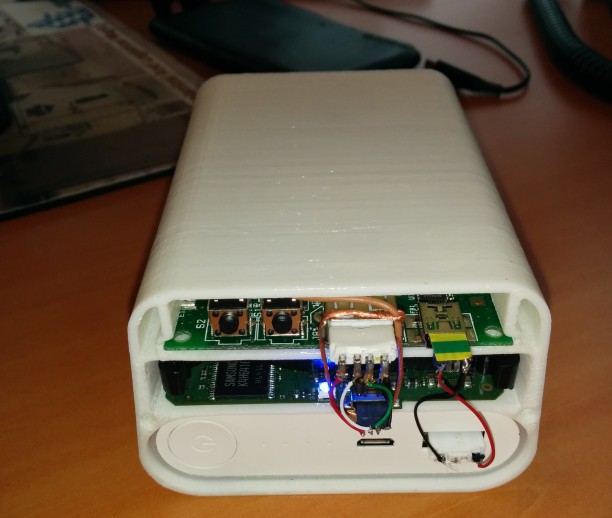
I chose an Atheros based board for it's low power requirements. For example, a Raspberry Pi uses > 2W. The Carambola 2 has a rated consumption of just 0,5W
Off the shelf components
As this is the age of mobile devices, there are more and more mobile accessories. Small hard drives just powered by USB are ideal for this project. Power banks have been getting cheaper and better, some of them are now supporting 'pass through charging'. See the power consumption log for more info.
Portability
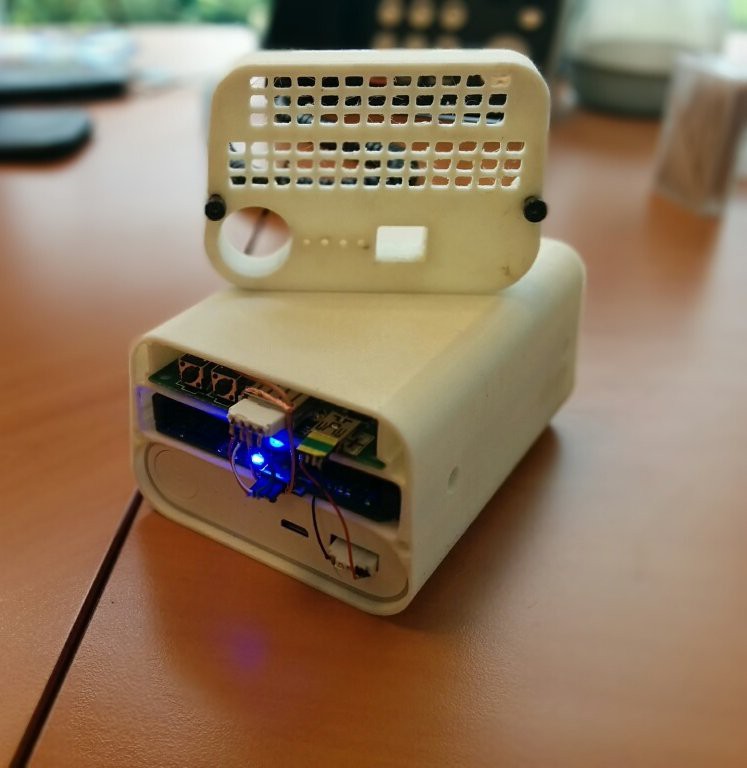
Combined weight will be around 300 grams, that's a file server and UPS at a third of a kg!
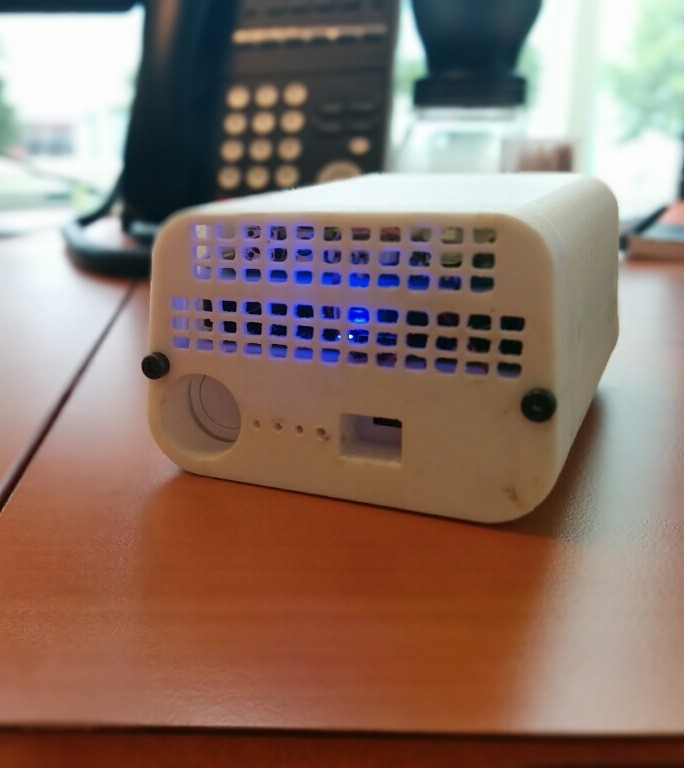
At 100x60x40mm (LxWxH) it's not exactly huge.
Ease of use
This is the aspect that poses some challenges. The setup is especially hard, most notably for the ones who are not prolific in linux.
Once setup is done though it's easy as pie, just turn on your Wi-Fi hotspot and browse to the shared folder. Some apps even let you set the share as the base folder for your media library.


 mikrotron
 Adam
Adam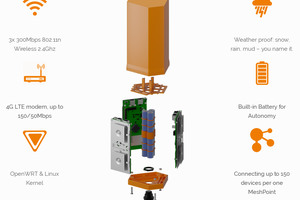
 Valent Turkovic
 morgan