 Chad Paik
The new parts were printed after applying appropriate tolerances. This time, the parts were printed using FormLabs Printer, which uses Resin instead of PC ABS.

The finished print.
Our team poured out about 3 hrs for the assembly.
The first part that was assembled was the back of the hand
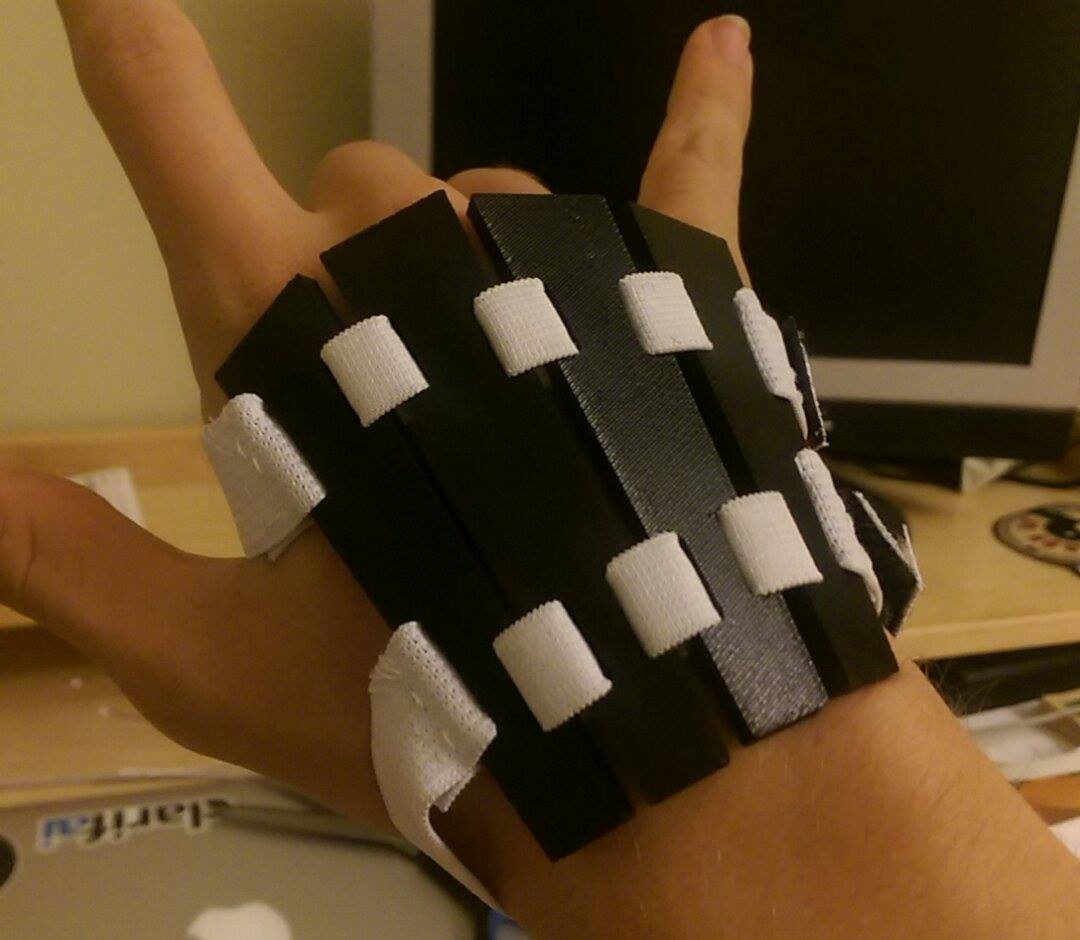
The 4 parts were woven using thin elastic band bought from Michael's. The straps' ends had velcro sewed on so that we can strap it on to our hands.
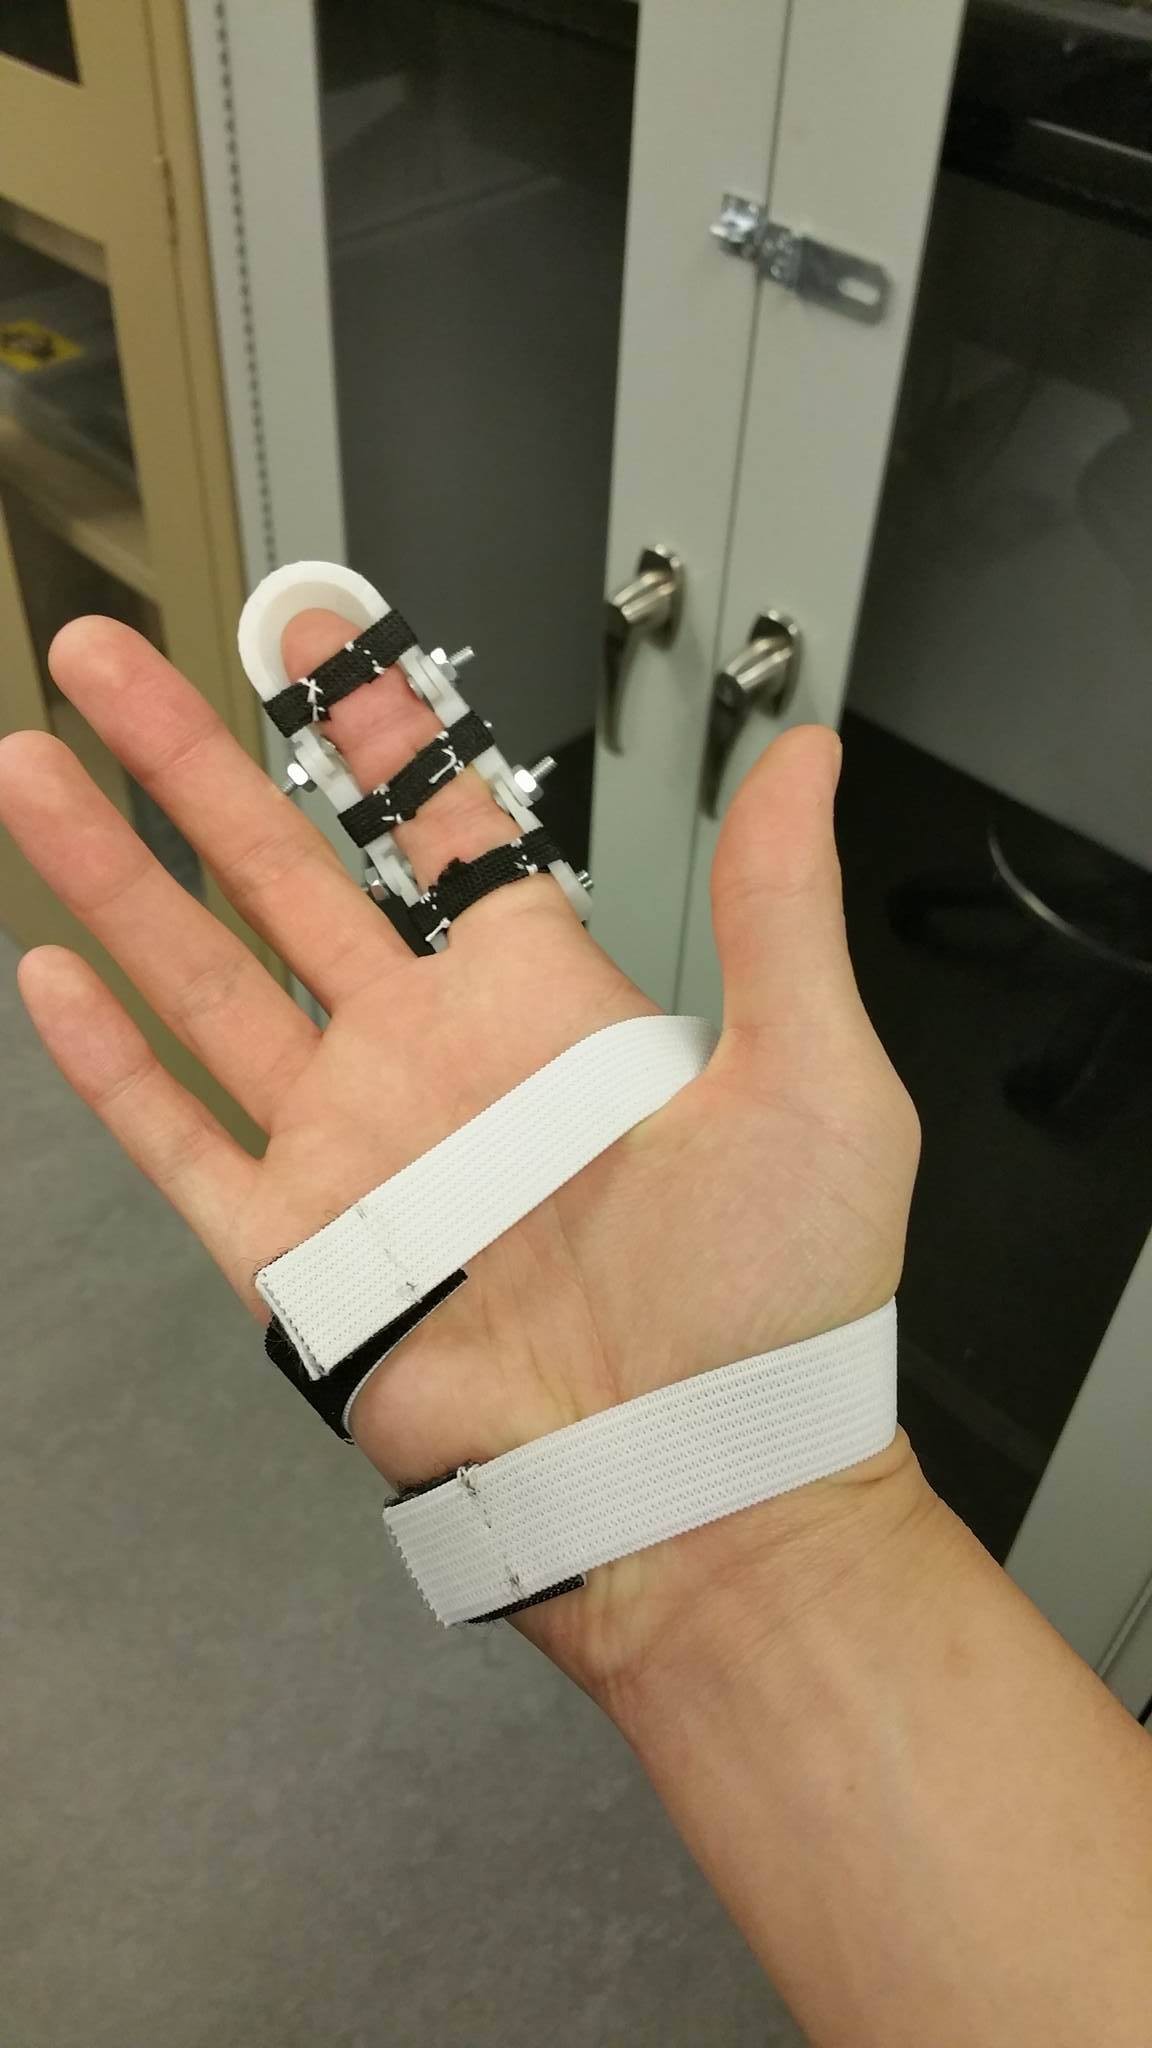
The next components that was assembled was one of the finger. The holes that we put on our design was 4-40 screws. As seem above, small strap of elastic was used to make the belt for the finger assembly.
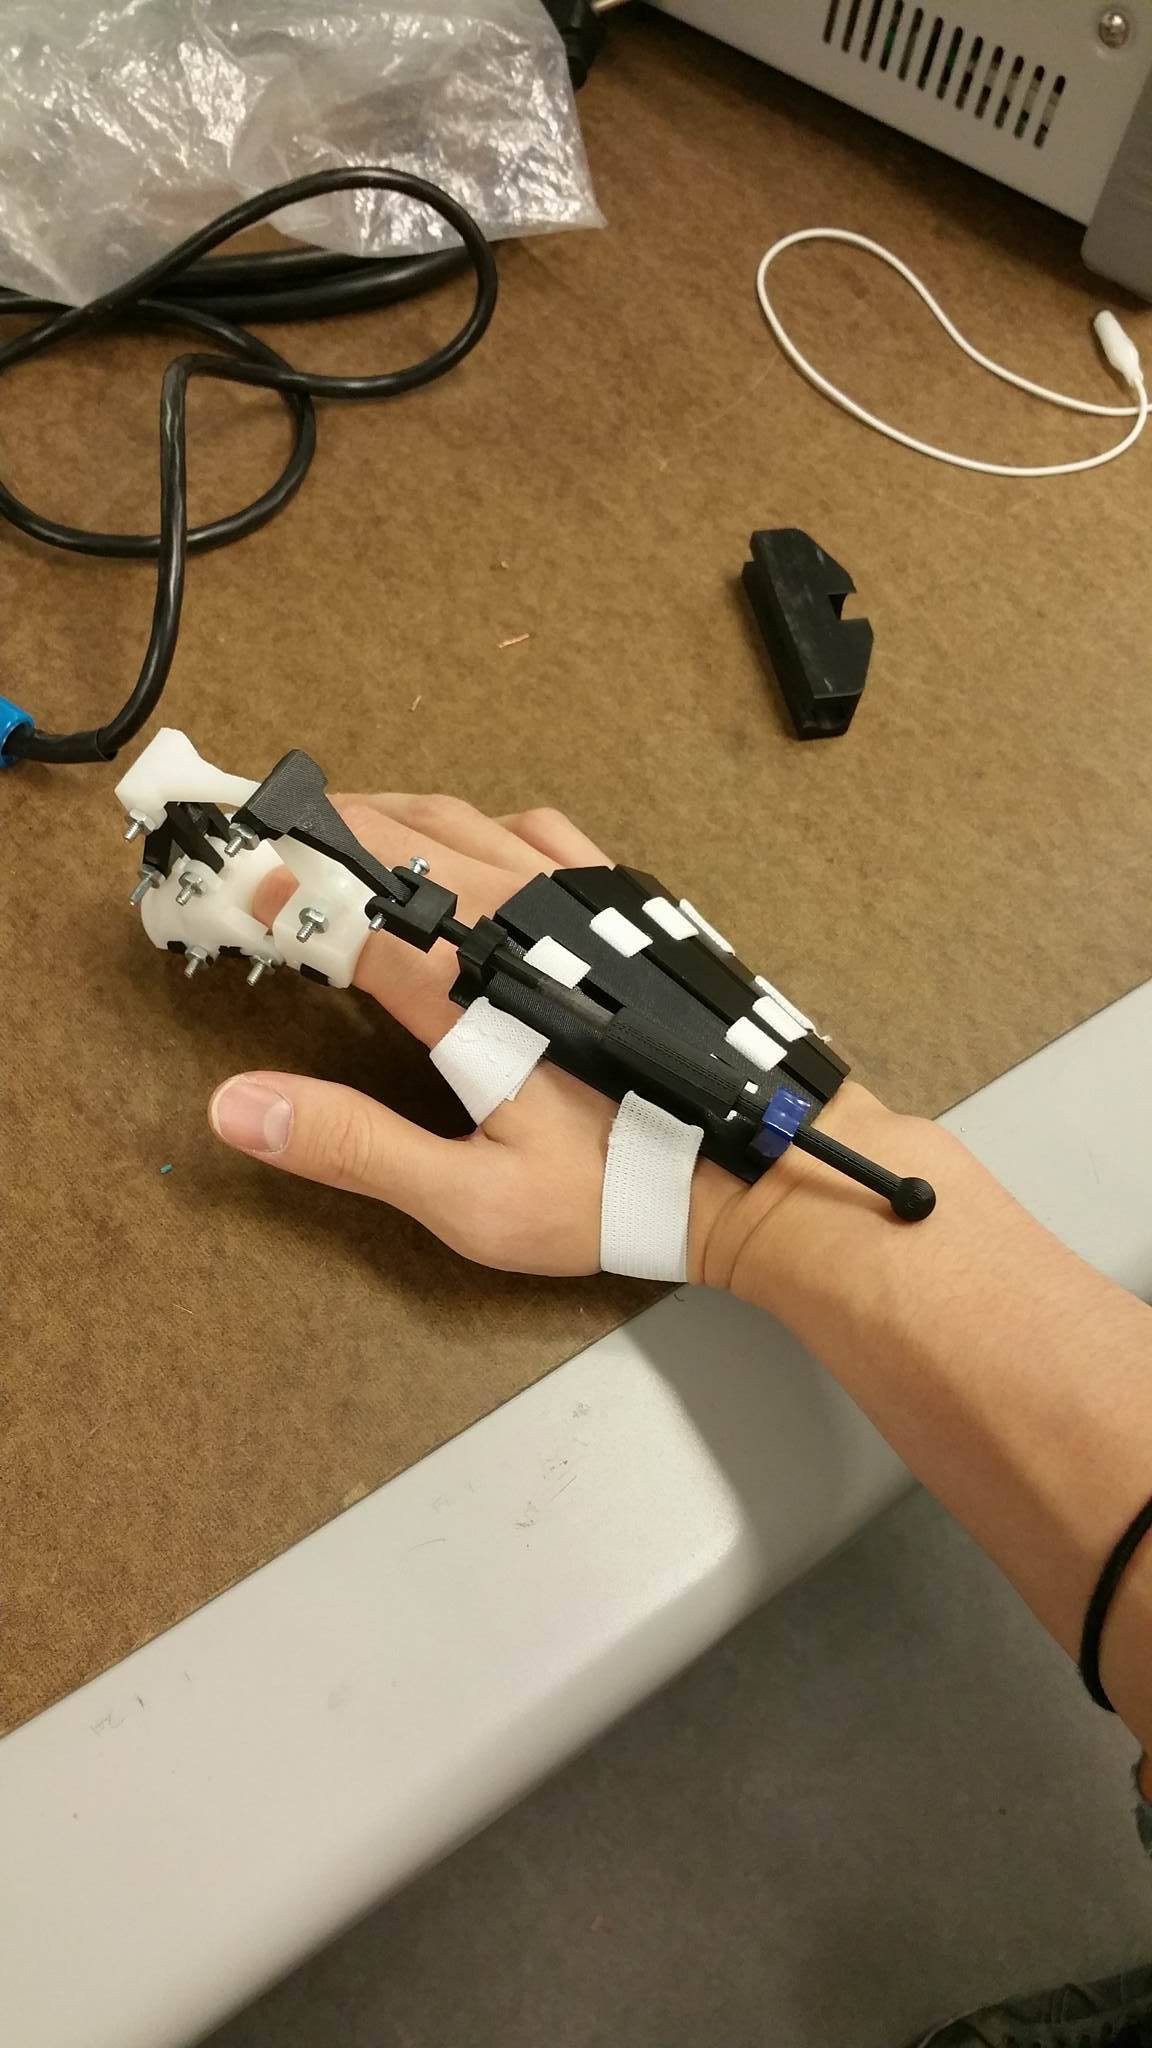
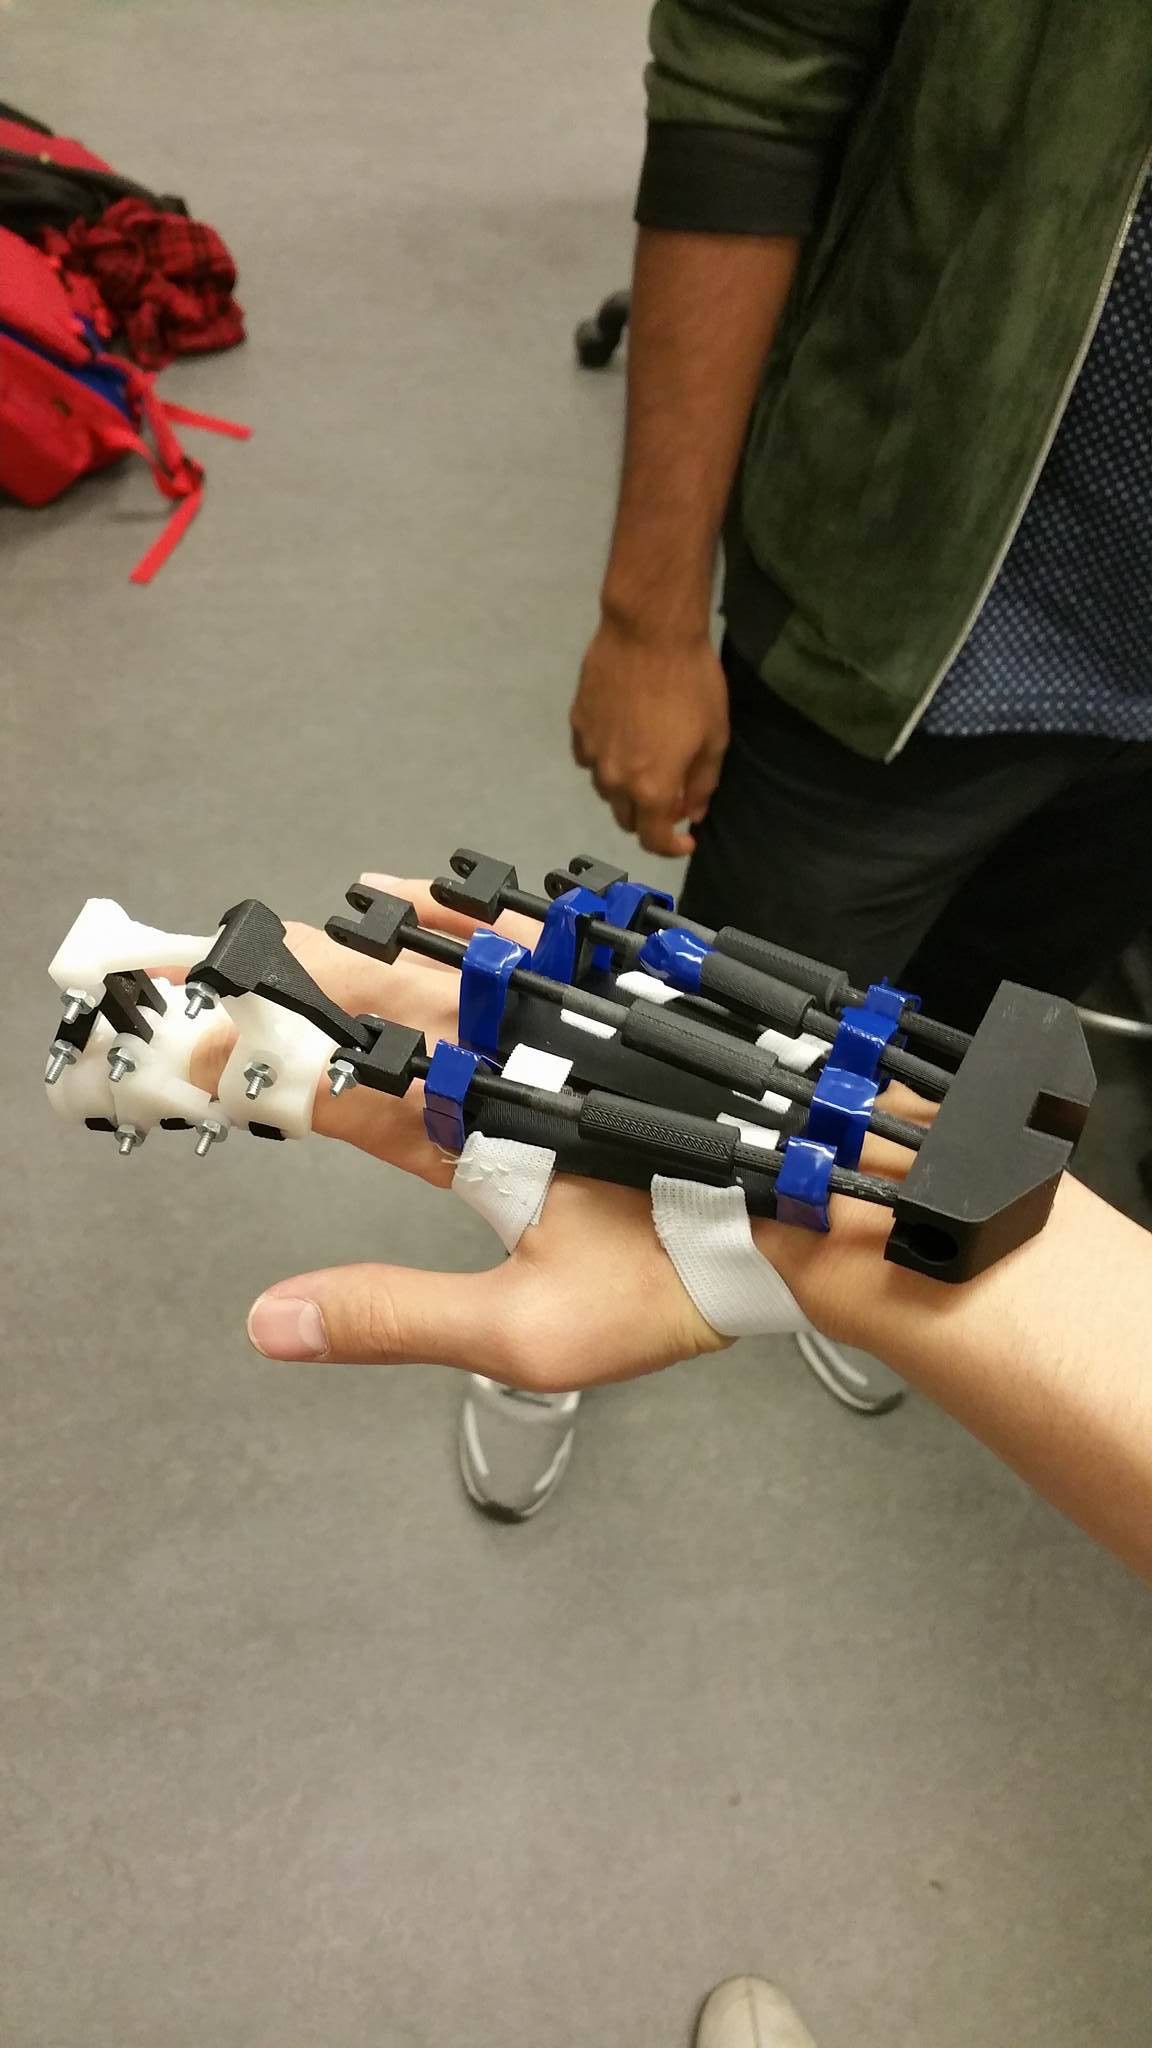
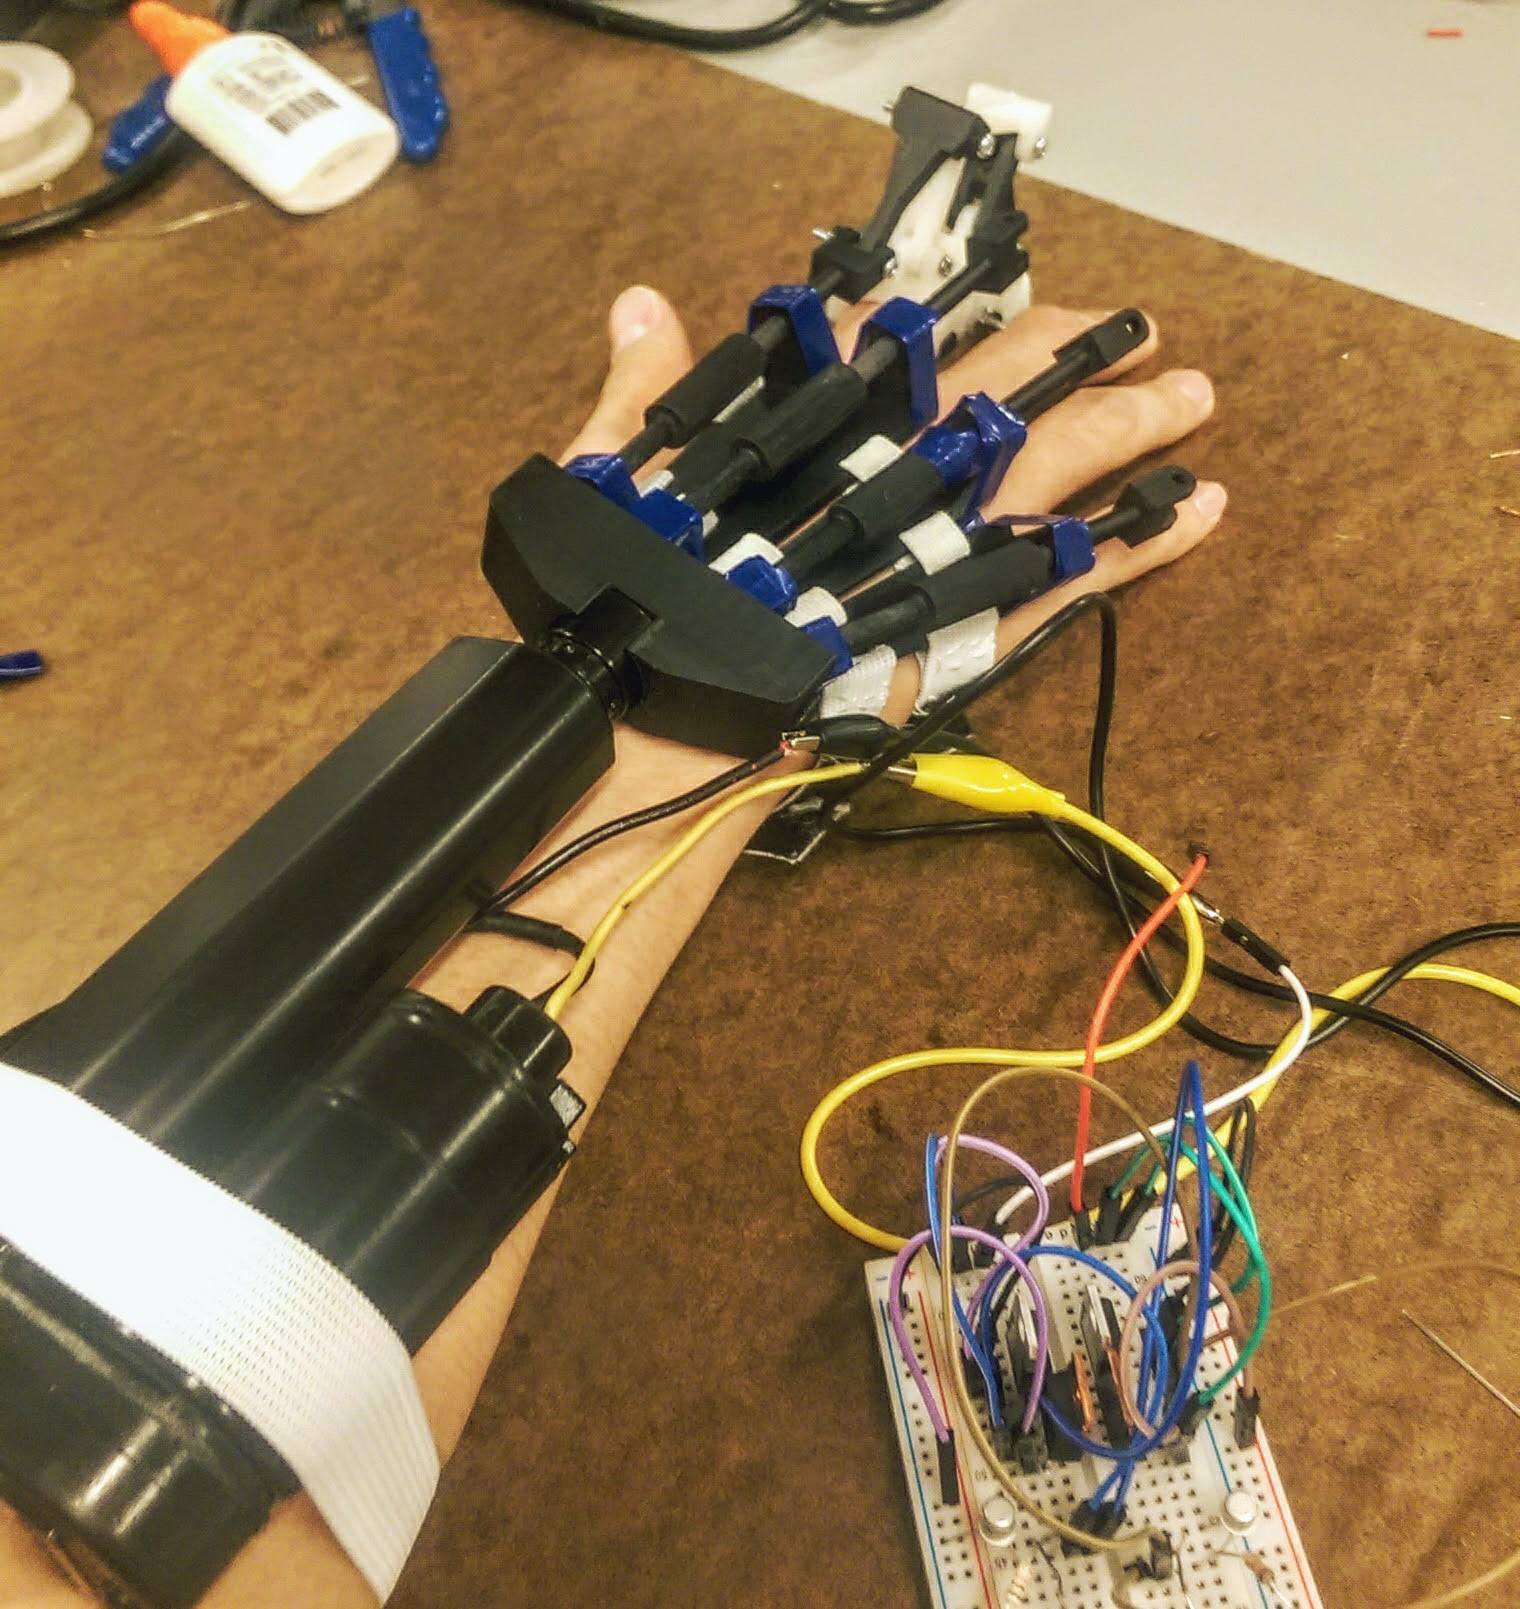
Along with that, we were able to assemble the differential rods that are on back of the hand. The mind-assembly looks something like this:
After the assembly was somewhat done, we worked on making the H-Bridge for controlling the linear actuator.
For those people that is not familiar with H-Bridge, it is used to control the linear actuator. Linear actuators extend and retract by changing the polarity on the two leads. However, since the user cannot change the pin orientation every time that they want to extend or retract the actuator, an H-Bridge must be implemented.
The schematics that we used was from this website (so all the credit to this guy):
http://www.bristolwatch.com/ele/h_bridge.htm
The two digital pins turn on the two transistors which allows the 12v to flow.
After the meting today, our prototype was one step closer to being reality.
Discussions
Become a Hackaday.io Member
Create an account to leave a comment. Already have an account? Log In.