I made a short video of manually moving around the platform to see how it all worked. Belts were disconnected for this test.
Once everything was hooked up I was ready for my first calibration routine. Using Repetier-Host, I manually jogged the nozzle to the base of each tower. I used a thin piece of receipt paper to get the height right. If the nozzle was too close or too far I would bend the legs of that tower’s endstop hall effect sensor just a tiny amount. Homing the printer each time resulted in an adjusted height for that tower. I did each tower a few times to “zero in” on an acceptable tolerance. An advantage of designing most of the printer in CAD first was that I could virtually measure the delta radius and it would be correct for the real printer. This figure required no adjustment and I had no issues with “bowling/bowing” of the Z plane.
I was pretty keen to get printing so started my first “dry run” print (no hot end, filament or heated bed). This was to test that the printer could receive g-codes from the computer and move in the correct X-Y-Z directions.
Not long after that I attempted my first 1cm cube!
The average result was to be expected. I didn’t care - I was so excited that my printer (somewhat) worked!
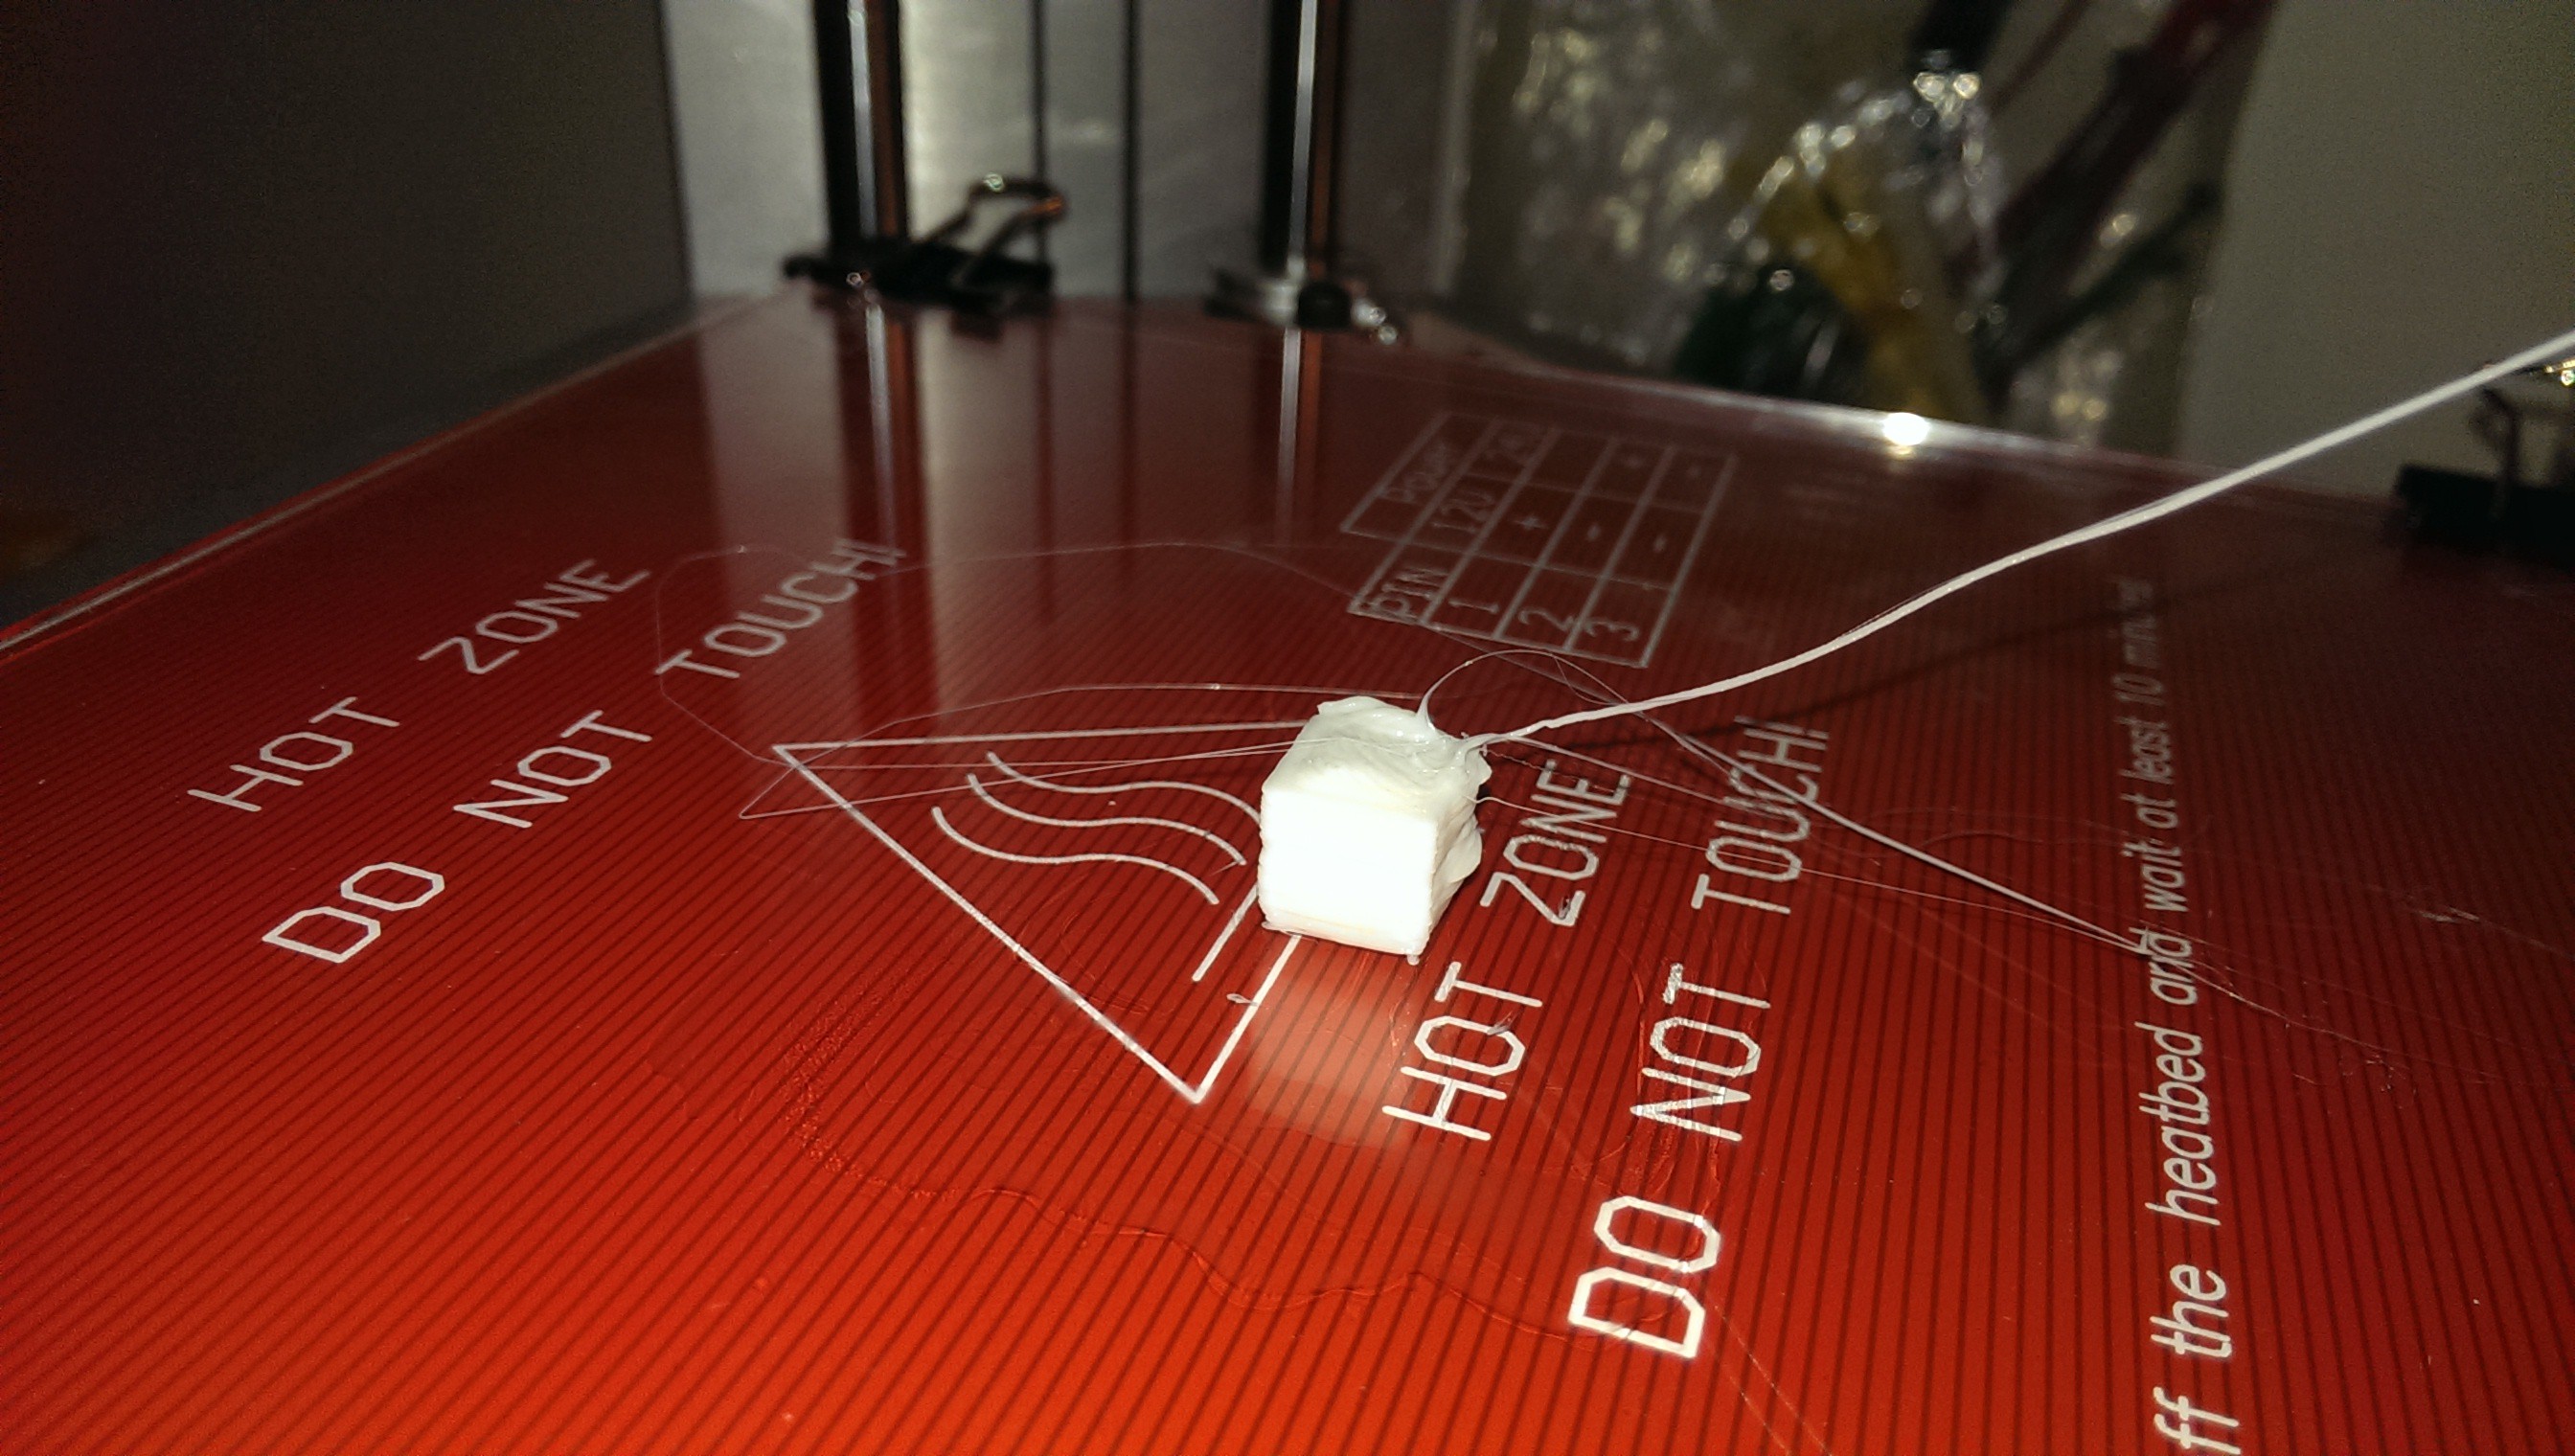
Yay!
Obviously it needed some tuning but I was off to a good start.
Discussions
Become a Hackaday.io Member
Create an account to leave a comment. Already have an account? Log In.