Close
0%
0%

Adjustable Angle Knife Grinding Jig

Adjustable Angle Knife Grinding Jig made from $27 in hardware store parts and some scrap plastic I had at home

Similar projects worth following

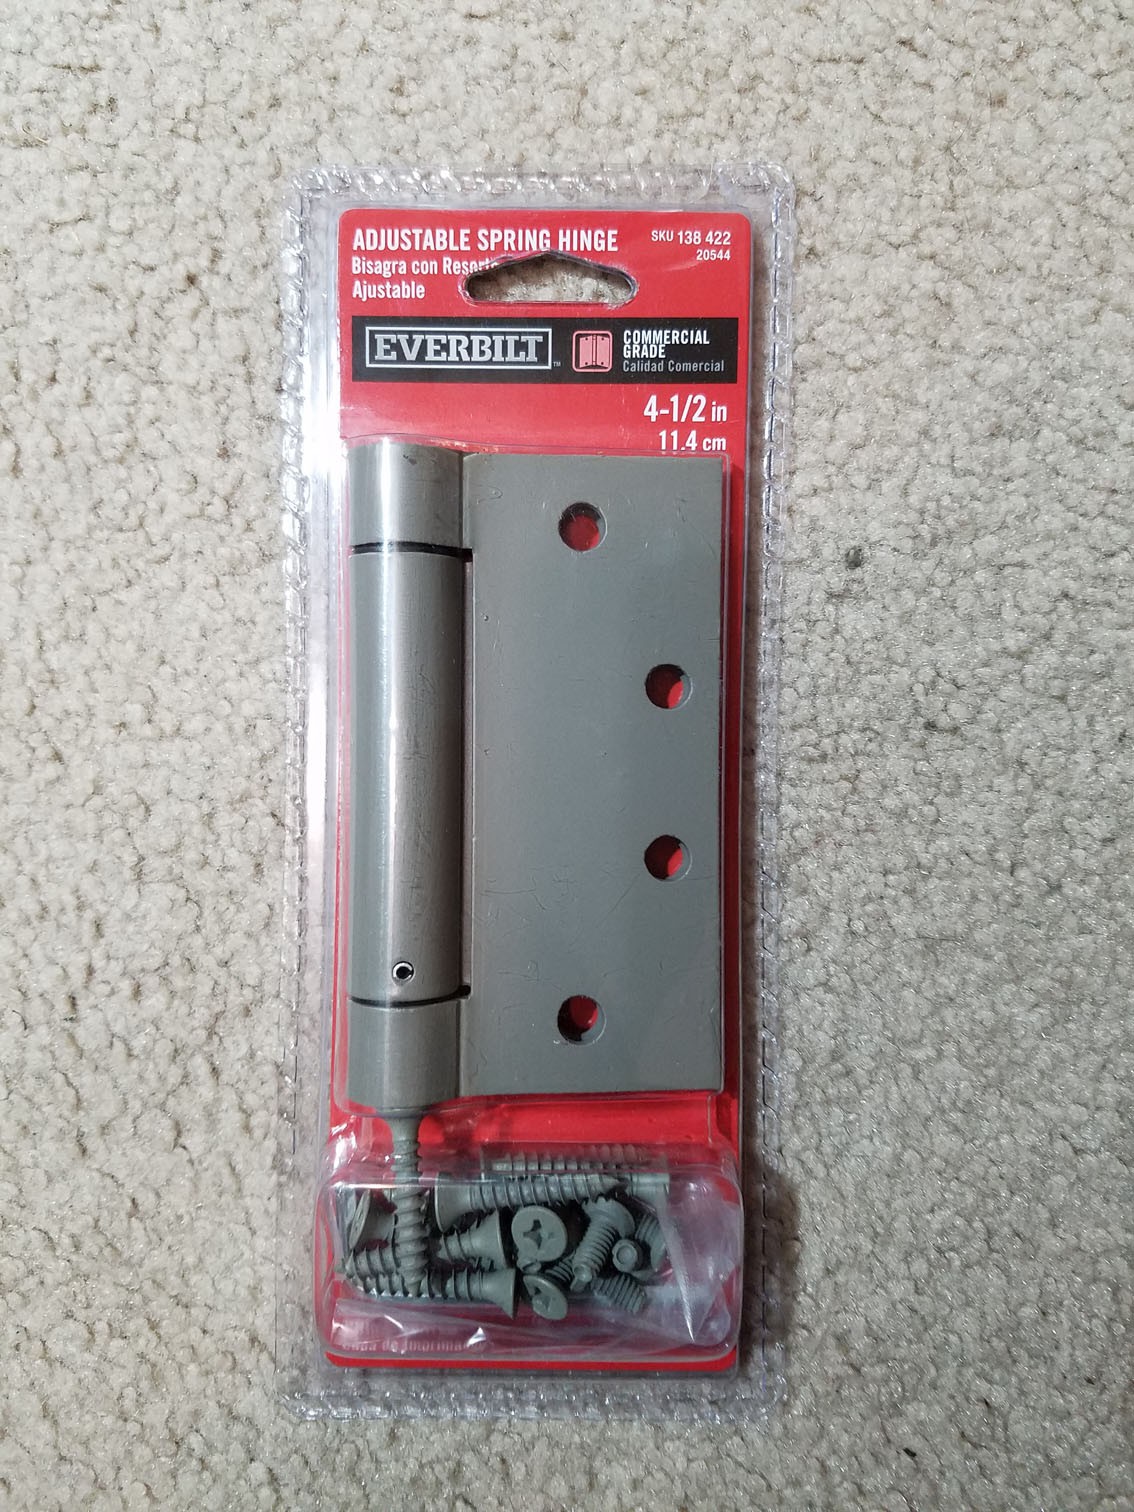
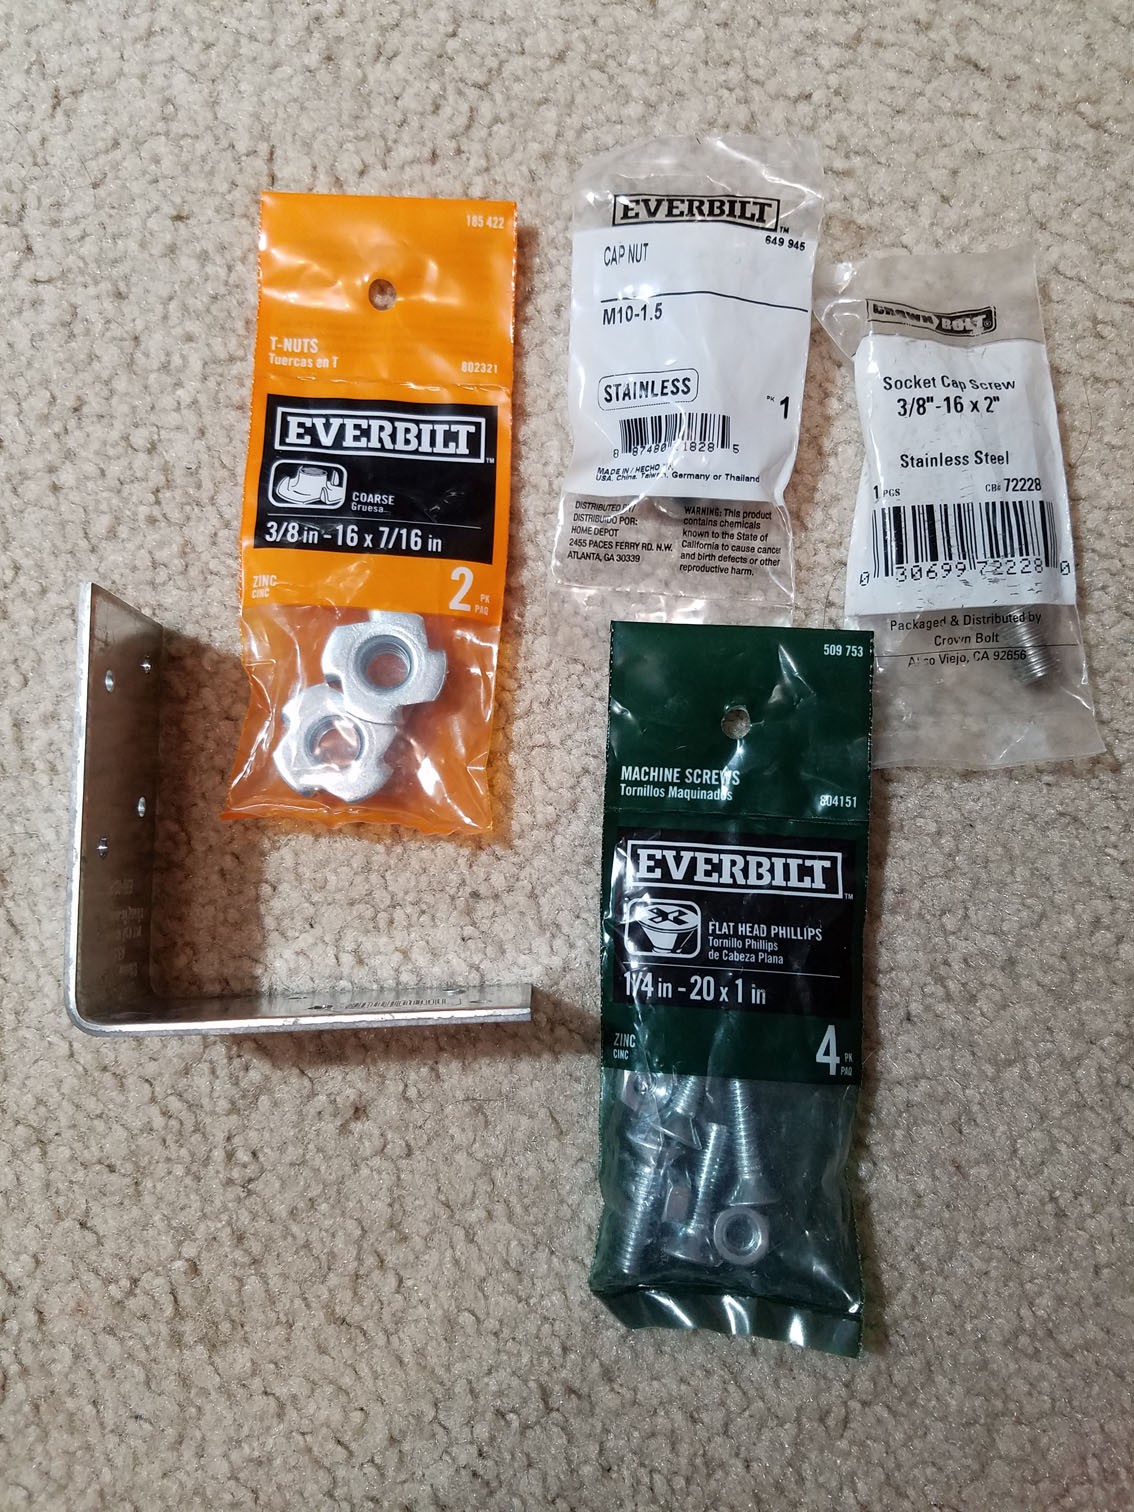
This project was thought of while walking around a Home Depot. I had just realized I didn't need to buy the part I went there for, so some random browsing led me to make this. One of my accomplishments in building this was that I had no sketches or plans before going to the store, and the fact that I bought everything on a whim, used everything I bought, and never had to return to the store.

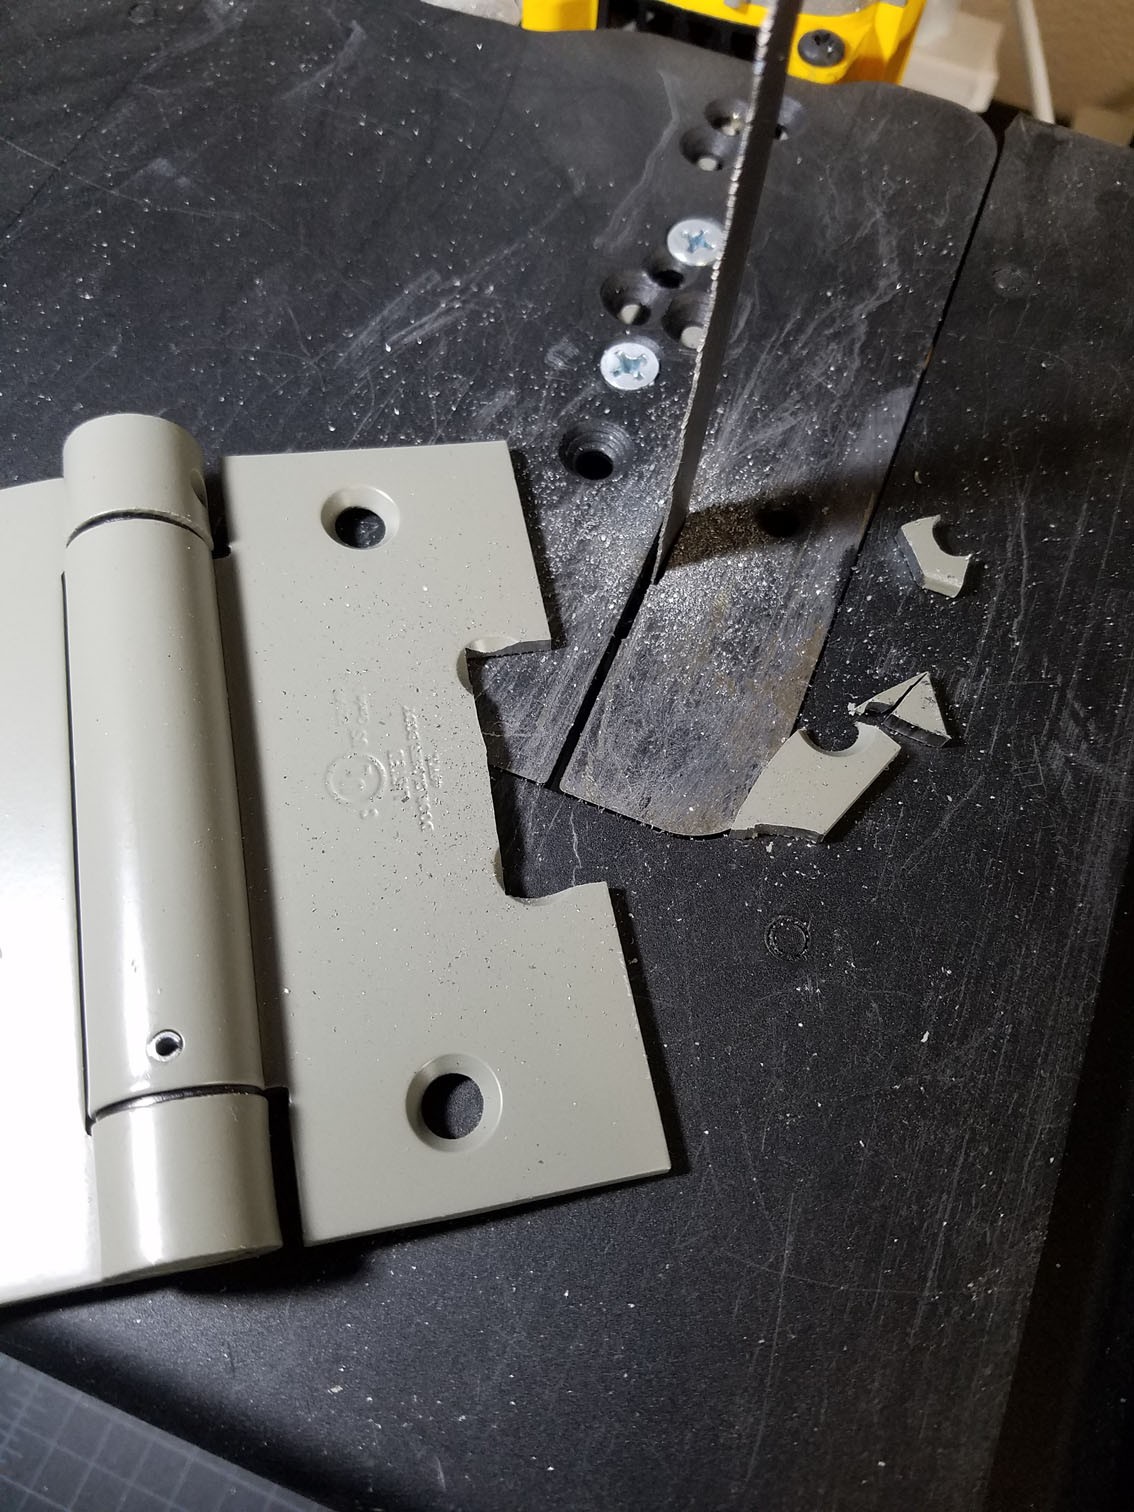
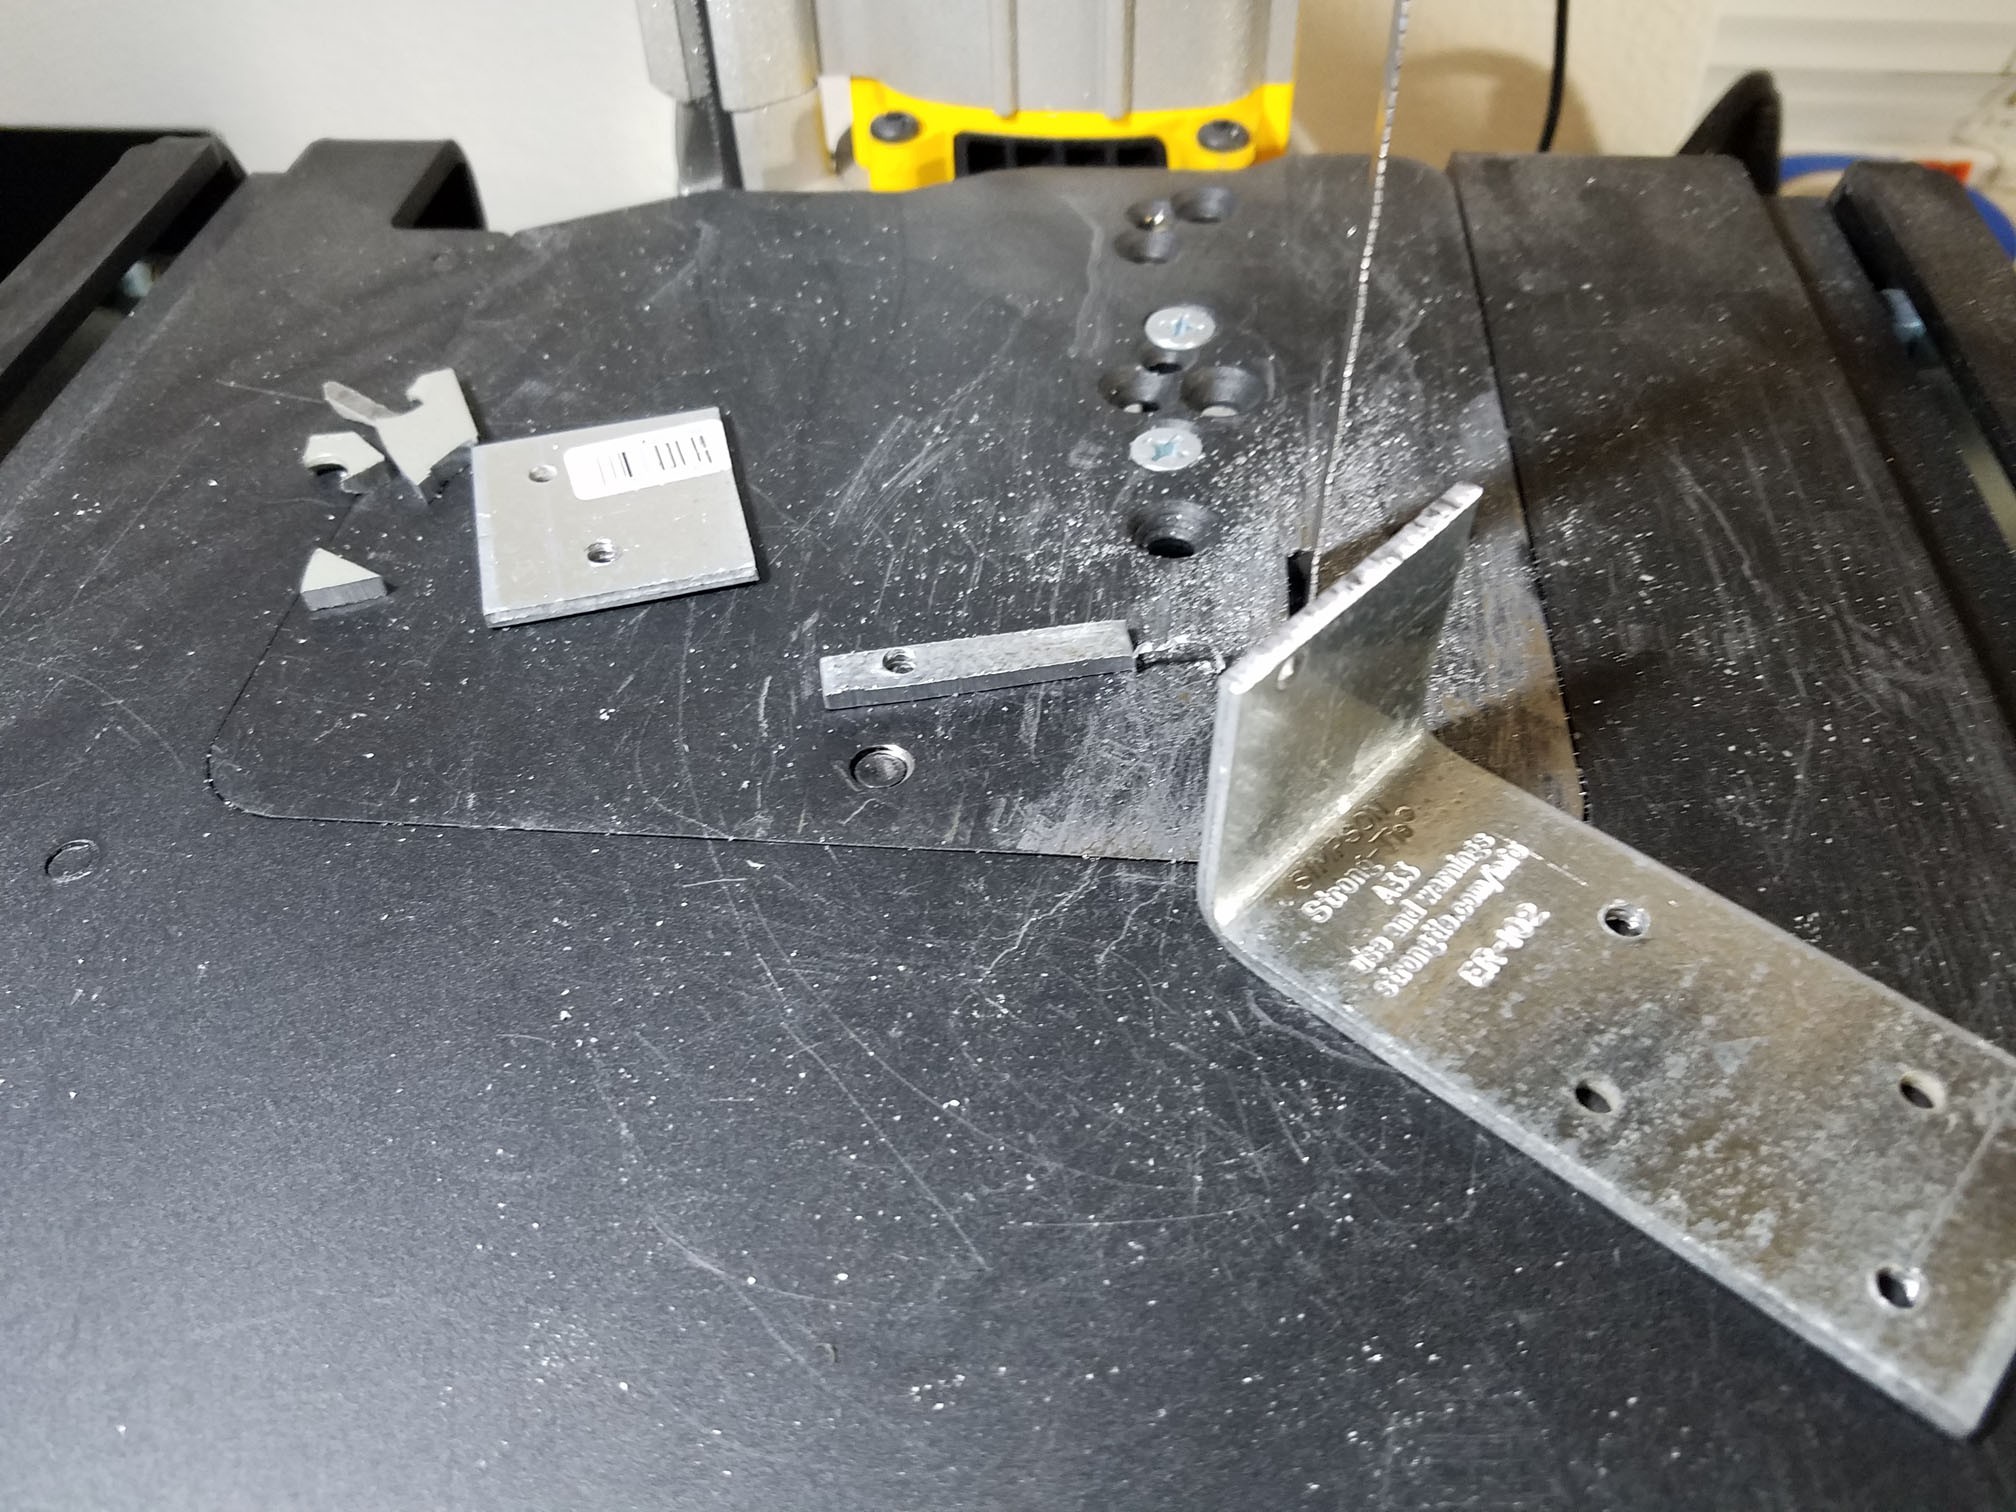
As a side note for anyone building this, I used a lot of shop tools that some people may not have. There are hand held methods of accomplishing the same task, but as this is a jig for knife makers, most knife makers should have the equipment at hand.

If you attempt to make this at home, I am not responsible yada yada, safety gear yada yada. You have been warned.

If you're interested in following my knifemaking or knifemaking tool builds, follow me on Instagram at dbgKnives.

  • 1 × Everbilt 4.5" adjustable spring hinge
  • 1 × Metal angle bracket (sturdy)
  • 1 × 3/8" - 16 x 2" SS Socket Cap Screw
  • 1 × 3/8" - 16 x 7/16" T-Nuts 2pk
  • 3 × 1/4" - 20 x 1" Flat Head machine screws

View all 10 components

  • 1
    Step 1

    These are the parts I bought for the project:

    • Everbilt 4.5" adjustable spring hinge - 1x
    • Metal angle bracket (sturdy) - 1x
    • 3/8" - 16 x 2" SS Socket Cap Screw - 1pk
    • 3/8" - 16 x 7/16" T-Nuts - 2pk
    • 1/4" - 20 x 1" Flat Head machine screws with nuts - 4pk
    • M10 Cap Nut (acorn nut) (they didn't have 3/8" cap nuts, but this will thread onto the 3/8" screw)

    There's no sales tax in my state, and the total cost of these items was just under $27 from my local Home Depot. The spring hinge was the bulk of the cost at around $17.

    In addition to these bought parts, I used some 1/2" and 1" thick acrylic plastic (not pictured in this step) I had around the house. Other plastics or dense wood could probably be used to replicate this.


  • 2
    Step 2

    Next I needed to make room for the angle bracket to sit closer to the hinge pivot, but also use the hinge itself to hold the angle bracket in place. I cut this out on the bandsaw, using the existing screw holes as a guide for centering and depth of cut.

    Then I cut the angle bracket to fit, so it wasn't sticking out past the flat part into the pivot

    This is a good view to explain this element of the design. The horizontal part of the angle bracket, as shown in the image above, will take most of the spring force from the hinge and hold everything in place as it's being uses. As a result, the vertical part of the angle bracket will be structurally sound and hold a consistent angle.

  • 3
    Step 3

    Then I cut out some of the 1/2" acrylic to make the base, which will also hold everything together. I made a mistake in this step and cut the plastic too small, but documented it better on the small piece, so all of the images in this step show process, not the final design:

    Once cut, I double stick taped it to a 90° V-block to hold it upright.

    Using the bandsaw, I made two notches into the plastic to make a reference for the width and depth of the material I needed to remove based on the dimensions of the angle bracket.

    By using a 1x30 belt grinder, I was able to remove the material needed. I found that removing too little material was better than removing too much, as a tighter fit works best.


View all 7 instructions

Enjoy this project?

Share

Discussions

Similar Projects

Does this project spark your interest?

Become a member to follow this project and never miss any updates