 Tim Wilkinson
Traditionally, electronics which are going underwater are placed in either a waterproof enclosure or encapsulated in some way. This camera will be encapsulated. A traditional method would use epoxy; but this is messy, heavy, time consuming and error prone. It's also overkill for ROV competitions which require effective waterproofing to 10' rather than 300'.
This camera will be encapsulated in marine grade heat shrink tubing. Heat shrink tubing shrinks when heat is applied. Marine grade tubing also has an internal glue coating which, when heated, oozes into all the gaps and provides a waterproof seal.
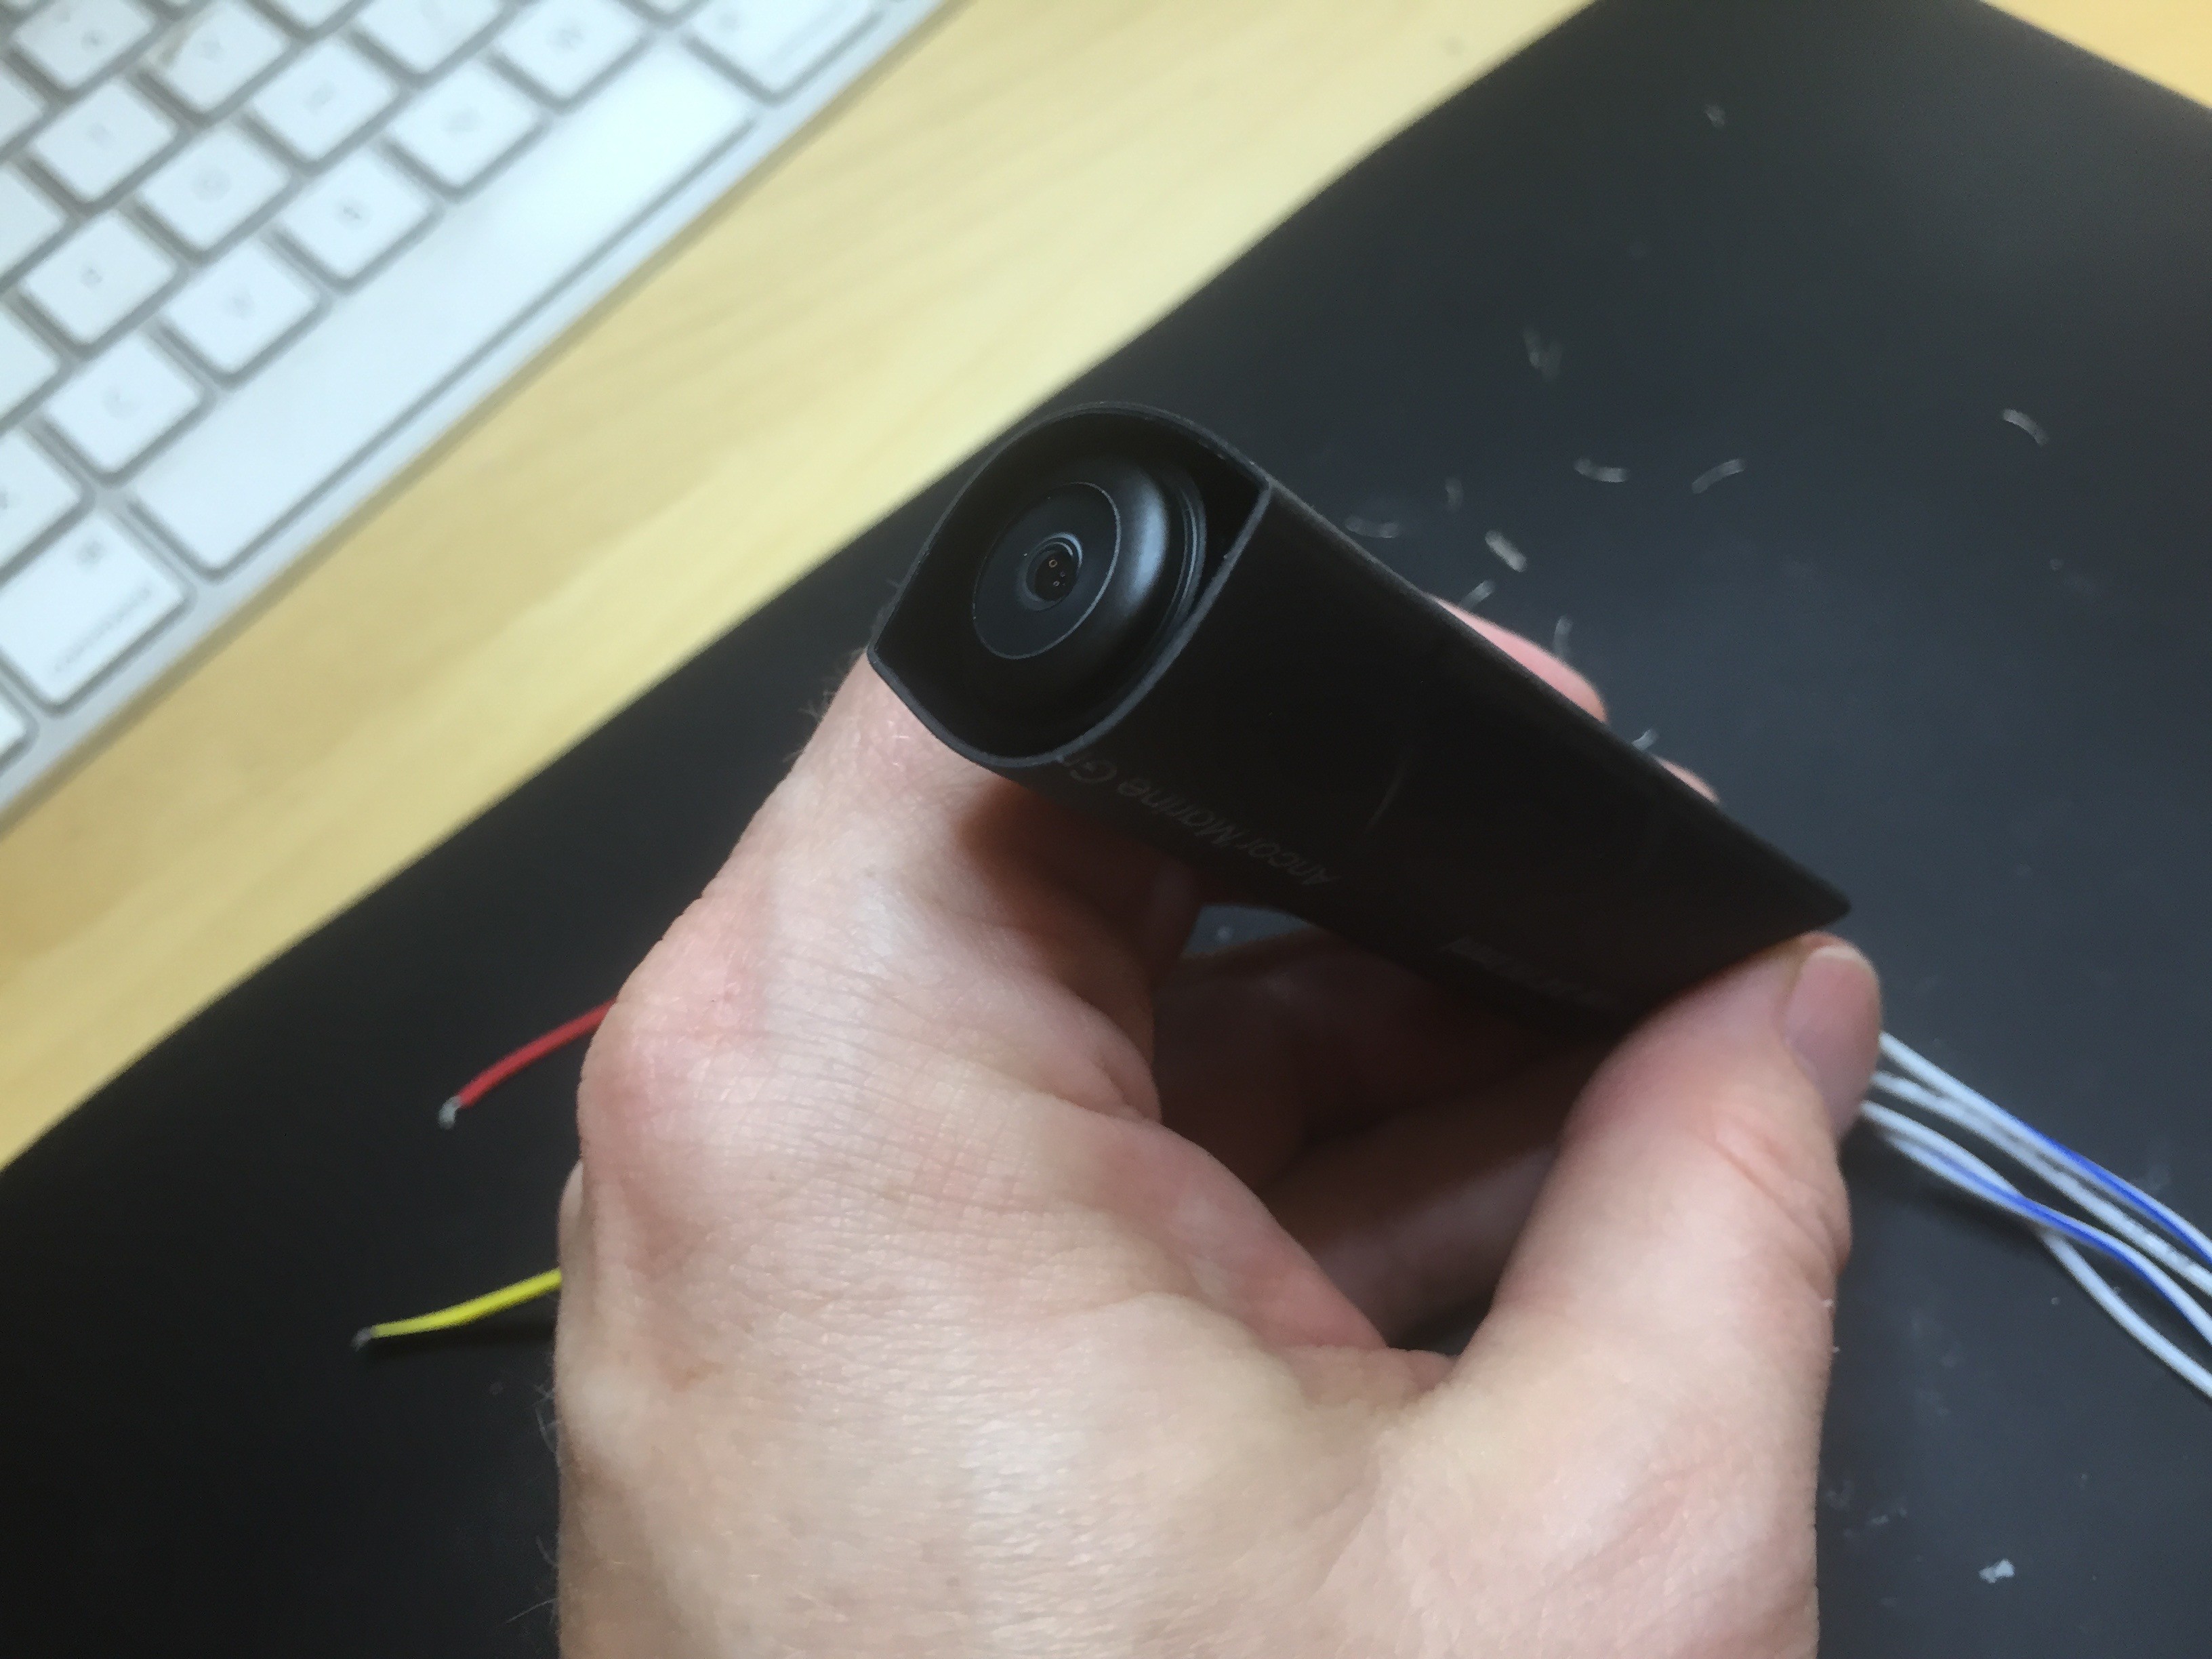
3/4" tubing was used to encapsulate the camera. It was just big enough to have all the components stuffed inside the tubing before heating, and shrank to make a tight fit when heated.
The before photo:
And the after photo:
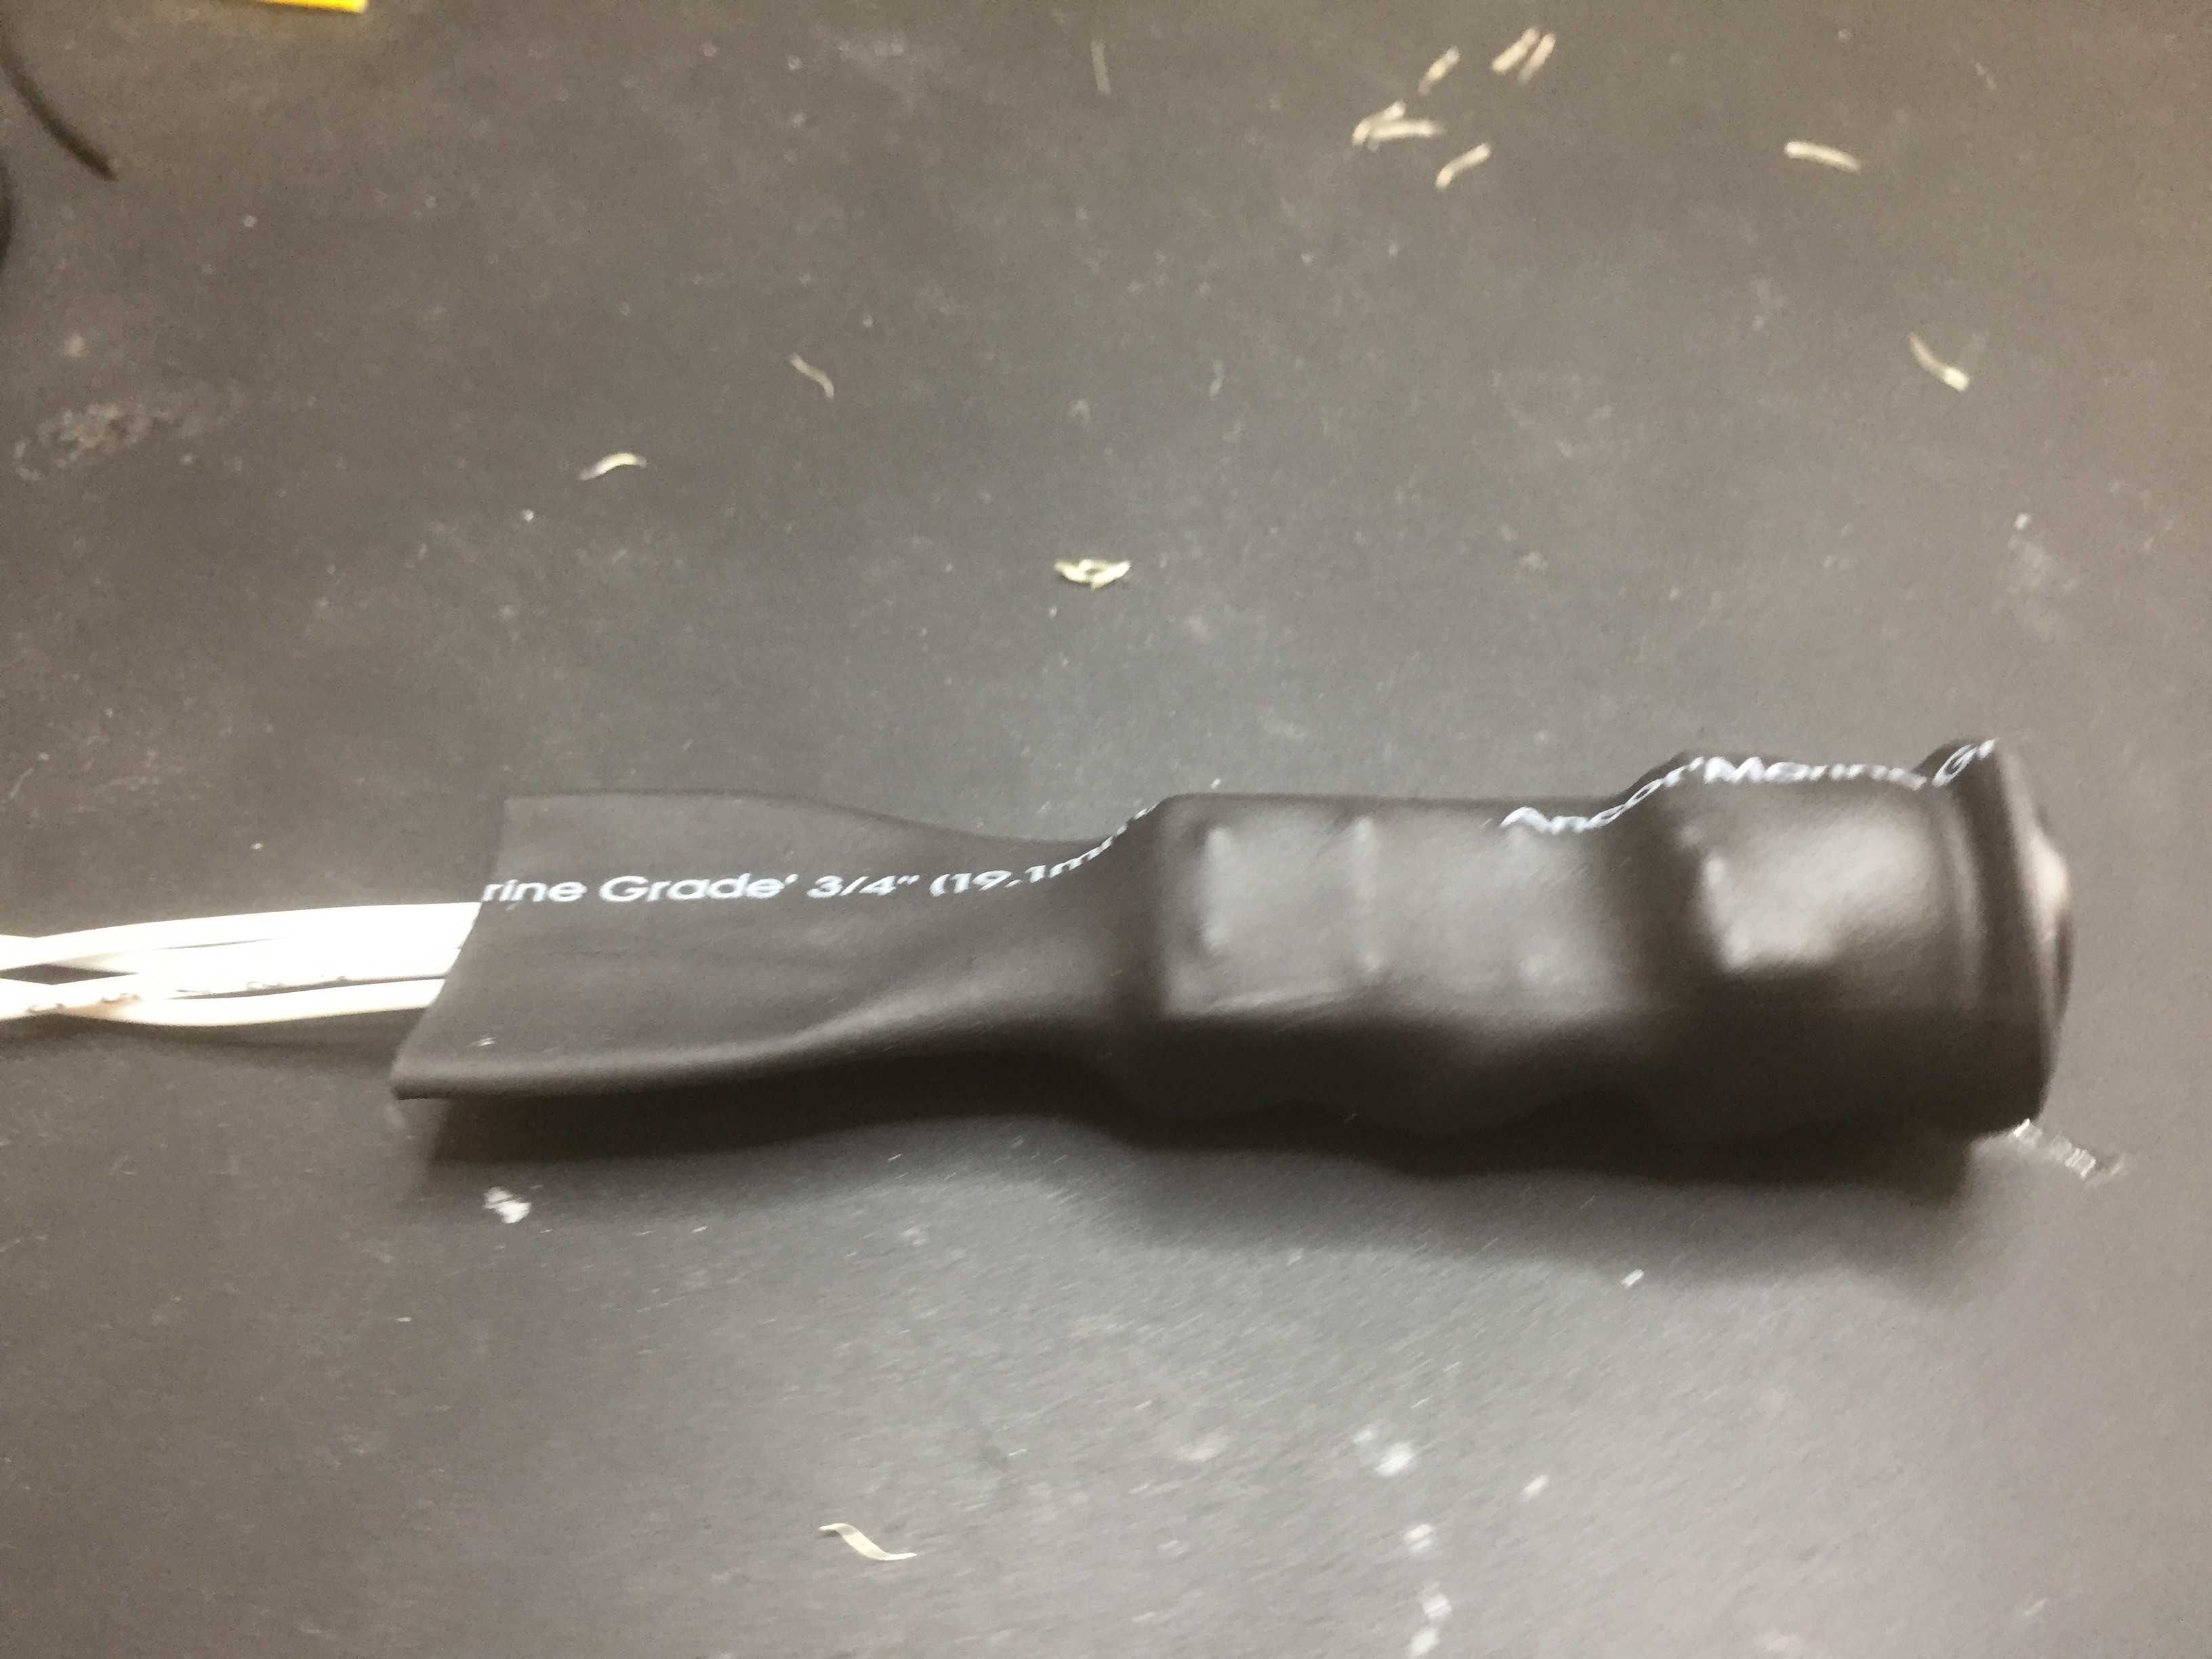
As the tubing is heated it contracts around the components to make the seal. However care must be taken to "squish" the end near the wires flat so the glue will seal that end too (the wires are much smaller than the tubing so this won't happen naturally). The tubing gets very hot during this process so remember to squish the tubing with something other than your hand so you don't burn yourself (like I did!).
The hardest piece of this design to encapsulate properly are the four wires entering the tubing. These must be separated so the glue from the tubing can ooze between them and make a water tight seal. The first time I did this I didn't get it right - so what can we do to fix it?
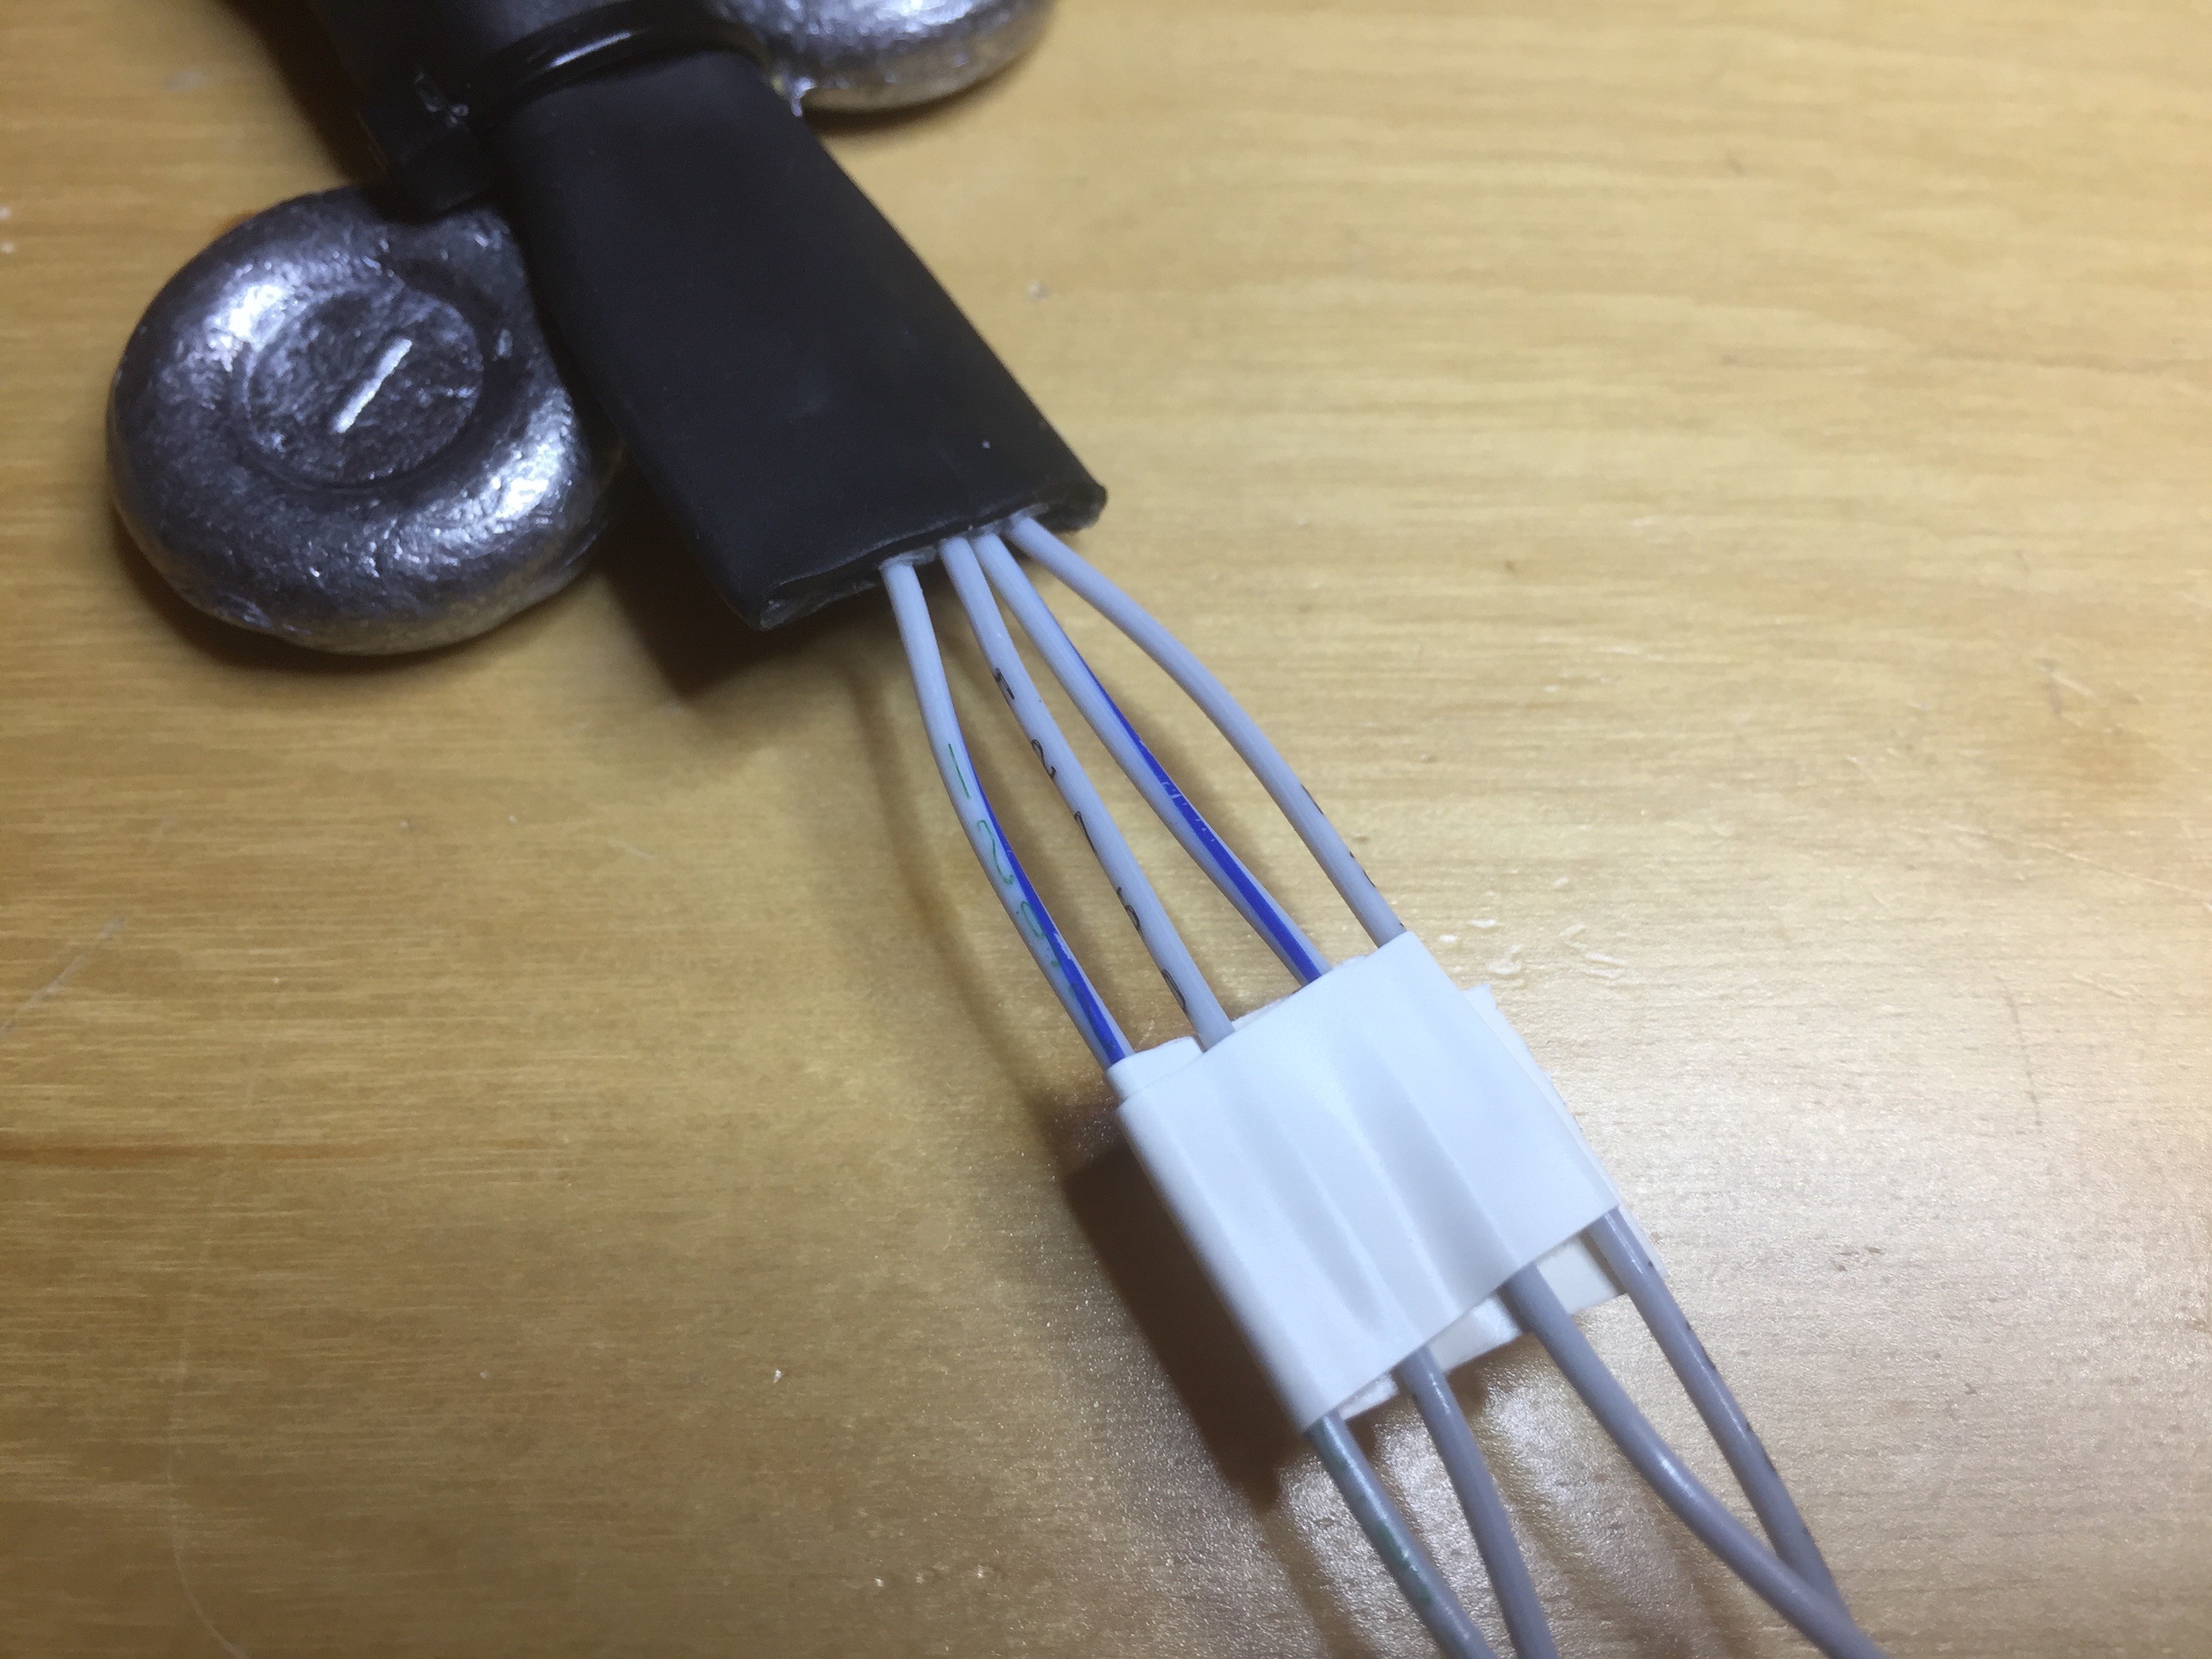
In the photo above you can see the wires leaving the tubing: note how the two middle ones are next to each other. Because there's no glue between them, water can easily wick up the channel they make and reach the electronics. Not good. The way to fix it is to re-encapsulate the wires by adding an additional piece of heat shrink tubing. To make sure the wires are separated this time, I carefully stuck them with insulation tape.
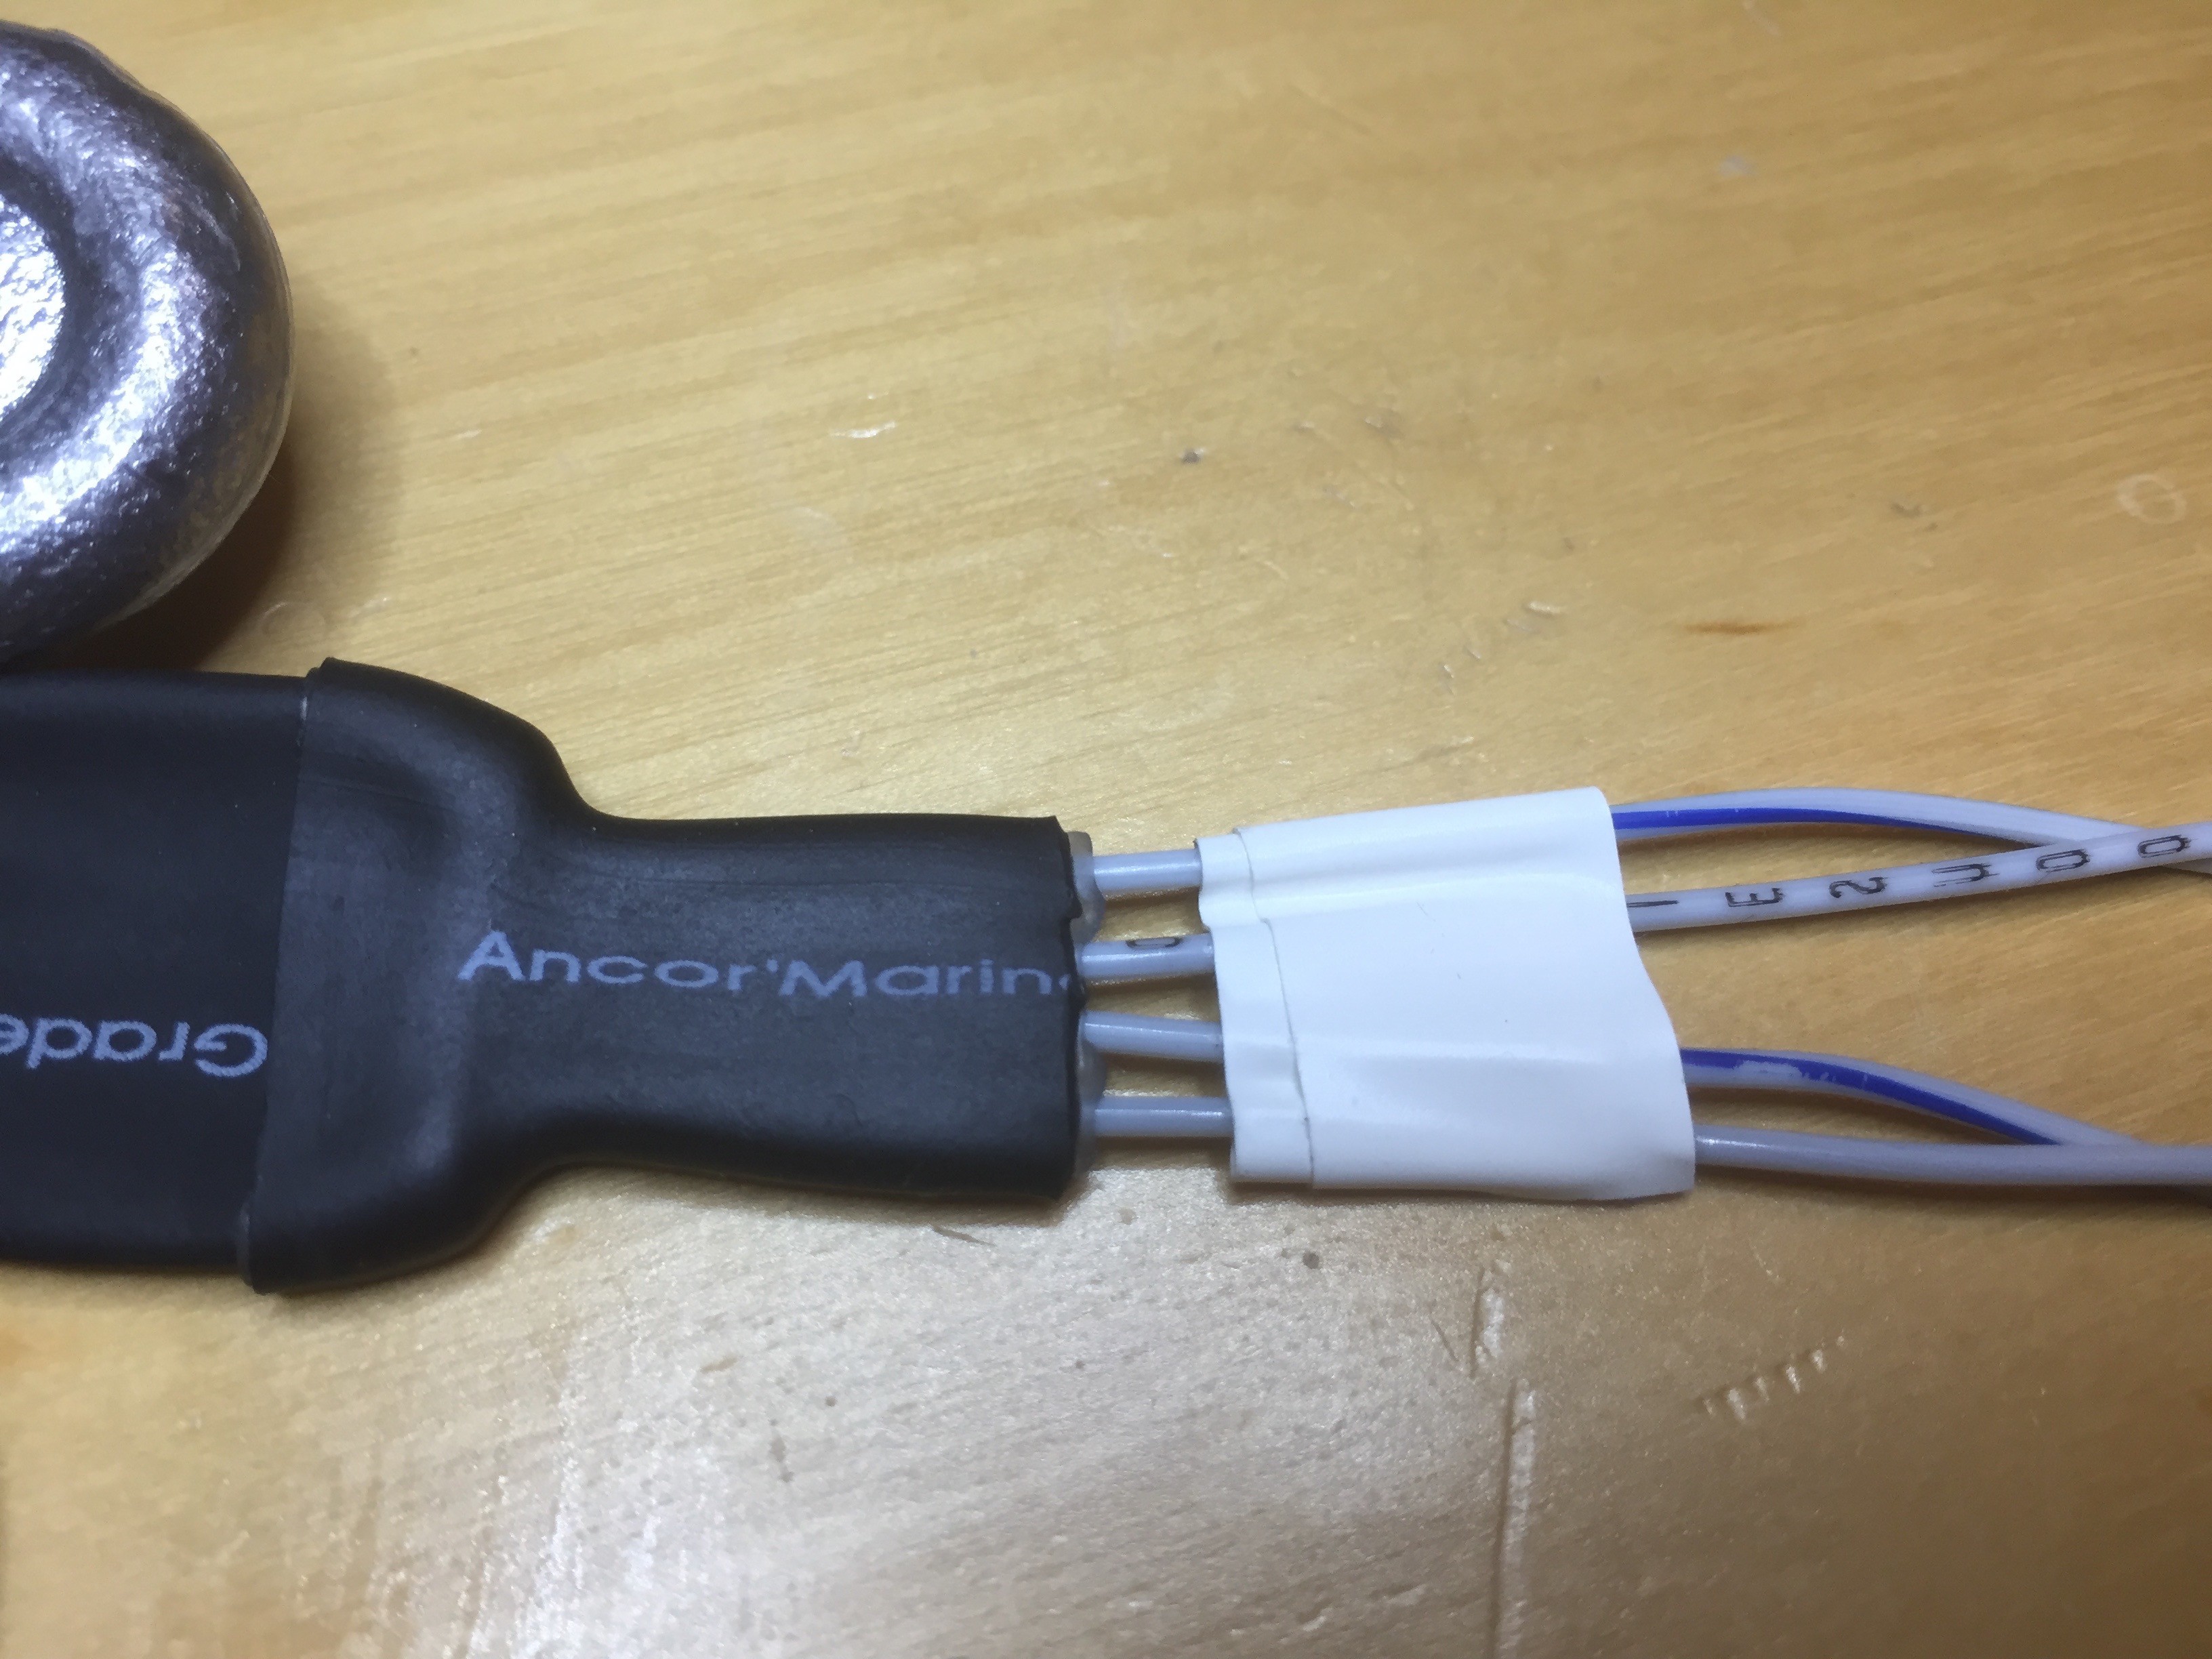
Here you see the connection with the new tubing attached. I used a smaller diameter piece this time (1/2") but the original size would work just as well. Note that the insulation tape should not end up inside the shrunk tubing when you're done and should be removed once everything has cooled down and dried.
Discussions
Become a Hackaday.io Member
Create an account to leave a comment. Already have an account? Log In.