Close
0%
0%

The Bit

A tongue IO device

Similar projects worth following
The goal of this project is to create a new input device that allows the user to control a mouse with a small sensor placed on the roof of the mouth.

I imagine this HCI will benefit those who have poor/nonexistent use of their fingers or those who need to use their hands elsewhere at the same time they control a mouse.

The alpha prototype includes a bite force sensor to activate tracking (with light pressure) and to detect clicks (firm pressure).

The beta prototype features front and back force sensing (can be used as a scroll wheel), laser measurement of distance to the tongue, absolute pressure, temperature, and of course optical tracking.

All design details will be made available. My goal is 100% open source and open hardware.

You can watch an overview of both prototypes here:
https://youtu.be/Usz7XhbfY84

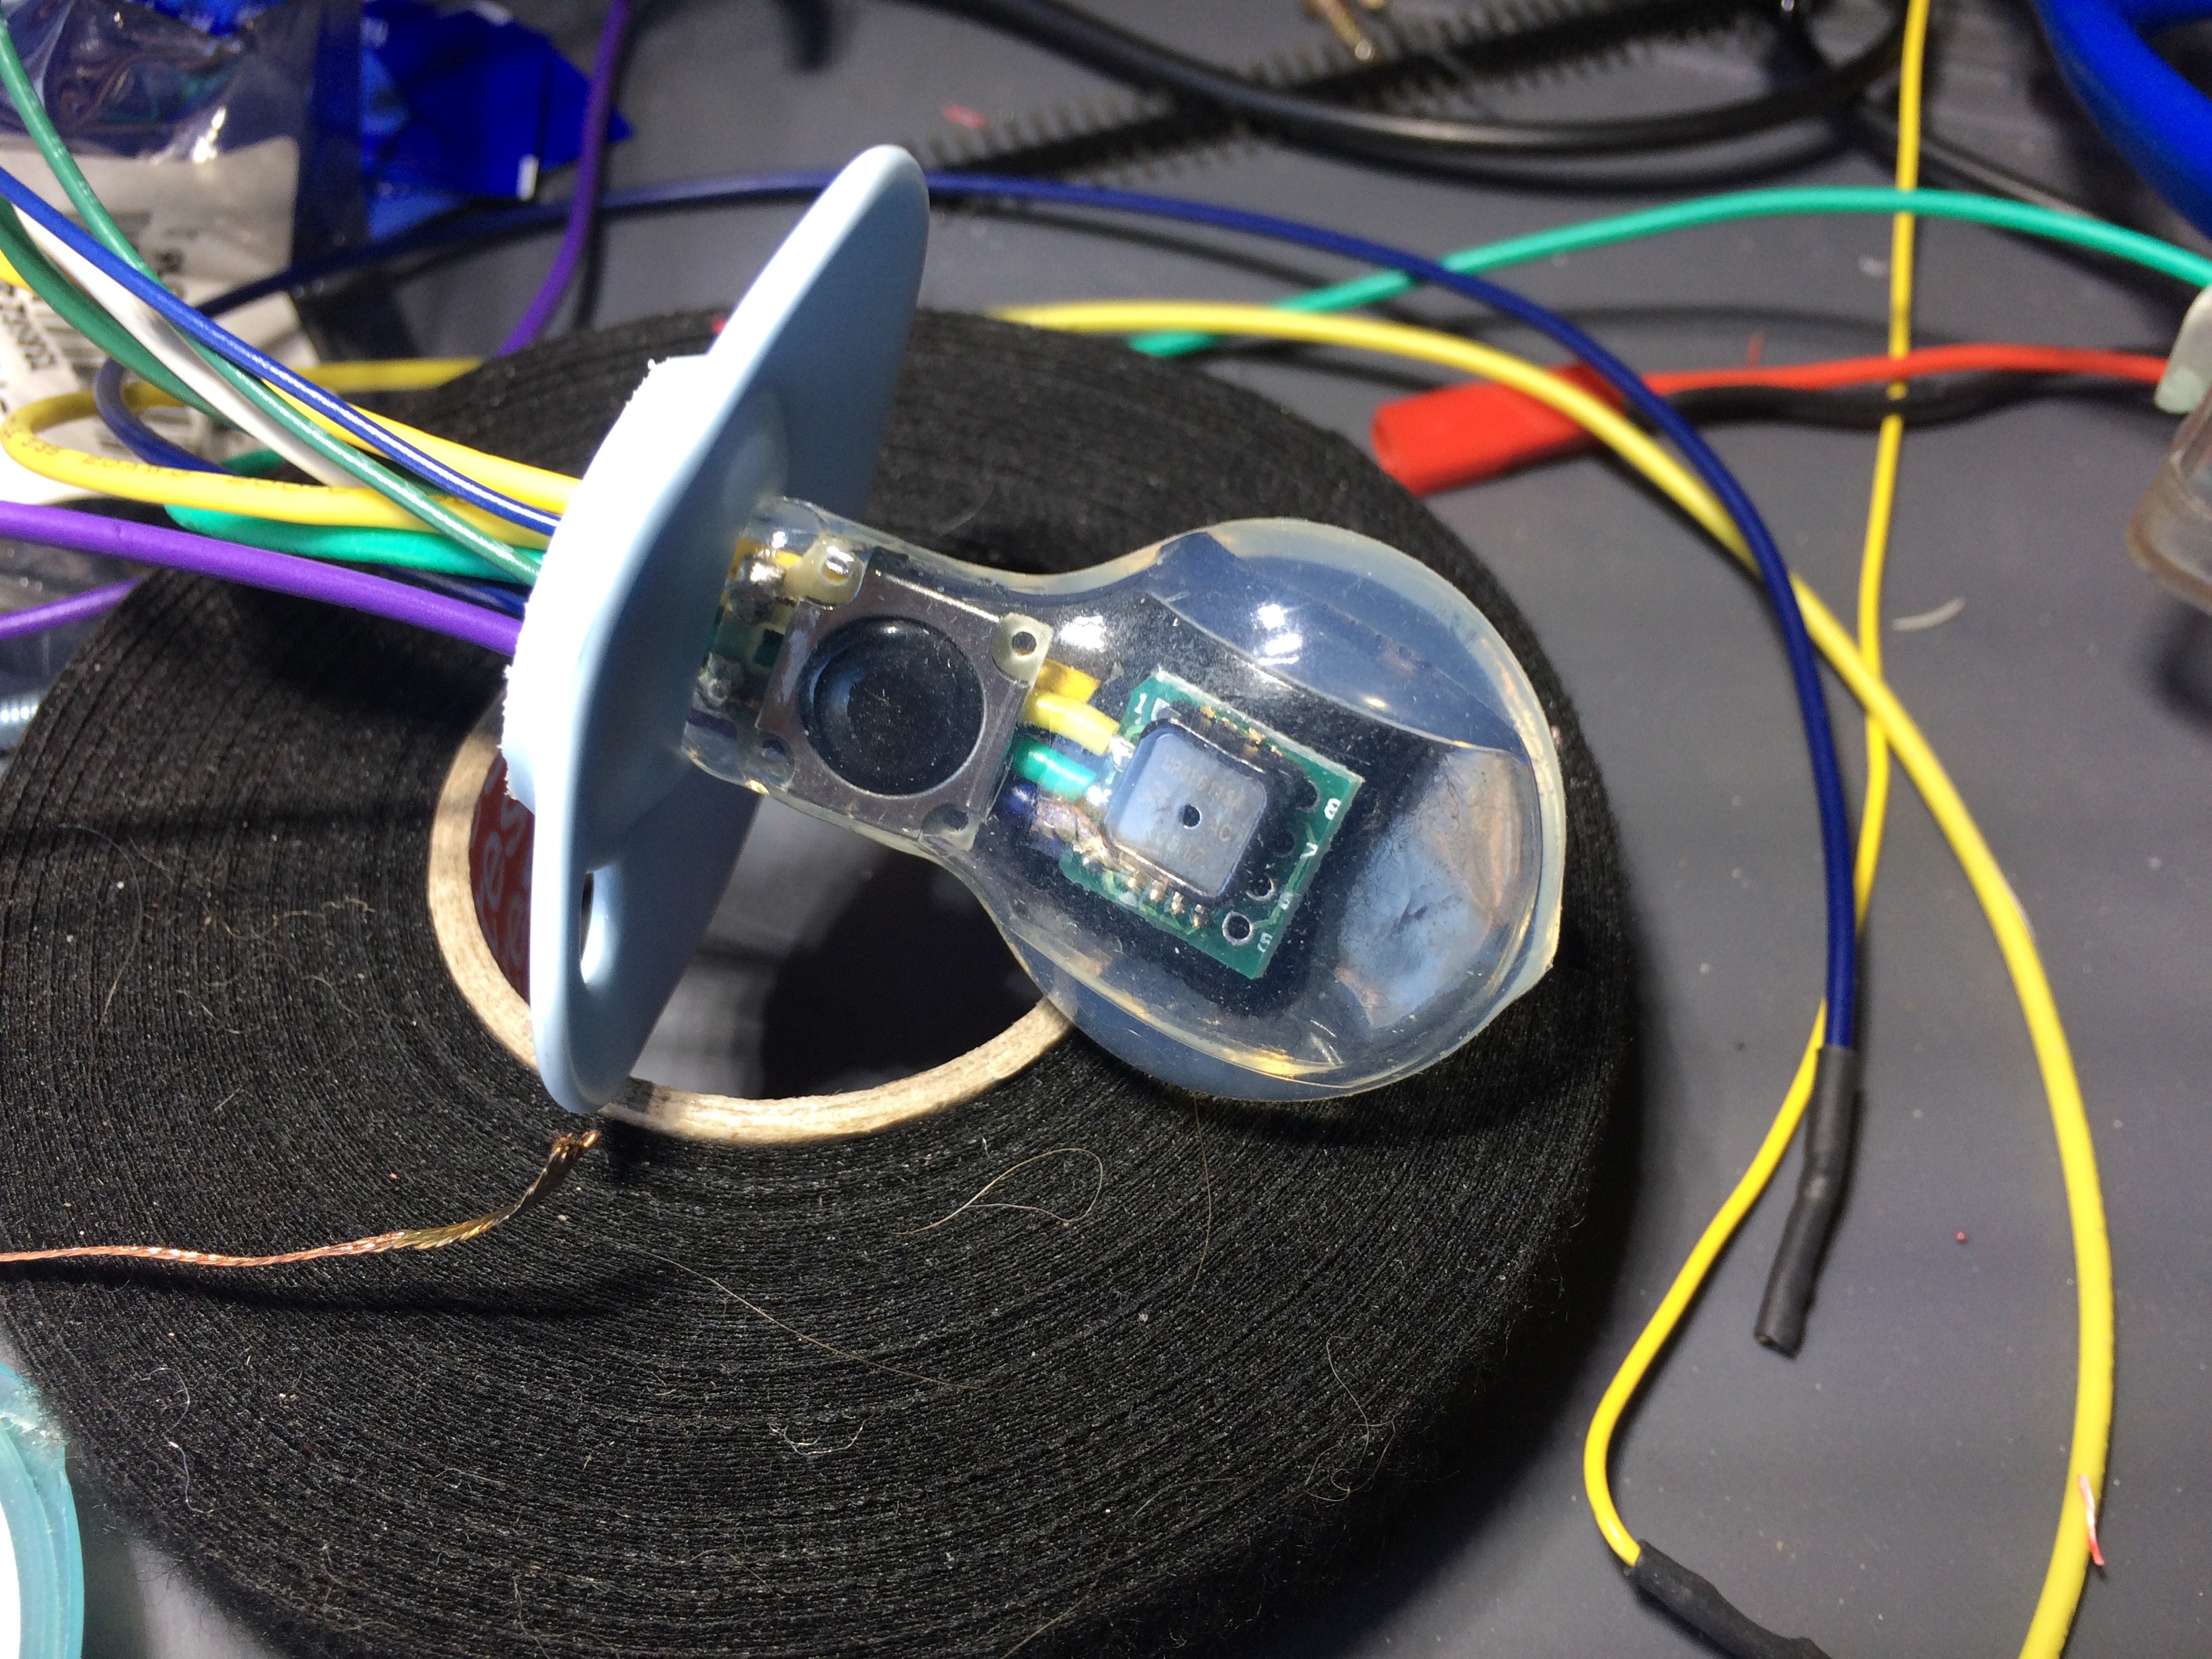
Initially I  was working to reverse engineer the interface for the optical trackpad/joystick/navigation buttons used on a number of blackberry phones. 

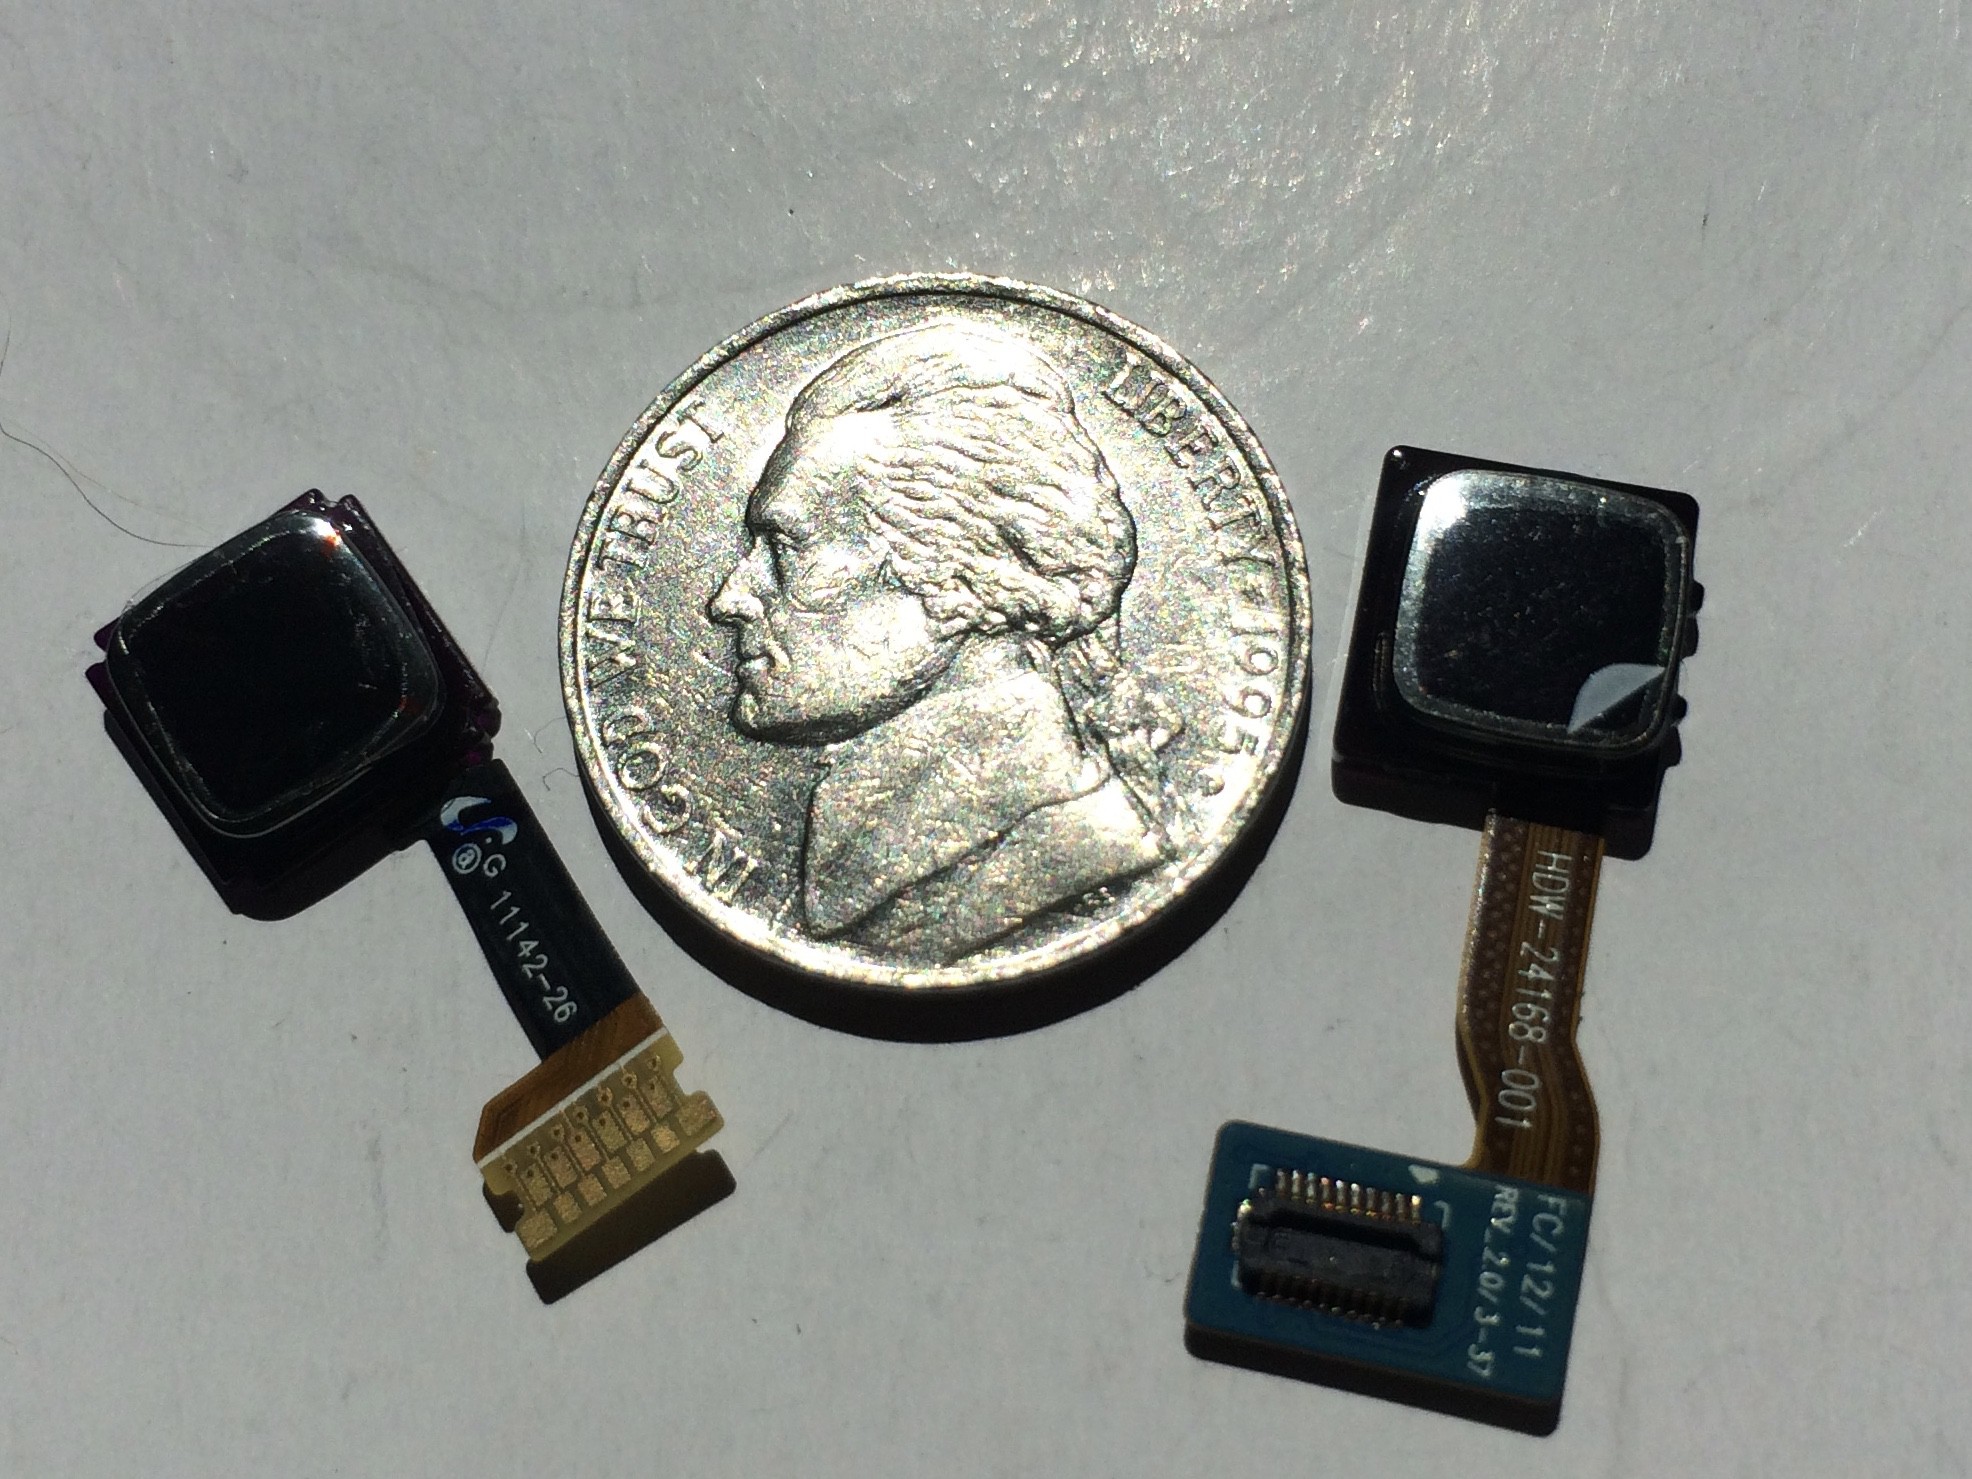
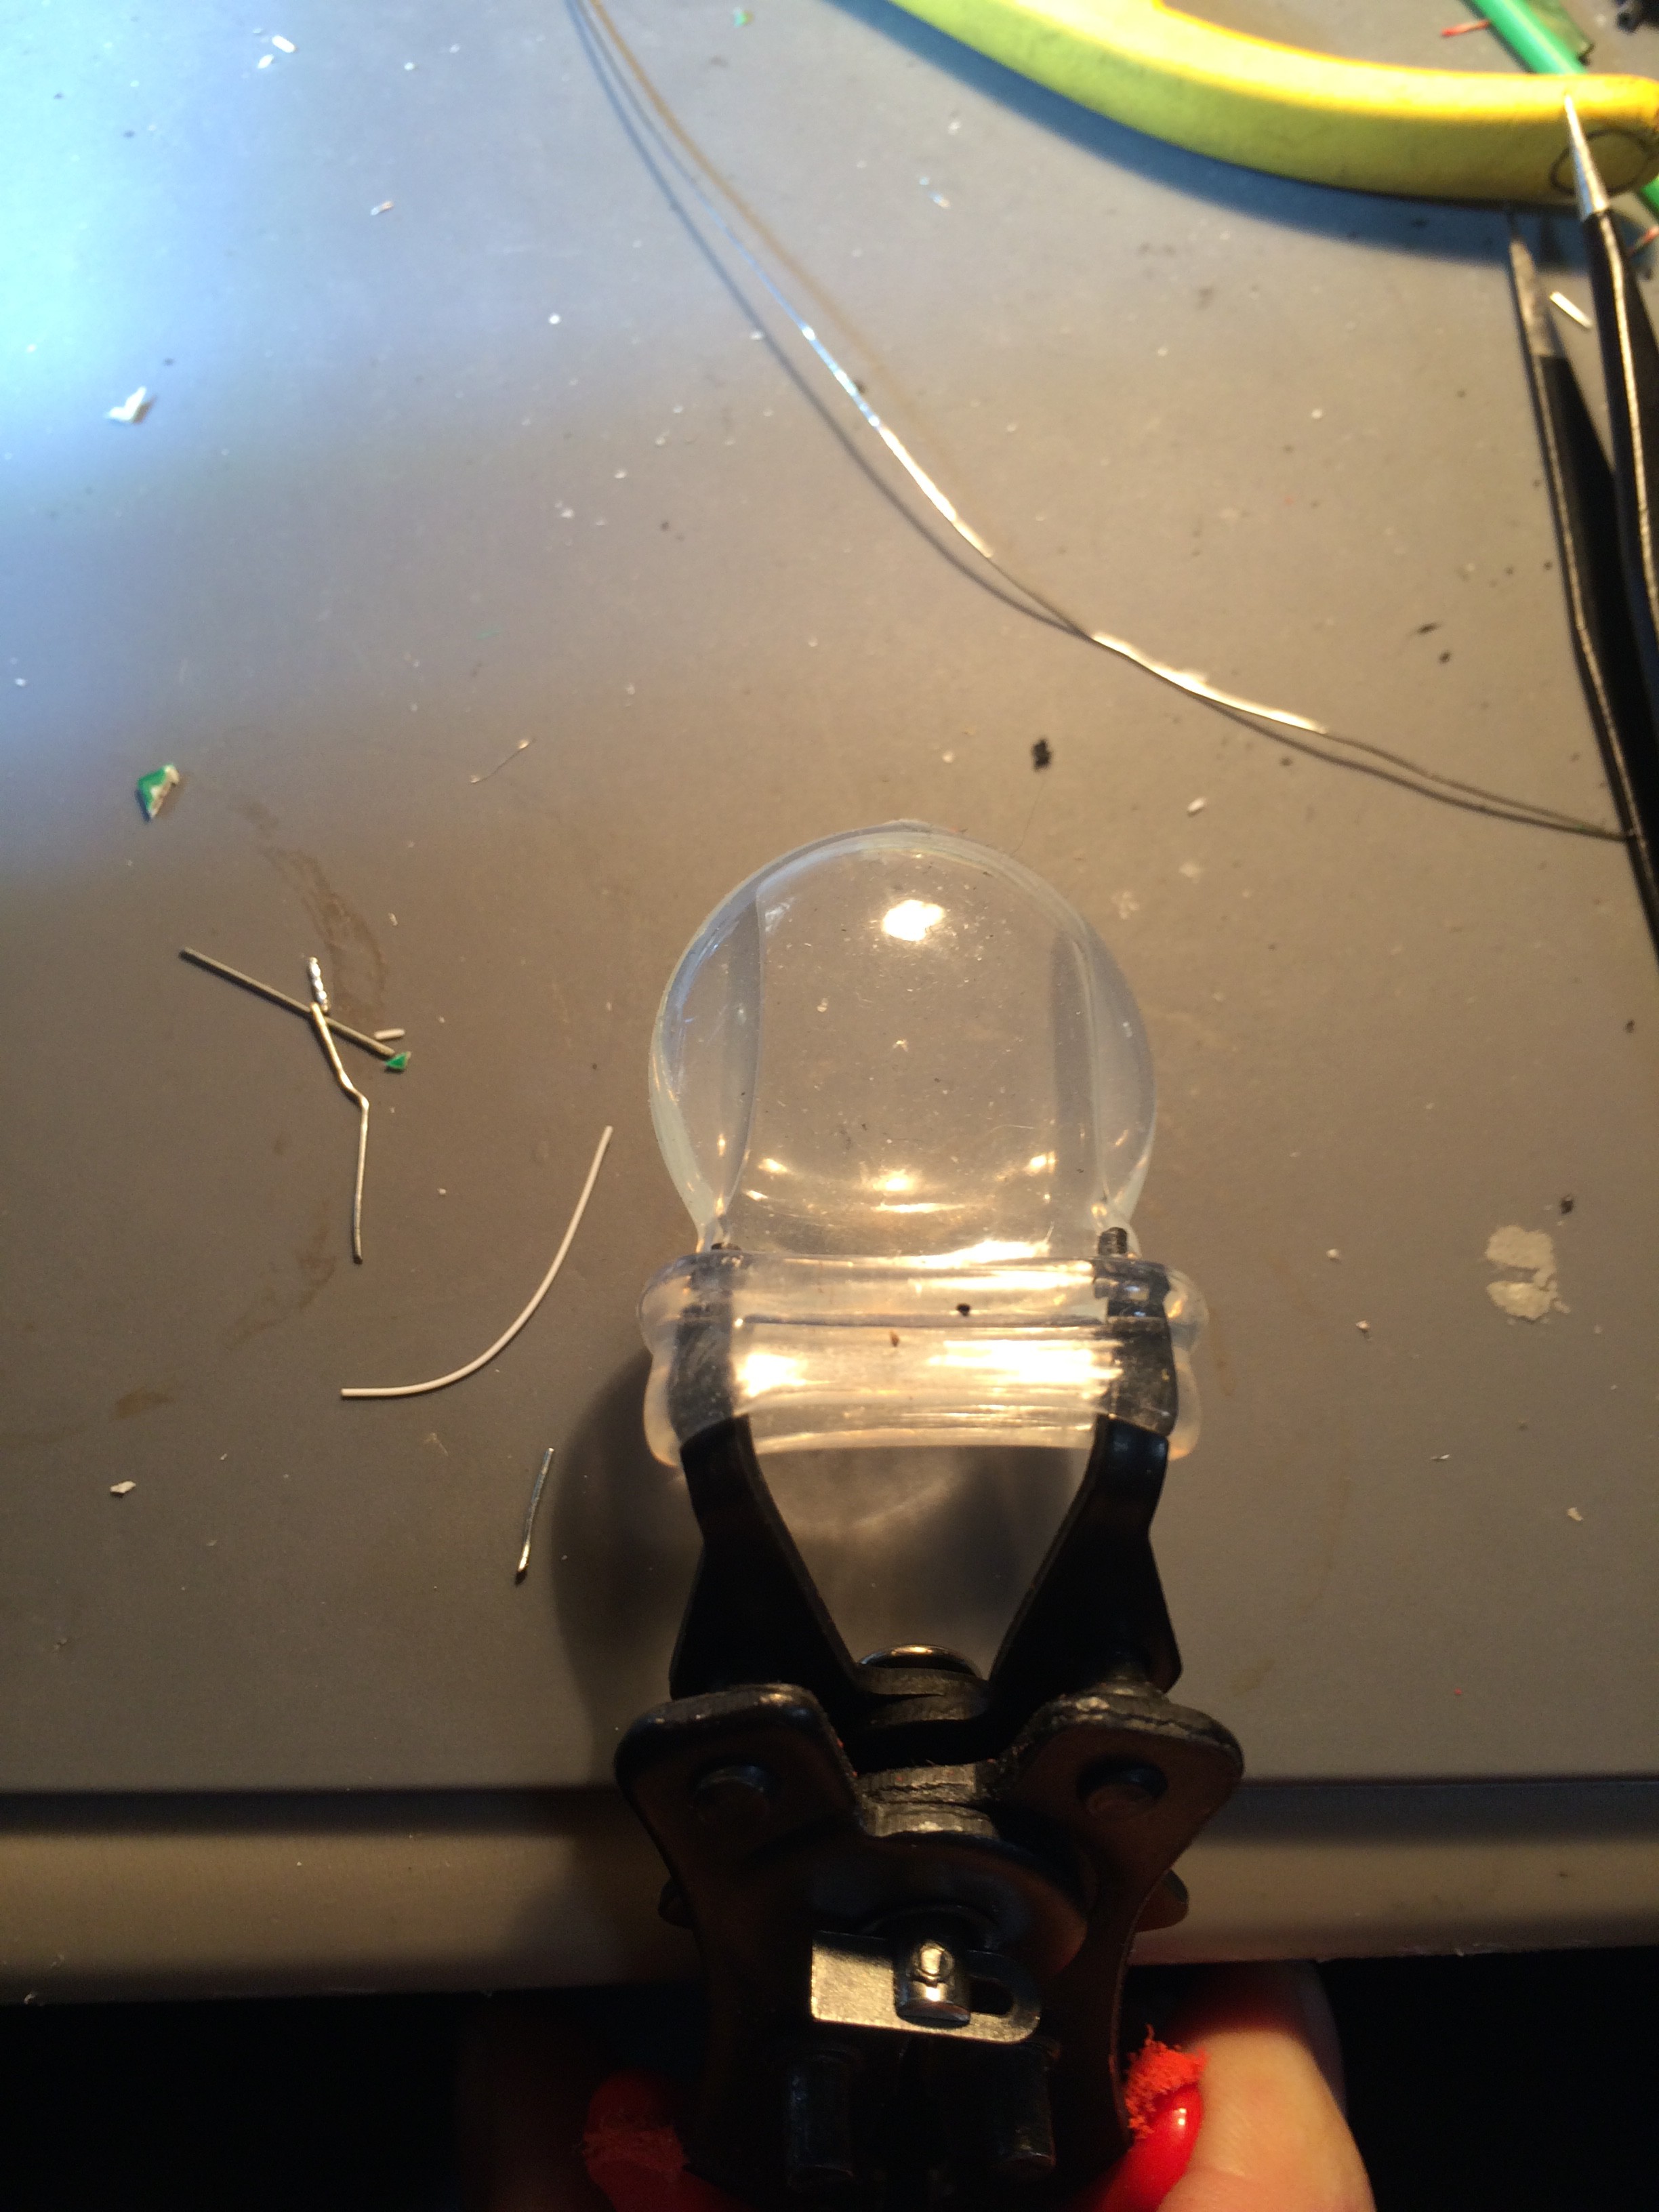
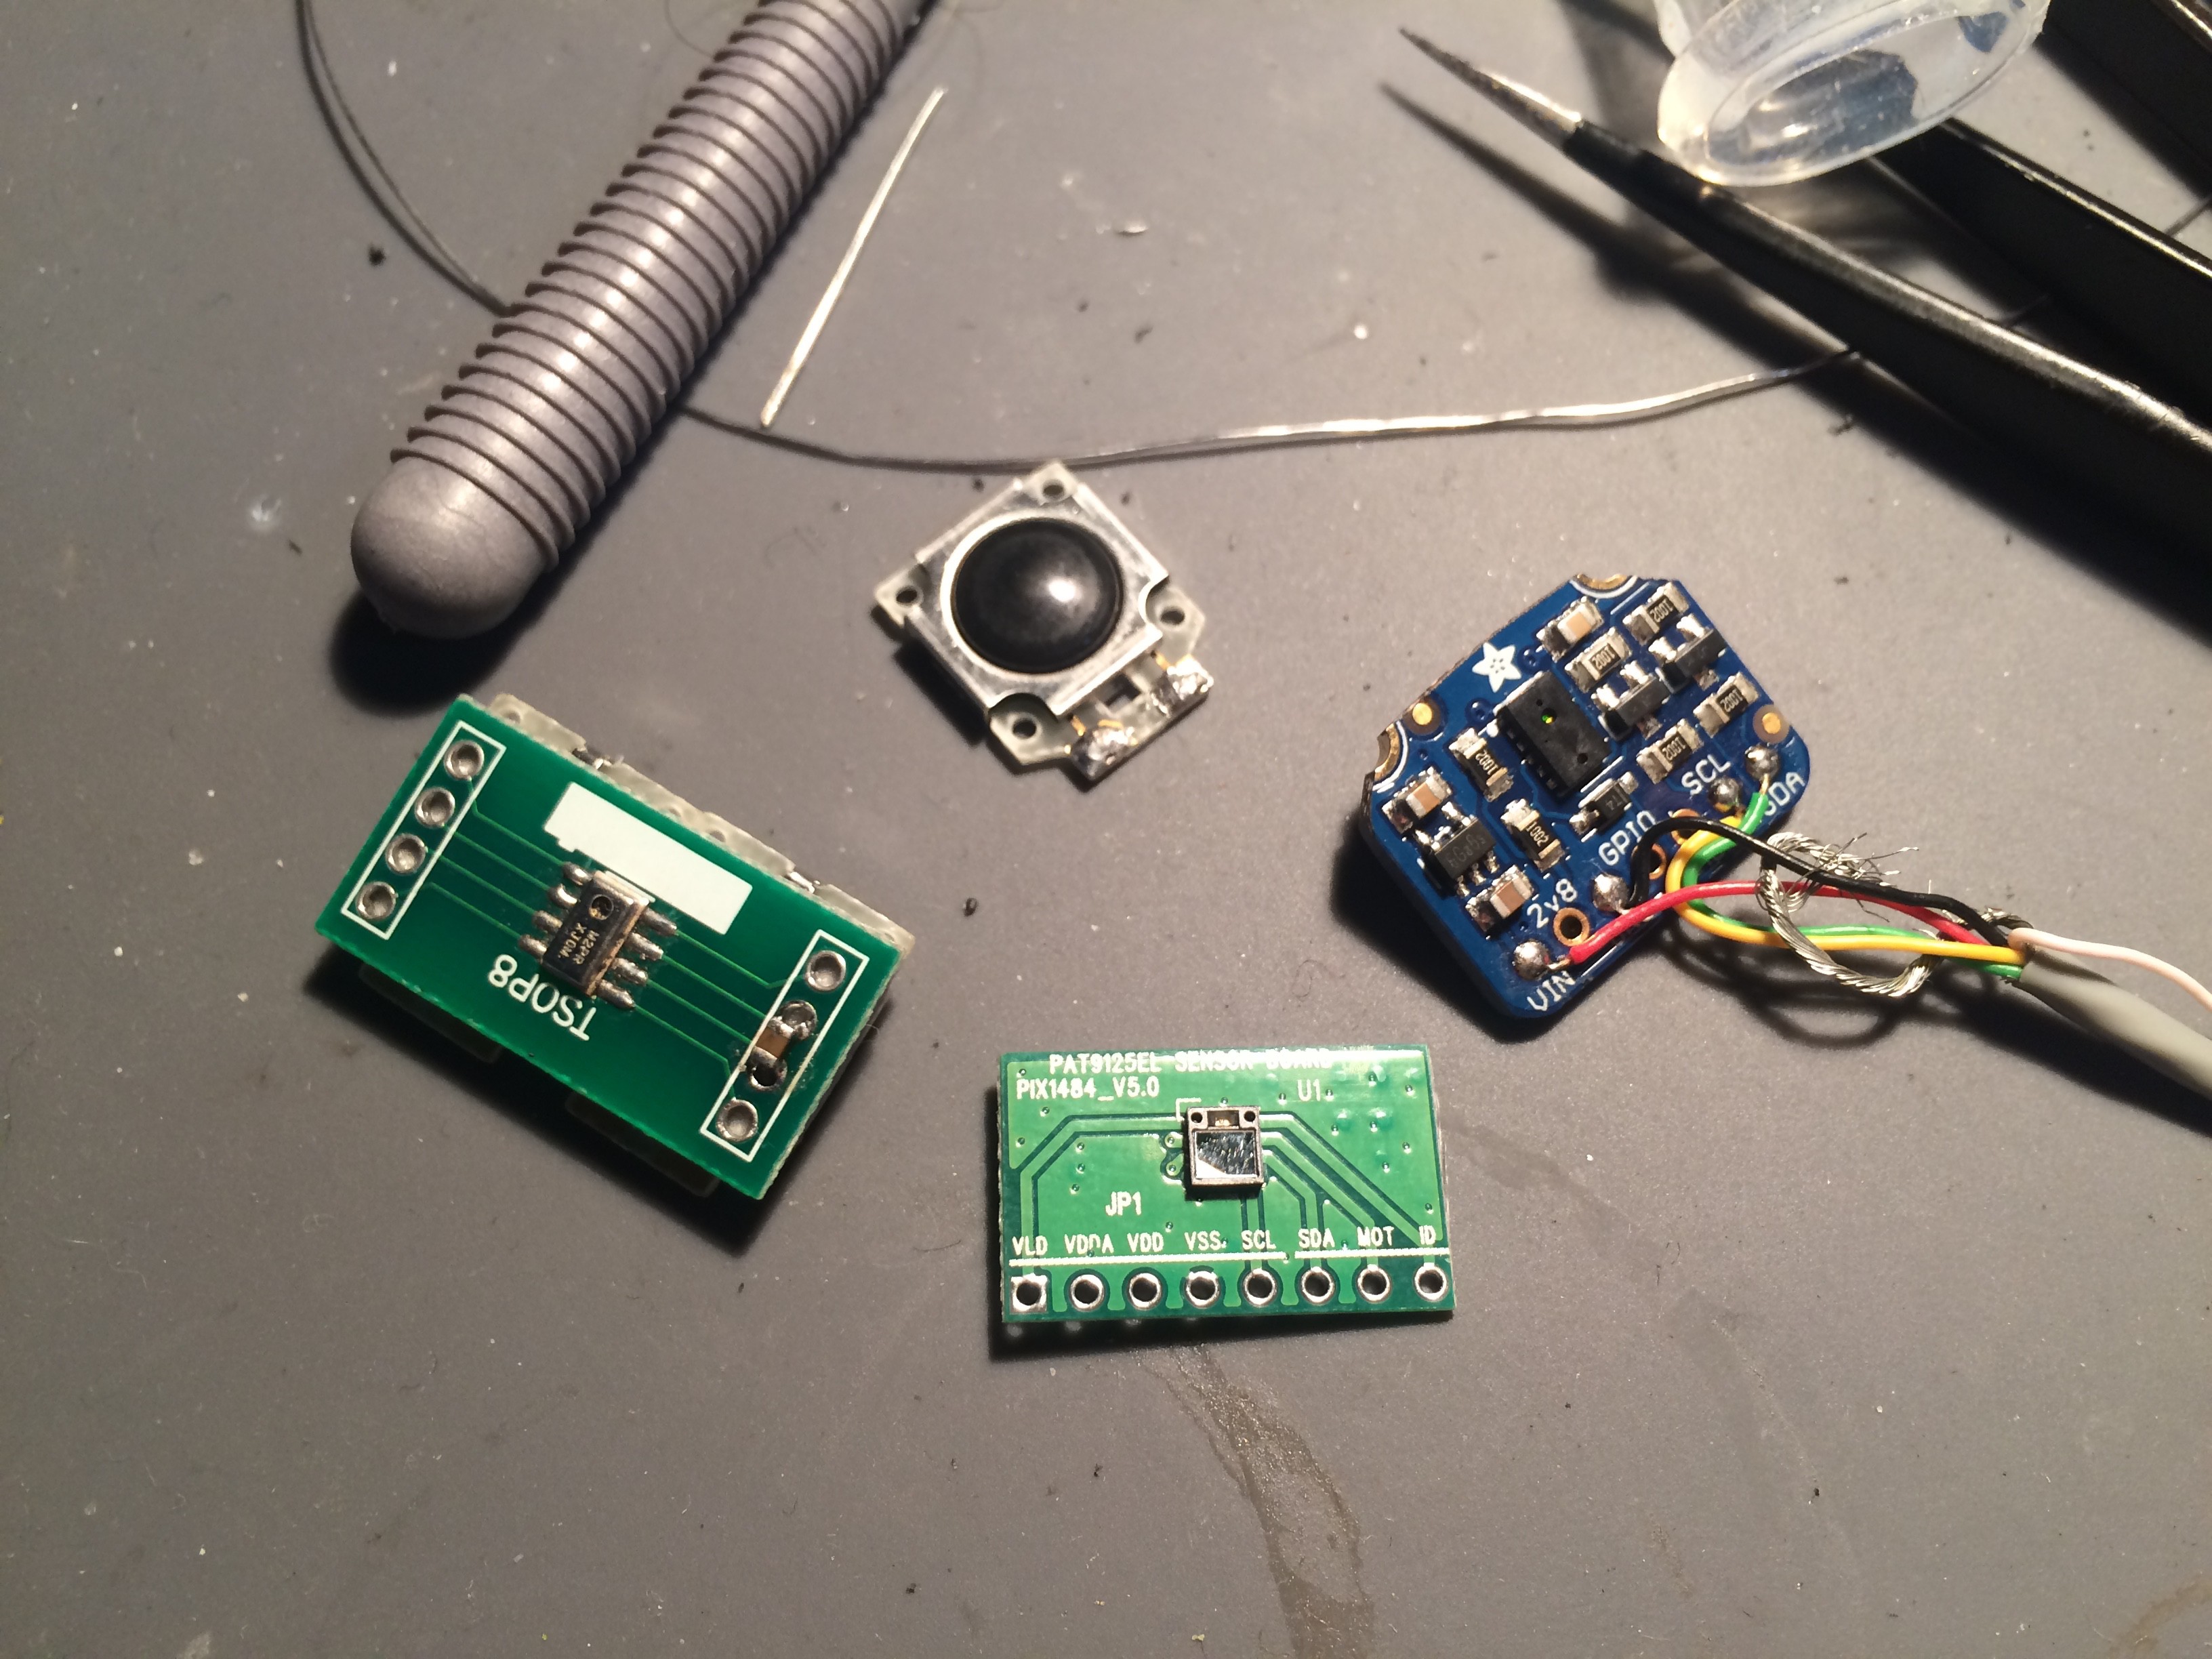
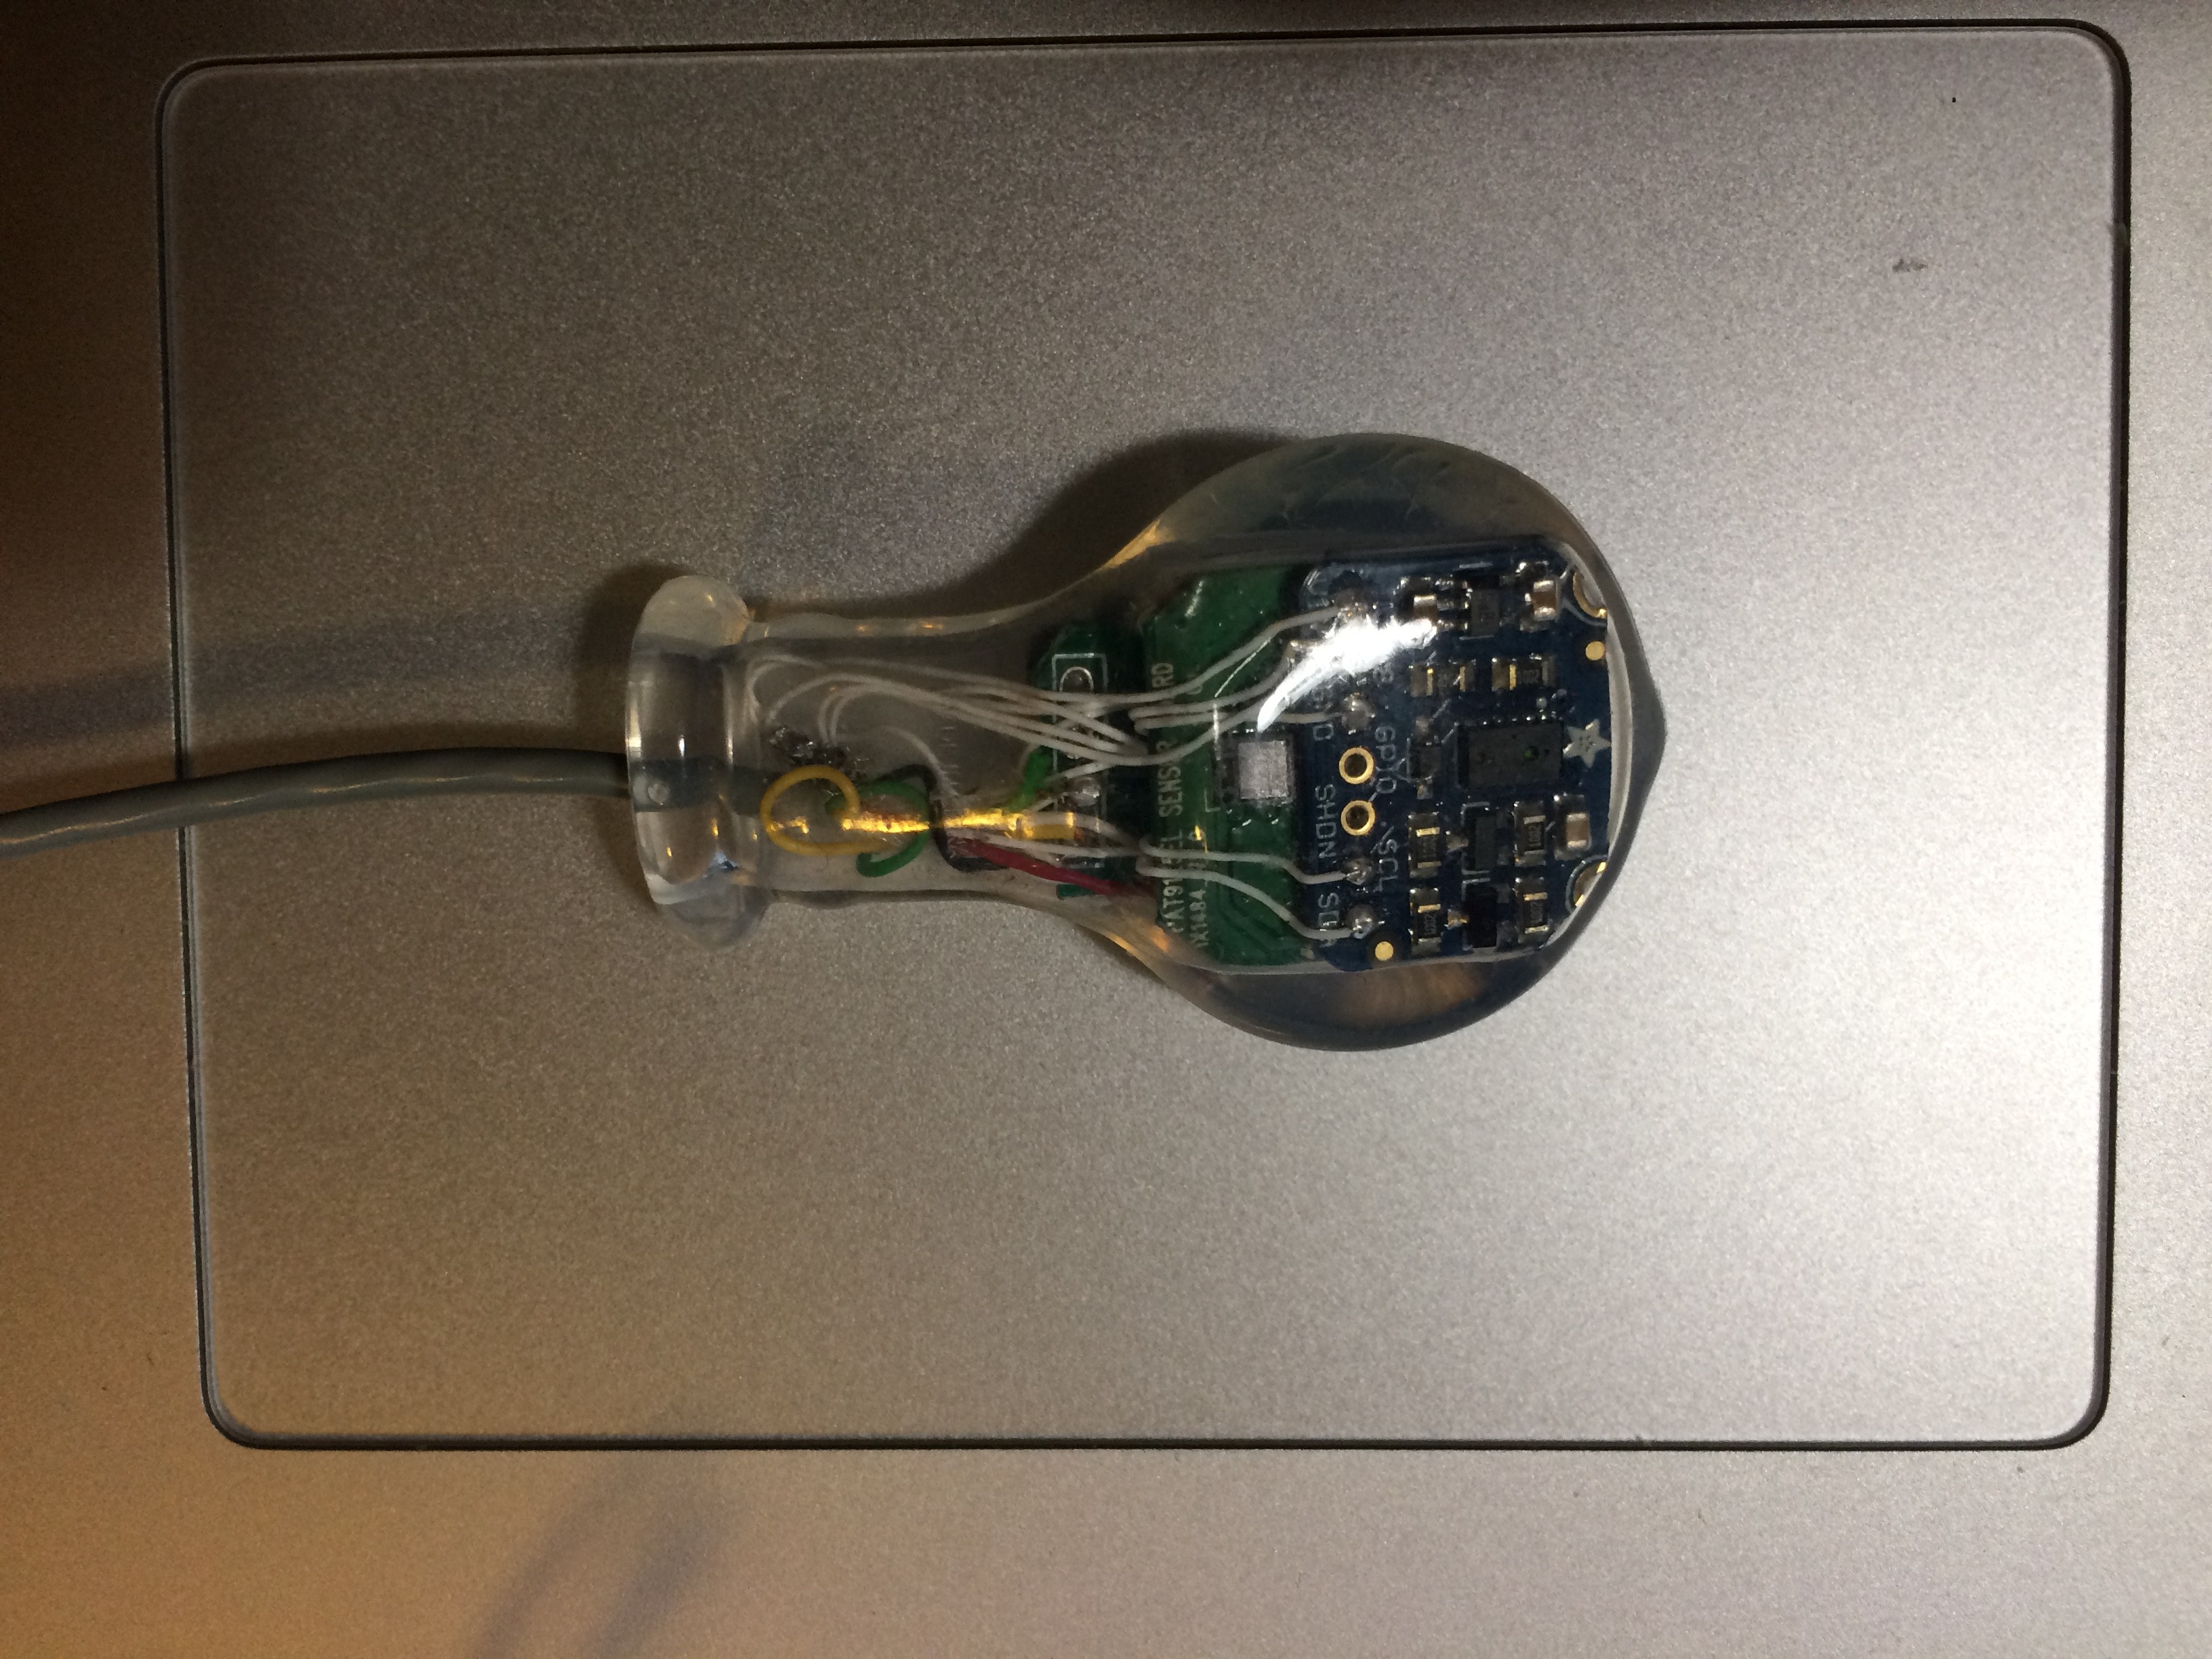
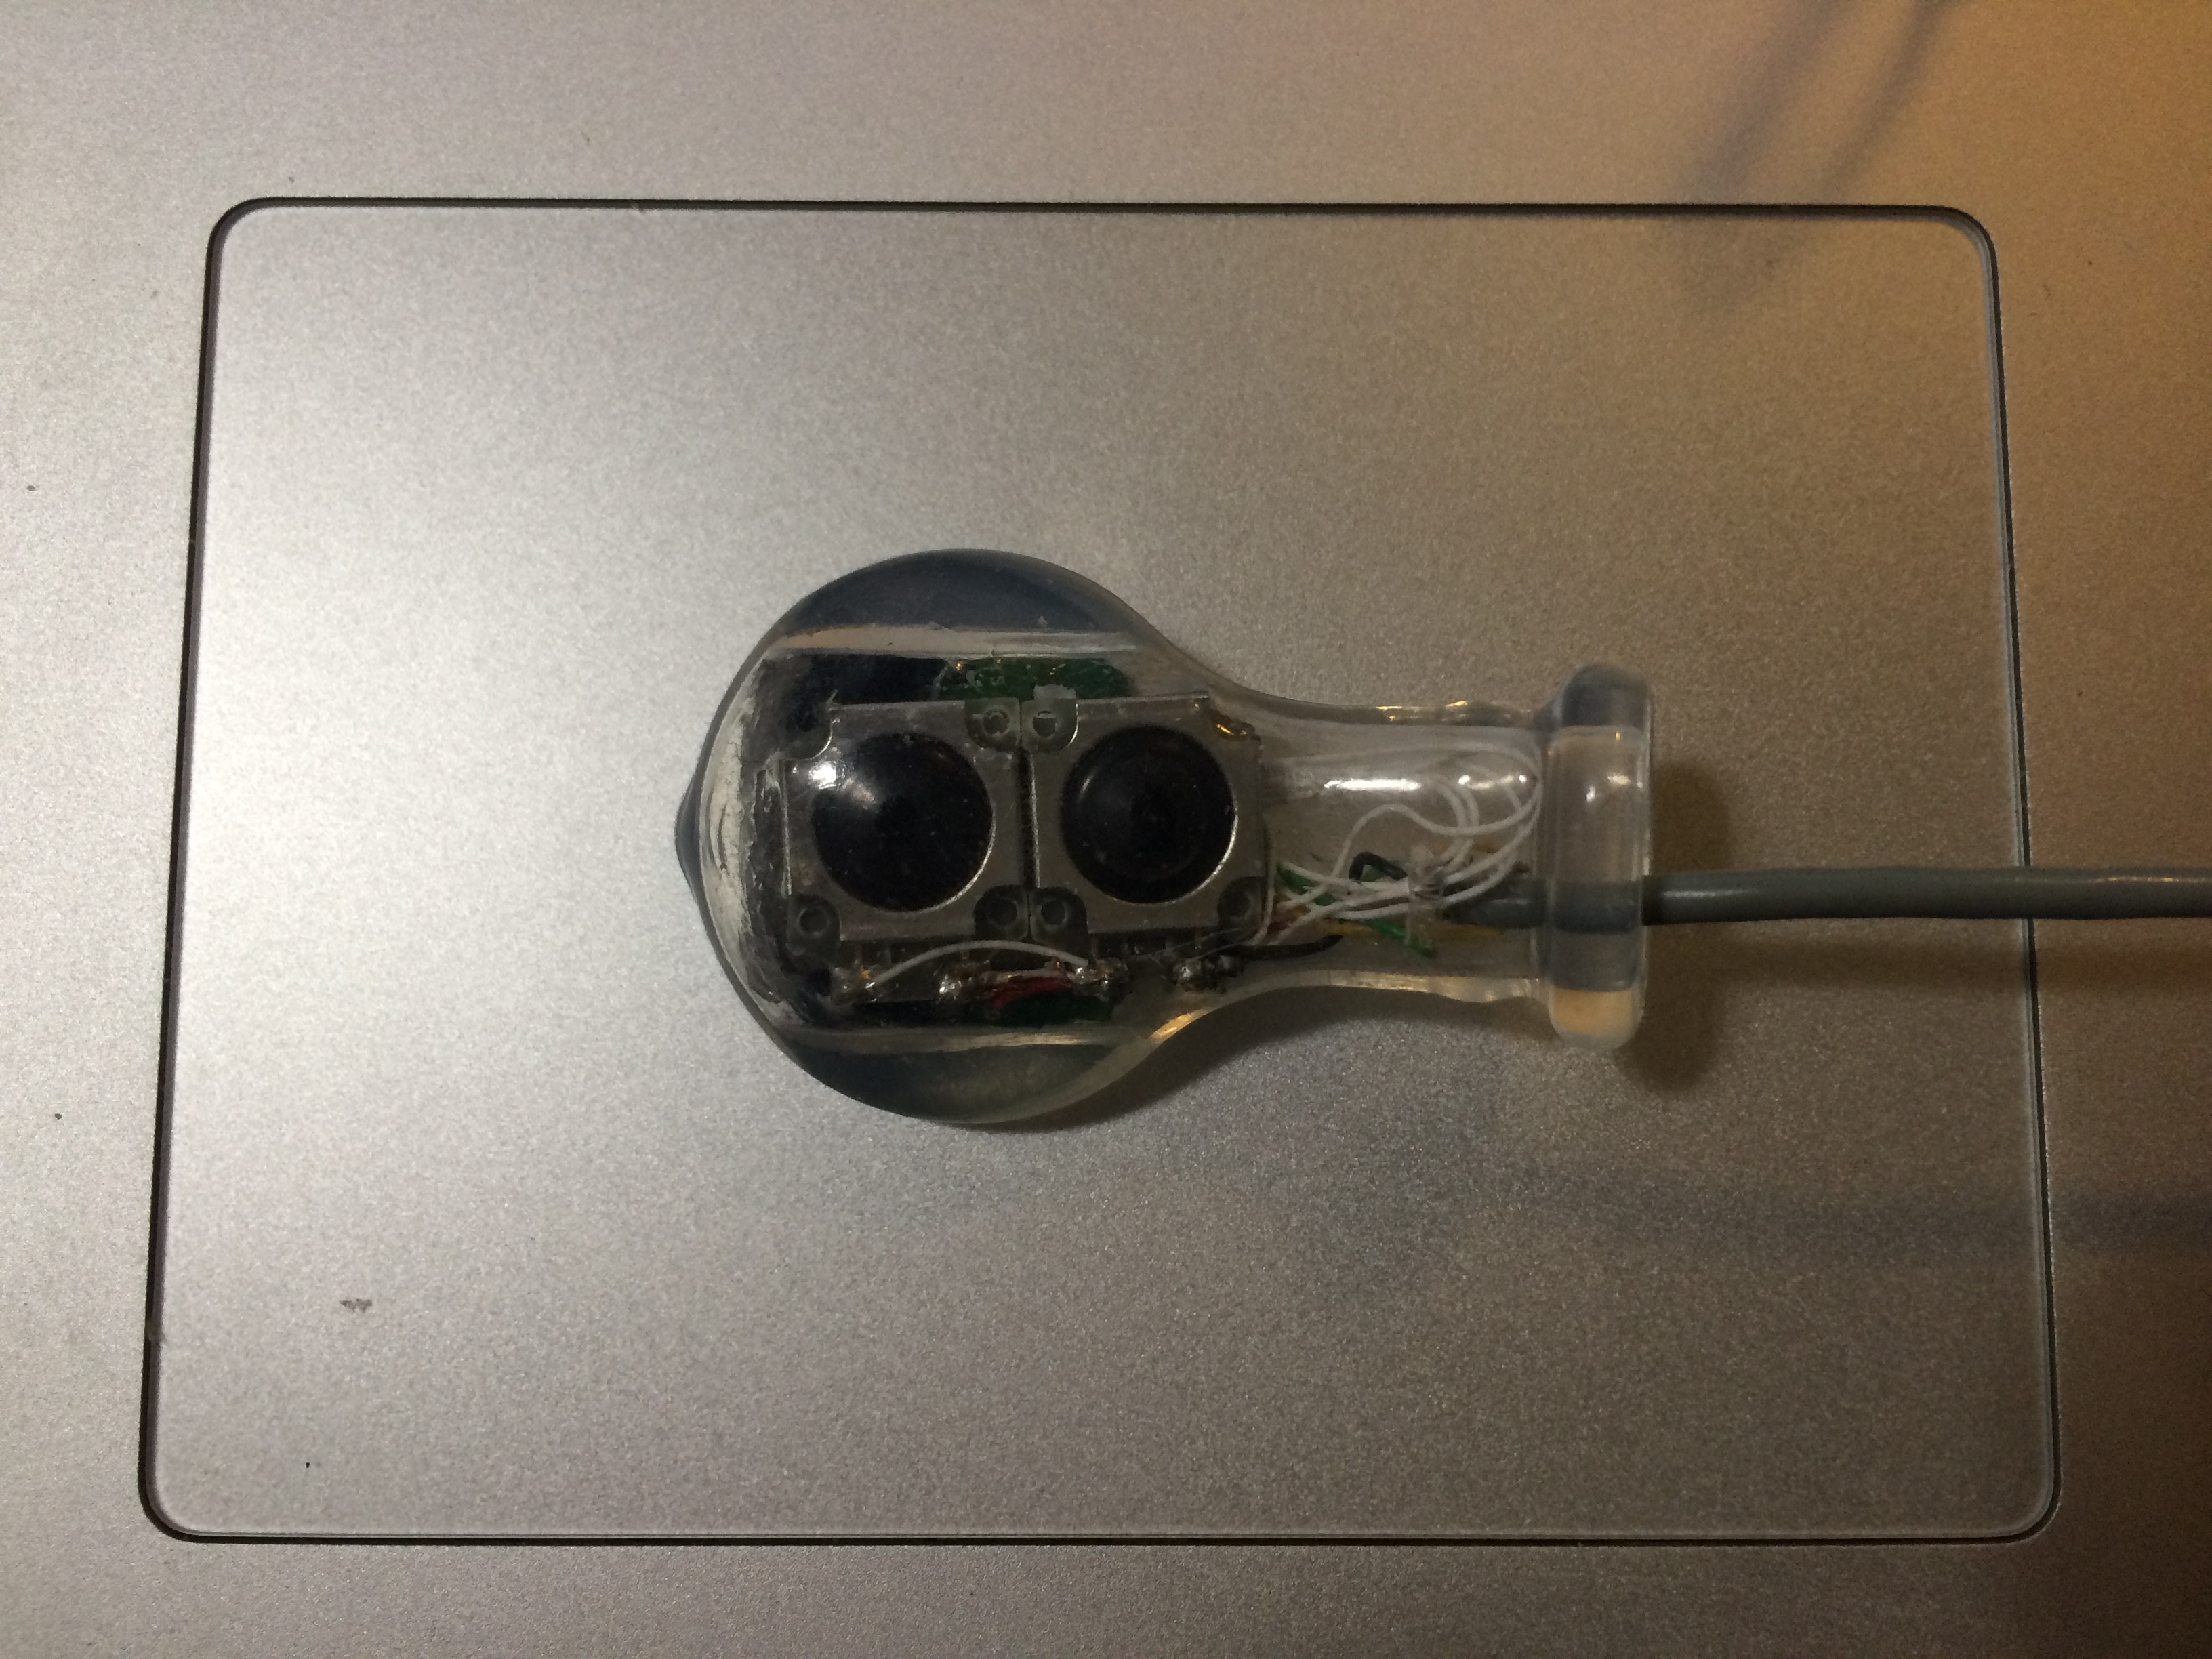
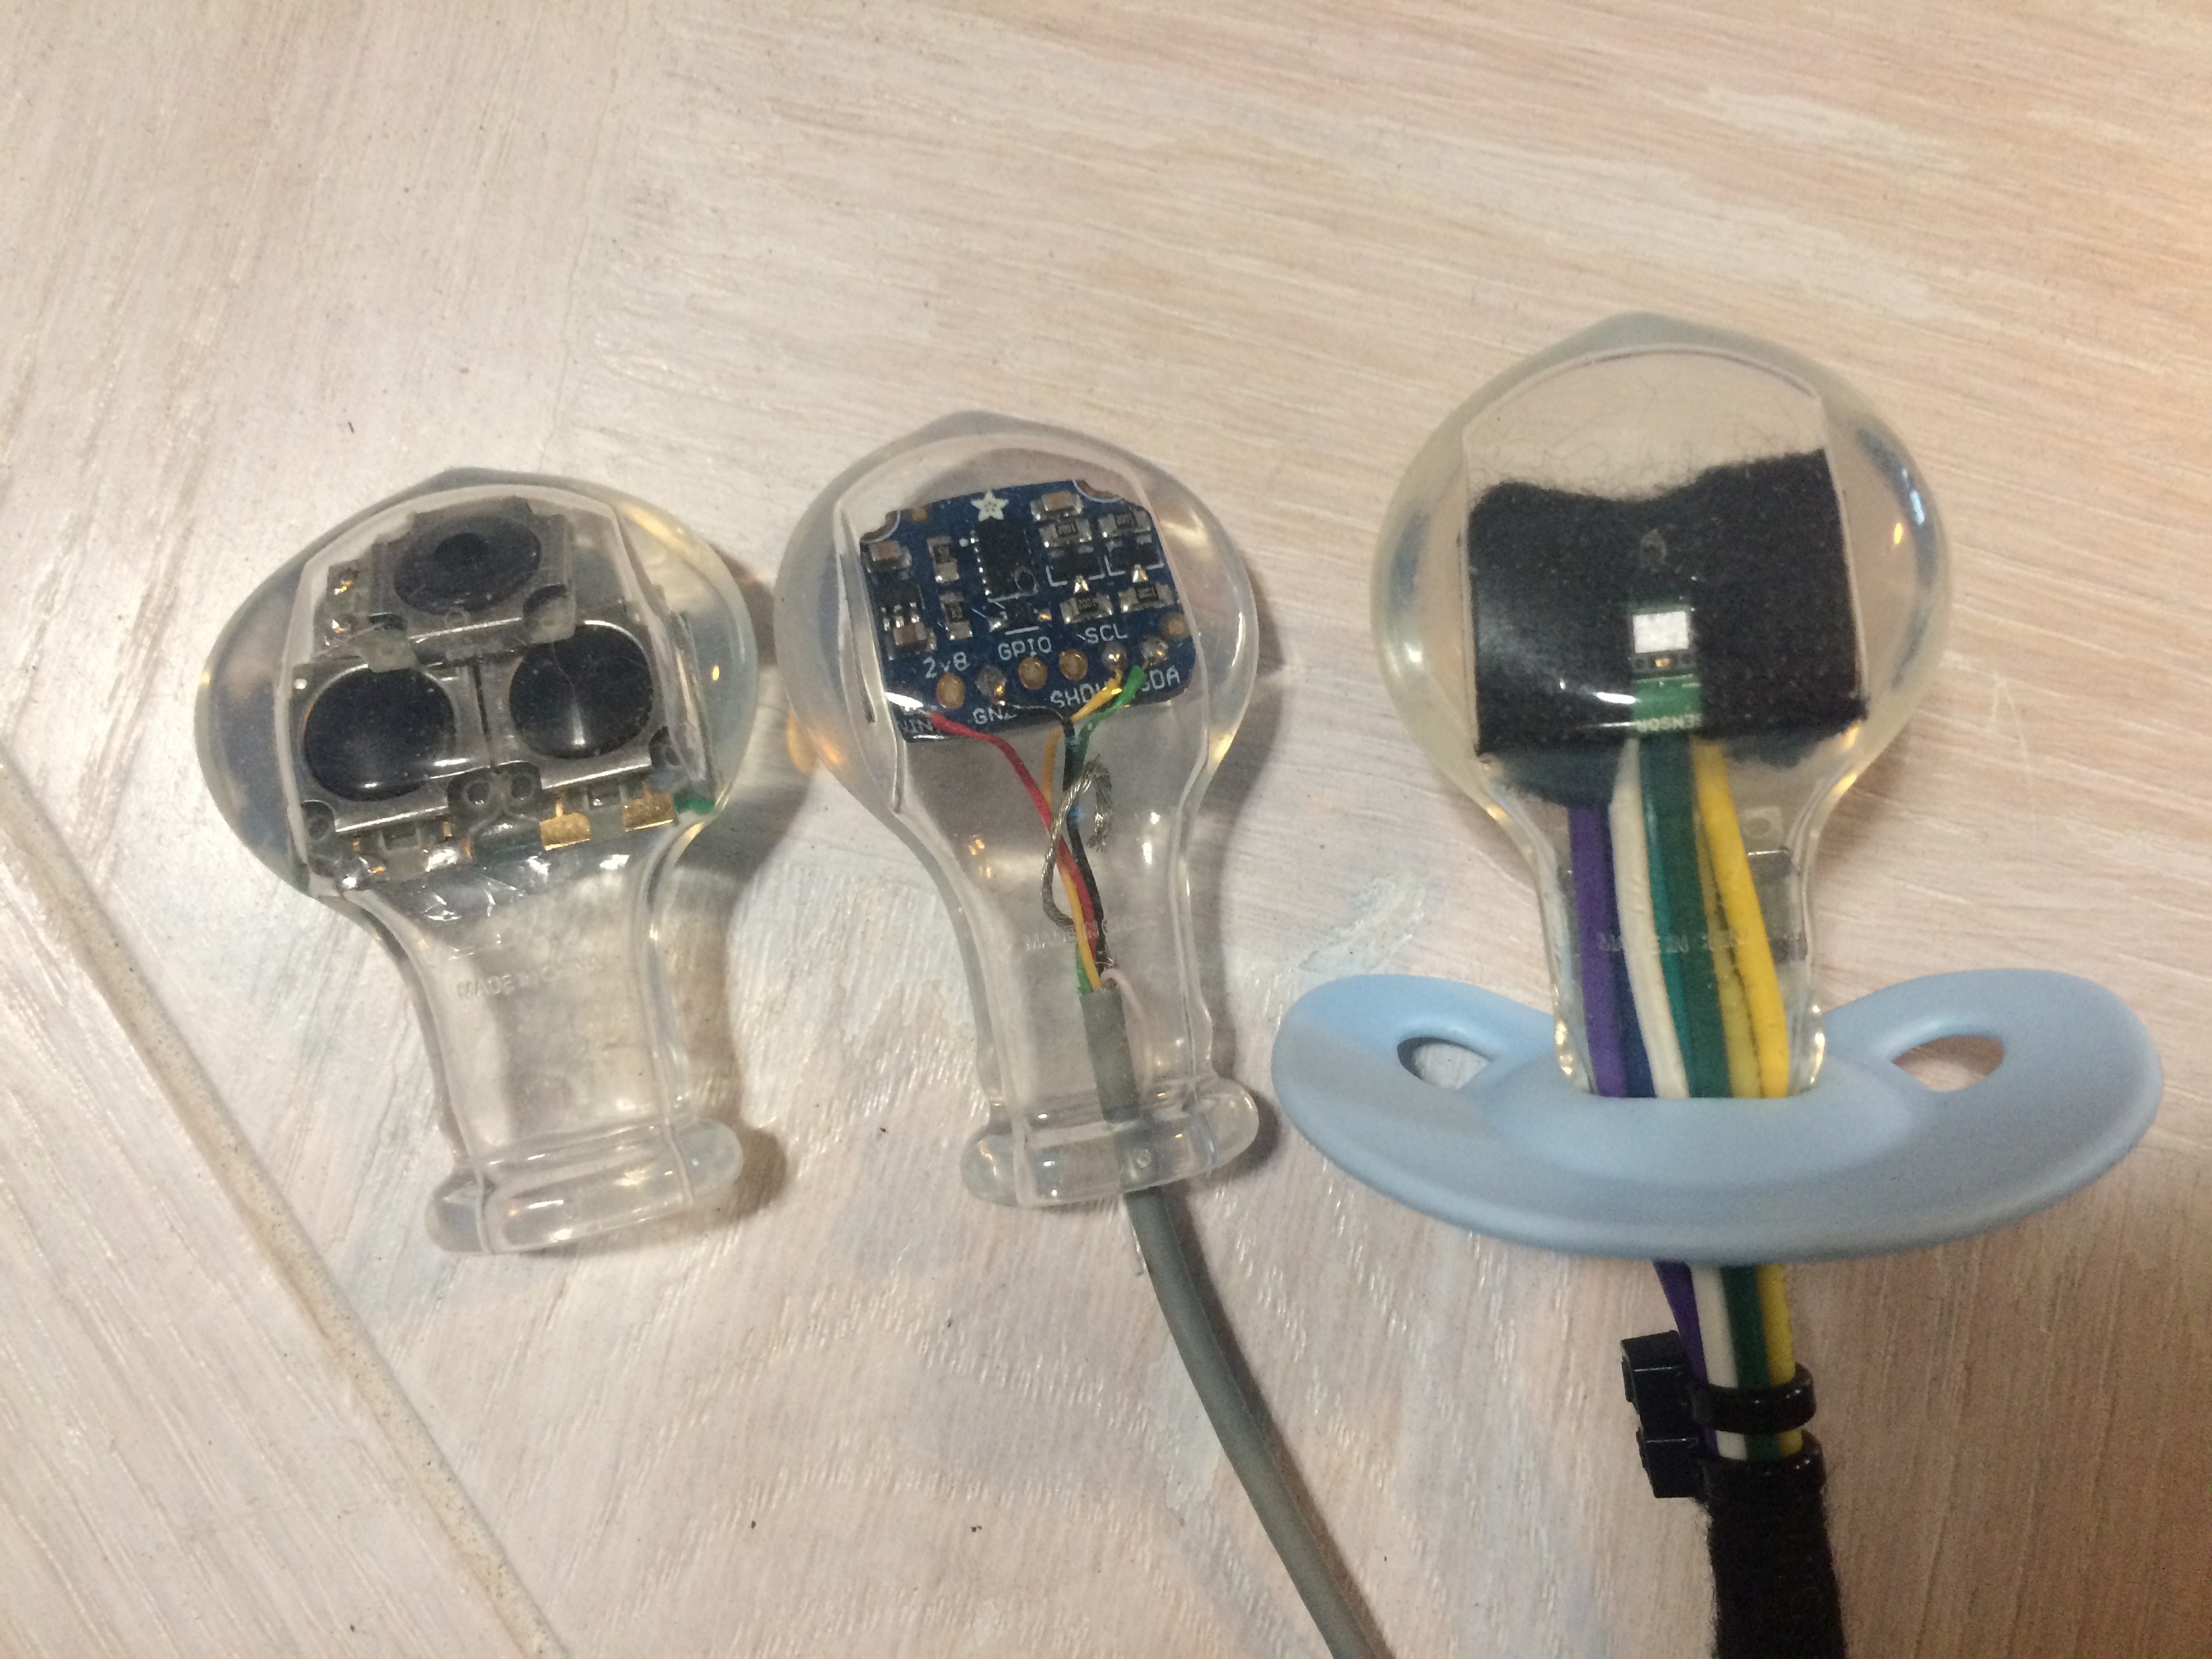
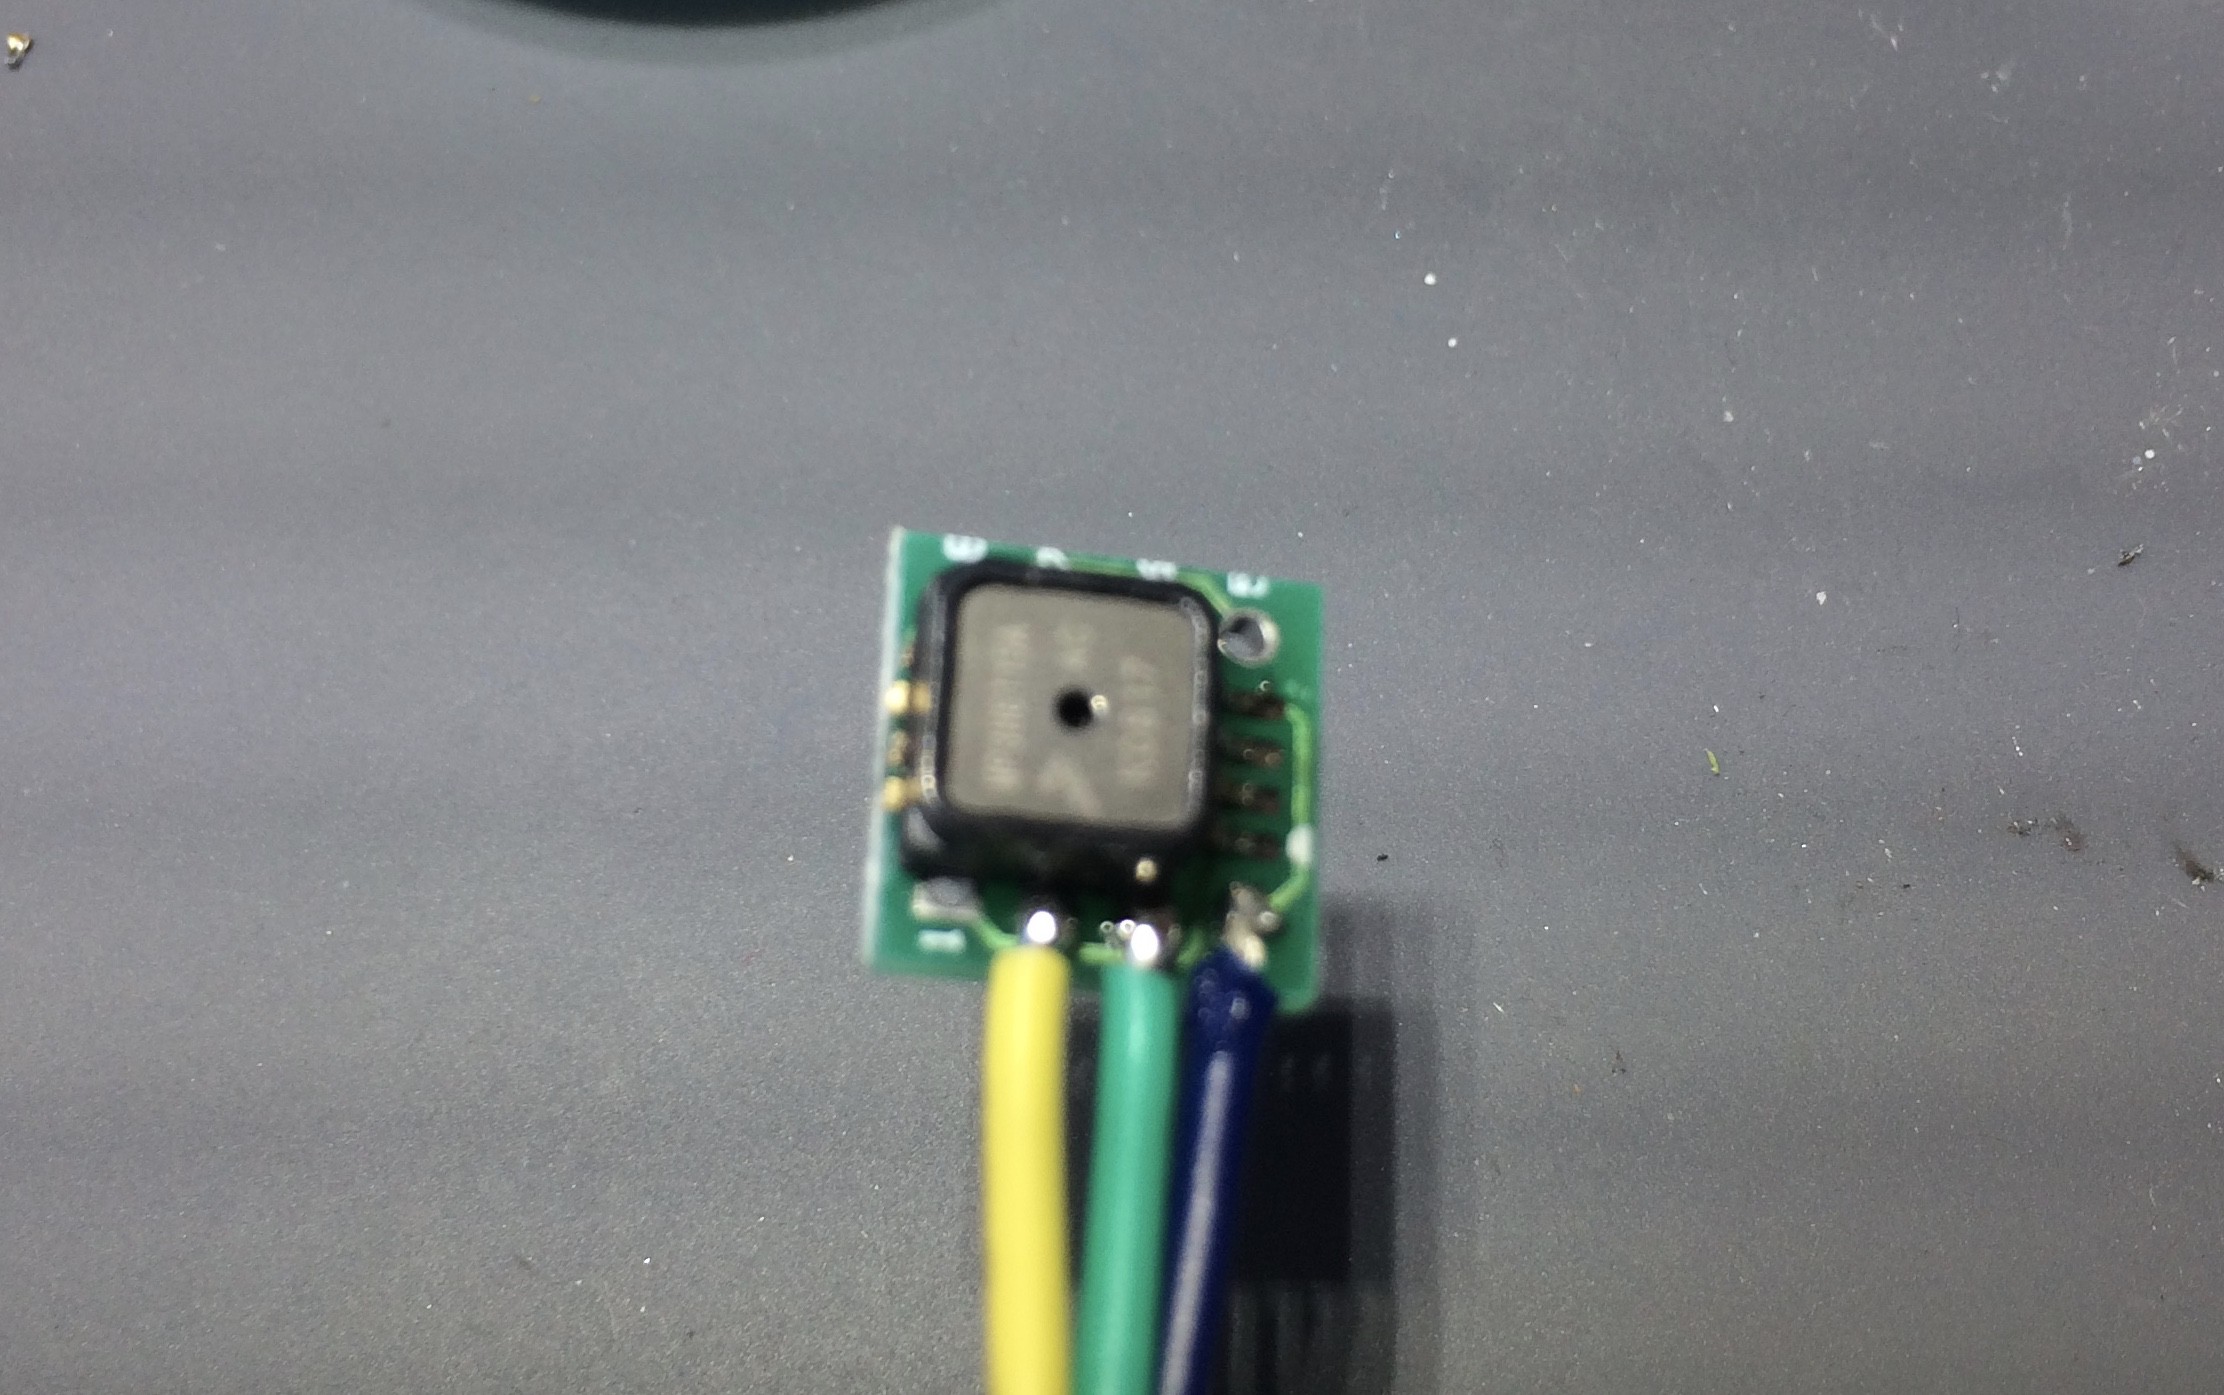
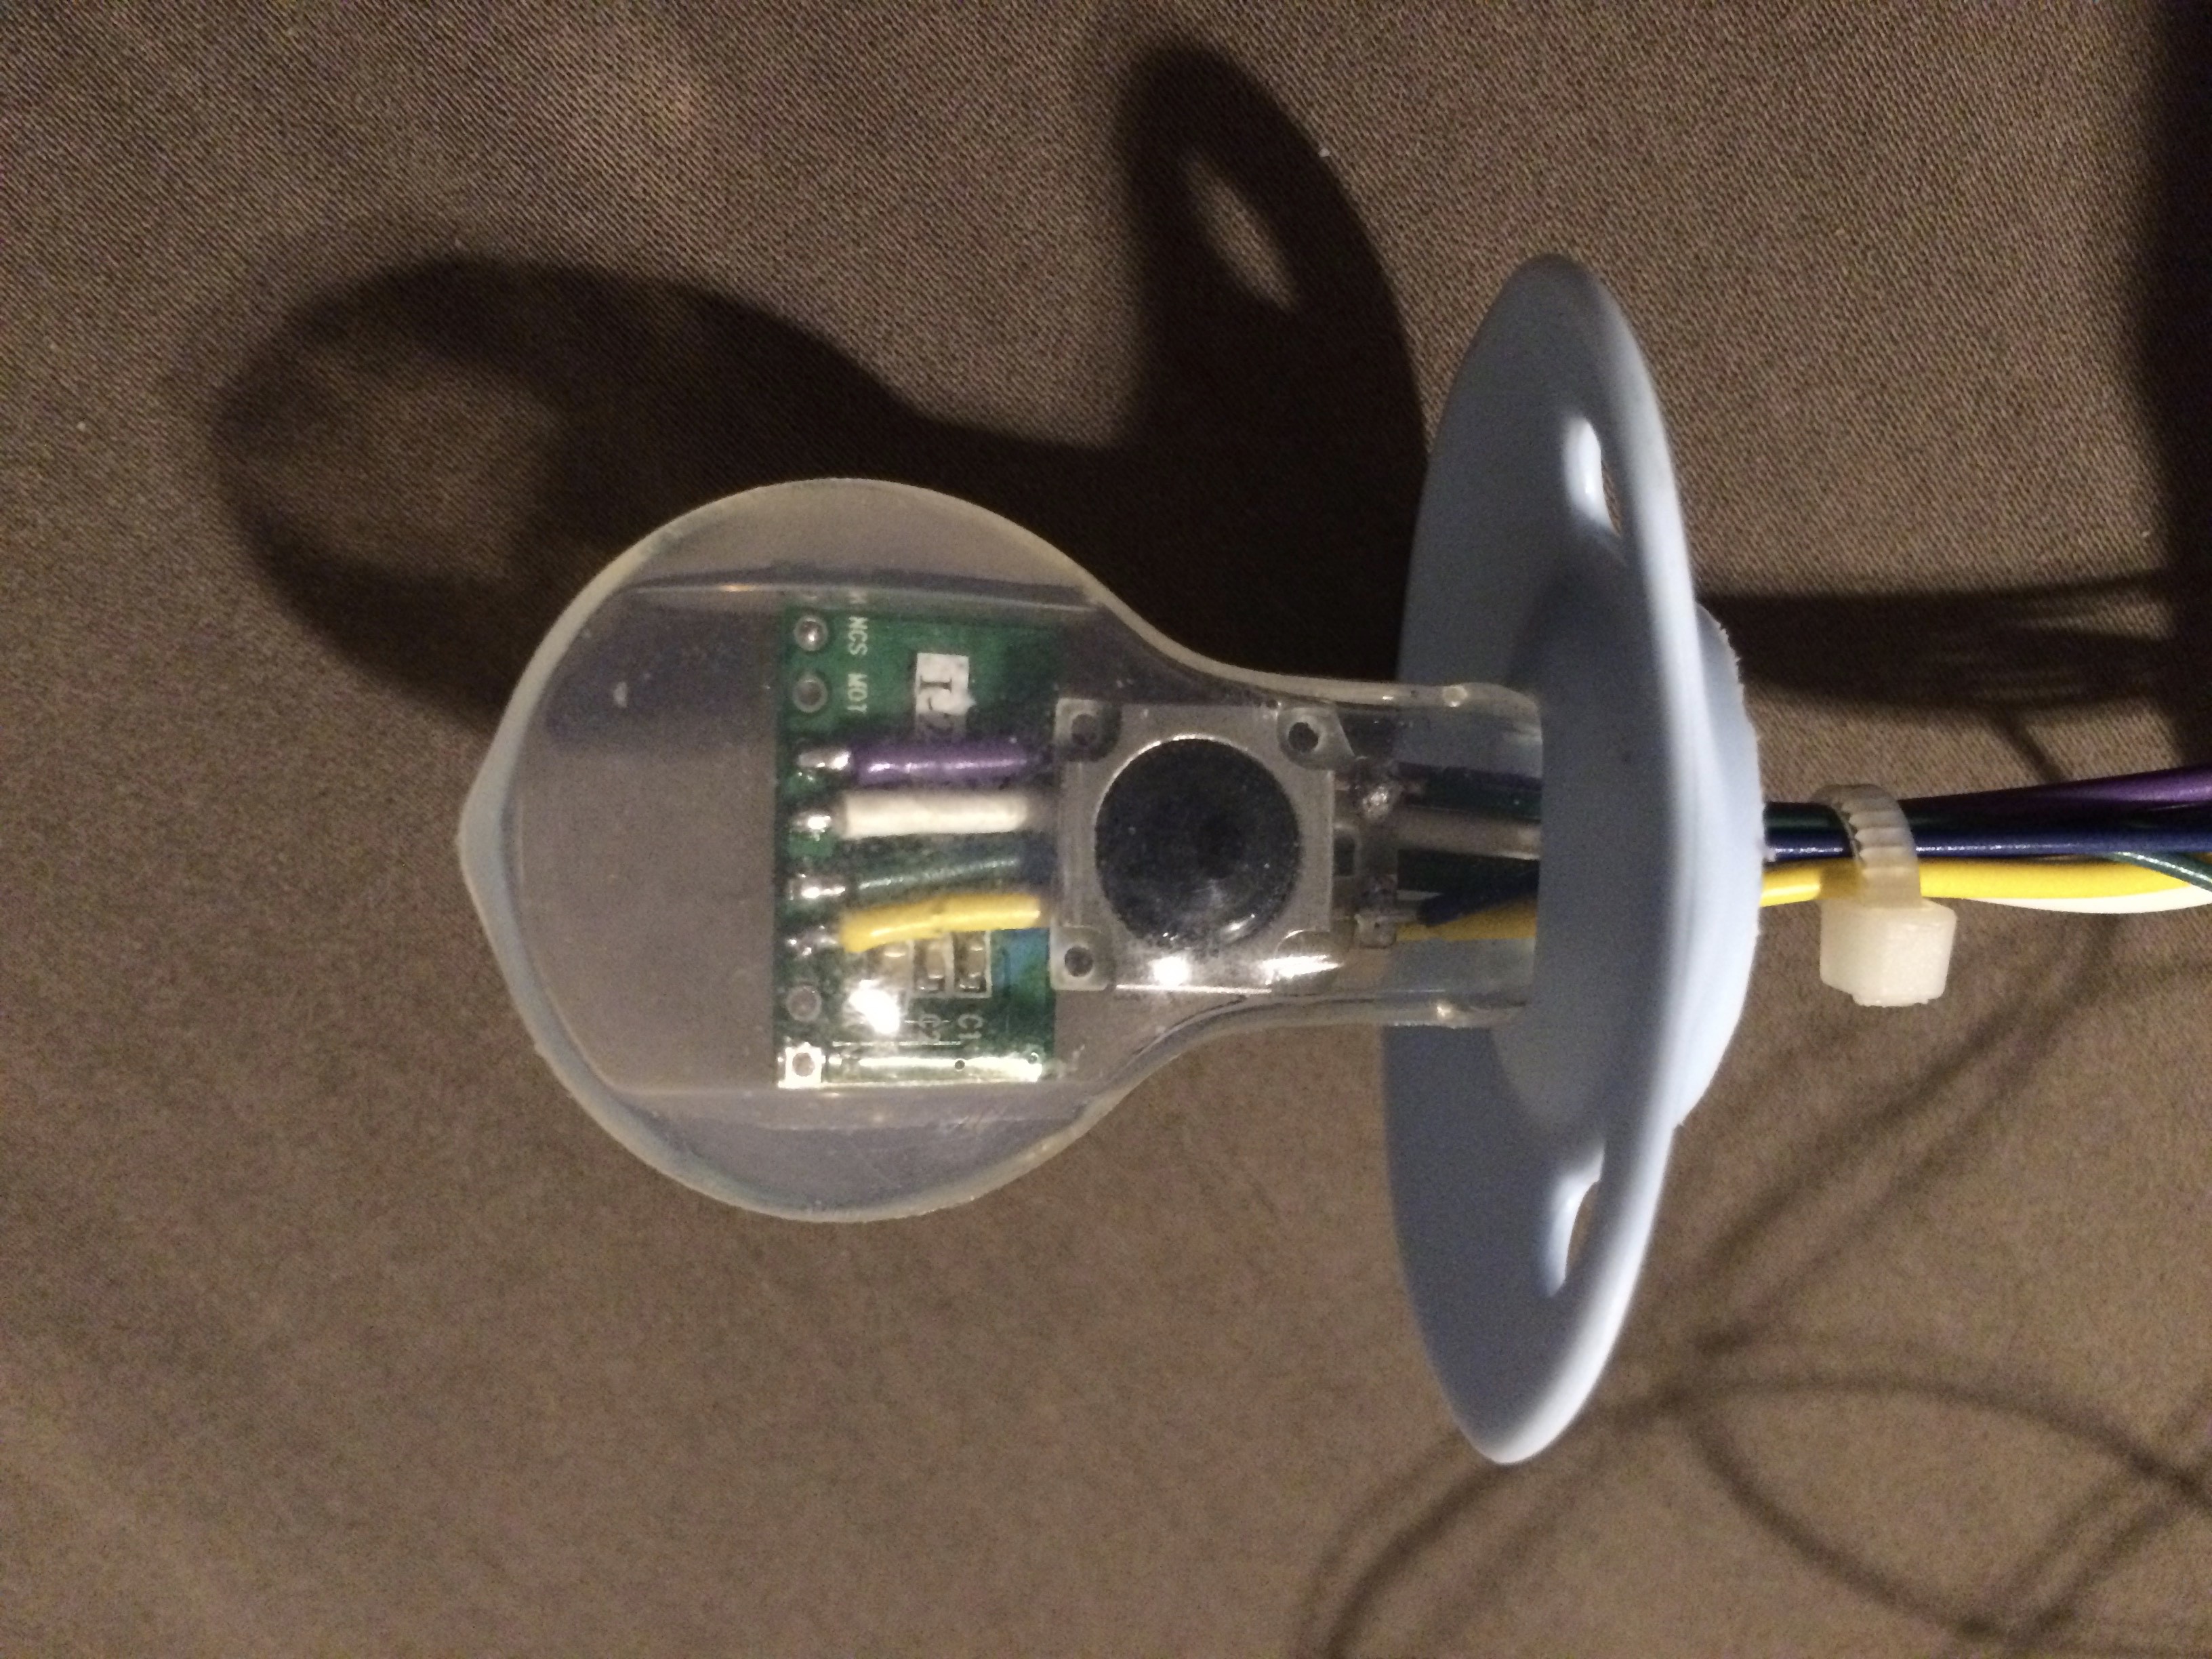
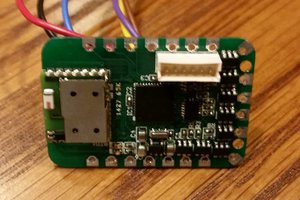
These modules are essentially tiny cameras with built in logic to determine the frame-by-frame differences of the surface being tracked, usually a fingertip, but a tongue should work as well. 

I purchased modules from two different phone models, but they turned out to use completely different internal tracking modules.

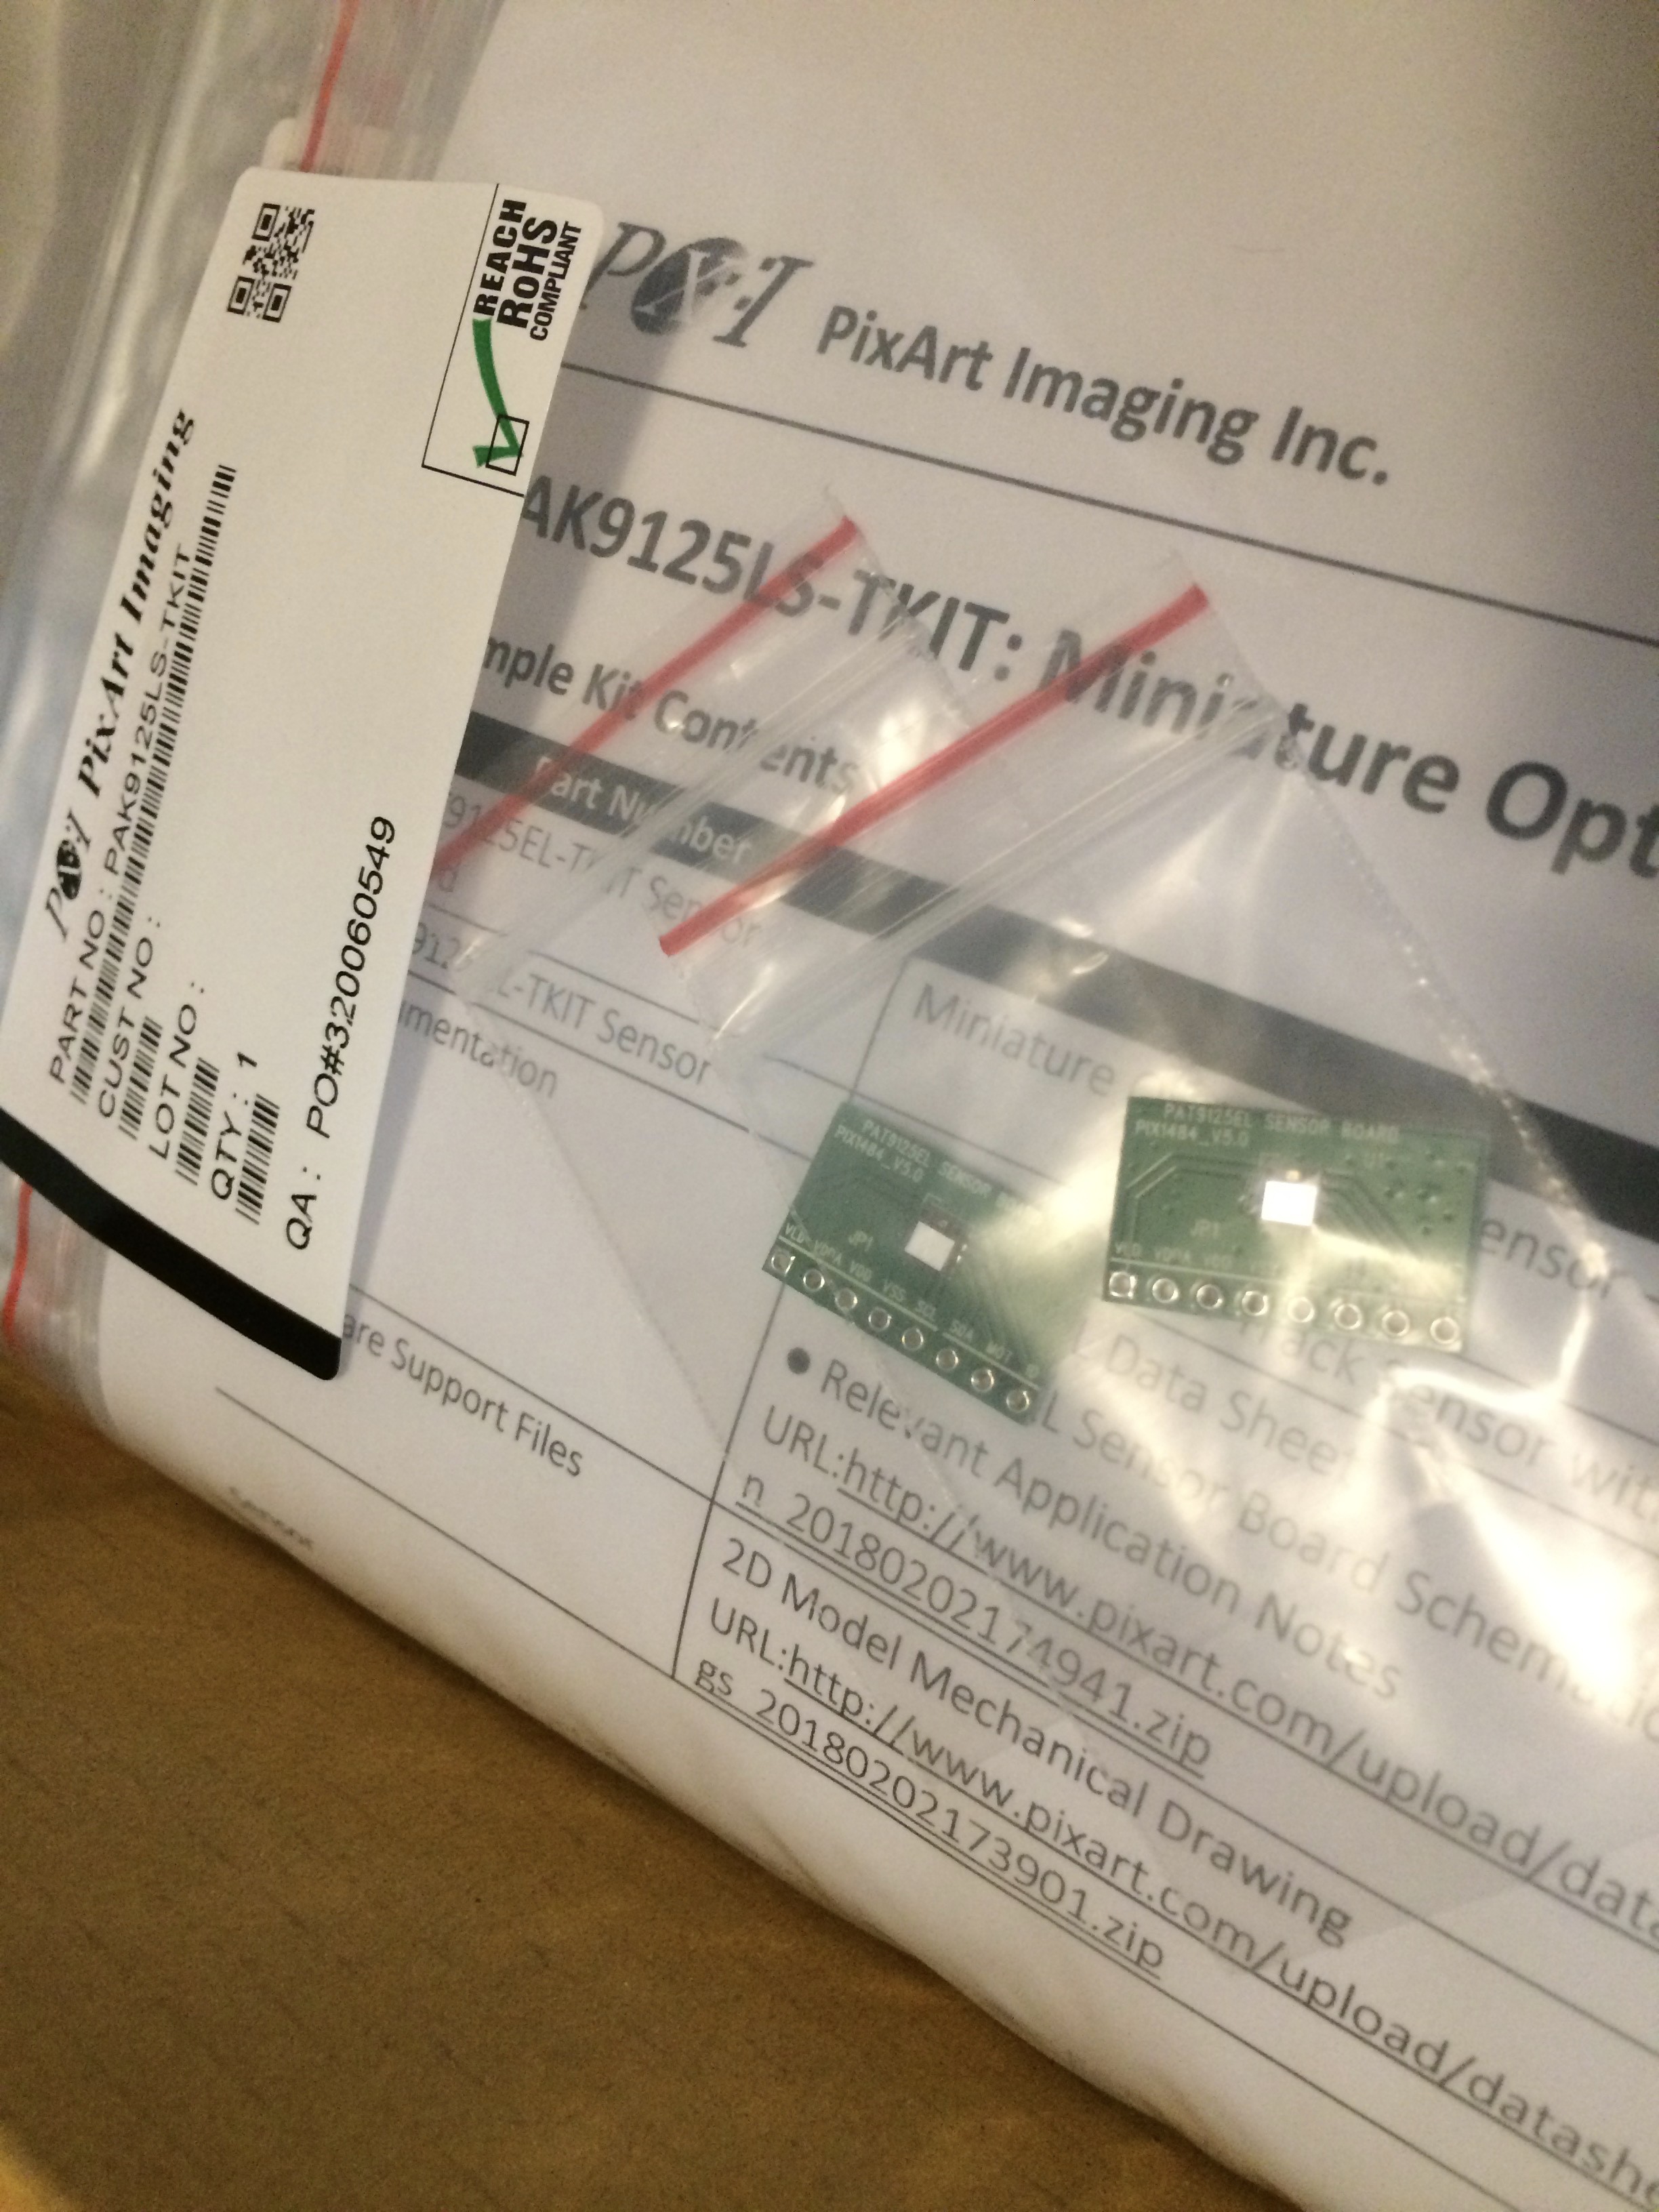
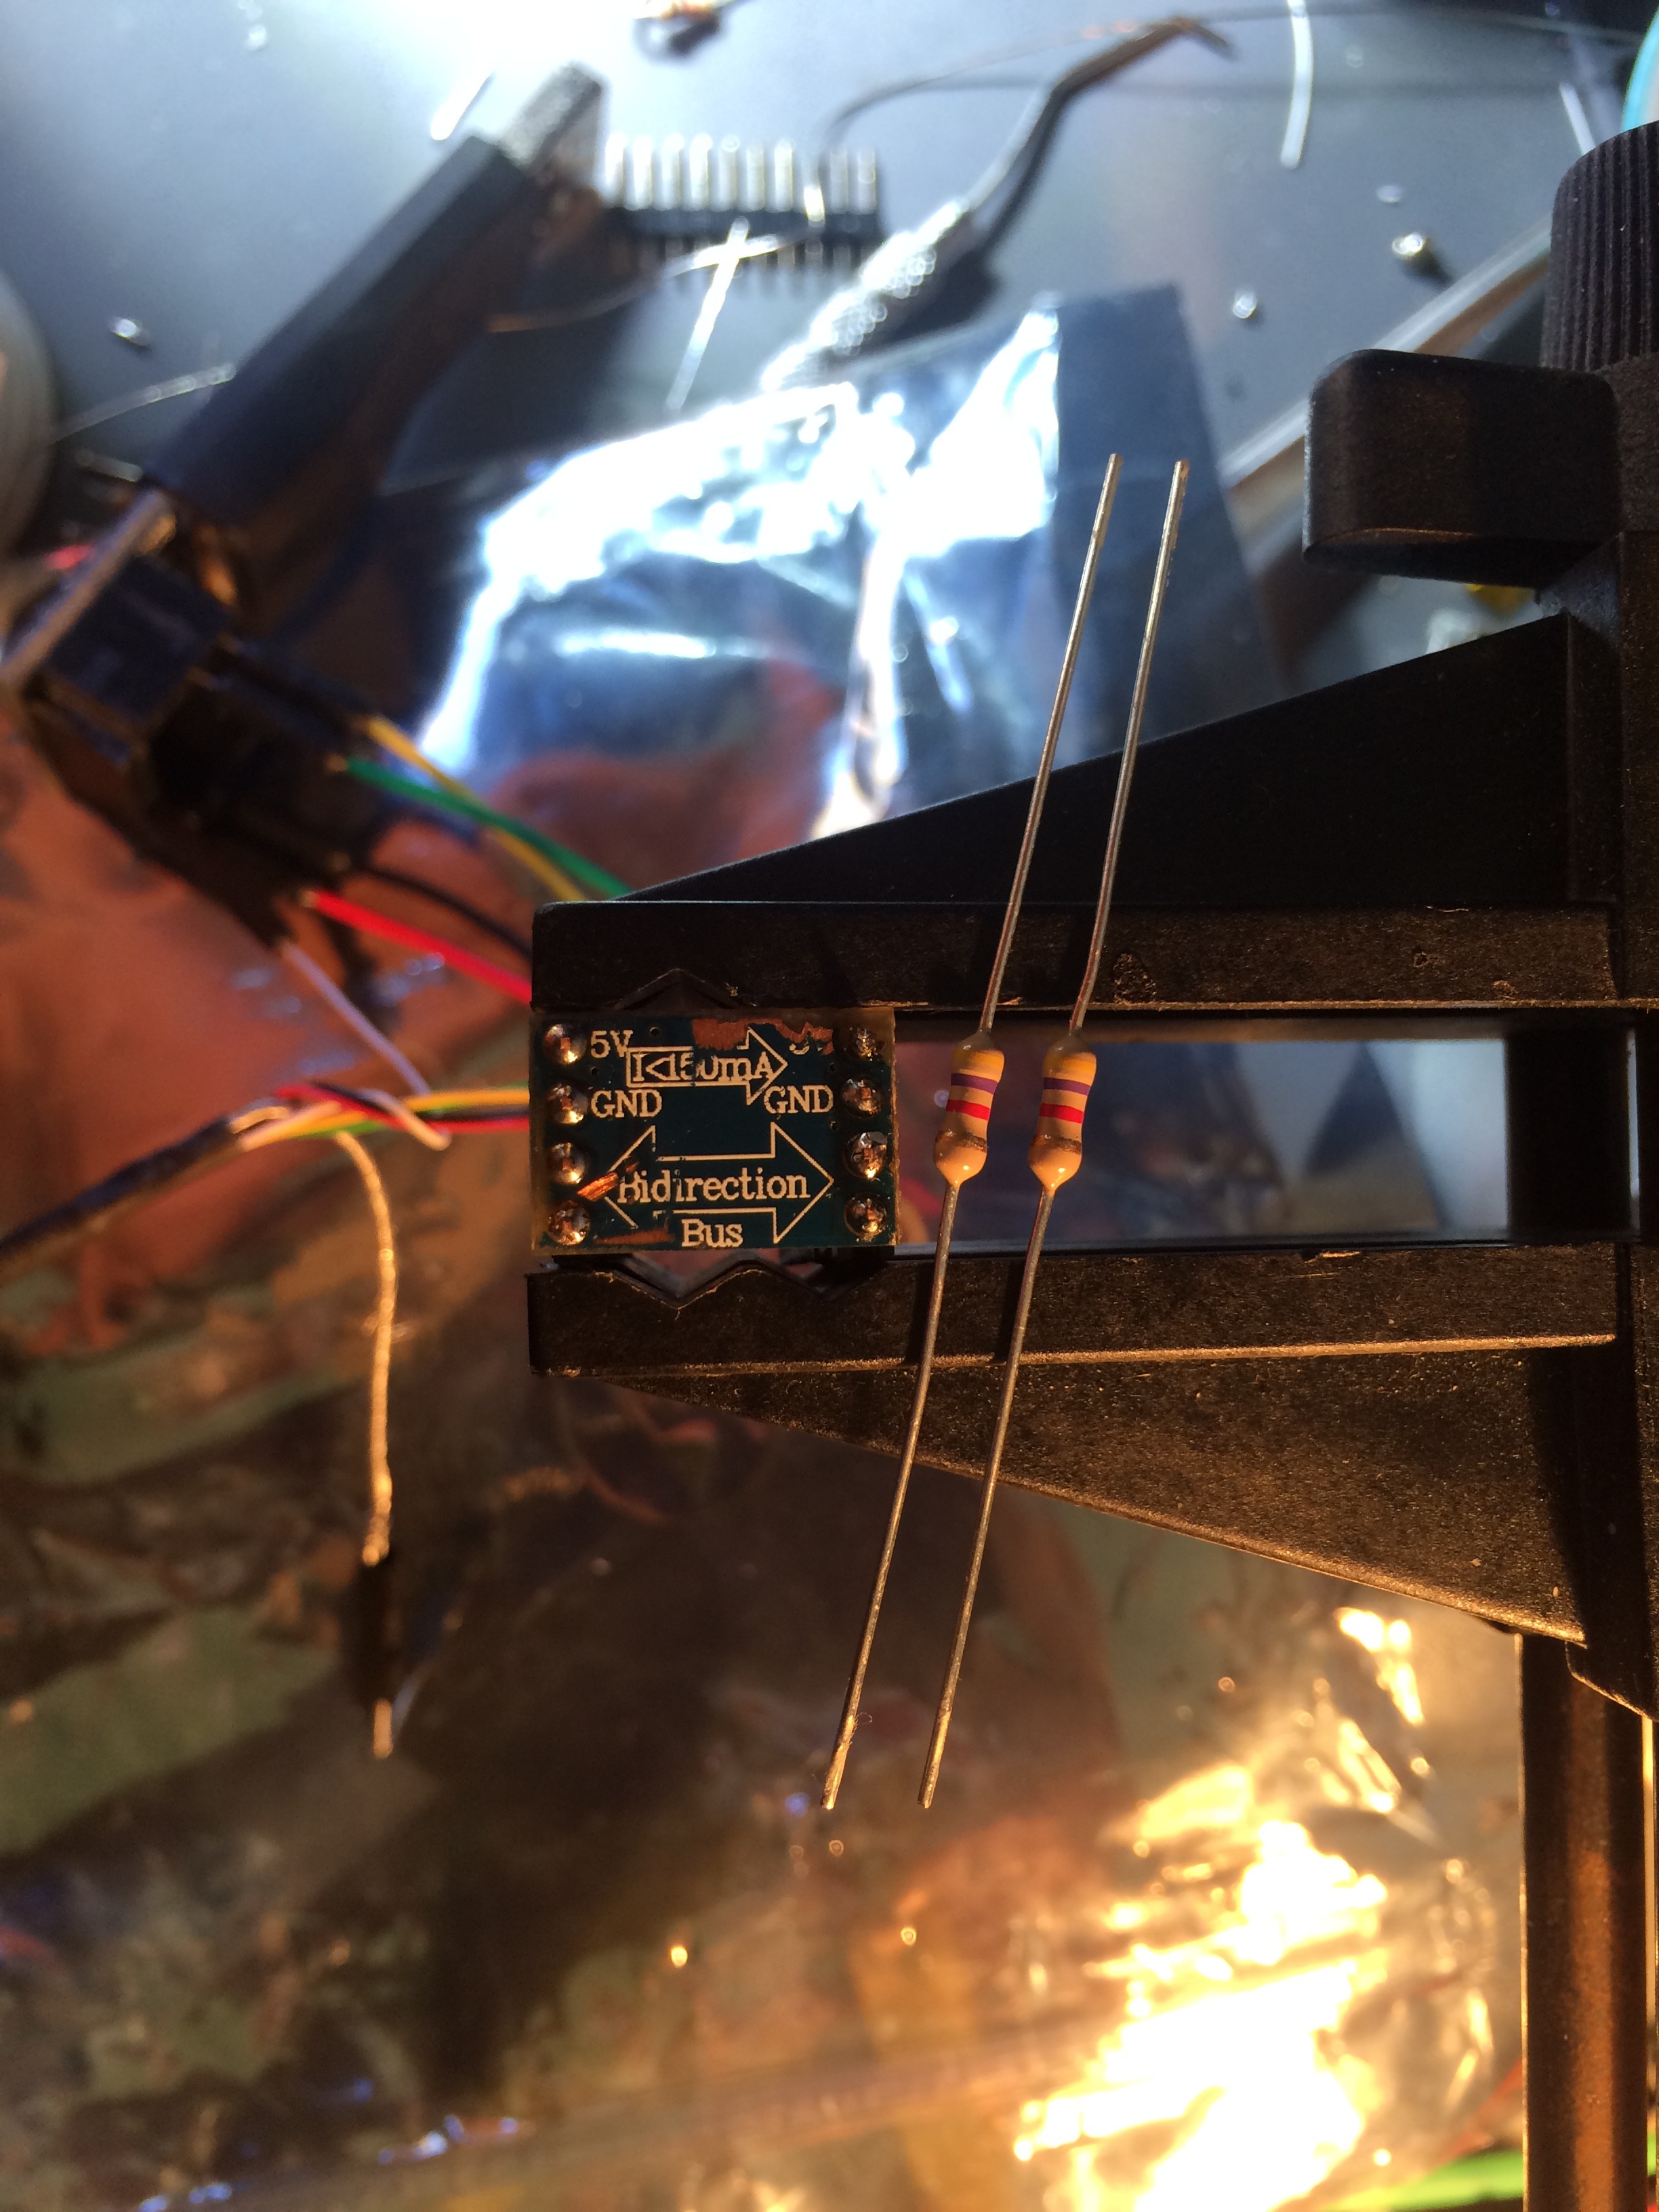
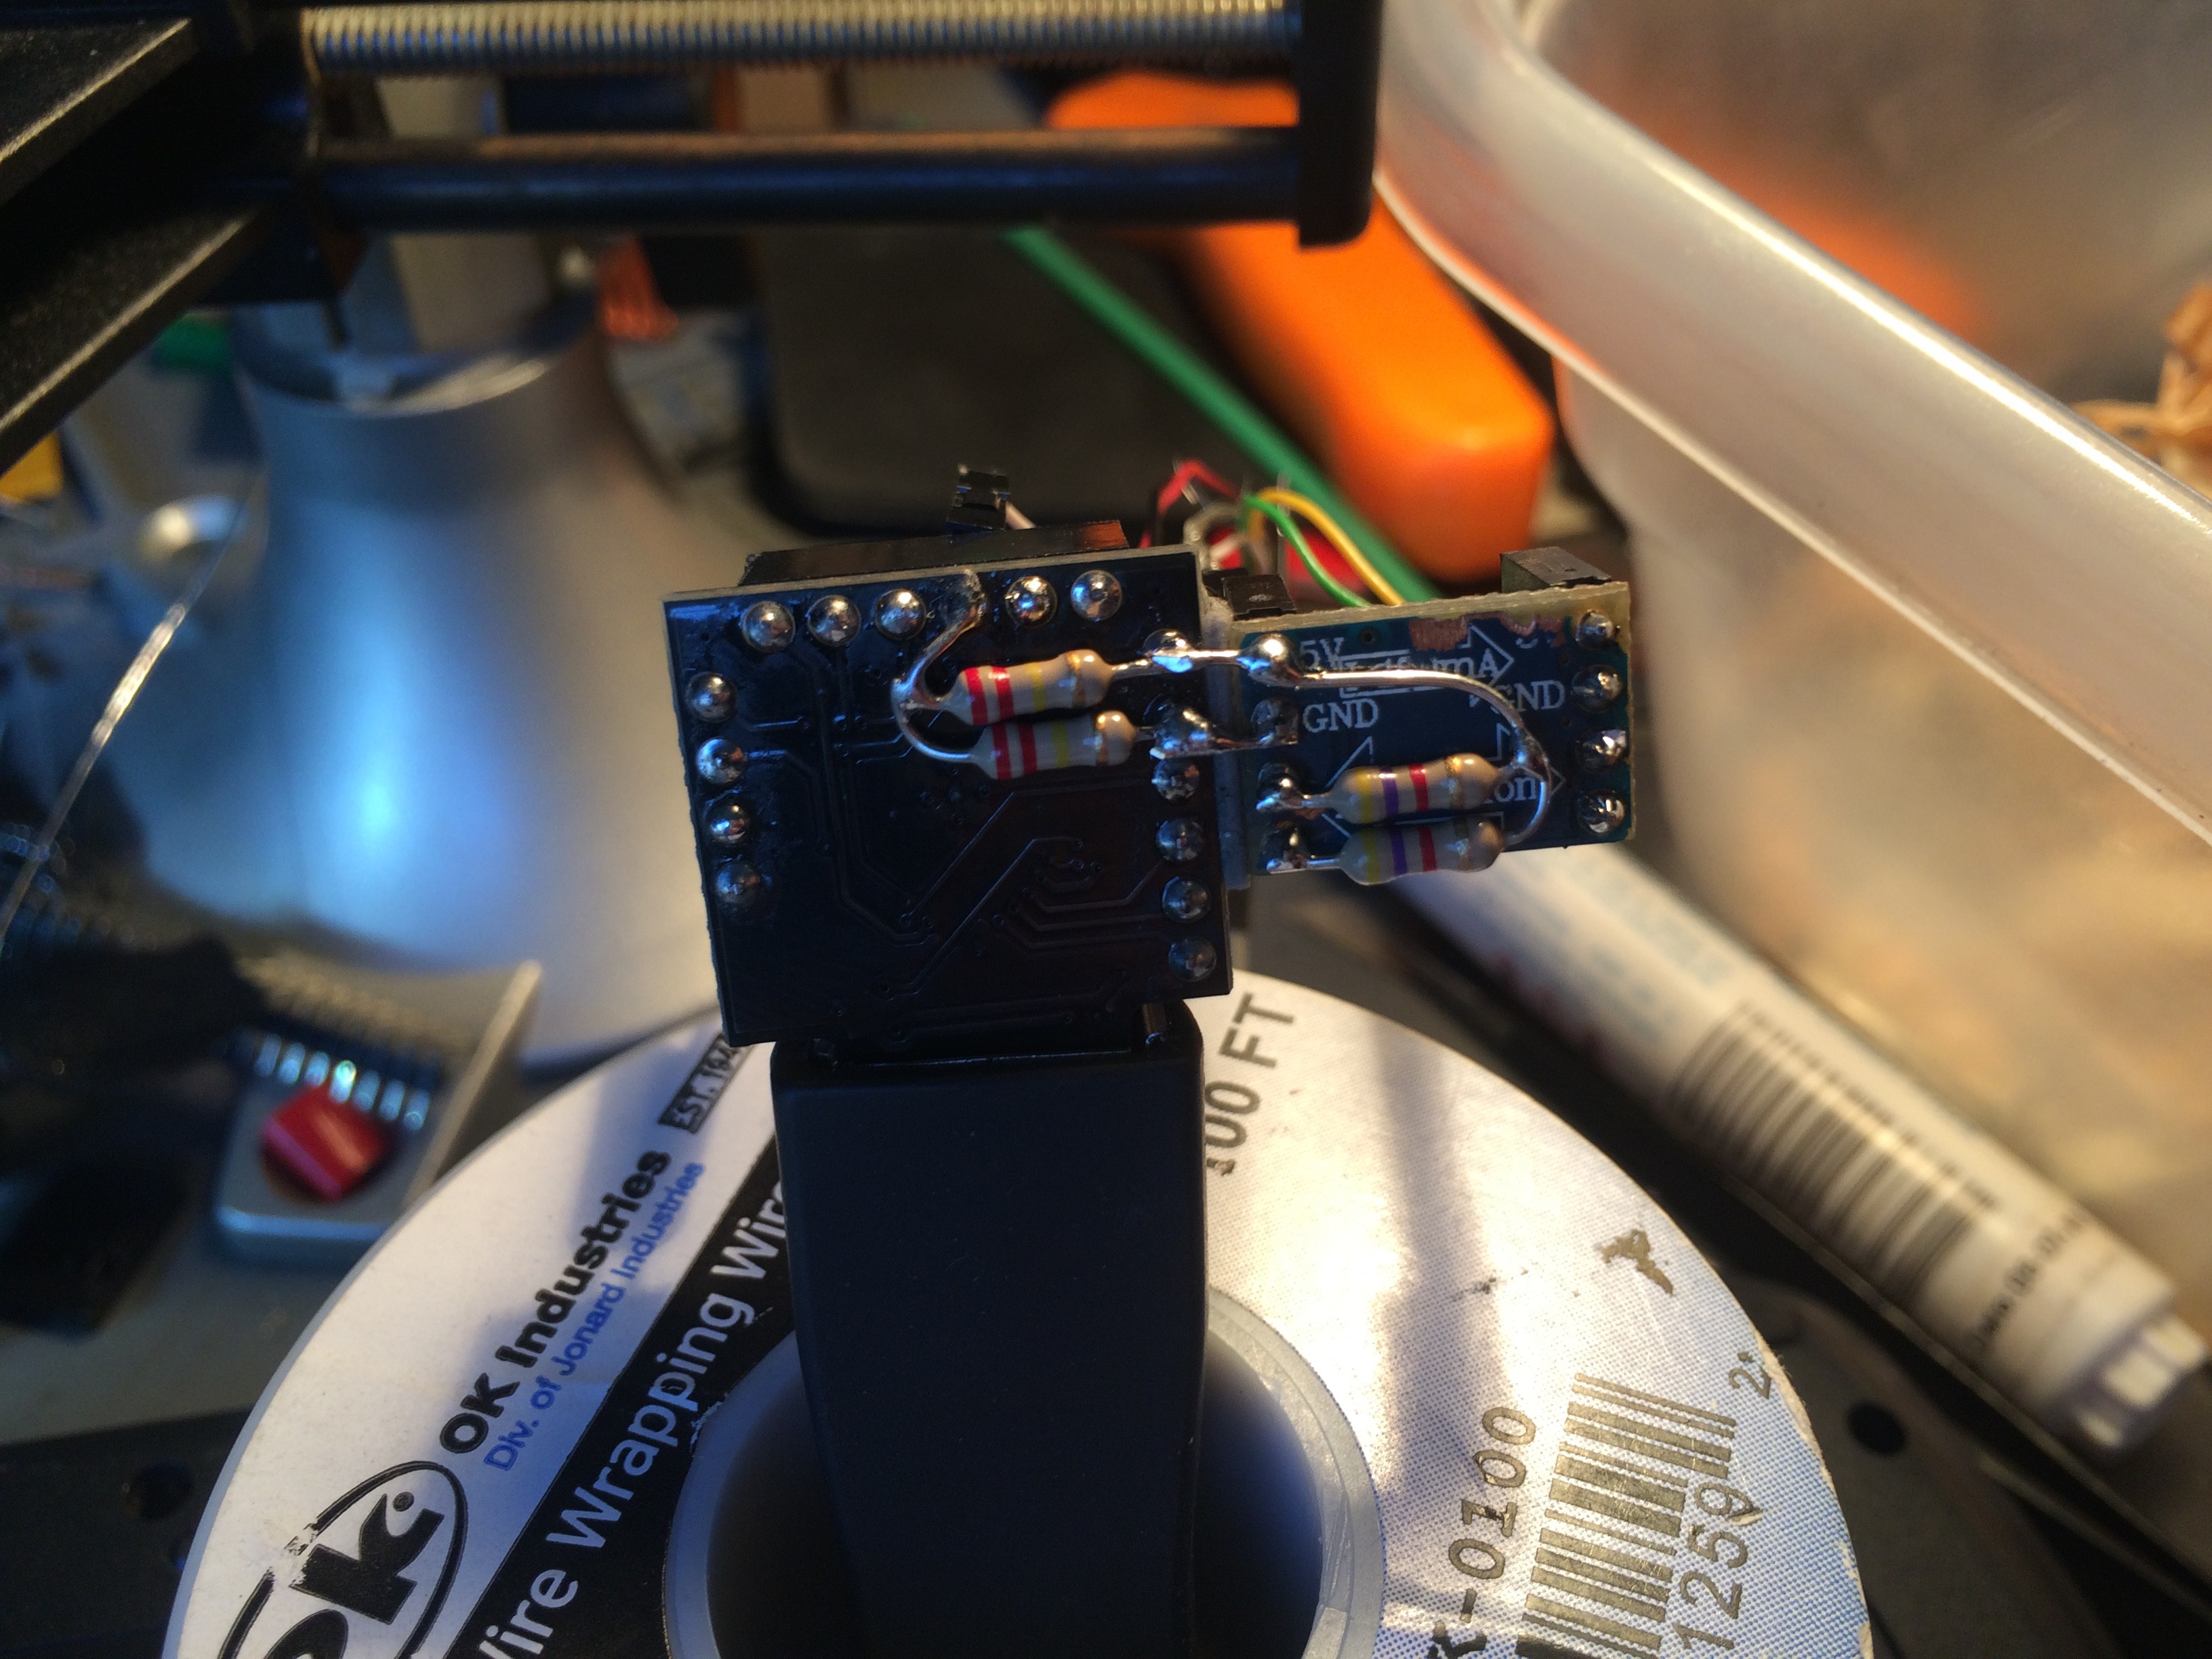
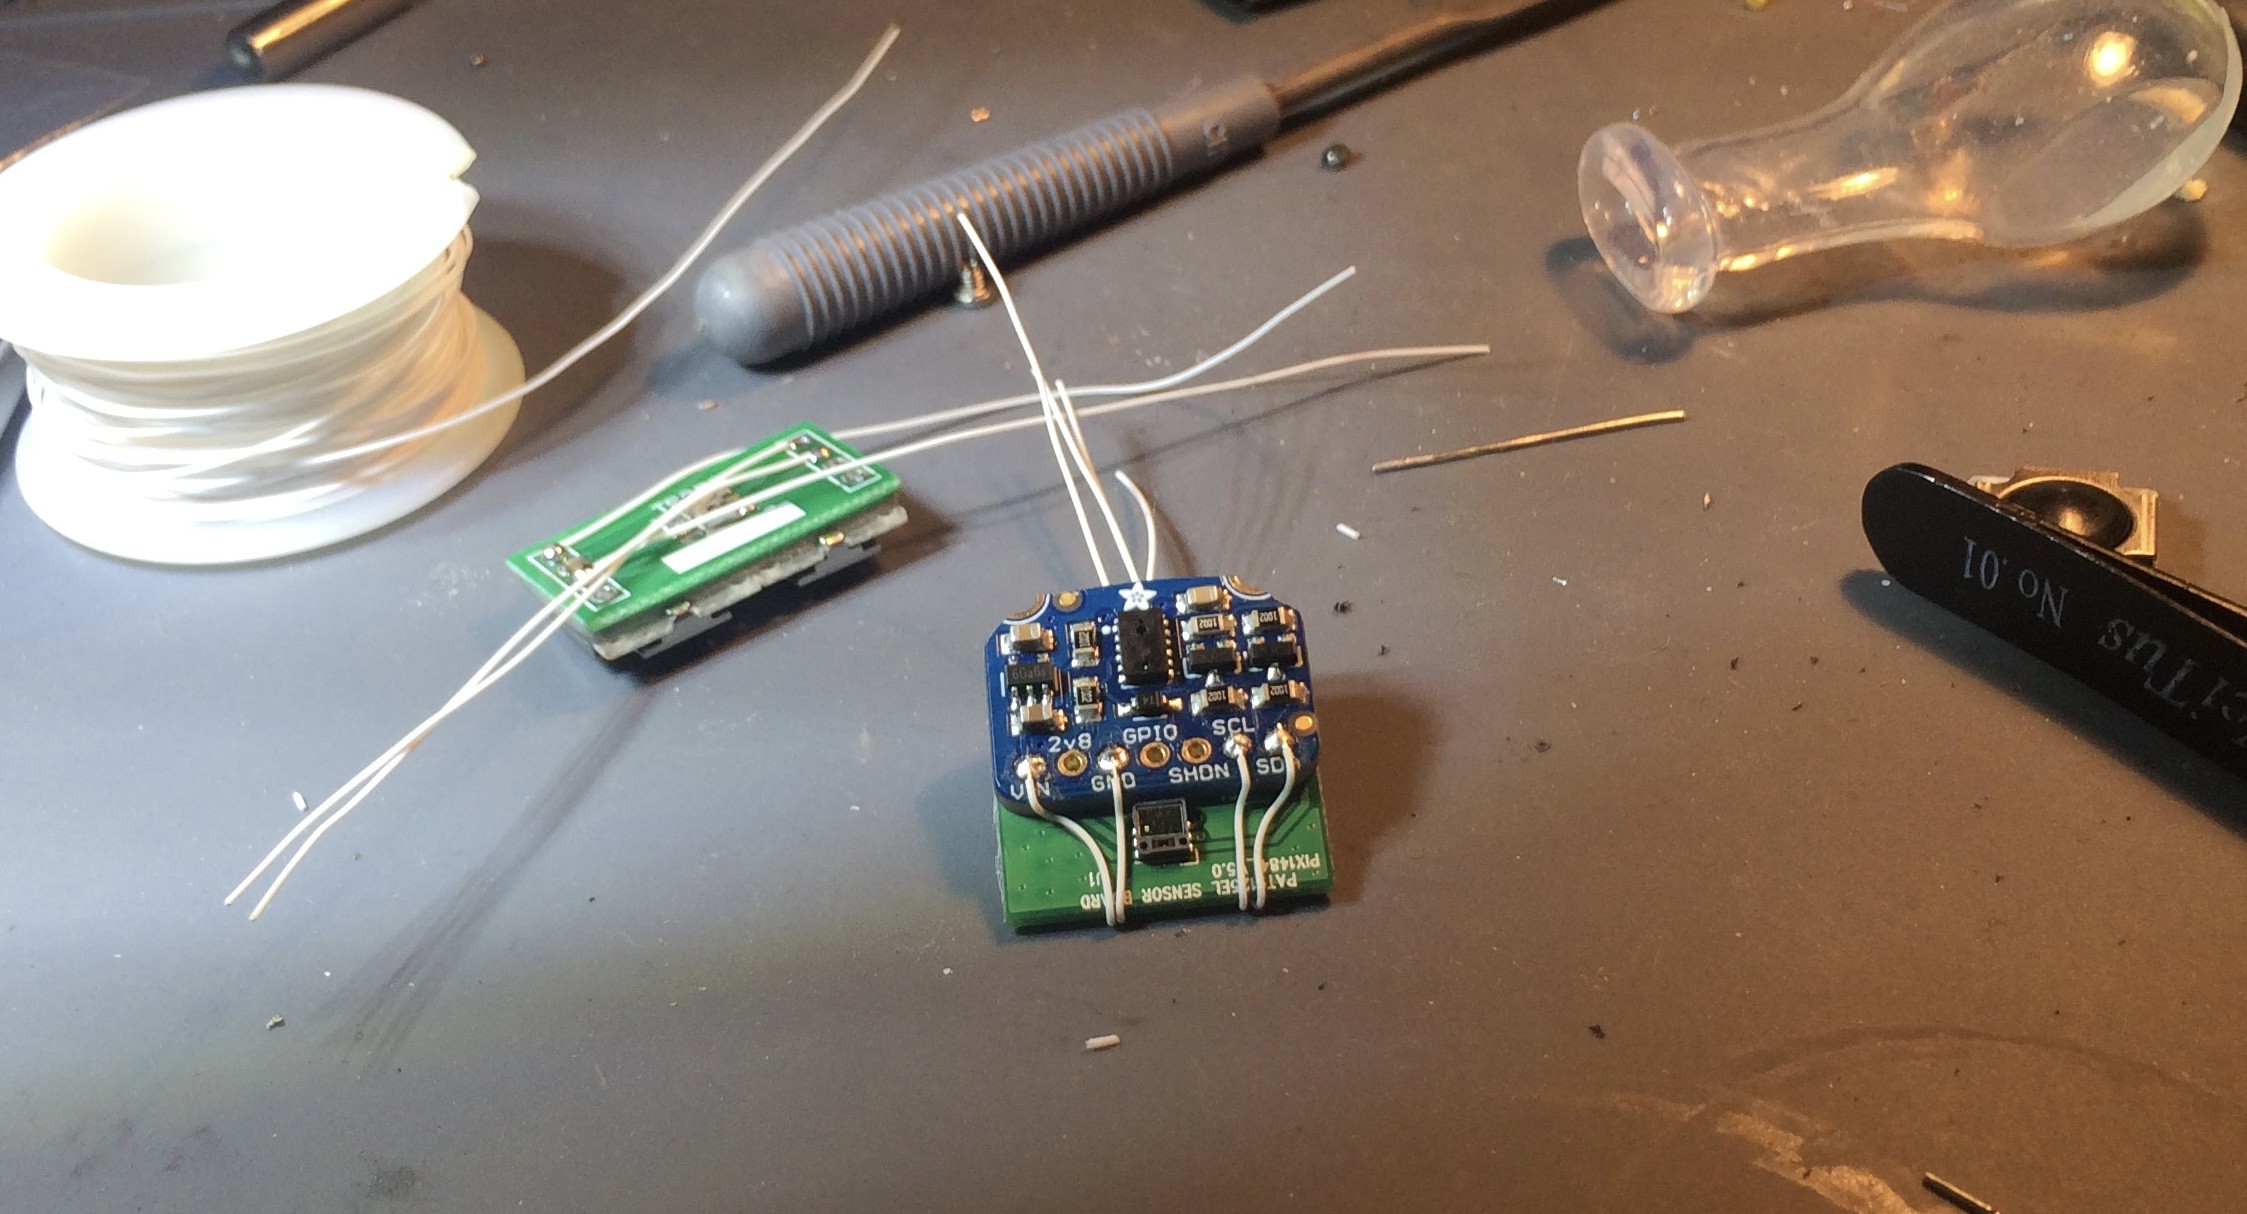
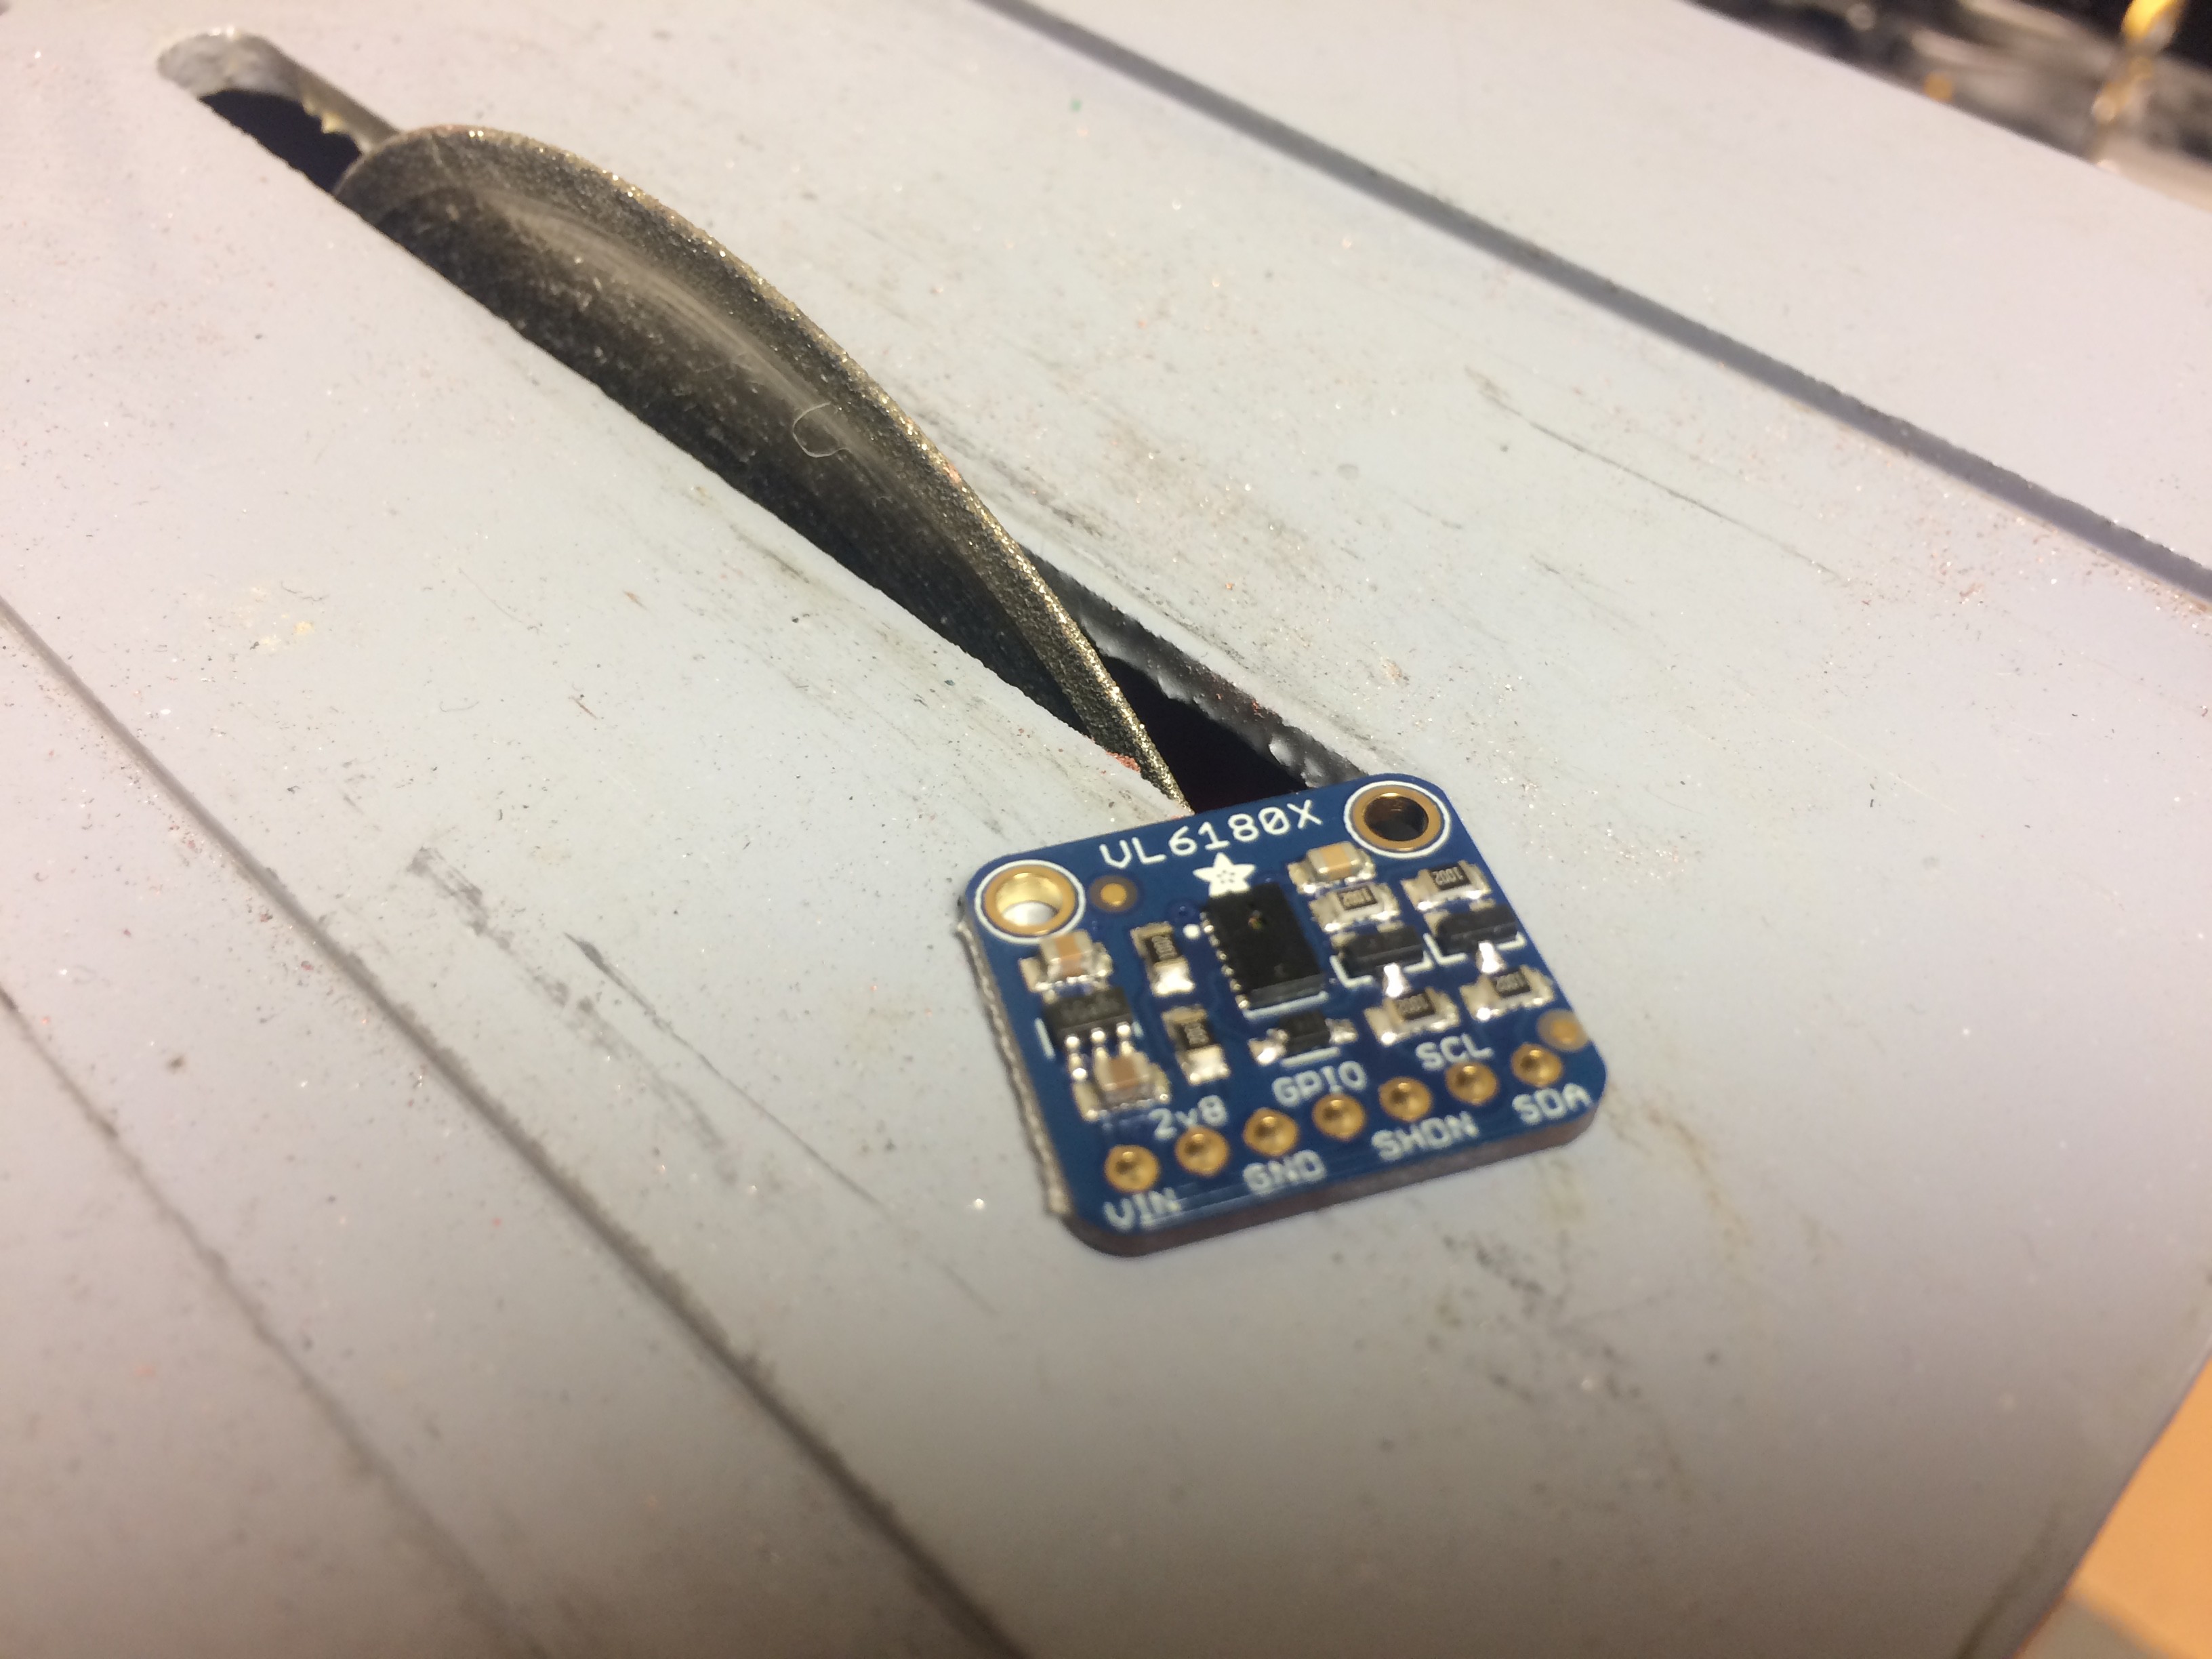
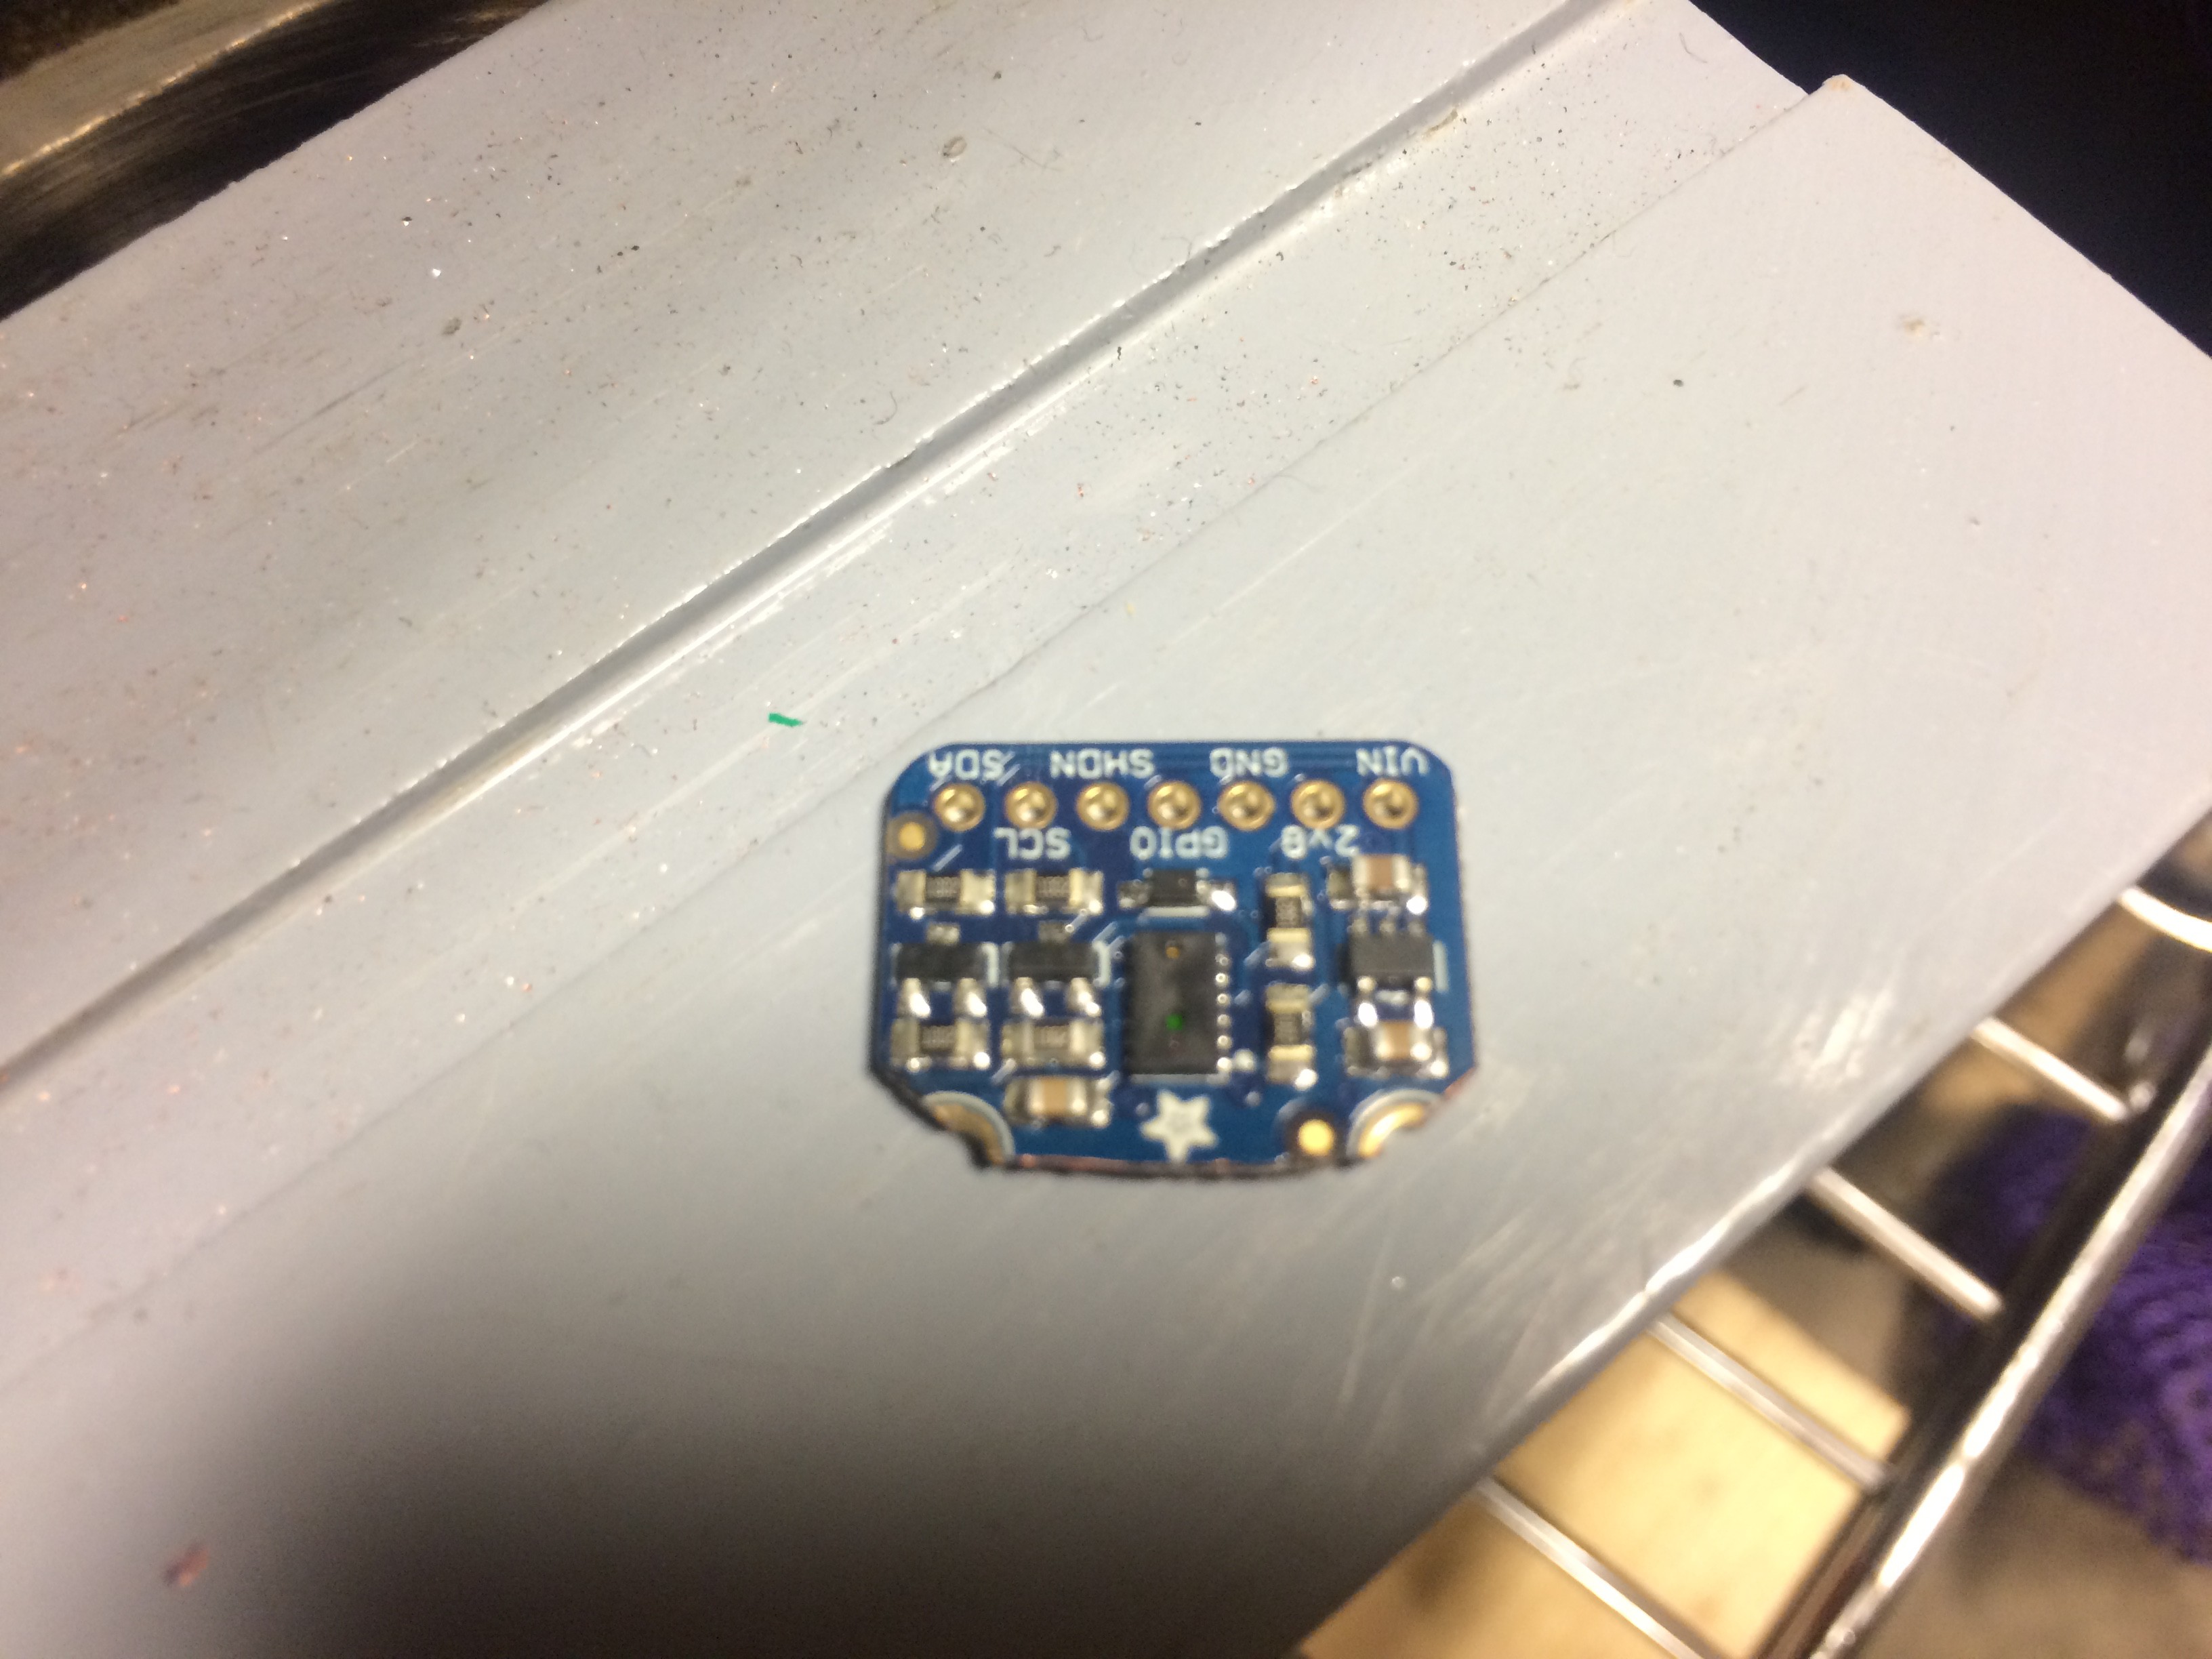
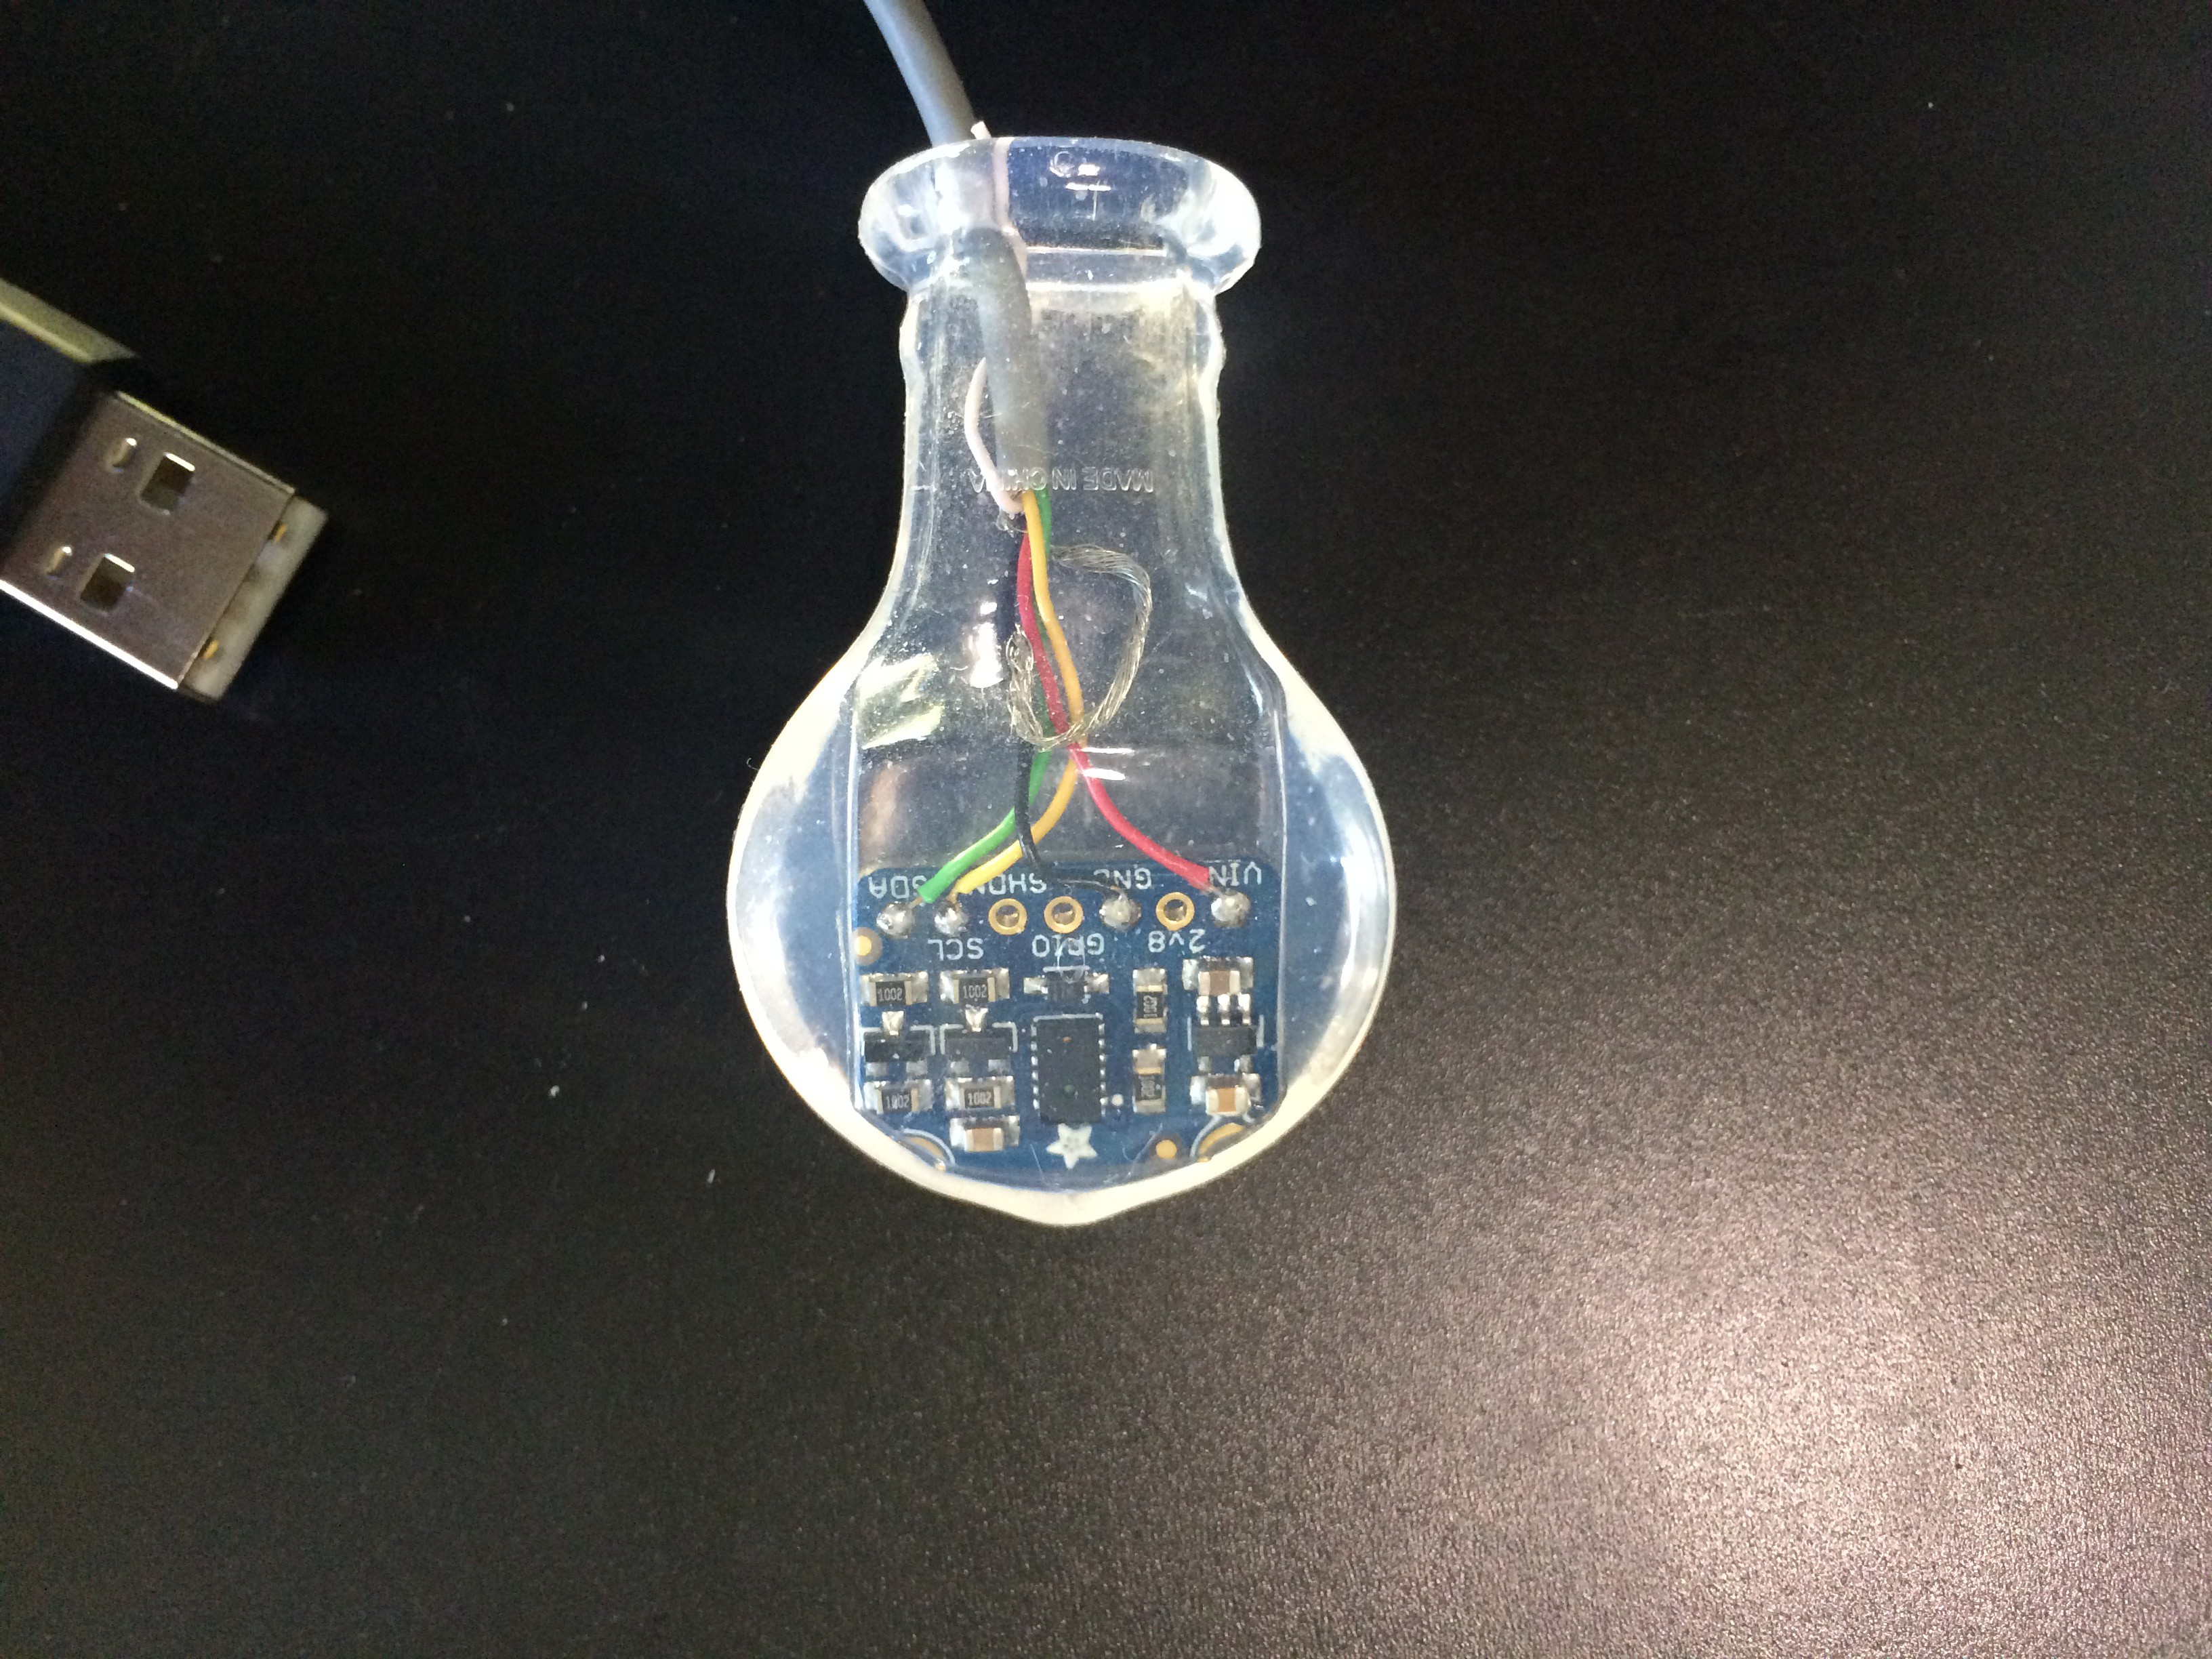
While researching these sensors I found a new sensor made by PixArt Imaging intended for surface tracking applications. (It is also used as the filament tracker on new Prusa printers)

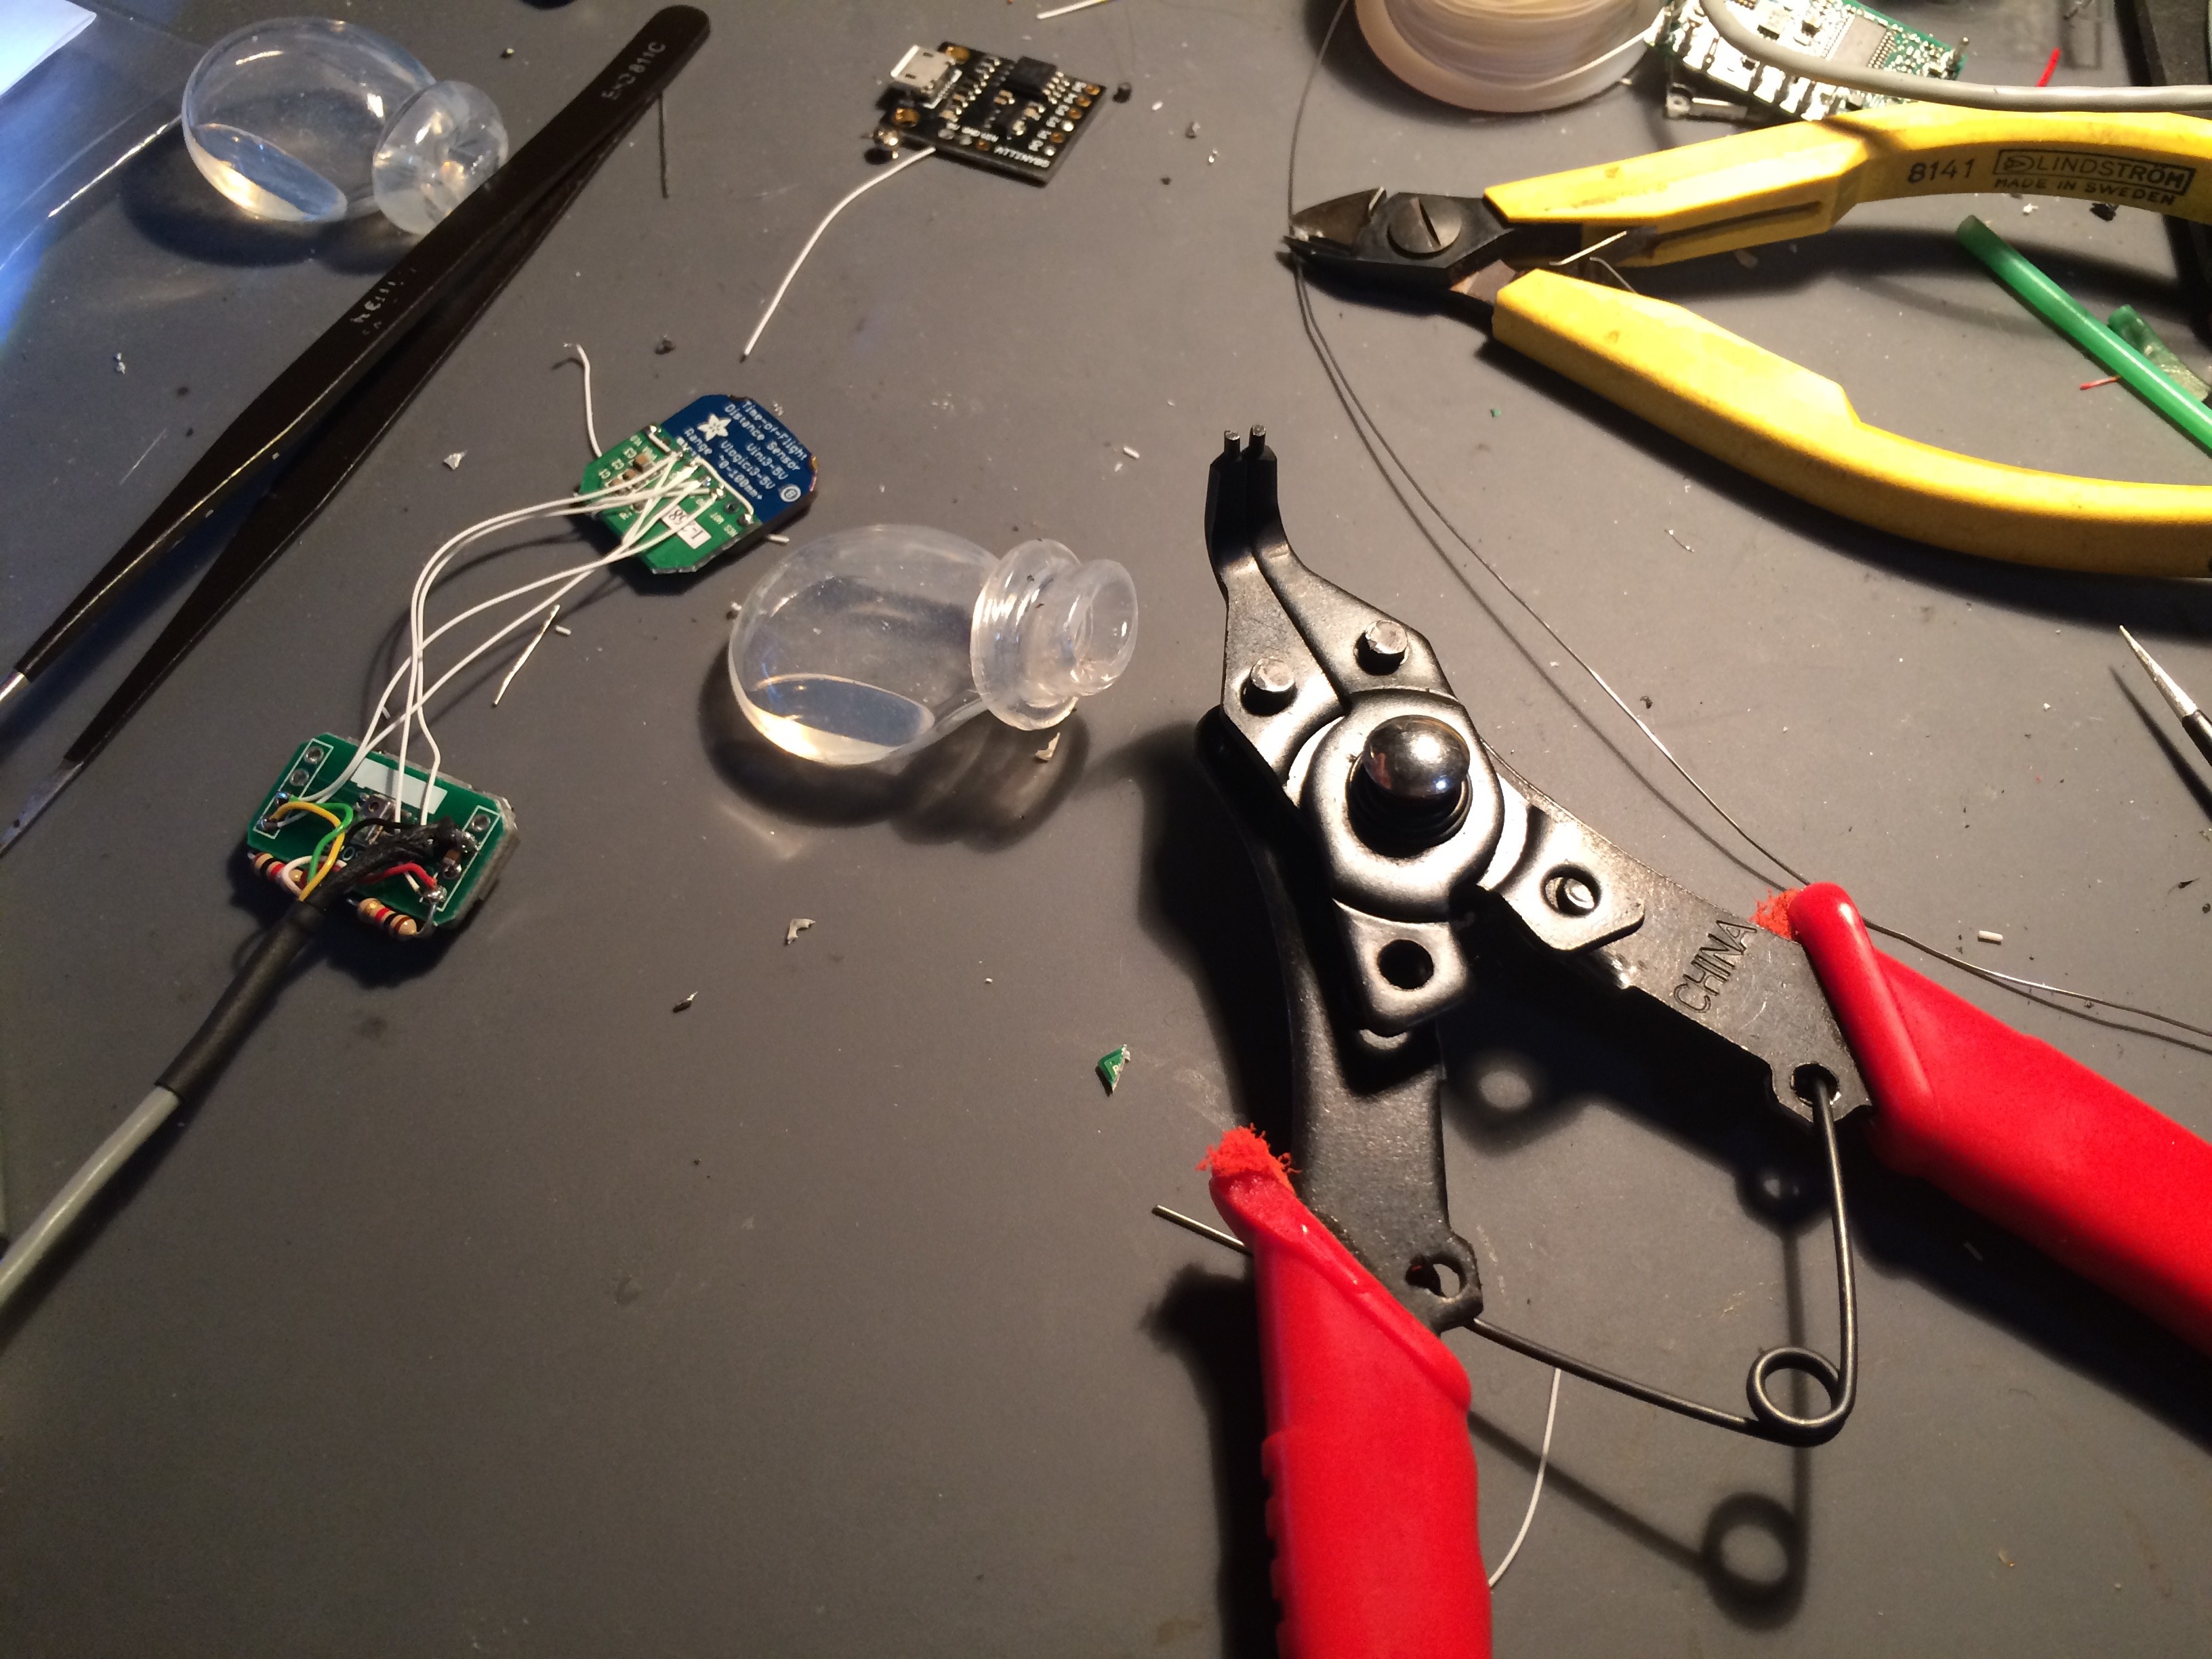
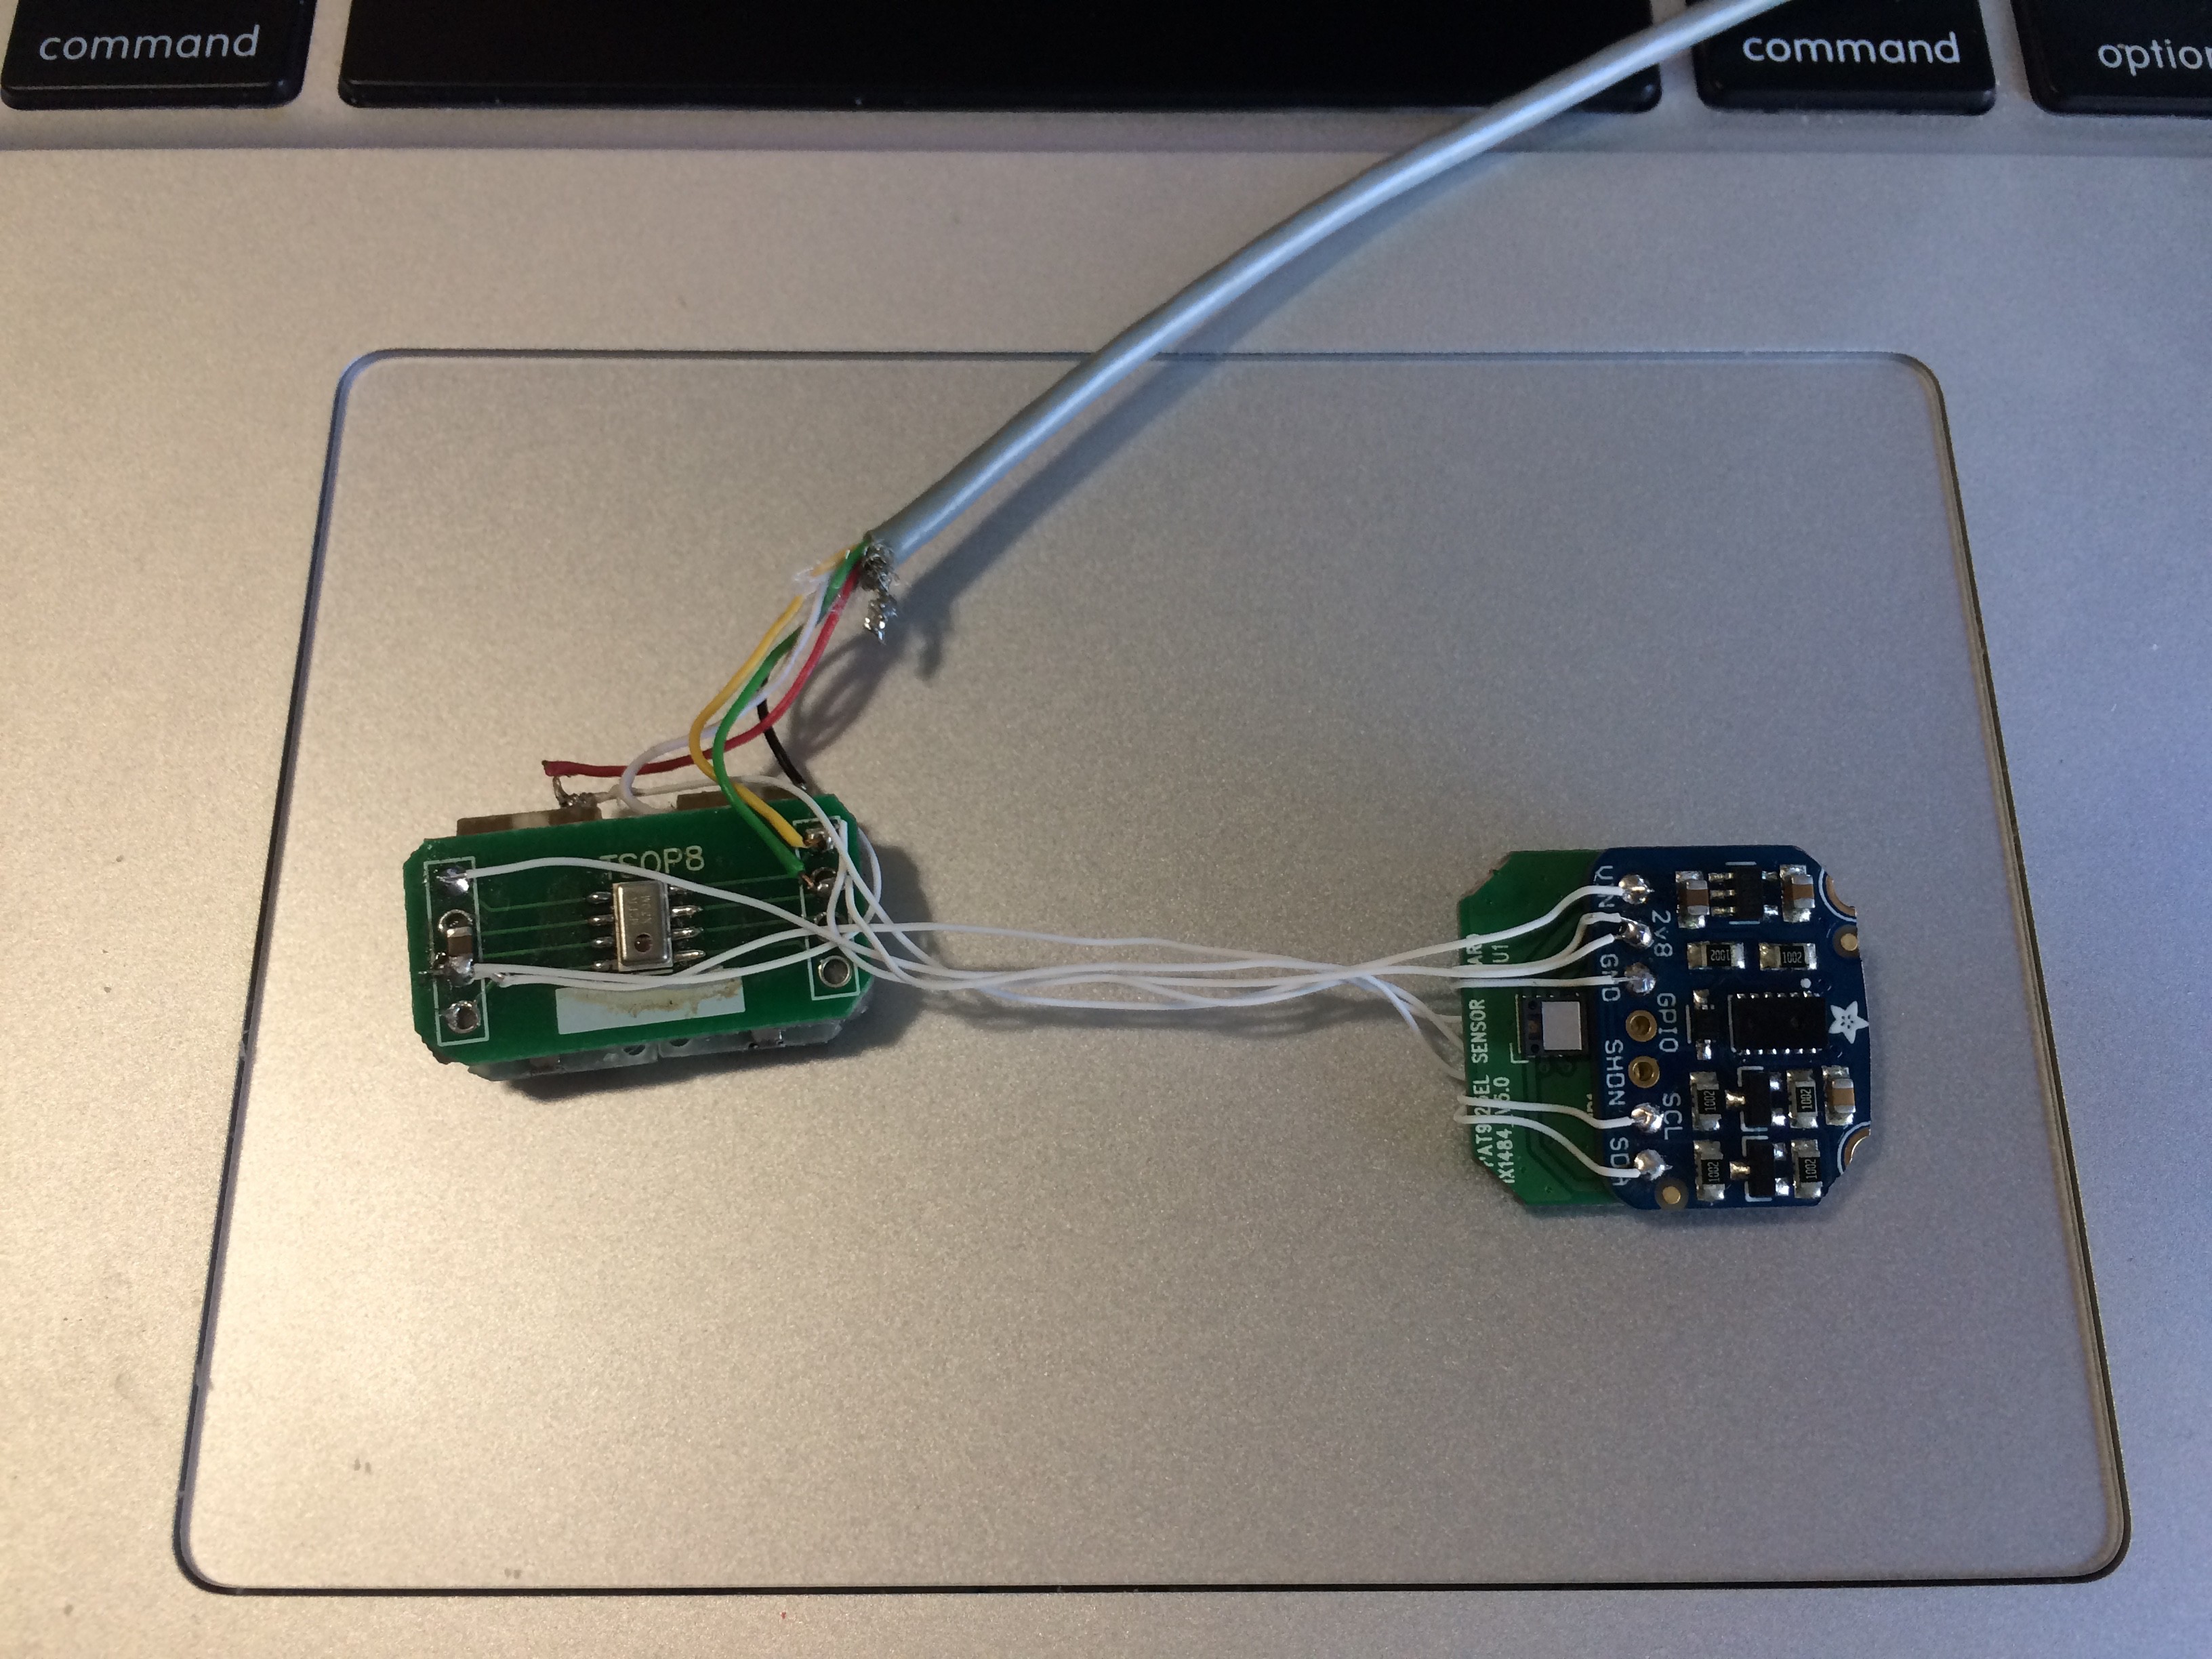
I am still finalizing the beta prototype and will update the BOM and details as the design solidifies.

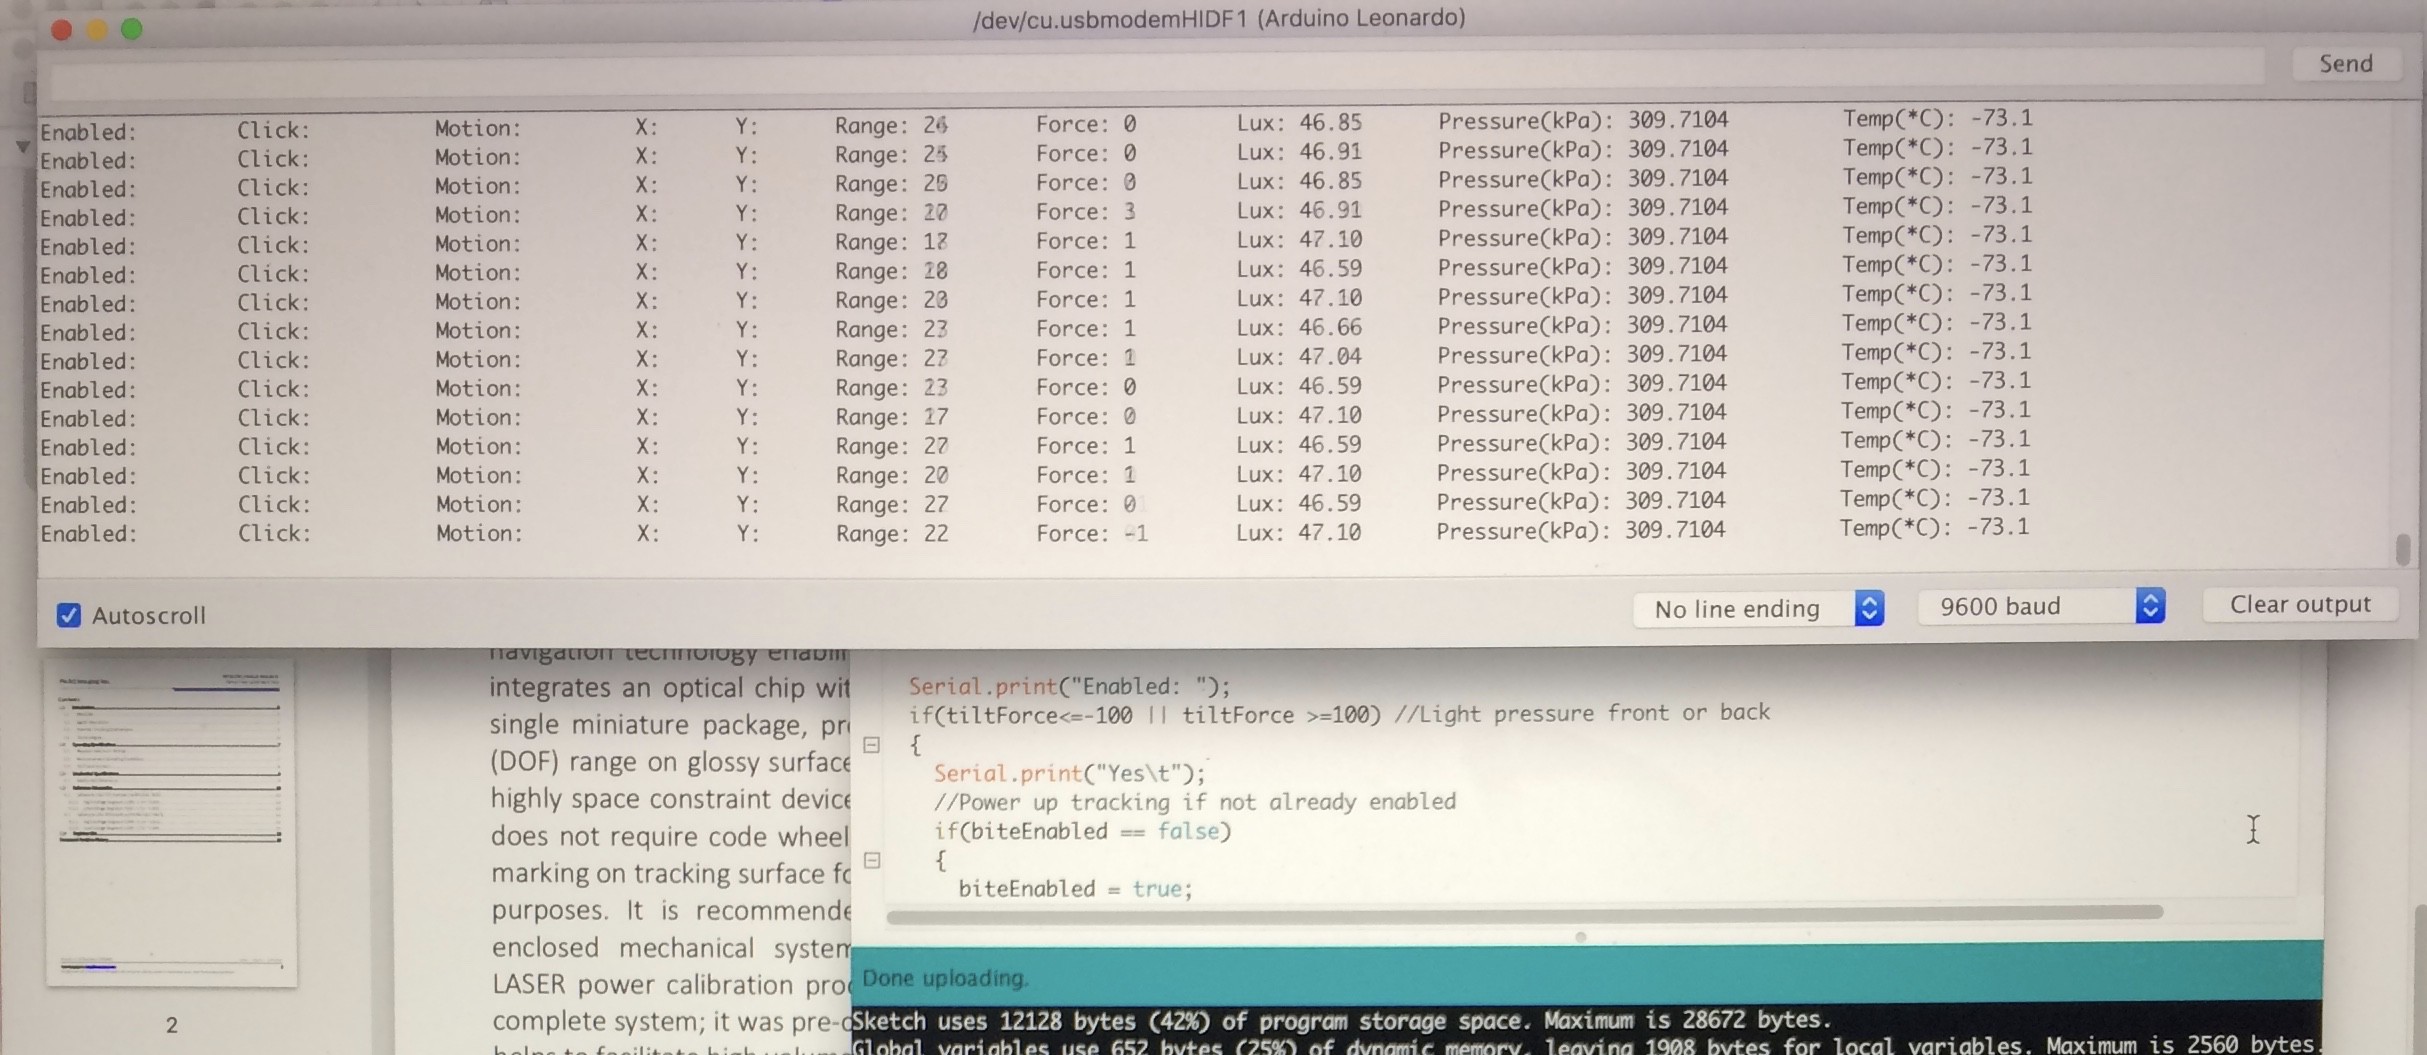
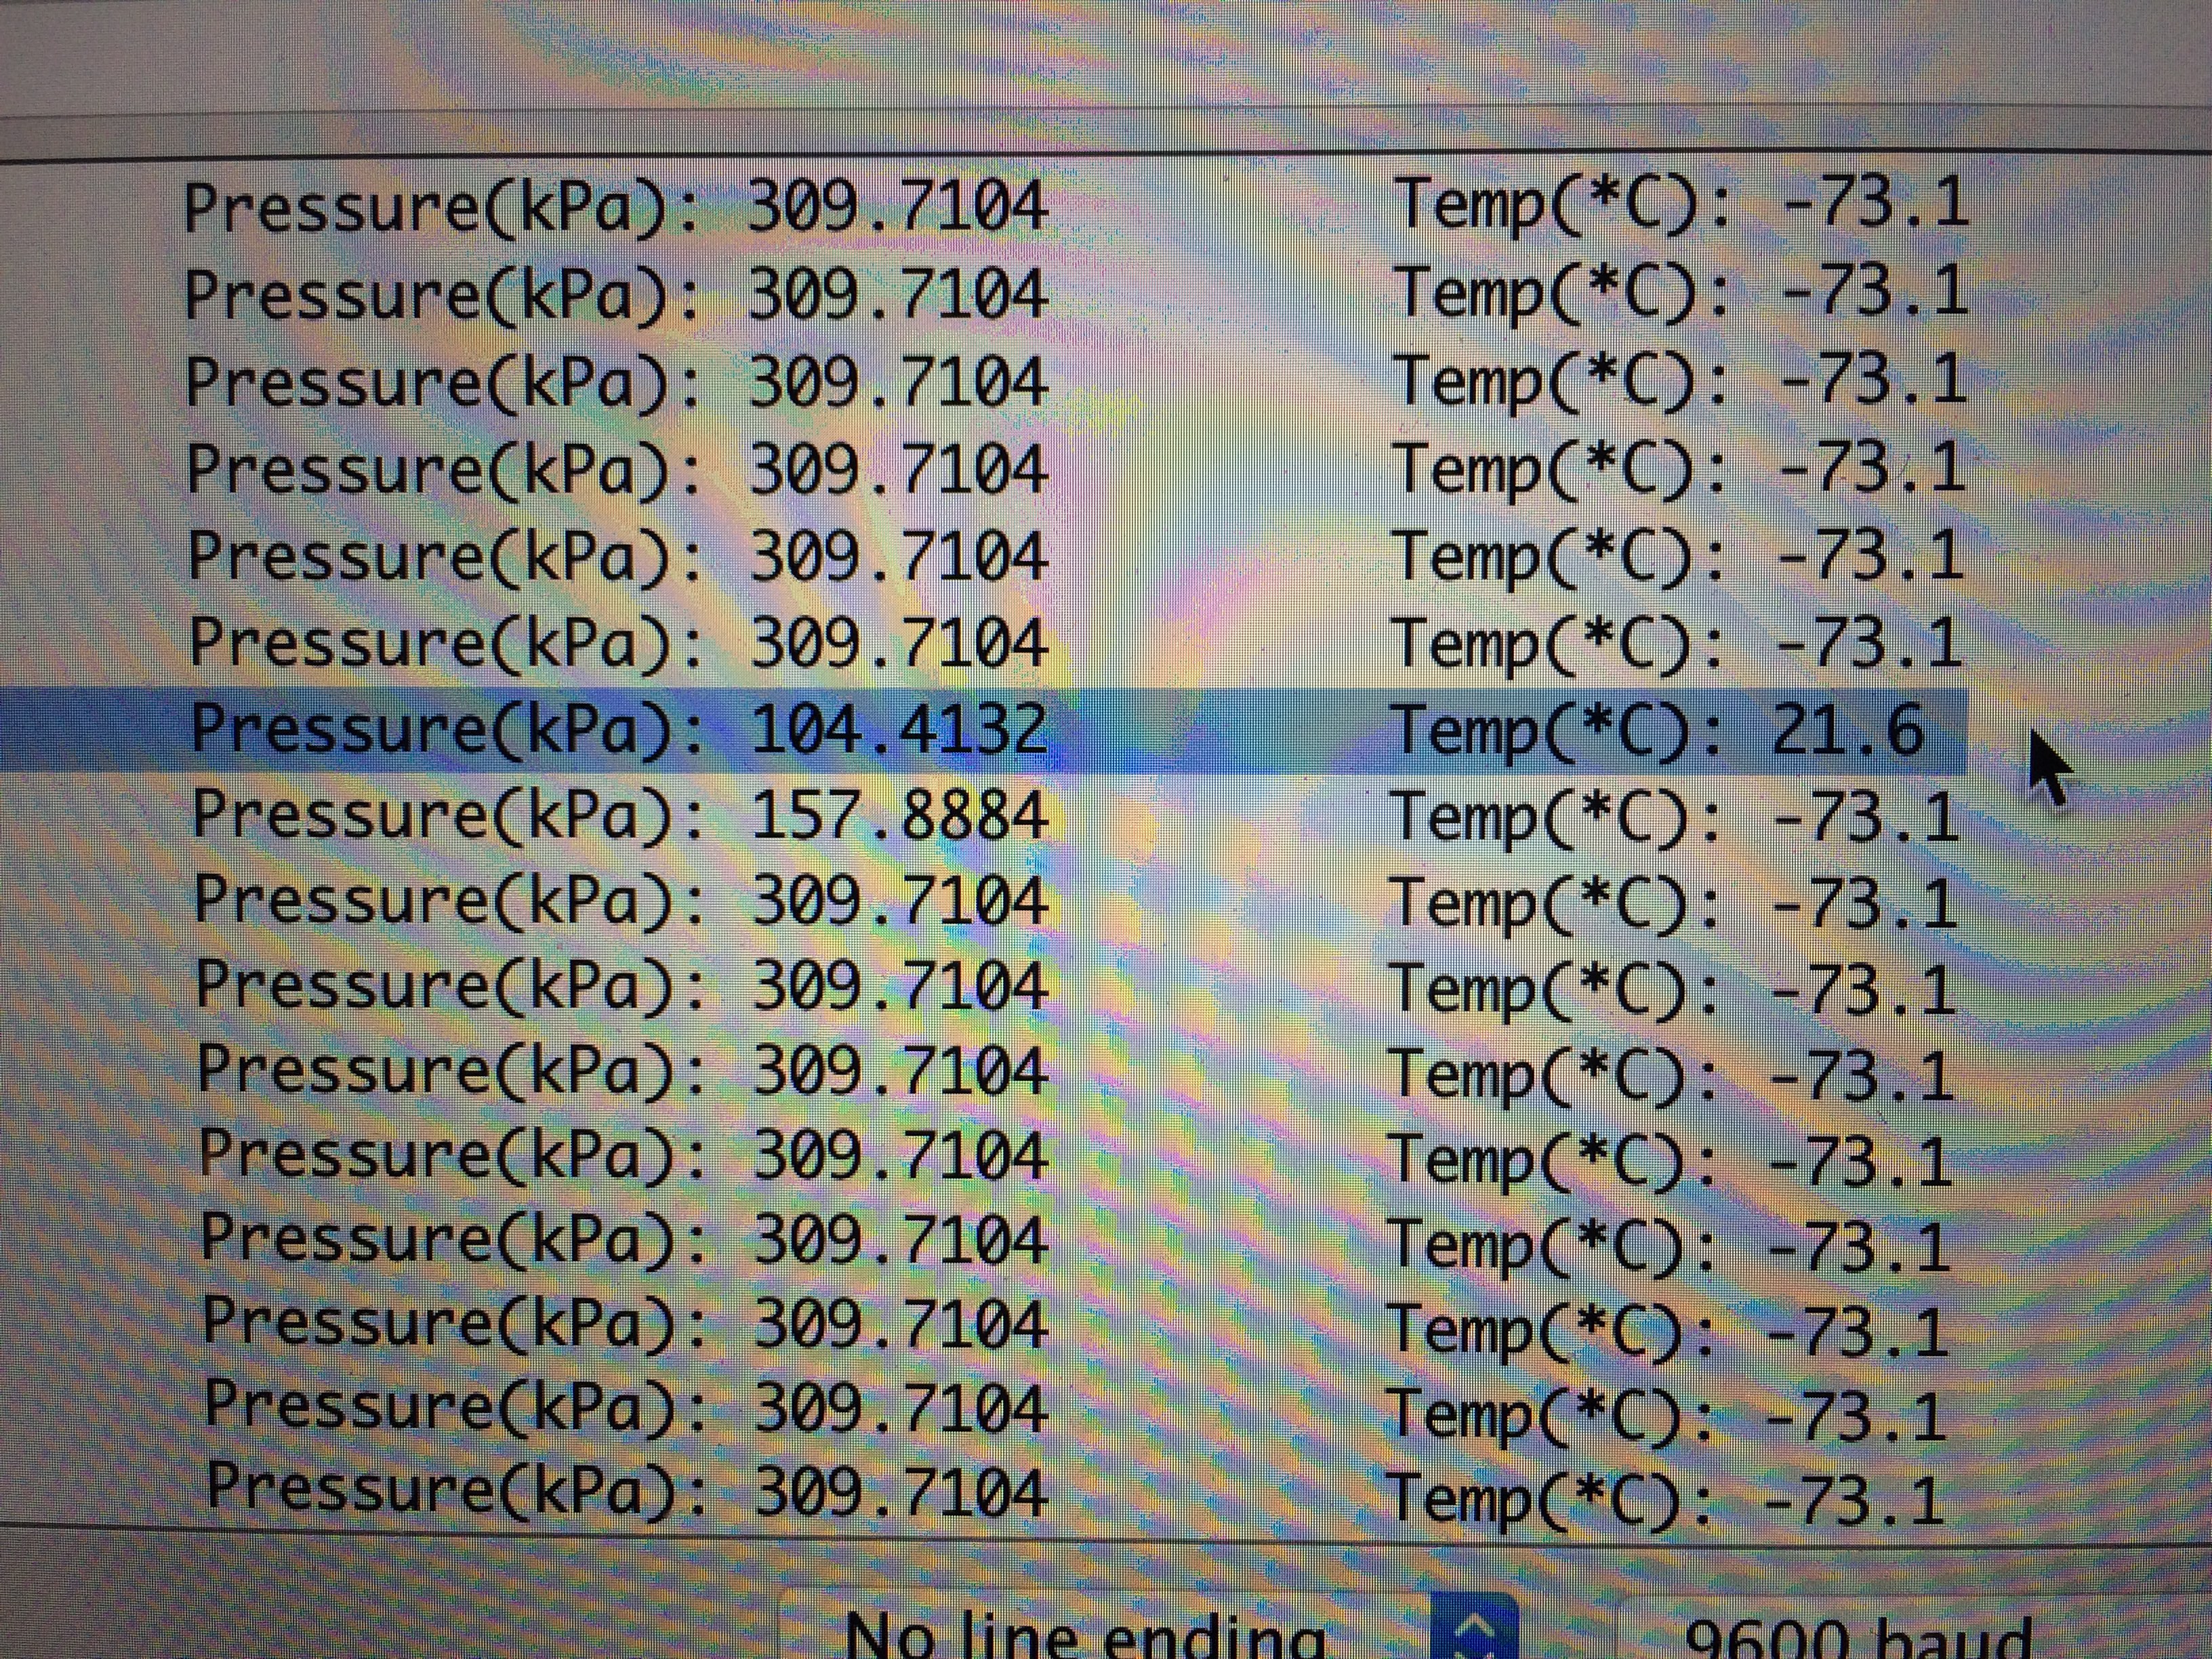
Here is an example of the serial debug output:

Mouse_Demo_Beta_11.ino

Beta prototype - ATmega32u4.

ino - 8.78 kB - 10/22/2018 at 08:10

Download

Mouse_Demo_14.ino

Arduino sketch for the Teensy - emulates mouse movement and clicks. Serial debug output.

ino - 6.75 kB - 08/27/2018 at 12:18

Download

  • 1 × PXI PAK9125LS-TKIT Optical tracking sensor sample kit
  • 1 × Teensy 3.1 microcontroller
  • 1 × B: PXI PAK9125LS-TKIT Optical tracking sensor sample kit - For Beta
  • 1 × B: Two pin level converter board with regulator Generic - DX or gear best? - For Beta
  • 1 × B: Adult sized silicone pacifier Amazon - For Beta

View all 18 components

  • How do they get in?

    oneohm10/22/2018 at 08:47 0 comments

    Good question.

    I lightly modified harbor freight snap ring pliers for a bit more travel. Just remove a bit of metal from the inner surface so they can open further without interference.

    After folding back the silicone neck and then expanding it with the pliers, the boards can easily be loaded.

  • Barometer Bug

    oneohm10/22/2018 at 08:29 0 comments

    The barometer is only working sporadically...

    I have tried:

    Replacing the sensor,

    Changing the pull-up resistor values,

    Changing the power supply voltage,

    Changing the measurement timing...

    But no dice. Here is proof that is does work sometimes though:

    It looks like I am not alone with this issue - these guys ran into the same problem, but ended up just switching to a different type of sensor: PiAQ

  • Beta Microcontroller Solution

    oneohm10/22/2018 at 07:54 0 comments

    To provide a more open and accessible way to interface the bit, the beta prototype uses a CJMCU Beetle ATmega32u4 breakout. I wanted to use a fully open hardware DigiSpark, but it was not able to handle the size of the firmware - It may be possible to heavily optimize the code and make it work eventually.

    The Beetle runs on 5V, so a generic level translator was required to interface the sensors. I2C pull-up resistors were added directly to the translator board:

     The translator joined up with the Beetle:

    The two resistors on the beetle are supposed to help keep the analog force sensor voltage mid-range when the force sensors are unloaded (their resistance can go to Mega-ohms)

    The happy family:

  • Beta Prototype

    oneohm10/22/2018 at 07:35 0 comments

    After trying out several combinations, I decided on the following sensors for the beta prototype:

    Optical surface tracking

    Time of flight laser displacement

    Barometric pressure+temperature

    Differential force (front to back)

    Partially Assembled:

    Getting Closer:

    Buttoned Up:

    Top side (showing front and back force sensors):

    The two force sensors form a voltage divider allowing one analog pin to effectively monitor both. (Idle output voltage is half full scale)

  • Upgrades - Force Triangulation

    oneohm10/22/2018 at 07:20 0 comments

    Some applications may benefit from joystick-like control. This can be accomplished with three force sensors arranged in a triangle - here is a mockup on the left:

  • Upgrades - Laser Displacement

    oneohm10/22/2018 at 07:14 0 comments

    Why not measure how far the tongue is from the bit?

    How about a VL6180X laser time of flight displacement sensor:

    Needs to be chopped down a bit:

    Mounted stand-alone:

  • Upgrades - Pressure

    oneohm10/22/2018 at 07:05 0 comments

    I found a nice analog output pressure sensor in my parts bin and decided to add it on. It should be possible to use it for suck-puff type input.

    mp3h6115a

    Attaching one to a breakout board:

    It hangs off one side, but those pins are not needed... so I clipped them off:

    All tucked in:

  • Adjustable bite force threshold

    oneohm08/27/2018 at 13:48 0 comments

    A single turn 10K potentiometer is used in combination with the bite force sensor to create an adjustable voltage divider. This will probably be replaced with a fixed value resistor eventually, but it was helpful to have an adjustable value during testing. Here you can see the potentiometer zip tied to the back of the Teensy 3.1.

  • Teensy 3.1 Configuration

    oneohm08/27/2018 at 13:39 0 comments

    A Teensy 3.1 microcontroller board is used to interface the sensor and emulate a USB mouse. 4.7K resistors have been added to the i2c pins.

    Signals:
    yellow: 3.3V
    green: GND
    blue: Force sensor analog value
    white: SCLK
    purple: SDA

  • Bite force sensor

    oneohm08/27/2018 at 13:29 0 comments

    I added a conductive rubber pressure sensor to measure bite force.

    This allows tracking to be enabled with light bite force, and registers clicks with a stronger bite. 

    The force sensor is connected to the 10K potentiometer to create an adjustable voltage divider that connects to an analog input pin on the Teensy 3.1.

View all 13 project logs

Enjoy this project?

Share

Discussions

Matias N. wrote 05/16/2020 at 01:08 point

Hey, most of the images in the project logs appear to be dead.

I wanted to ask about the trackpad sensors. I see you desoldered the flat cable. Since there are many trackpad models out there it is interesting that you can just design a footprint and solder to pcb directly. Do you think the rest of the module (the housing) is still usable afterwards? is that a LED soldered to the flat cable?

  Are you sure? yes | no

Kris Jones wrote 09/12/2018 at 16:50 point

Where did you order the Pixart sensors? I have tried to find a distributor, but the only place that had them in stock does not ship samples to the US. 

  Are you sure? yes | no

Curt White wrote 08/27/2018 at 12:30 point

how to you get it to stay put in the mouth?

  Are you sure? yes | no

AnnonAB wrote 09/21/2018 at 05:15 point

They generally stay relatively comfortably so in the mouth unless you were to literally spit the dummy.. Babies, ravers and abdls/ddlgs don't have any issues. :P

You could make a pacifier clip to house the uC and run the wires up to the pacifier to keep everything neat and contained, maybe with stiff wire or a swing arm on the wheelchair to keep it near face height to accommodate those who can't get it back in themselves..

Of course, there is always this option https://images-na.ssl-images-amazon.com/images/I/810v1bXOdKL._SX355_.jpg (warning: kink related, but worksafe).

The majority of the adult pacifiers can be pulled apart, you usually don't need to hacksaw off the button, the button can instead be drilled, wires fed through and then the sensors soldered on the other side, allowing it to be put back and hold everything in place.

I know a little too much about these, I guess you could say I'm within the target audience for adult pacis >.> sorry (posting with an alt).

  Are you sure? yes | no

zakqwy wrote 04/25/2018 at 02:29 point

neat concept. I've got a pile of those sensors around, looking forward to seeing how well you can get em to work!

  Are you sure? yes | no

Similar Projects

Does this project spark your interest?

Become a member to follow this project and never miss any updates