0%
0%
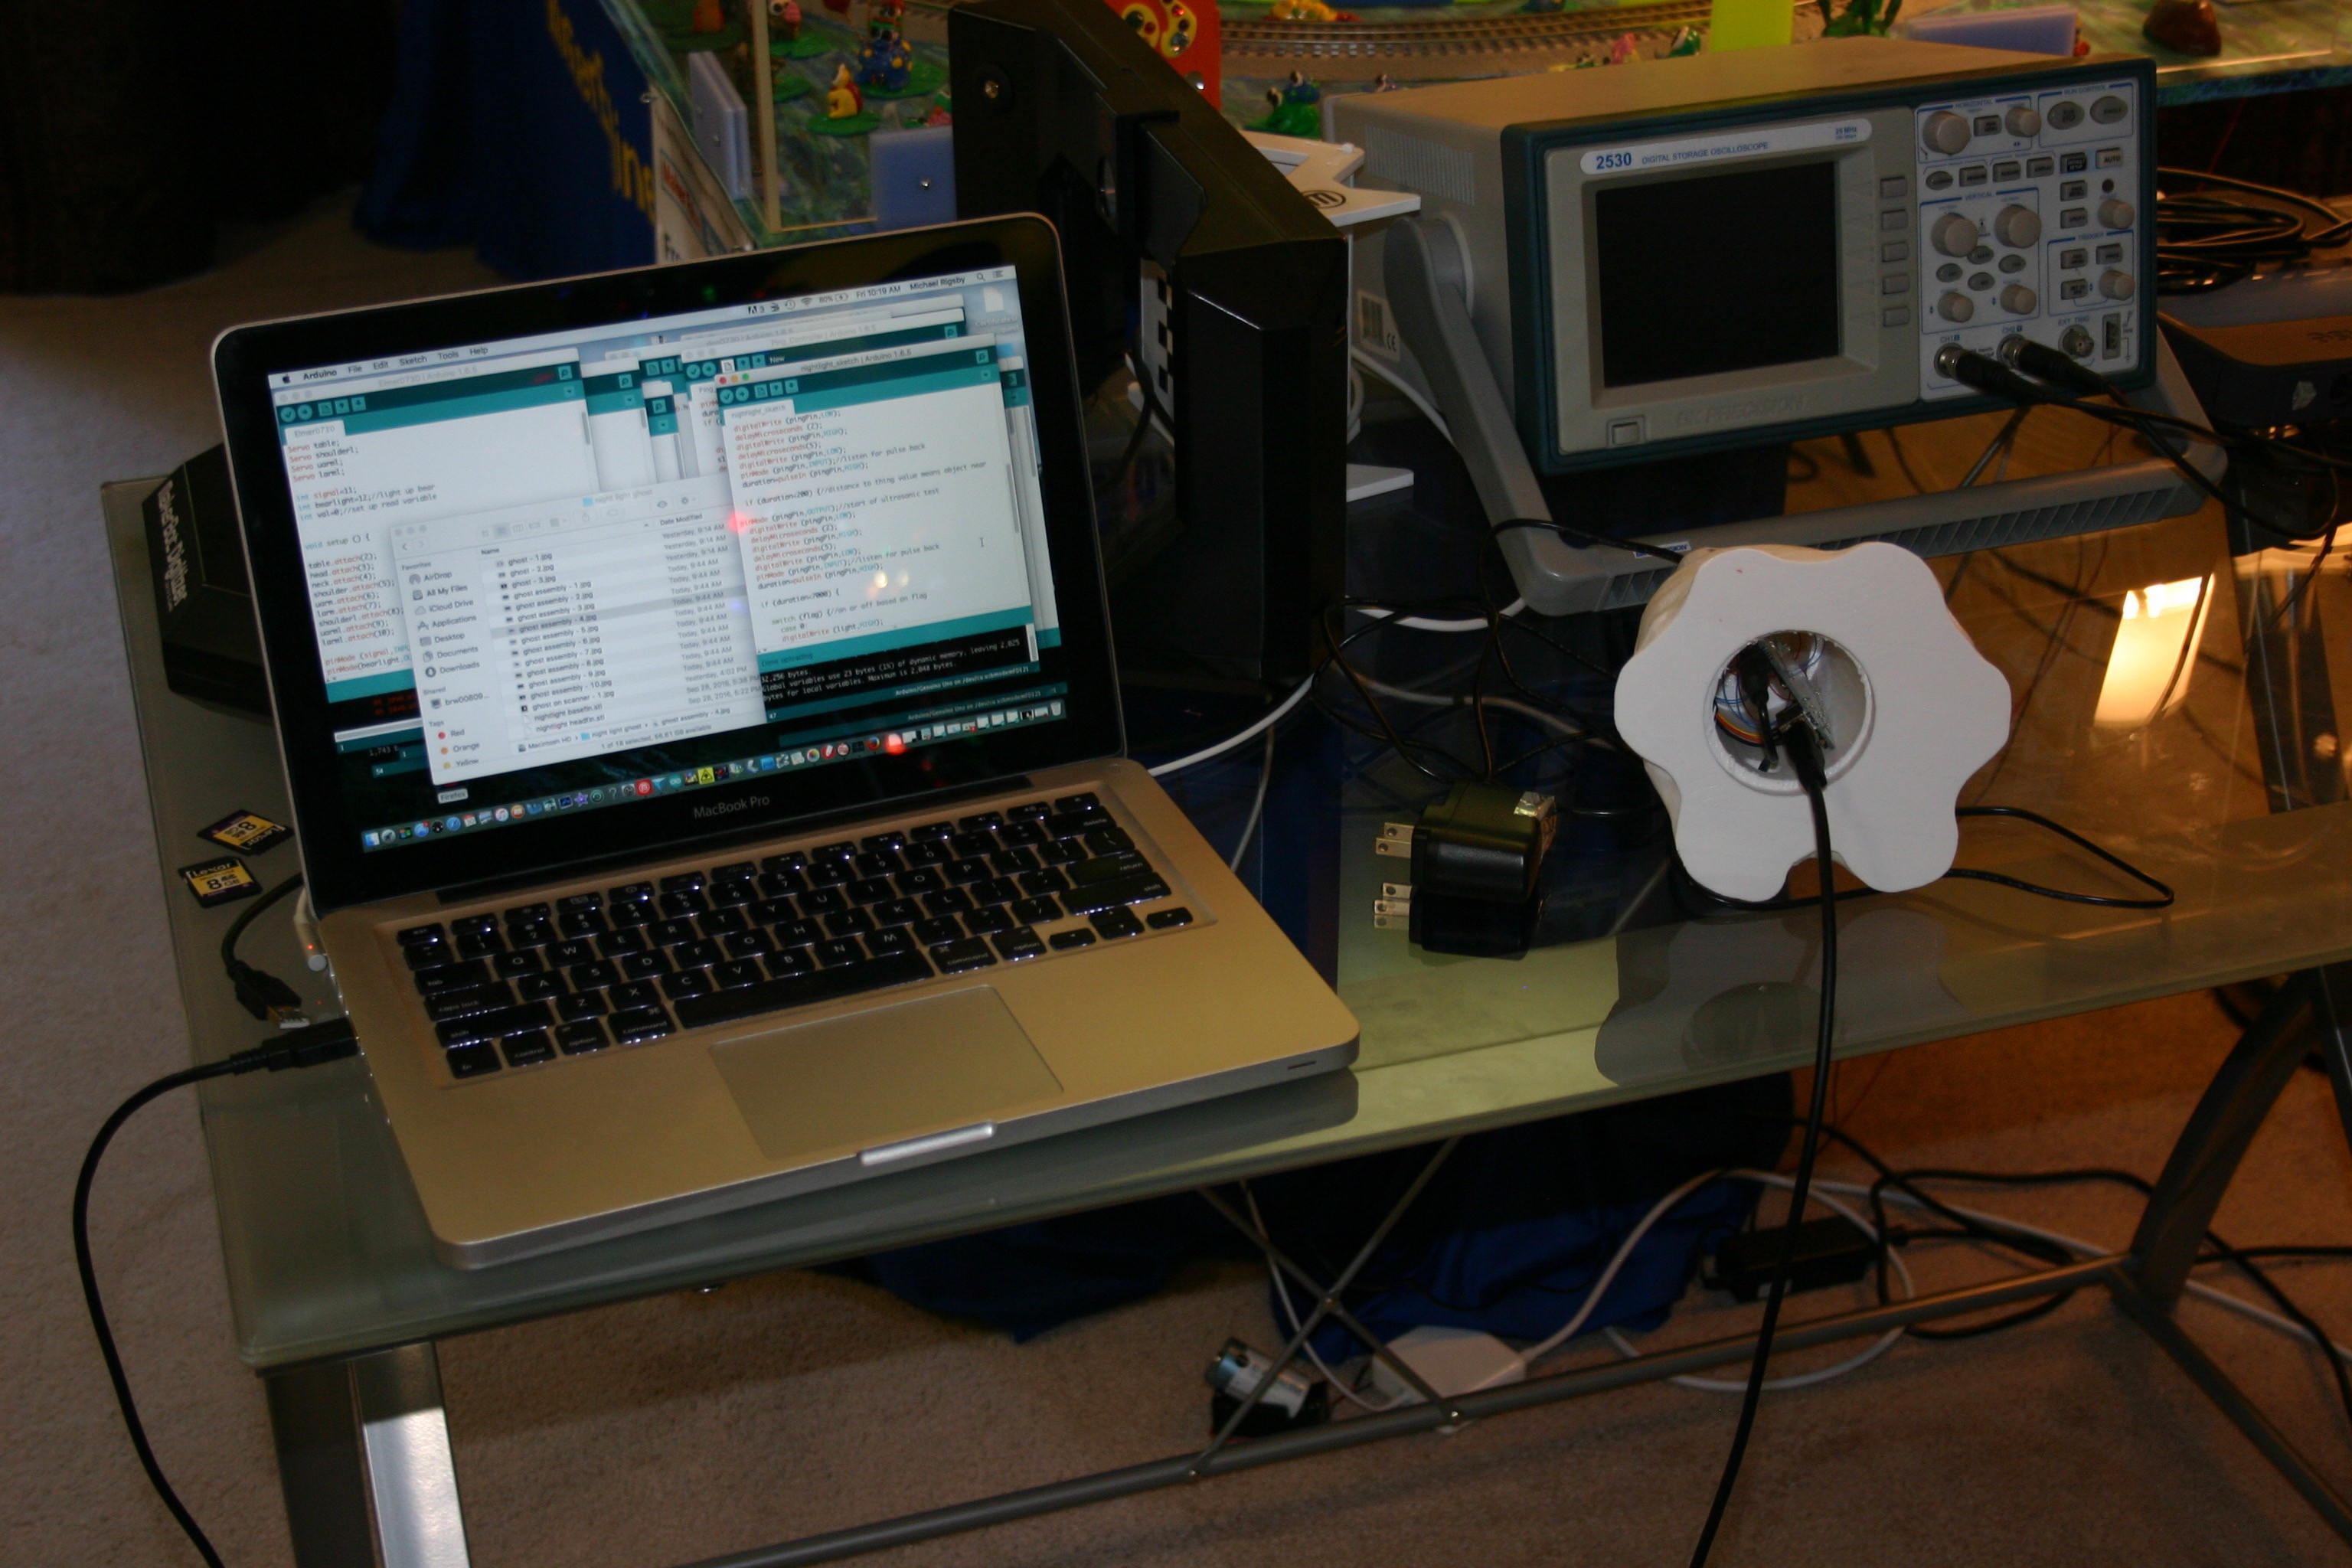
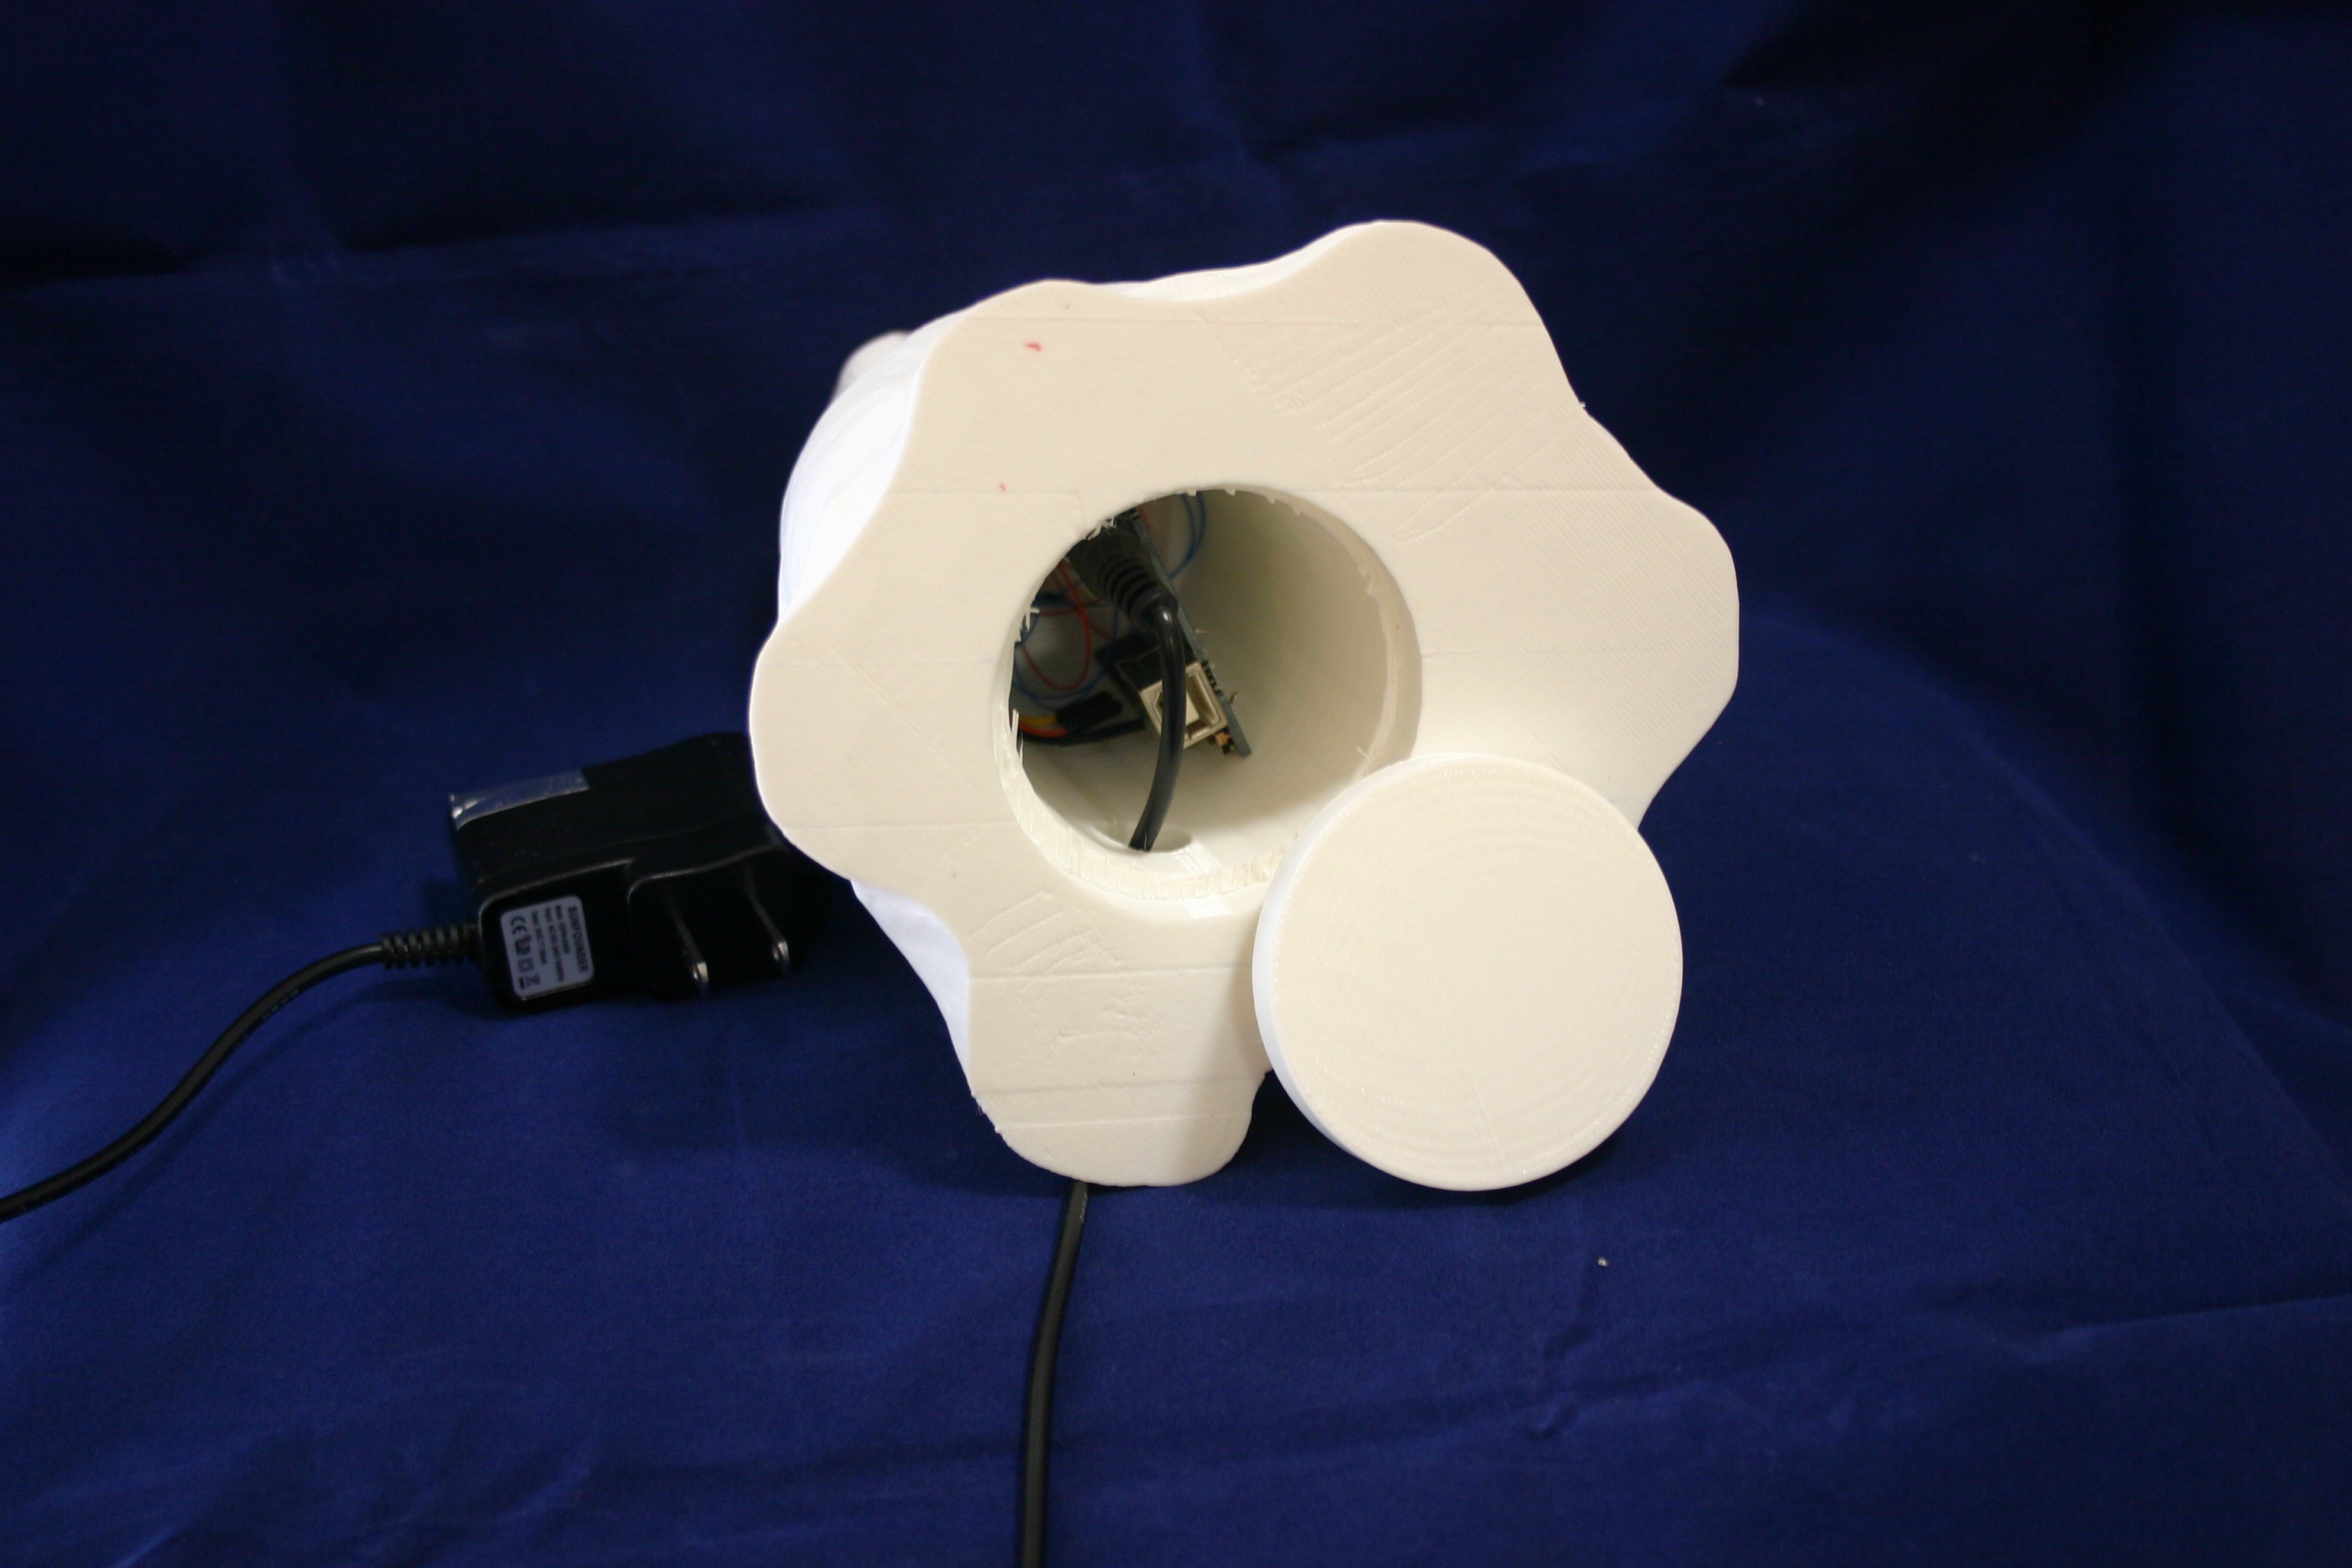
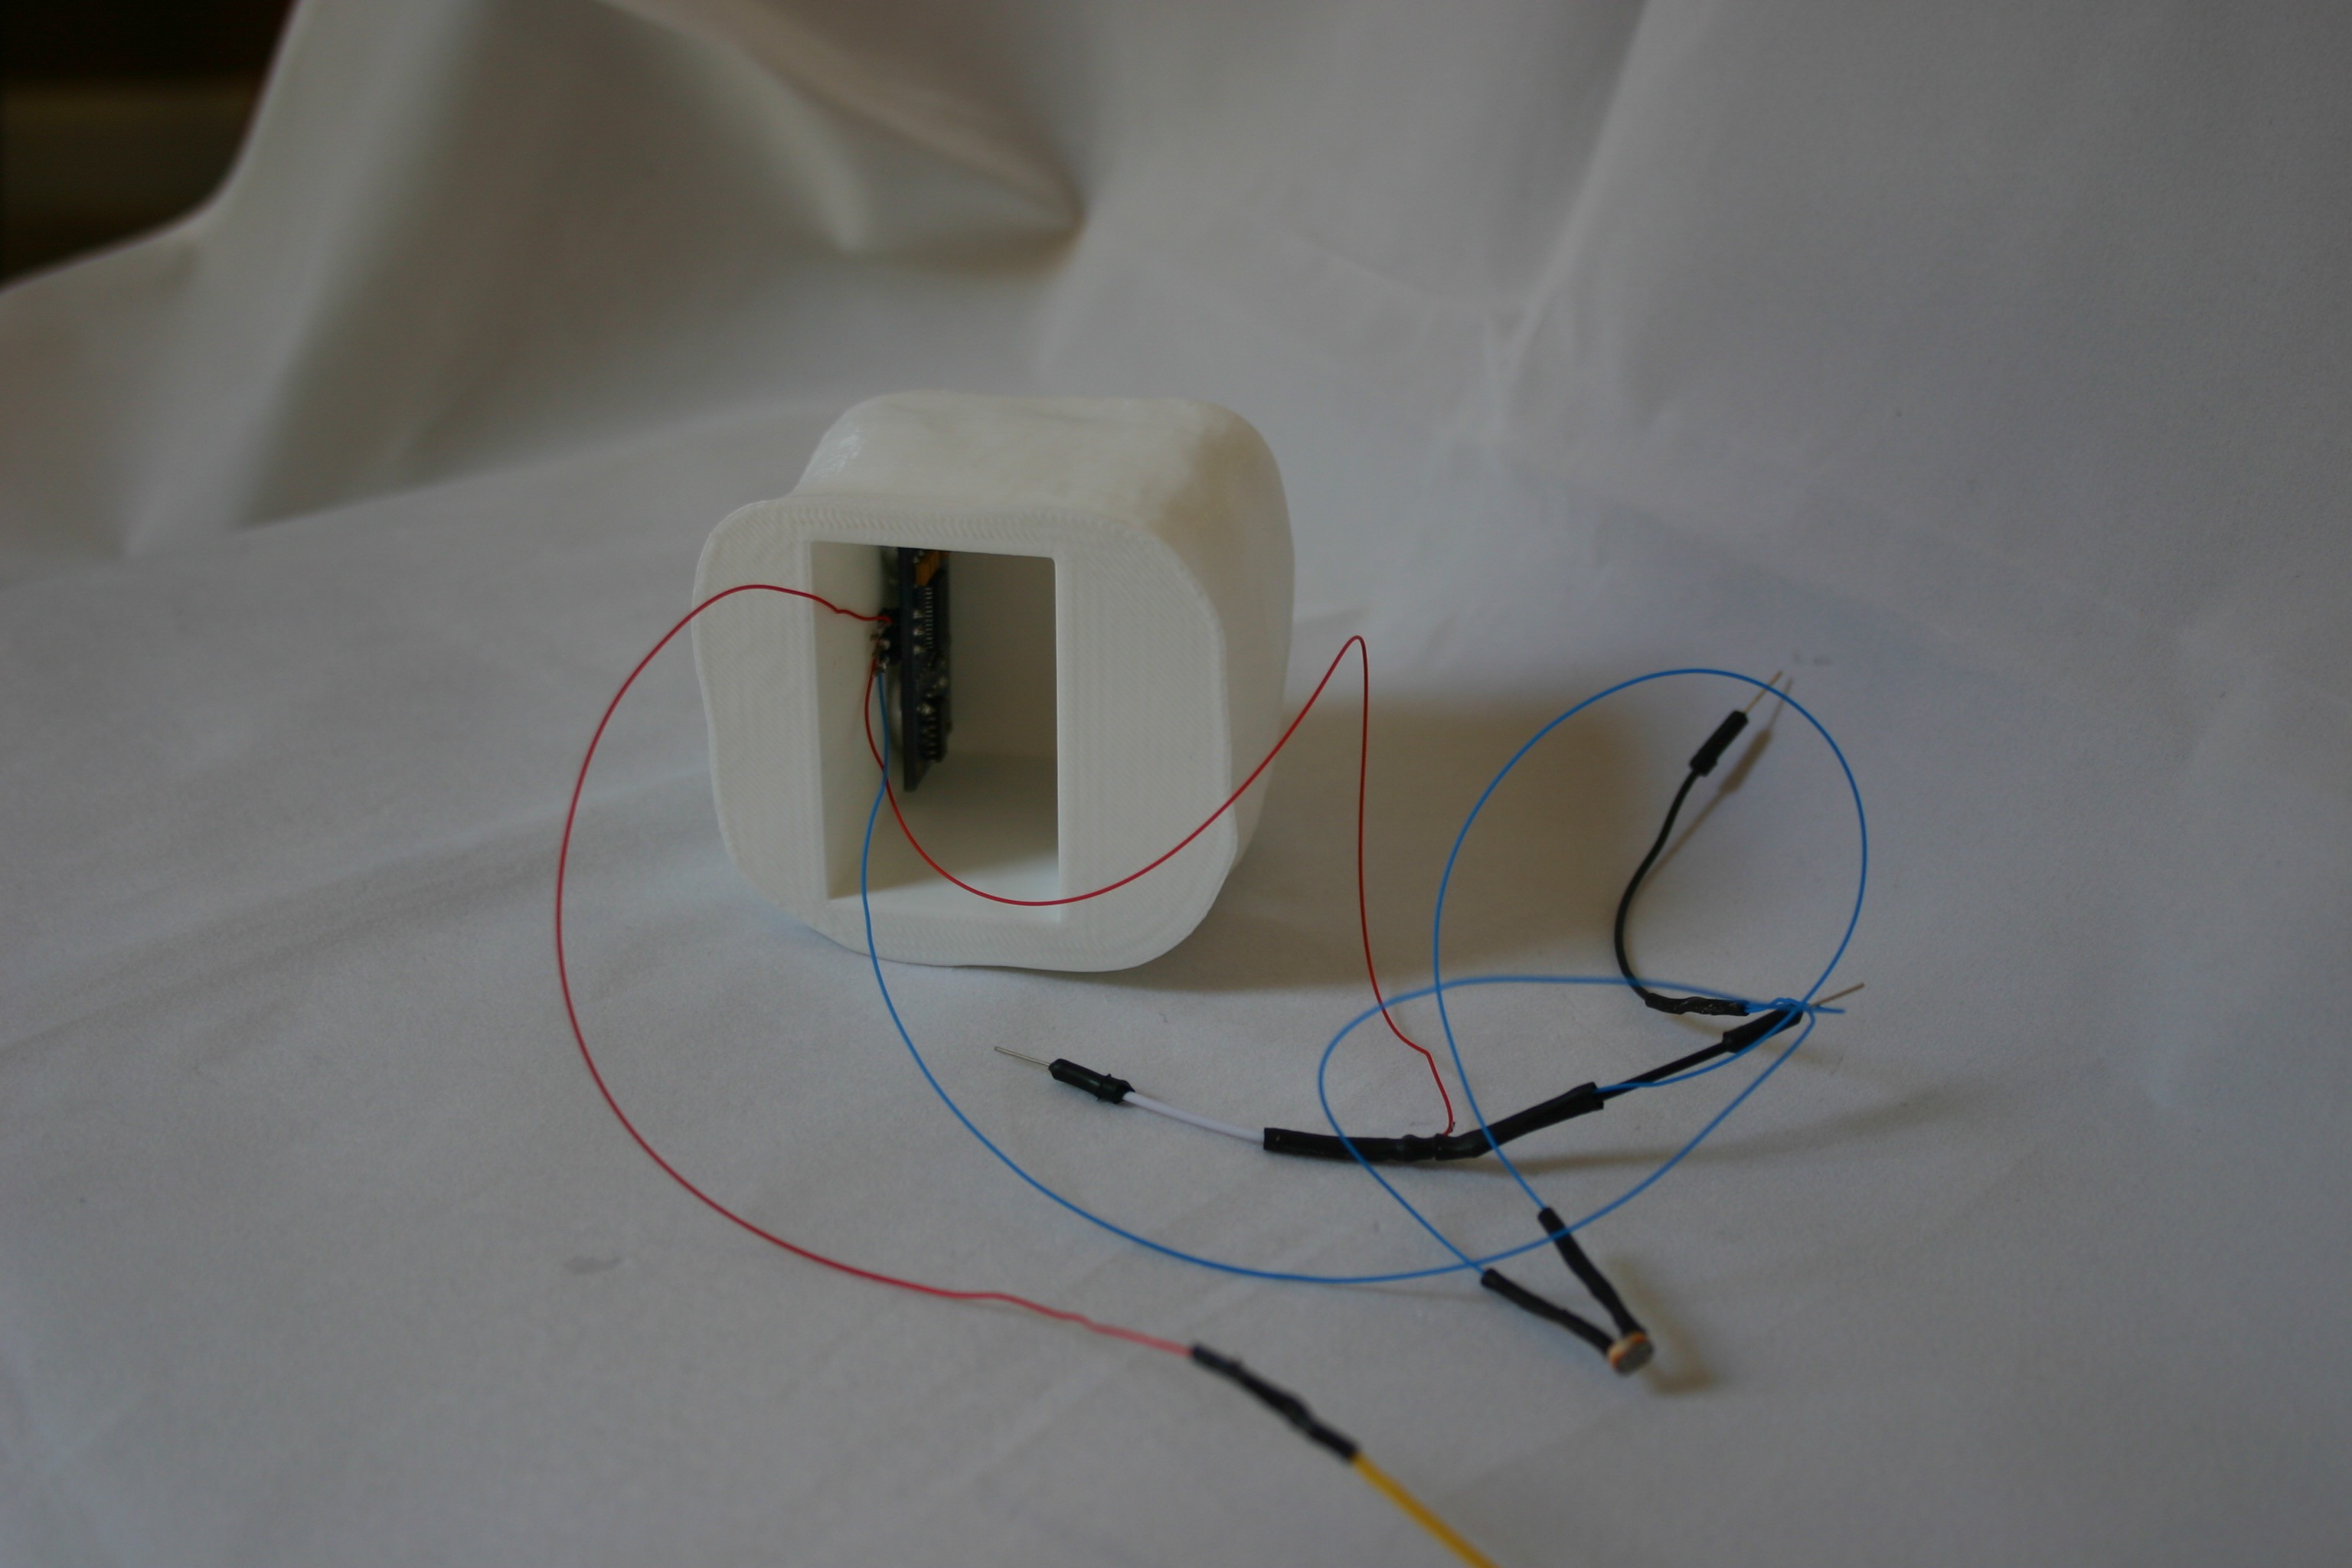
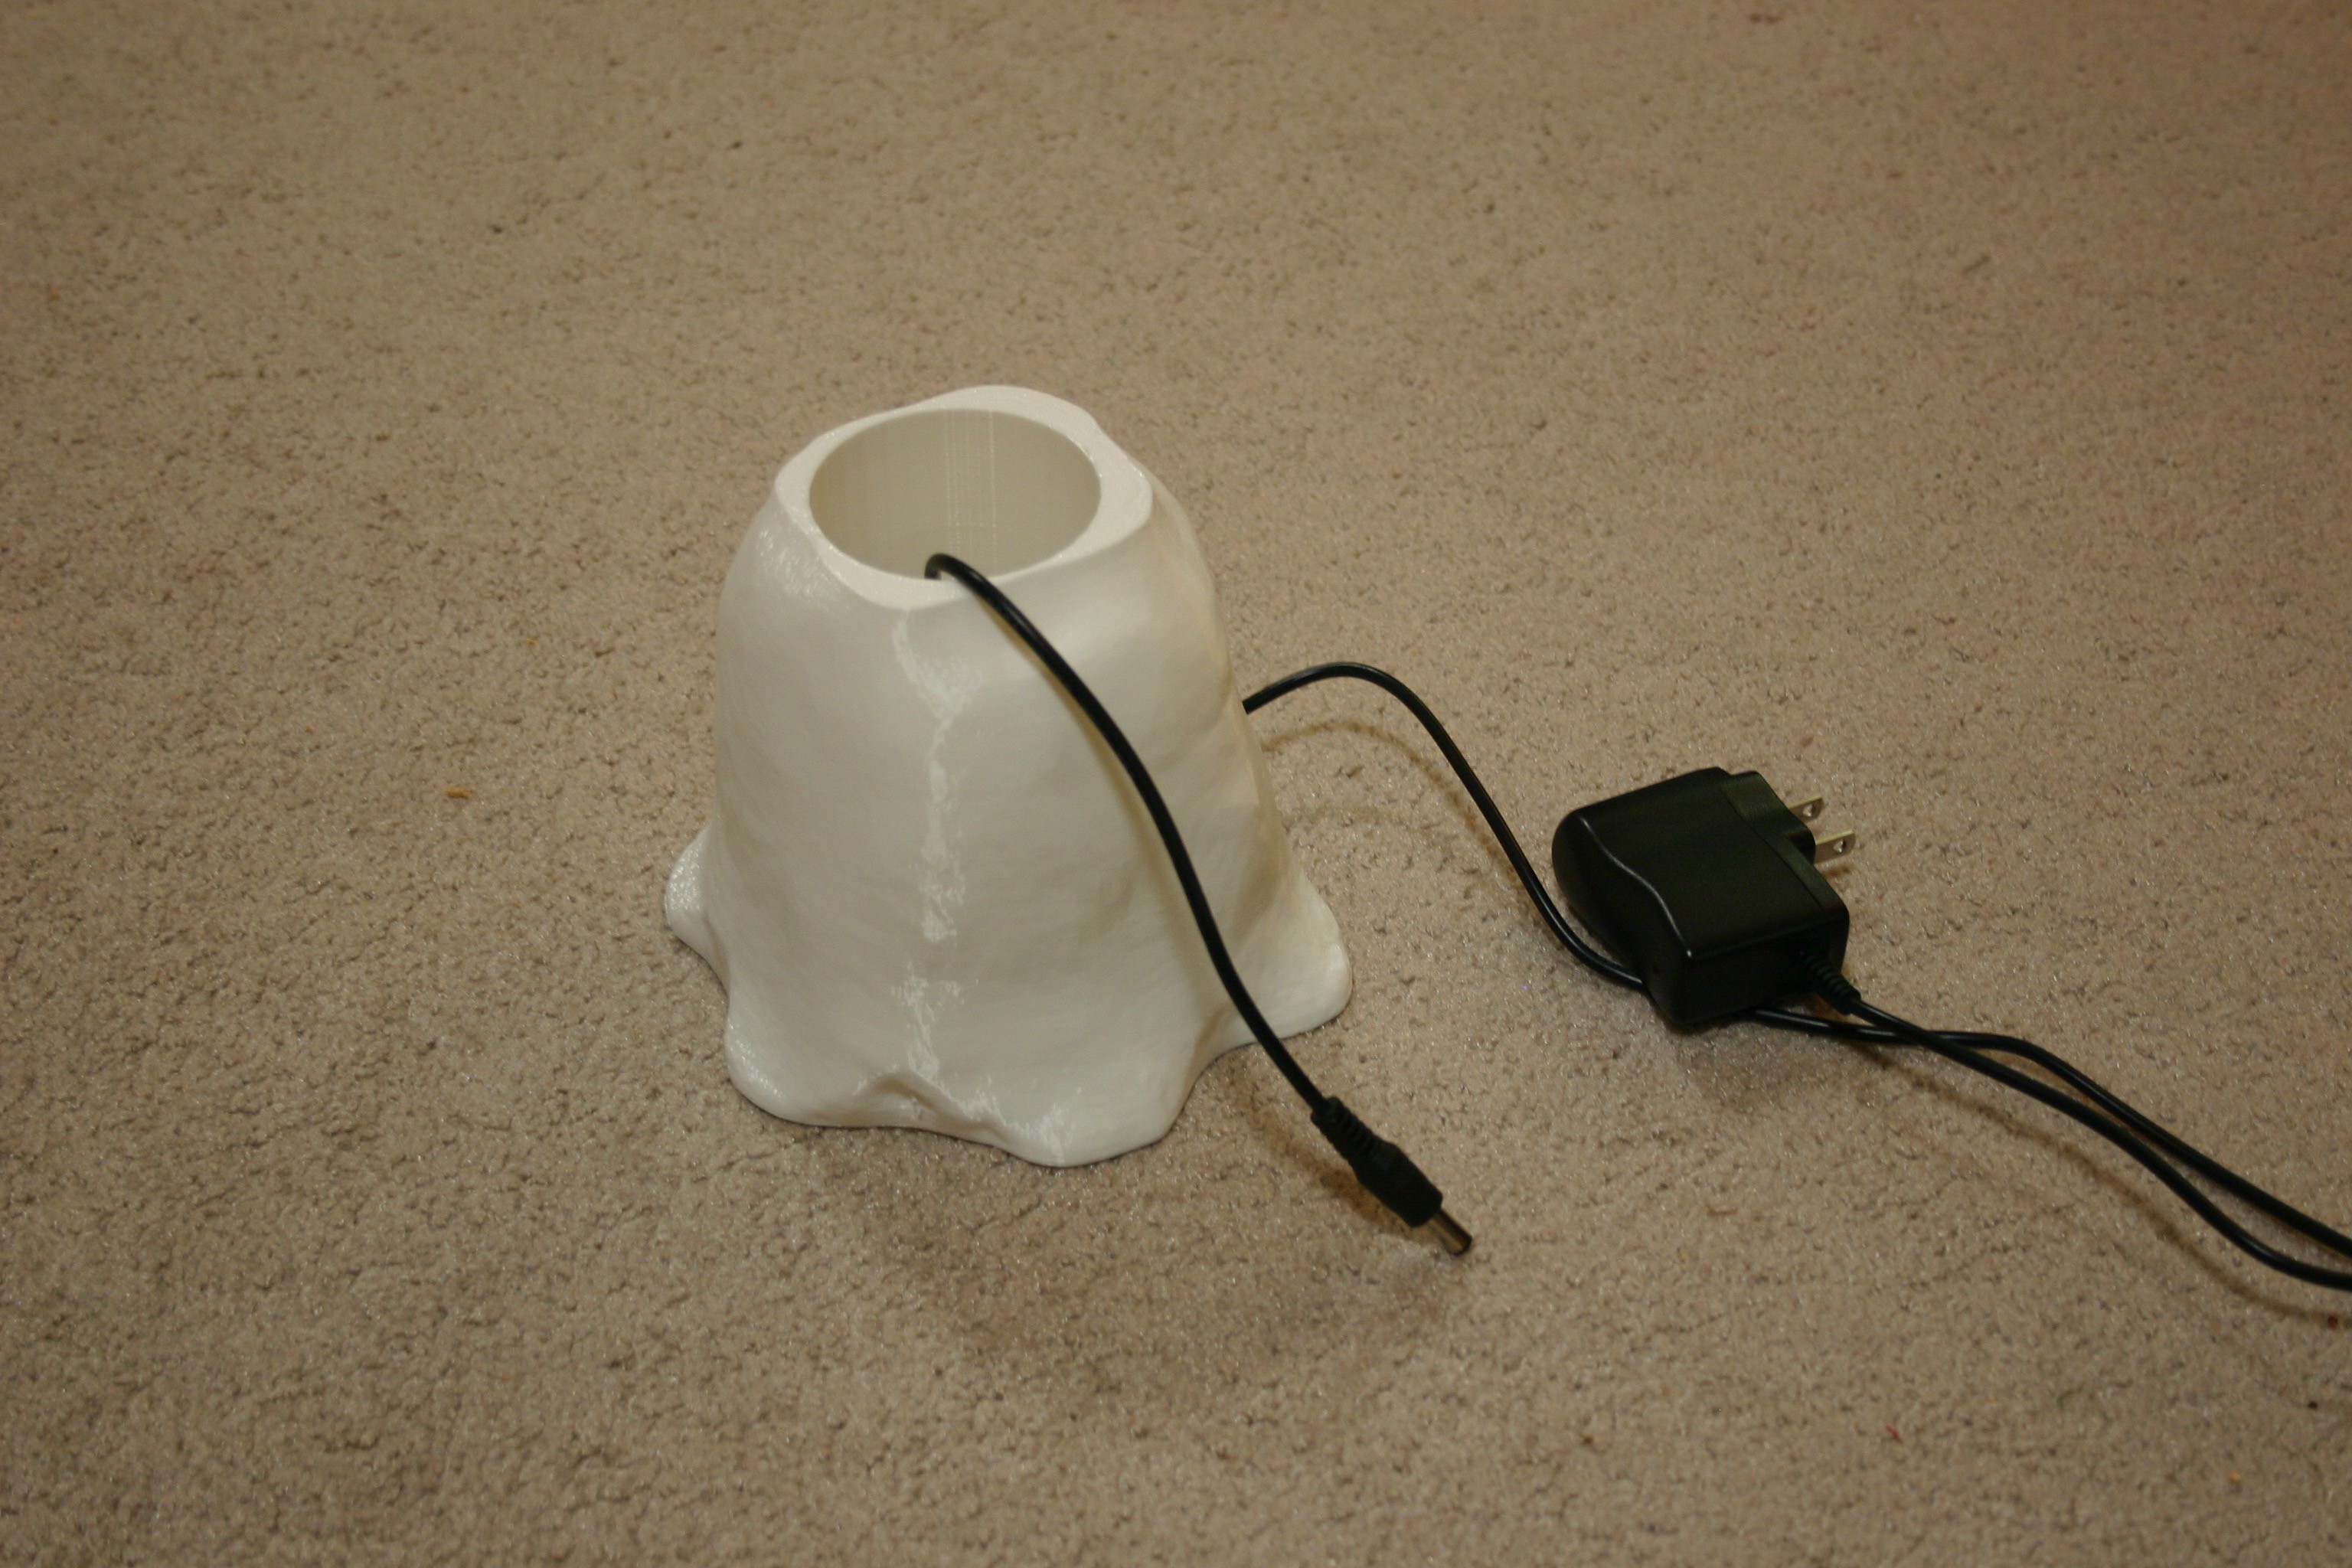
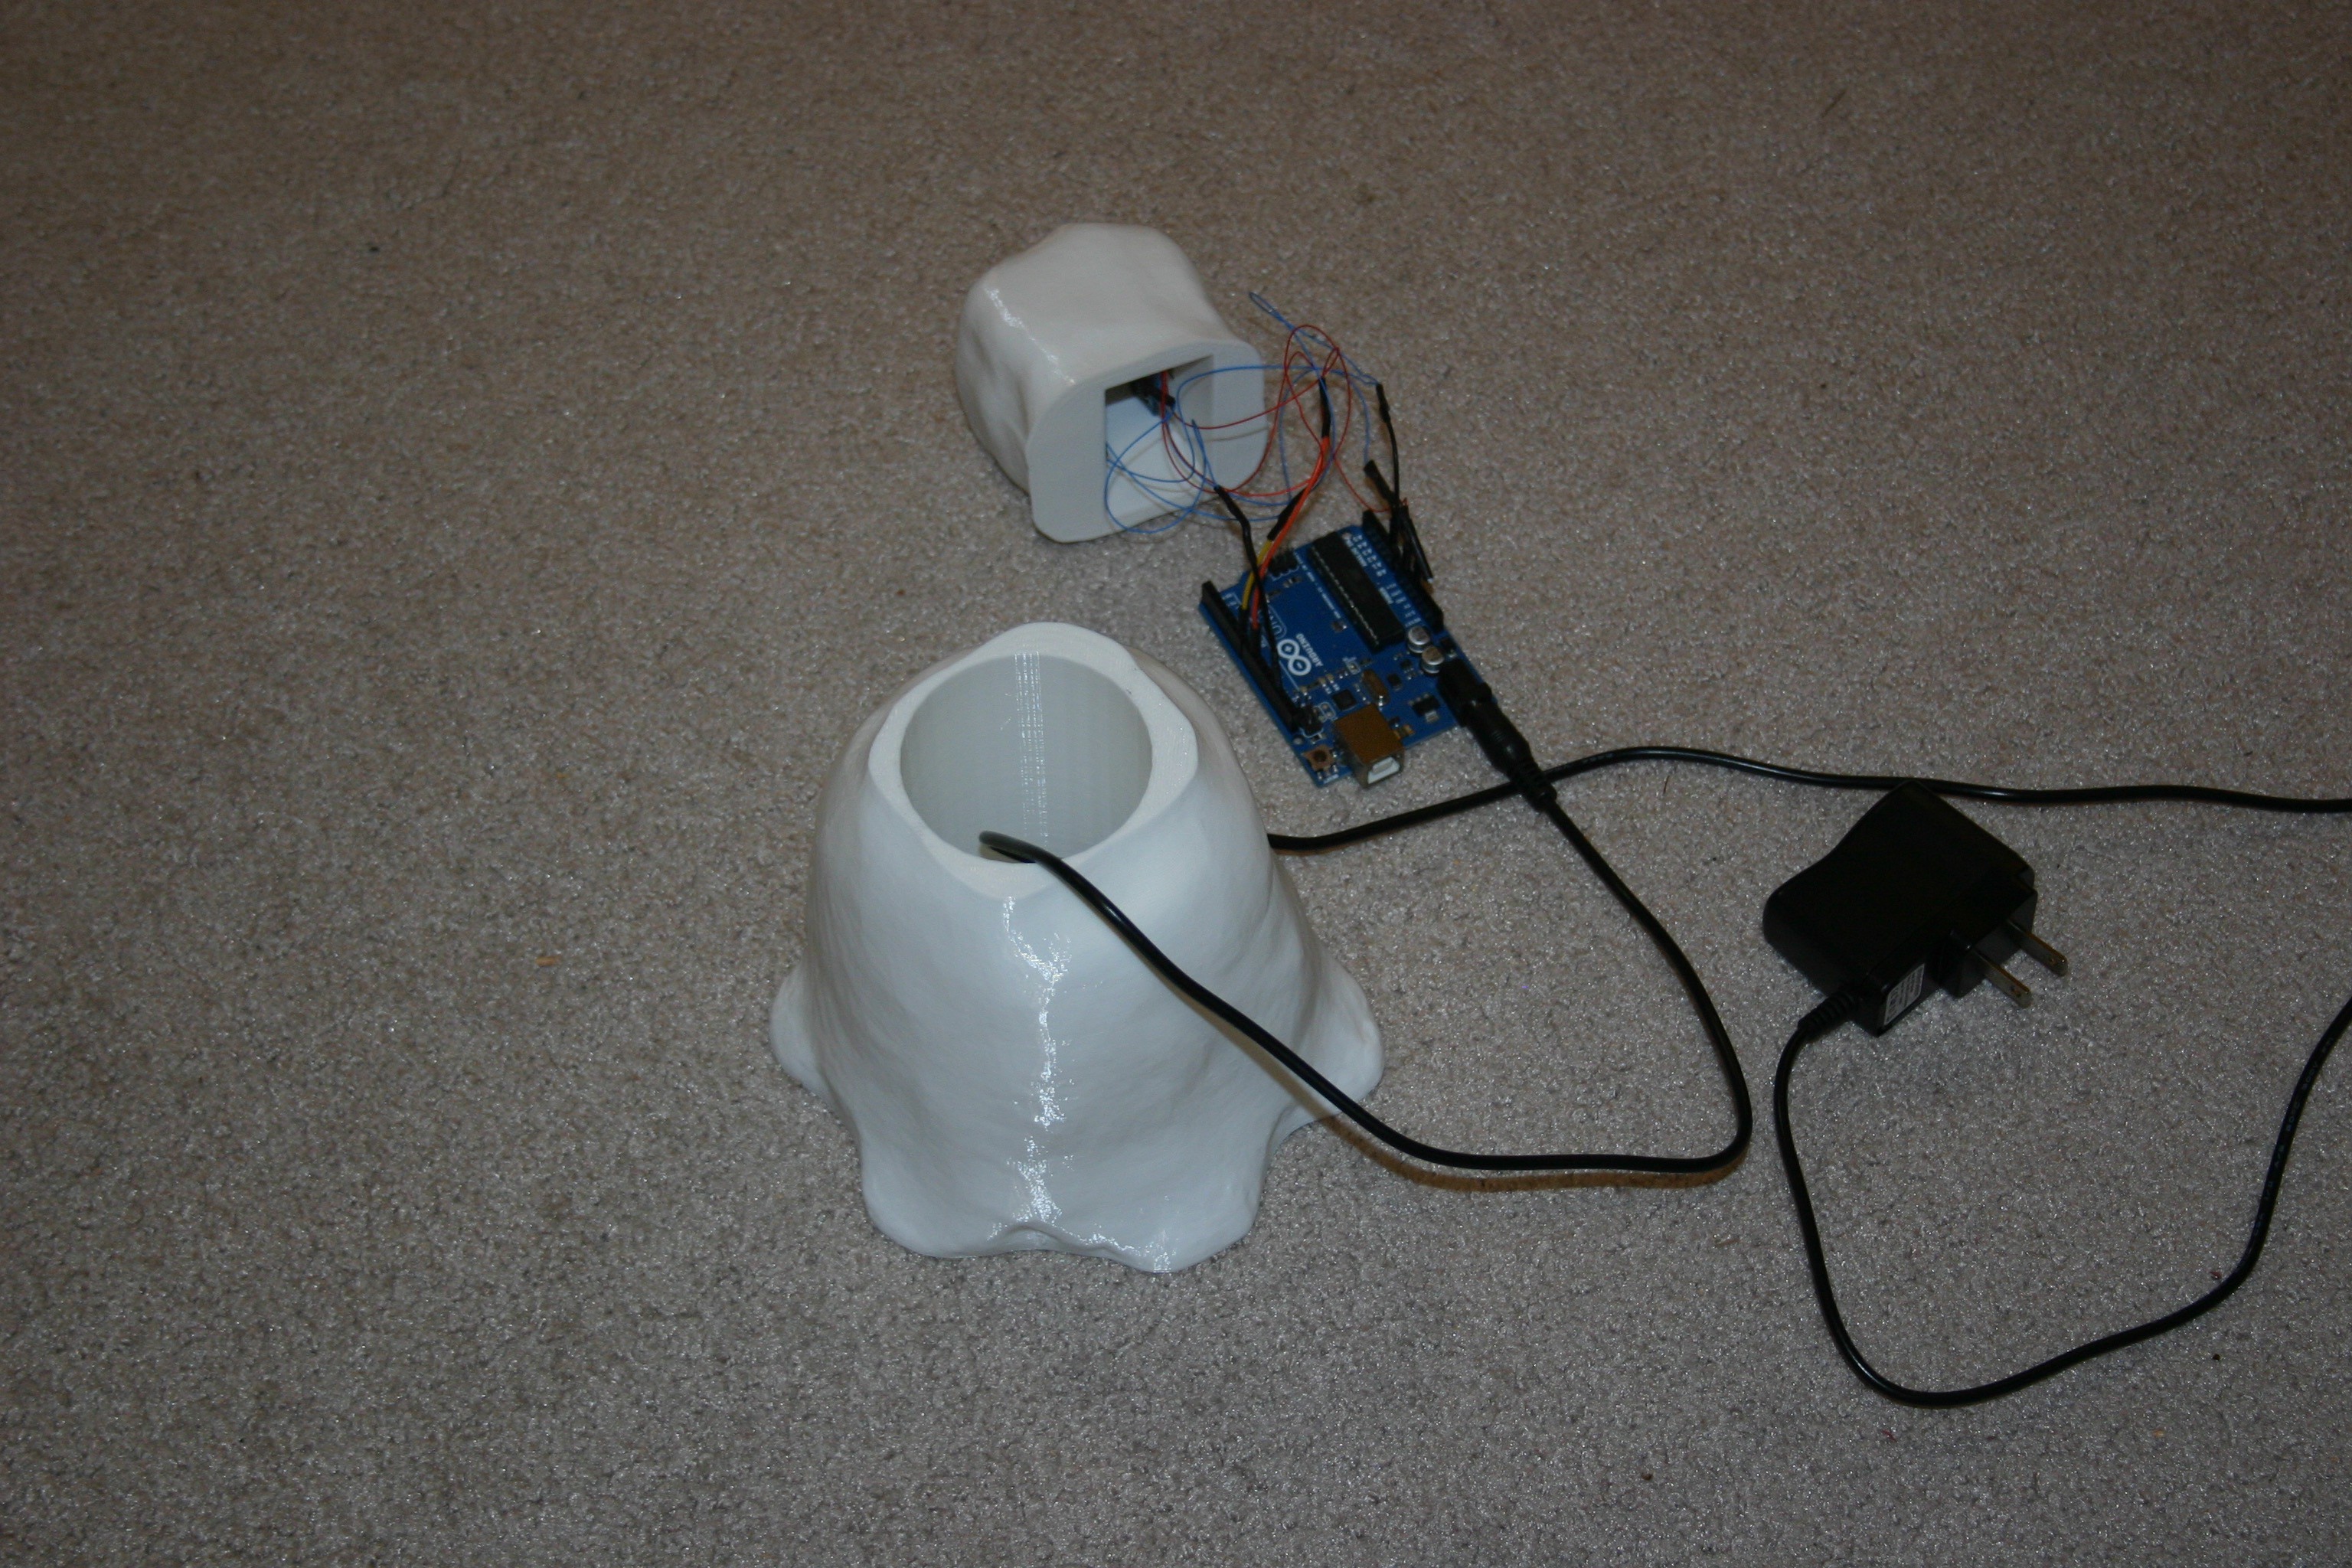
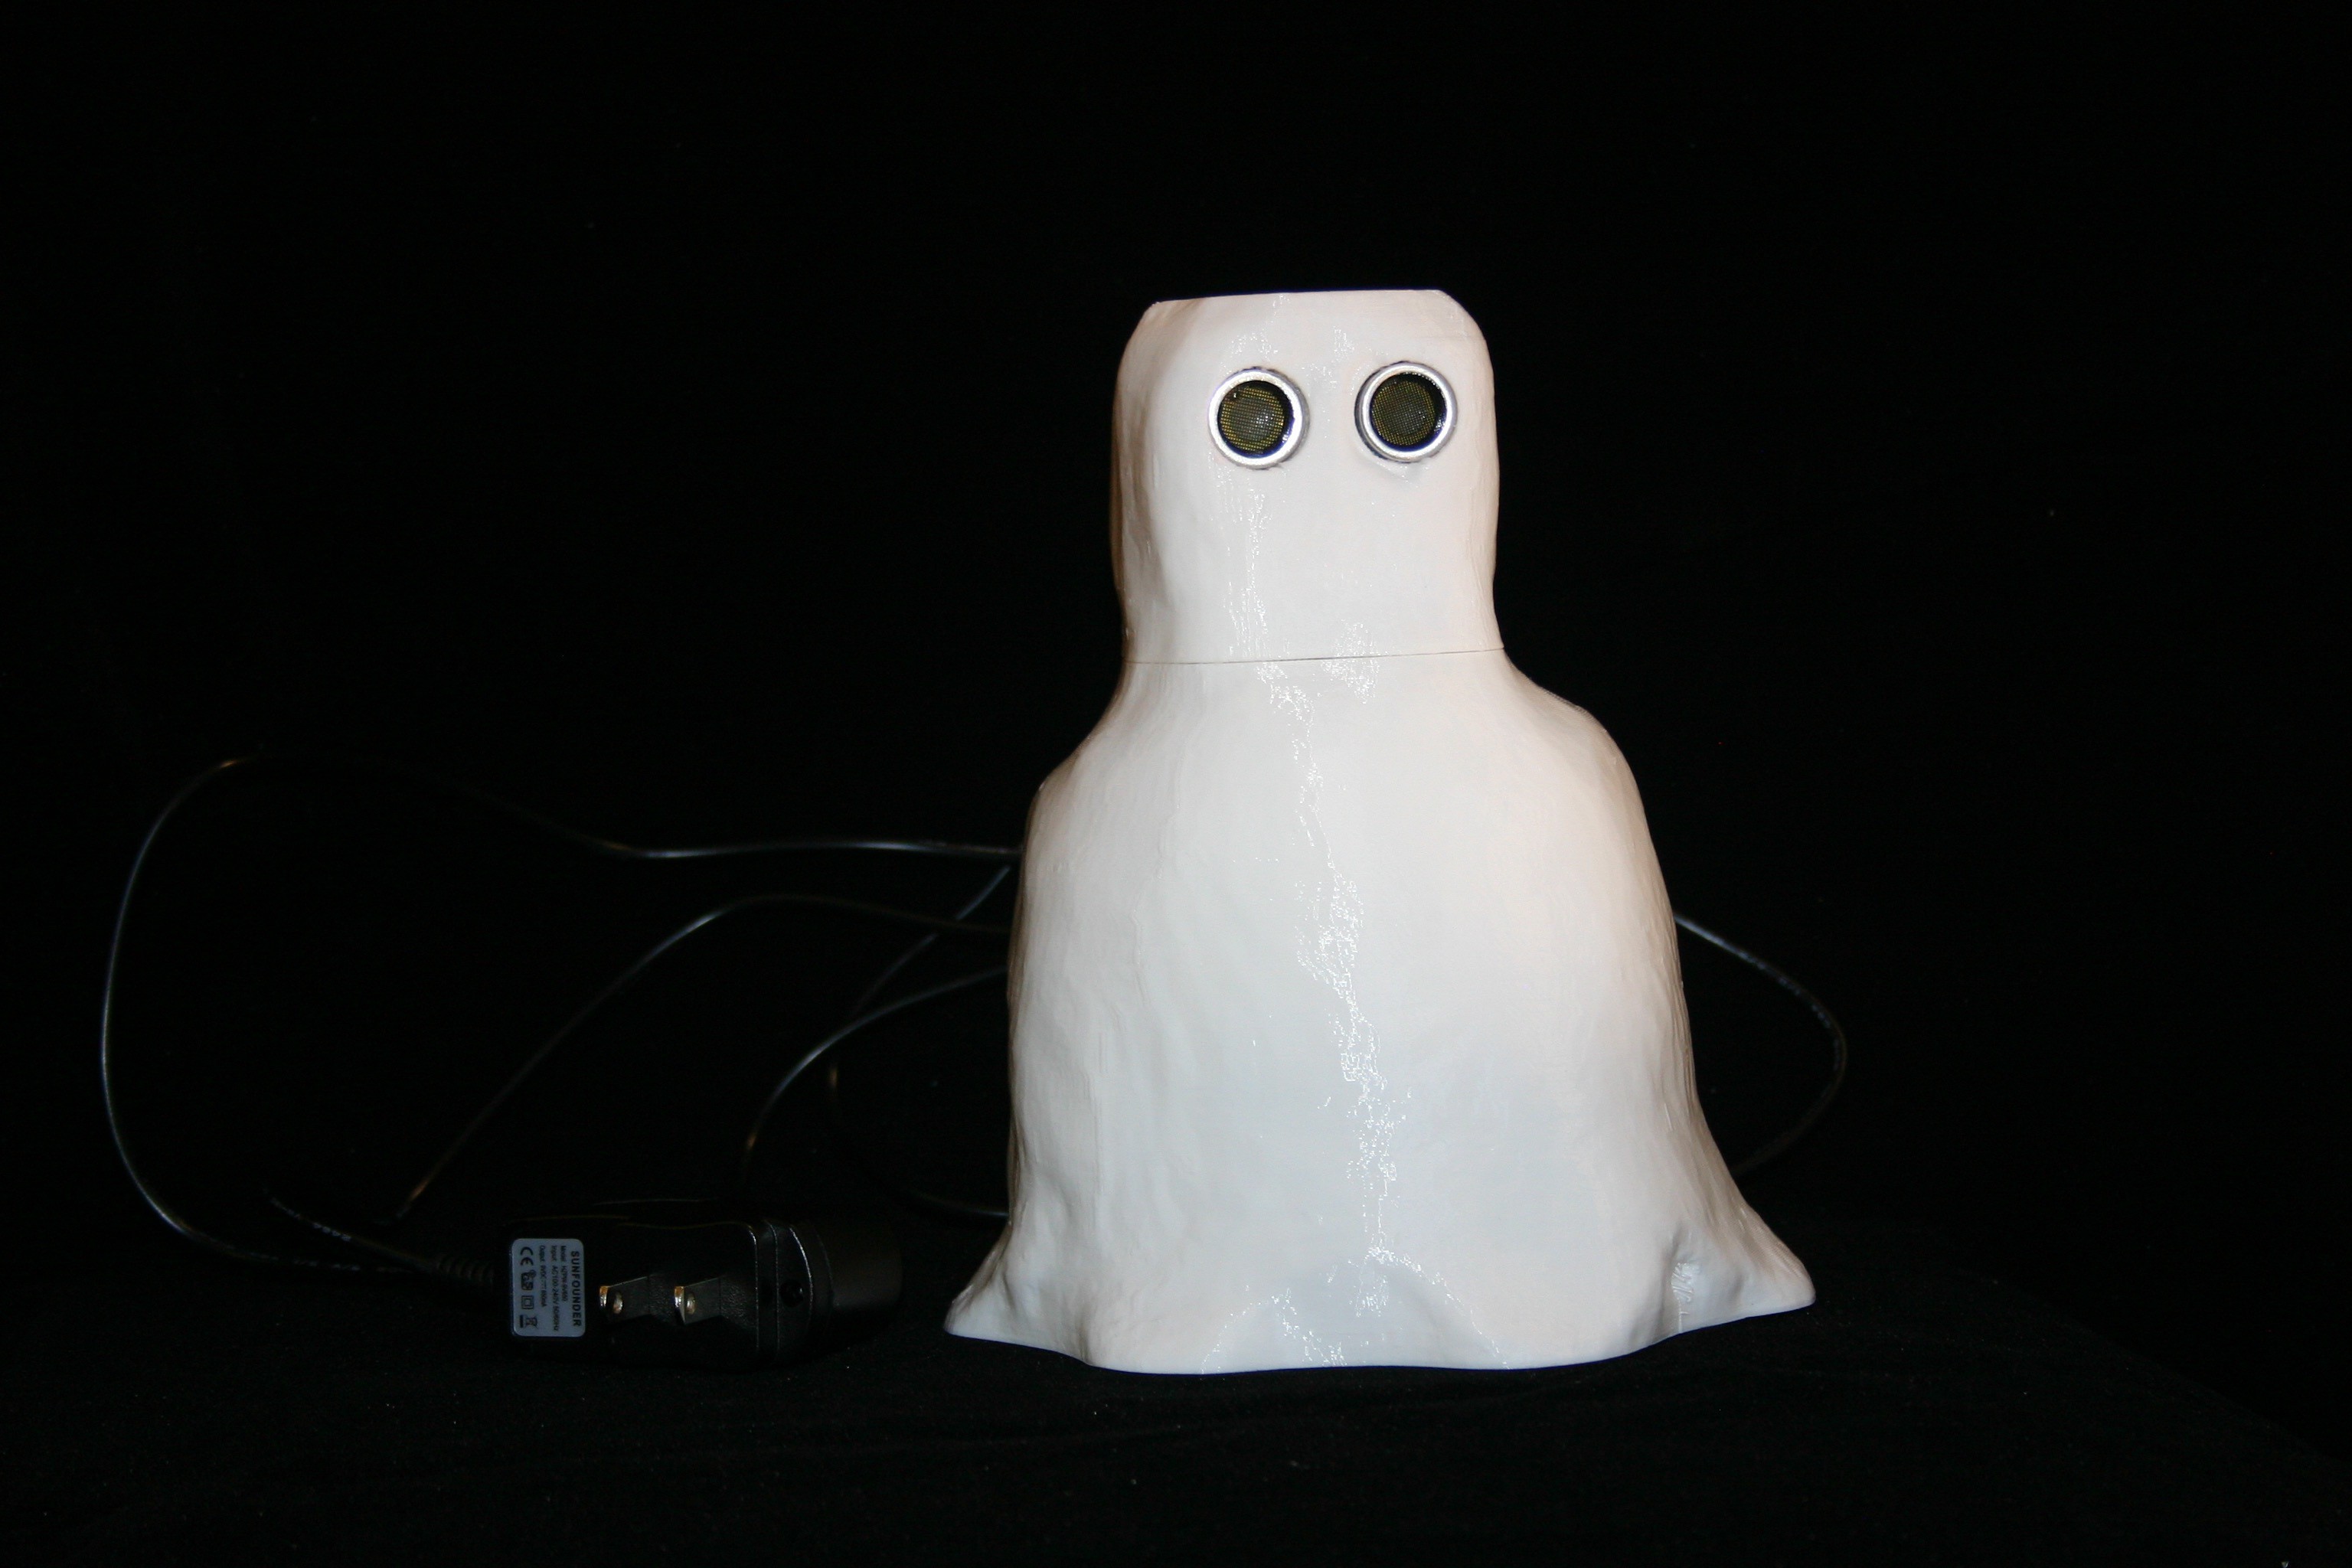
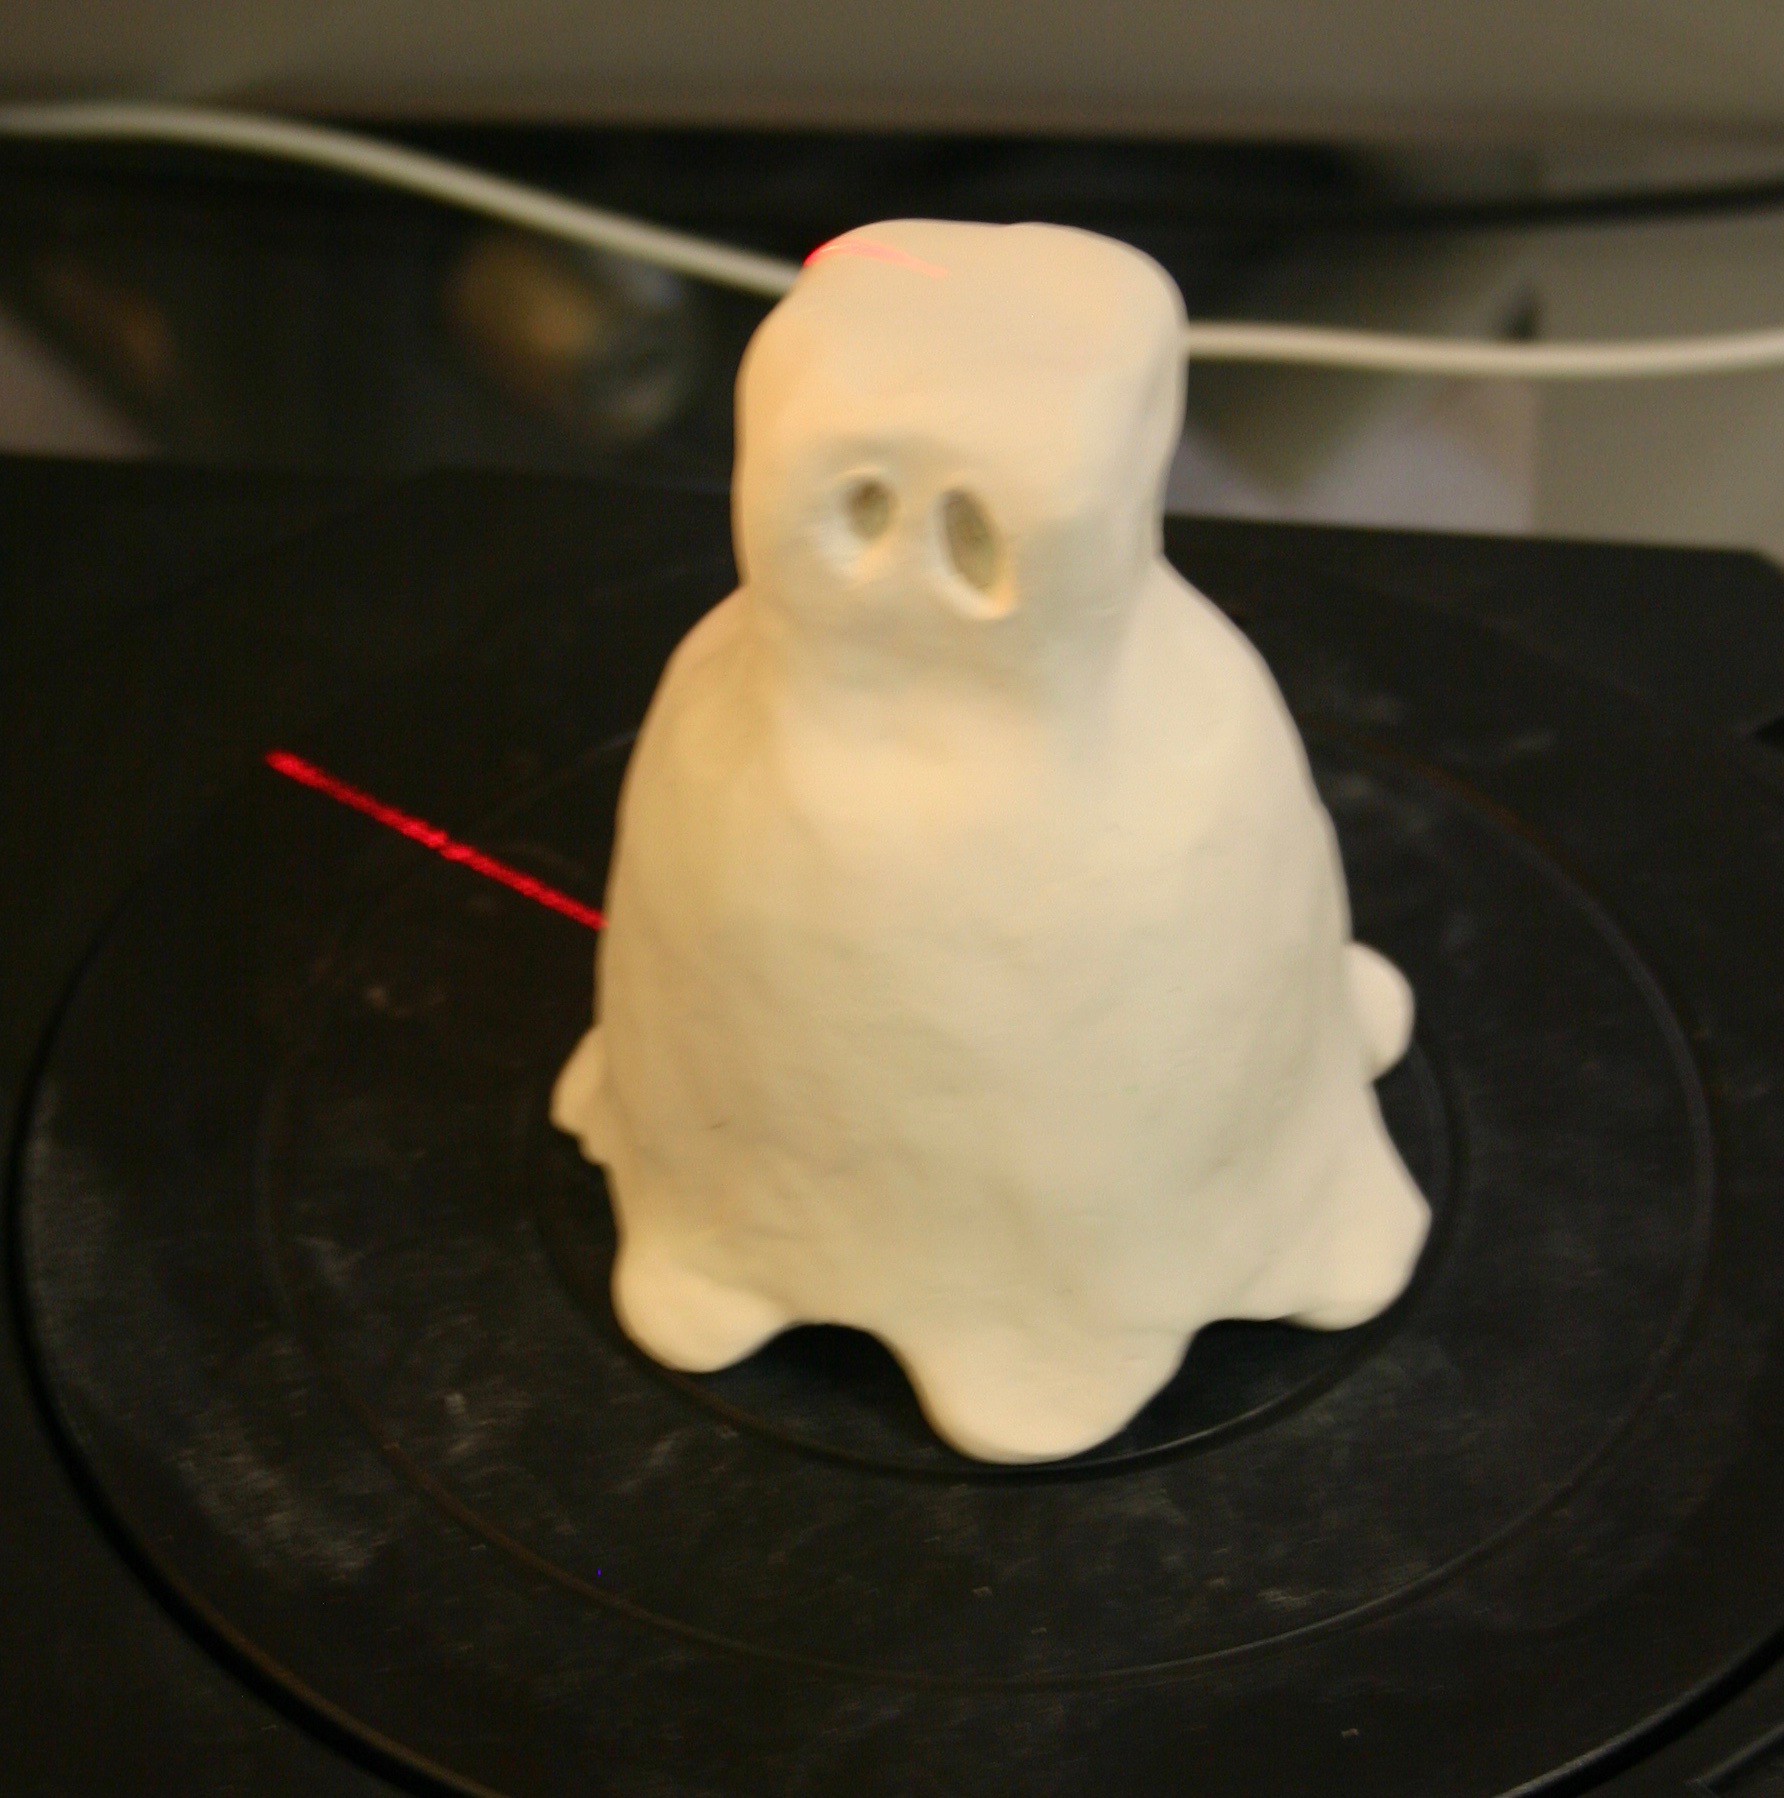
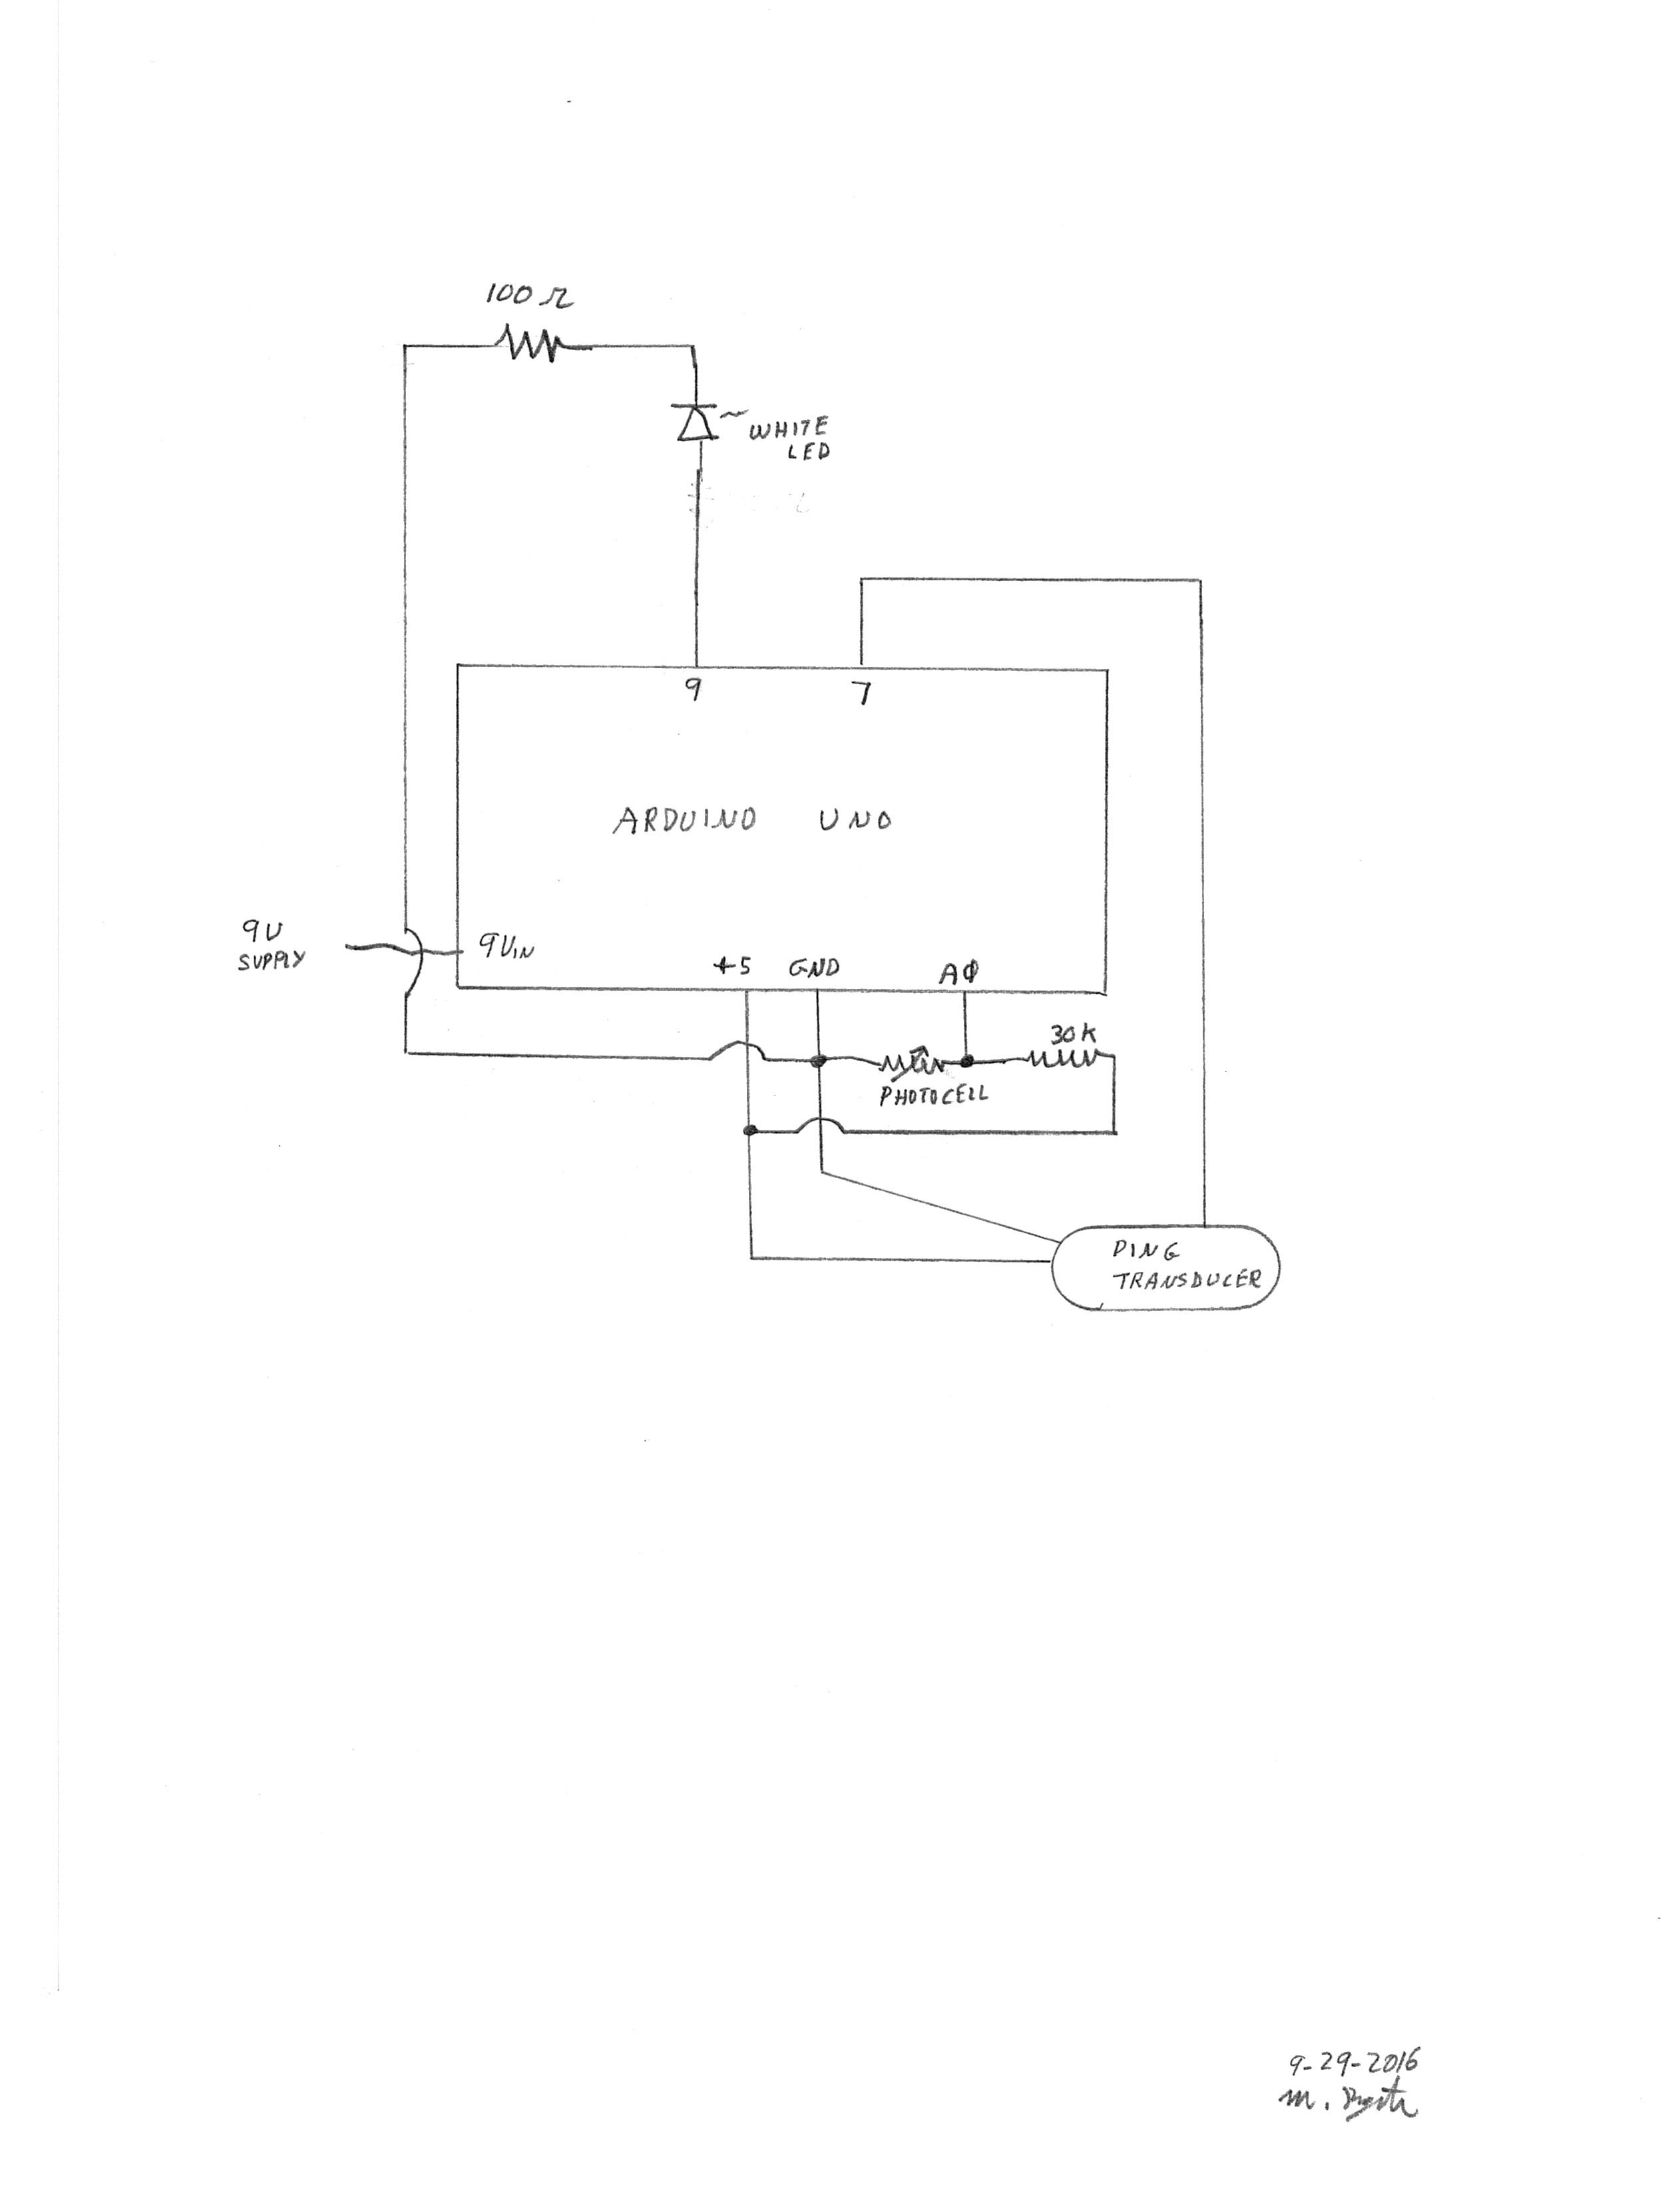
Ghosty, the Thinking Nightlight
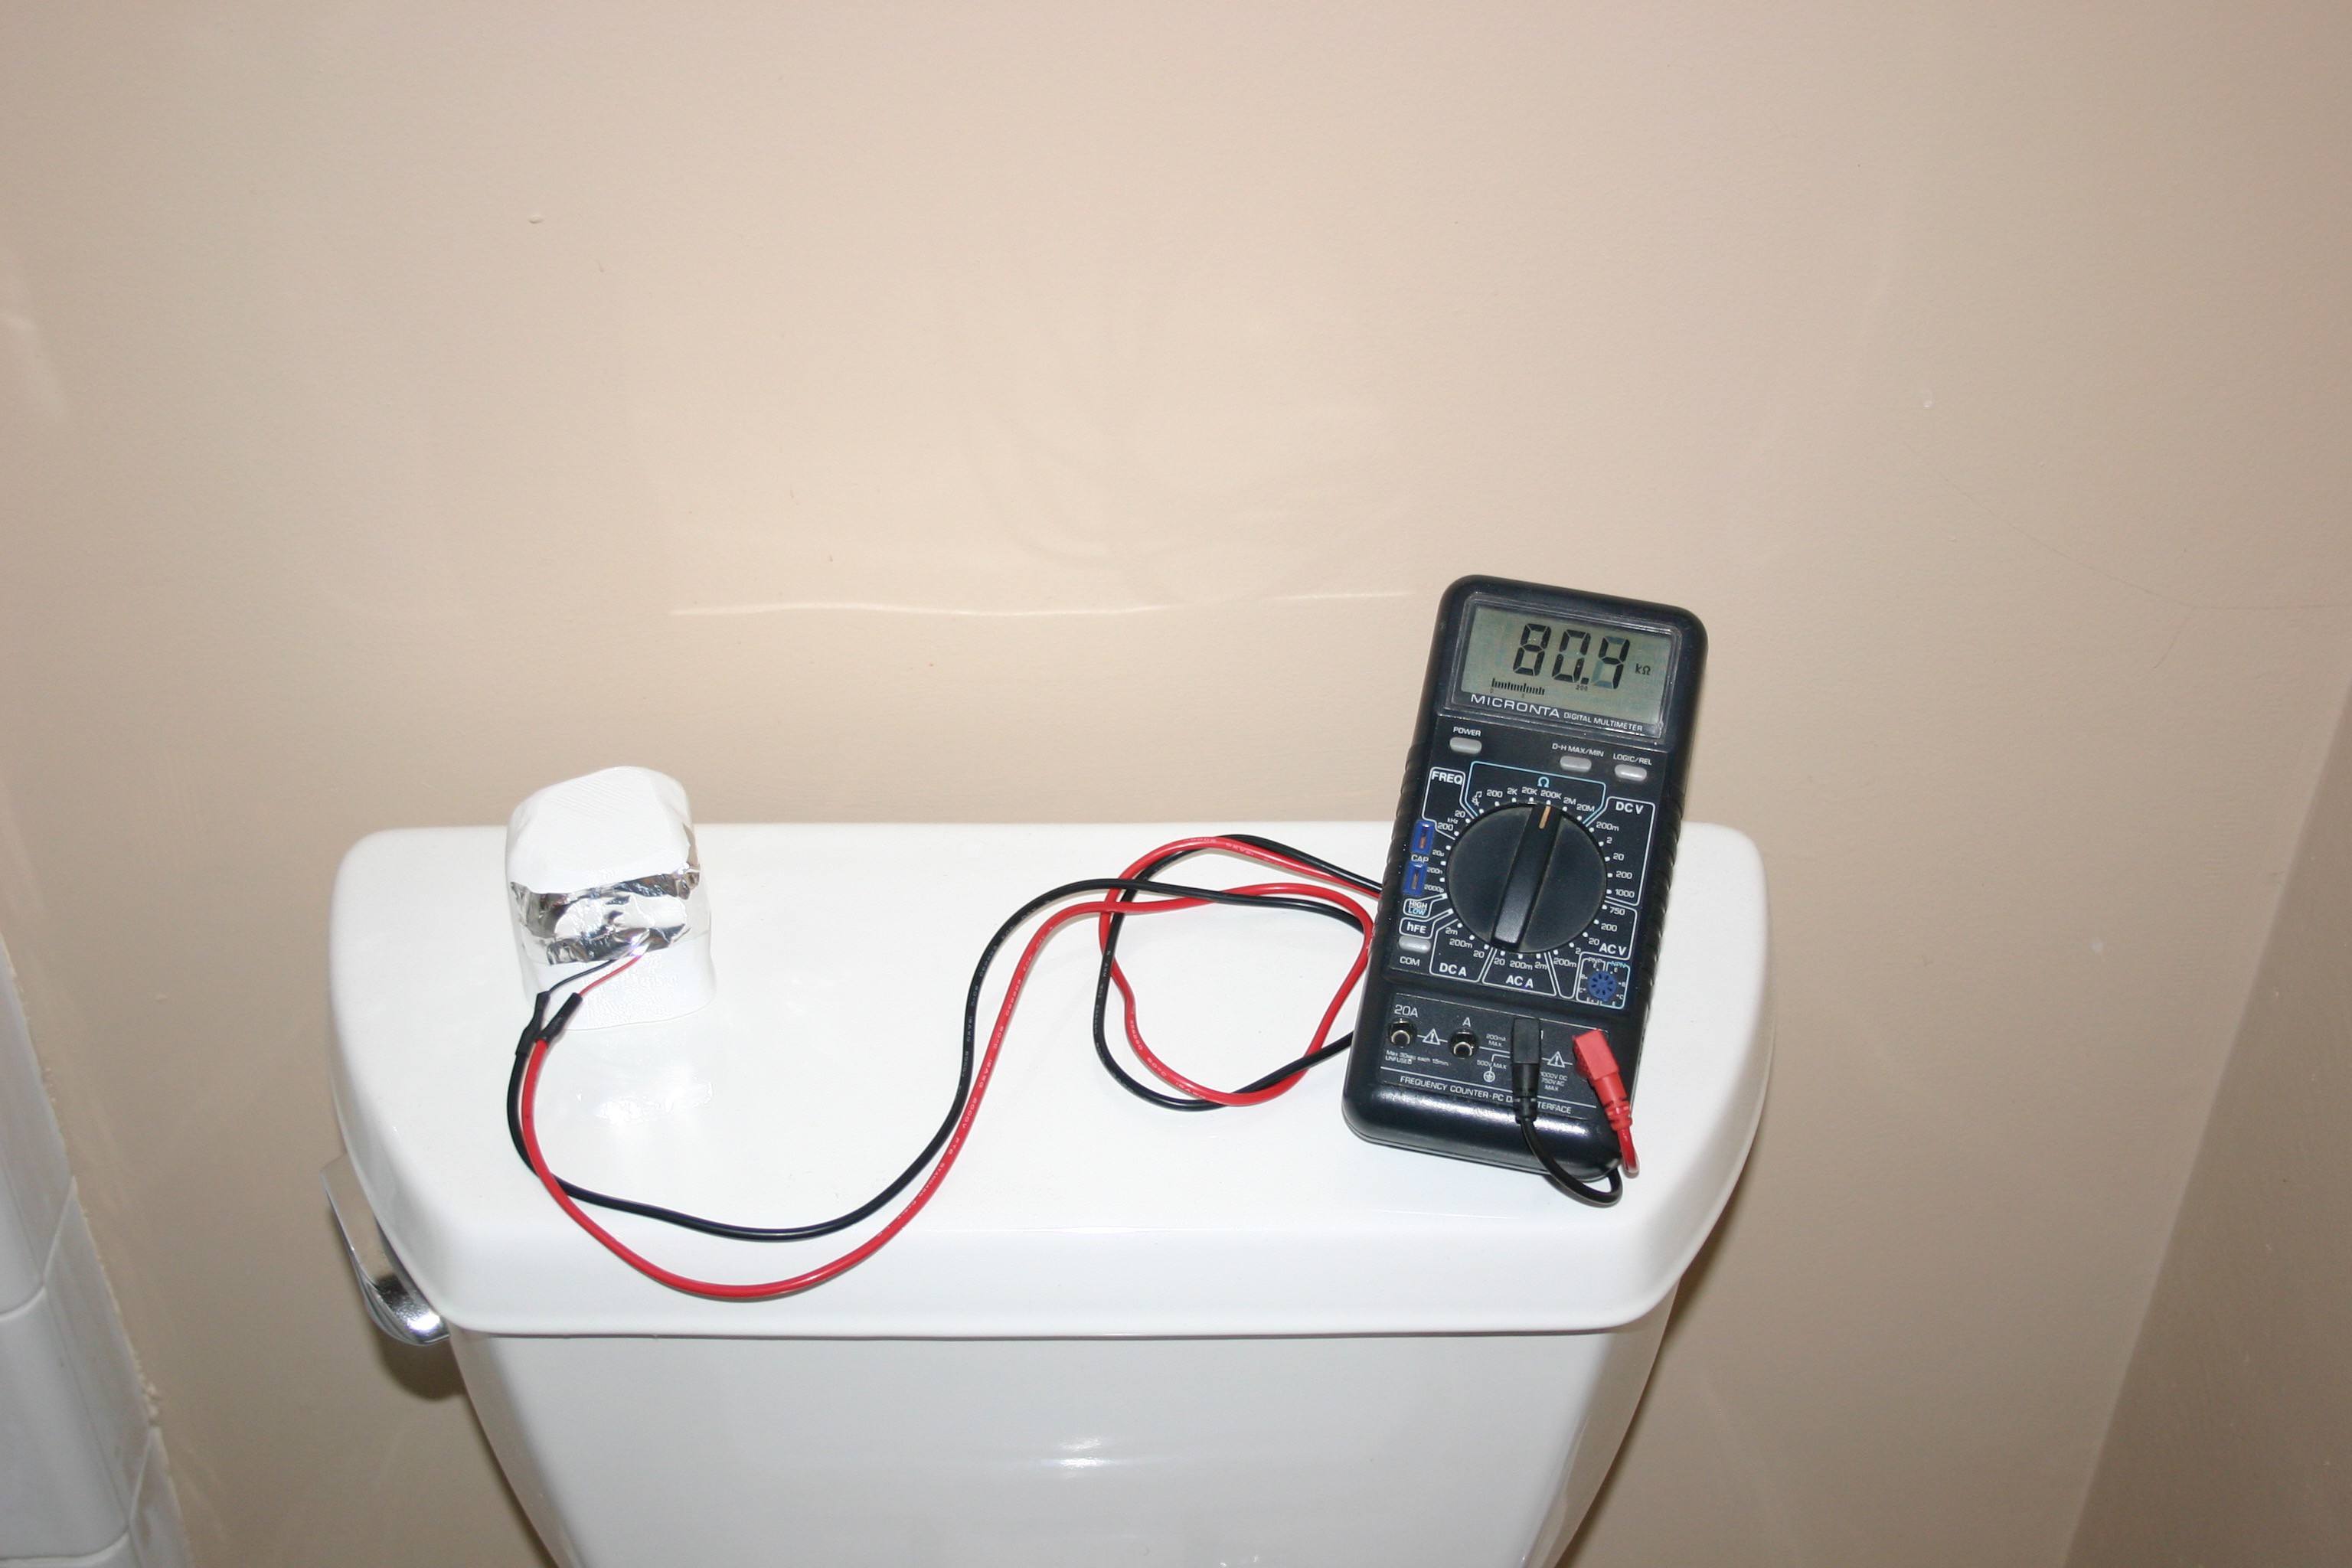
When you go to the bathroom this light (very subtle) comes on--10 seconds after you leave, it turns off. Sleep well, move around safely.
 Mike Rigsby
Become a Hackaday.io member
Already have an account? Log in.
Just one more thing
To make the experience fit your profile, pick a username and tell us what interests you.
Pick an awesome username
hackaday.io/
Your profile's URL: hackaday.io/username. Max 25 alphanumeric characters.
Pick a few interests
Projects that share your interests
People that share your interests


 Niel Malan
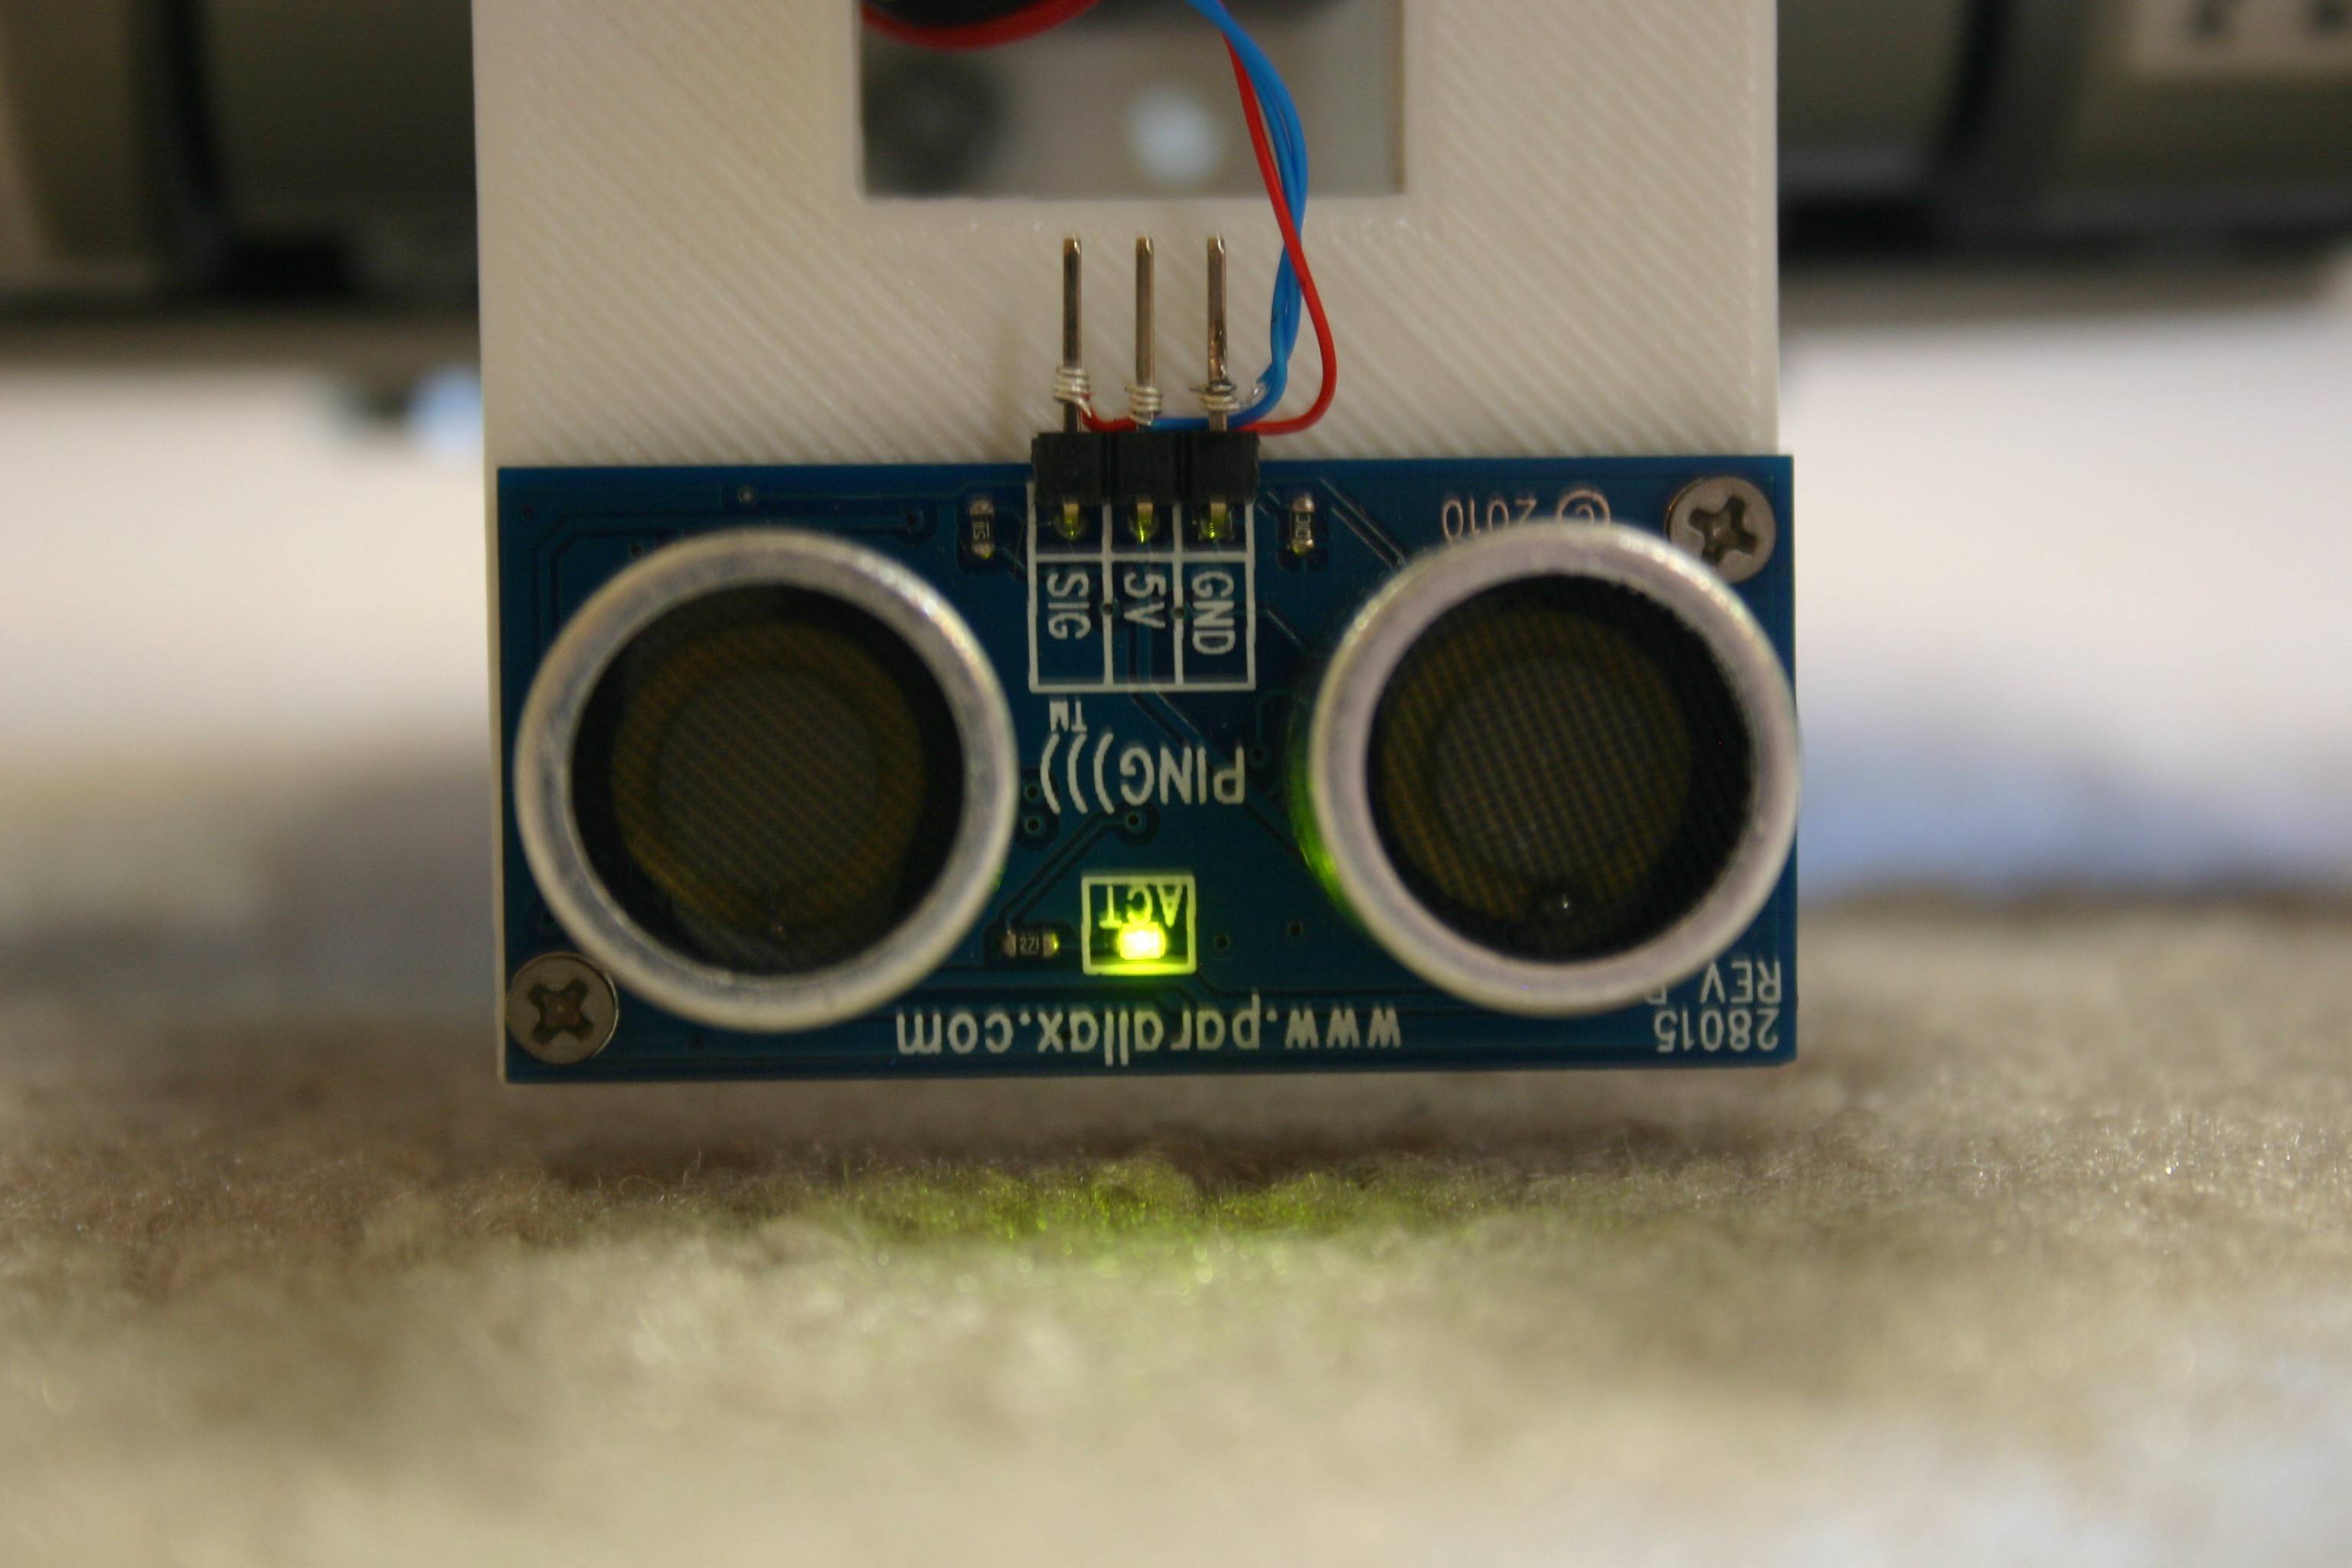
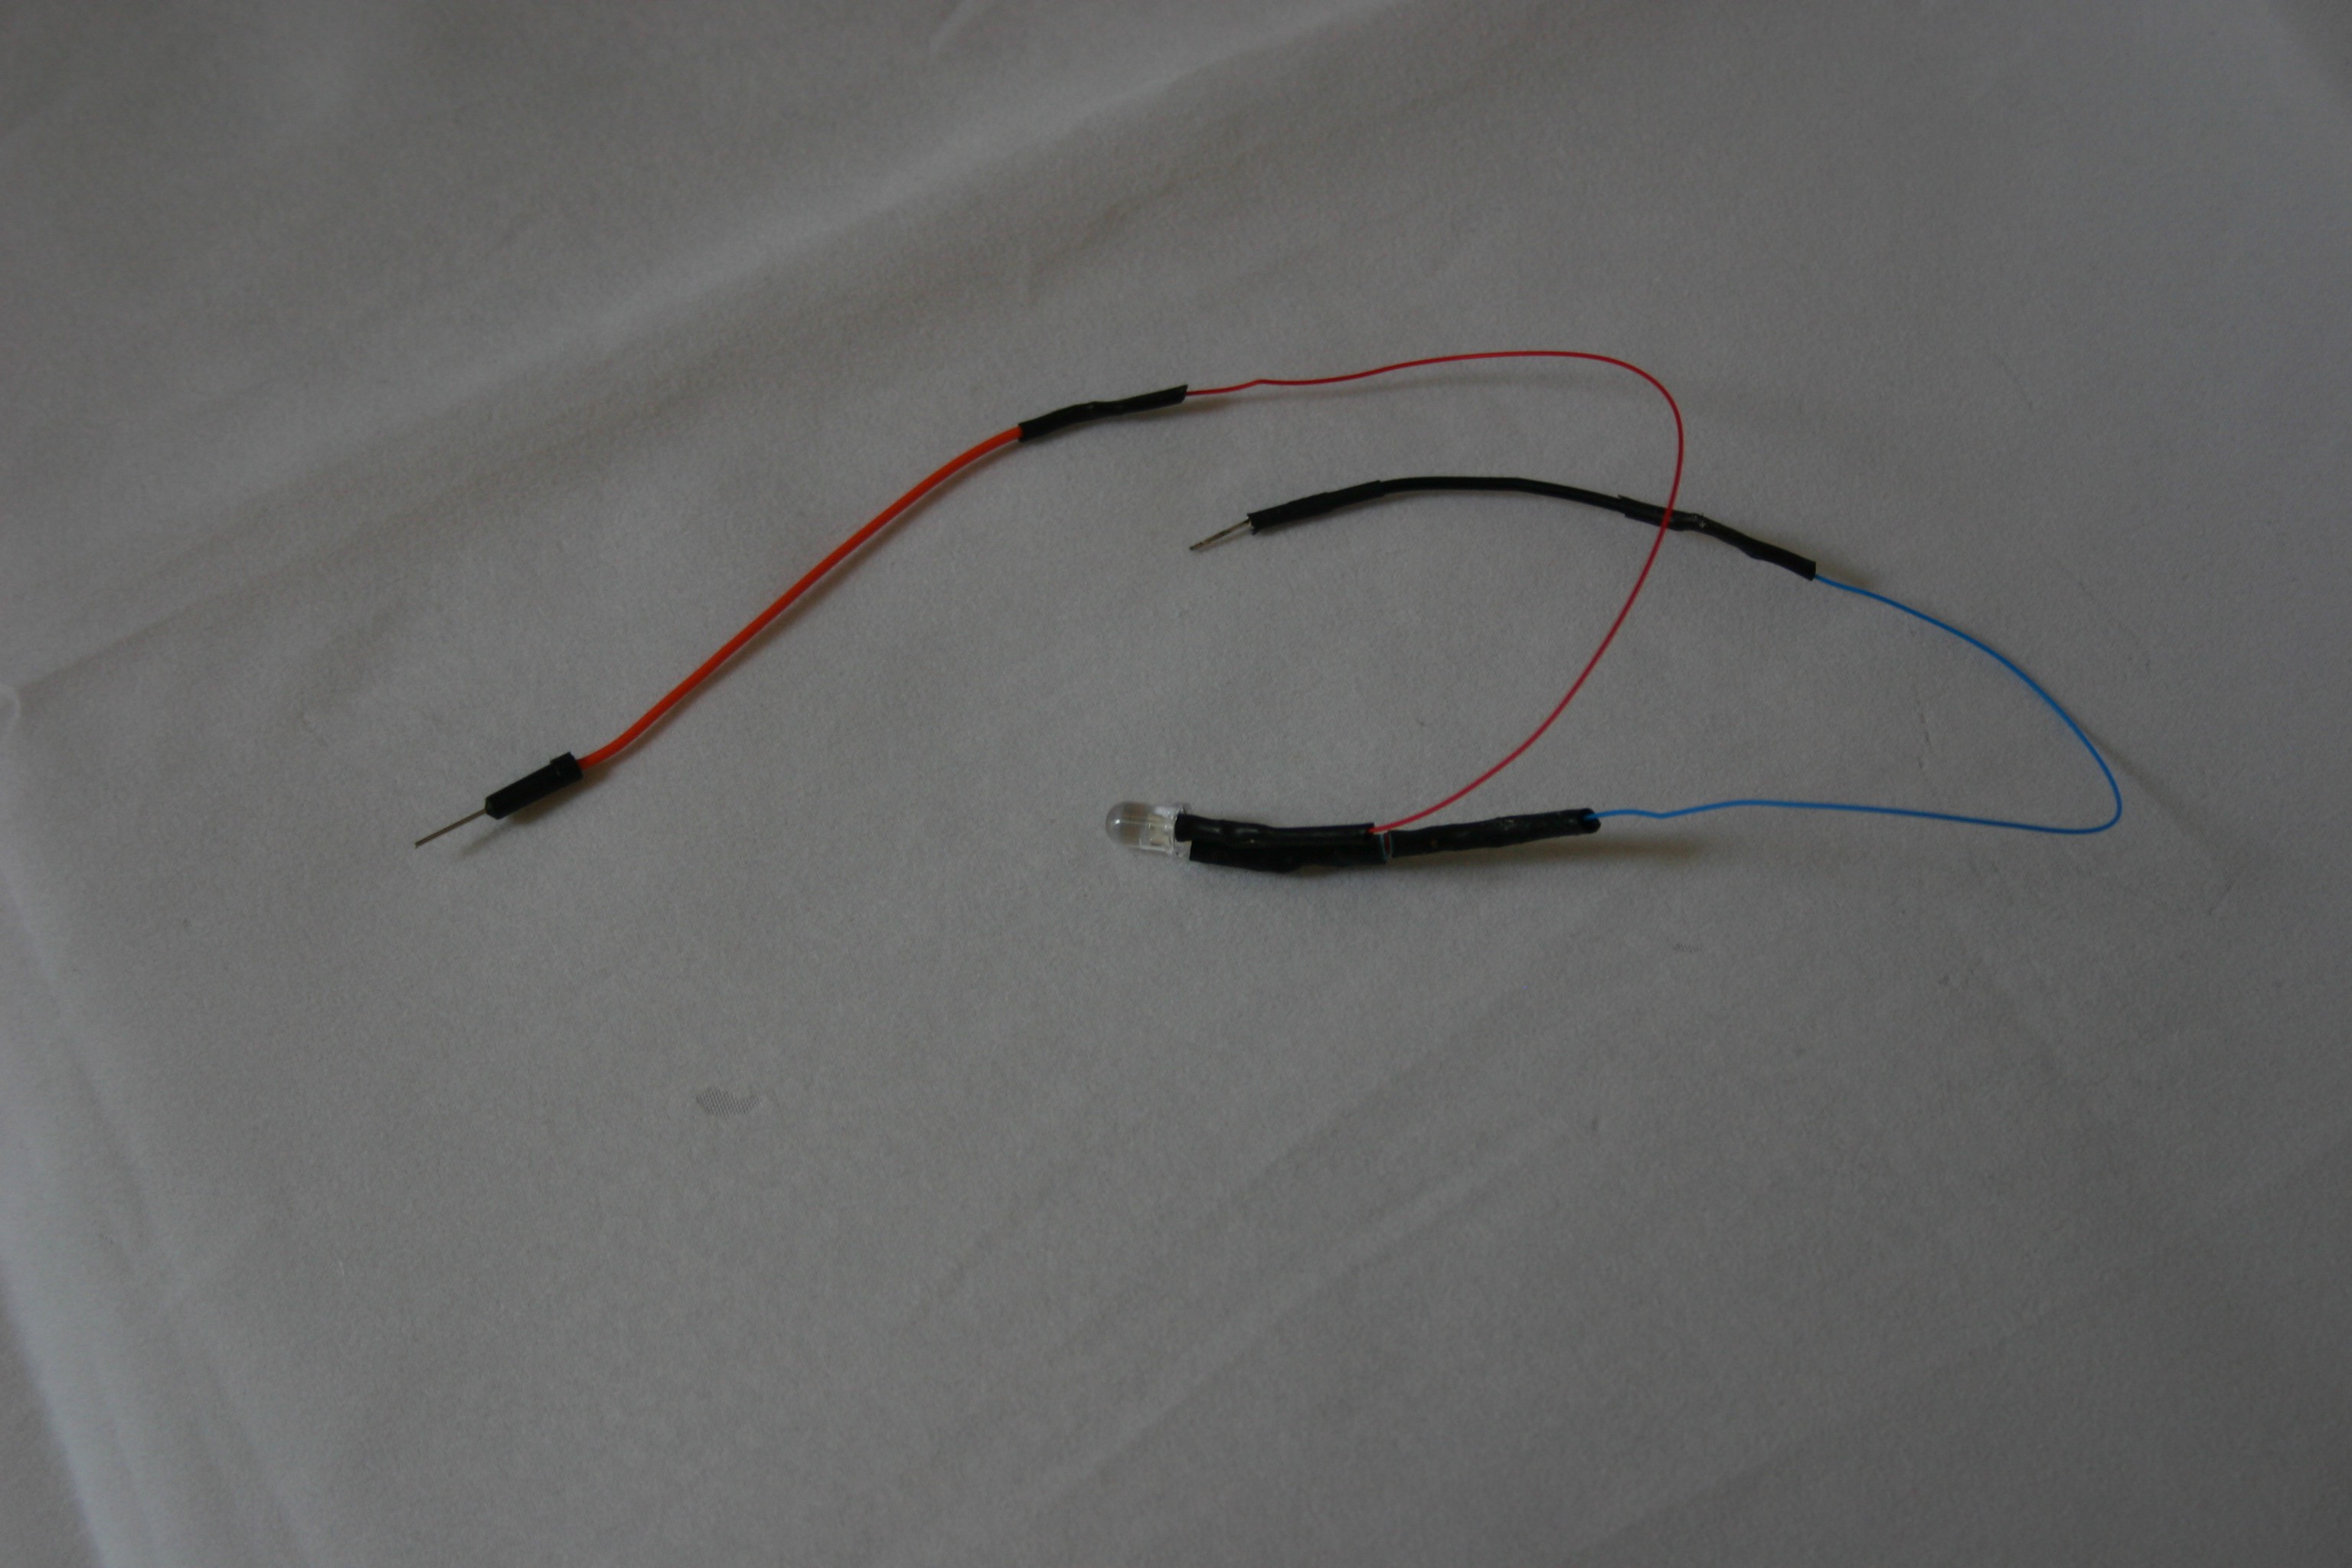
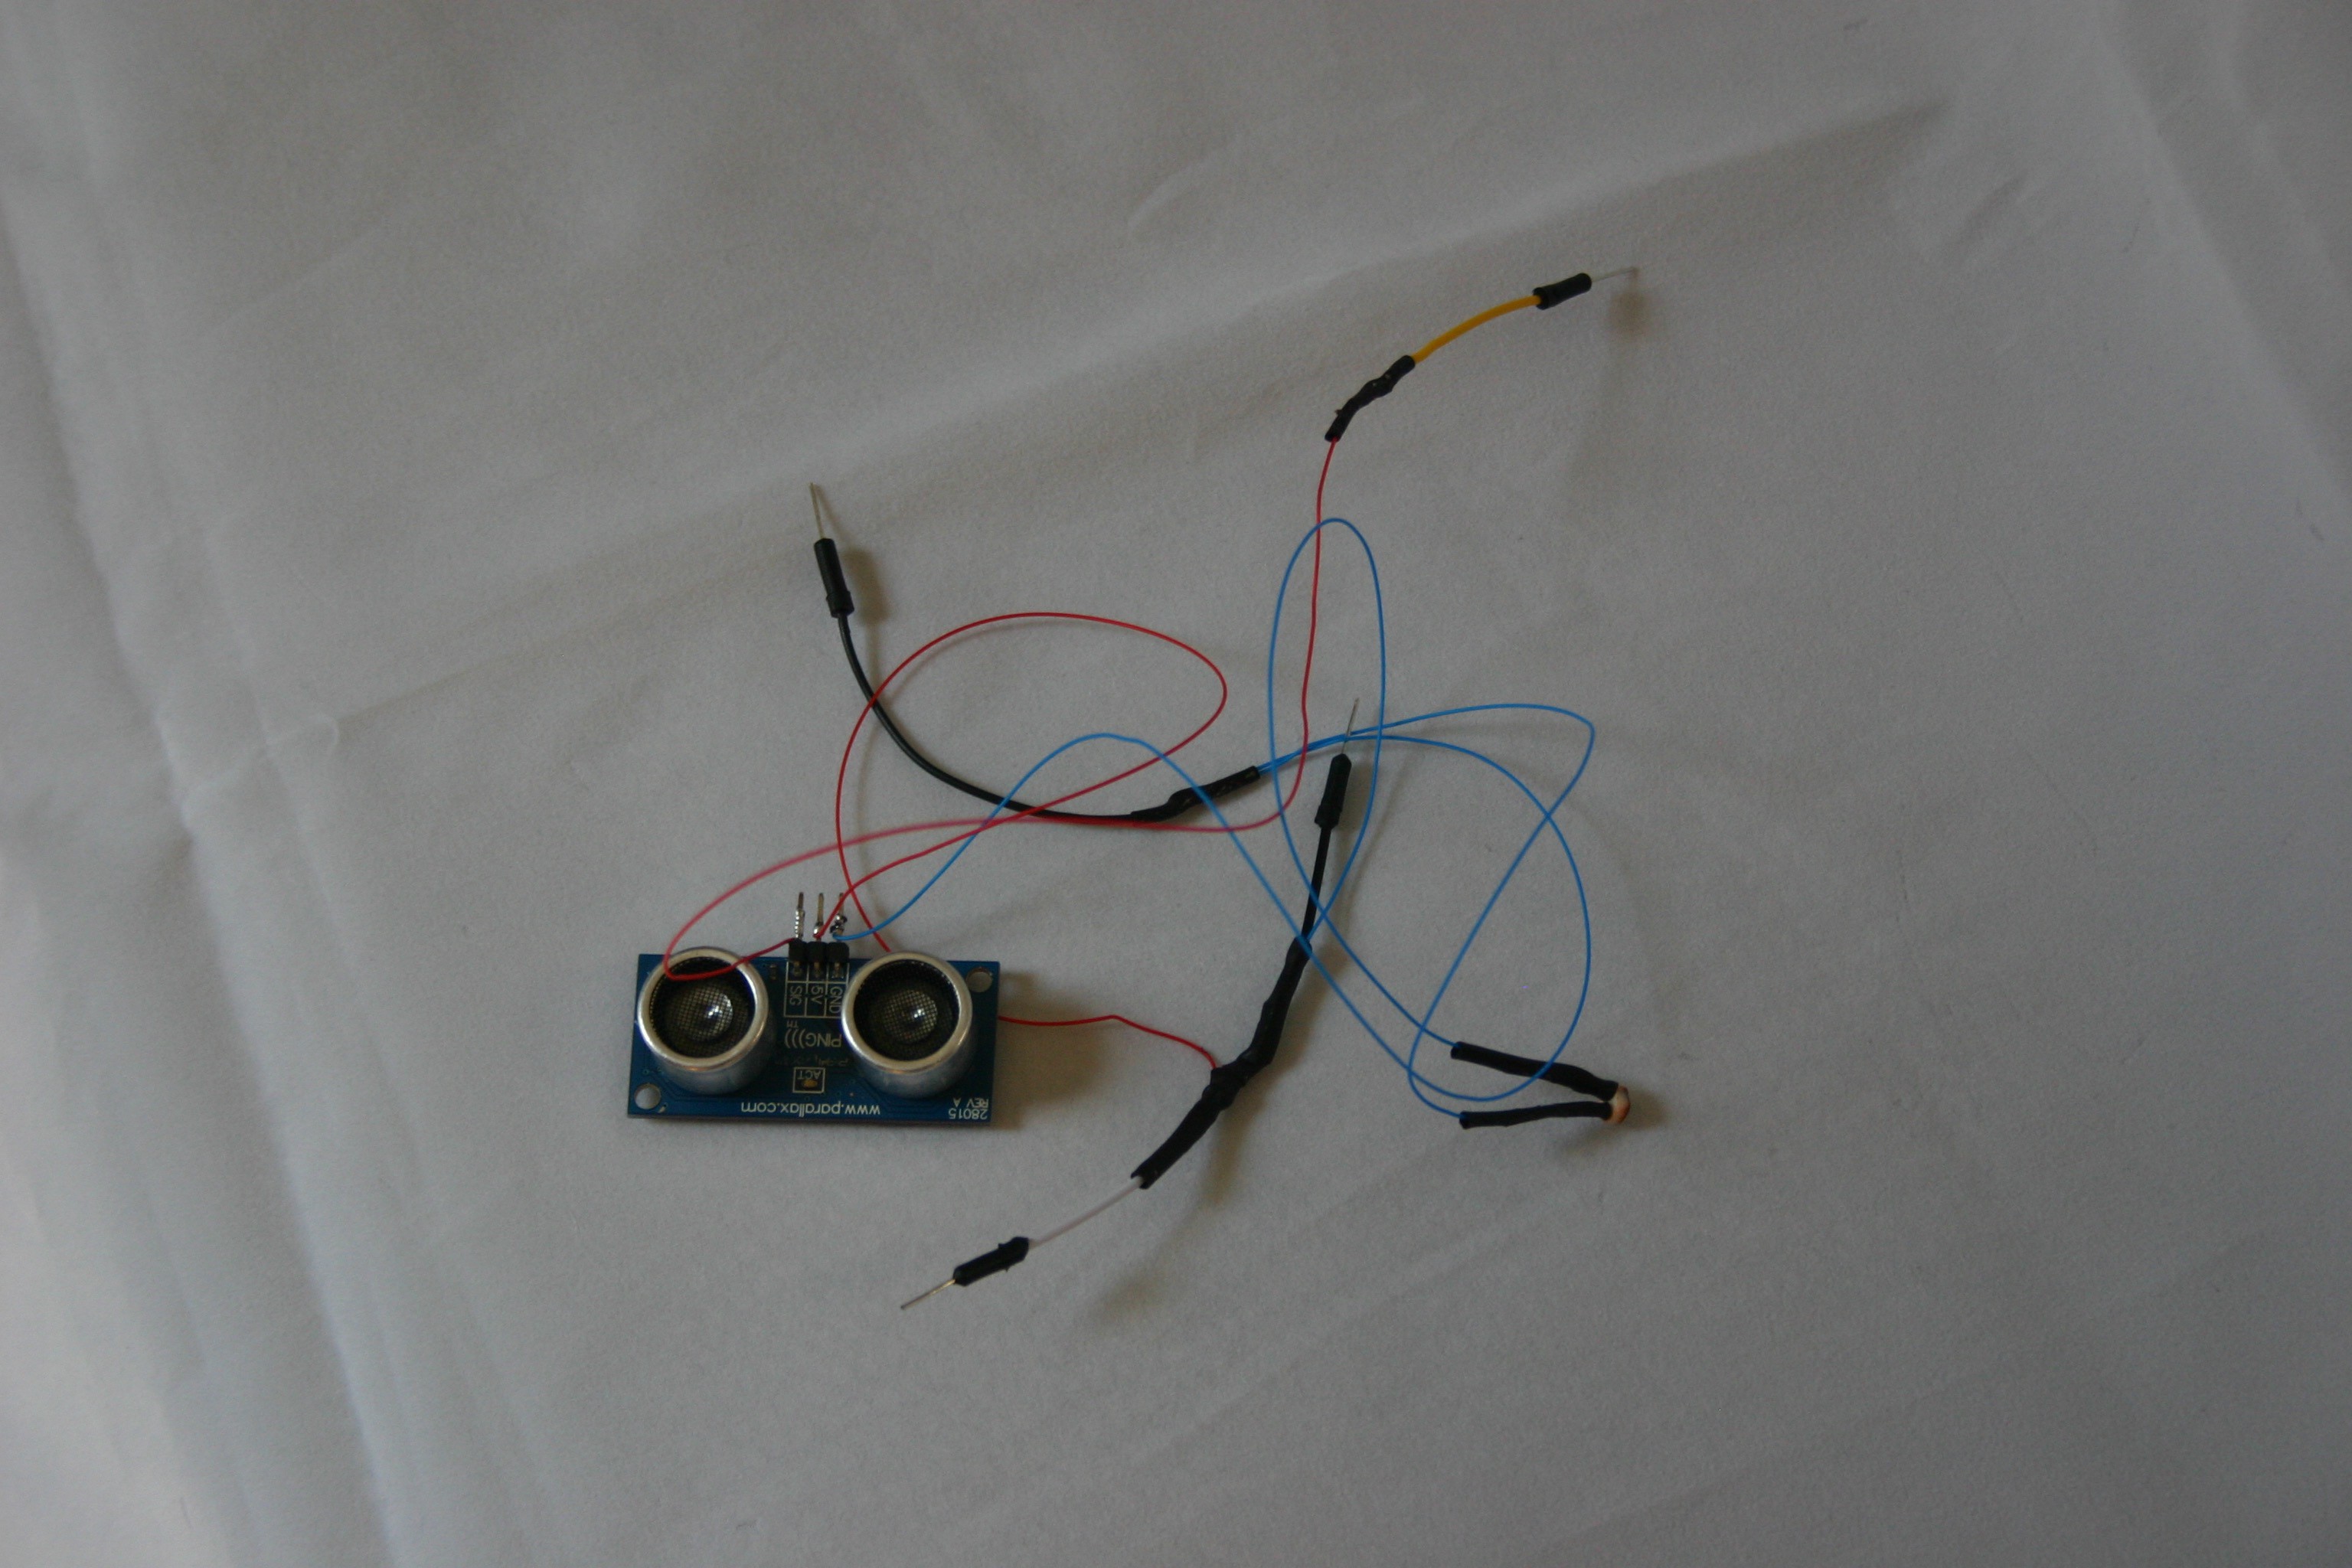
Before you rip out the LED for testing you could easily cover it with some black tape. Is the ultrasonic motion detector better than a PIR detector, or even a microwave motion detector?
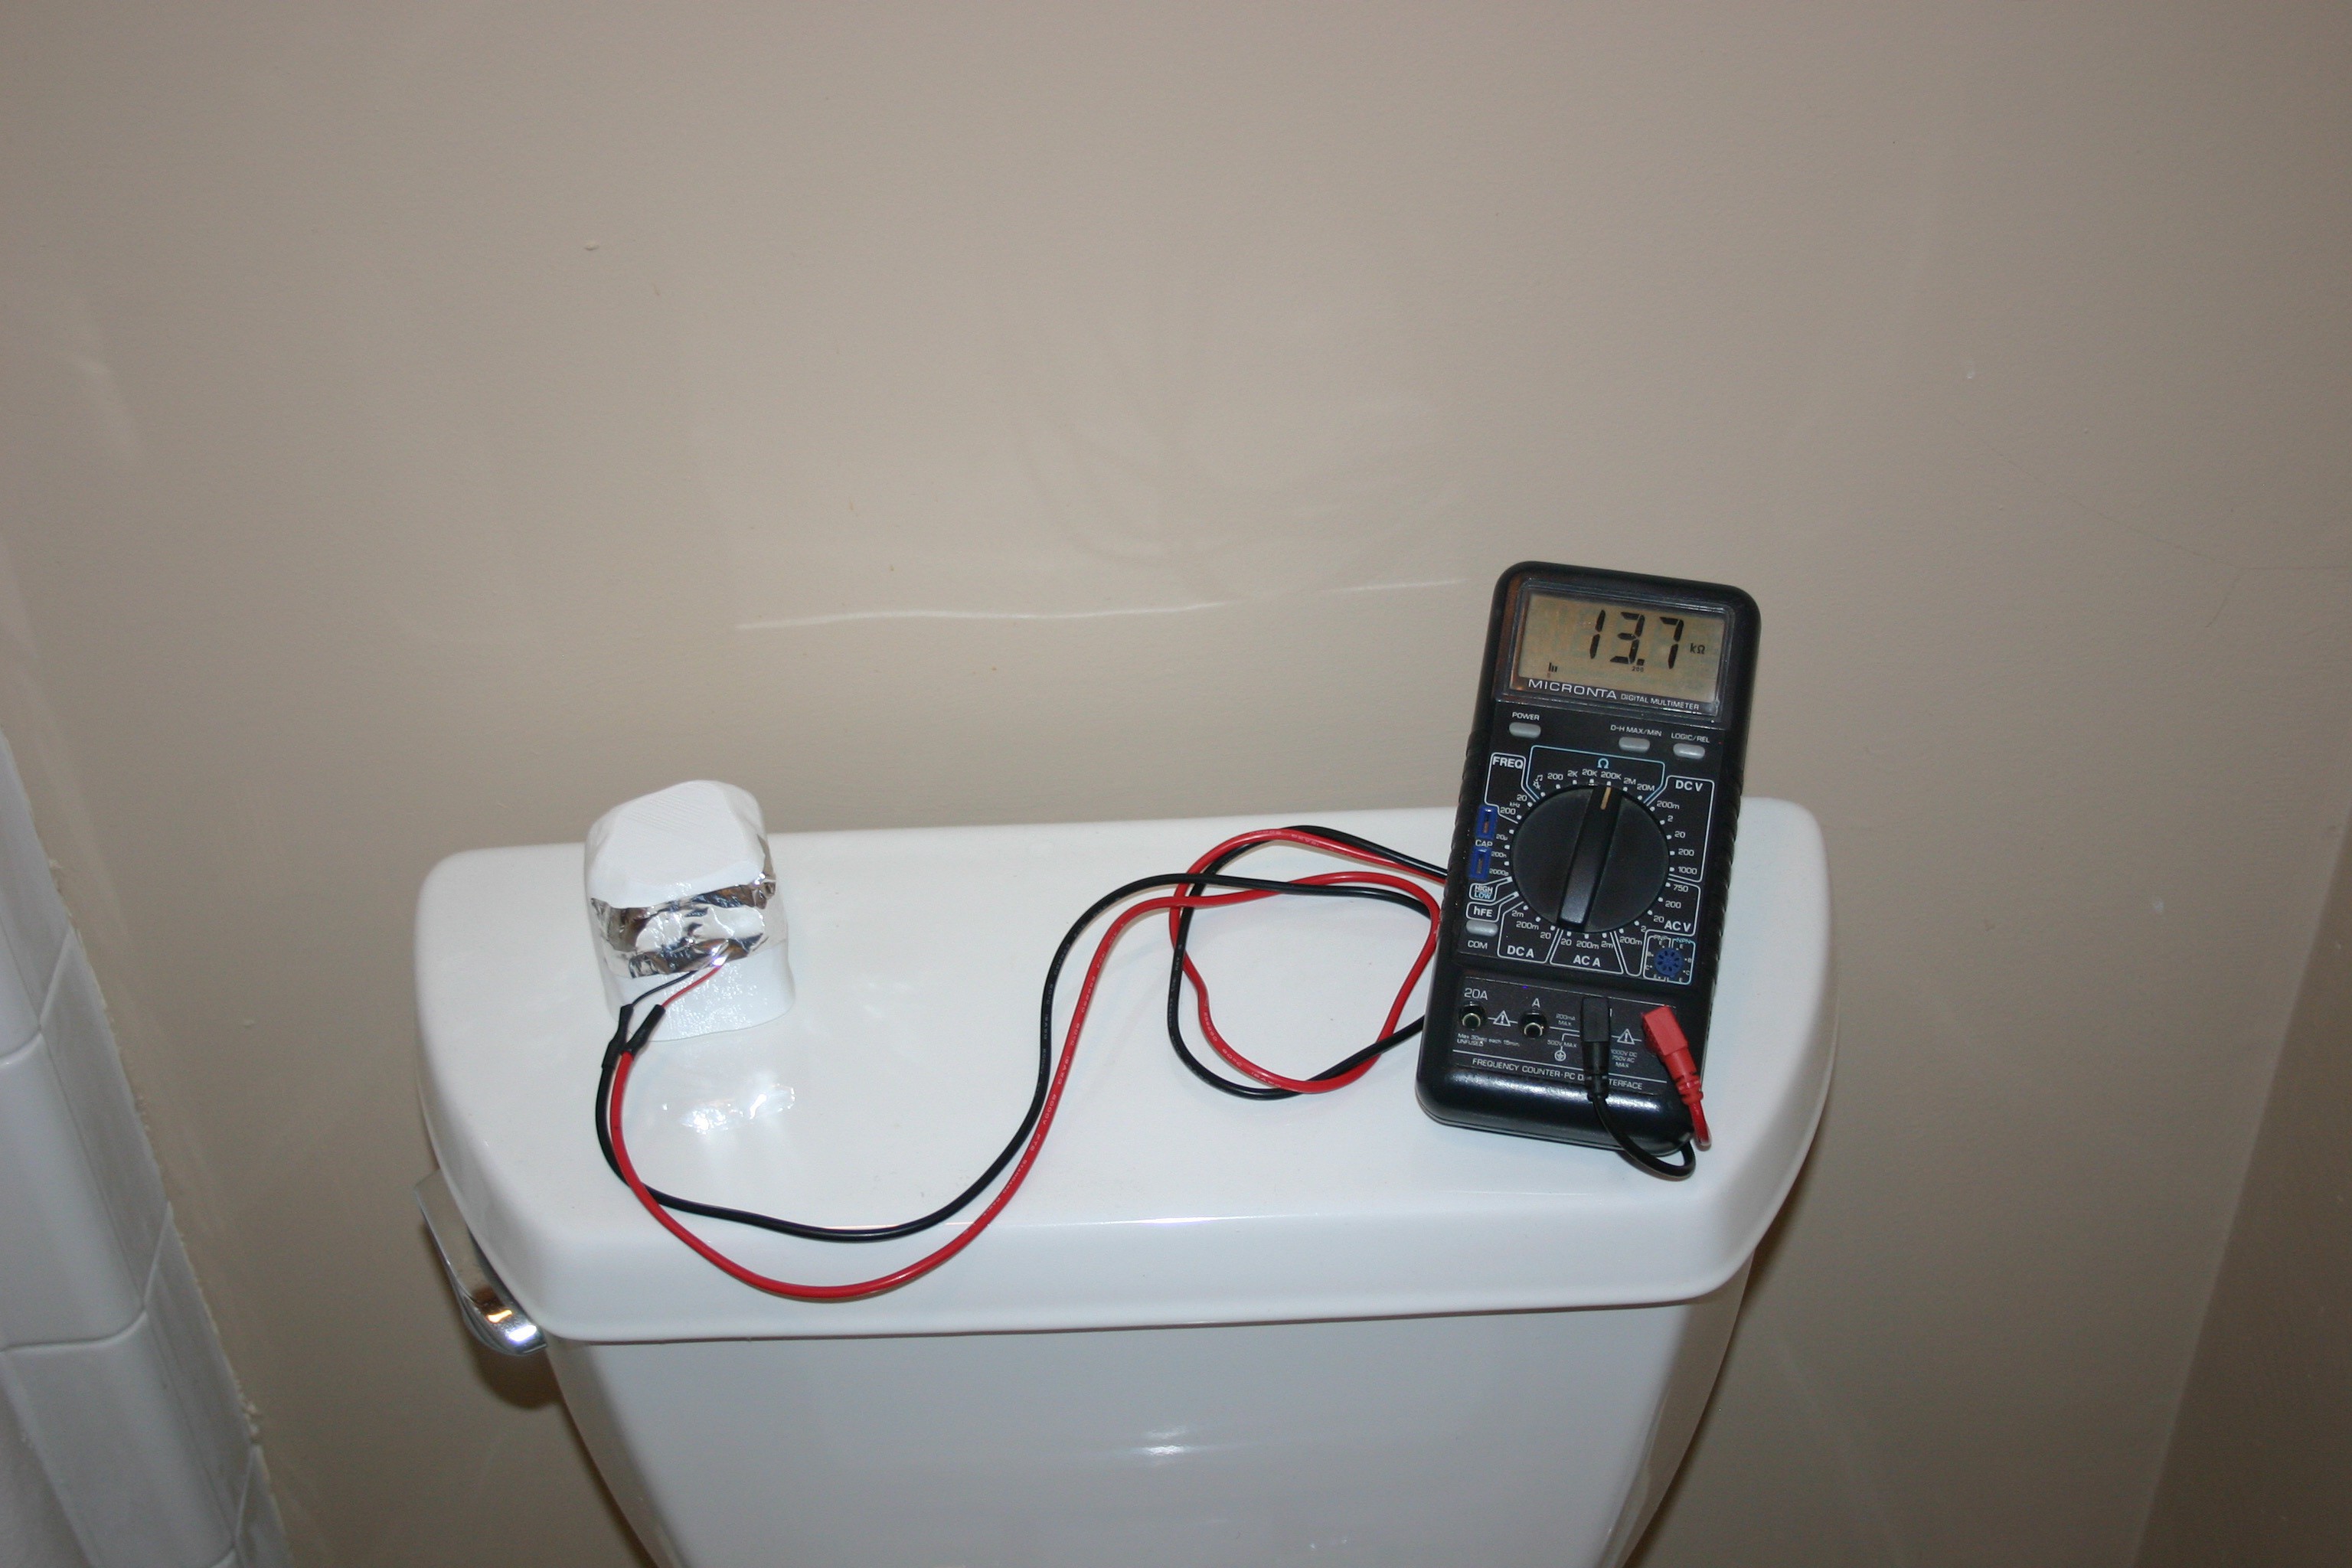
There are countless similar lights with some LEDs, a PIR sensor and a photo-resistor. Normally battery operated, 3 AAAs last quite a while, obviously the PIR sensor needs nearly no power. They use a special chip, which is made for this purpose. These lights cost a few dollars and do basically the same as yours, except the nice ghost. Perhaps one can put the "guts" of it into the ghost.