 igorfonseca83
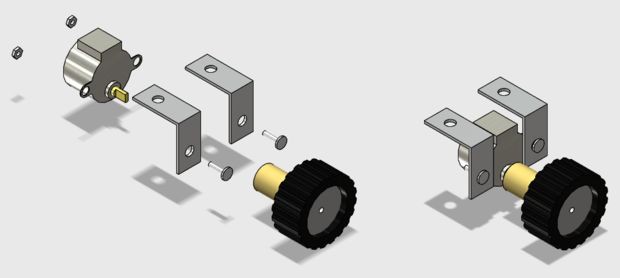
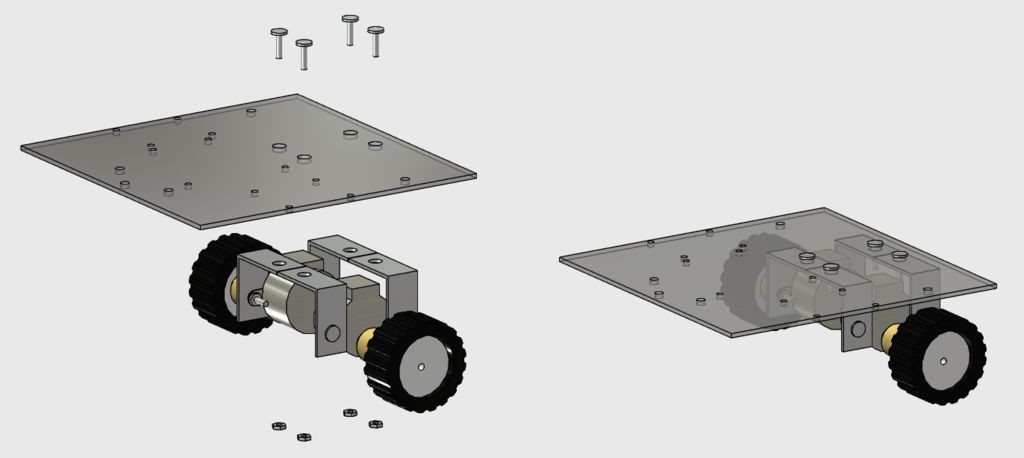
To build a custom robot, first you'll have to design your mechanical structure. It might be easy, depending on your application, or full of details and constraints. You might need to design it in a 3D CAD software or just draw it in 2D, depending on the complexity of your model.
You might also buy the complete structure online if you doesn't want to build your own mechanical structure. There is a lot of robotic kits available online. In this case, you might jump to Step 6.
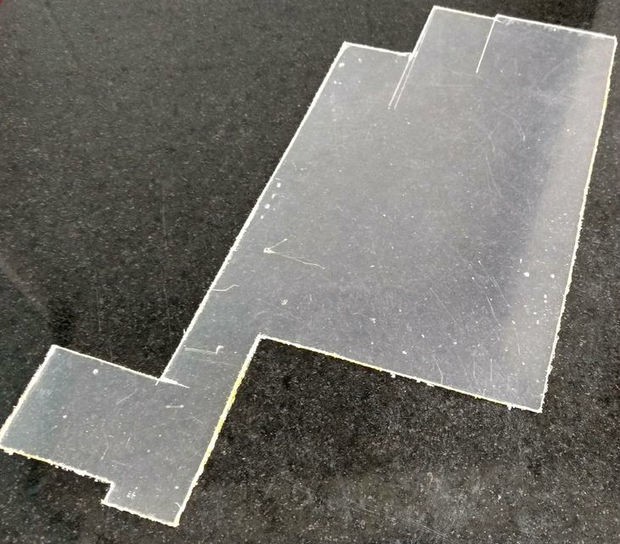
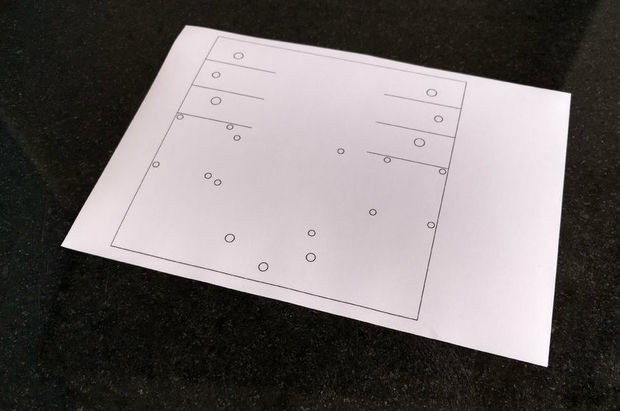
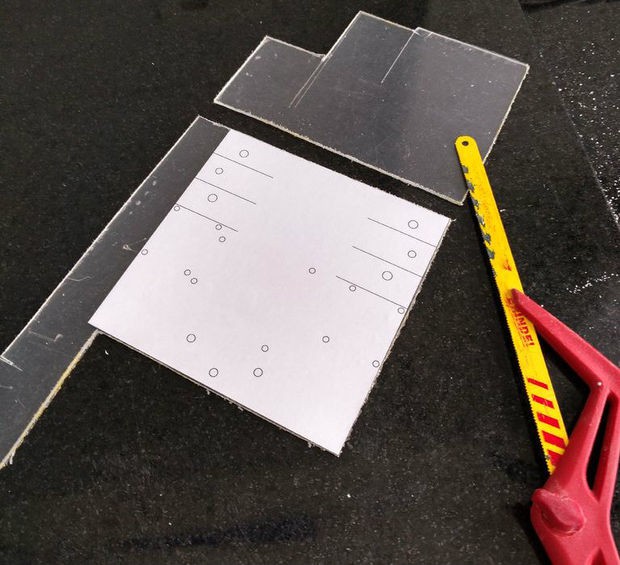
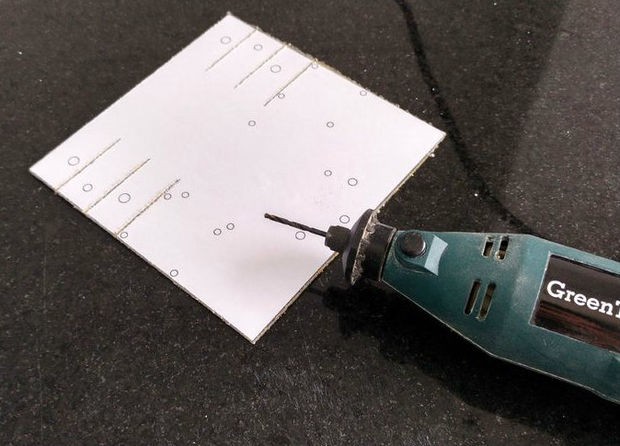
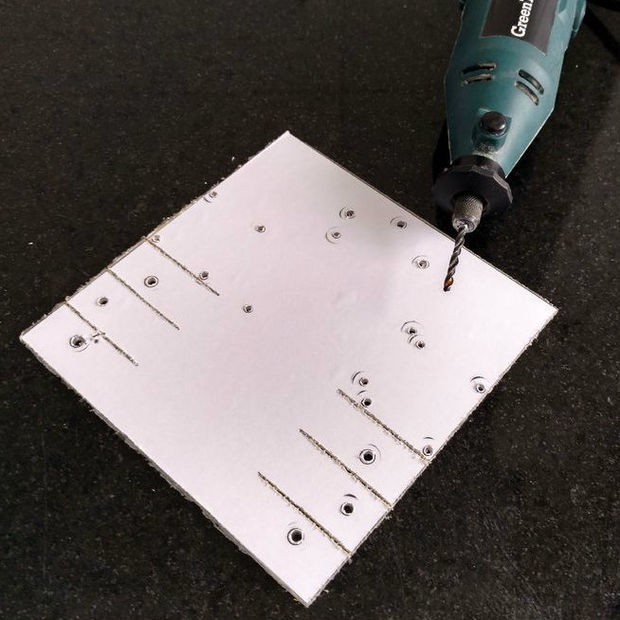
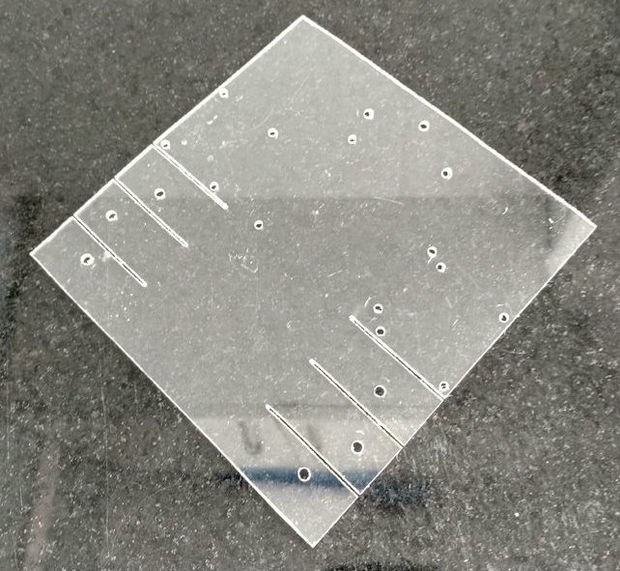
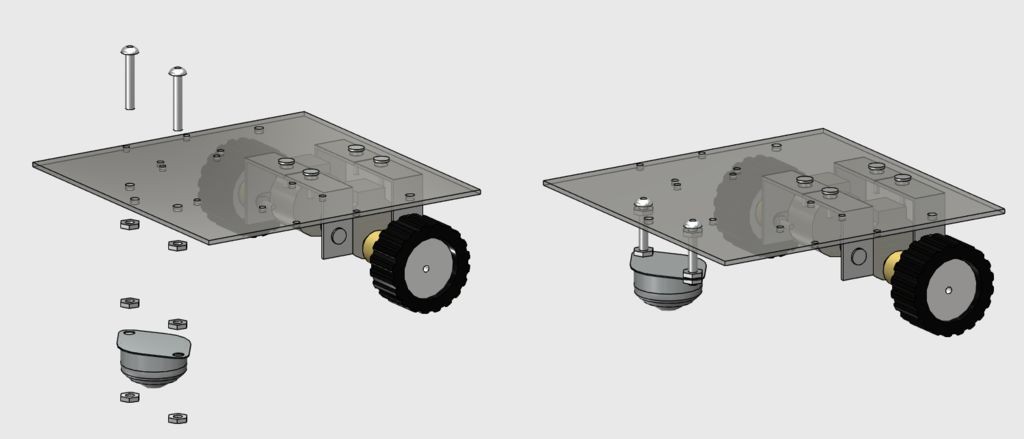
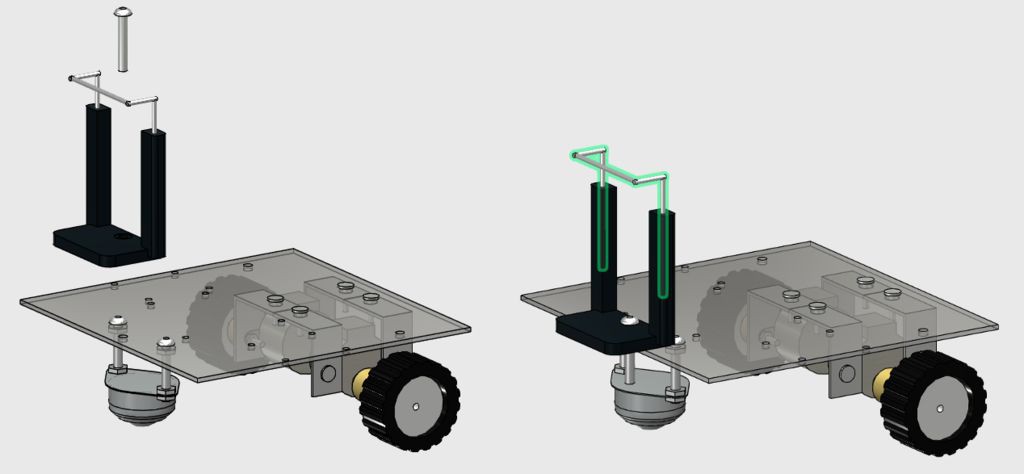
For this project, a low-cost acrylic frame was designed for the attachment of the motors and other components. The structure presented in this tutorial was 3D designed using 123D Design CAD software. Each part was later converted in 2D using Draftsight software.
 Anthrobotics
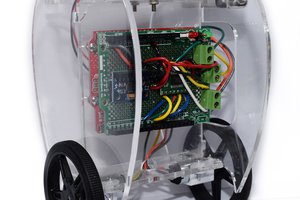
 Kirill Salita
 [ E C C 0 ]