 Jorj Bauer
I'd like to focus mostly on the electronics, so I'm going to zoom through the model build a bit.
The beginning of the model build was in November 2013. After assembling the outer shell and reinforcing it with some fiberglass on the inside, the weather quickly headed toward winter and the build stopped until August 2014, when we picked it up in earnest to complete by November 2014.
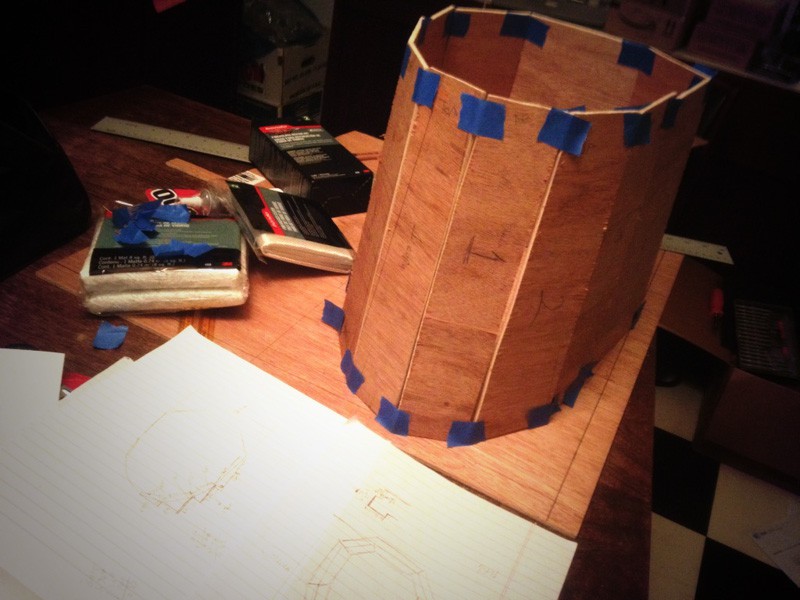
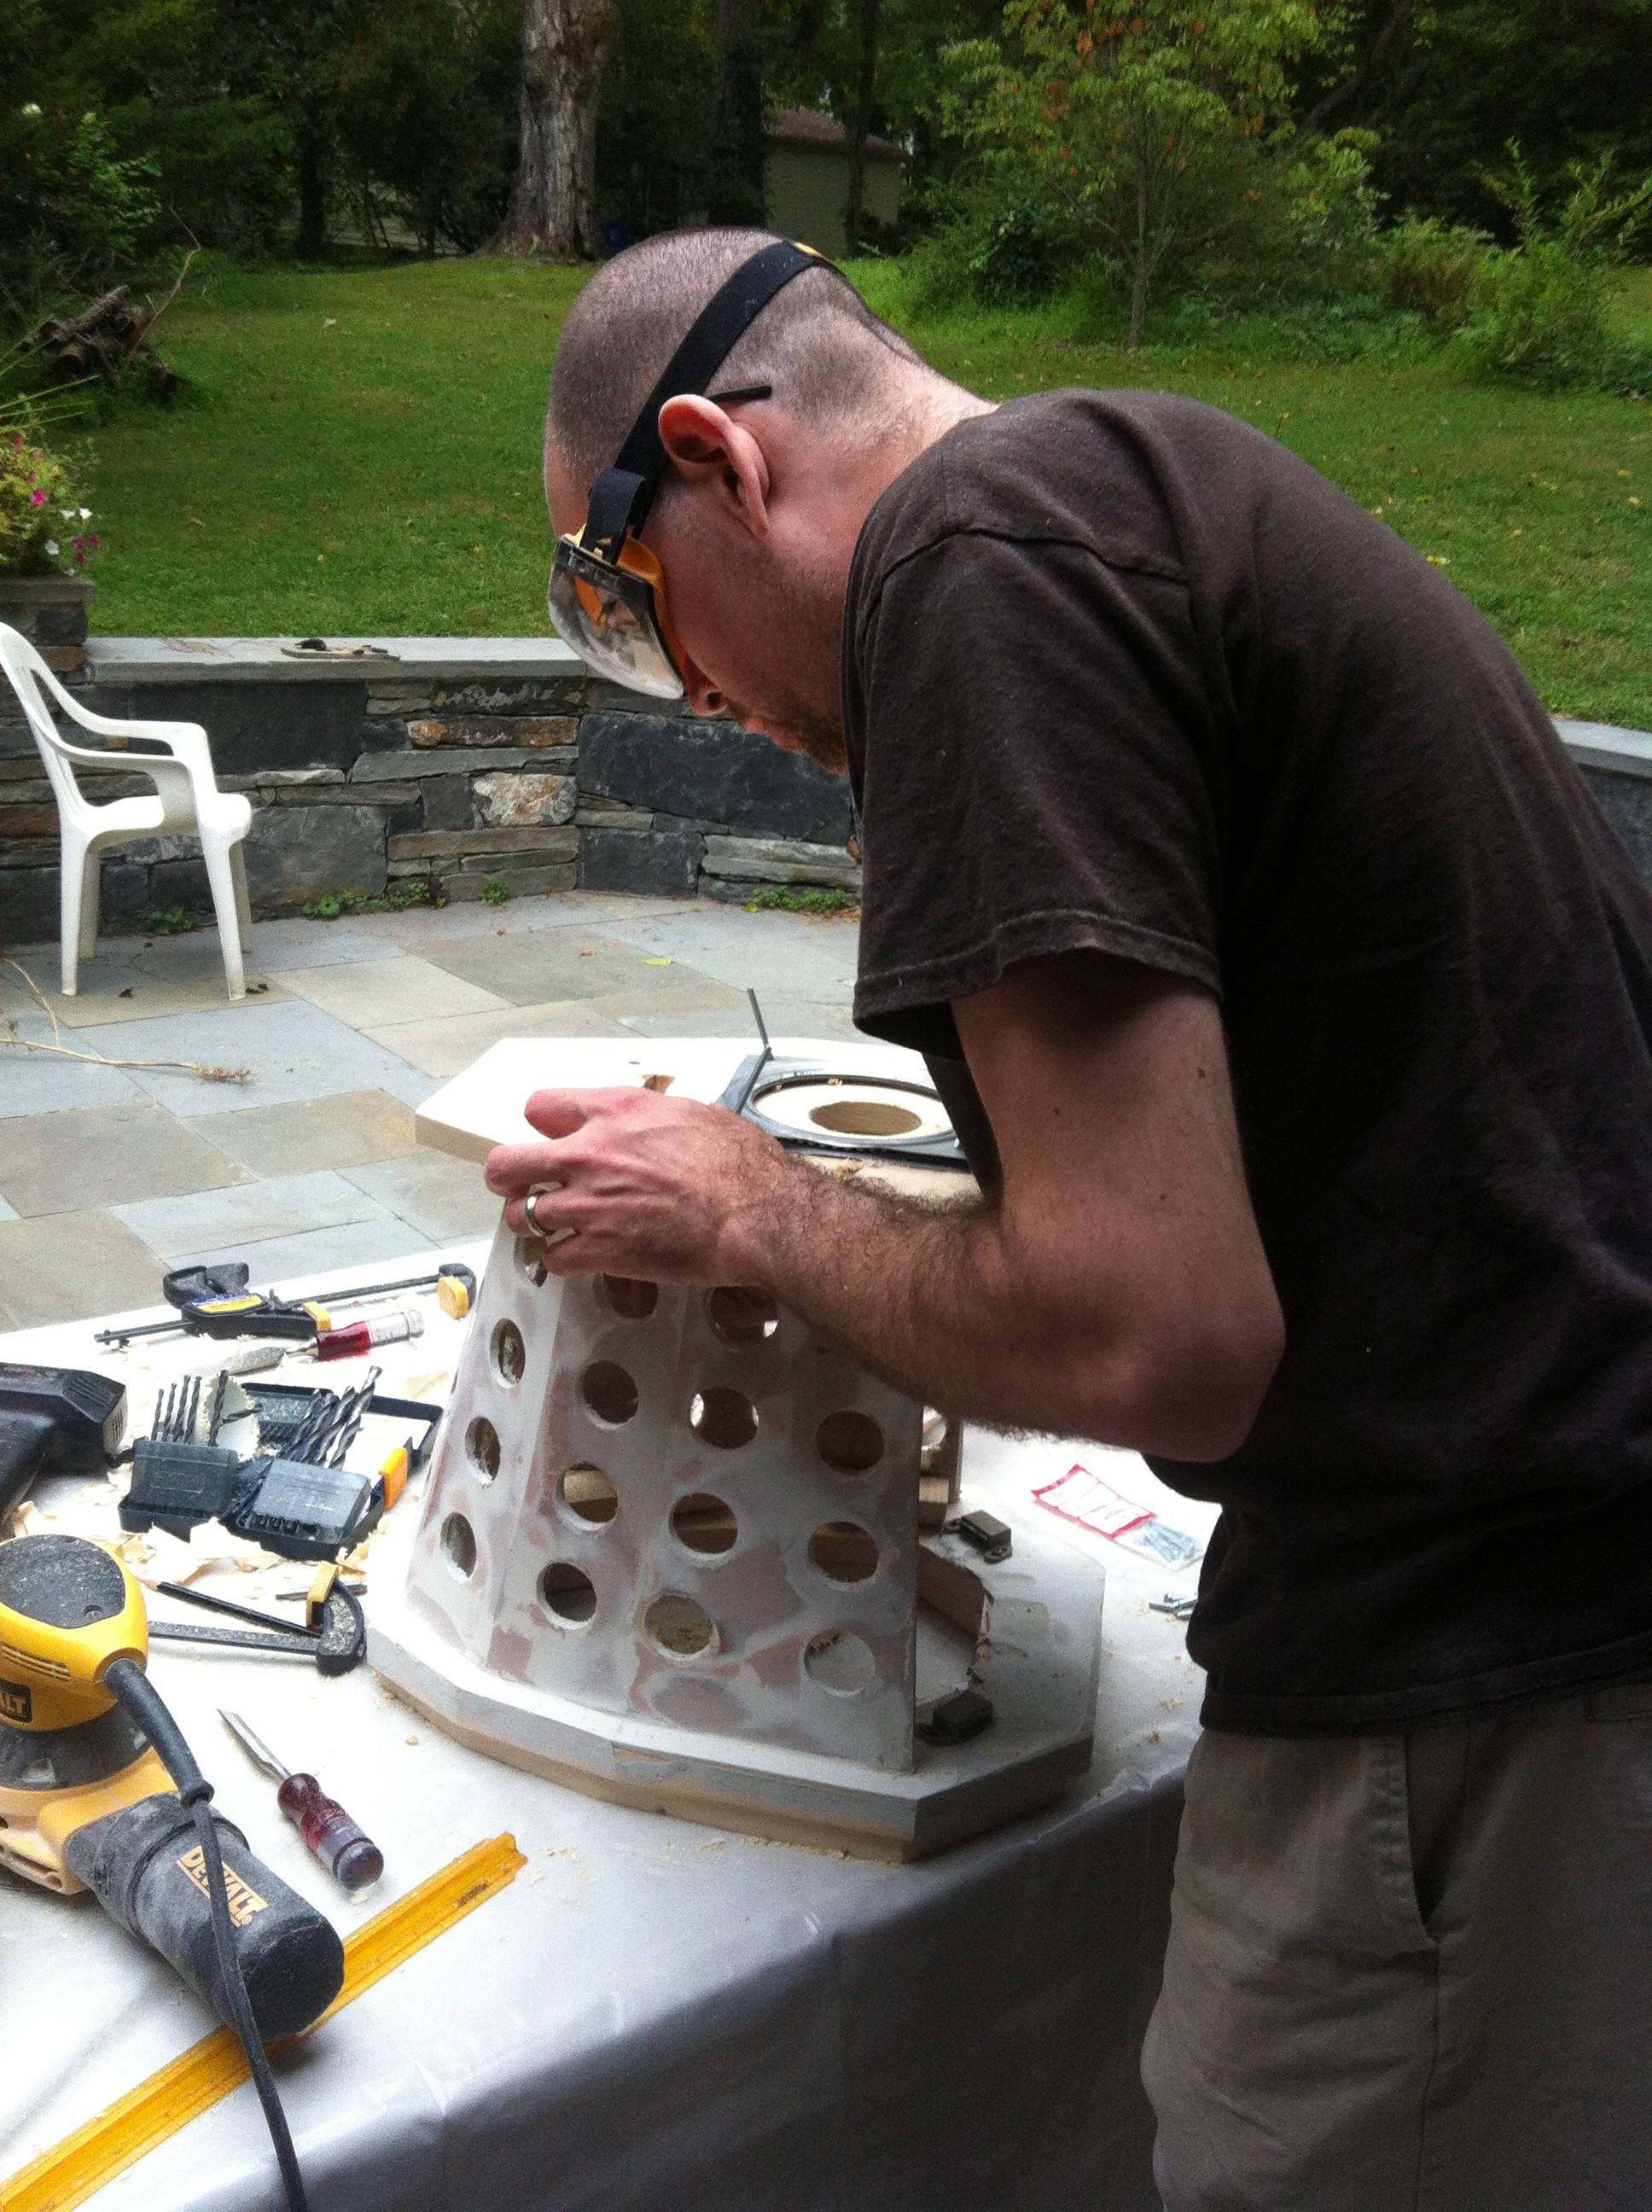
First up: rough cut Luan based on dimensions I worked out from templates, scaling, and a good amount of eyeballing.
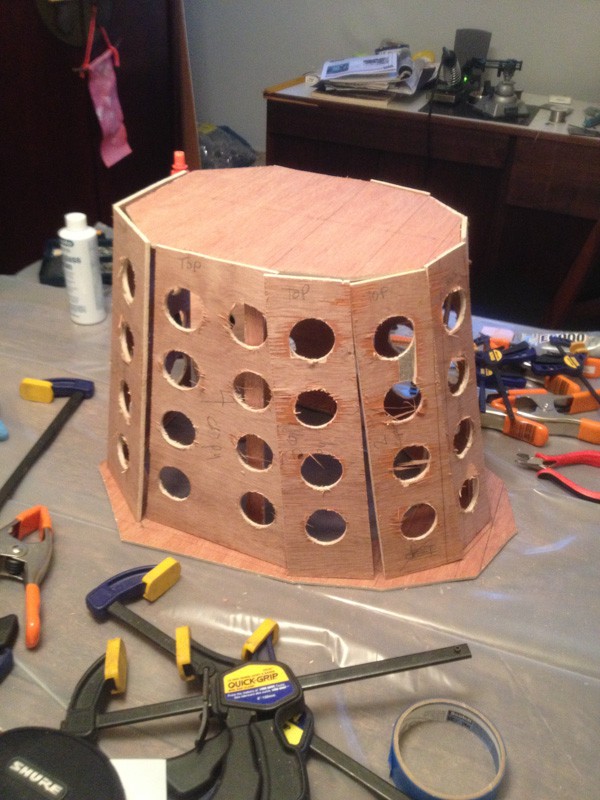
Mark and cut holes for the ping-pong balls.
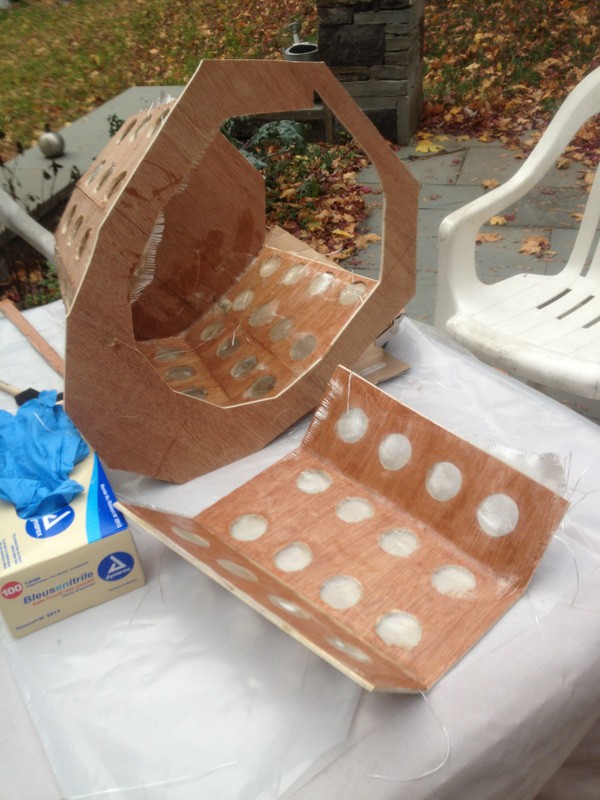
Glue in place with superglue and then fiberglass the inside.
I decided I'd build a hatch door in the back, instead of making the top removable, because I wanted to be able to pivot the head on the model and figured it would be easier to make the head a permanent fixture.
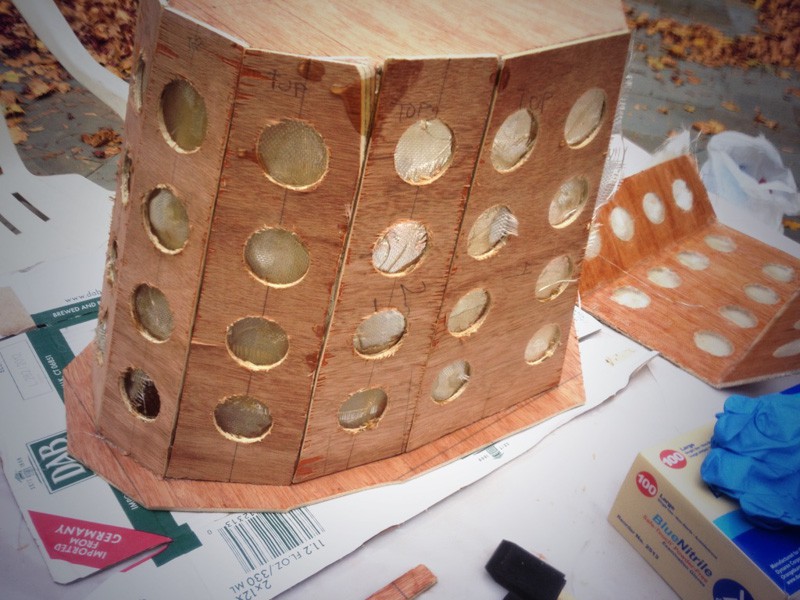
Next up: drywall compound to smooth out the front.
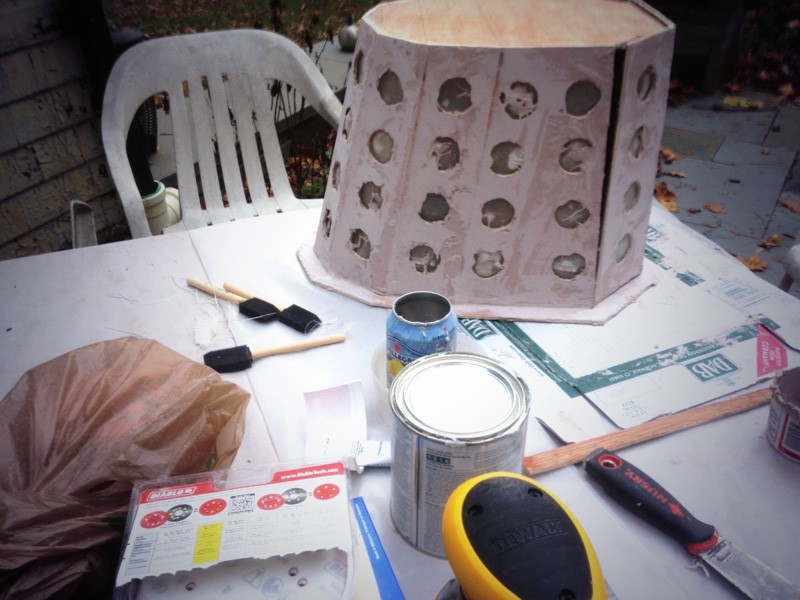
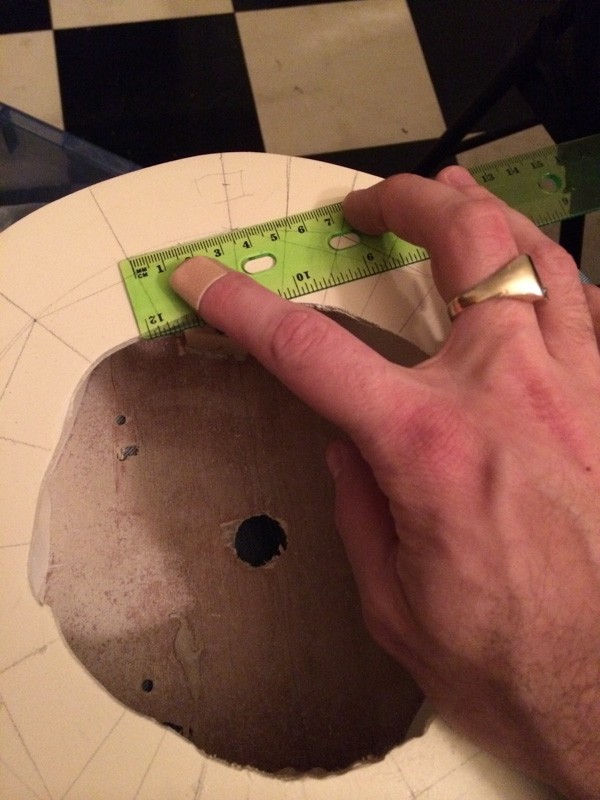
Sanding, re-measuring and marking the holes, and another pass with the hole saw. (In retrospect, it would have been better to drill all the holes much later in the build.)
Impatiently, I want to see what it looks like with some ping-pong balls of the right color...

... which means at least priming the base so it's a solid tone. This also made the flaws in the base very apparent.
Especially after rough-fitting the ping-pong balls.

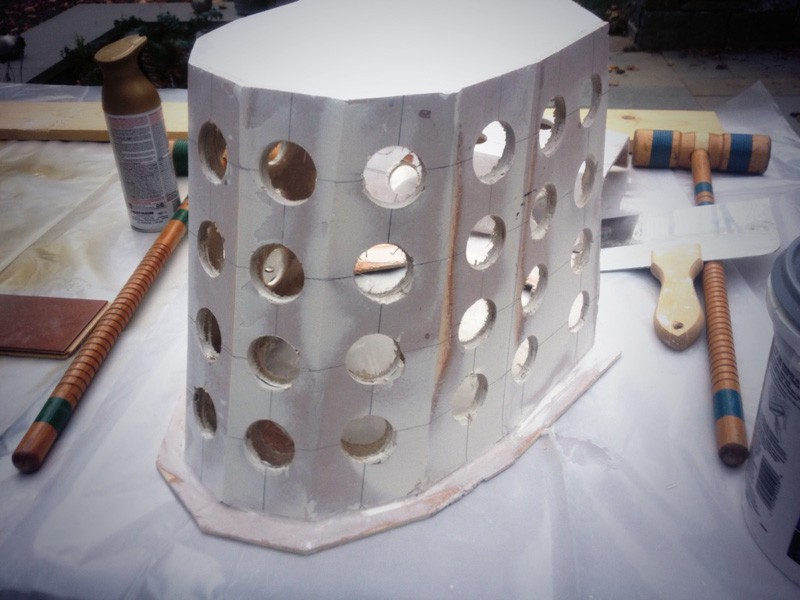
I originally planned to cut the ping-pong balls in half; fill them with foam; and then mount them to the front without drilling holes. But that turned out to be difficult. I'd never tried to cut a ping-pong ball before, and let's just say that power tools generate too much heat; and xacto knives are too hard to get a straight line. Which is why I punted and drilled the holes instead. Which leaves these gaps around the balls, which I didn't want. So back to the drywall compound to fill around them:

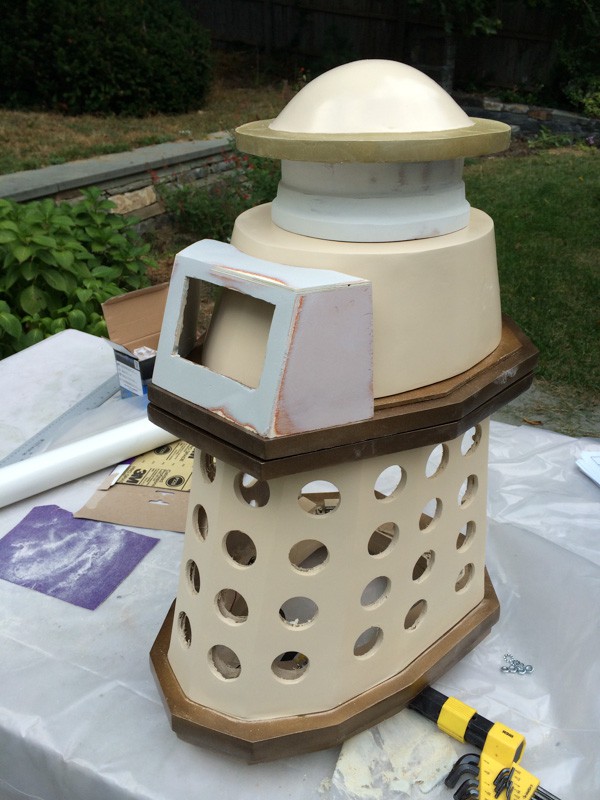
Also here, you see the first shoulders (which will rotate) and rough fit objects for scale and molding base (a lamp shade and can of mushrooms).
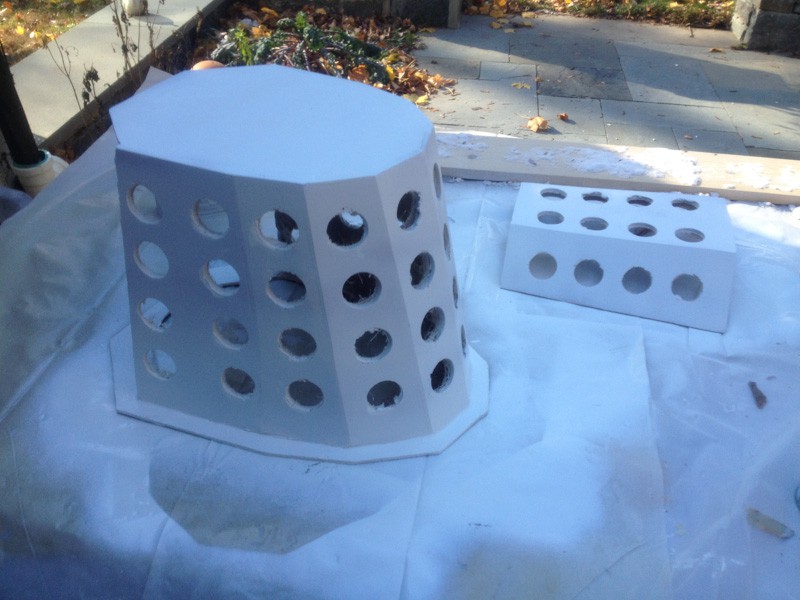
With the ping pong balls removed and the permanent pieces fixed together, we have a good idea of what the base will look like.
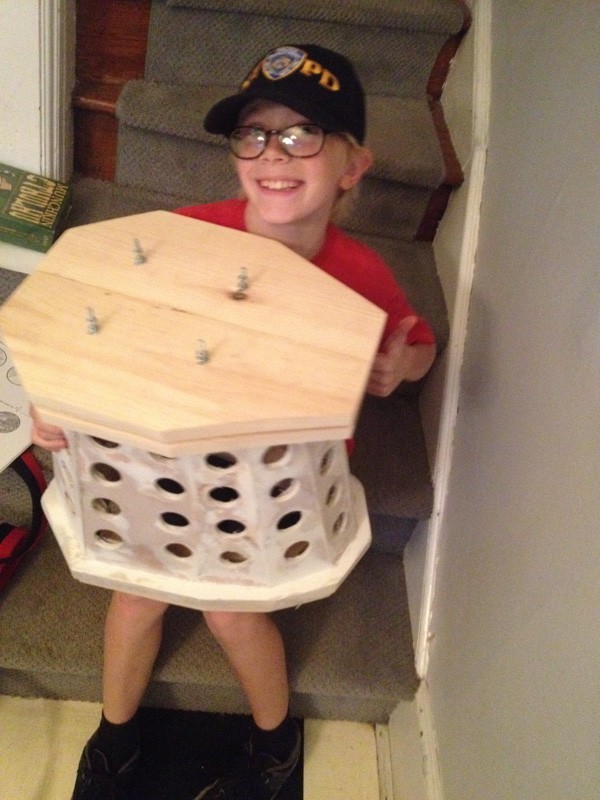
The four screws through the top are from the lazy susan between the two shoulder layers, which you can see me installing here...
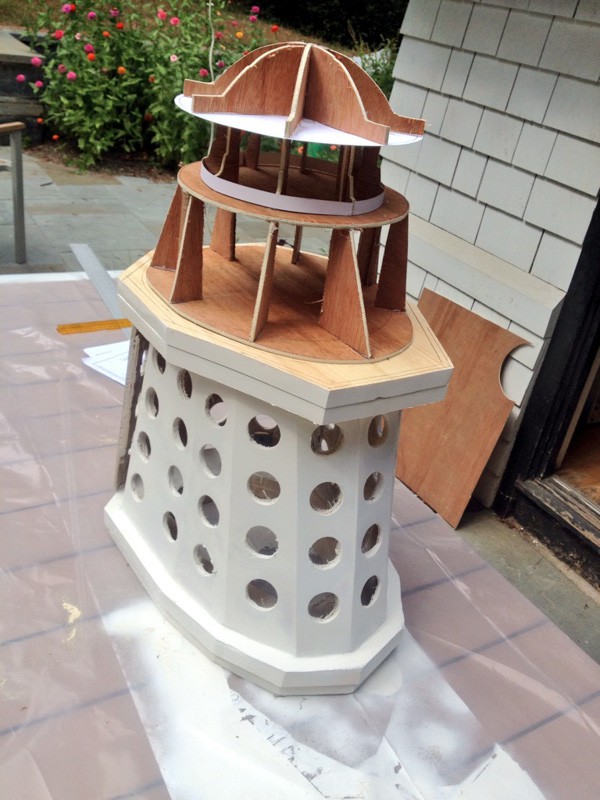
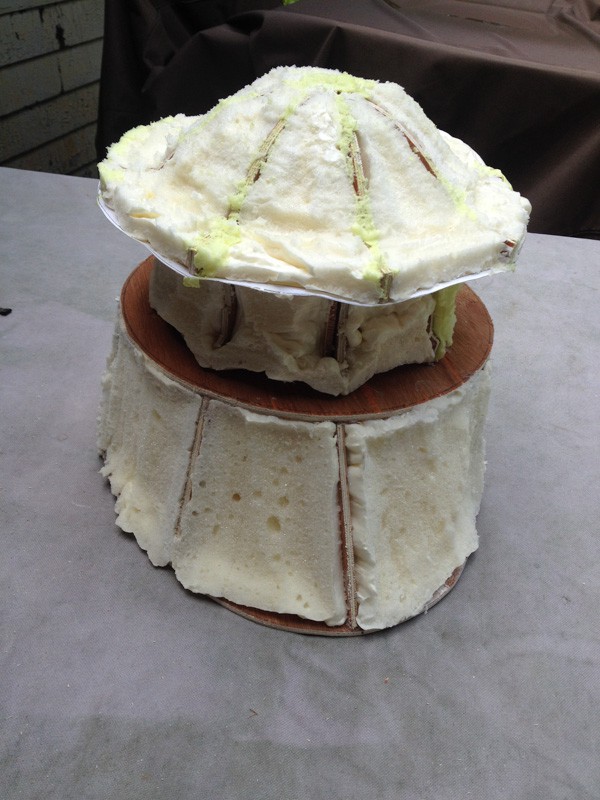
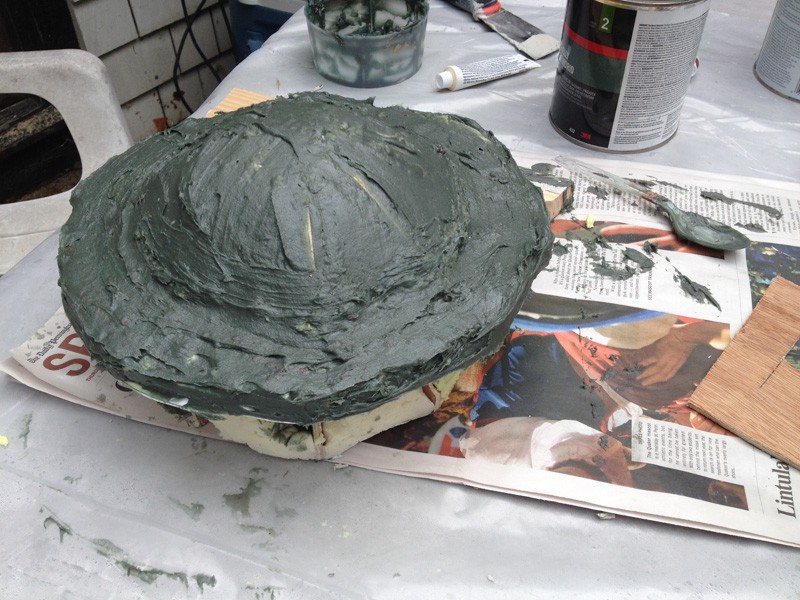
Next is the top. With some general guidance from the props above, I built a template out of cardboard with the intent of making a paper mache plug; making a mold; and then casting new pieces for the top out of fiberglass. Turns out I had no idea what the heck I was doing and this was a loss. But fun was had.

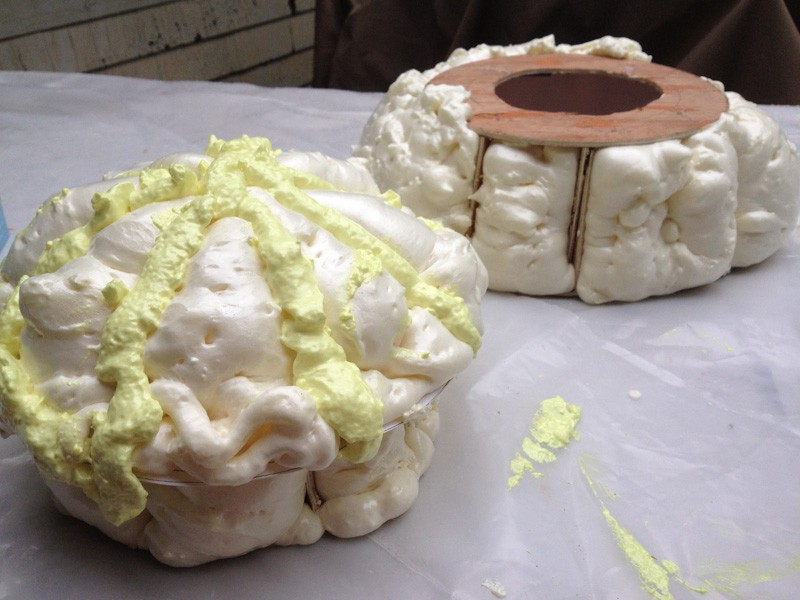
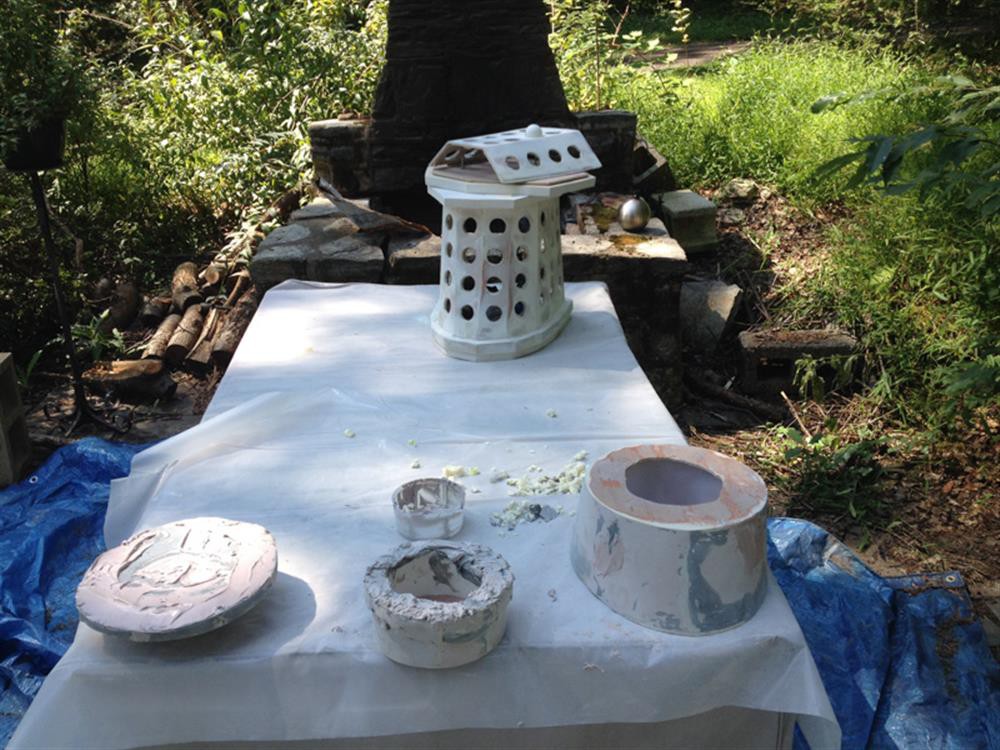
Reboot: new base forms made out of luan.
The idea is to fill them with expanding foam; trim it up; and then coat it with bondo to make a plug. About half way in to this I realize I don't have enough time to do that, so this is going to have to be the final piece itself.
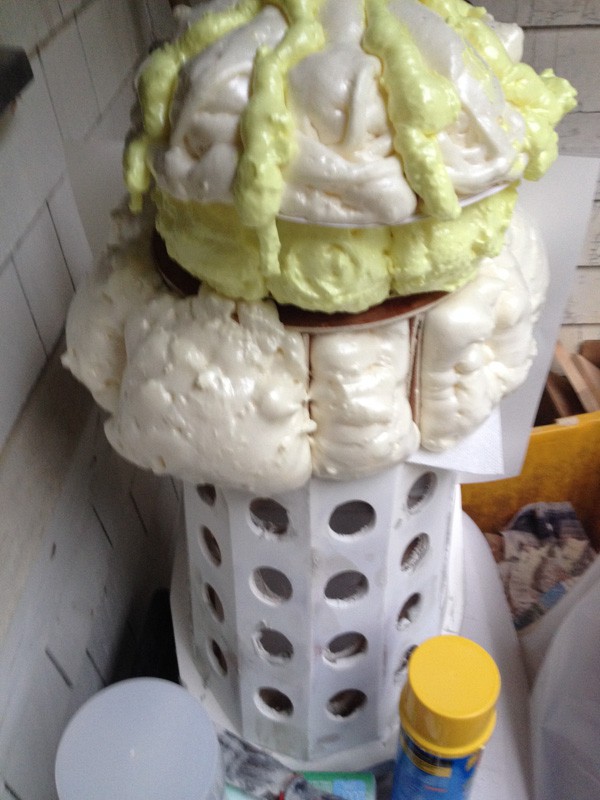

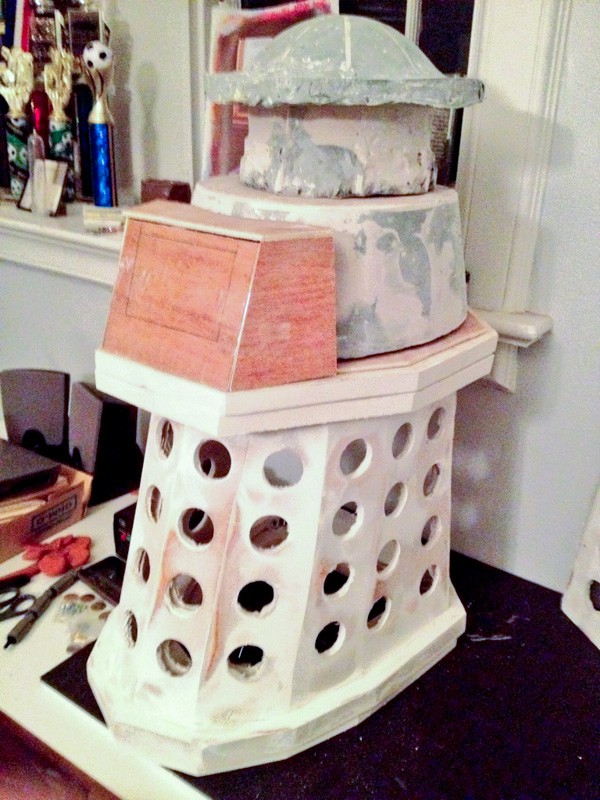
A little sanding and a rough cut of the gun box, and it's really taking shape.
The remaining pieces need a ton of work: sanding, filling, re-sanding, re-filling. Repeat times a billion. Seriously: at least a dozen. Maybe three dozen. I definitely lost count. So. Much. Sanding.


I had a real love-hate relationship with the white primer on this build. Think you're close to done? Spray it with some primer! OH MY GOD THE FLAWS. Nope, another round of filling and sanding. But eventually we get to finish coats...
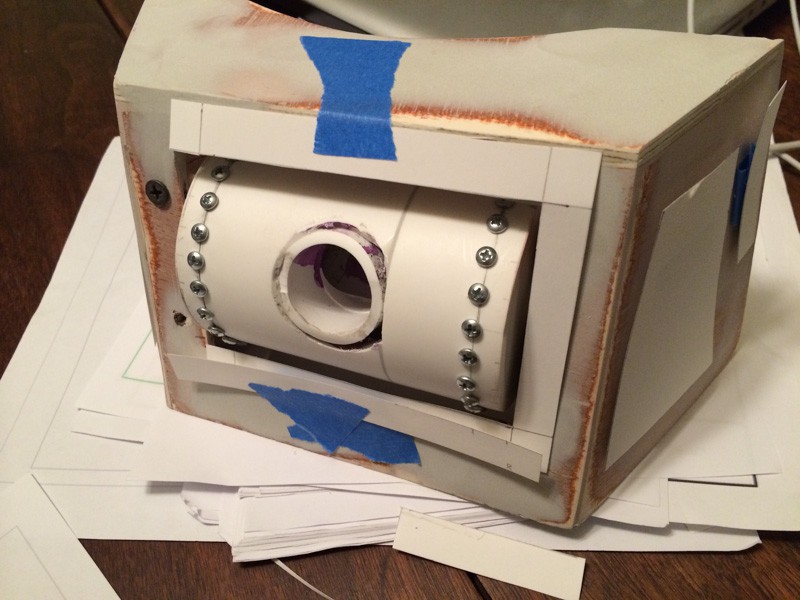
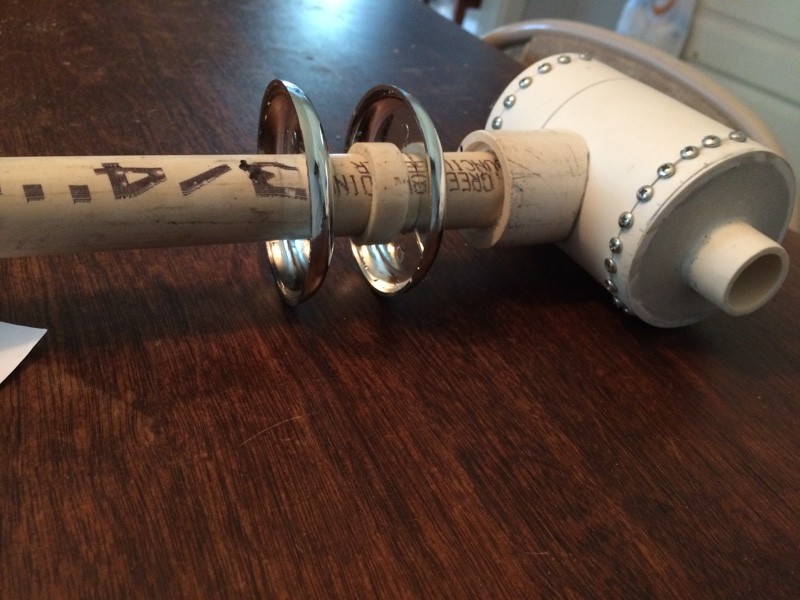
and it's time to build the gun out of miscellaneous parts from local hardware stores.
Before the final coat of paint on the gold shoulders, I did quite a bit of woodwork inside them that you can't see. I routed out a circle to hold a lazy susan, on which the top rotates; some holes for various wires; and there's a rotating wire collar that lets the wiring in the top stay untangled. I wanted the head to rotate a full 360 degrees. Perhaps not this quickly though.

Time to get down to brass tacks, literally...
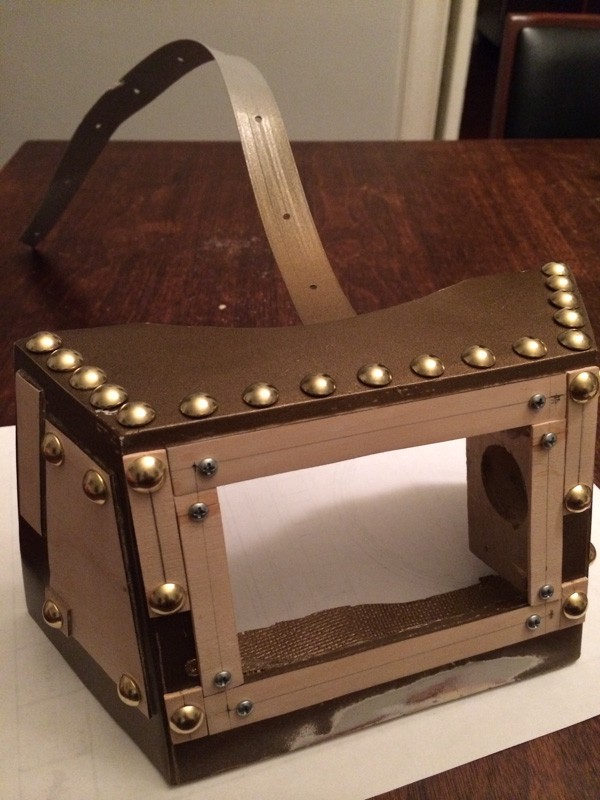
Measuring for placement of said tacks.
Some black spraypaint and automotive clear coat later, and the model is essentially done.
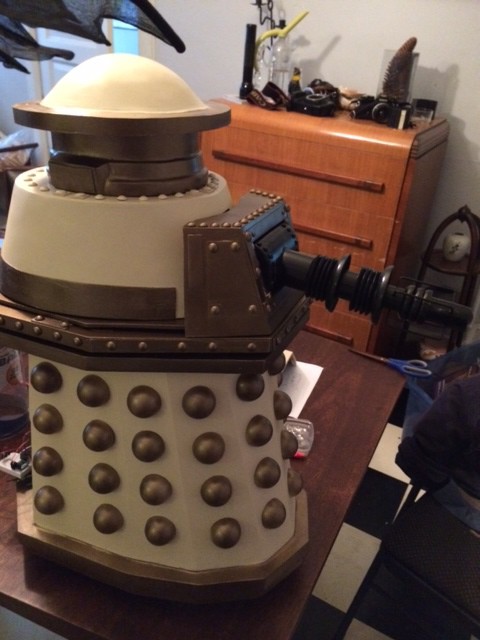

While that's not quite a final picture, it's close enough. Spot the flaws :)
Discussions
Become a Hackaday.io Member
Create an account to leave a comment. Already have an account? Log In.