 Jorj Bauer
I've been feverishly pulling the pieces back together!
New fuses arrived - nice 10A fast-blow fuses, which are small and take up no real space due to the inline fuse holder. Together with some better continuous duty 36v relays, I've got a better power system. Which I'd post a picture of right here but apparently I've taken none? Amazing.
From there, I moved on to the head electronics. The latest revision of the block diagram shows the three microcontrollers that are running this thing. A2 had been in the base with the drive circuitry, while A3 had been in the head with the sound circuitry. I've moved A2 to the head - so that I might eventually use it to also drive a motor for the gun stalk, which will require a couple of limiting sensors. I don't have enough wires in the slip ring (between the head and the base) to accommodate two more sensors, but I realized I could move the whole controller up, and run the motors for the shoulder over two of the lines in the slip ring (two lines that had been planned to run the motor in the head for the gun stalk).

(Hmm. I see that's not quite up to date, but I'll deal with that later. Close enough, I suppose. You'll have to imagine it shows the things I say it does...)
A side effect of this is that I had to convert A2 to a serial protocol. It had been using four pins as a parallel bus for controlling shoulder and gun motor direction (not that there's a gun motor attached, but the code is all in place).
Now, A1 is a 3.3v Moteino while A2 and A3 are 5v Arduino Unos. To get serial communication working properly I had to add a couple of 3.3v-to-5v logic level shifters. No big deal, dropped in and the electronics are back in business.
At this point I needed to mount things in the head unit: the new 12.5w amplifier and two Arduino Unos. Space is pretty tight in the head, and I still want to add a motor; two limiting sensors; and a fog machine. (Yeah, I'll come back around to that one later, too.)
I already have four bolts in the head section that are holding the head on to the lazy susan that's between the two halves, so I reused a couple of those bolts with a couple of angle brackets to mount two pieces of MDF to which all the electronics are mounted. Like so (this side is the audio system and amplifier):
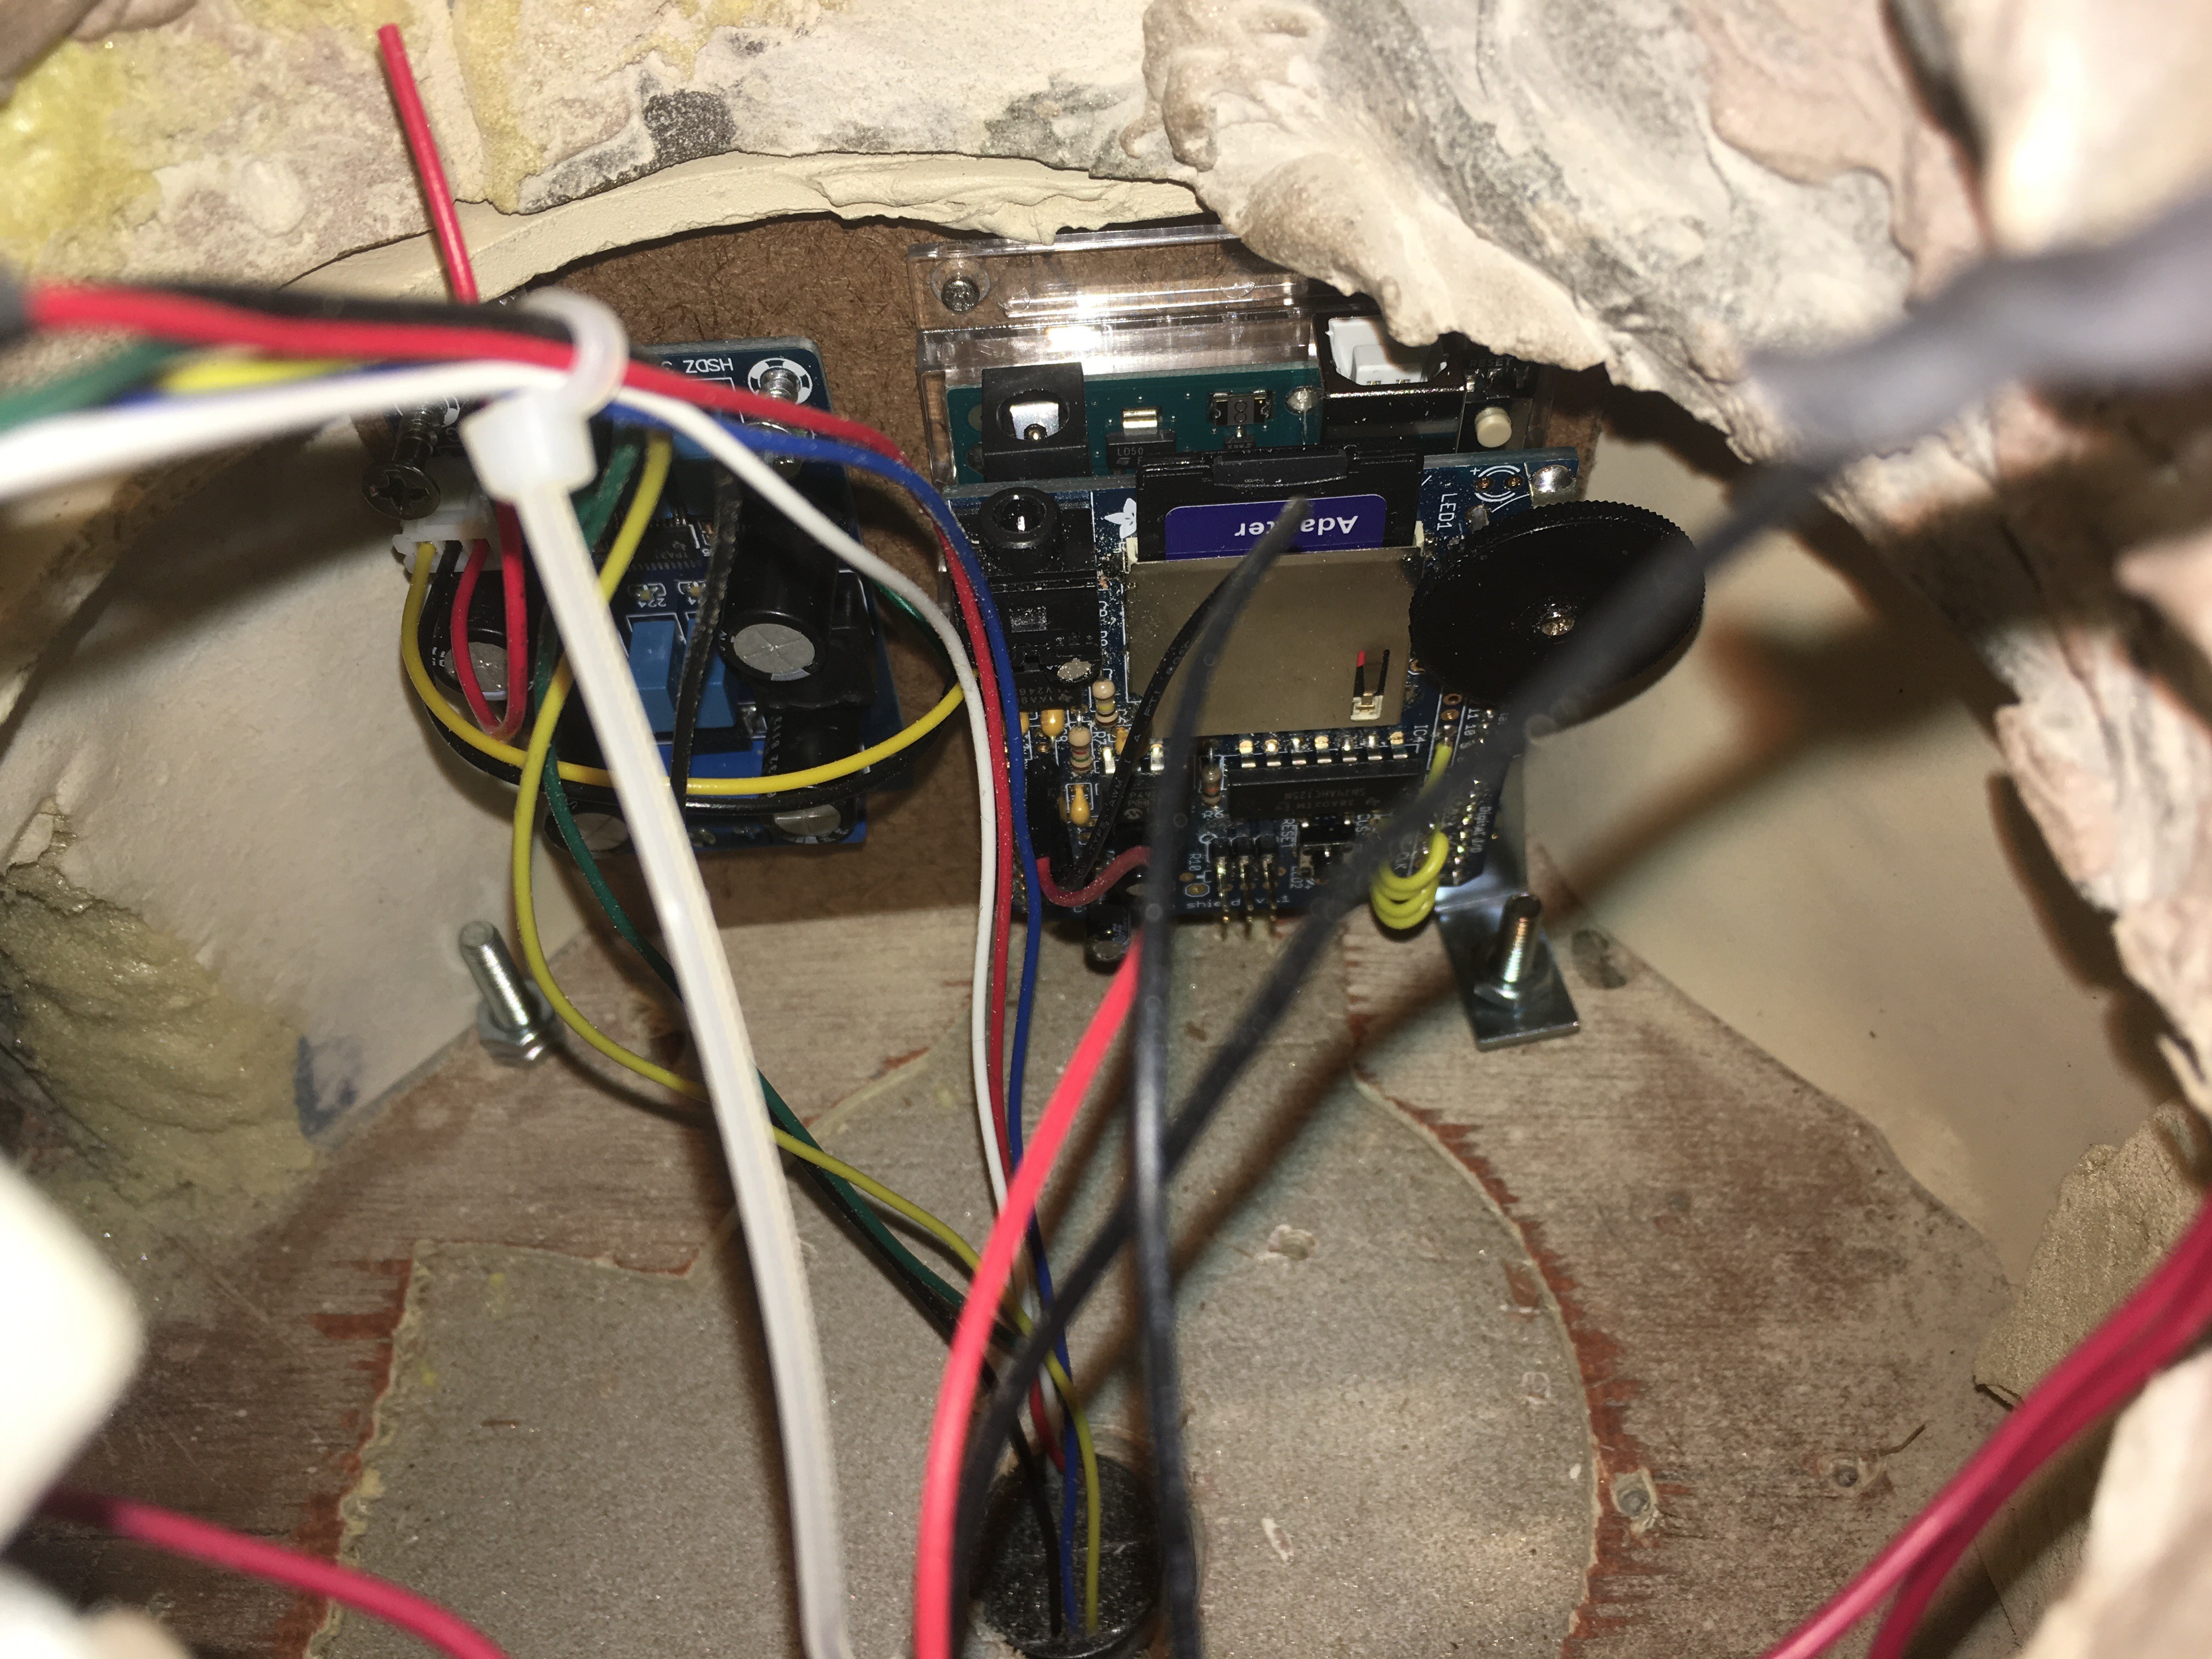
And here you can see from the front (where the gun will be mounted) both of the sides:
It was about here that I decided it was time to revisit the audio system. The old audio system - an Adafruit Wav shield - plays files off of an SD card on demand. I like that, but wanted to add a live feed through a ring modulator so that we can make Bob talk. And I had a plan to do that last year, which got partly built and has been sitting in a box ... somewhere ... waiting ... ah, found it! Only about 20 minutes of searching.
So I pulled those all back out and rebuild it on to one board - where A2 is now a Teensy 3.1 with its Audio shield. Same functionality, smaller footprint! Here you see it all hooked up with the speaker (while I was debugging serial communication, apparently):
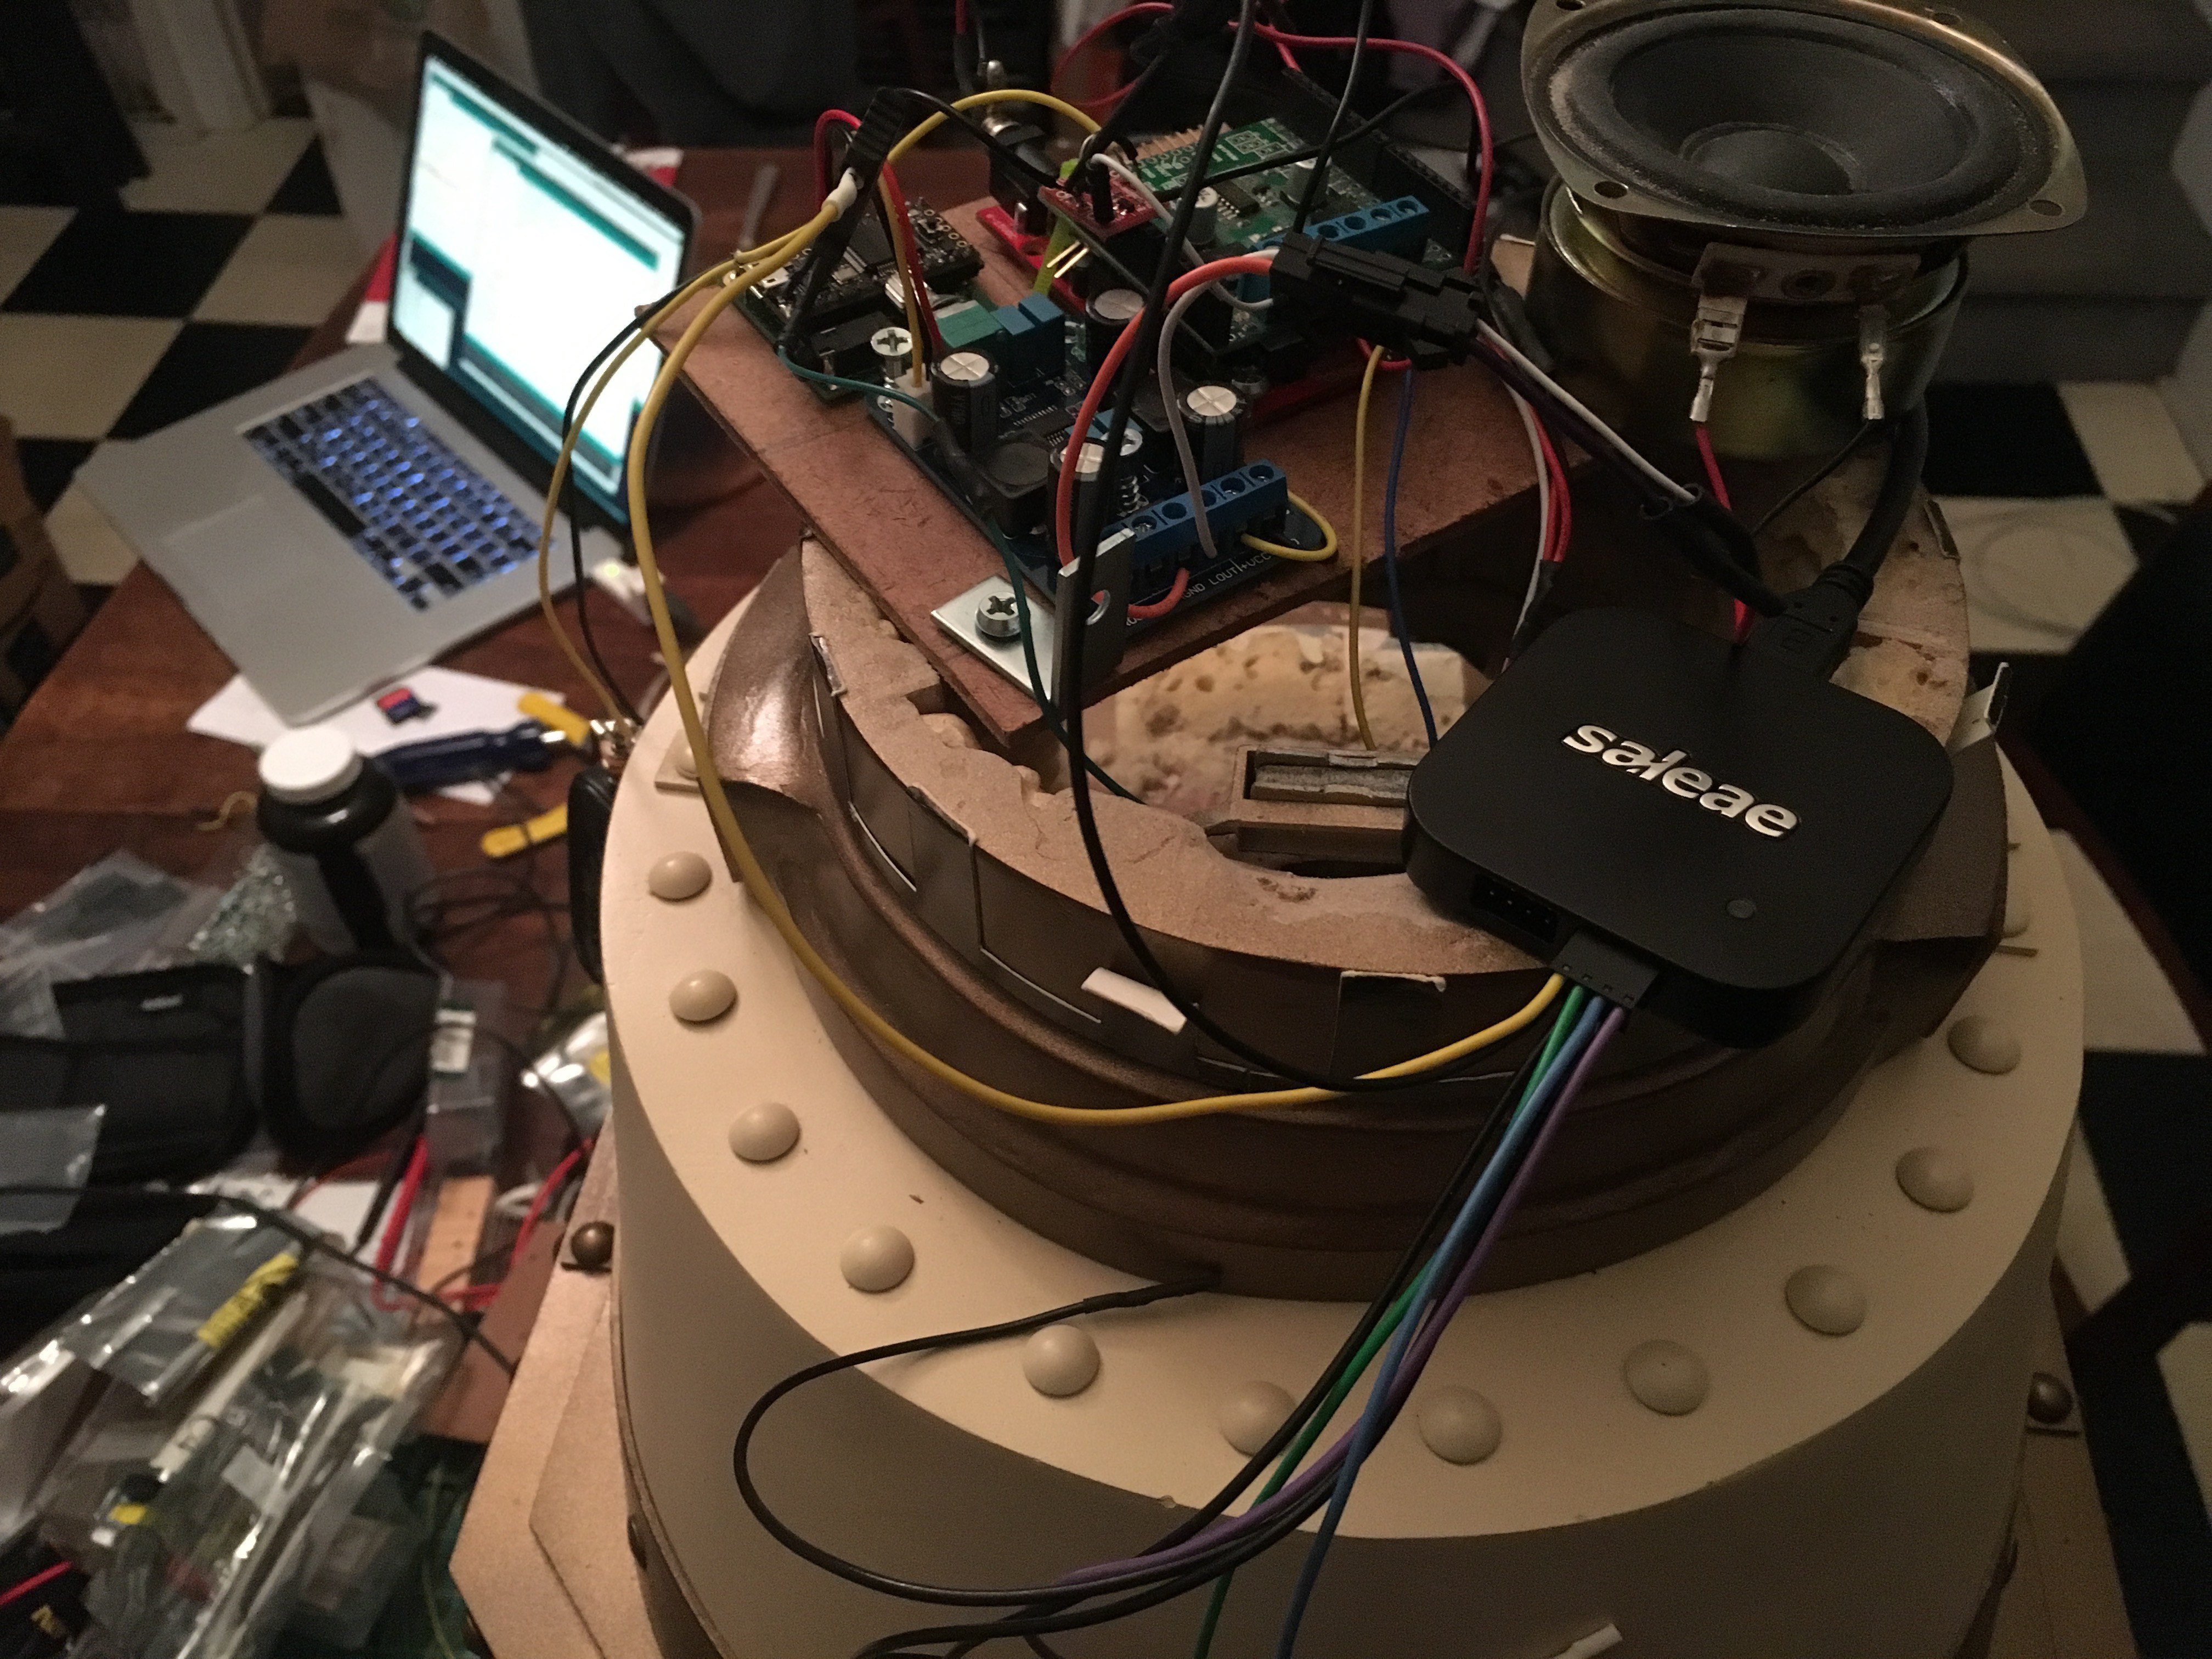
Do you even see it? The Teensy is in the upper left corner of the board, with the amplifier in the lower left, and the remaining Arduino Uno for the shoulder motors in the upper right.
The Teensy is also a 3.3v device so the logic level shifter is now just for the Uno; and there's an audio input jack that's dangling around the left side of the Dalek's head here, just out of sight . That thing dangling is the receiver half of this wireless 2.4 GHz audio microphone - a quick hack to get audio input in to the device. Combined with code to implement the ring modulator, and some small modifications to the serial protocol and remote's code, and we've got a new live voice feed! We spent some time making the Dalek say silly things before buttoning it up.
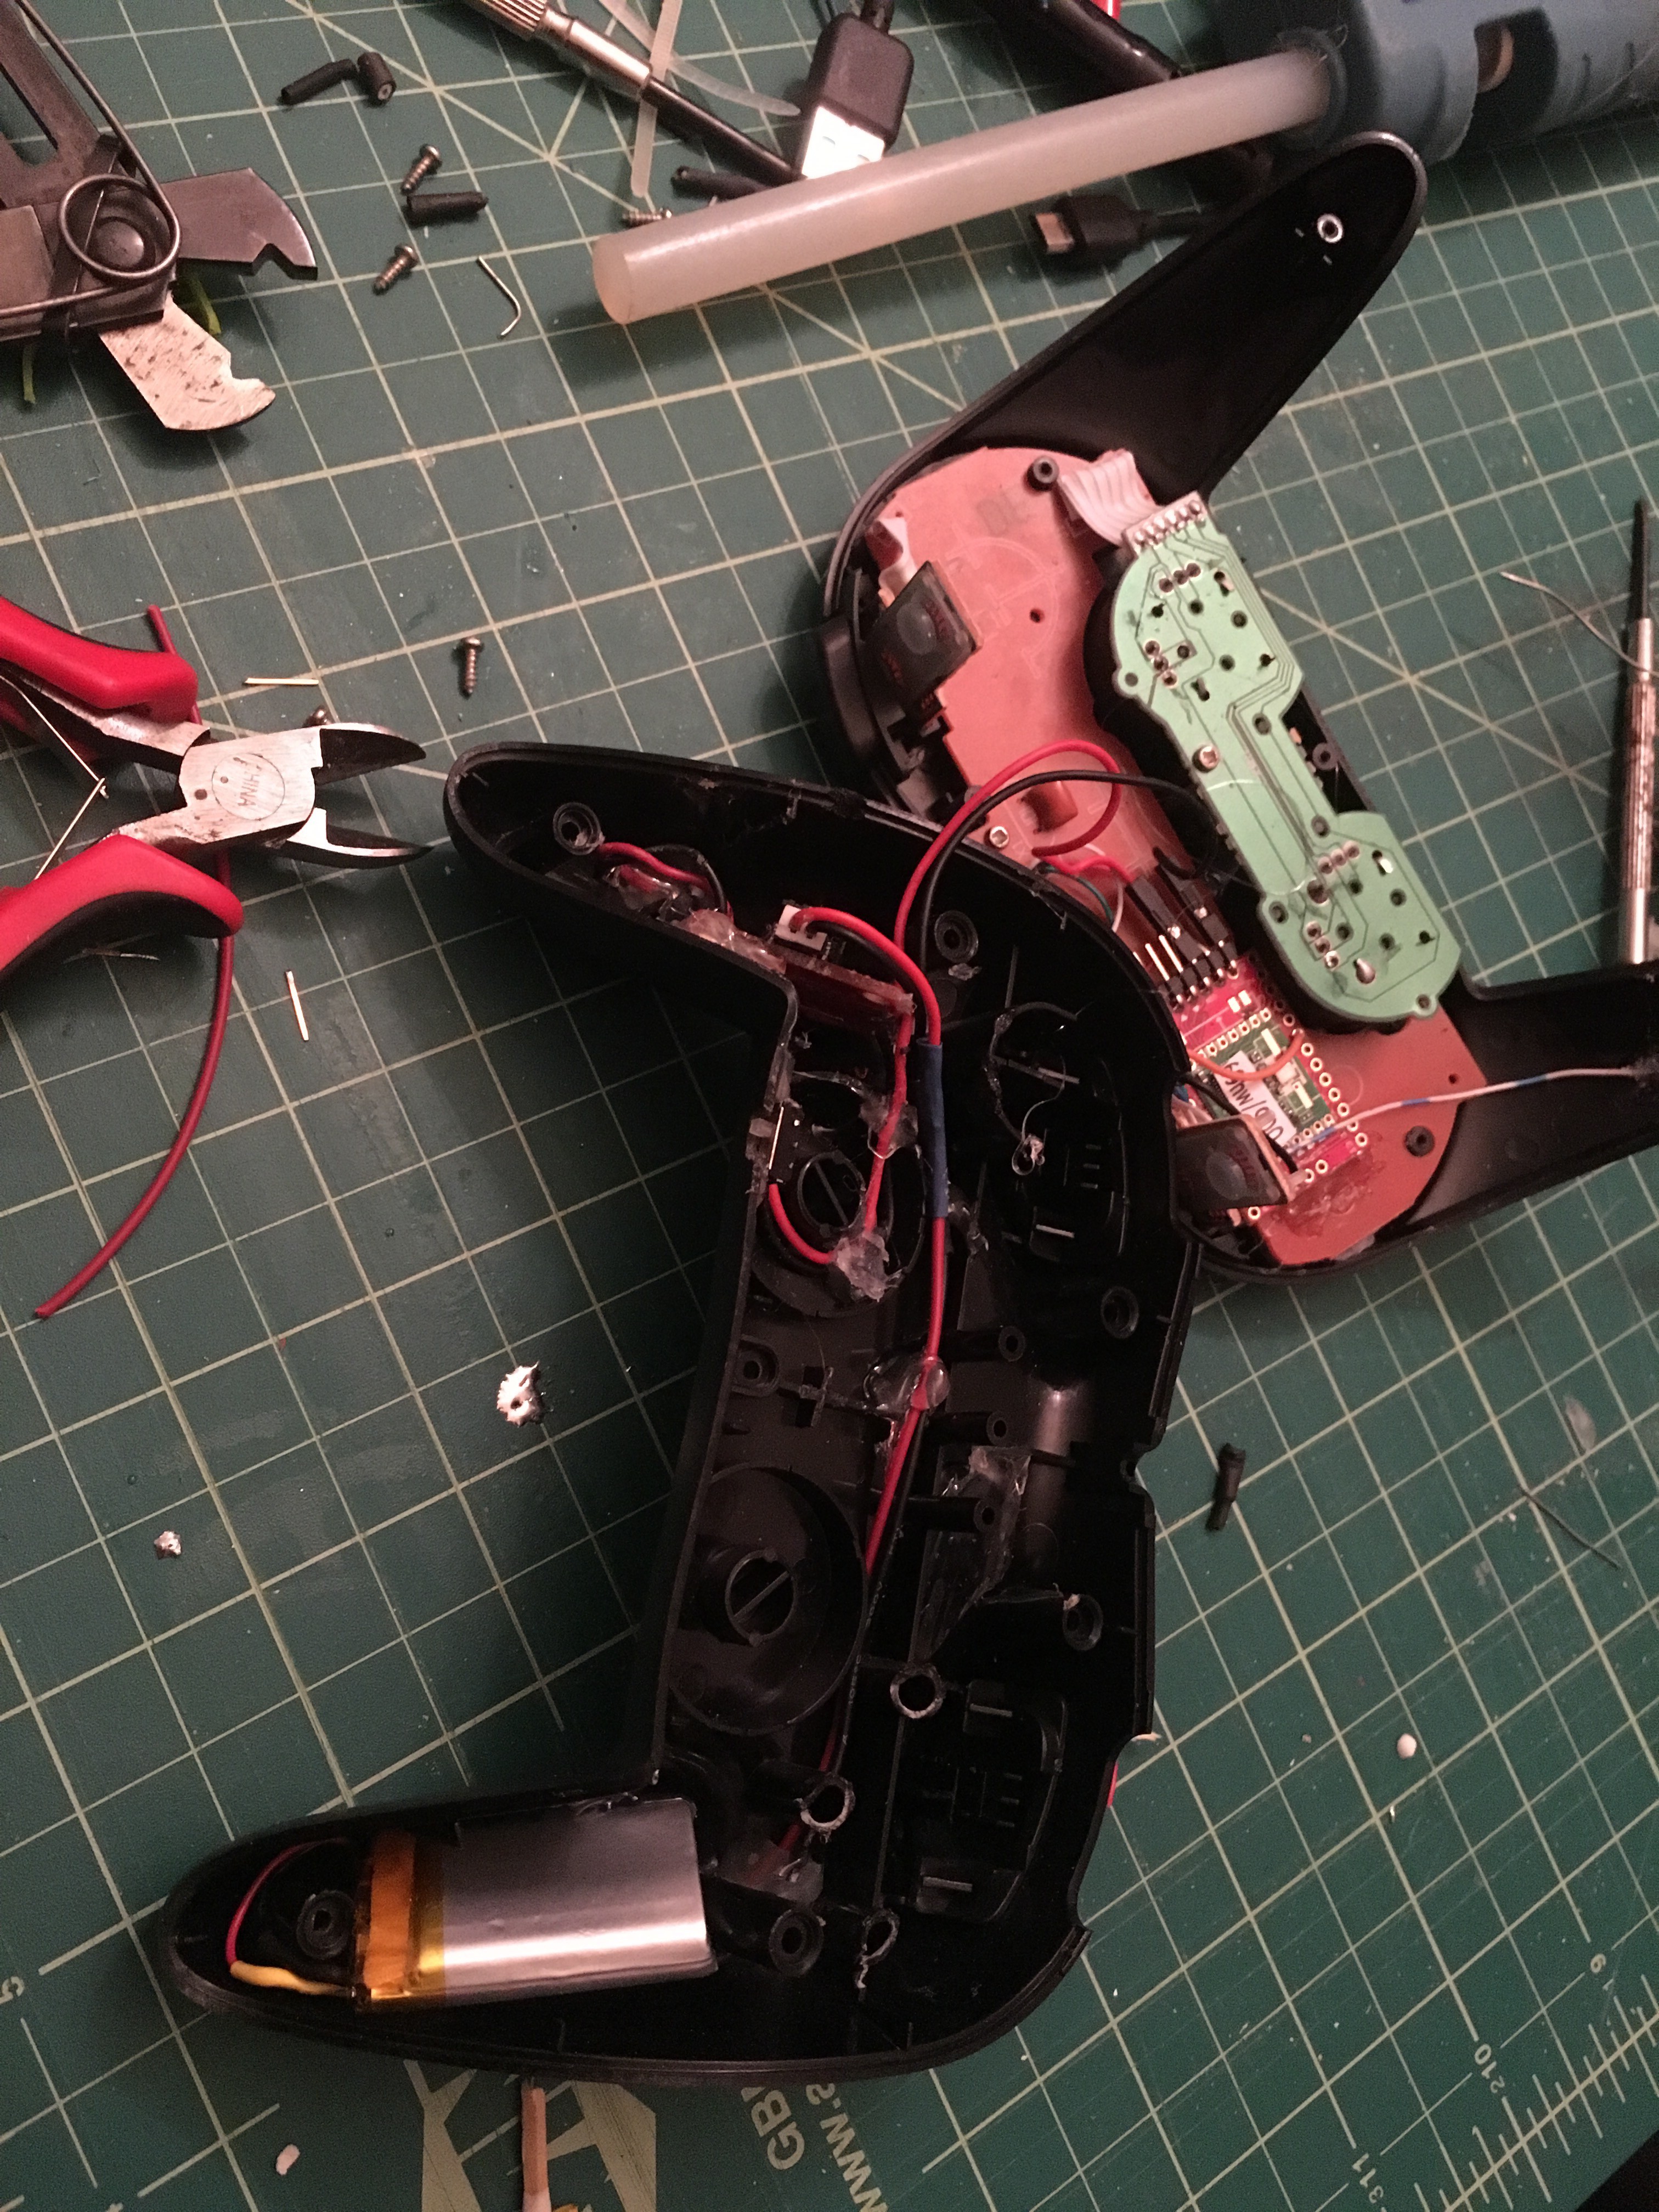
Updating the code in the Teensy is no more troublesome than it ever was, but I'm finding it really frustrating now that I've got wireless programming for the base controller and the one in the remote. I didn't have to open either to implement the new protocol, which is amazingly convenient. But I did decide that I should open up the remote "one last time" (here's hoping this really is the last time; I hate packing it back up) so that I could upgrade its battery. I noticed that the 110mAh LiPo was drained after leaving the remote sitting turned on for an hour or two, which seemed far too short to me. So I upgraded that to a 400mAh battery, which should be sufficient until I start coding low-power mode for the remote:
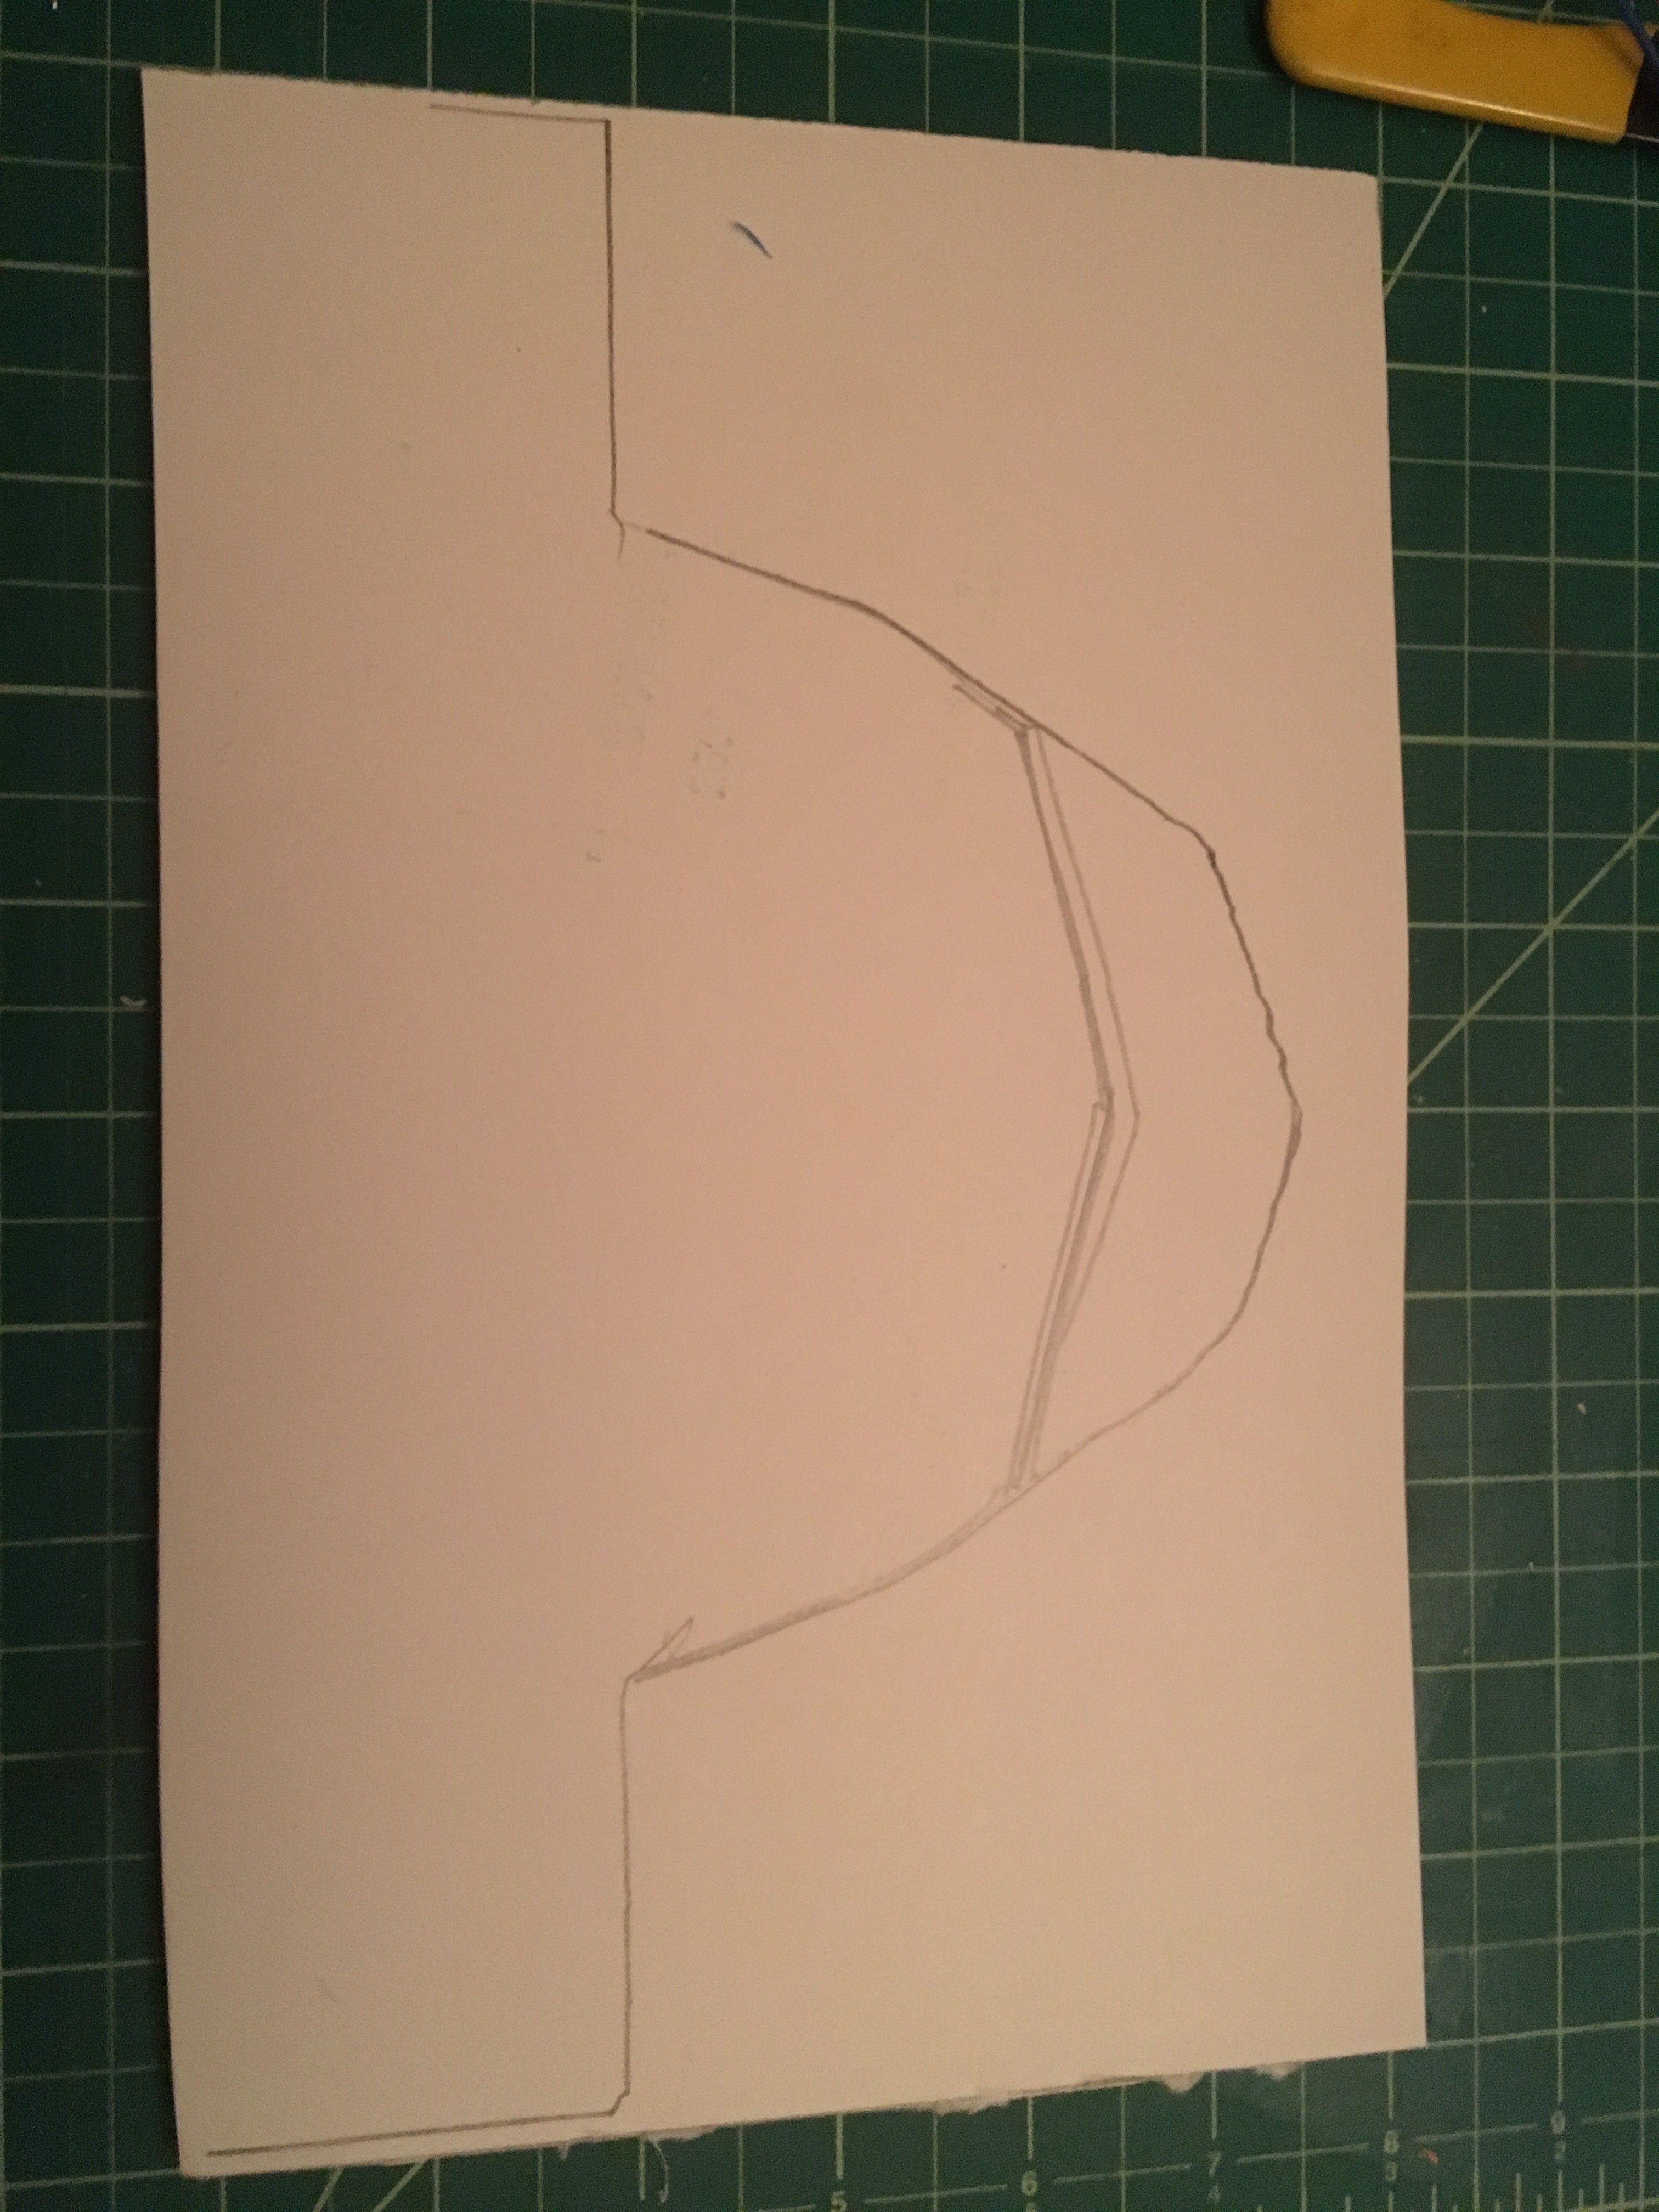
Next up: I want to mount the motor base to the bottom of the model! To do that I need a new block of wood on the motor base that both aligns it with the model and gives me a place to mount a butterfly latch. First, templating out of foam core:
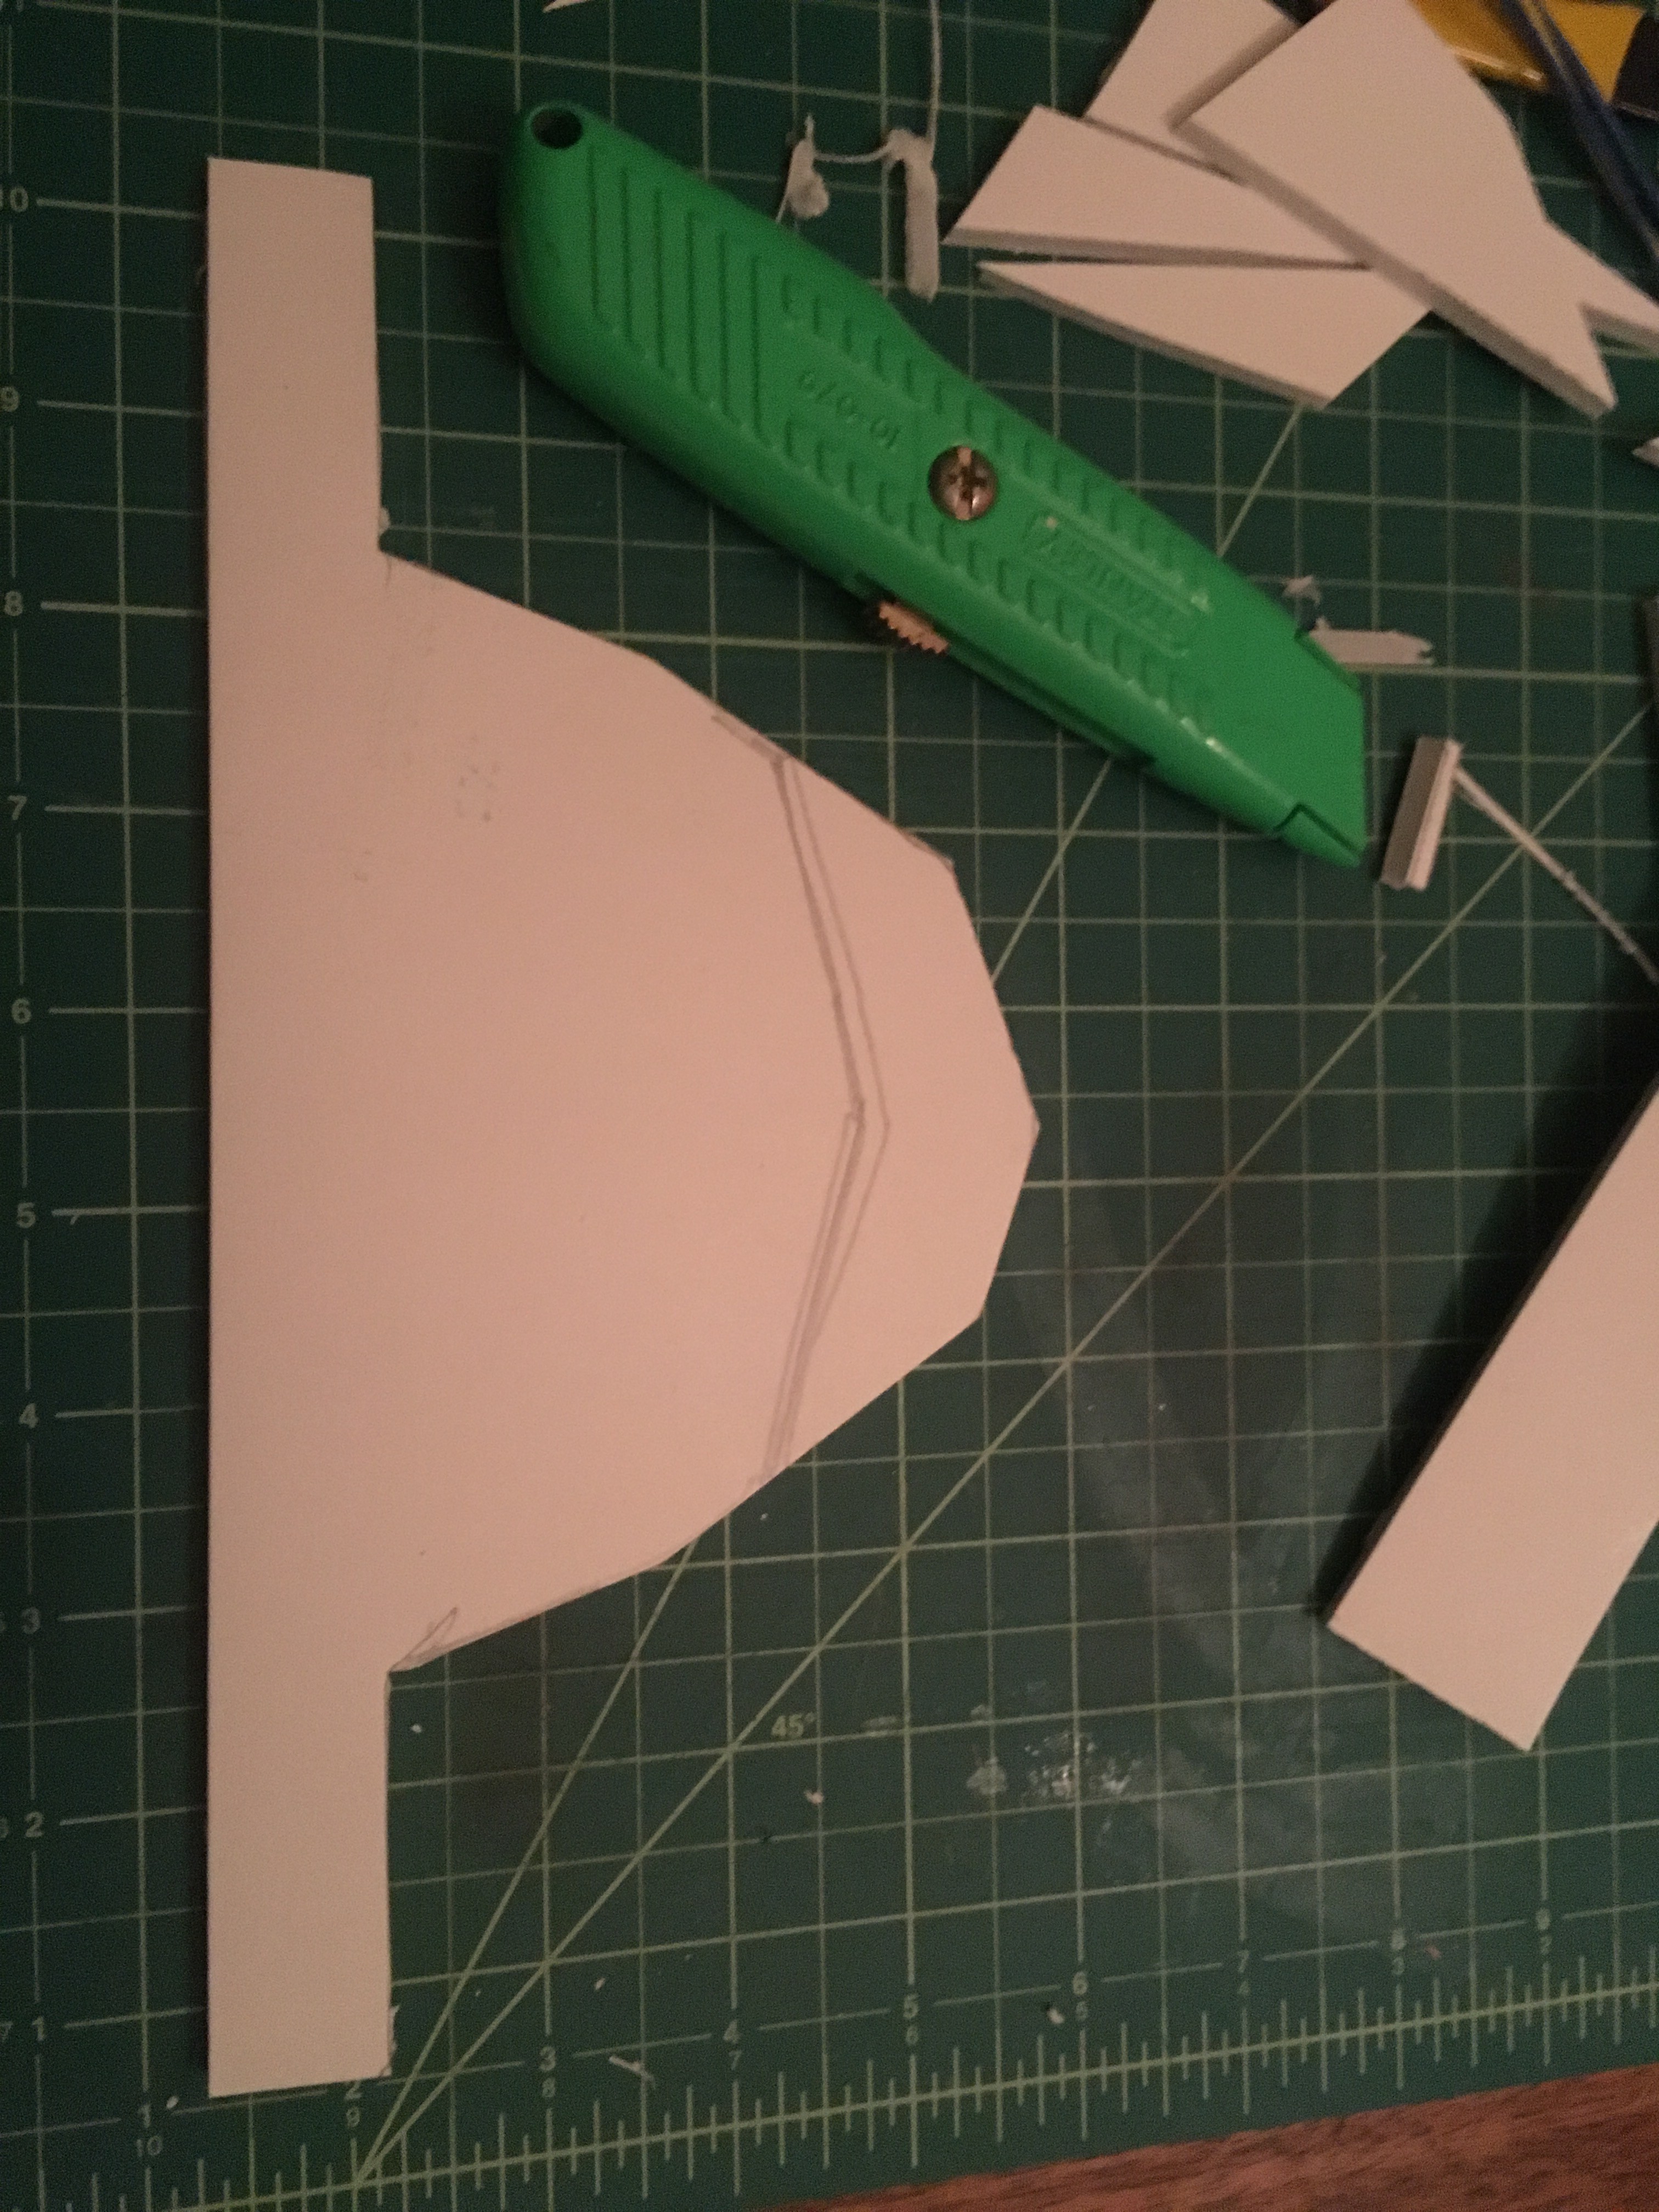
Cut it out:
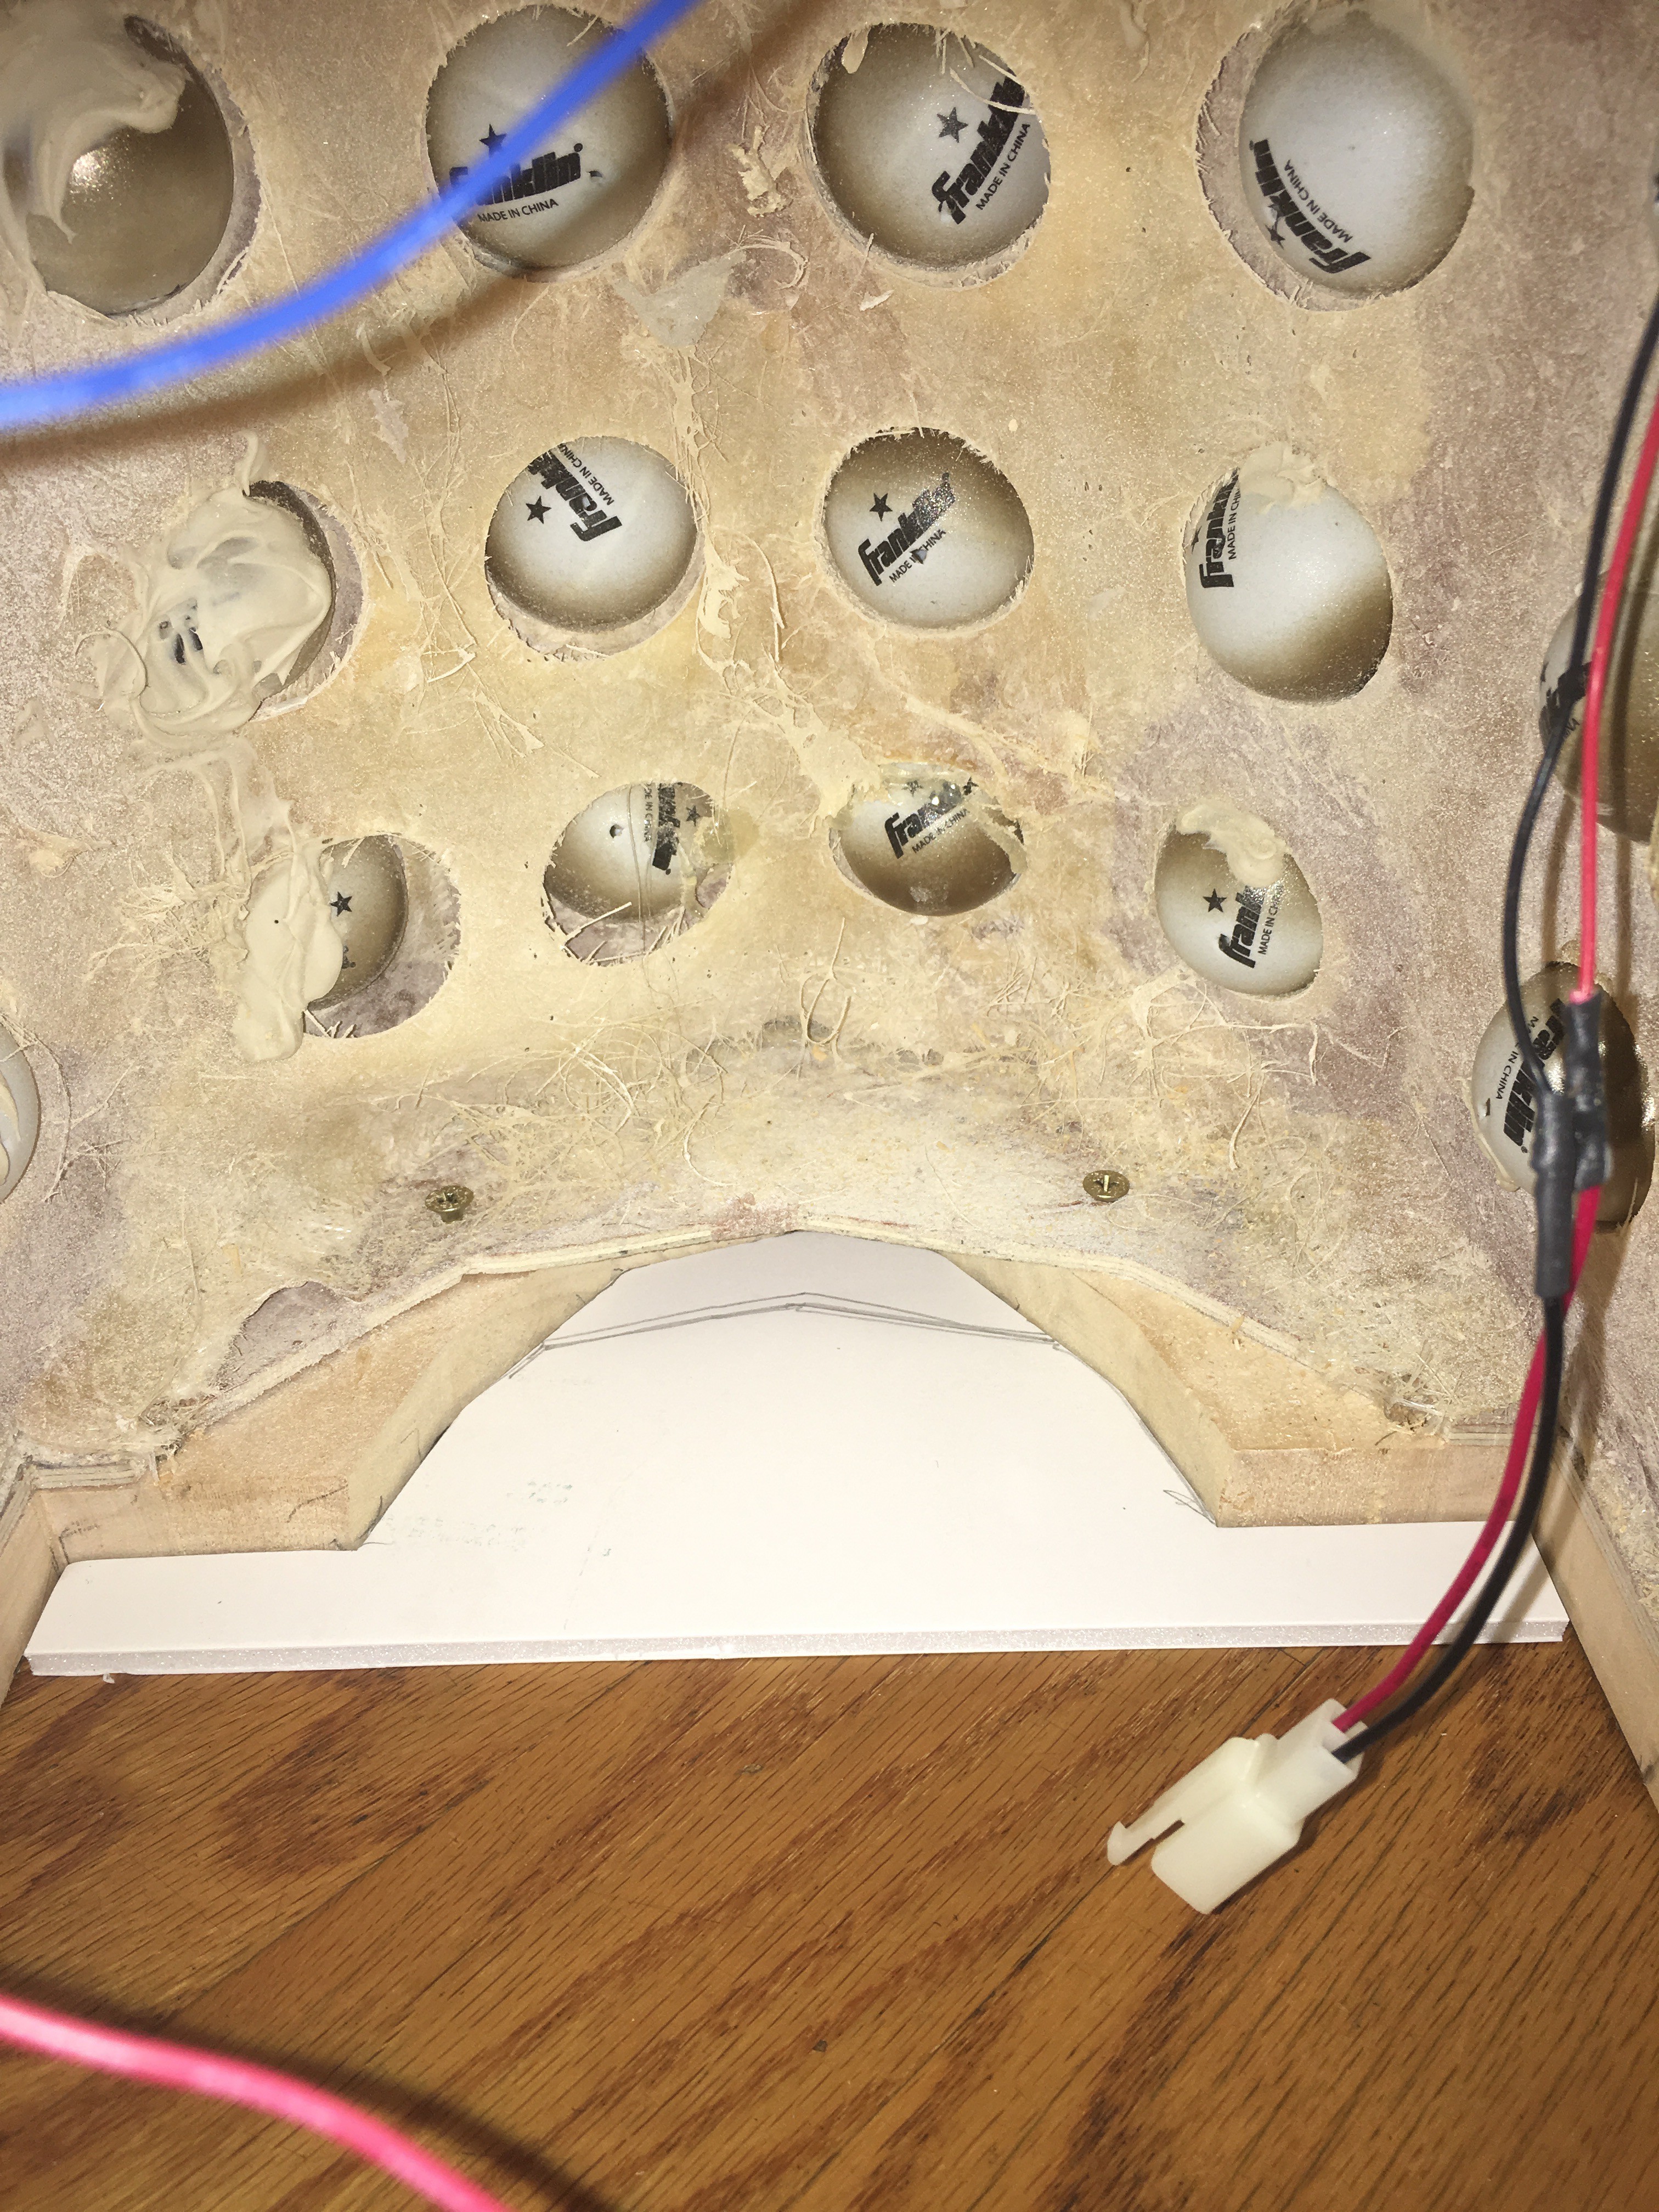
Test fit against the model:
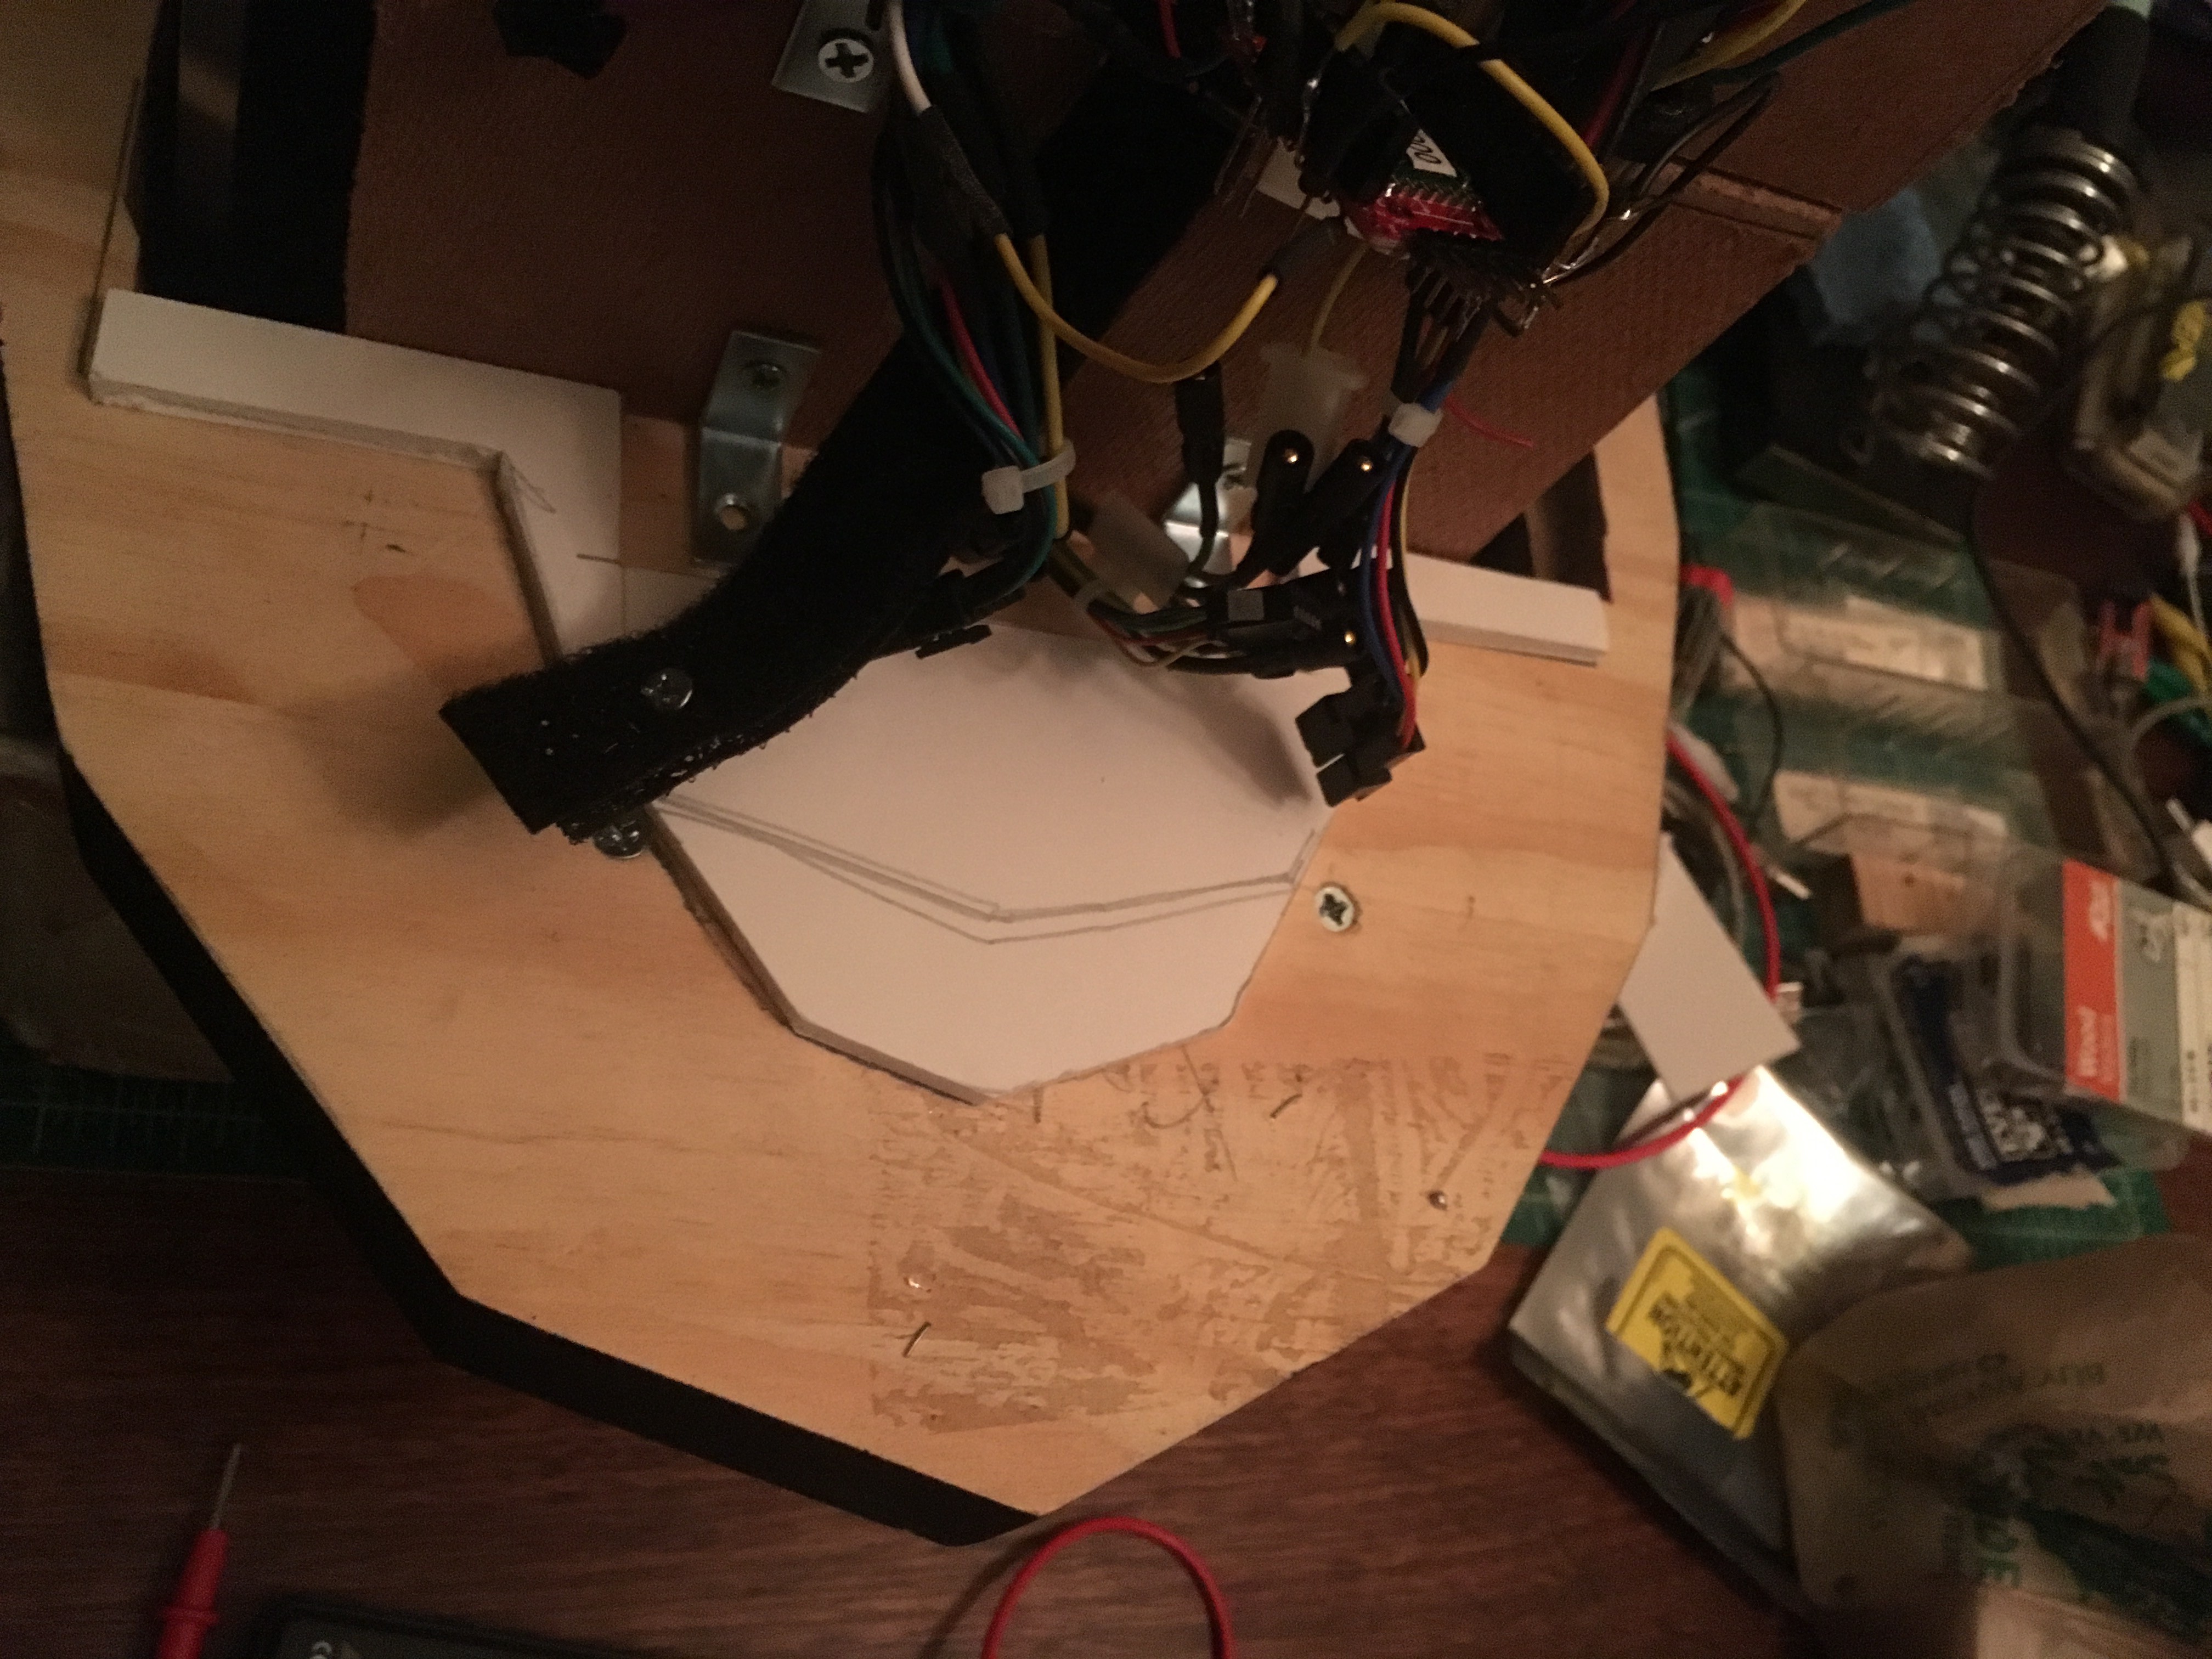
 Test fit against the motor base:

Realize there's no room for the angle brackets that hold on the motor controllers, so cut out another notch:

Put the electronics in place, and test fit again:
 Cut it out of wood, attach it, and add a butterfly latch:
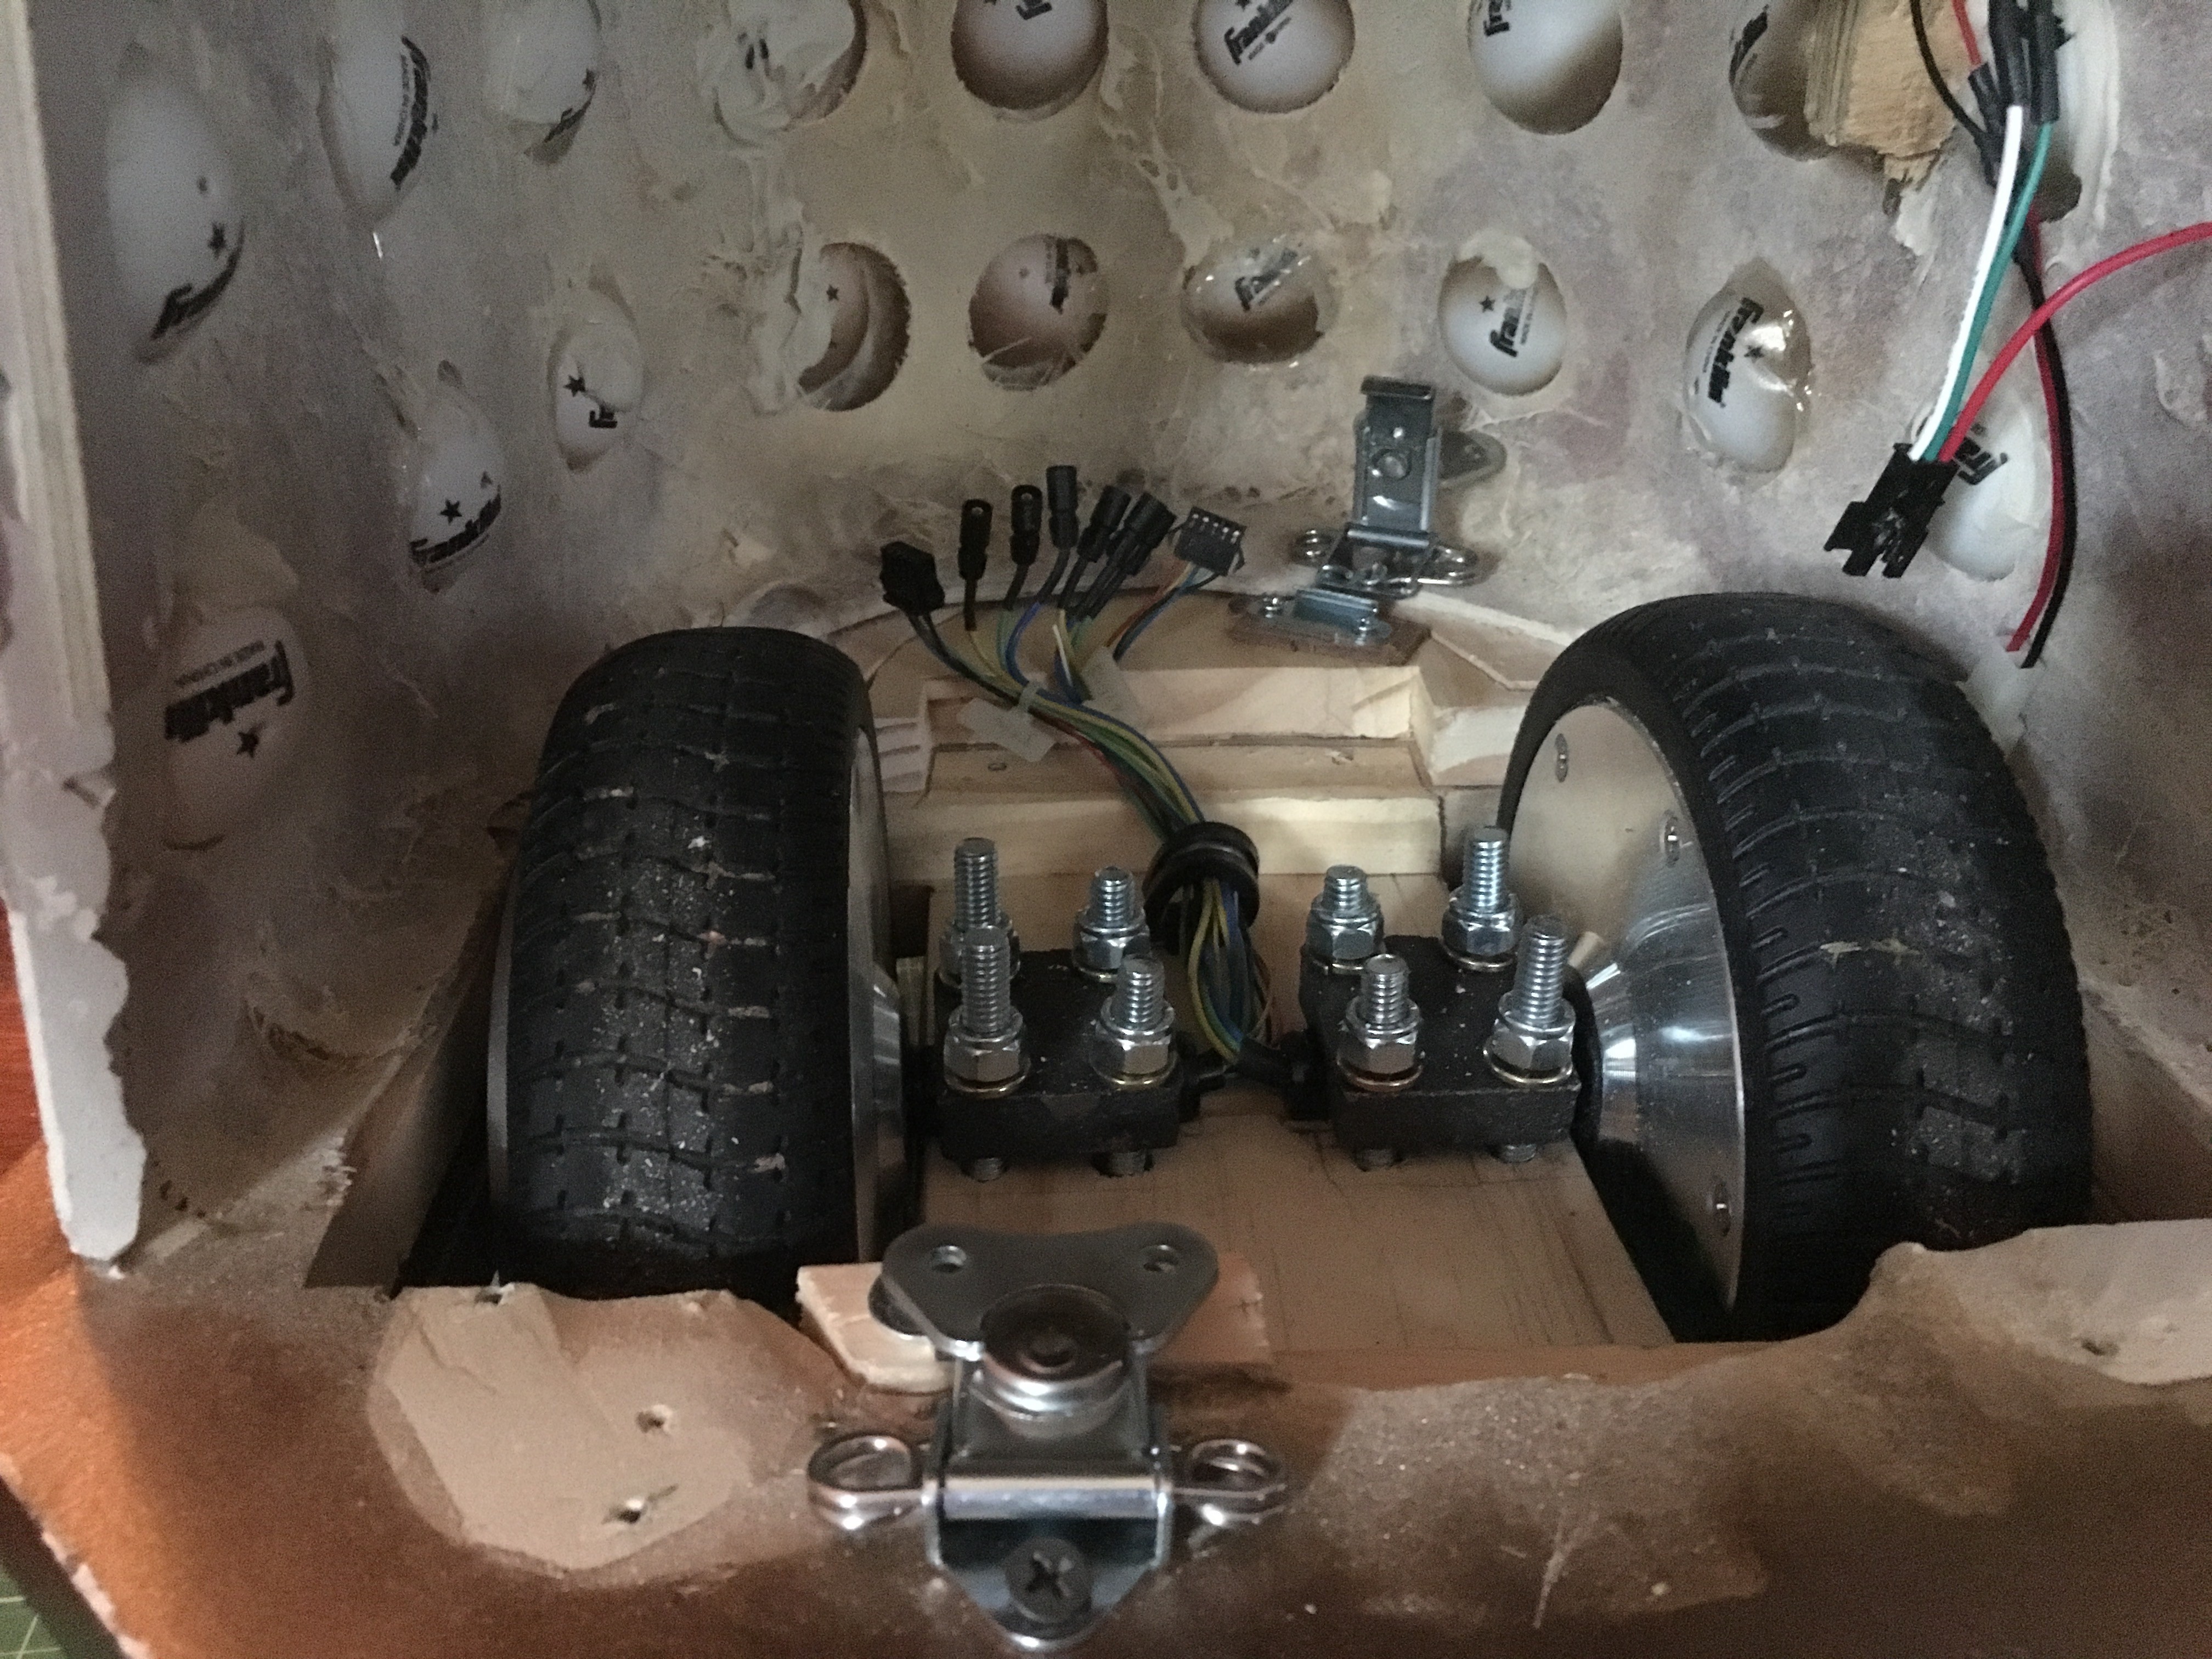
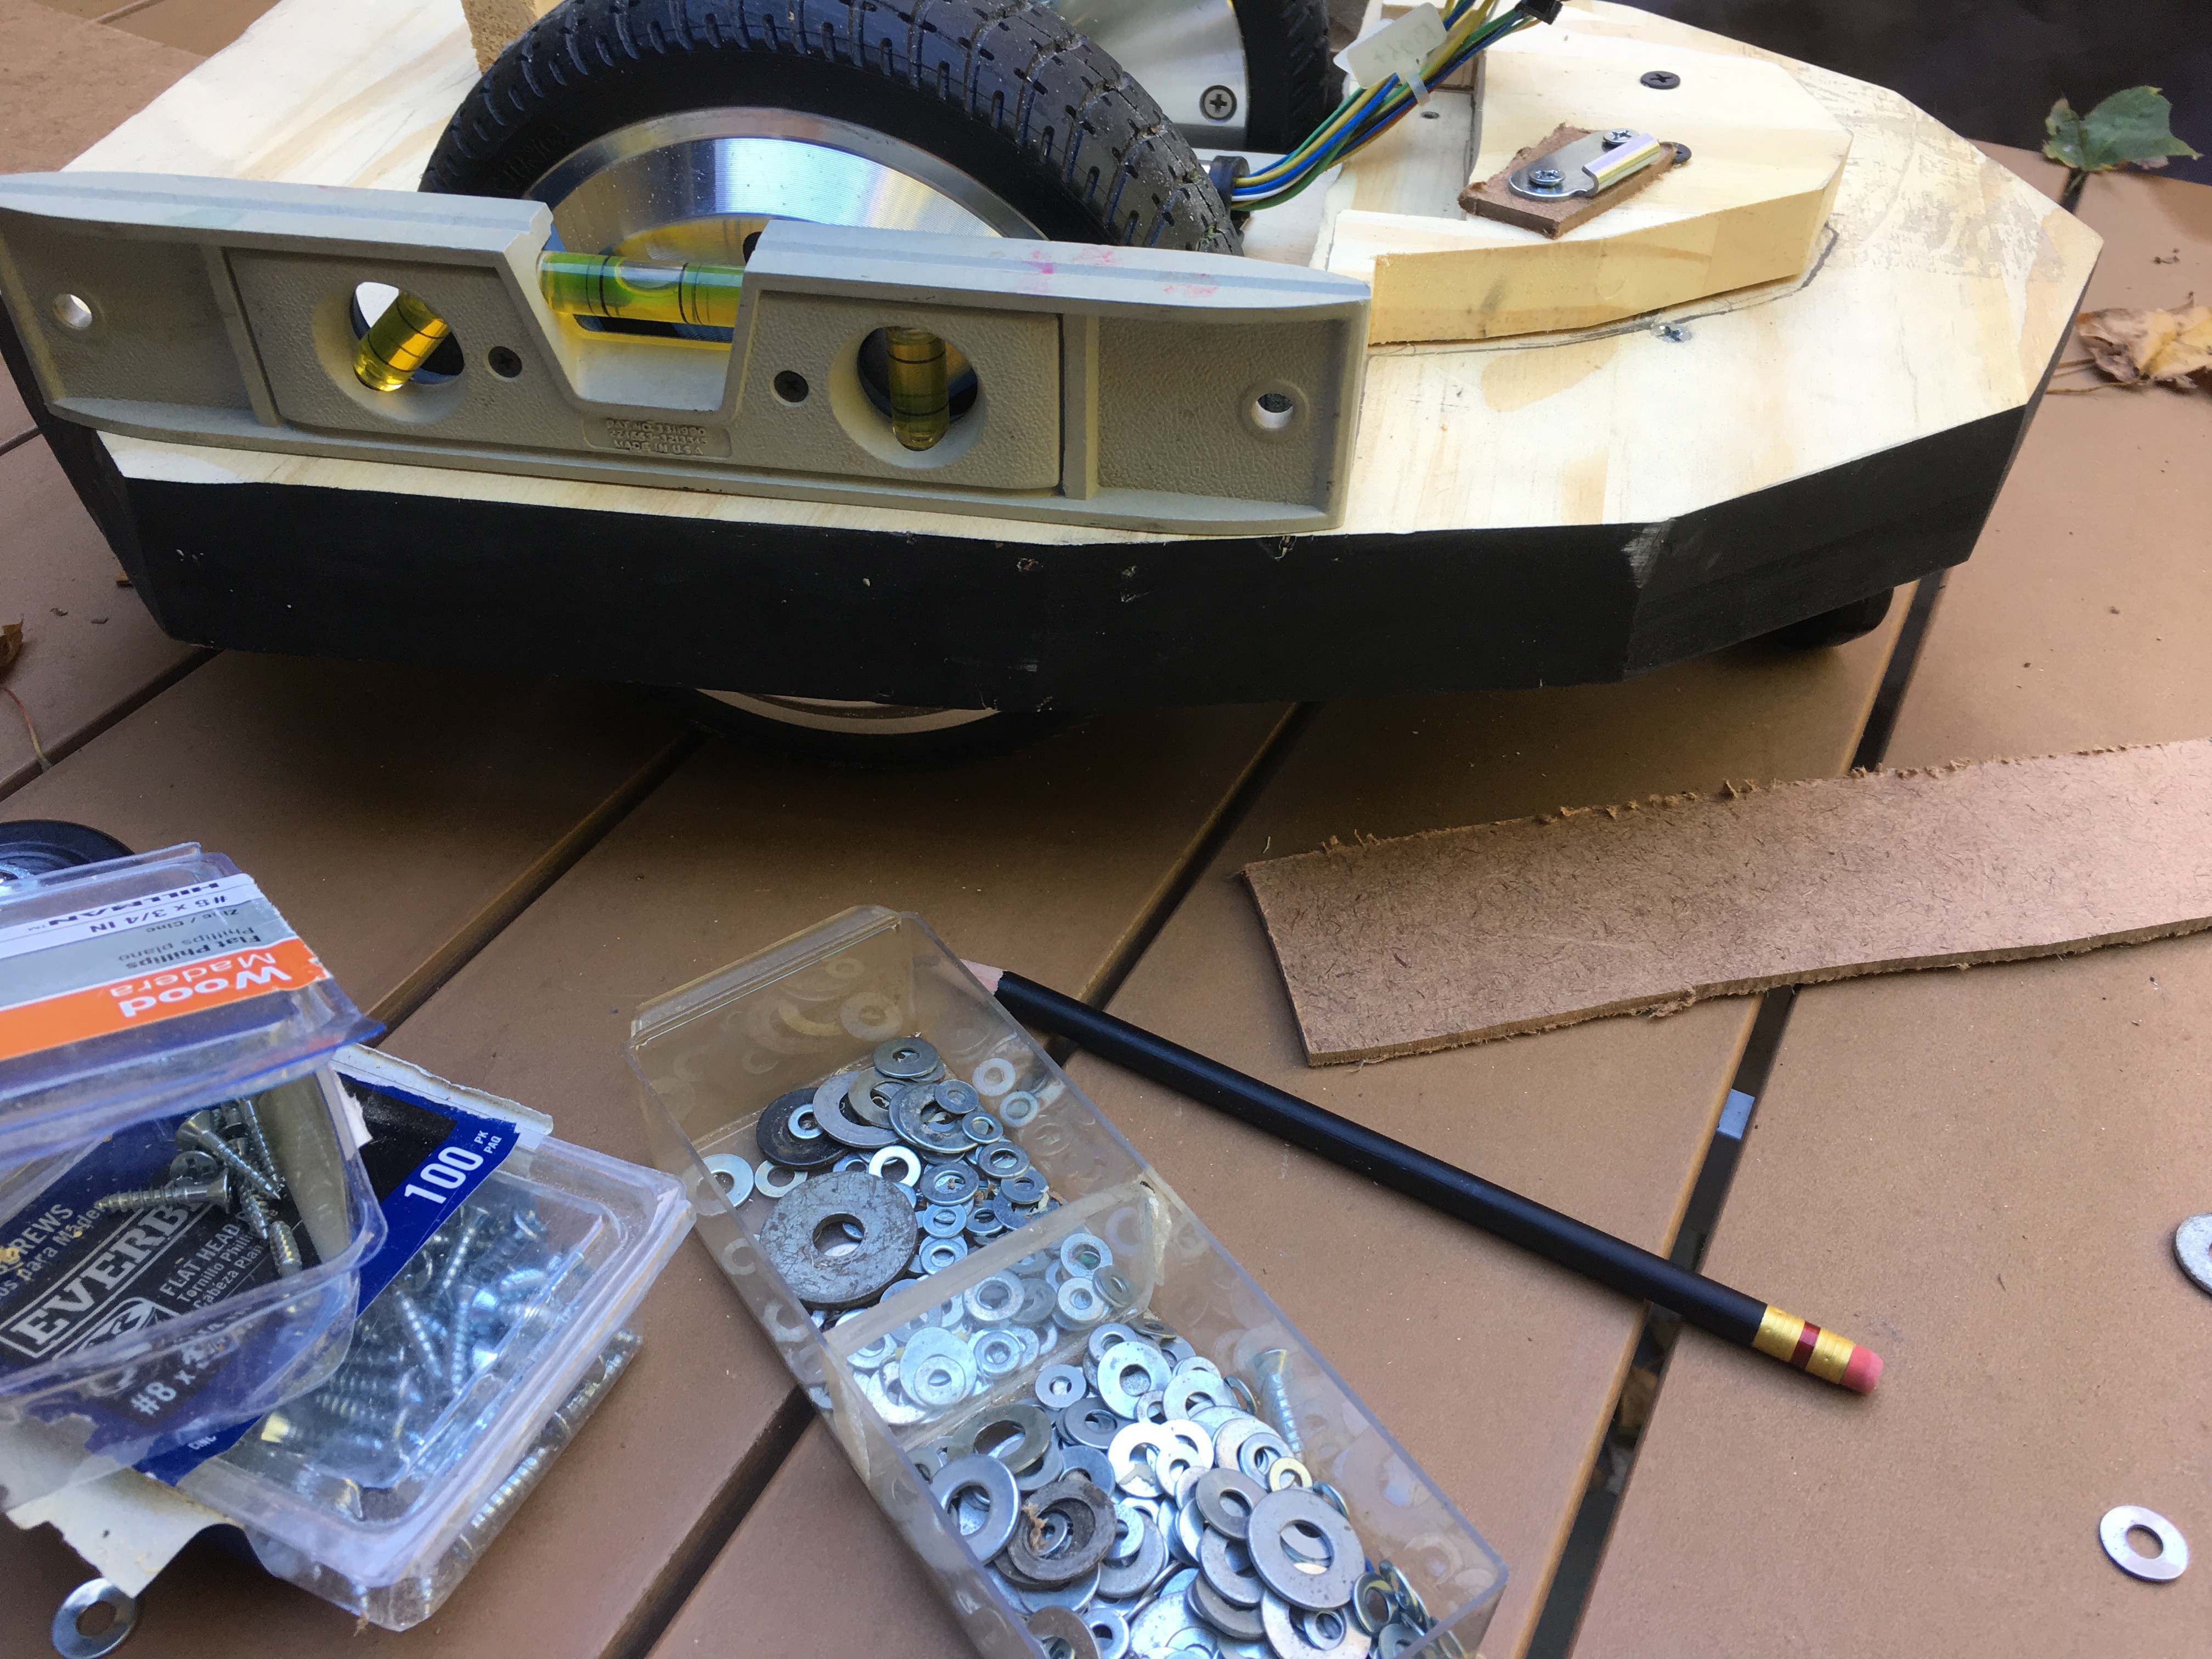
Shortly after this is when I put the whole thing together and drove it around - just to have it fall over. The damage wasn't too bad, but I did have to touch-up paint quite a bit of one side. Bob also had a short showing at a friend's party this weekend, and he coped well with driving on anything except carpet. On the carpet he bucked badly and nearly tipped over backward several times; I moved the rear caster back as far as I could to compensate.
So let's recap. Where does this year's rebuild sit right now?
I've got the new drive system that I wanted. The controls need programmatic work; it's difficult to turn, in particular, and sometimes it seems to get stuck in reverse (Go Forward! it goes back. Okay, sit for a moment... then Forward! No, still back. Whaaaa?) but it's good enough that I can drive it with some difficulty.
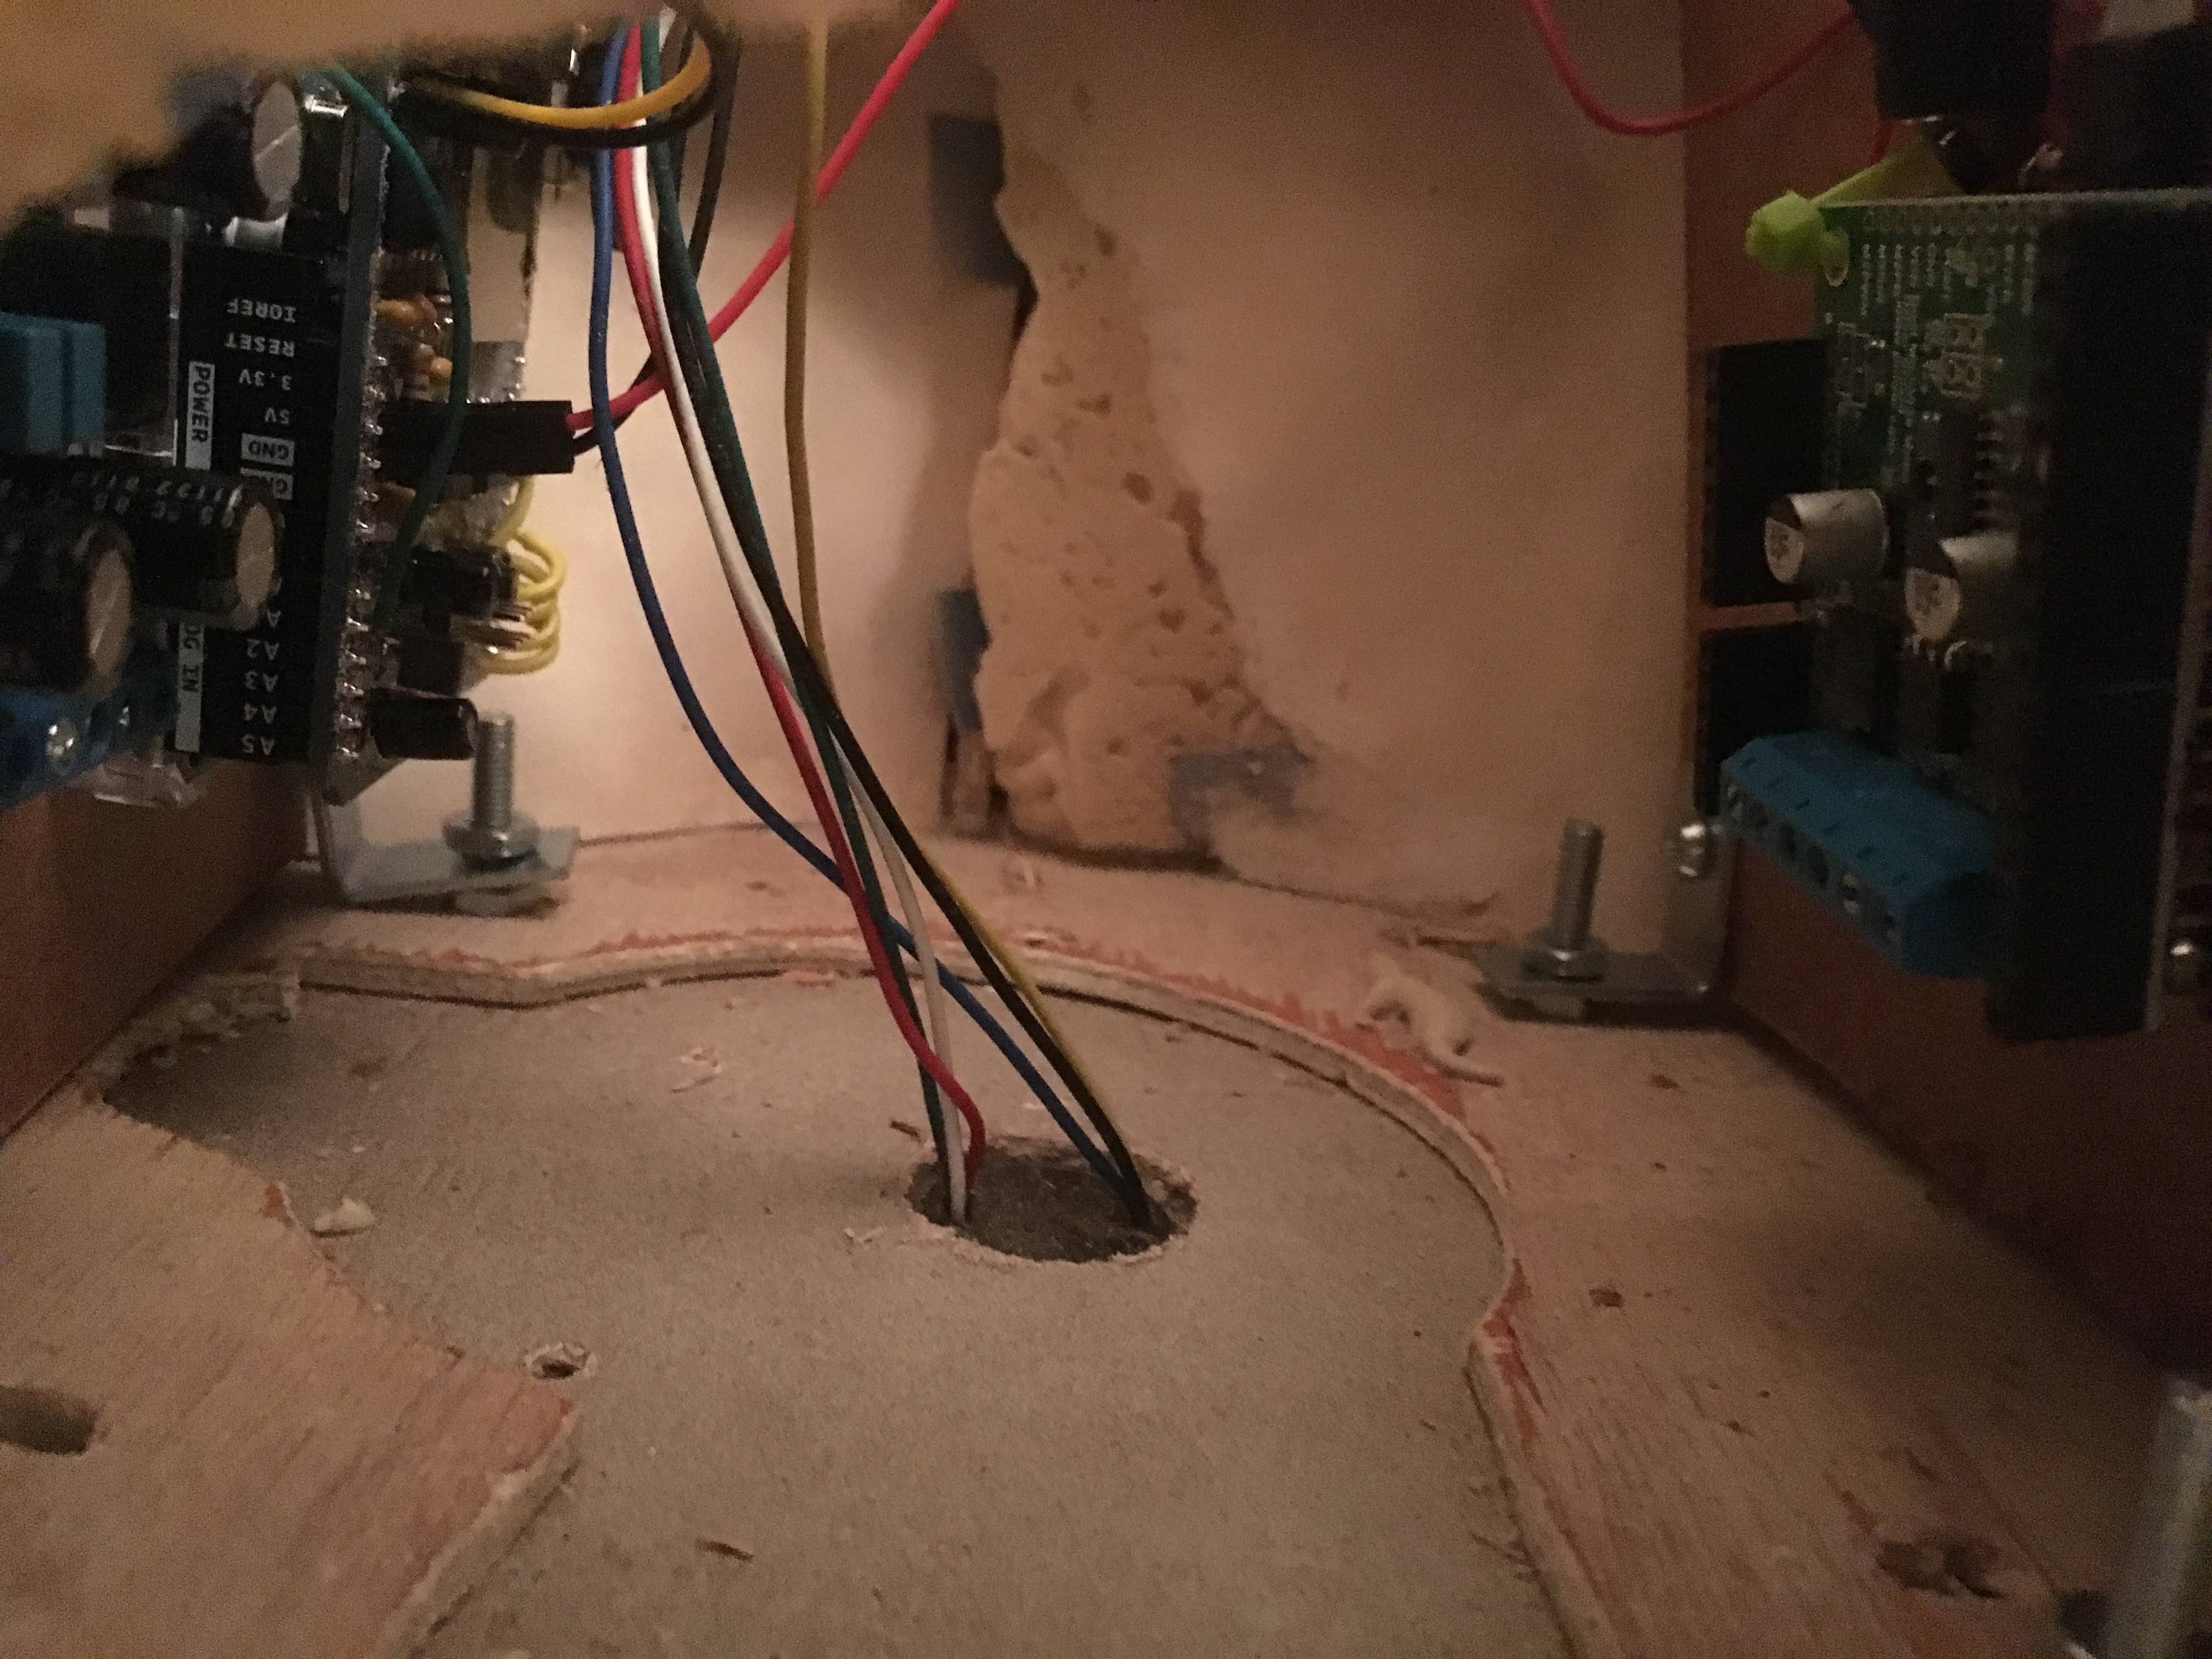
The wiring is cleaned up substantially, in both the base and the head.
The audio system now has live-audio mode in addition to wav-playback mode.
Still sitting to do:
- I have a motor for the gun stalk which I'm going to skip this year. To mount it successfully I have to recast part of the gun box, and I'm not feeling like there's enough time.
- I want the gun to "fire" smoke. I haven't done this yet, but I have most of the parts.
- The shipping box that I made for Bob needs to be re-foamed, now that he's a different height.
- I want to paint the shipping box. Right now it's a beautiful shade of primer.
- The sound system is difficult to hear when the head is assembled. There aren't any holes permitting the sound out, really. (I've got a plan that's partially enacted, but I'll talk about that later.)
- I've added a voltage divider off the power line to the main drive Arduino's analog input so that I can get a warning when the battery is running low. I need to figure out how to do that, though.
Getting close! If I had to leave today, I would at least have something to show...
Discussions
Become a Hackaday.io Member
Create an account to leave a comment. Already have an account? Log In.