 ken.do
Next-level multicopter/robot controller designed to more fully emulate hands-on control of a remote driving or object manipulation experience while keeping the display at a consistent orientation regardless of controller orientation.
The dimensions in which the controller can move include:
Rotational (clockwise/counter clockwise) like a steering wheel
Pitch (forward/backward)
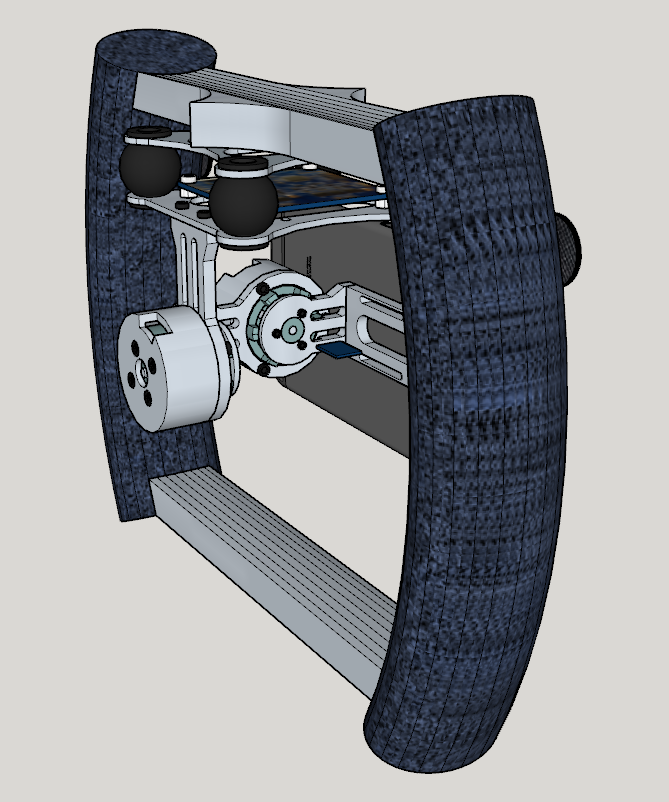
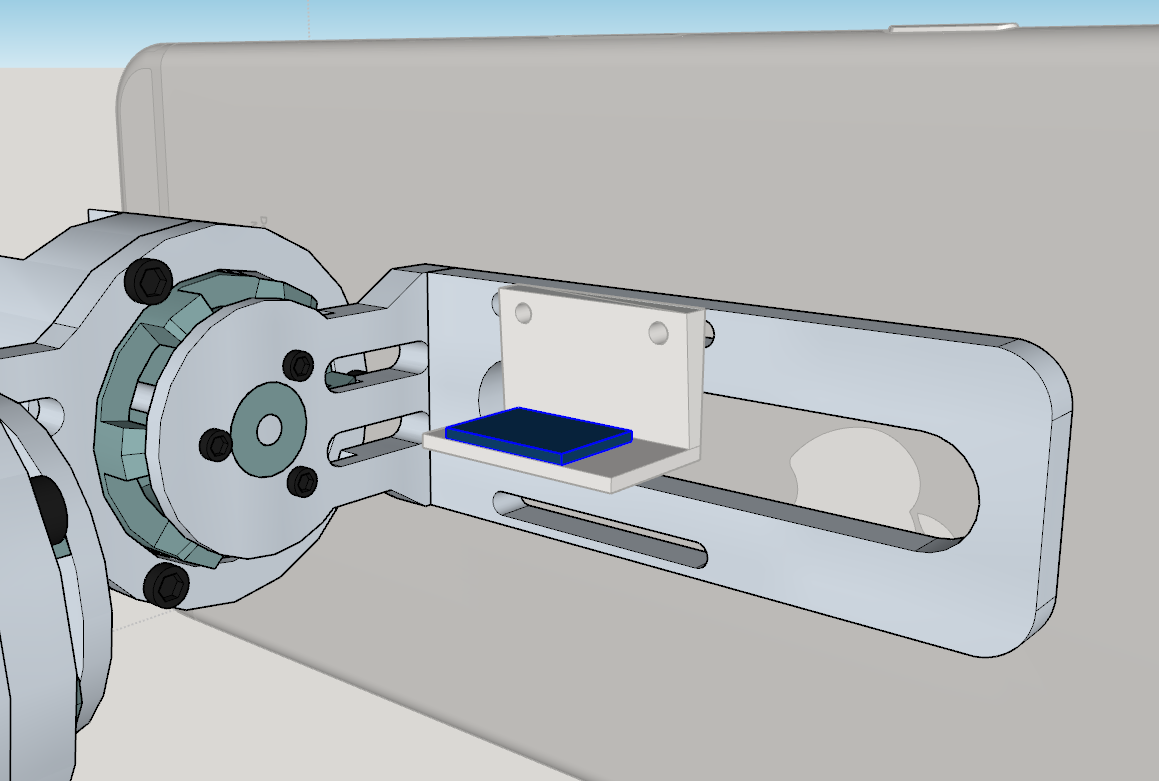
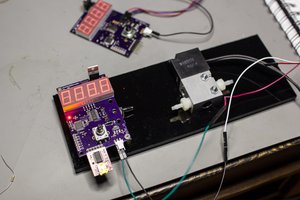
These dimensional changes are registered with the onboard gyro of the gimbal controller. If this gyro is not present, a cheap setup with the MPU6050 and an arduino nano provides the signal that controls the game/vehicle. Phone orientation is also registered in the same way. The phone is gimballed to the hub from which the grips extend.
Additionally, on each grip, a small thumb slider and at least one button allow for further control of target (robot/drone/game).
Grip structure relays positional info and other input to a microprocessor while the phone gimbal has its own processing board.
Both of these independent systems are powered by lipo battery.
 Sean Hodgins
 ByteTech
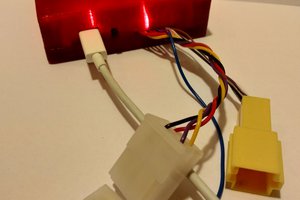
 Tomblarom