 M. Bindhammer
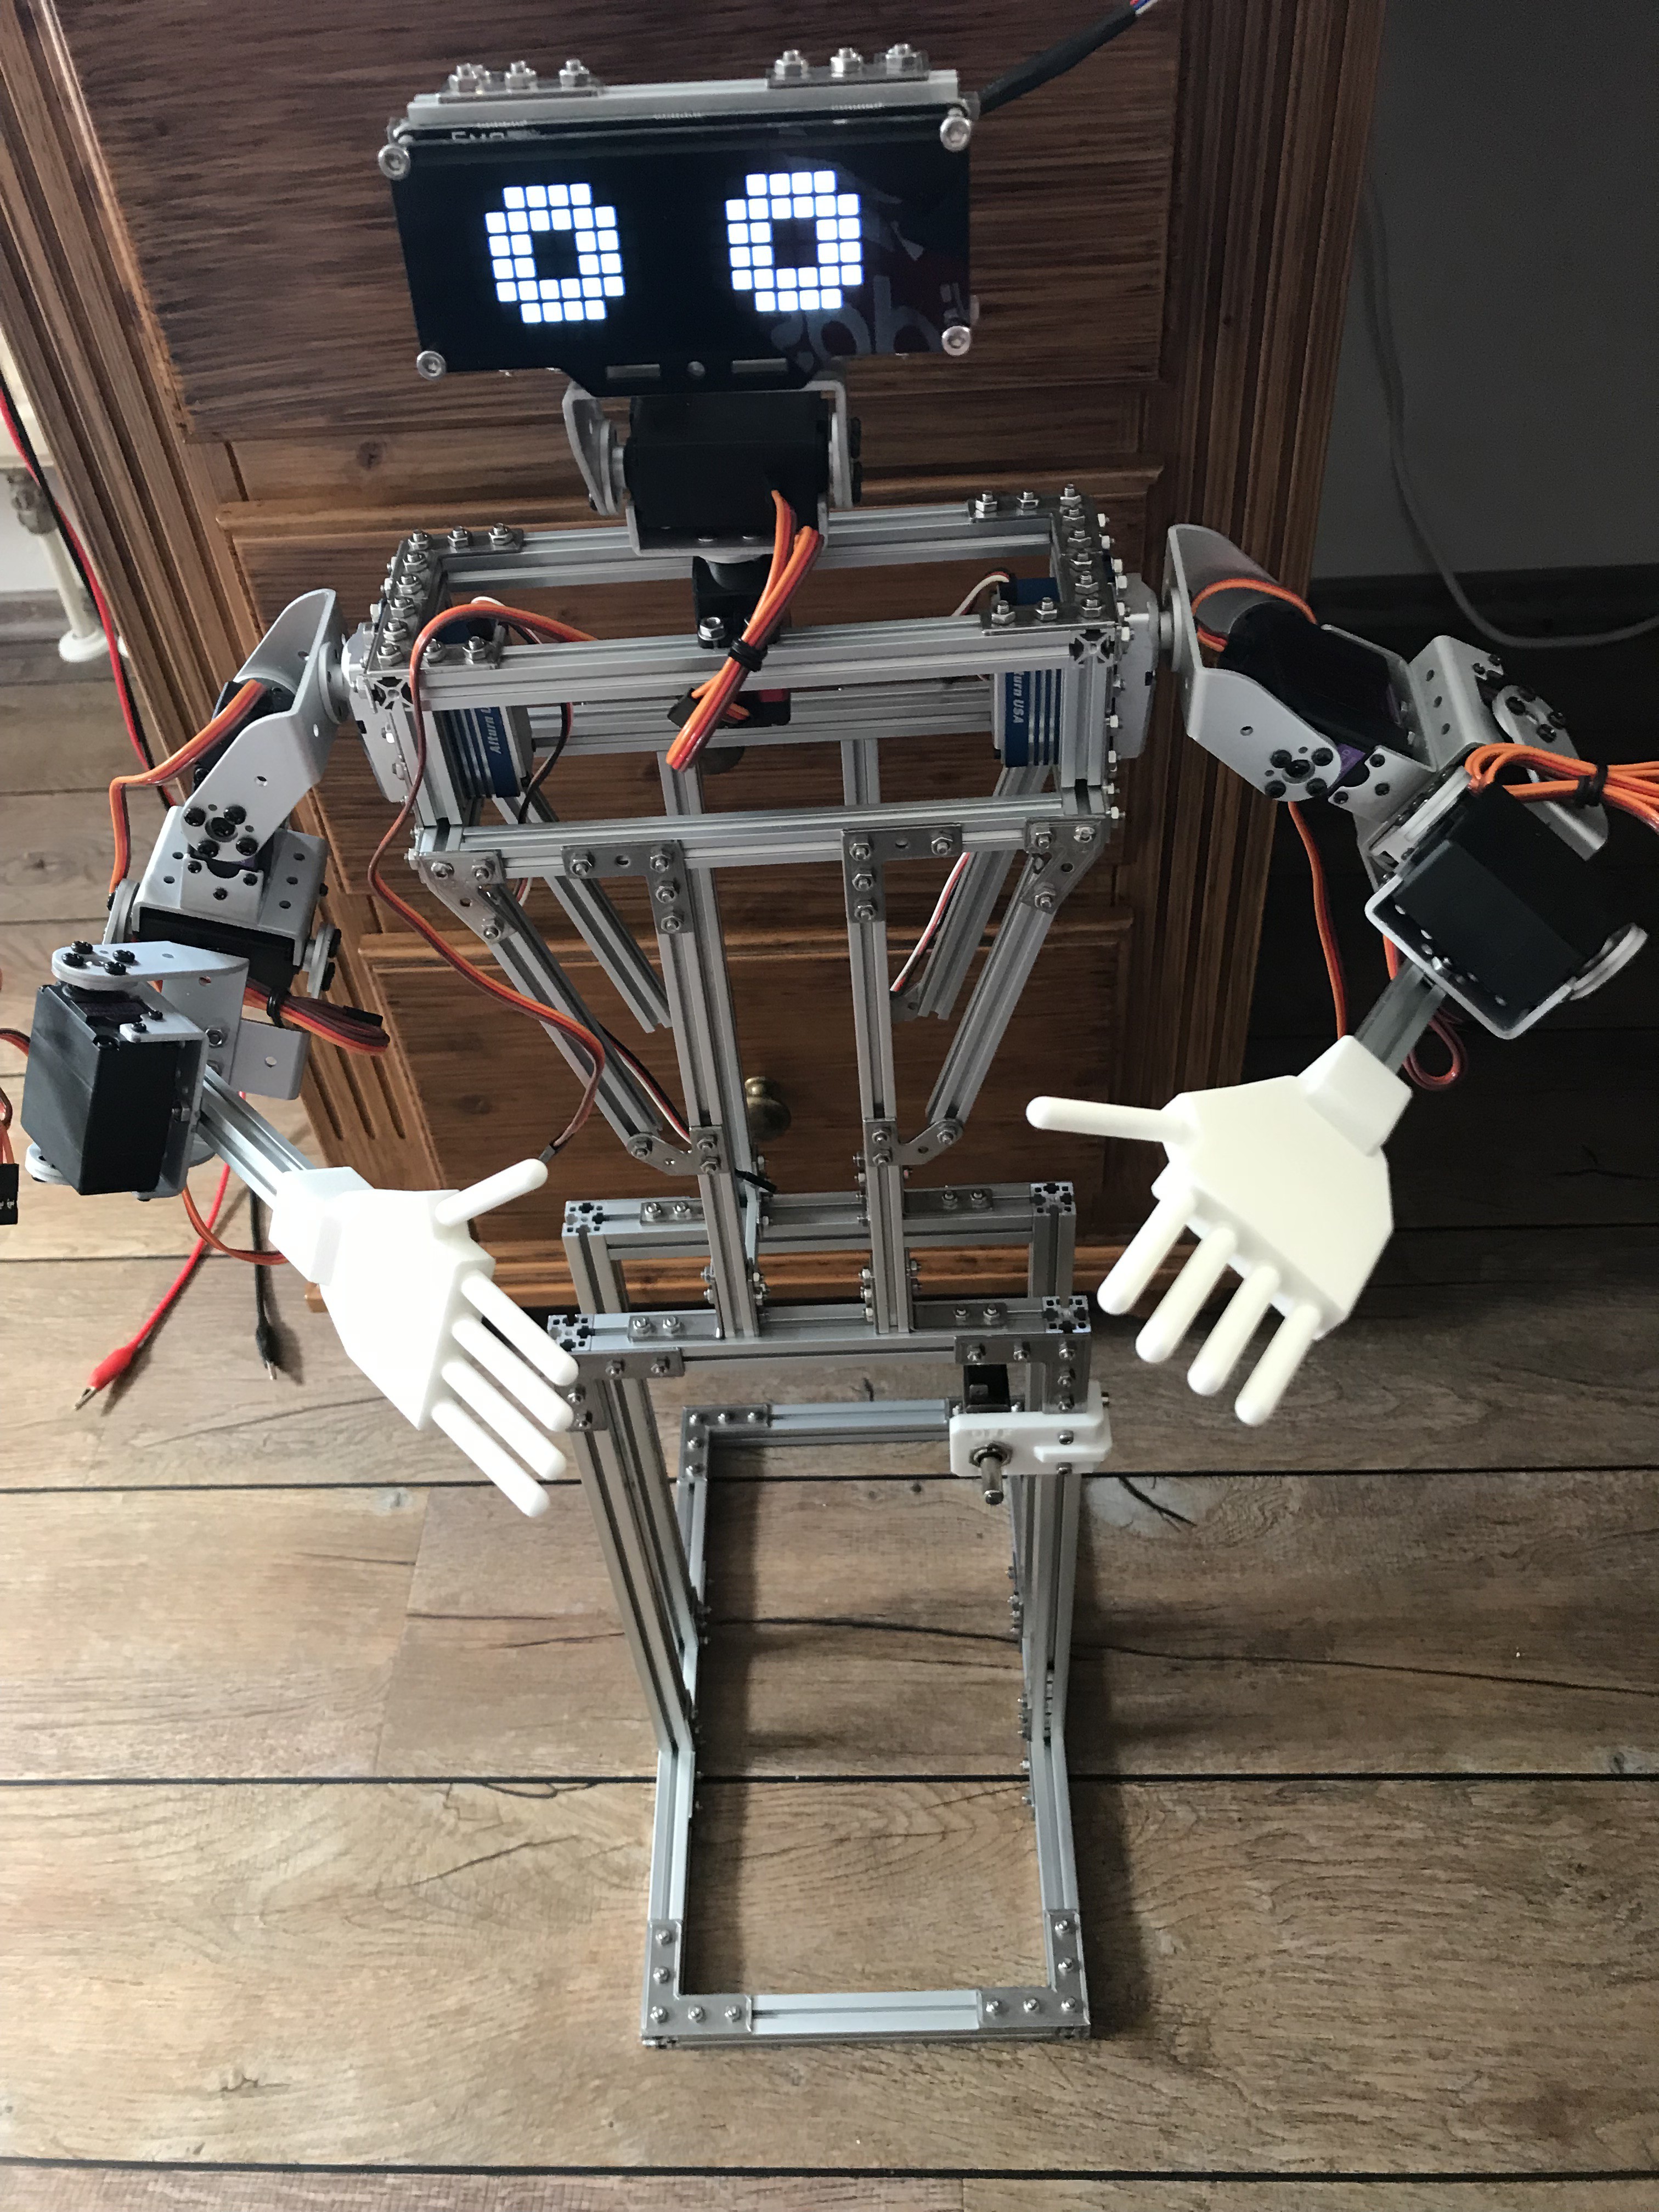
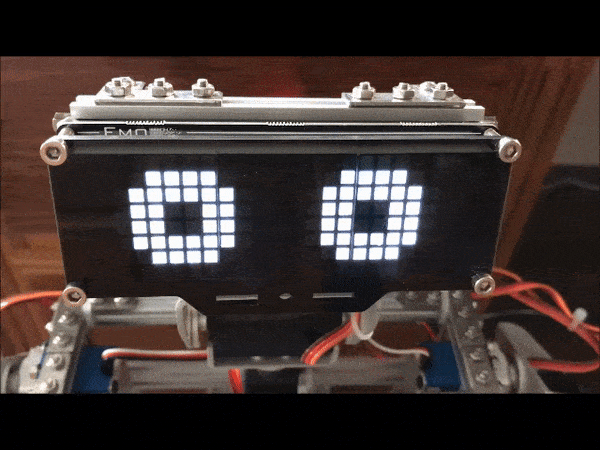
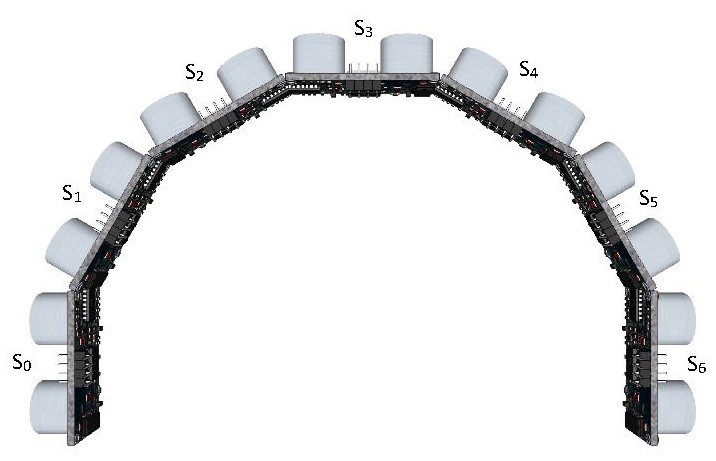
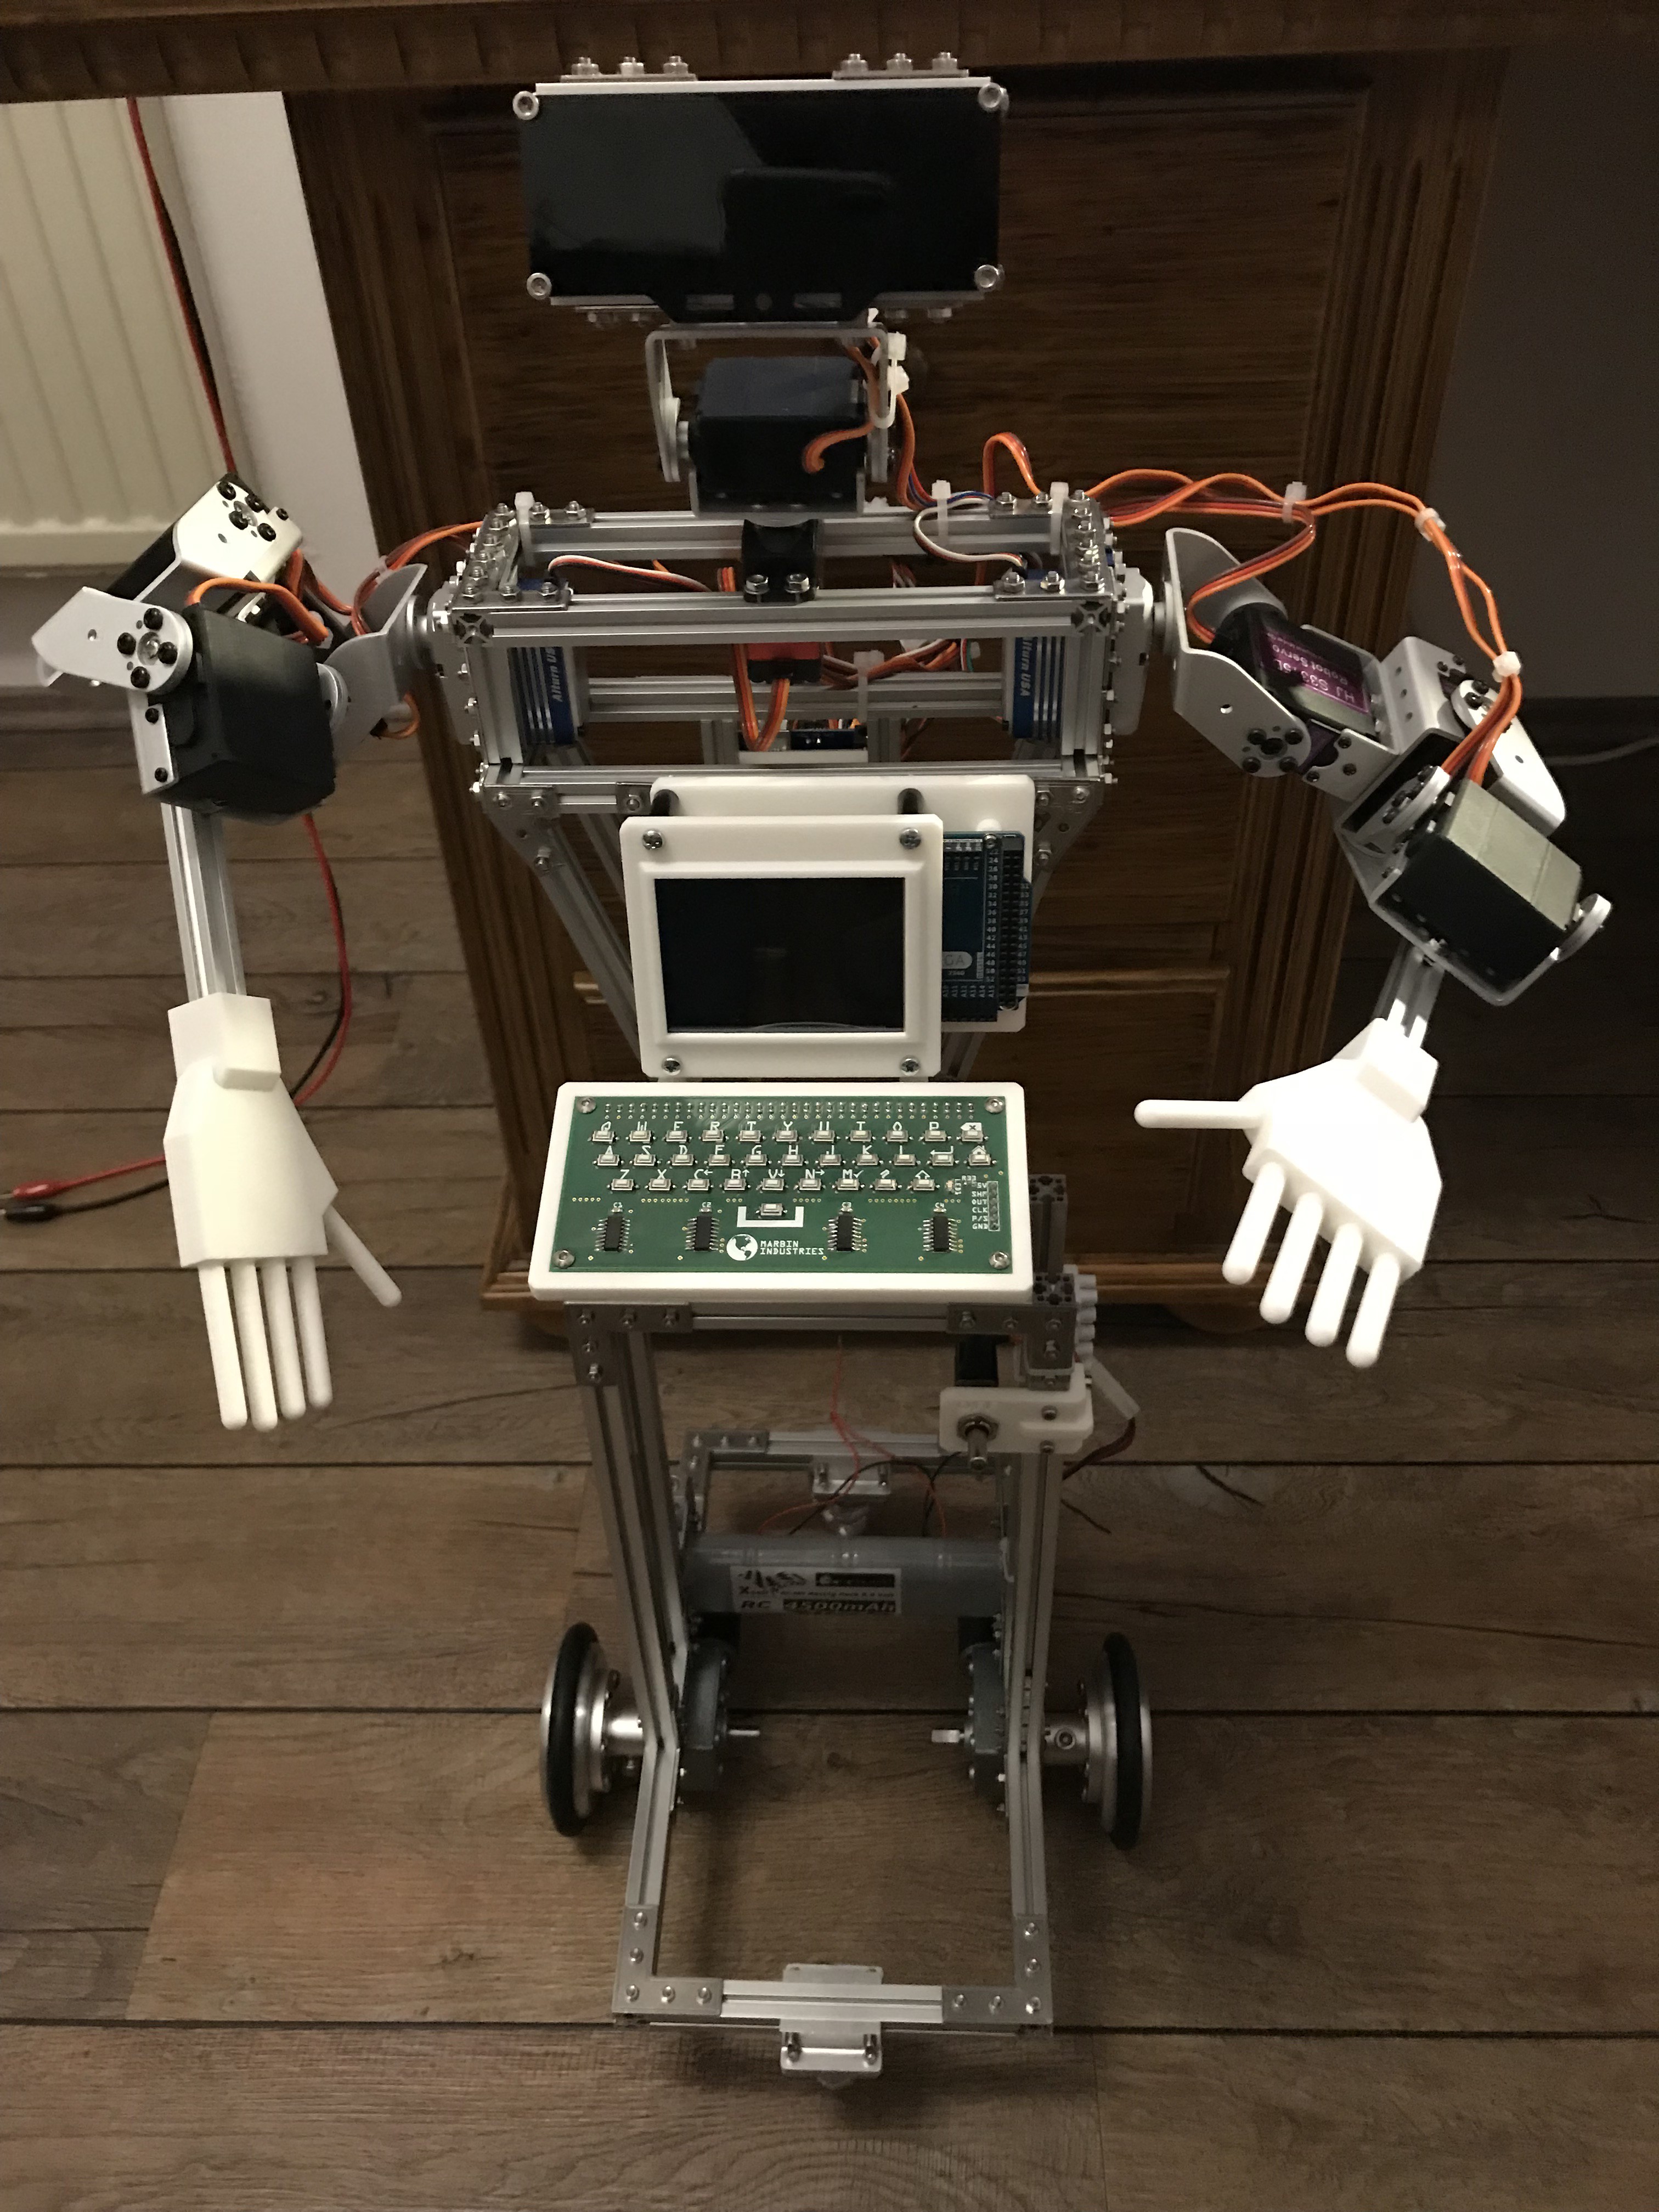
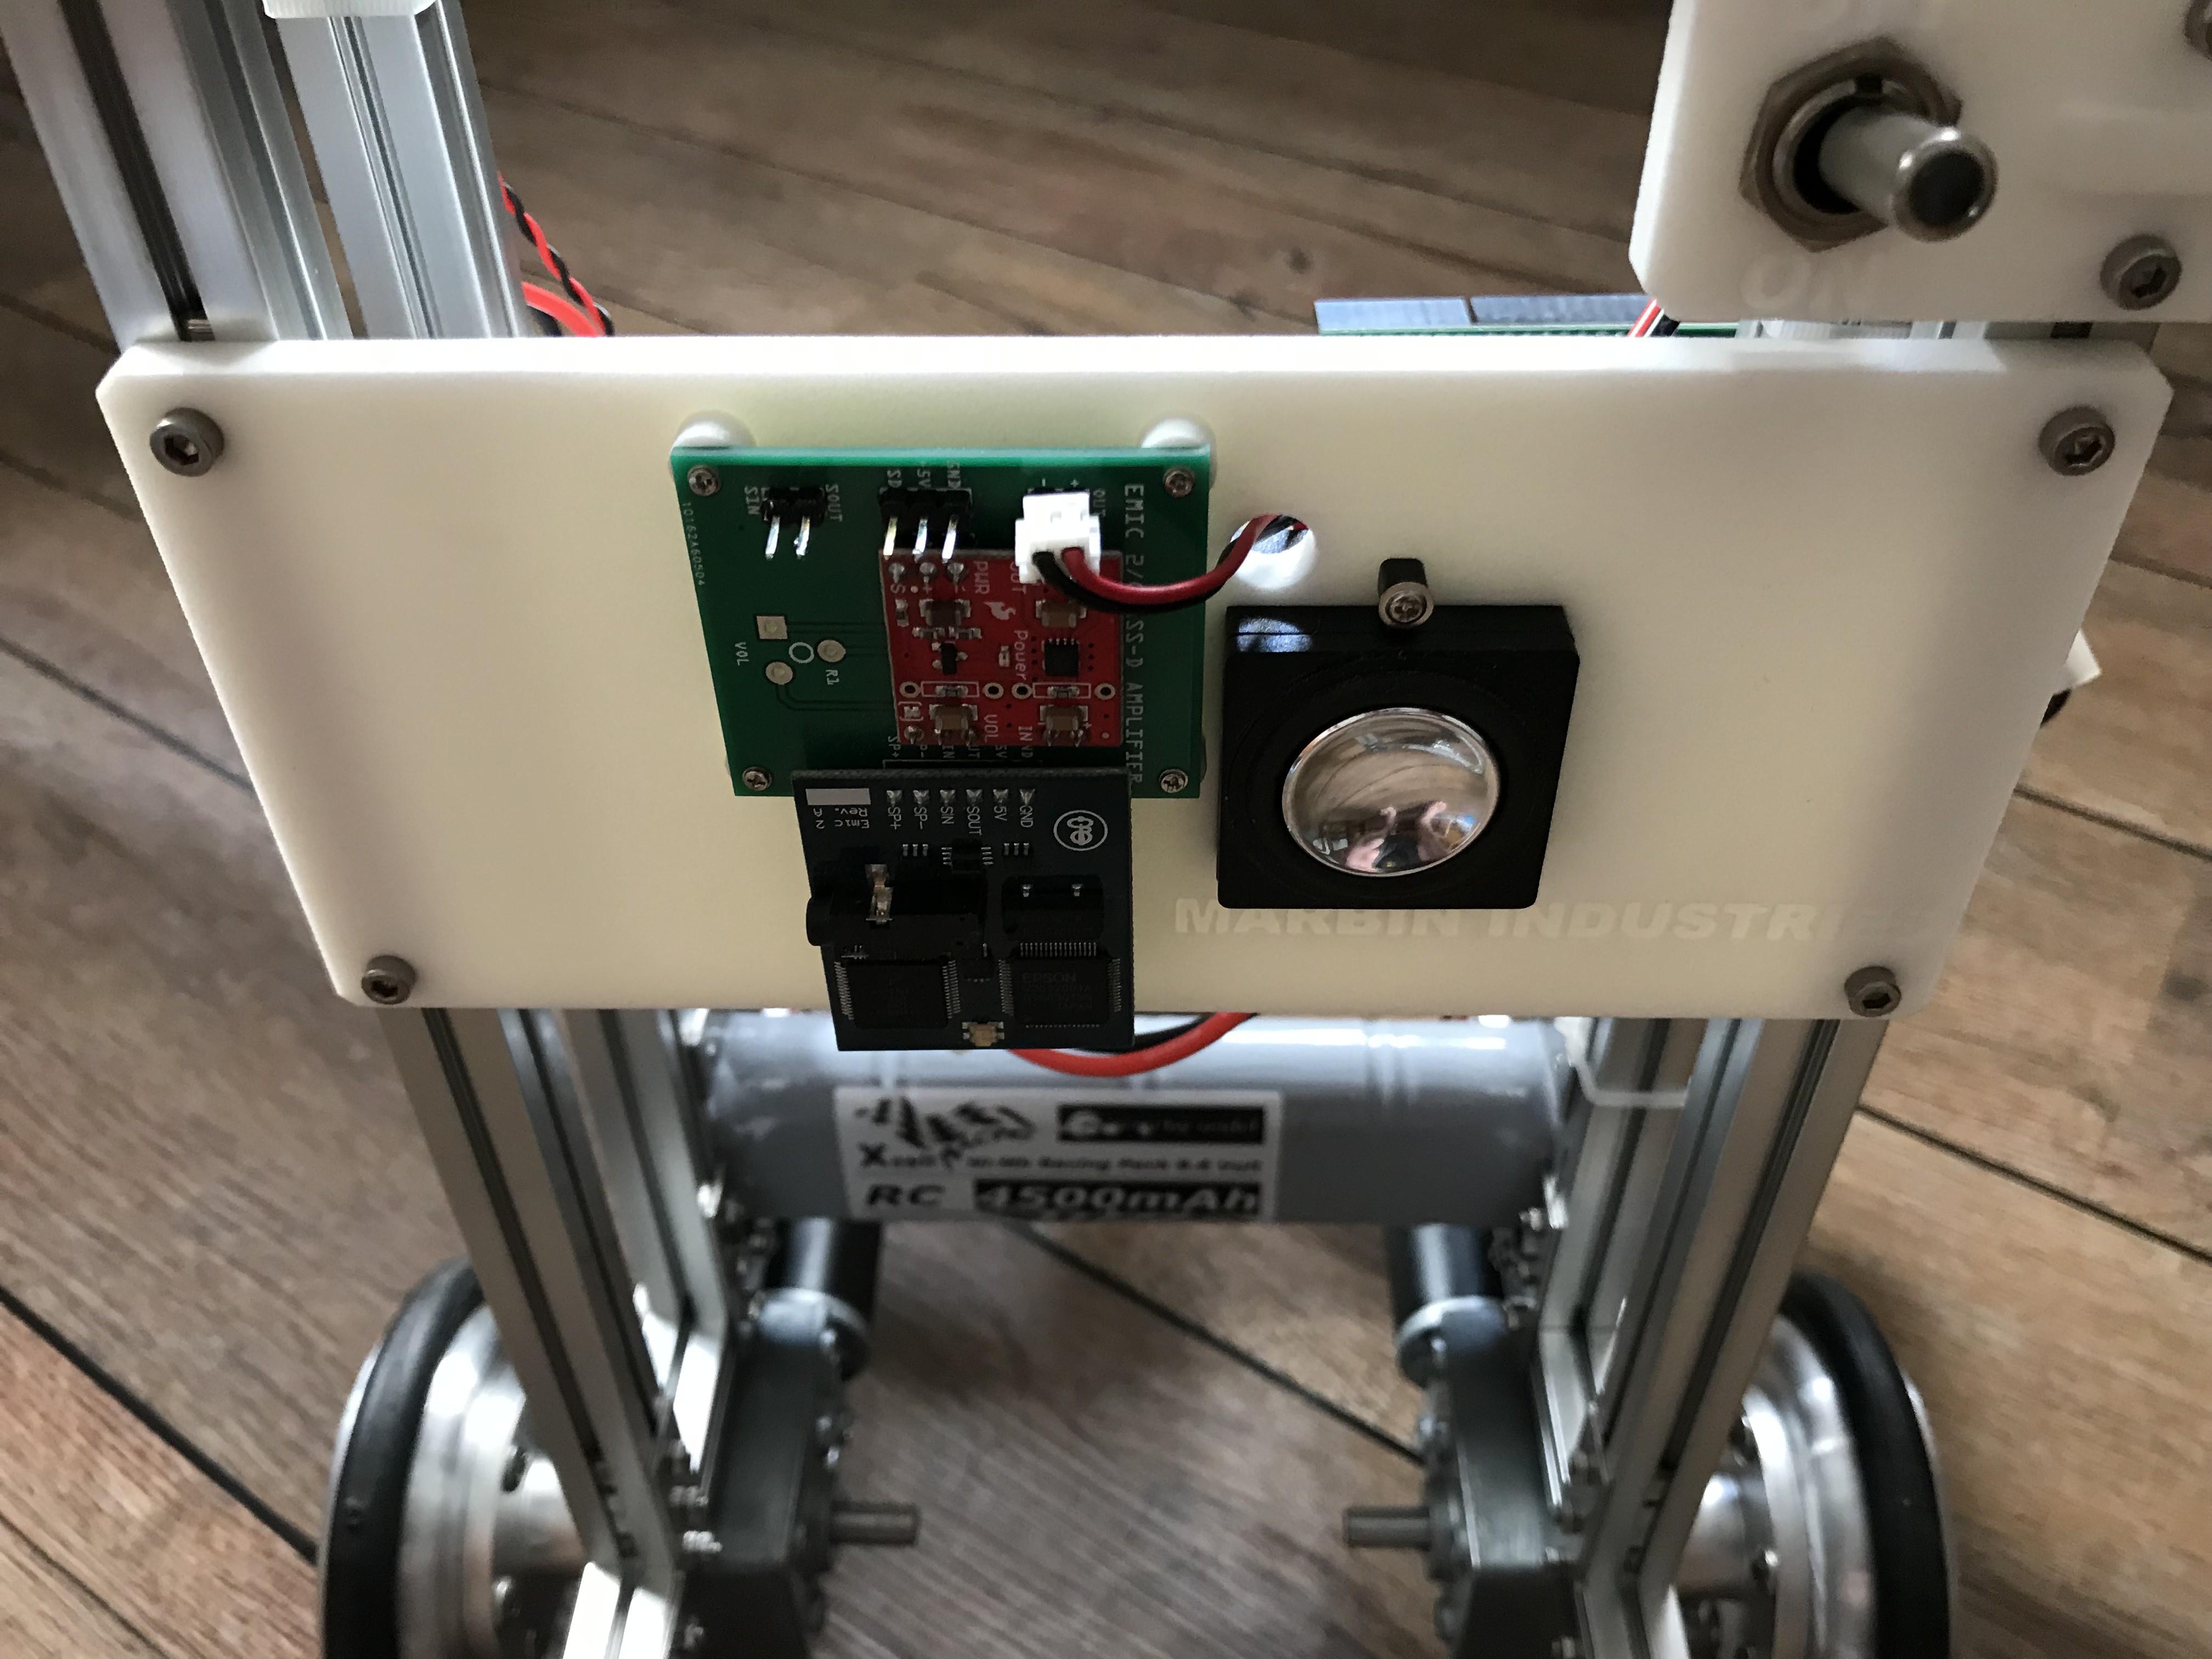
Main structure (of the first prototype) based on popular MakerBeam parts as well as some custom designed 3-D printed, machined and and laser cut parts. Every arm has 4 DOF, the head 2 DOF. Only digital servos with brush-less motors are used. Head consists mainly of a SunFounder 24x8 LED Dot Matrix Module called EMO. The robot base uses 2 angular geared DC motors, supported by 2 caster wheels so that it can turn in any direction and turn in its own length. Controlled by several Arduino micro-controllers, main brain probably a Raspberry Pi. Beside of how to build this robot, the project will address artificial intelligence and provide all the source codes.


More details will follow in the build logs. So far:
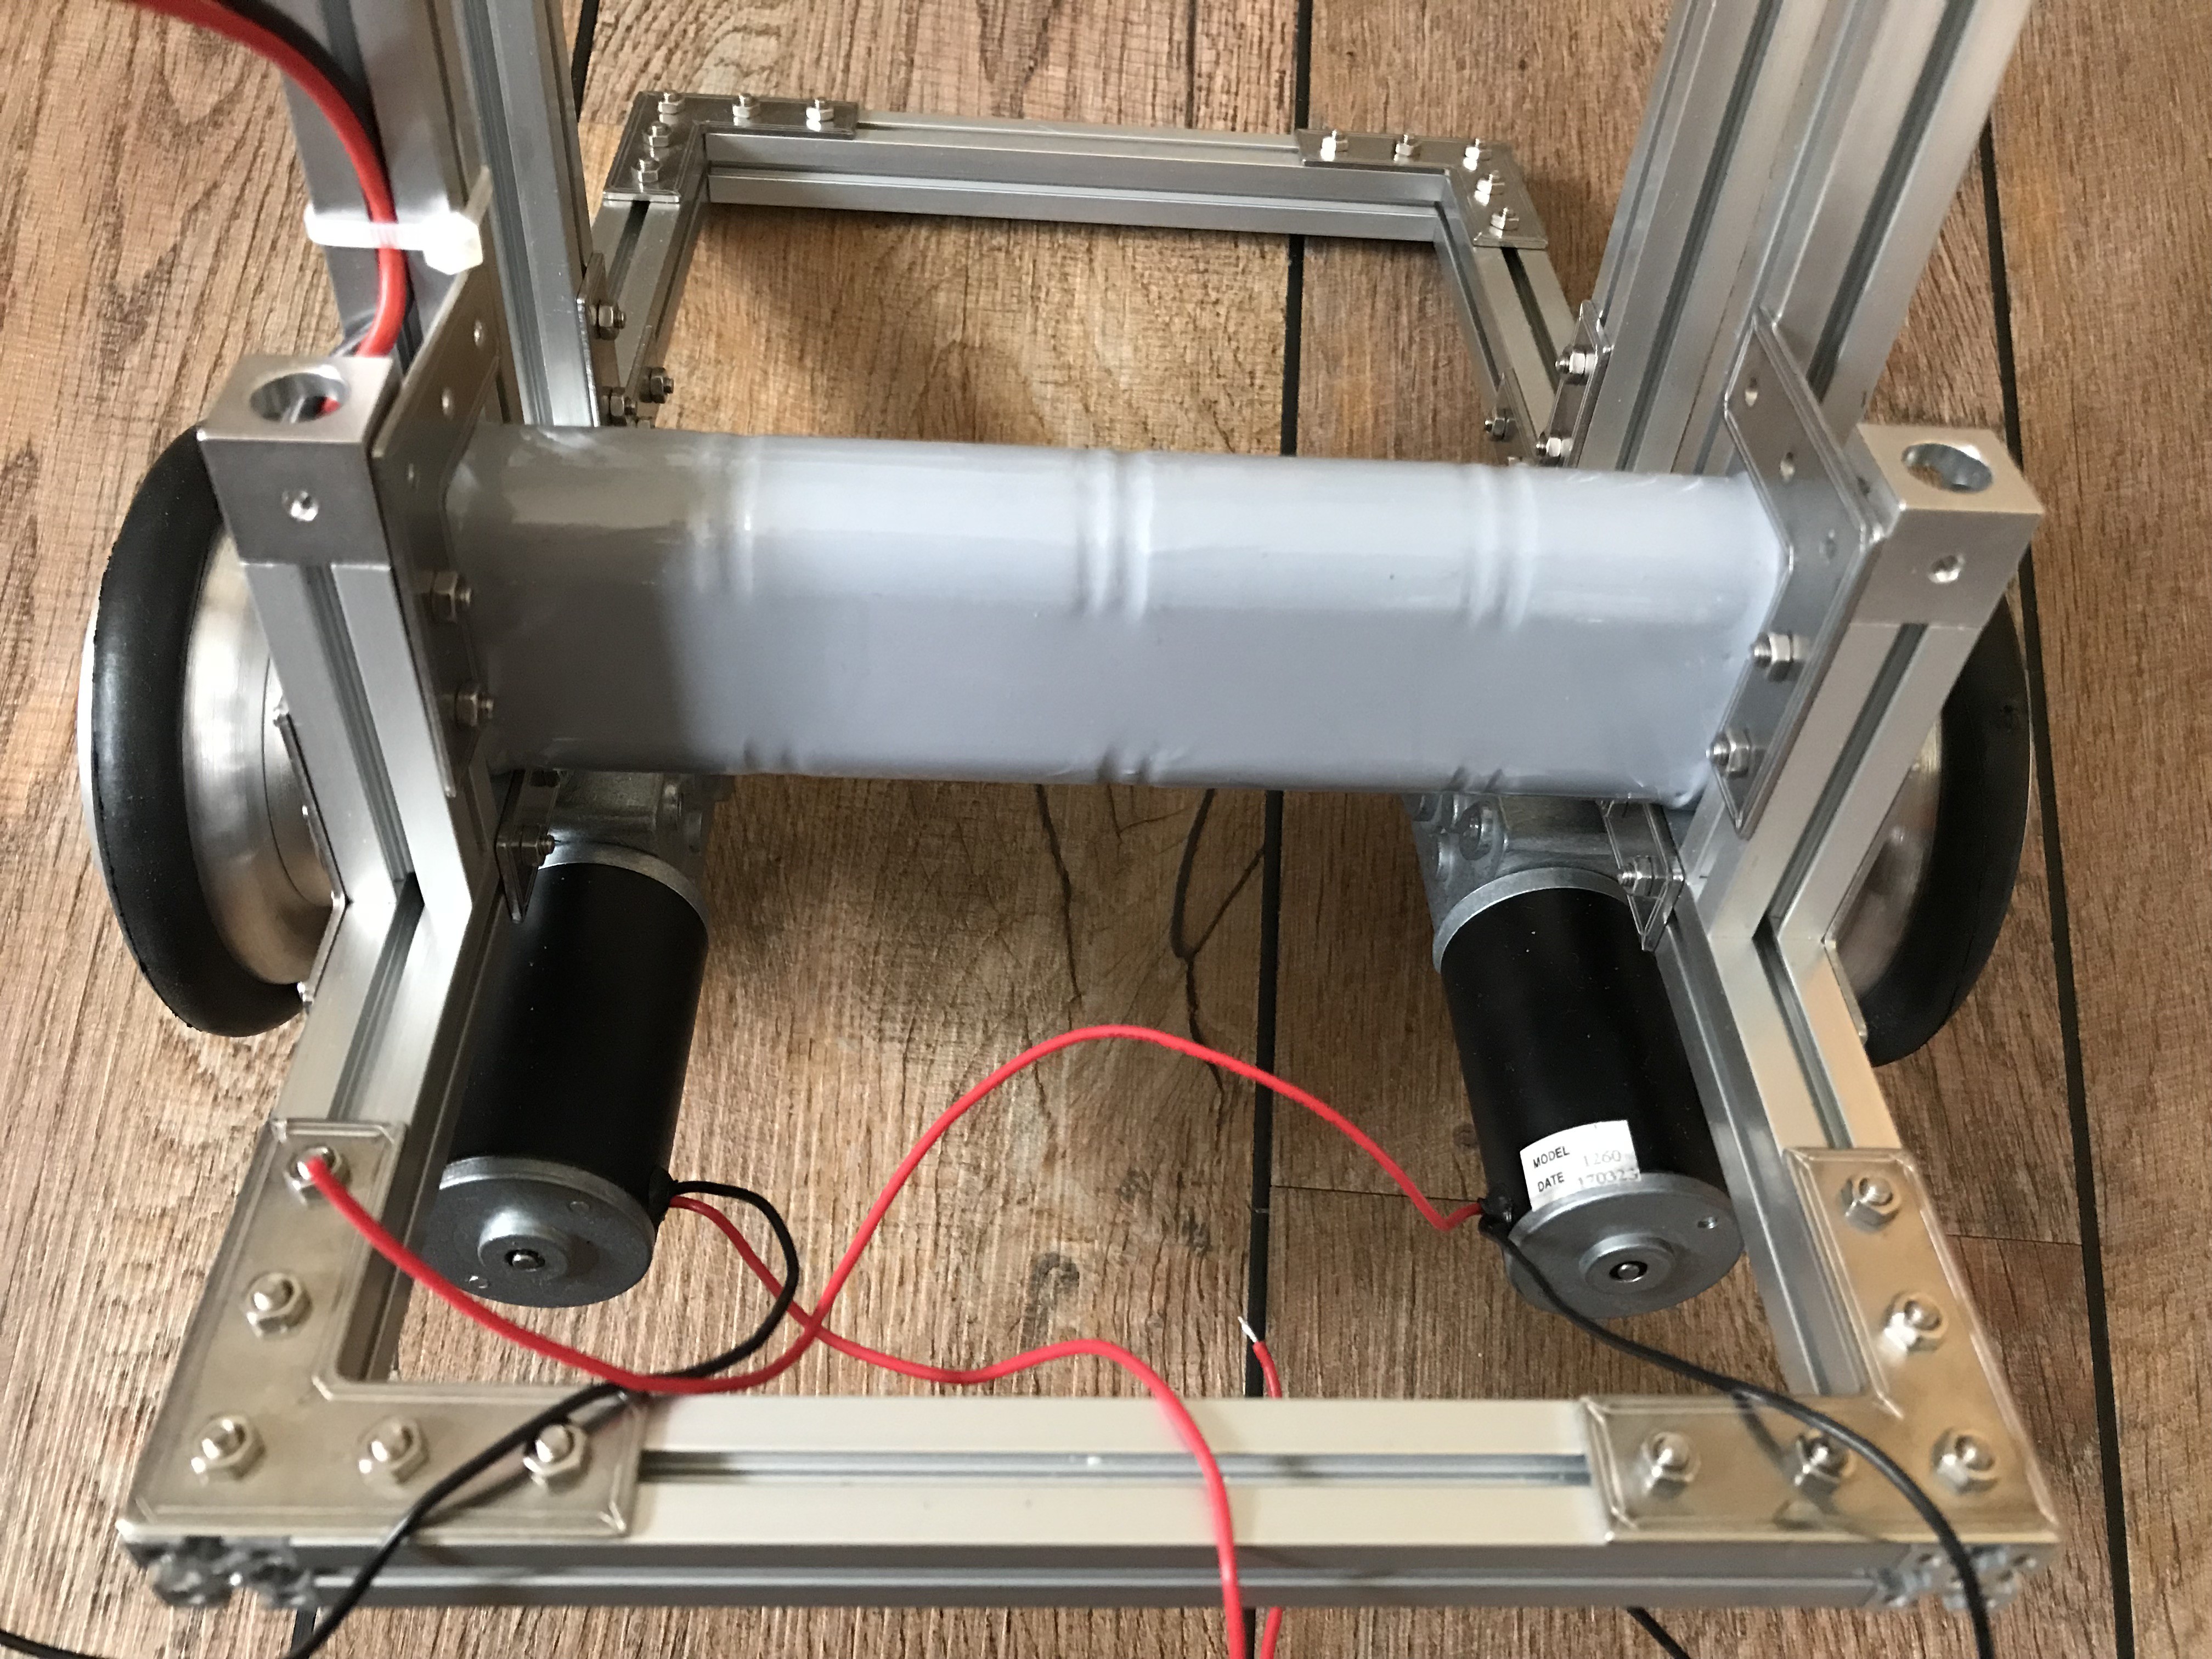
- Propulsion system of the robot
- Human Machine Interface
- Power supply
- Videos! UPDATED!
- Ultrasonic sensor module
- Sensor module
- Vision module
- Algorithm bits
This project is published under the MIT license.
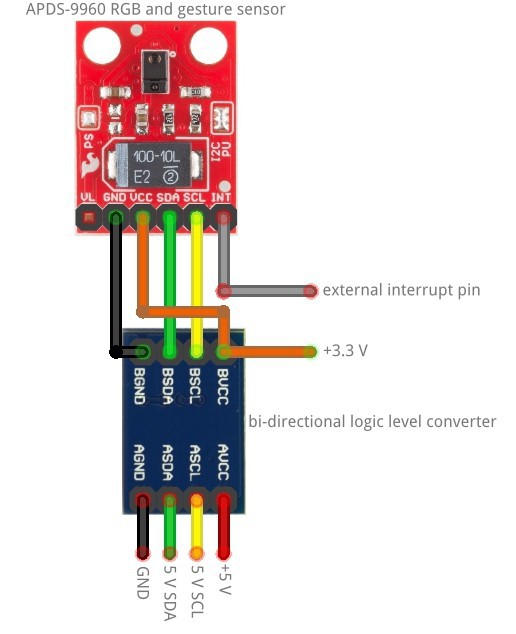
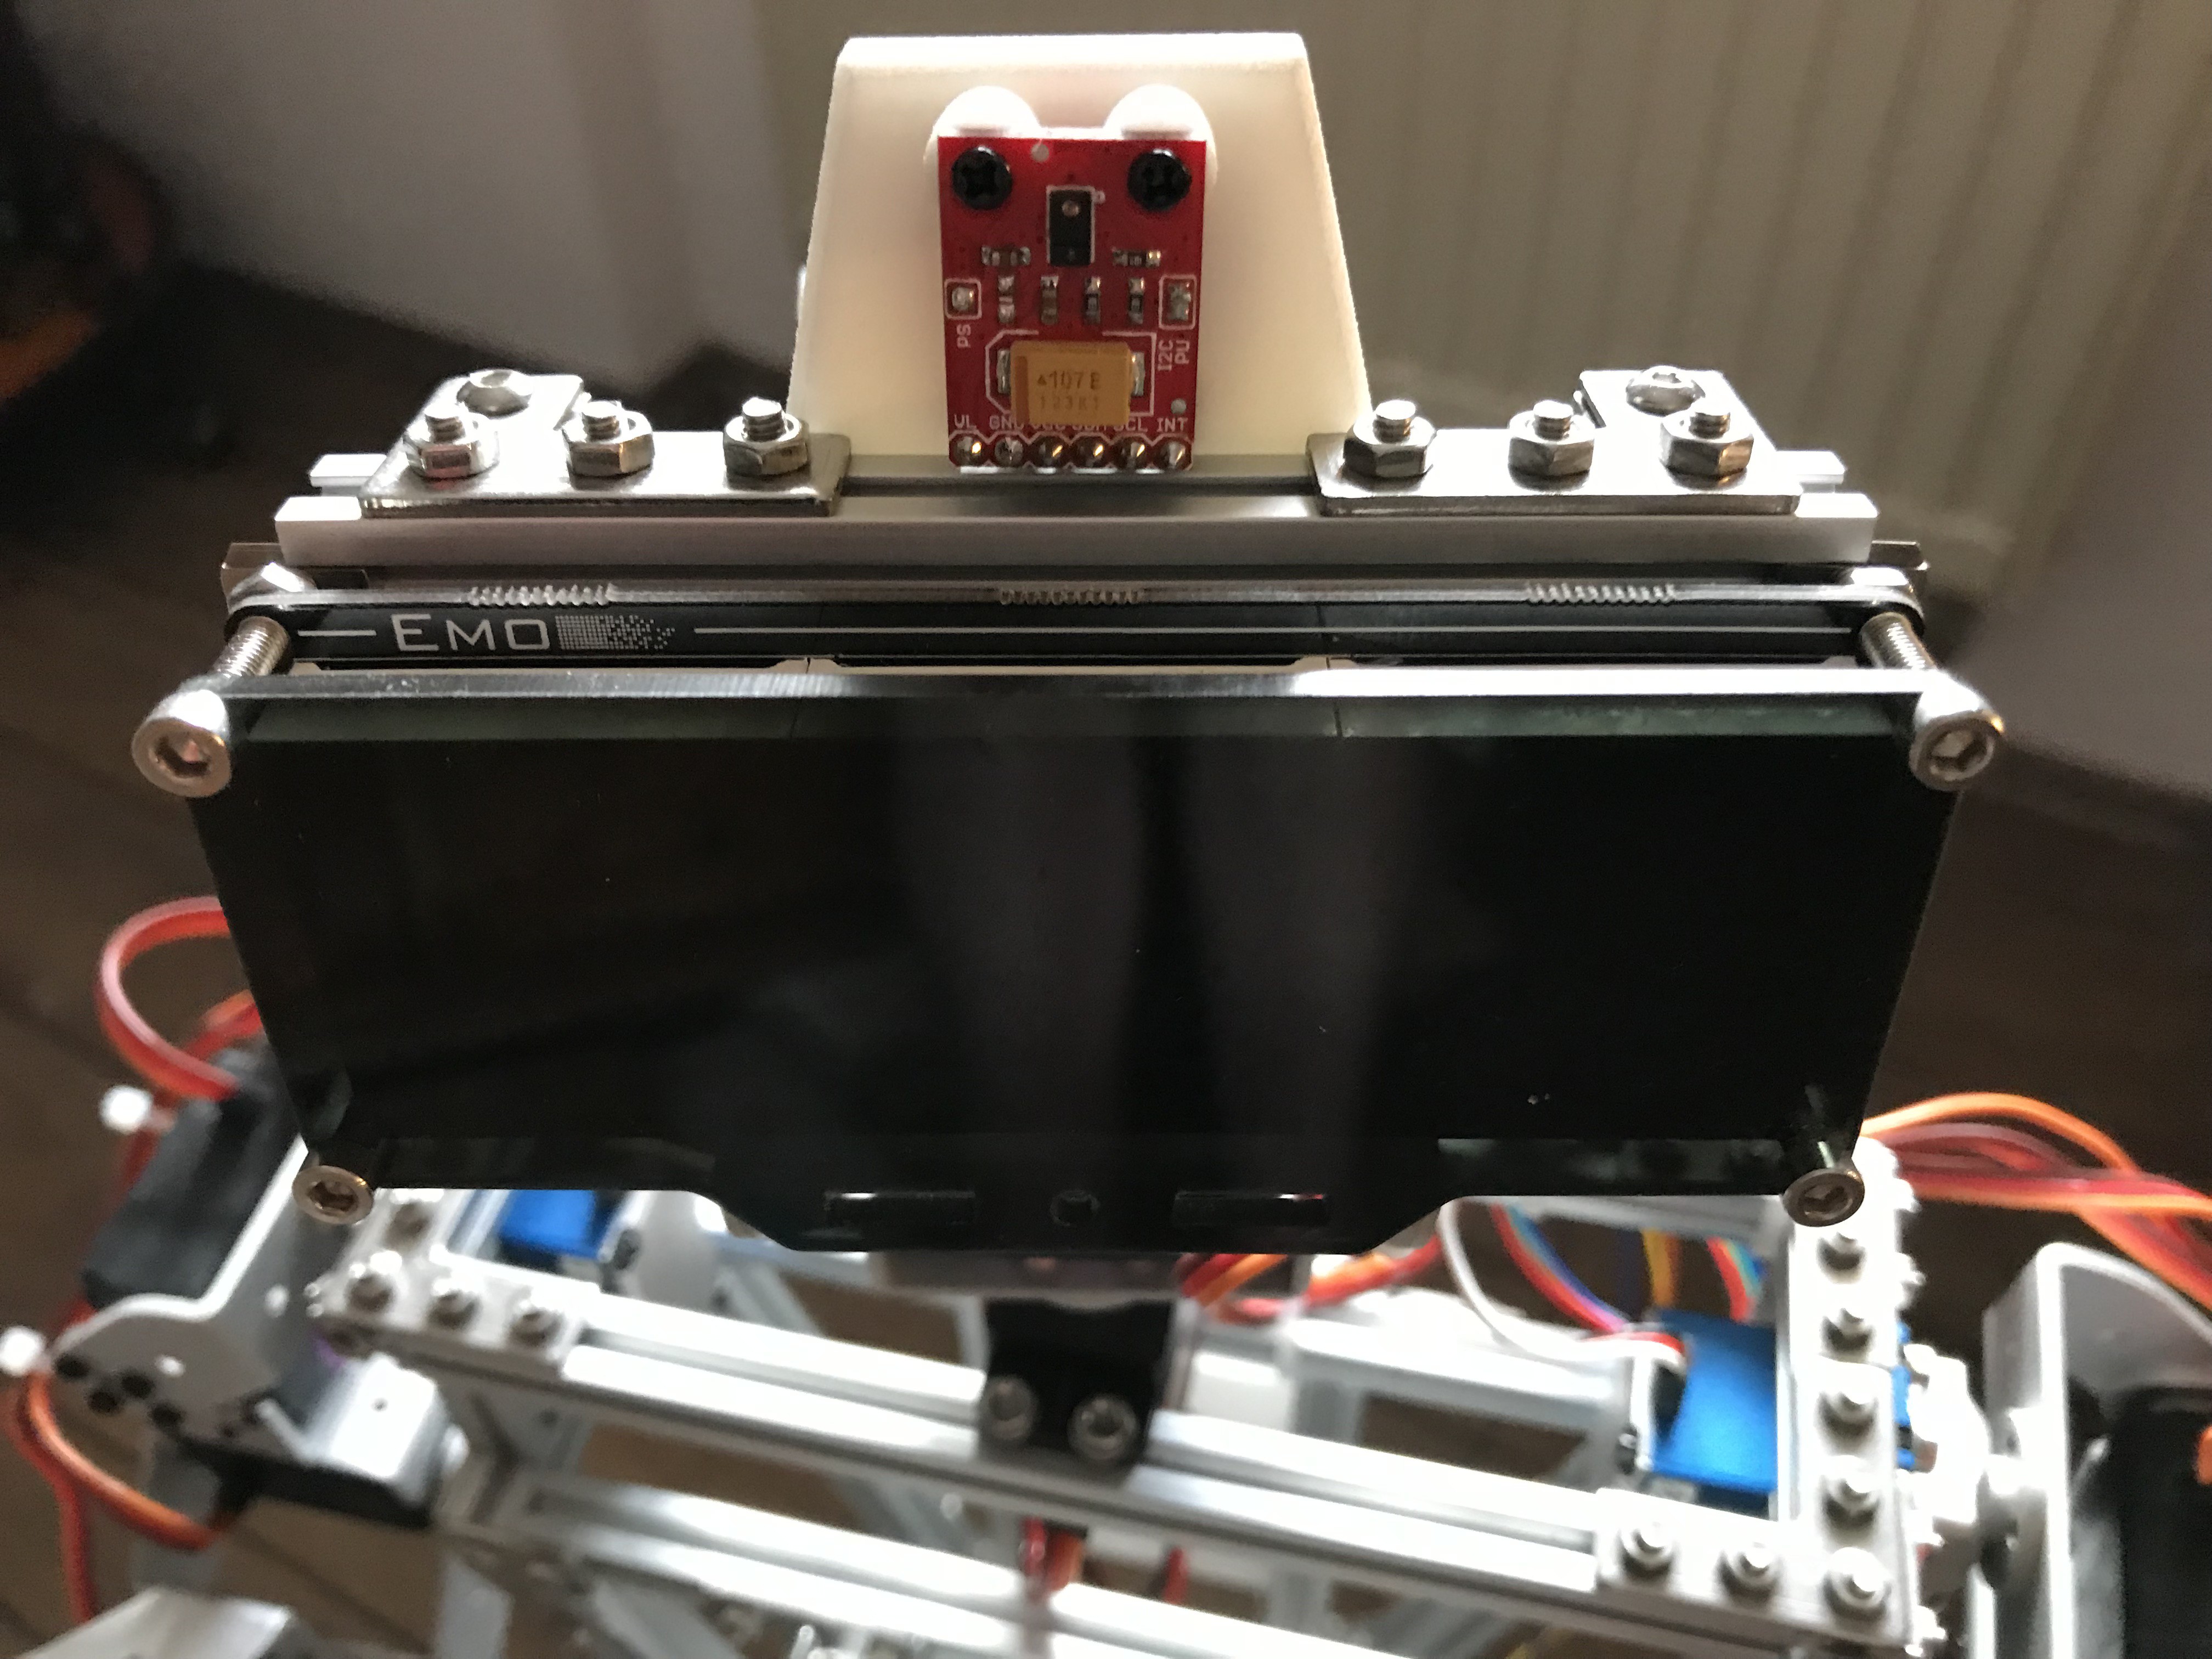
 A lot of work went today into the vision module. I glued the level shifter into place with 2-component epoxy adhesive, wired the level shifter and the APDS-9960 breakout and assembled the module on MARB's head.
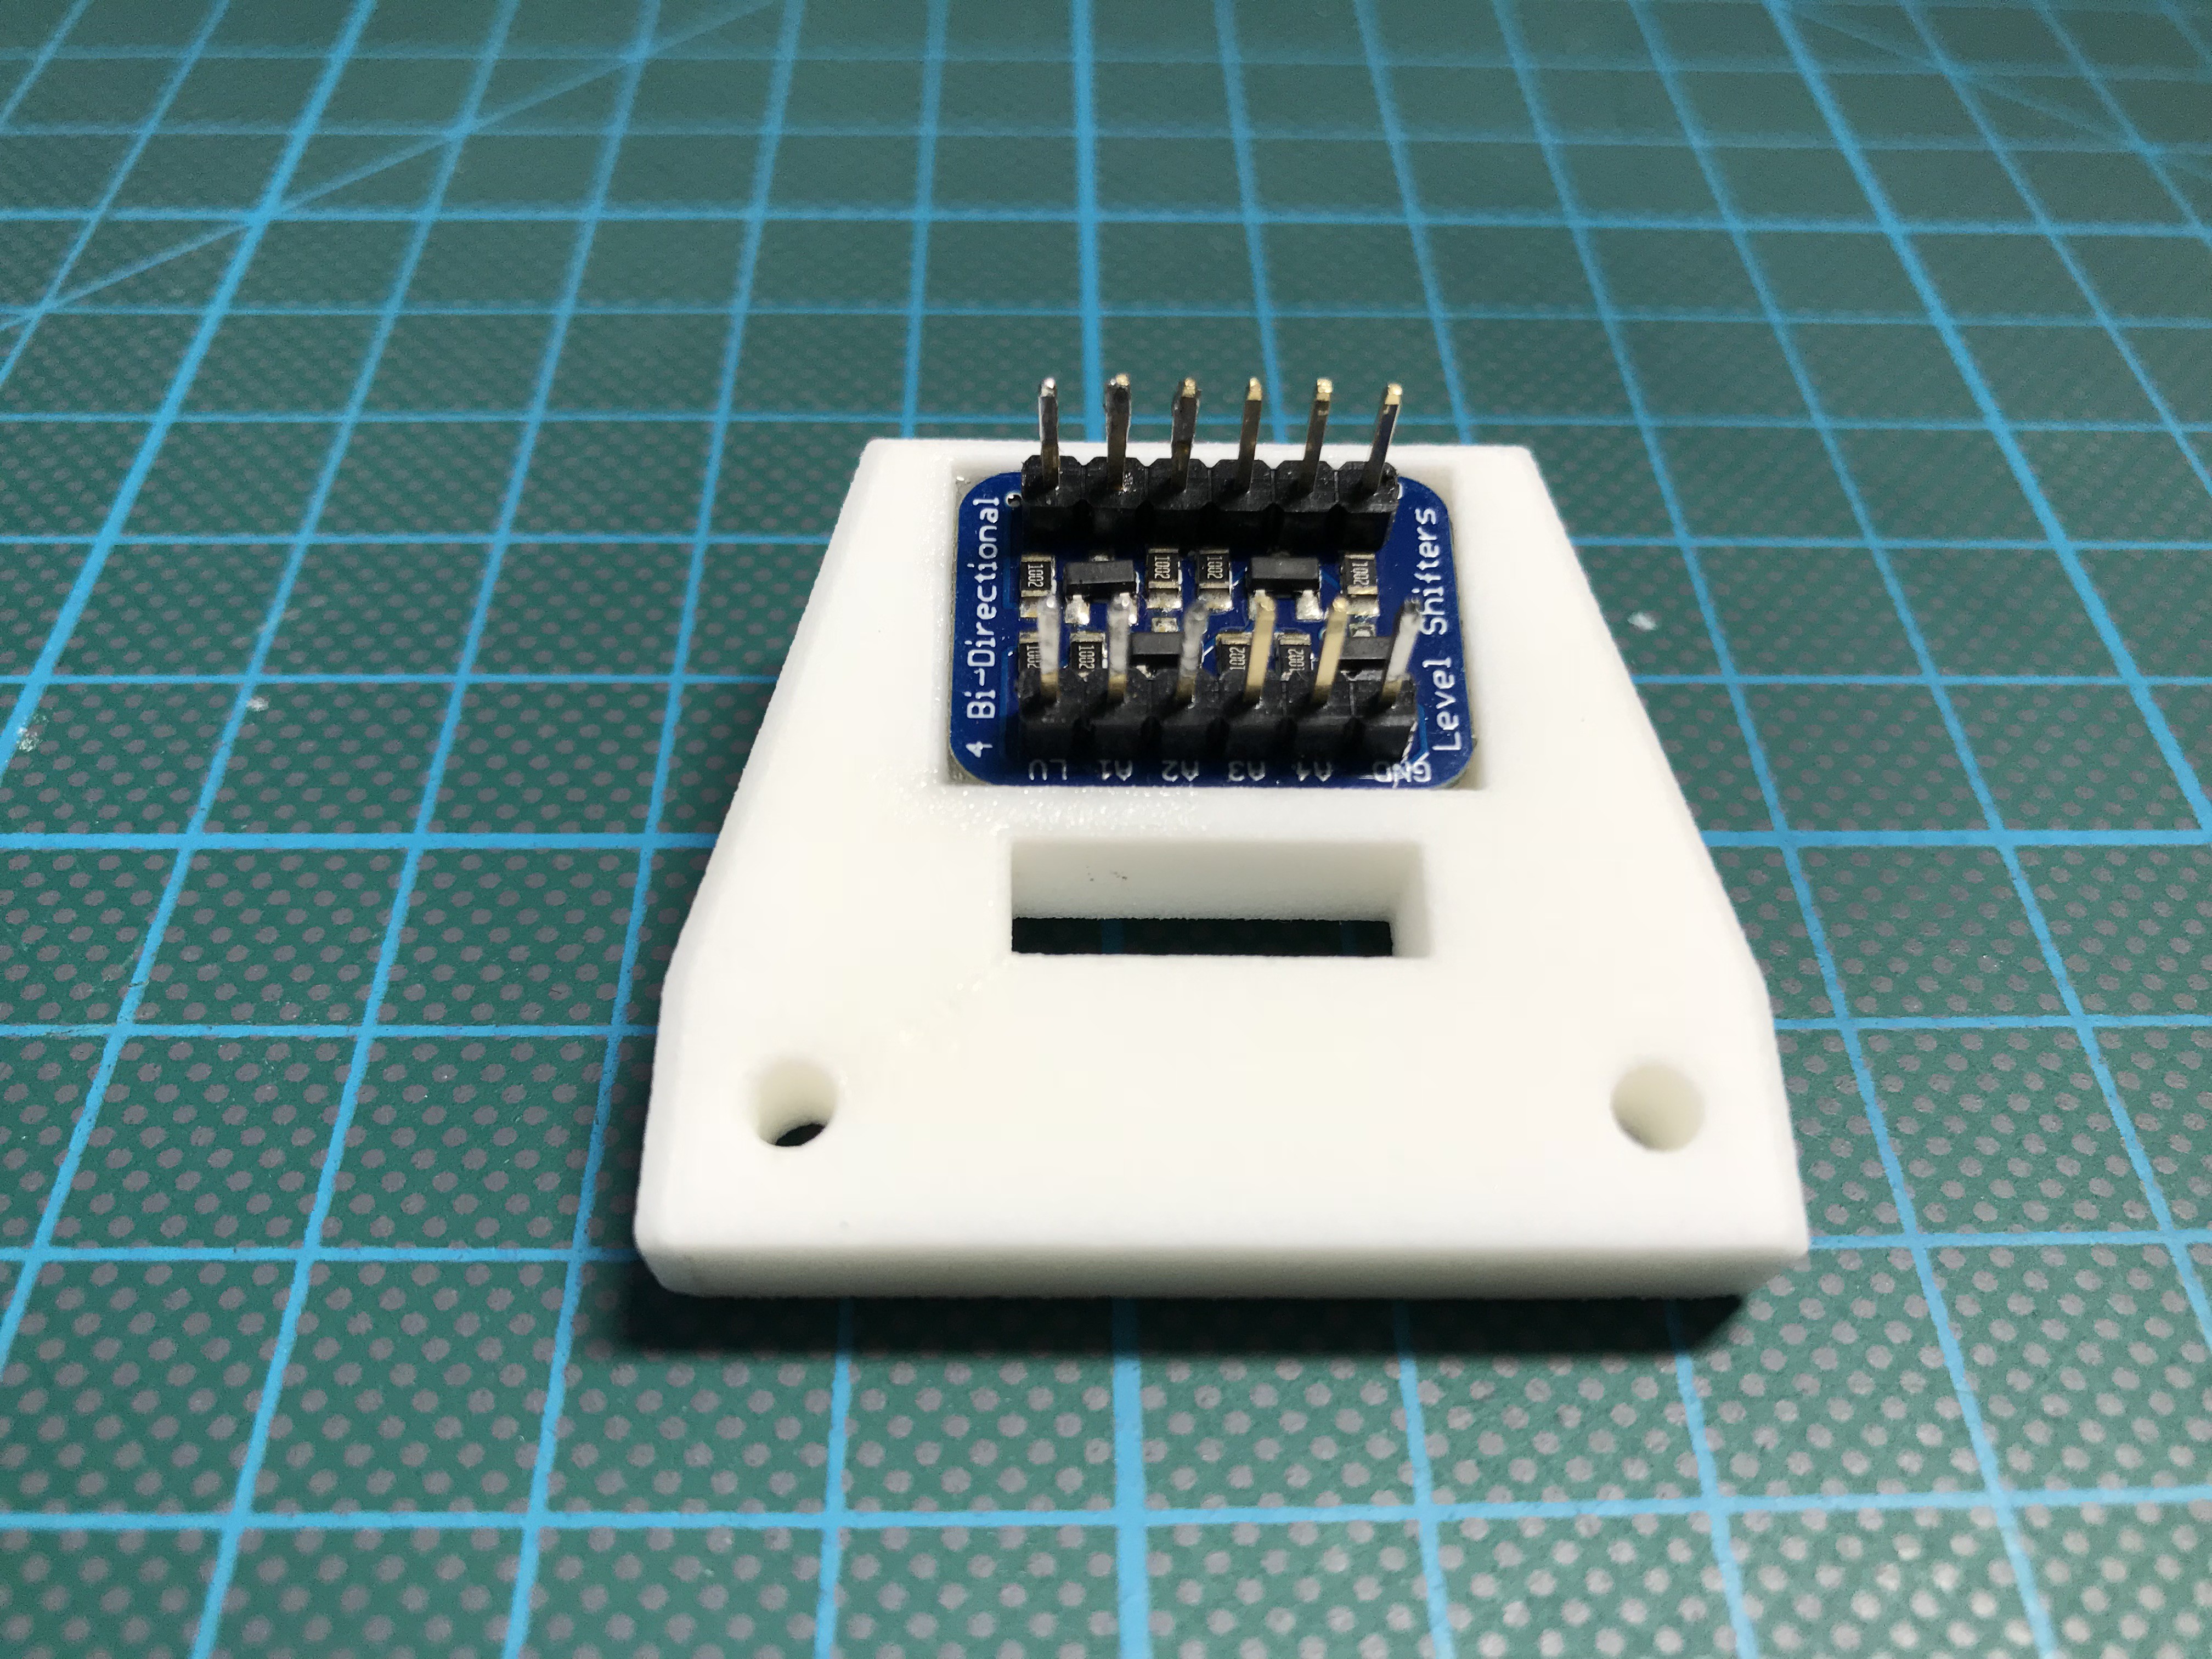

 Testing a DS1302 RTC breakout from Sunfounder:
 Sensors assembled:
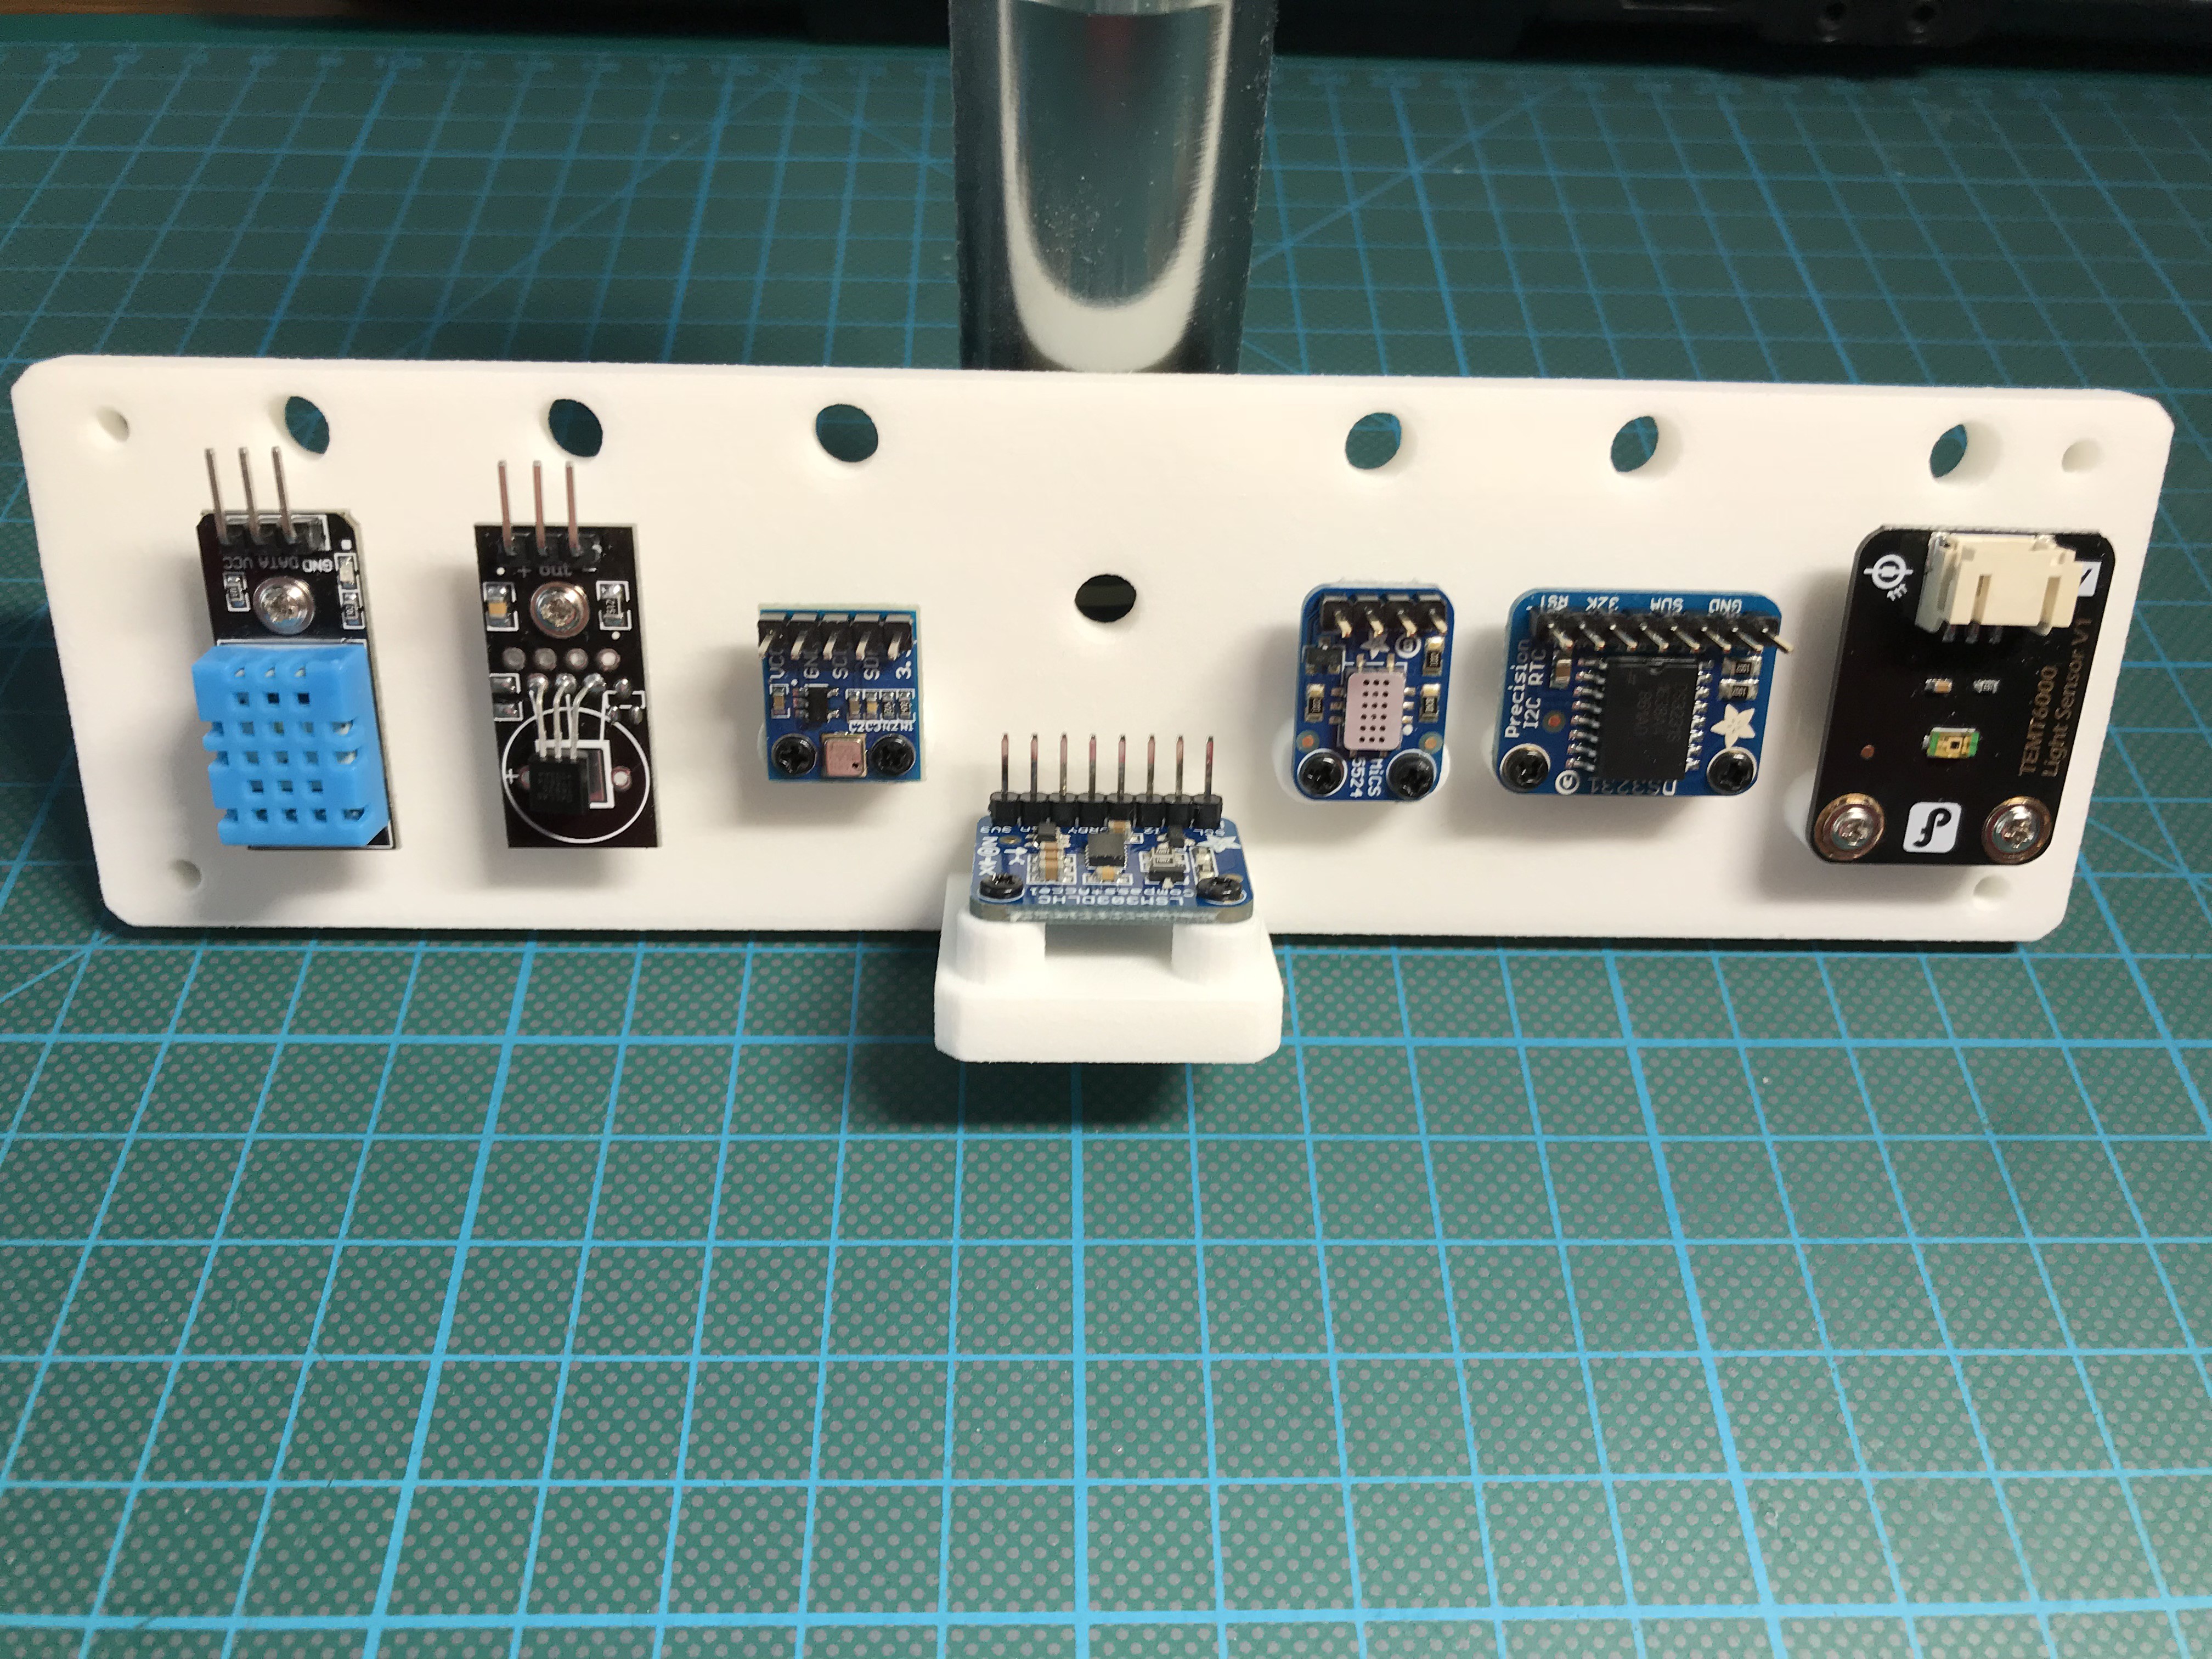
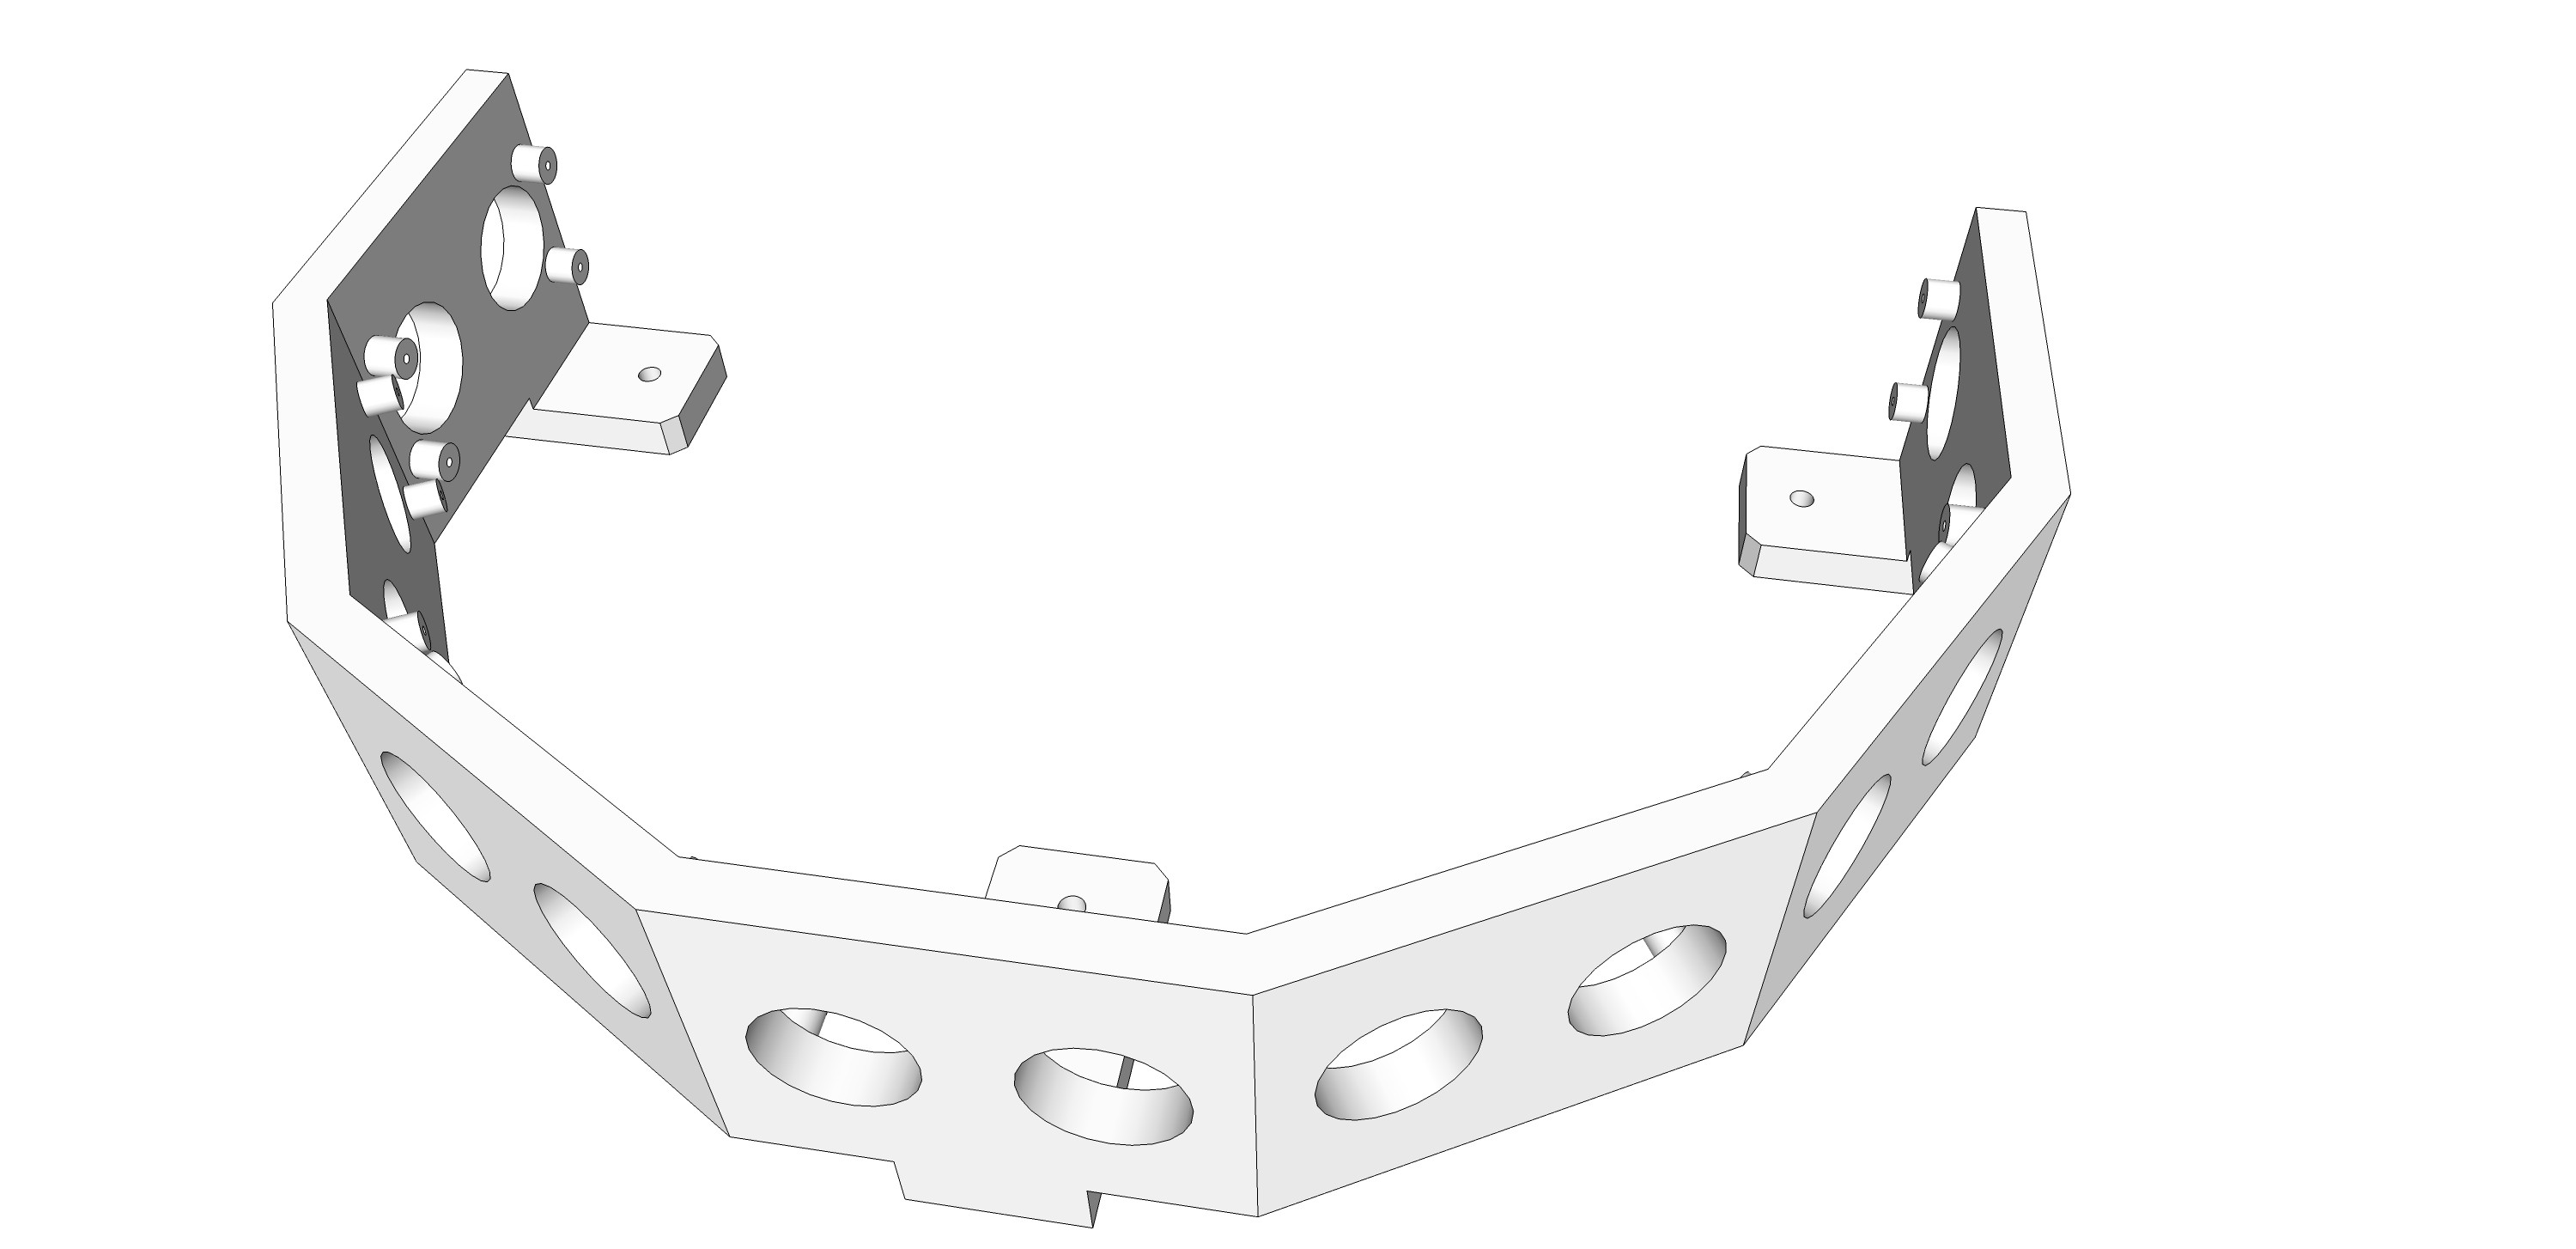
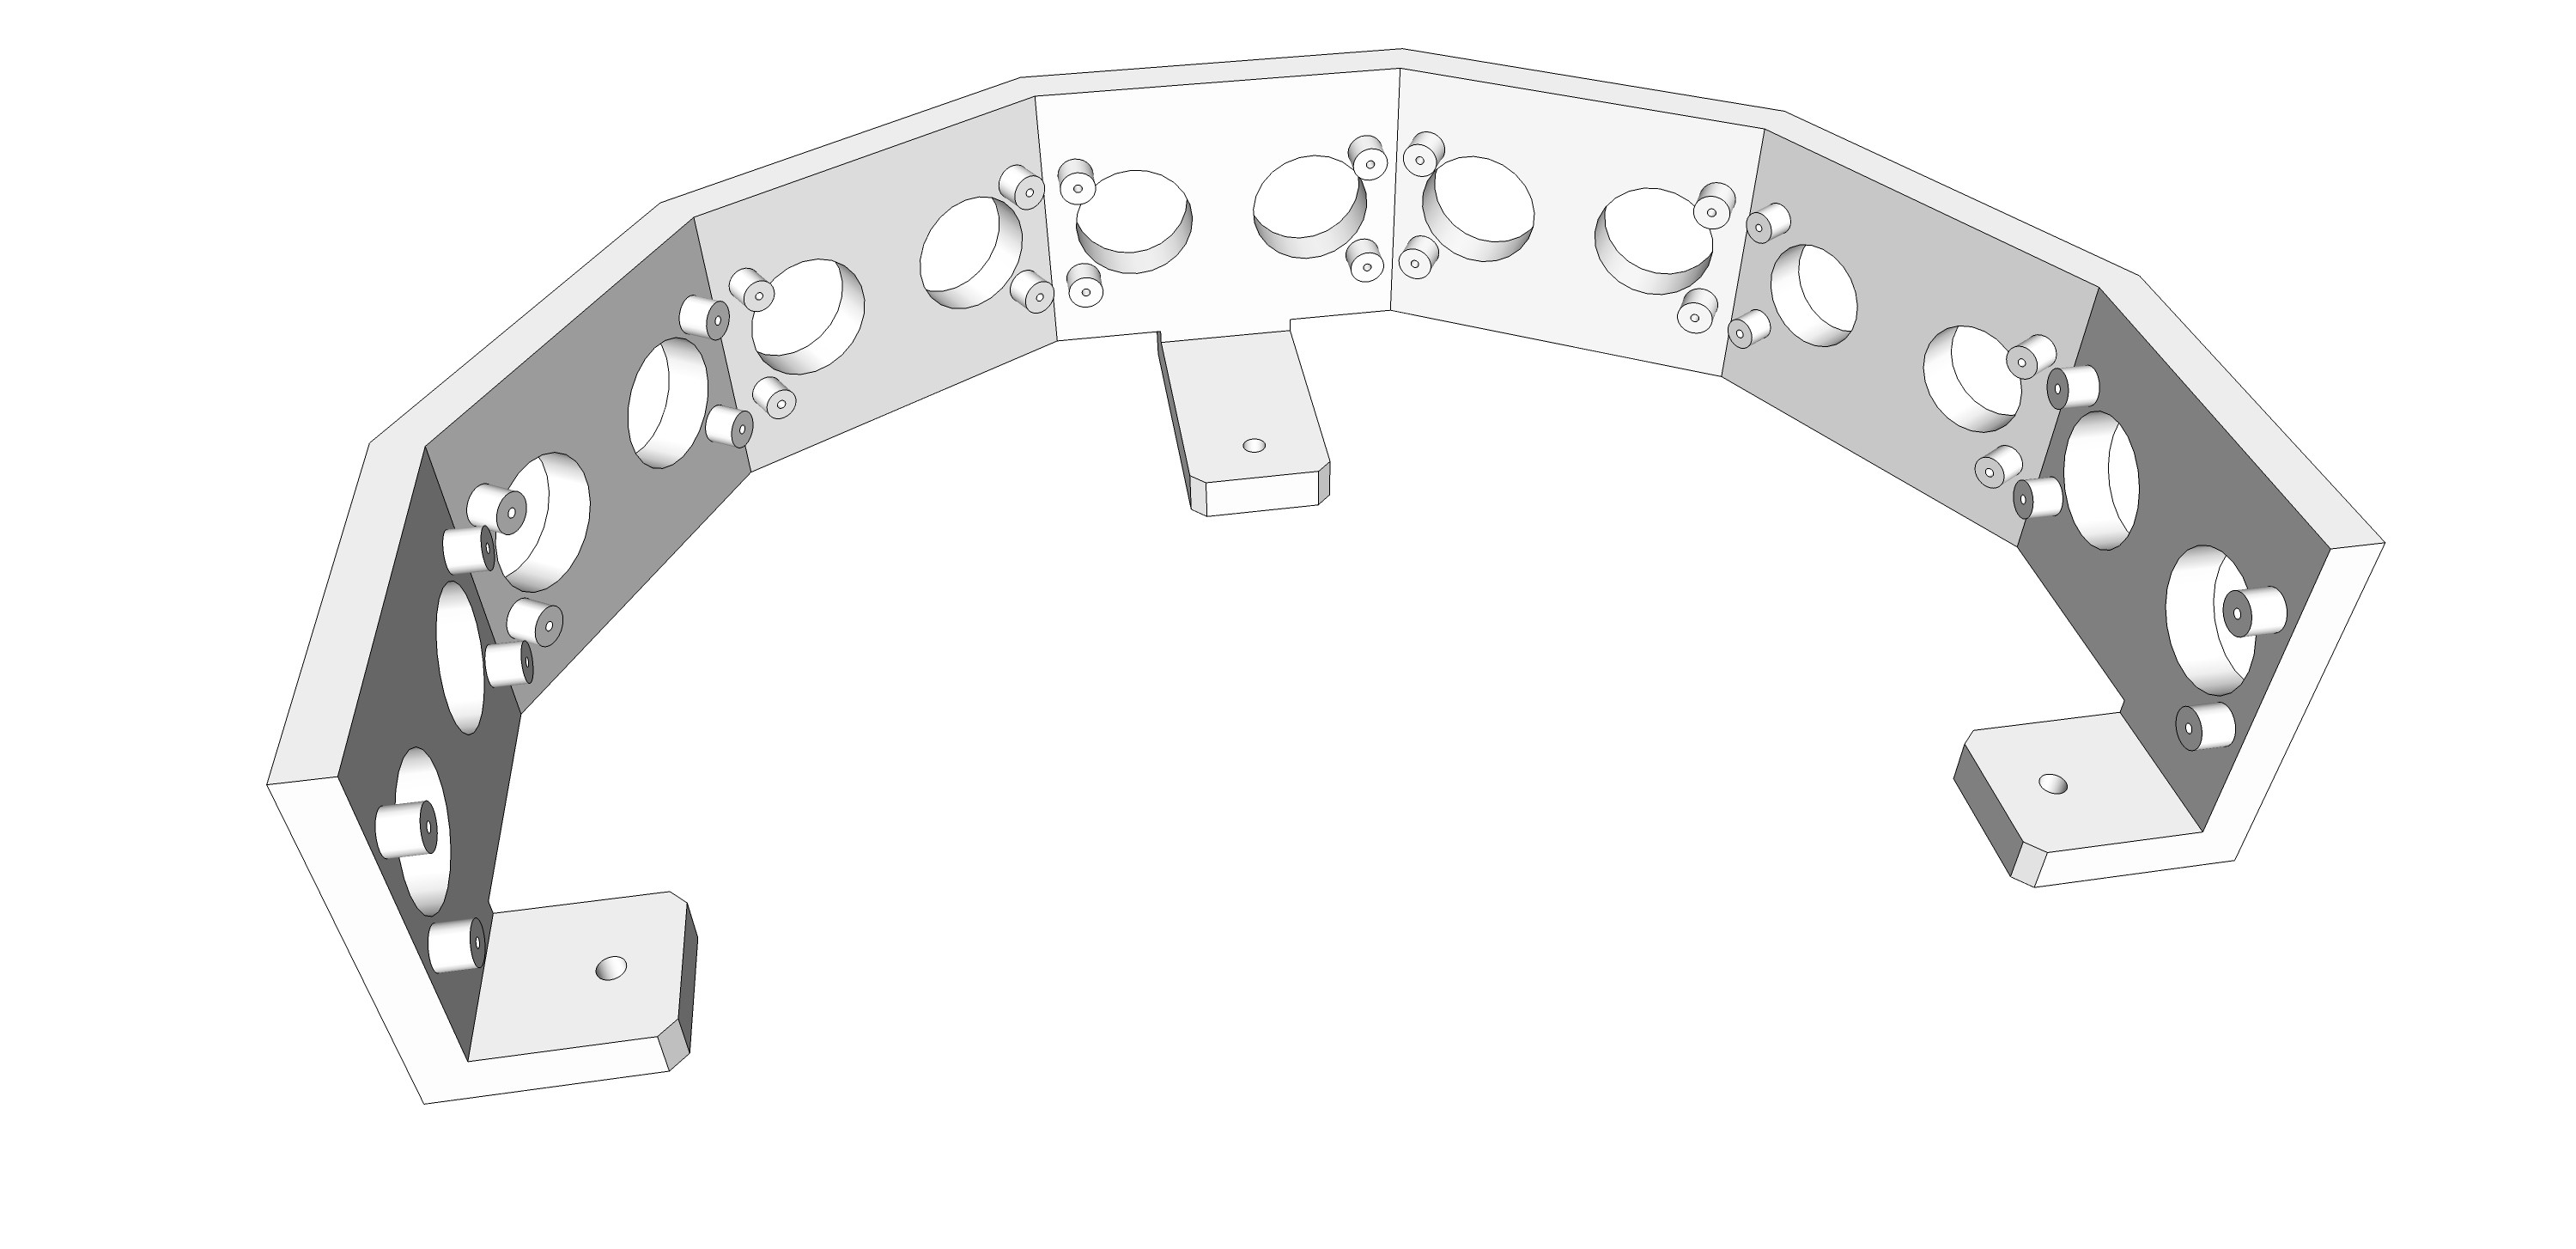 3-D printed part from Shapeways:
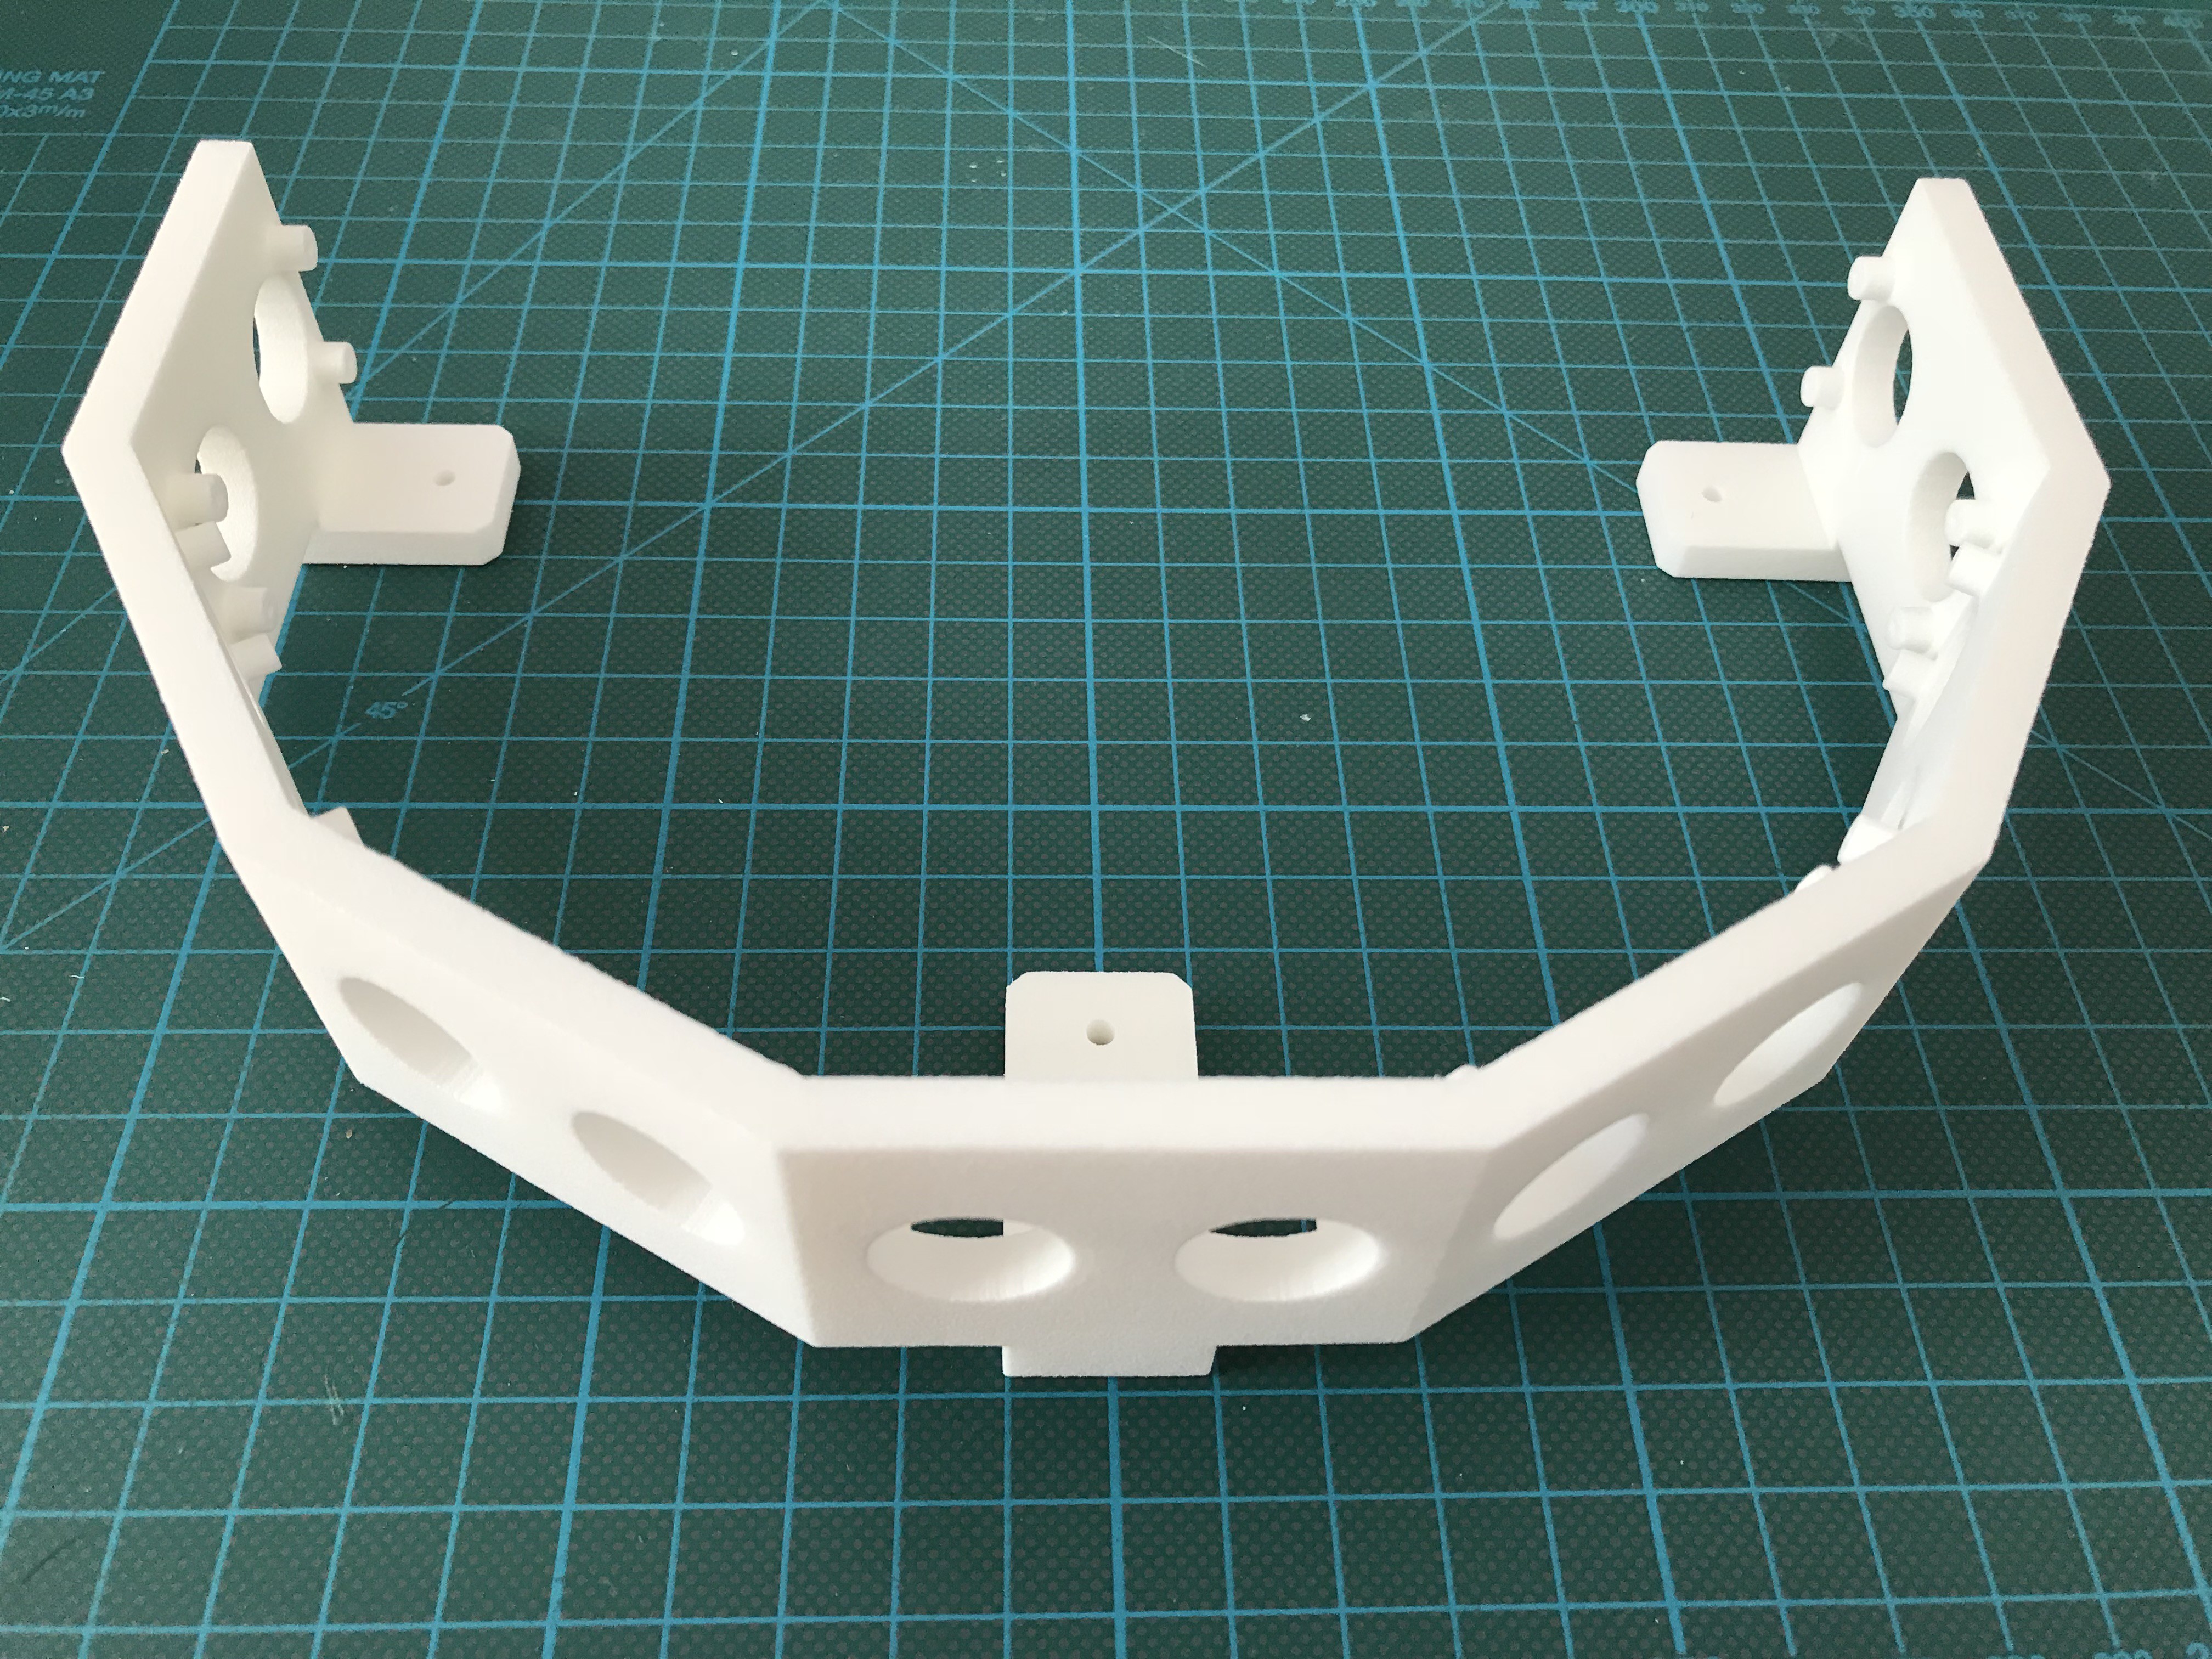

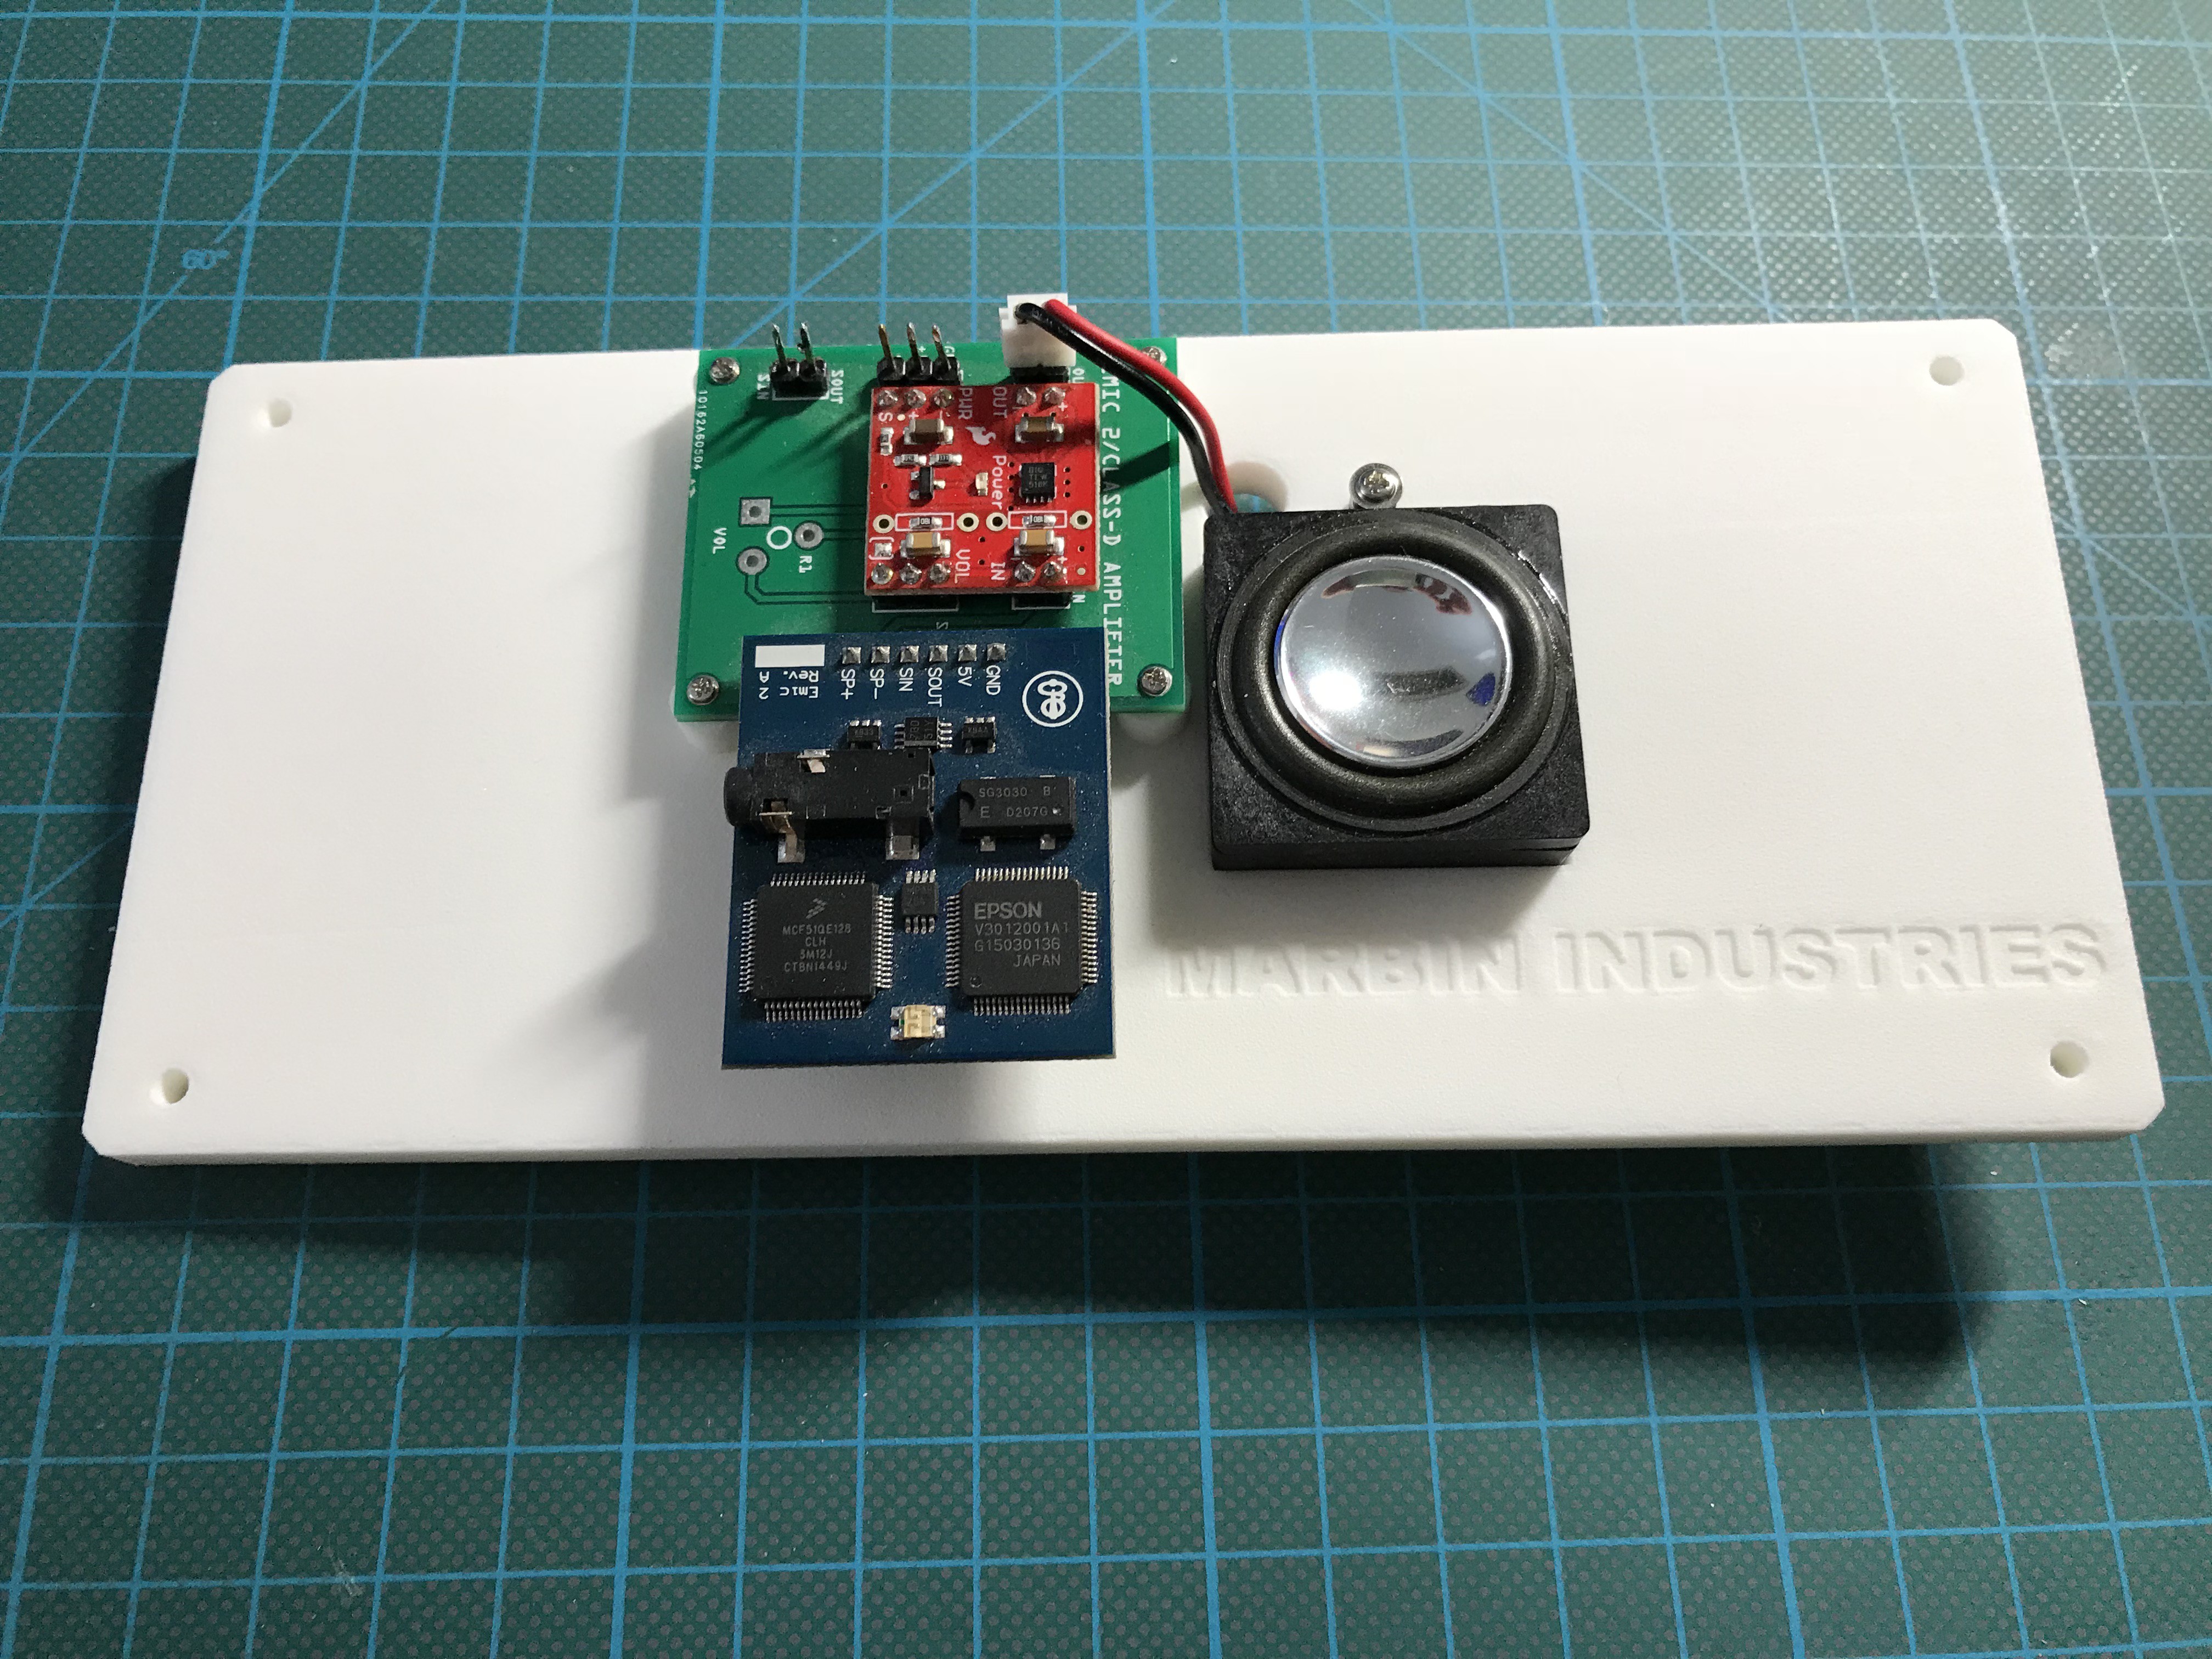
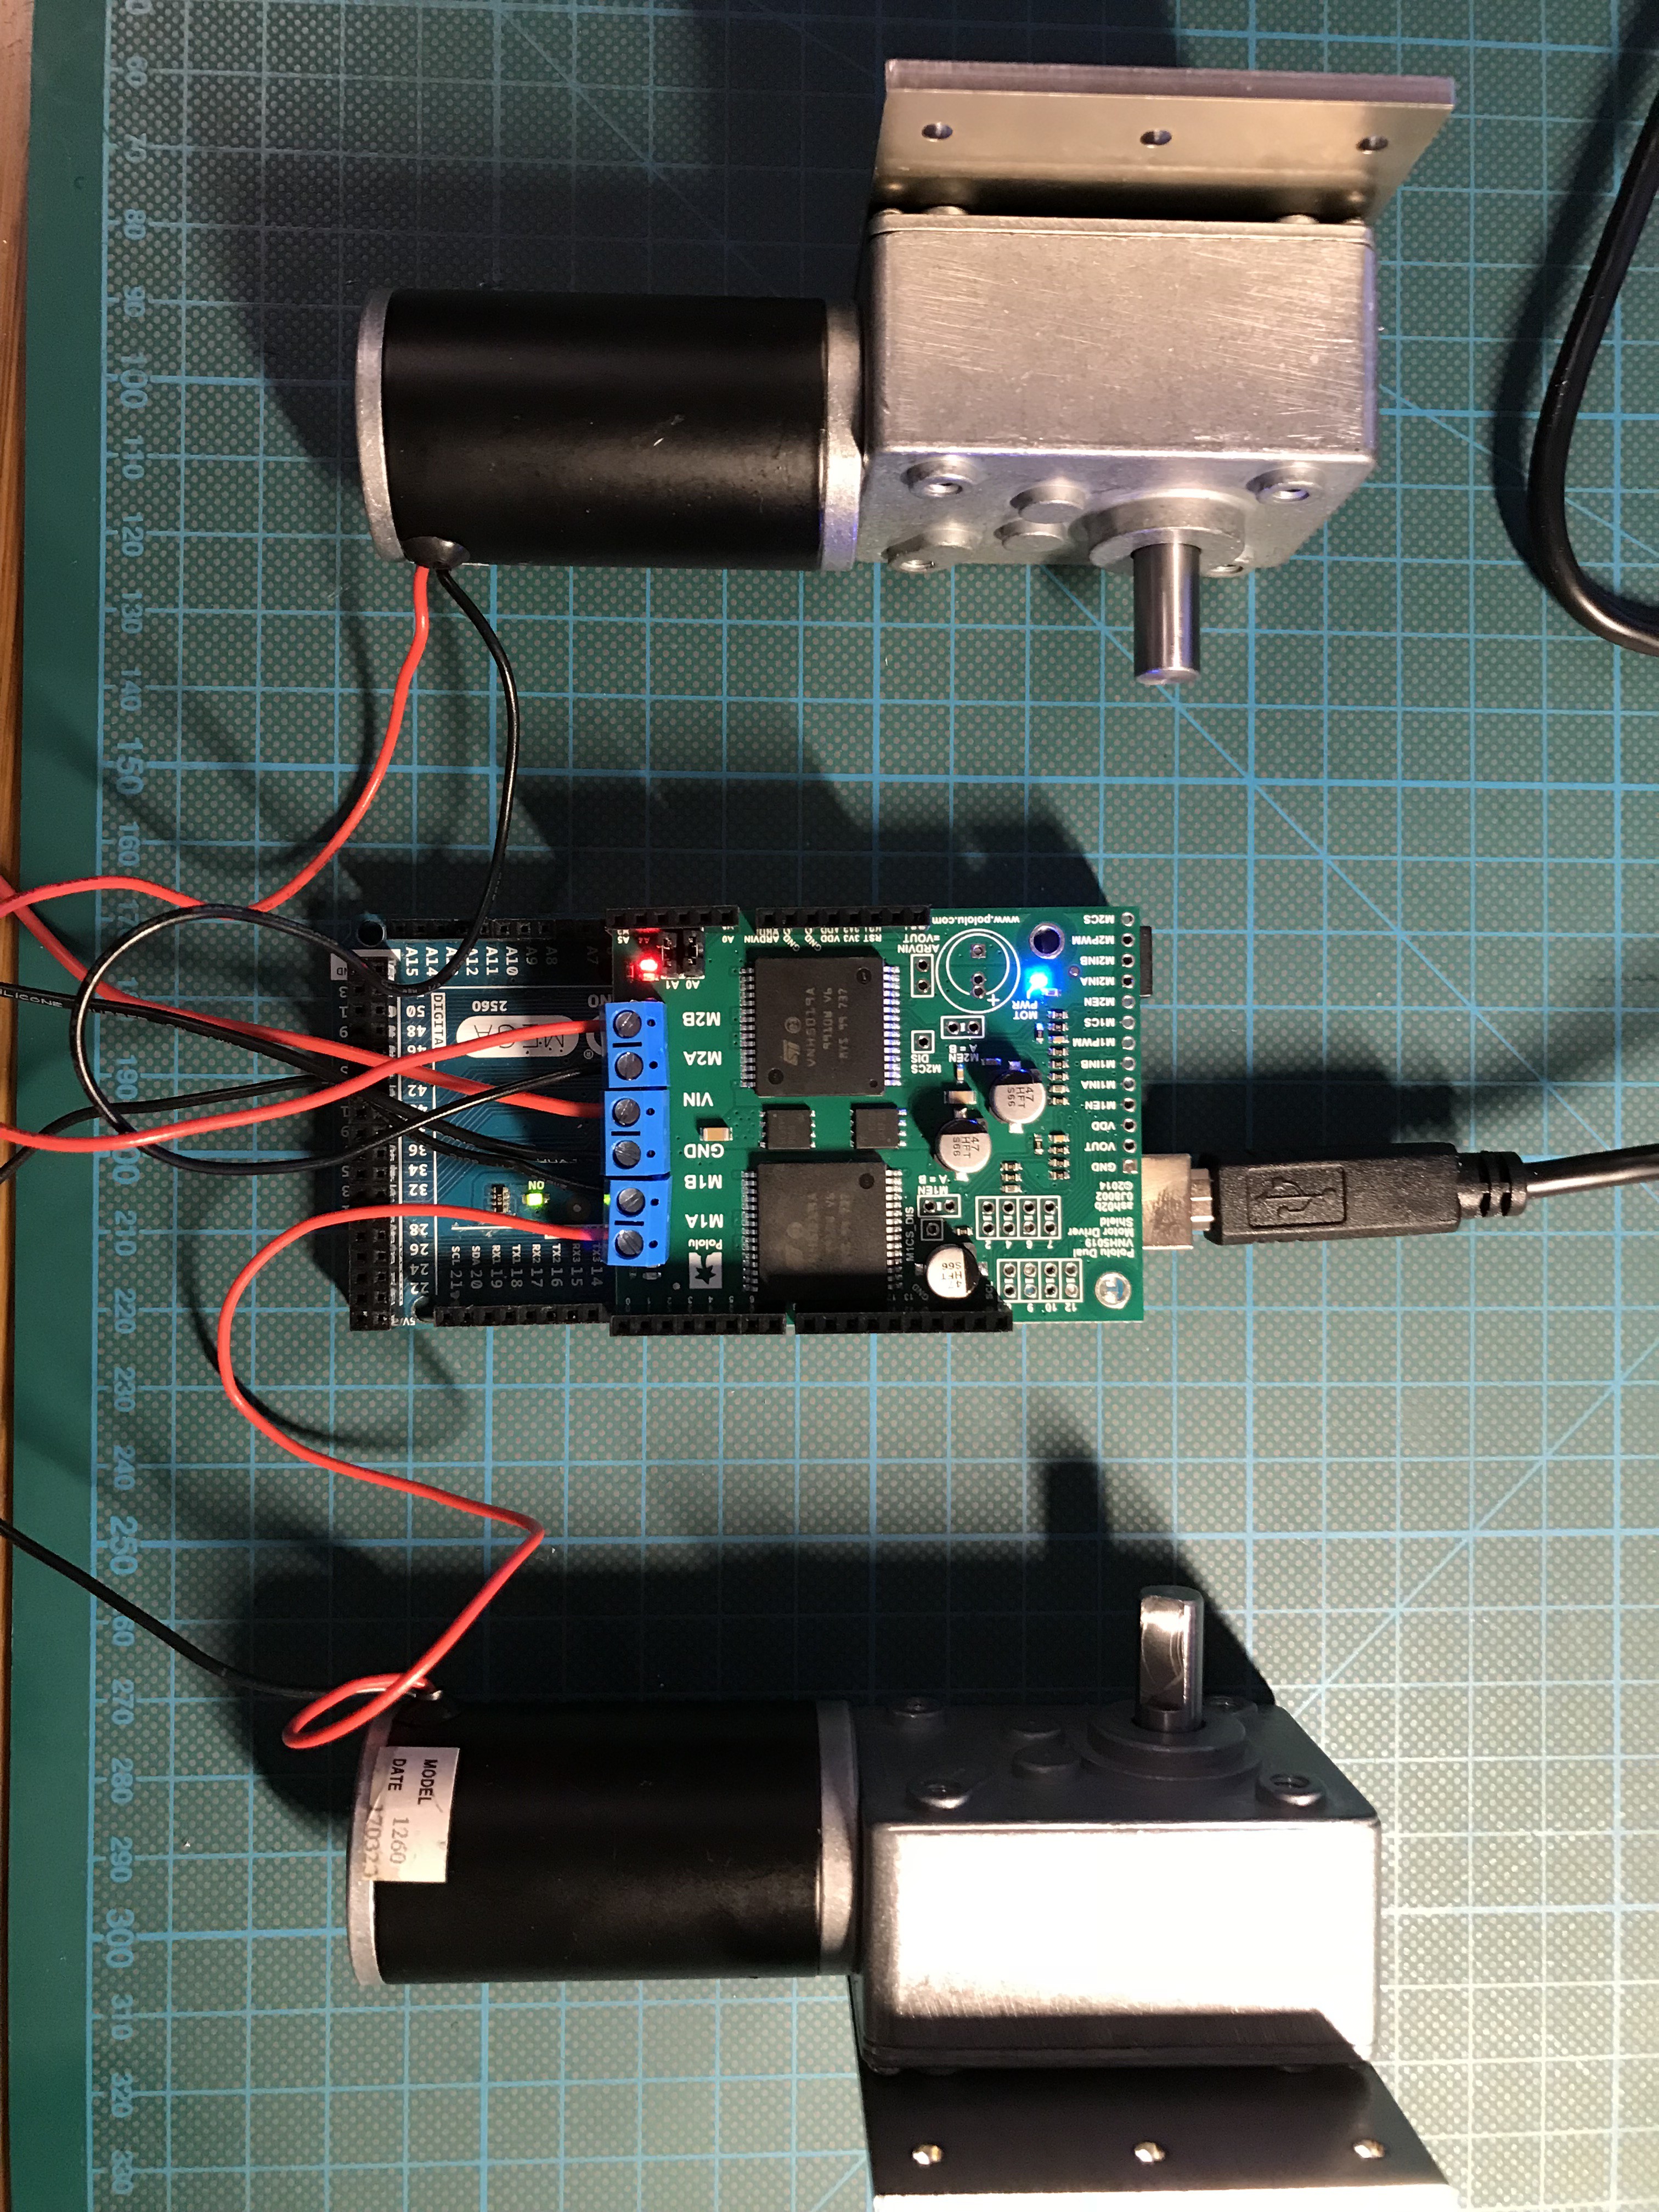
 Populated extension shields for the two Arduino MEGA's, MARB has on board:
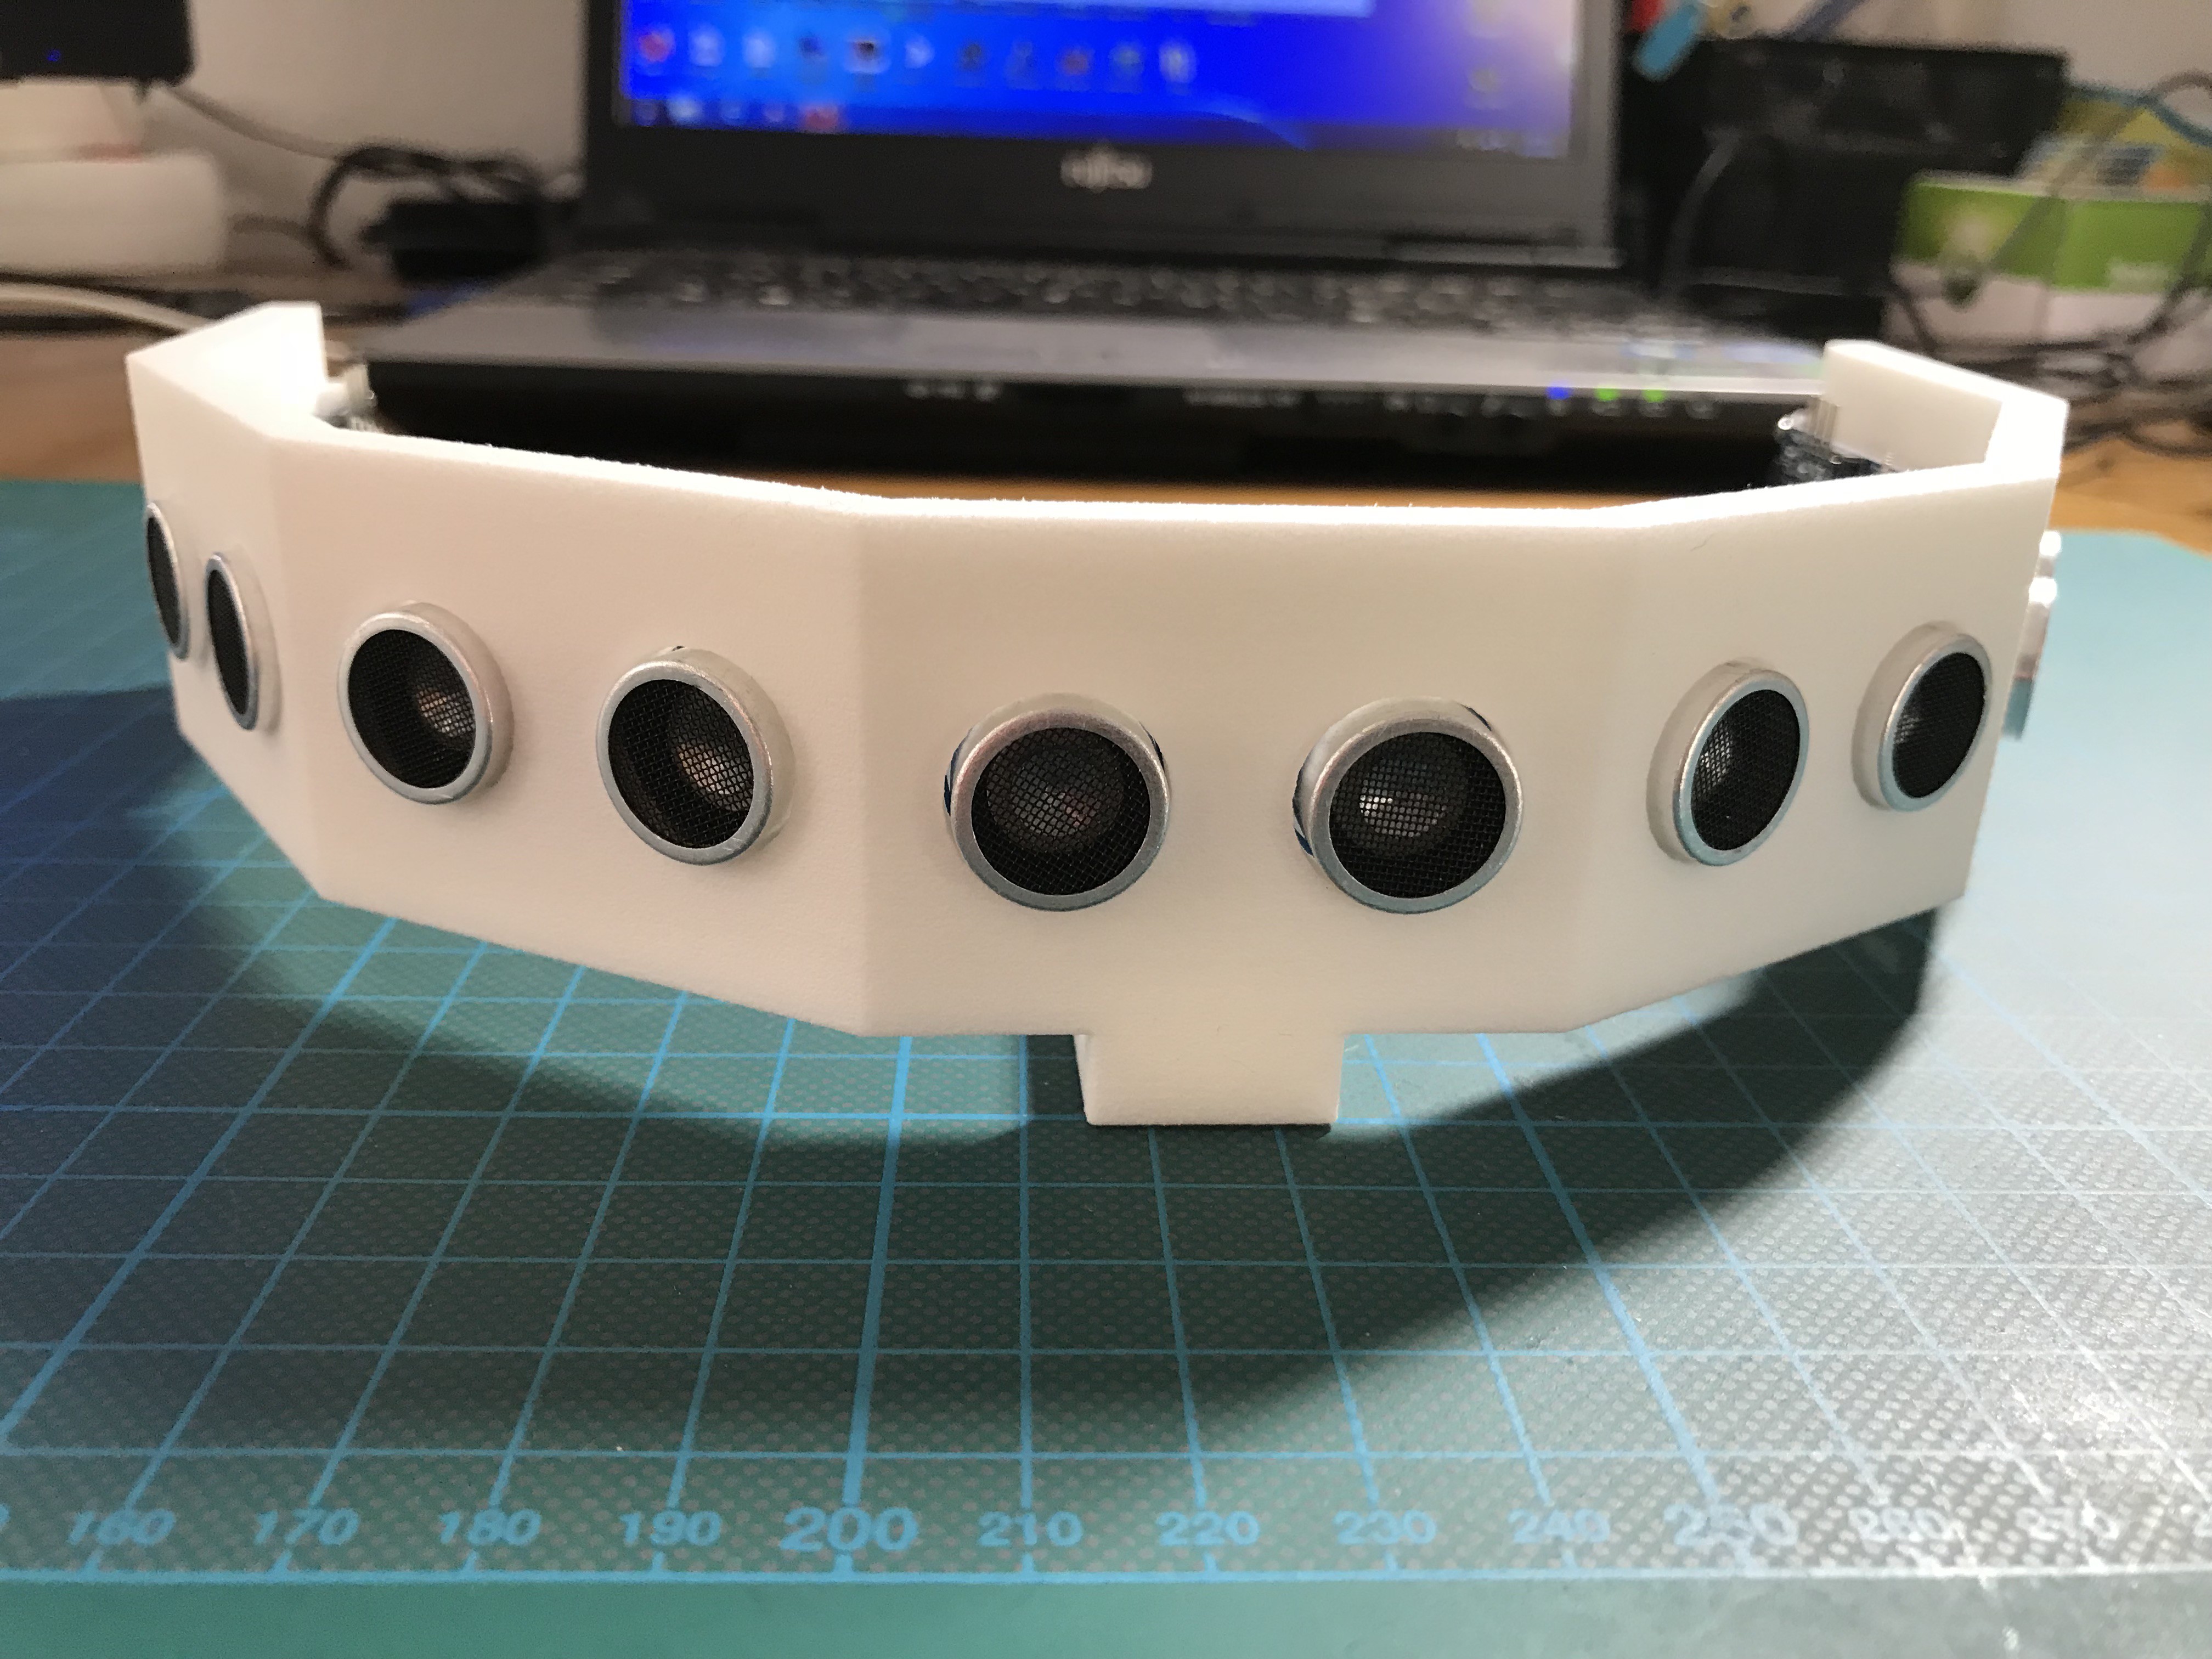
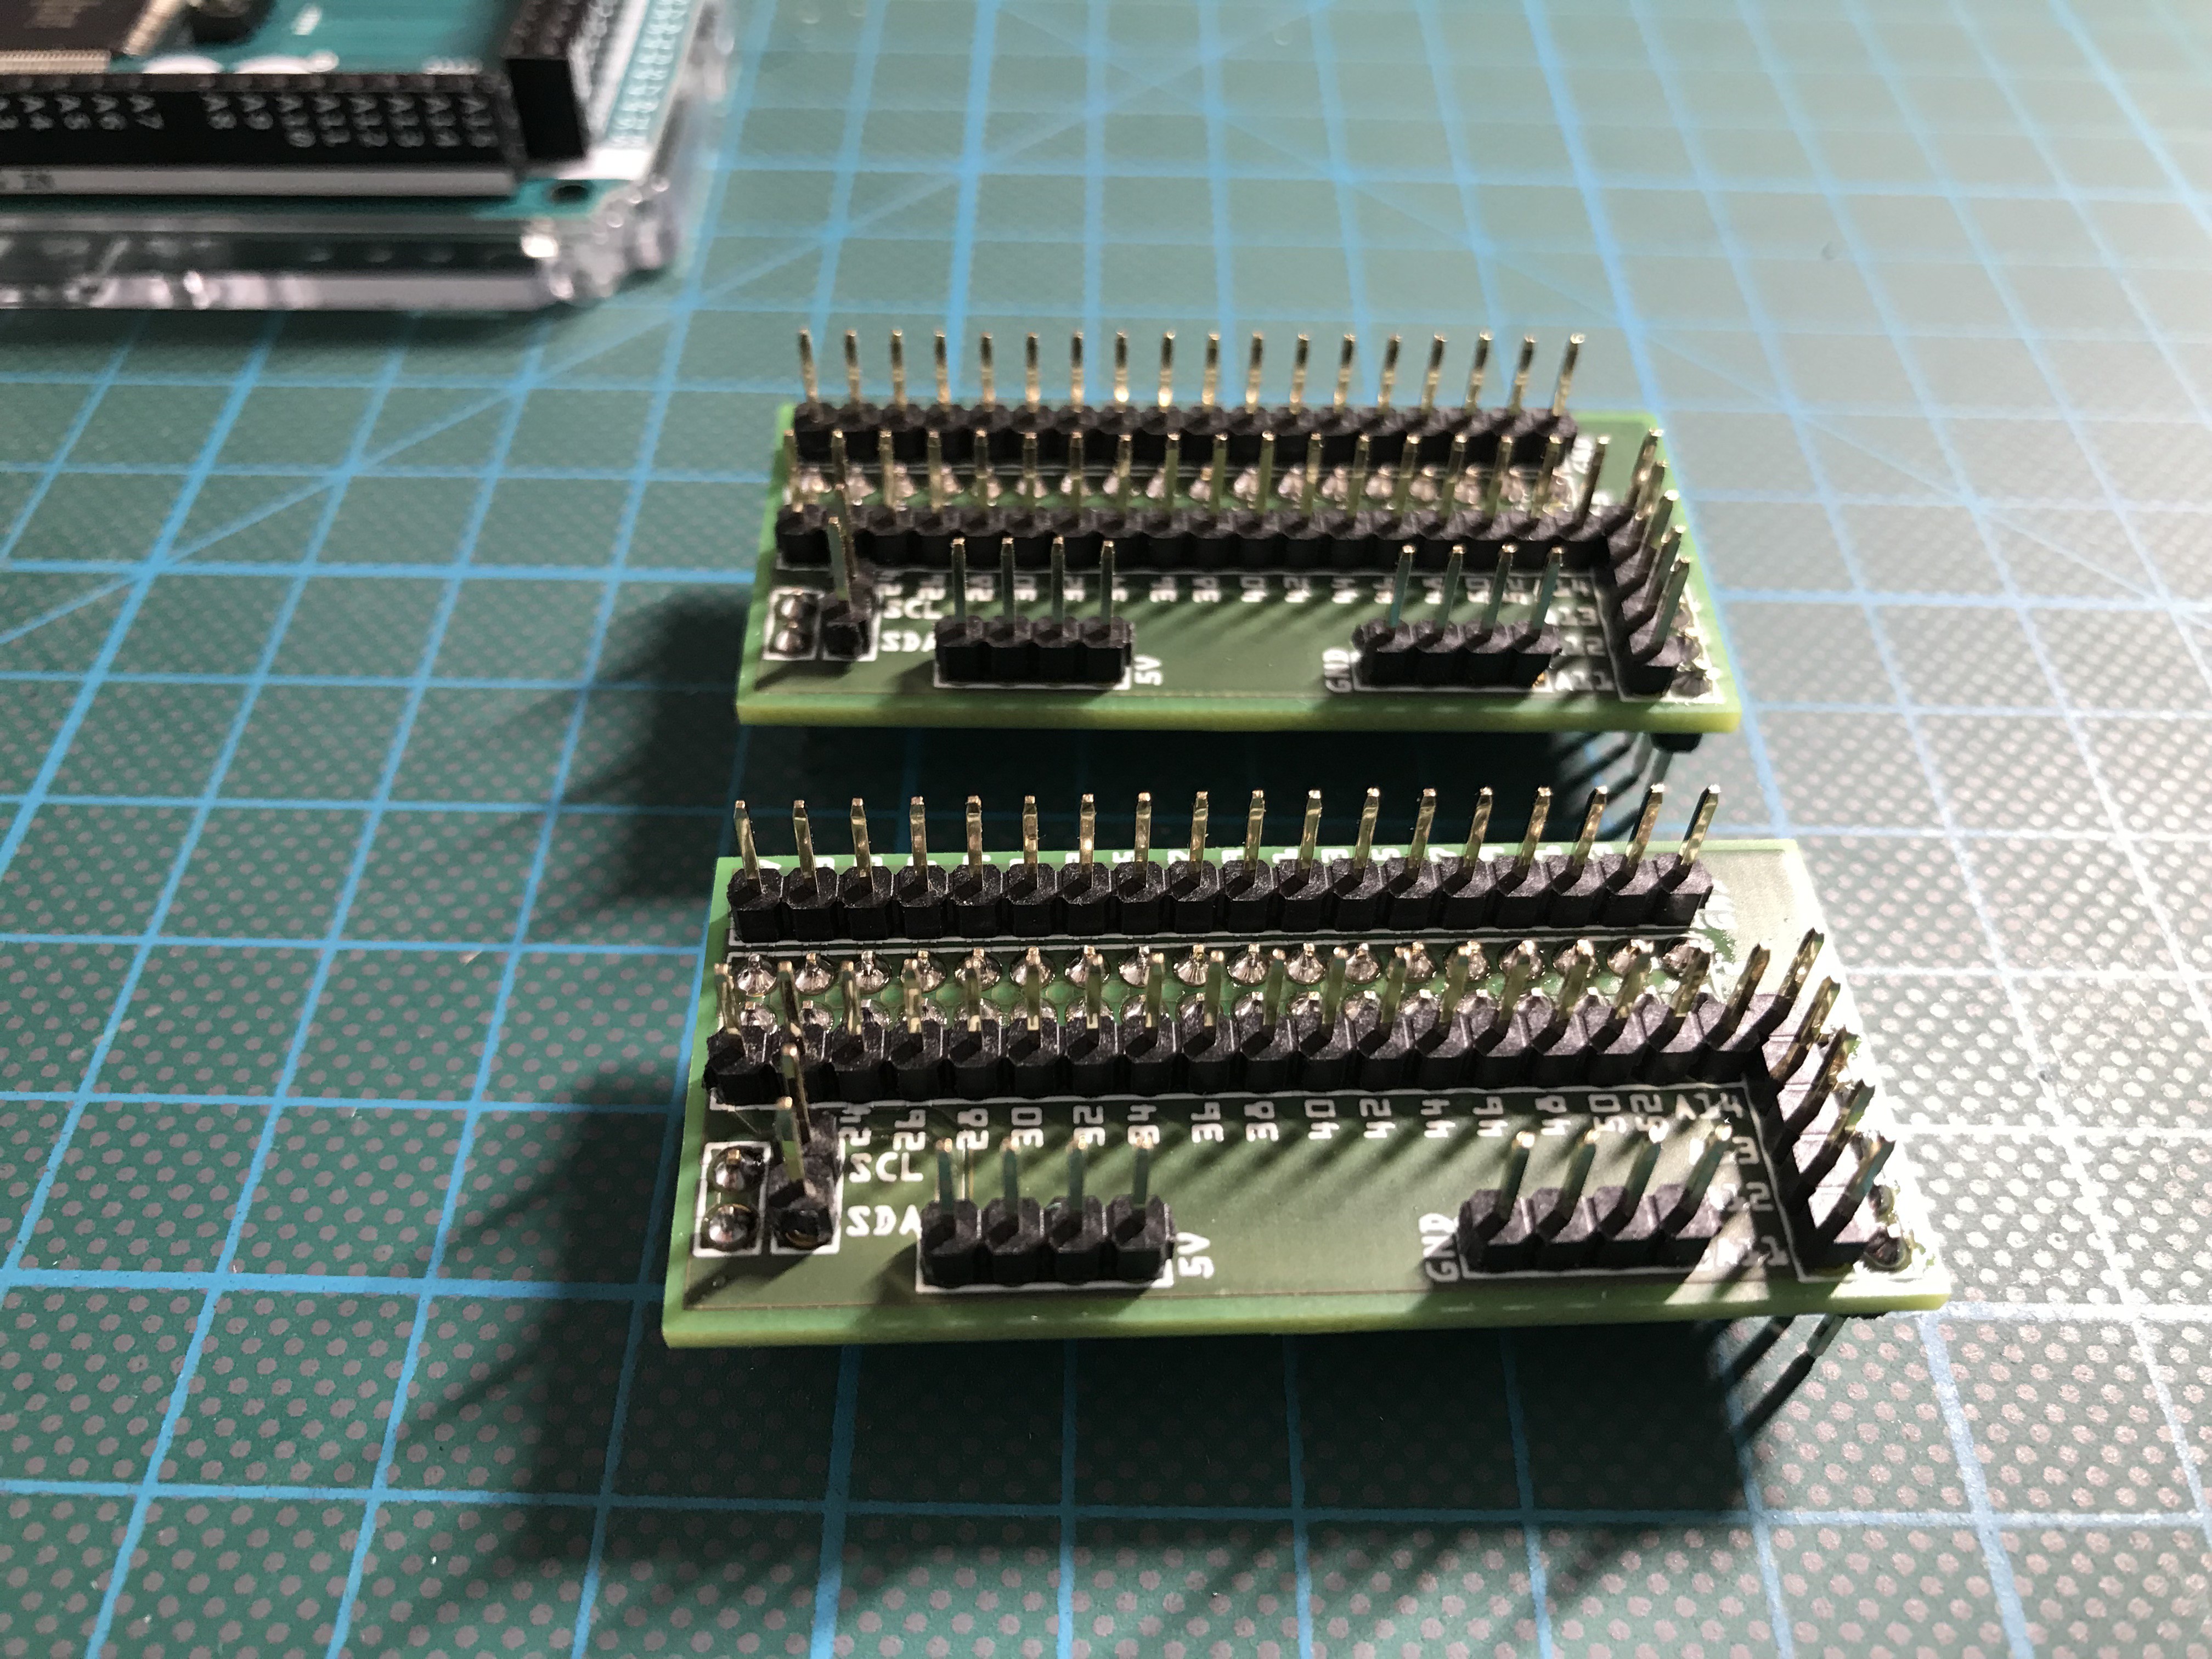 Wired and tested ultrasonic sensor module:
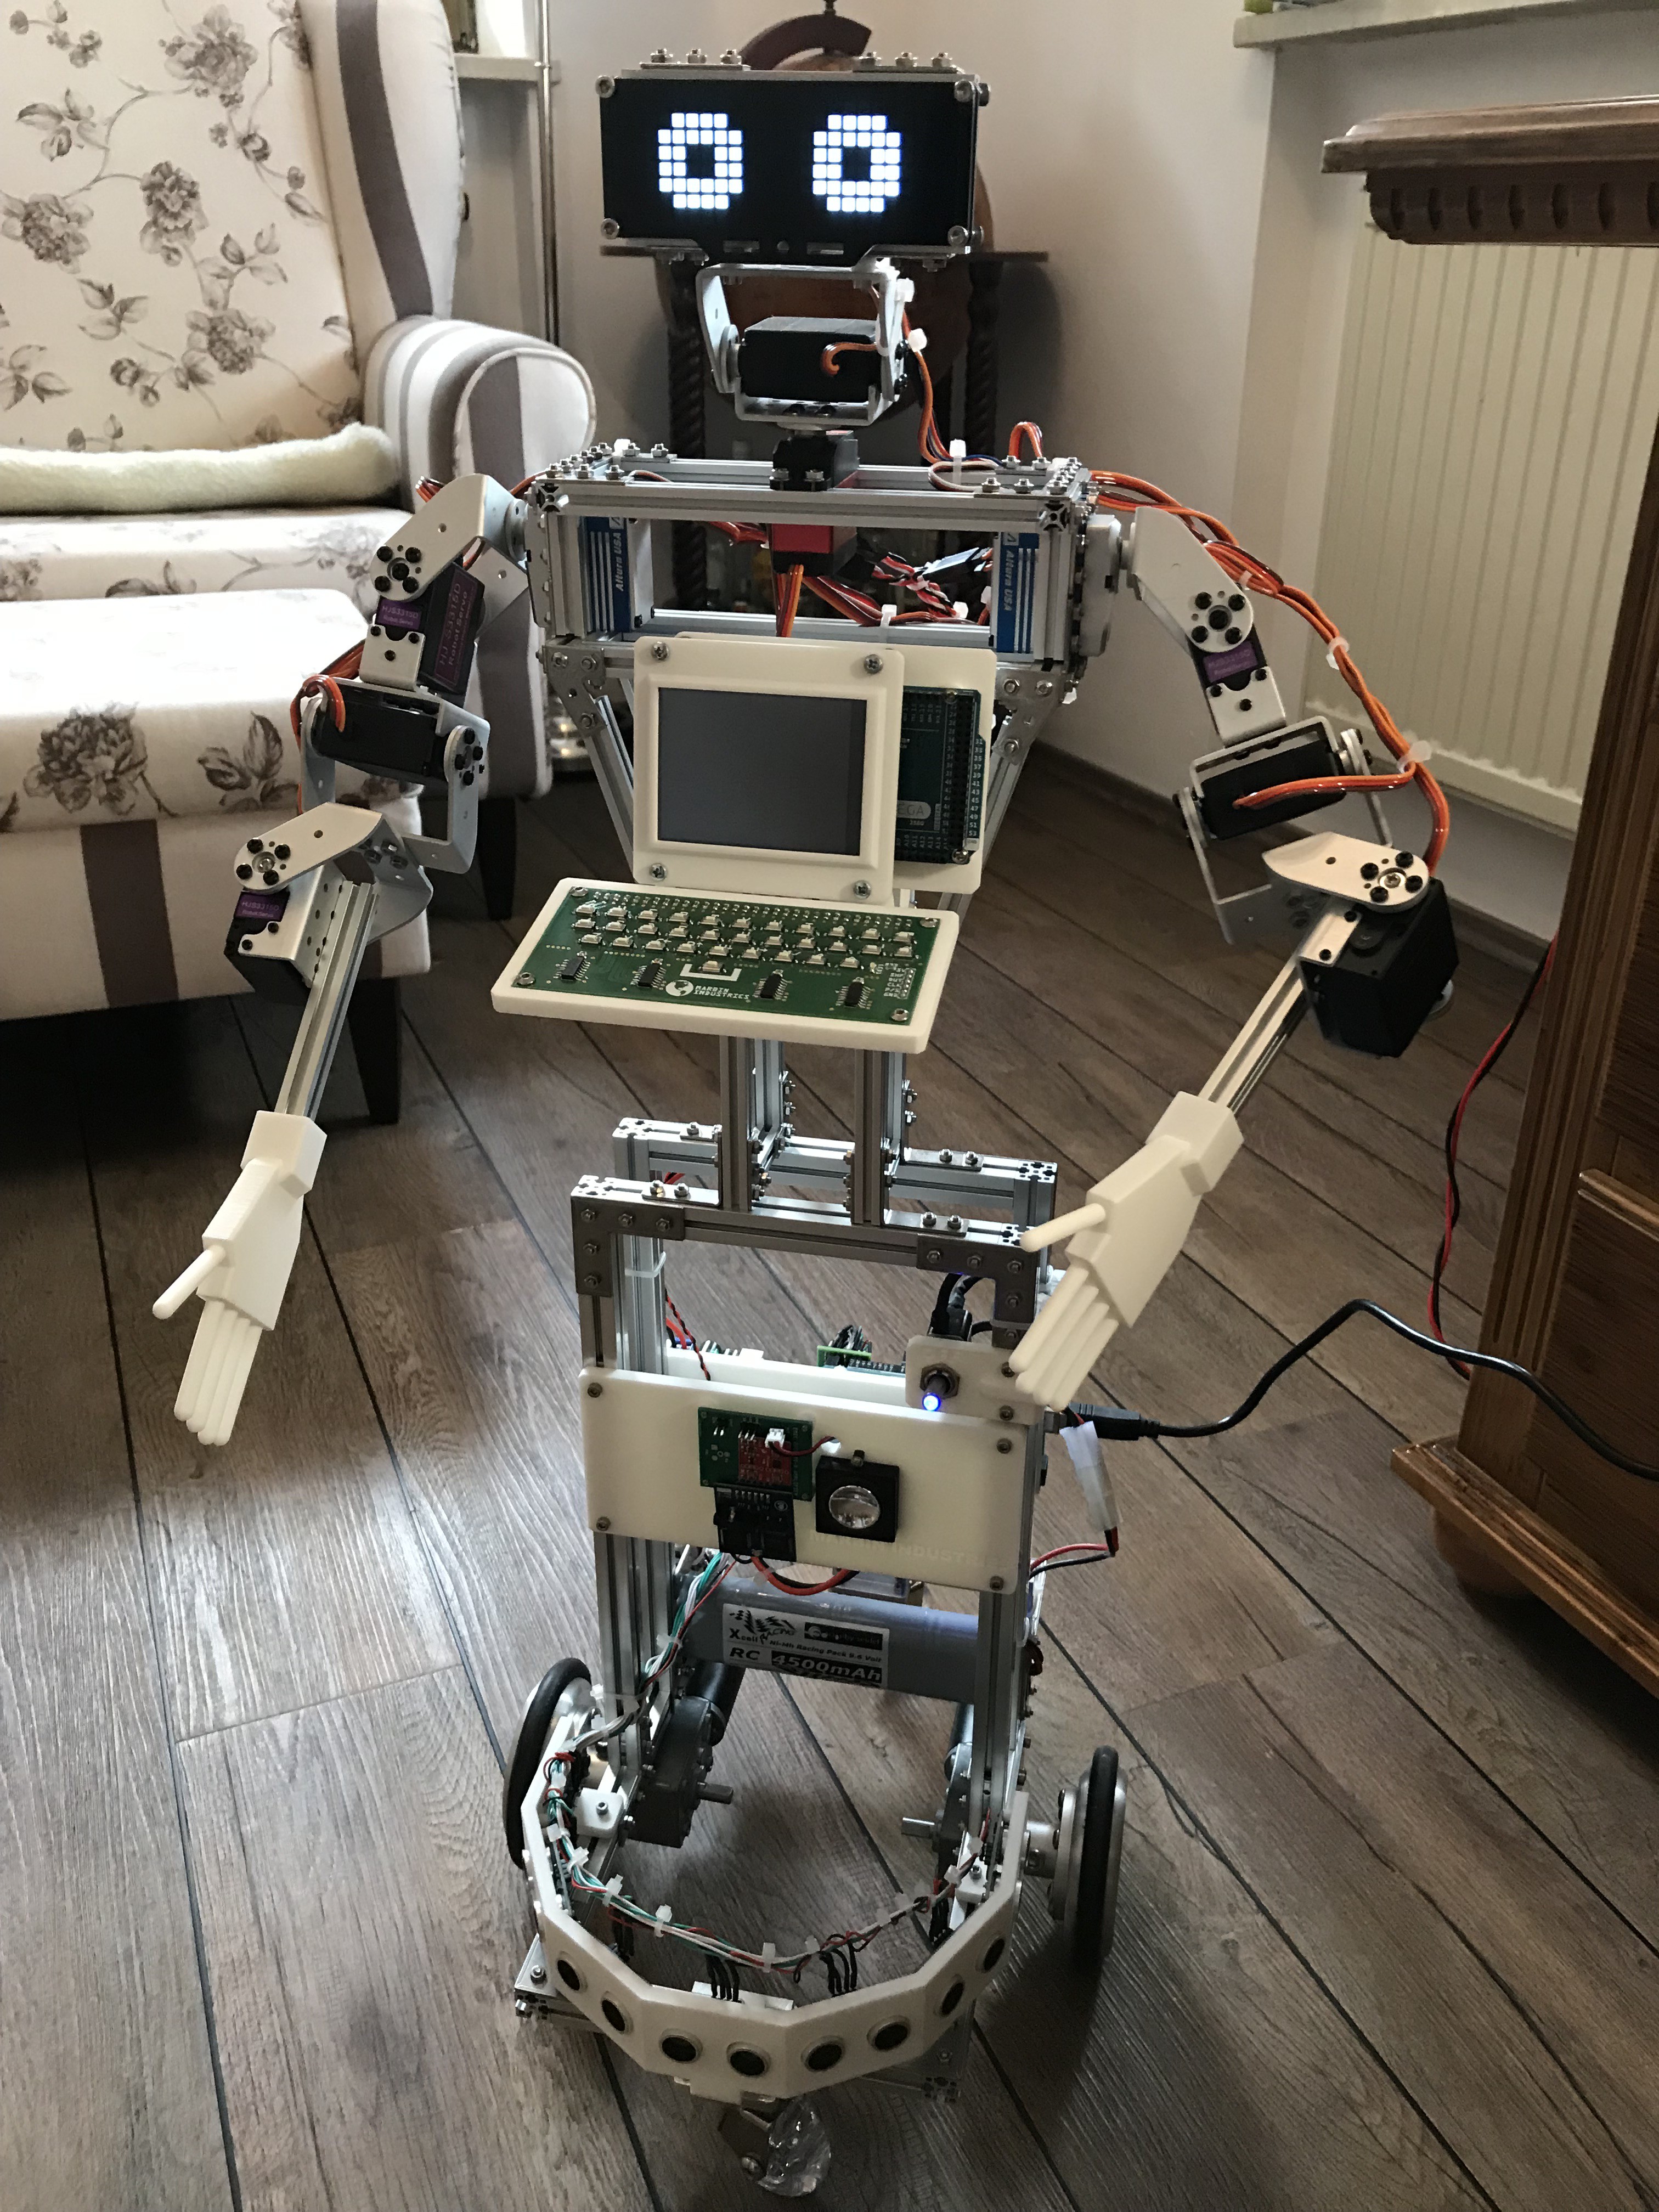
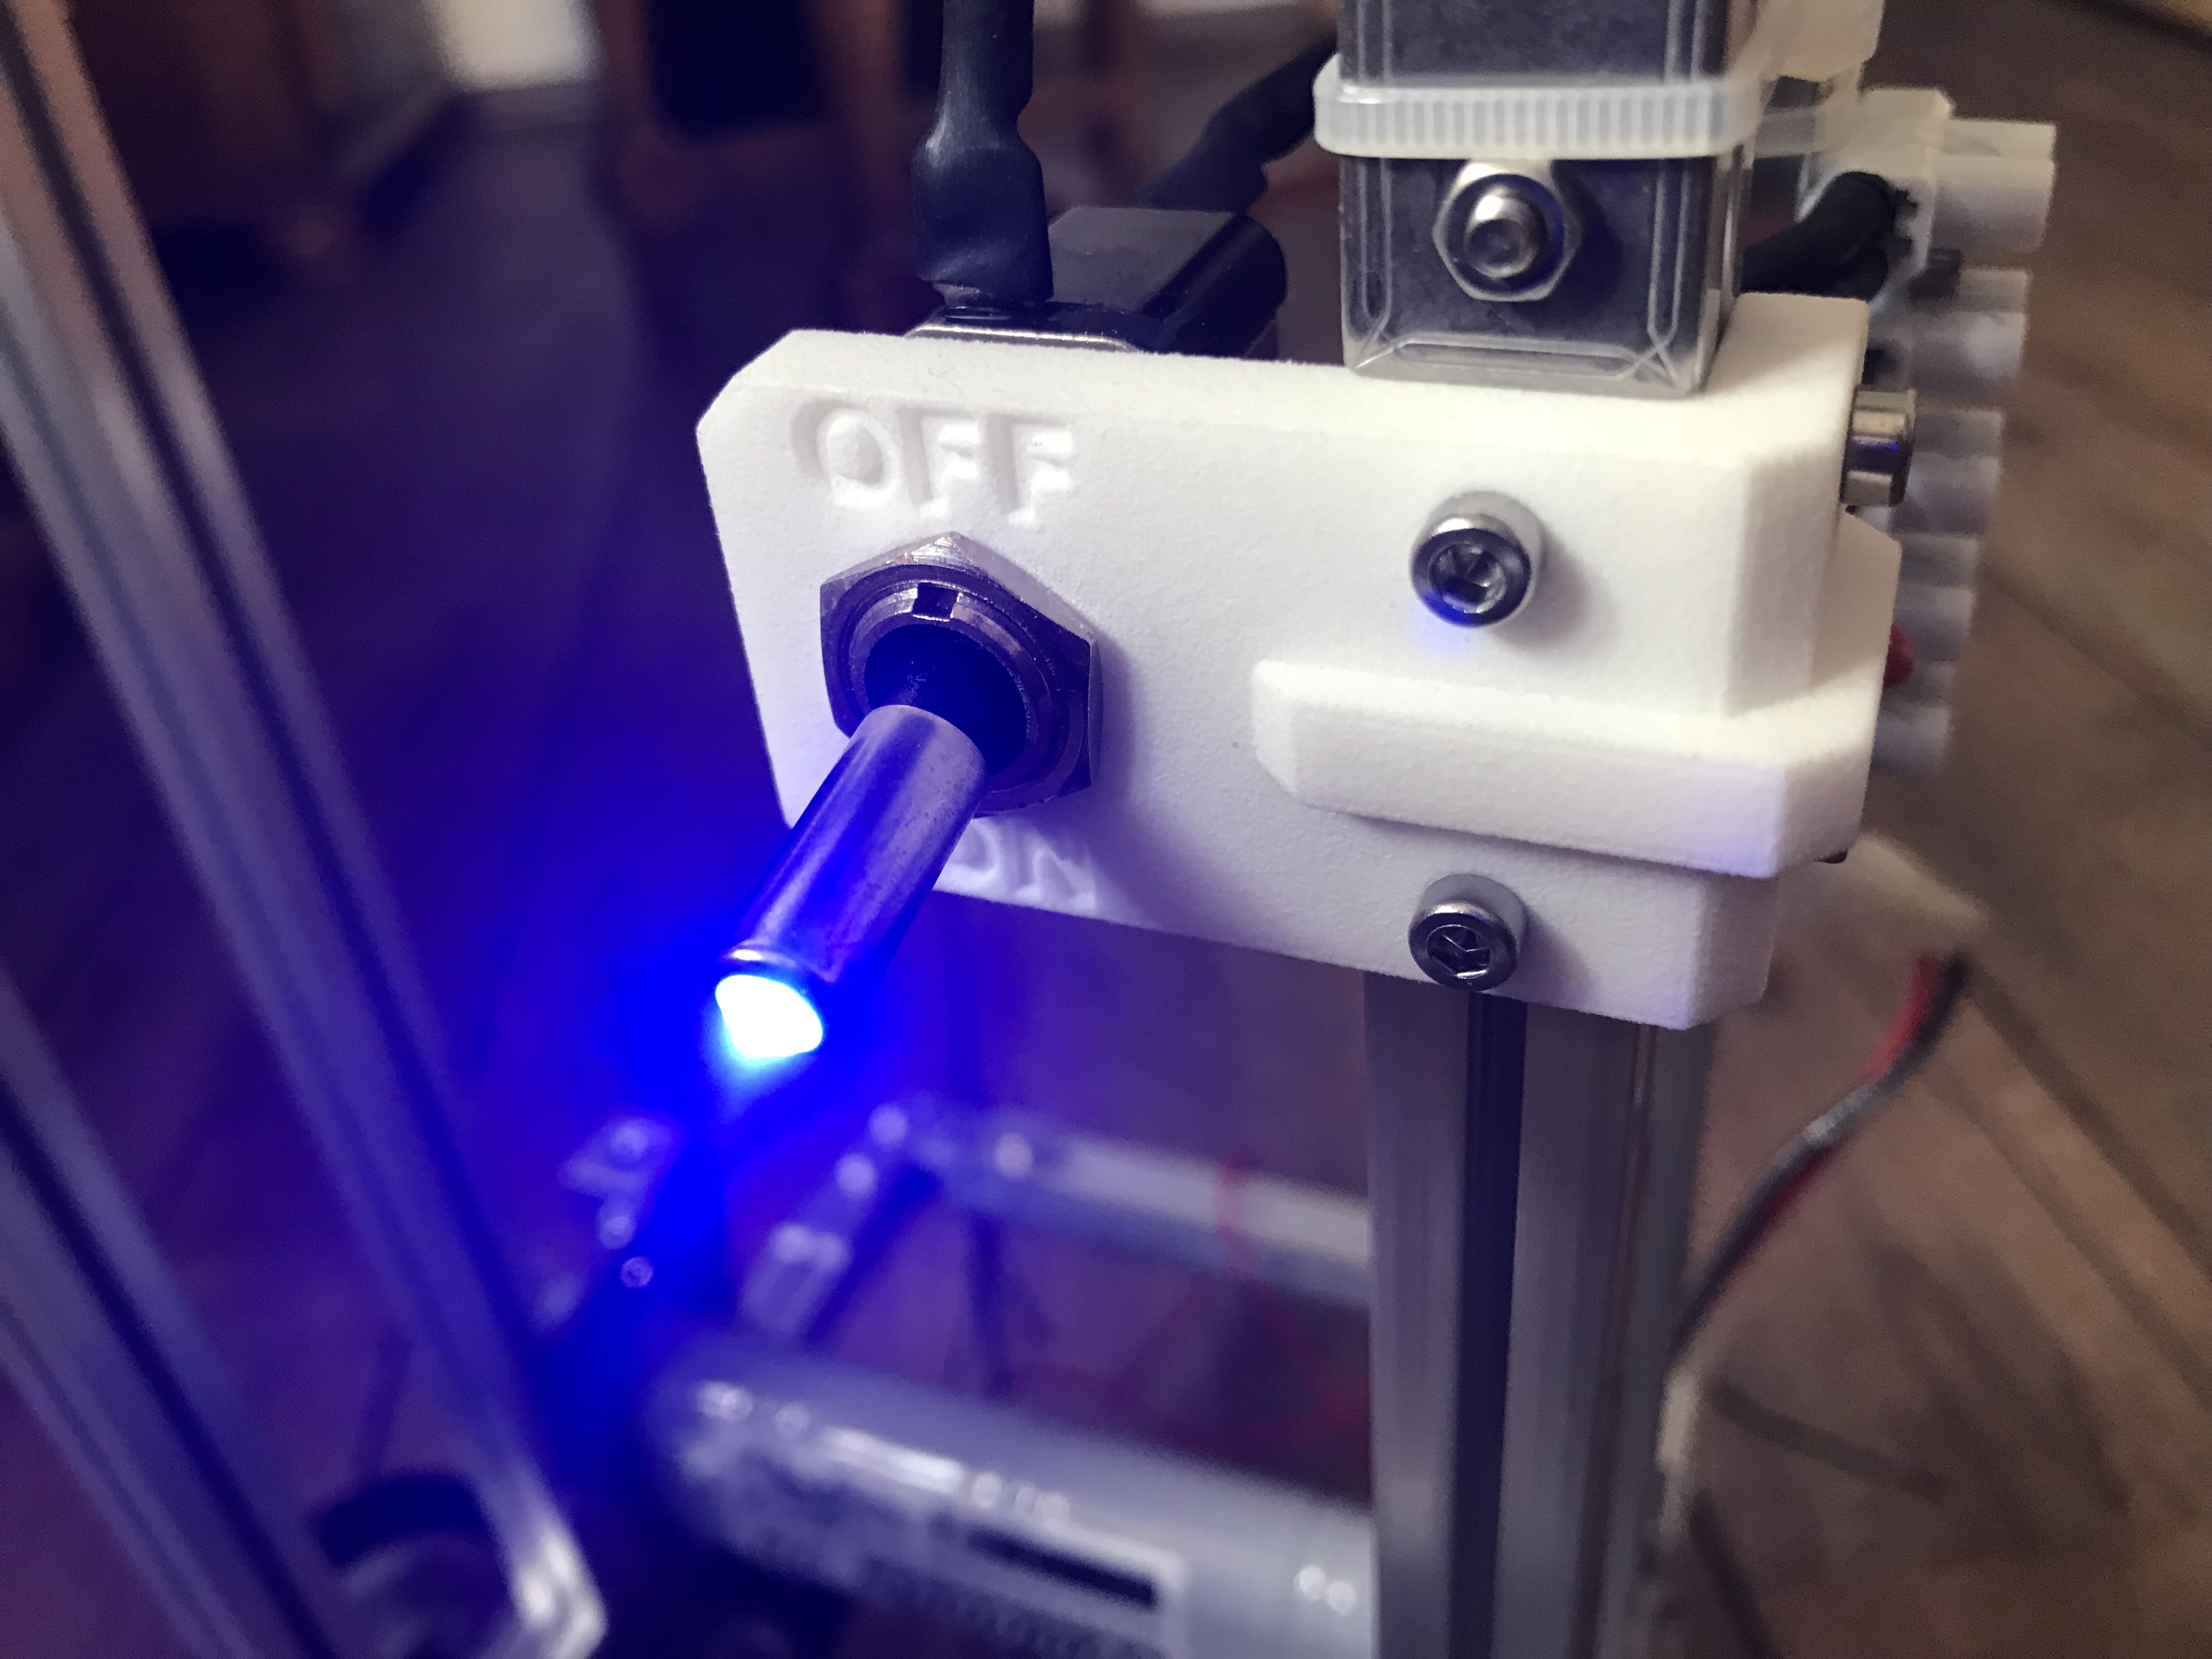
 Assembled and partly wired module. The LM 2596 based voltage regulator powers the micro controllers, the other step-down DC-DC converter the servos.
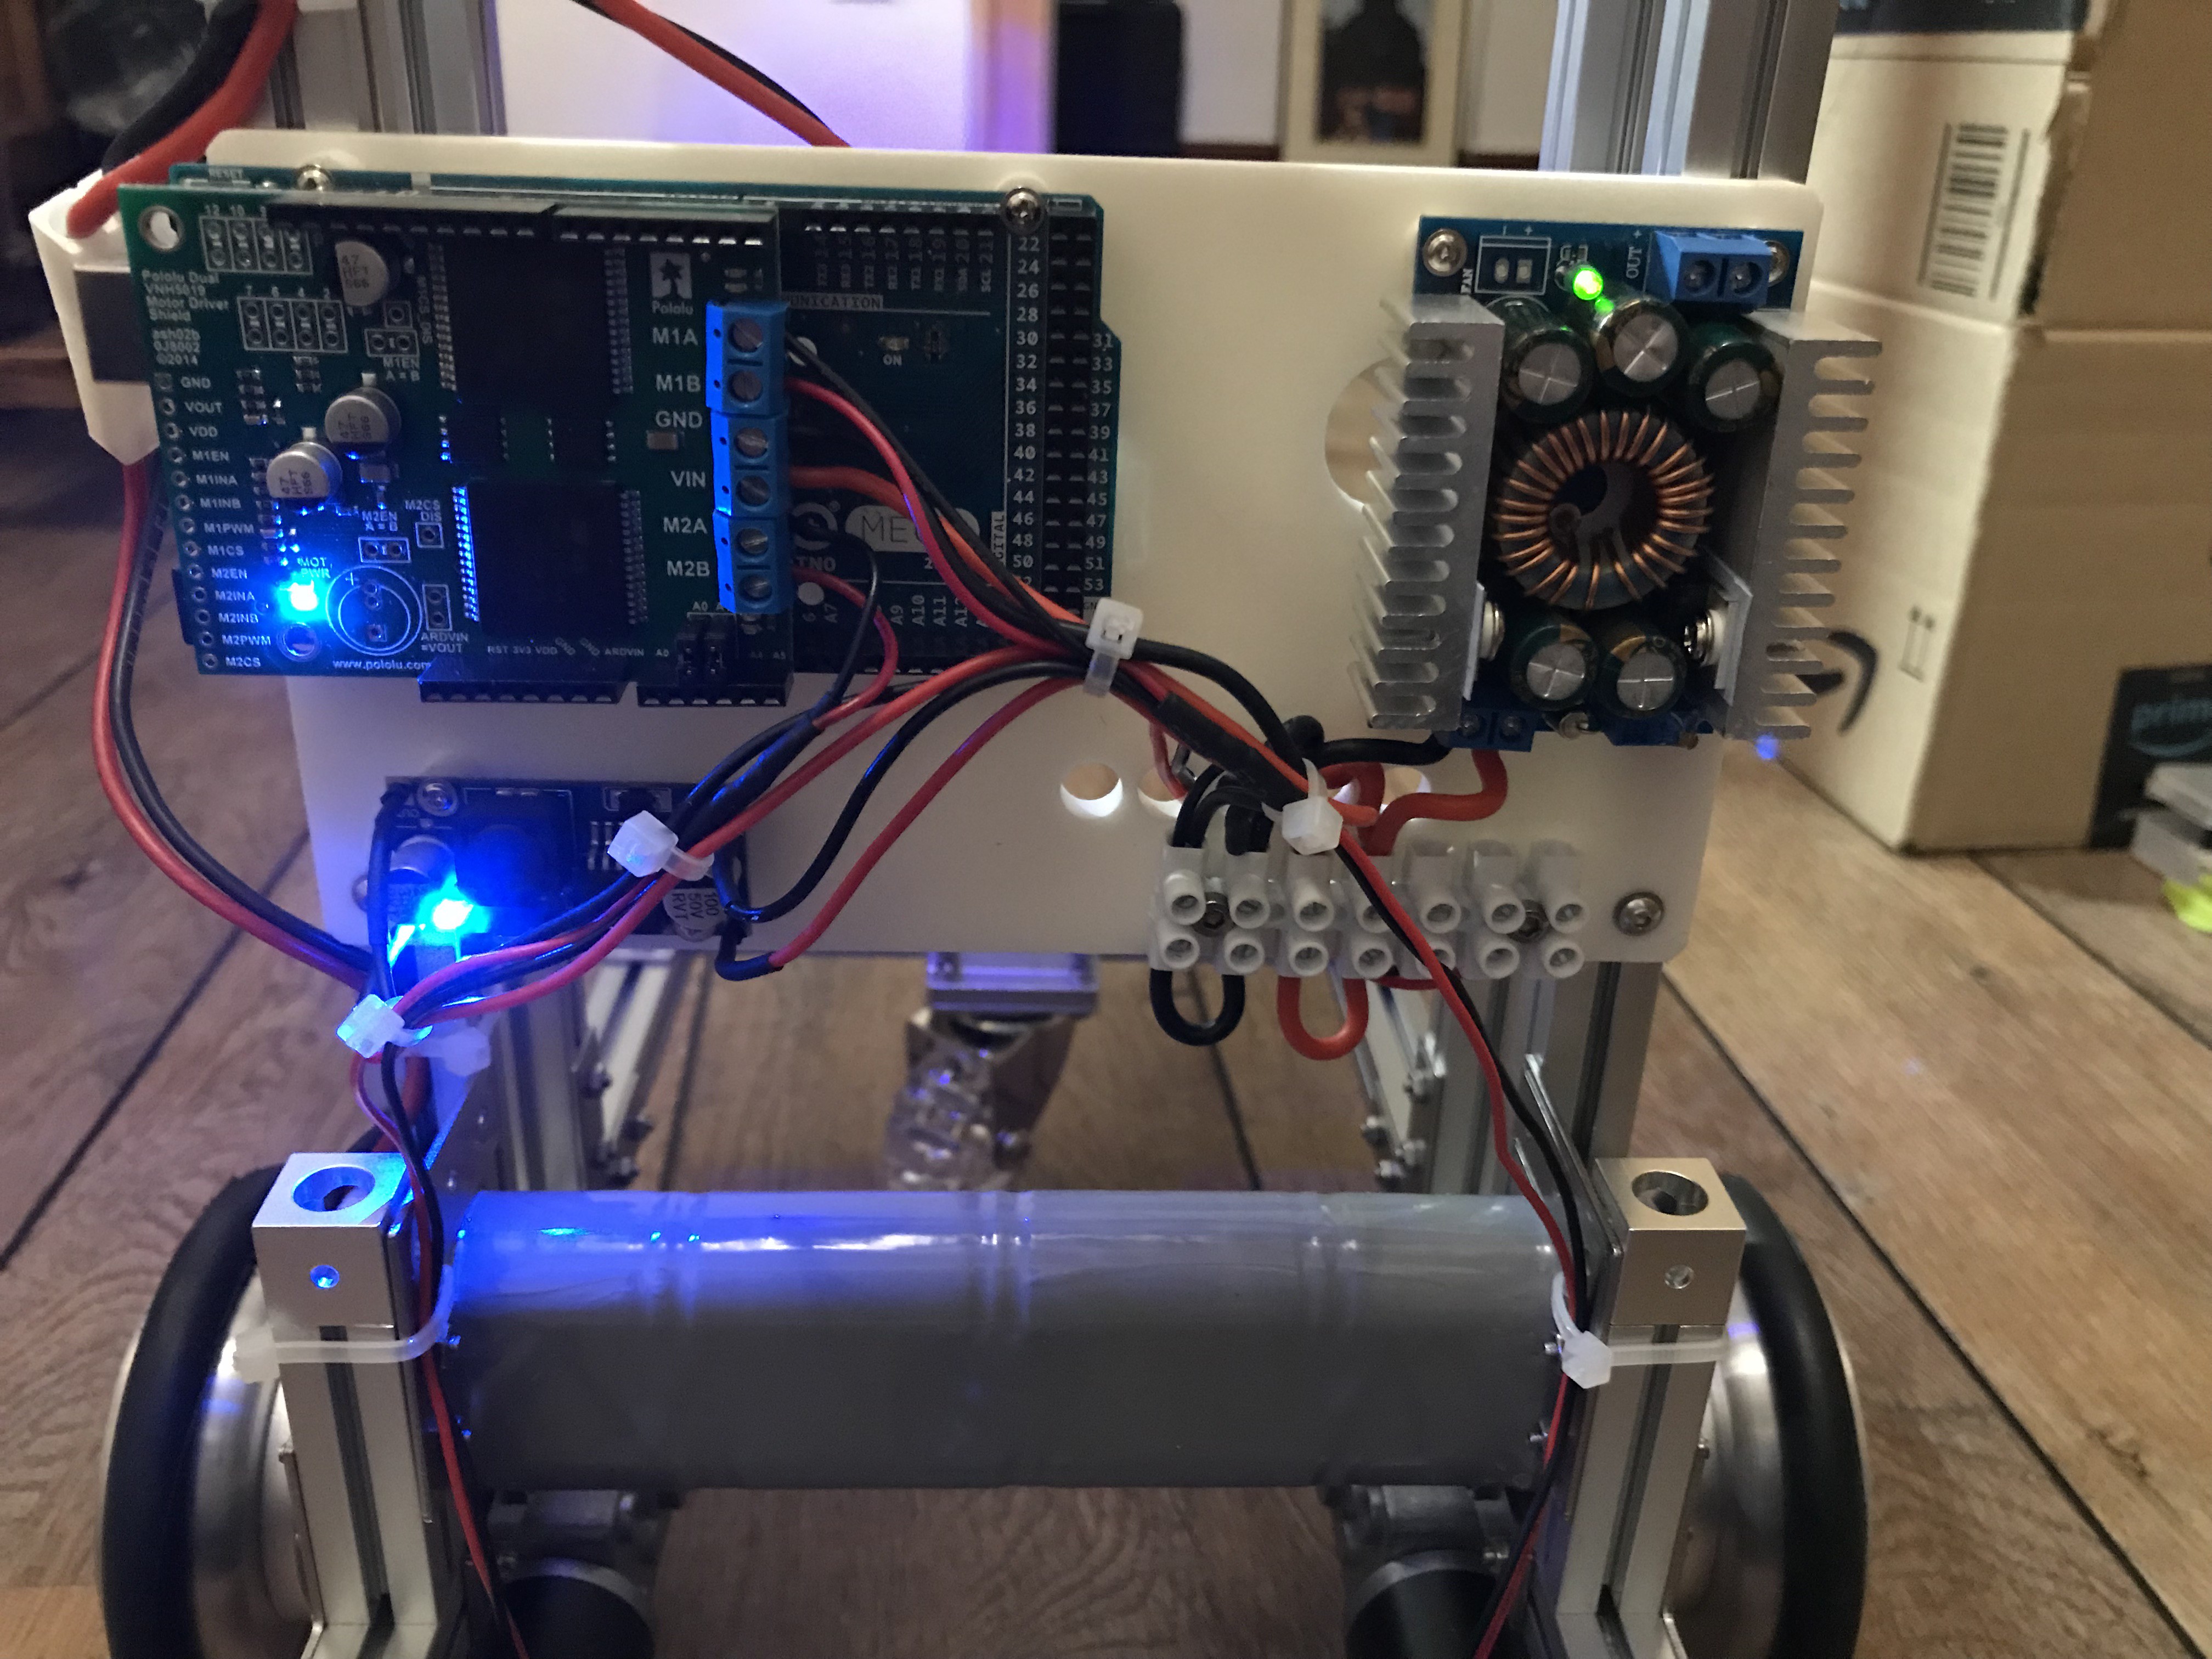
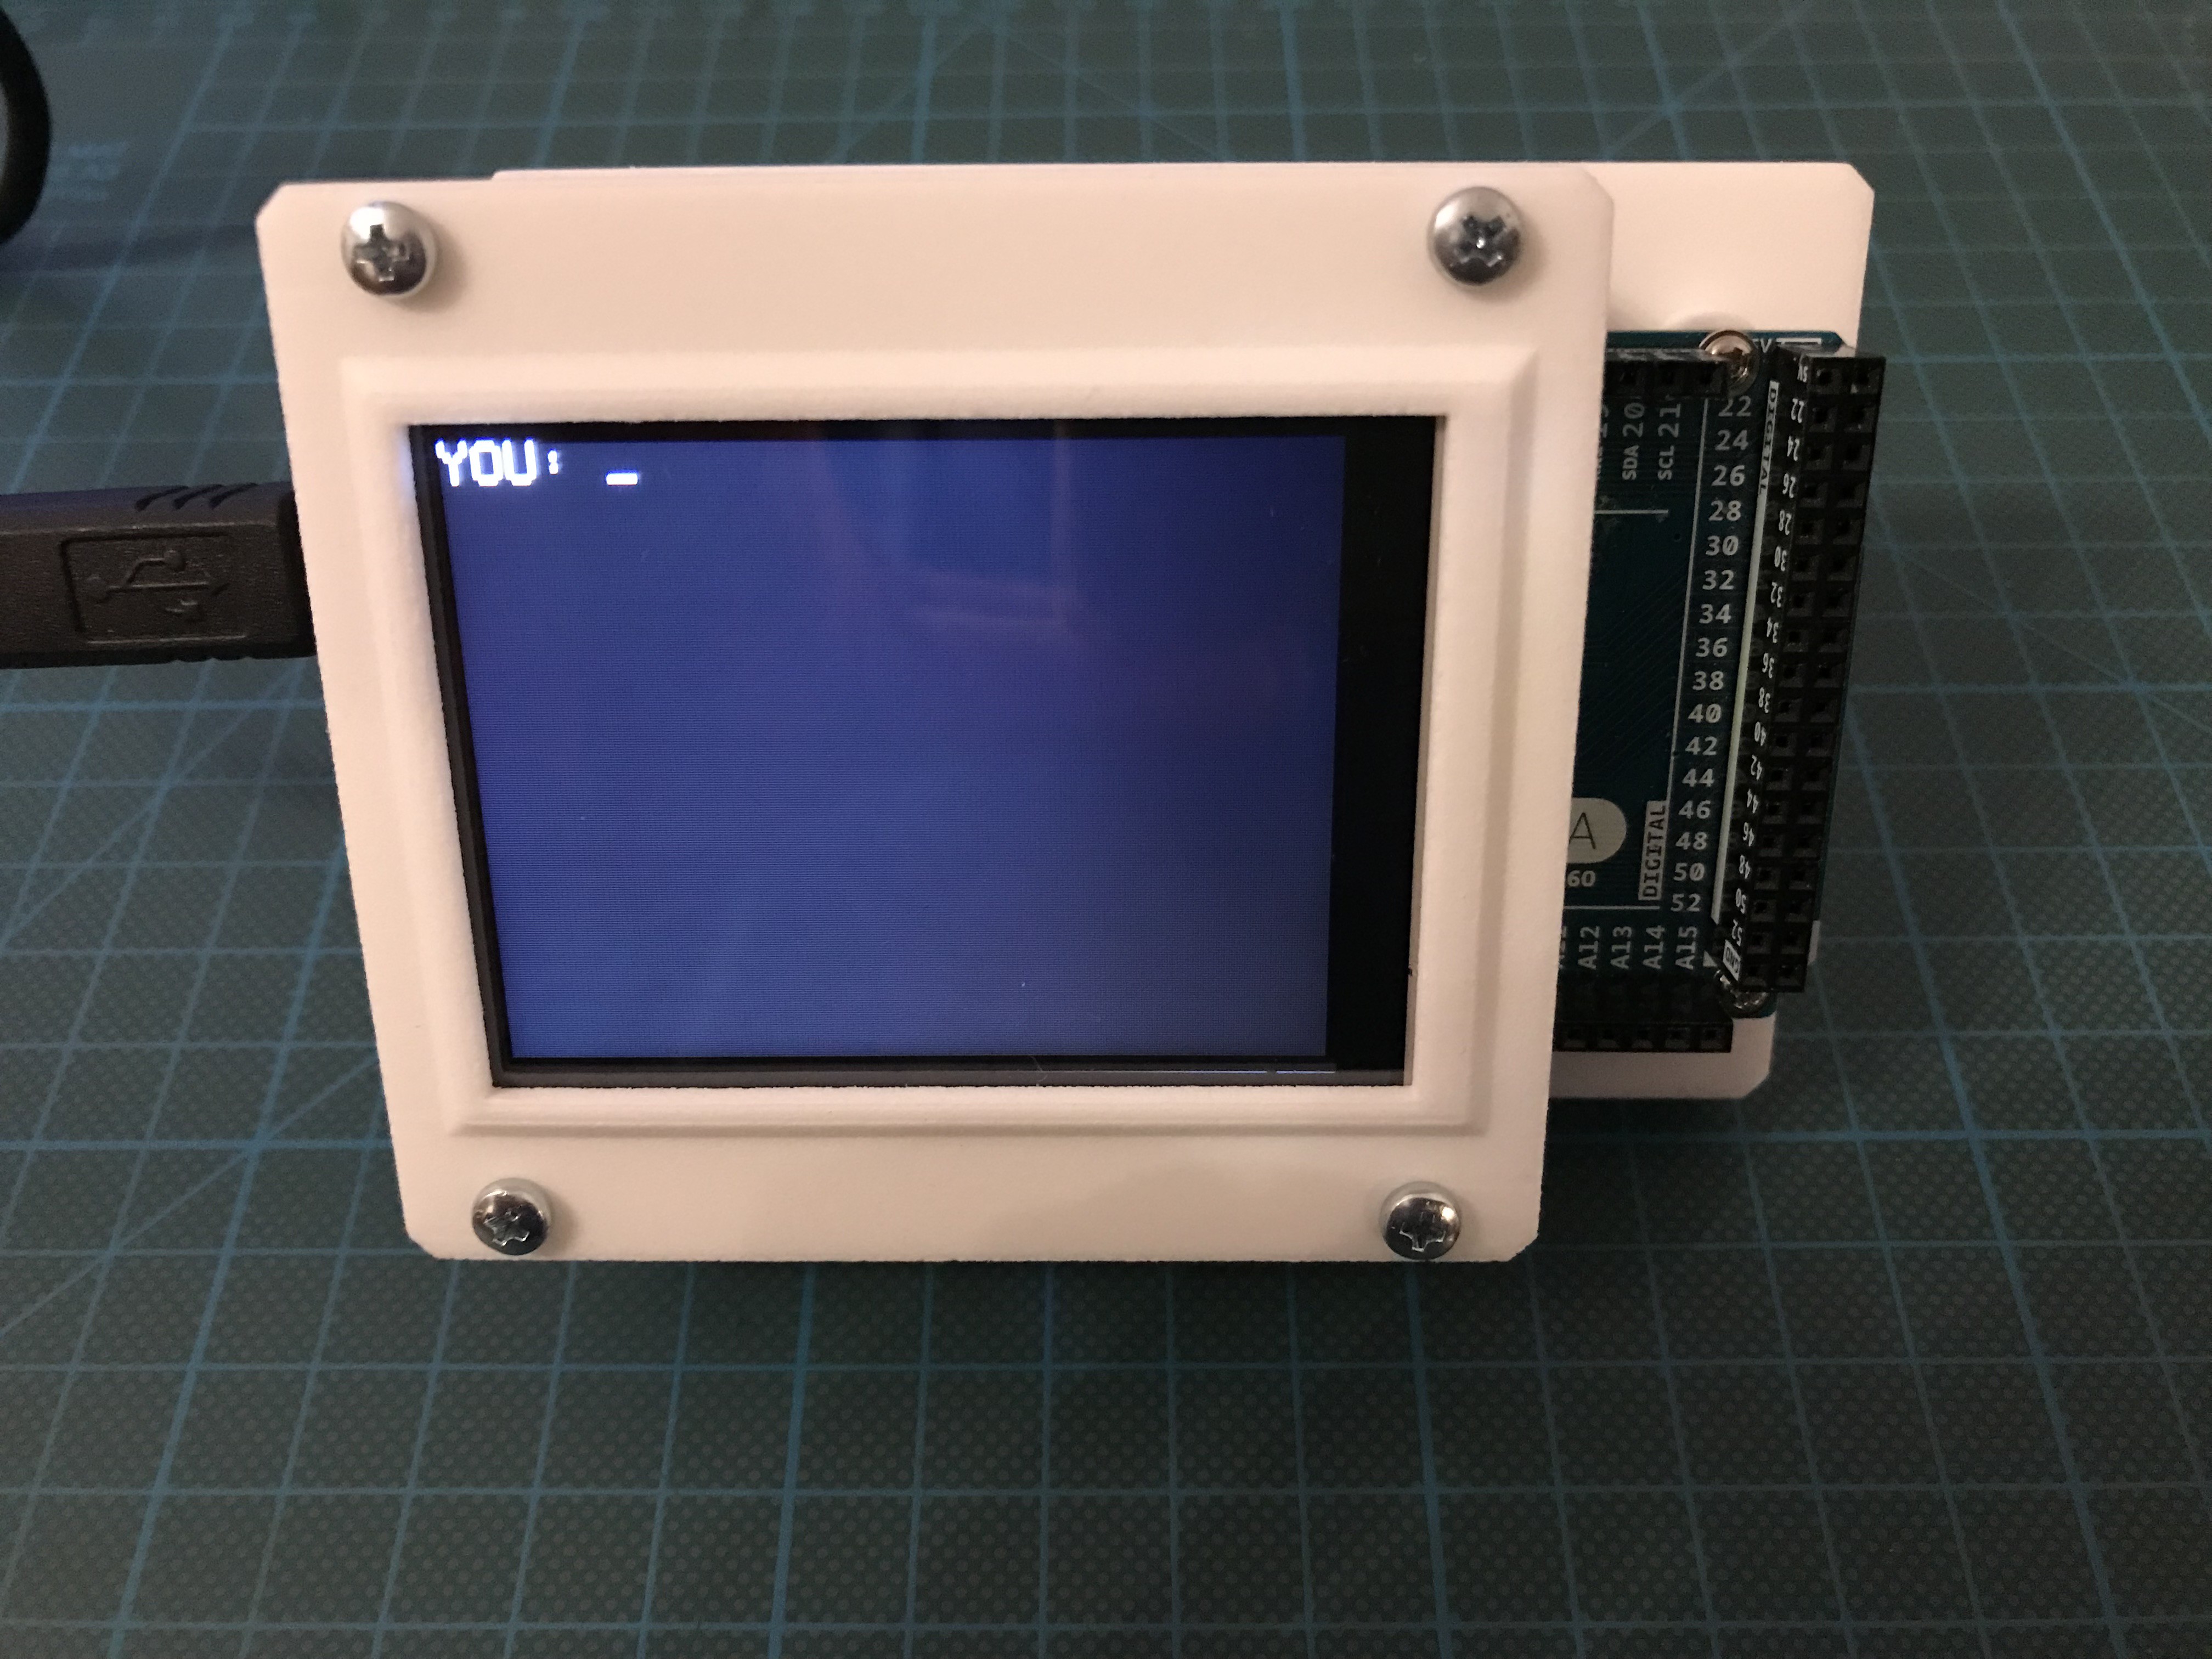
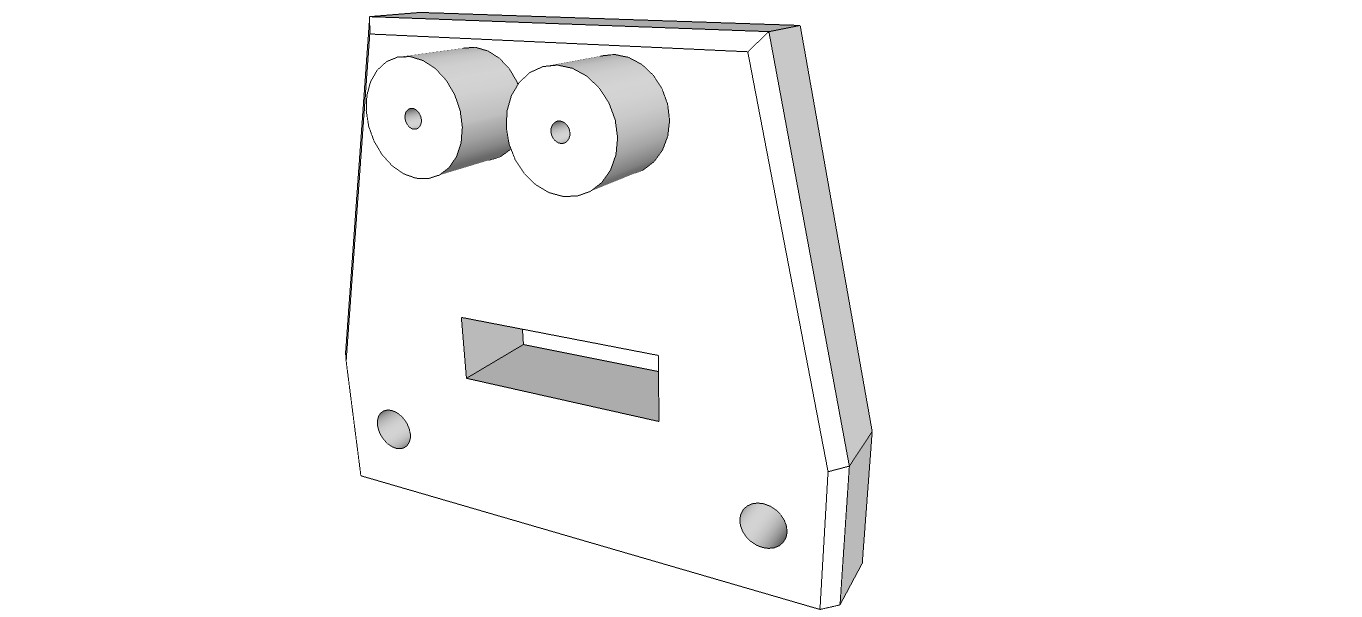
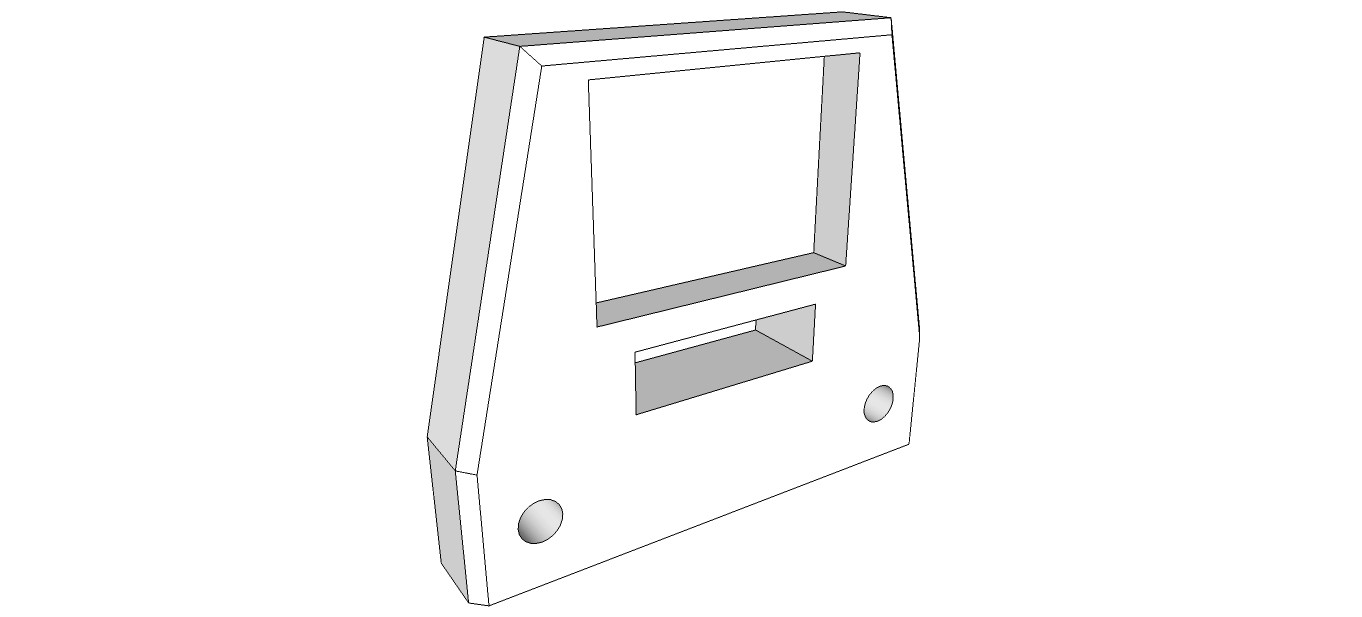
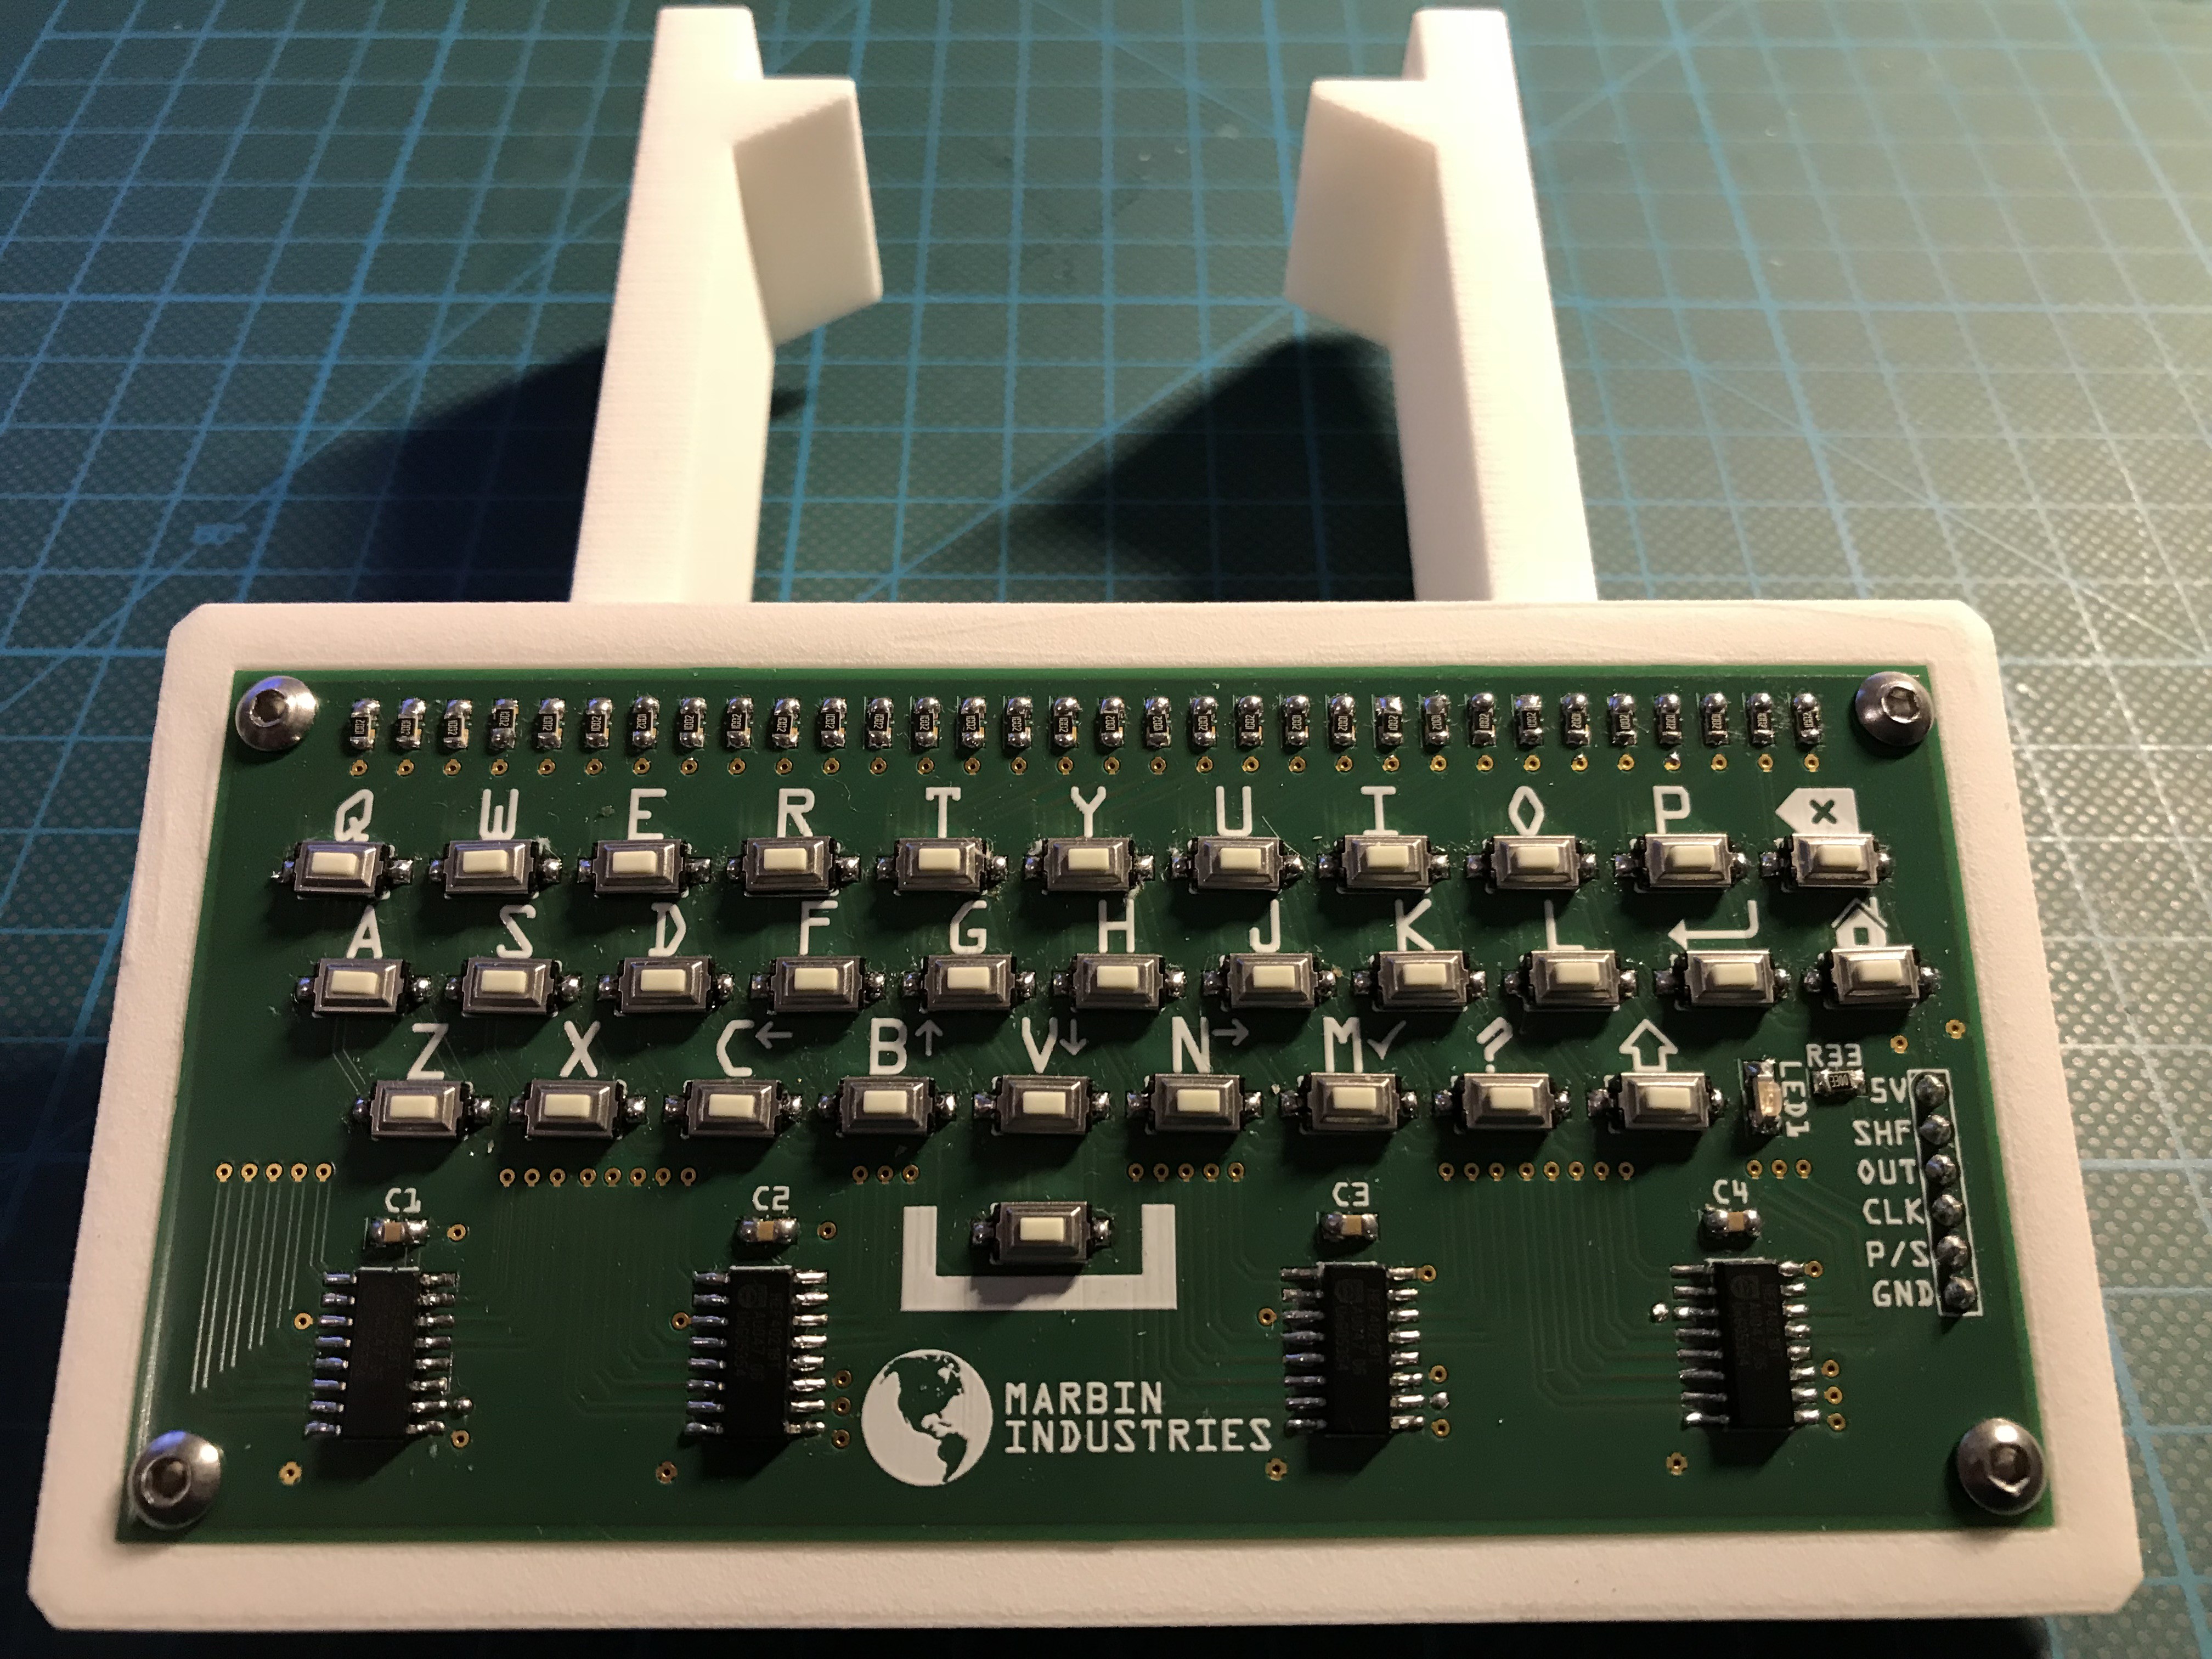
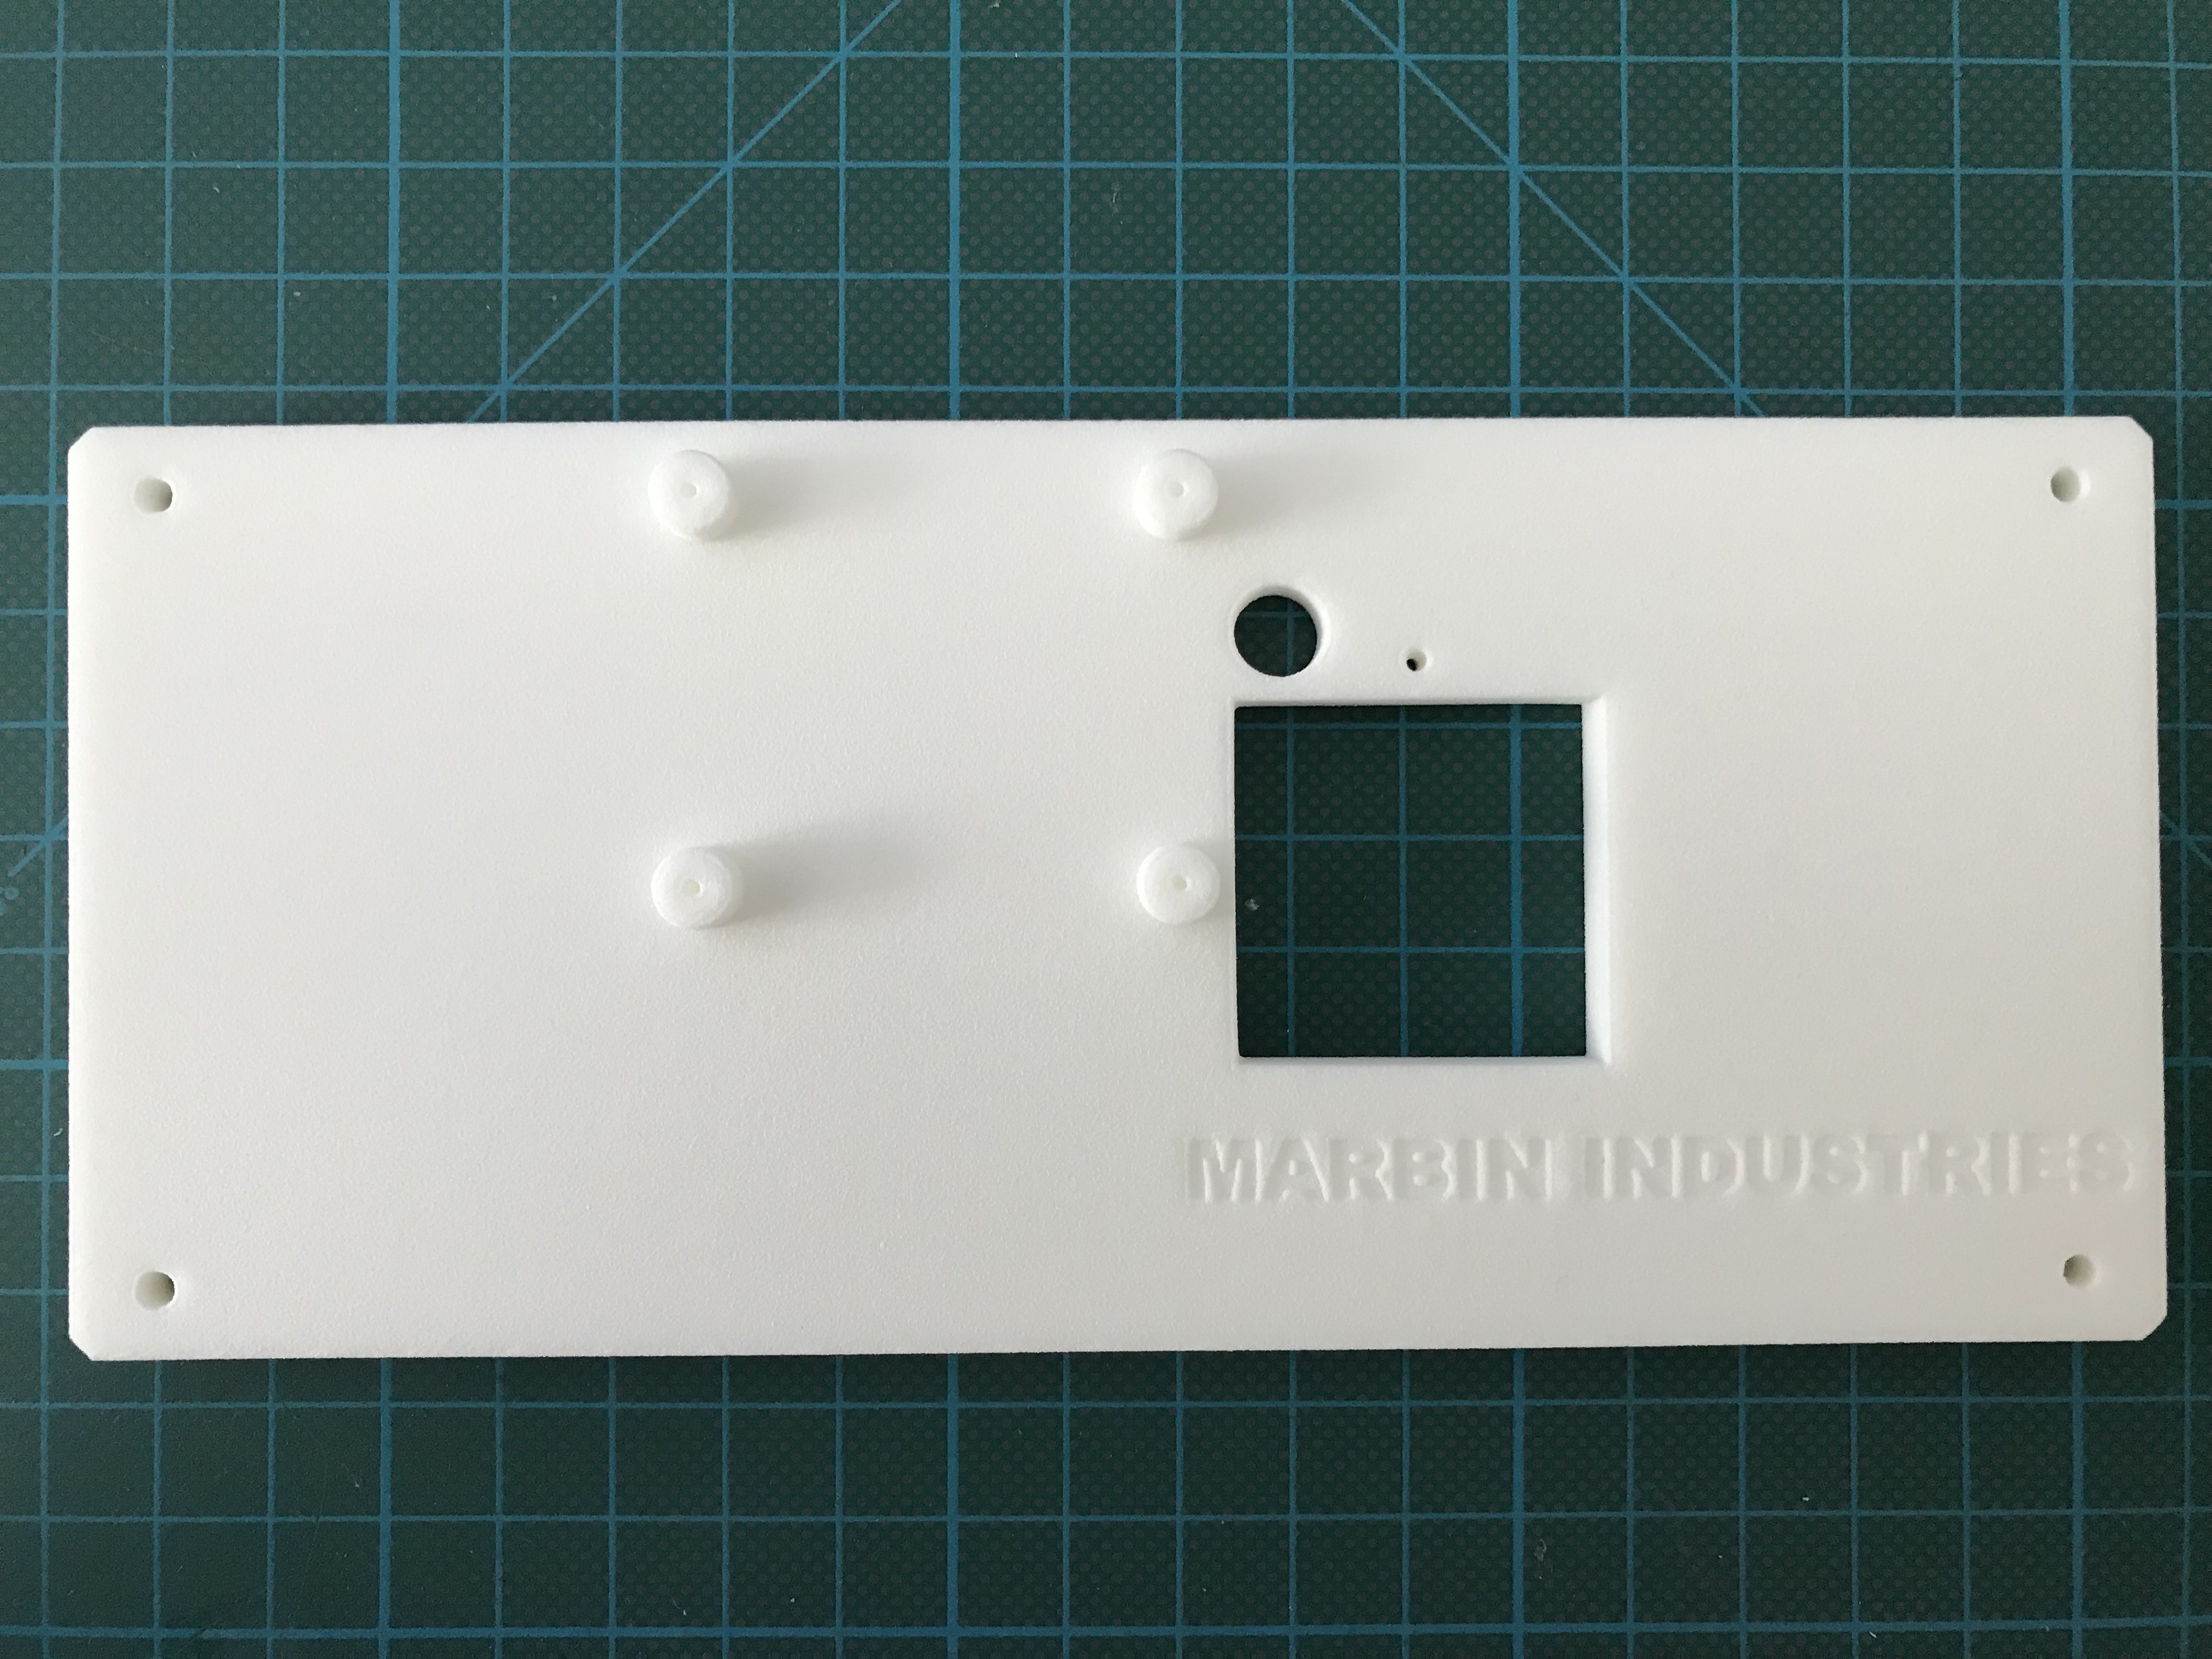
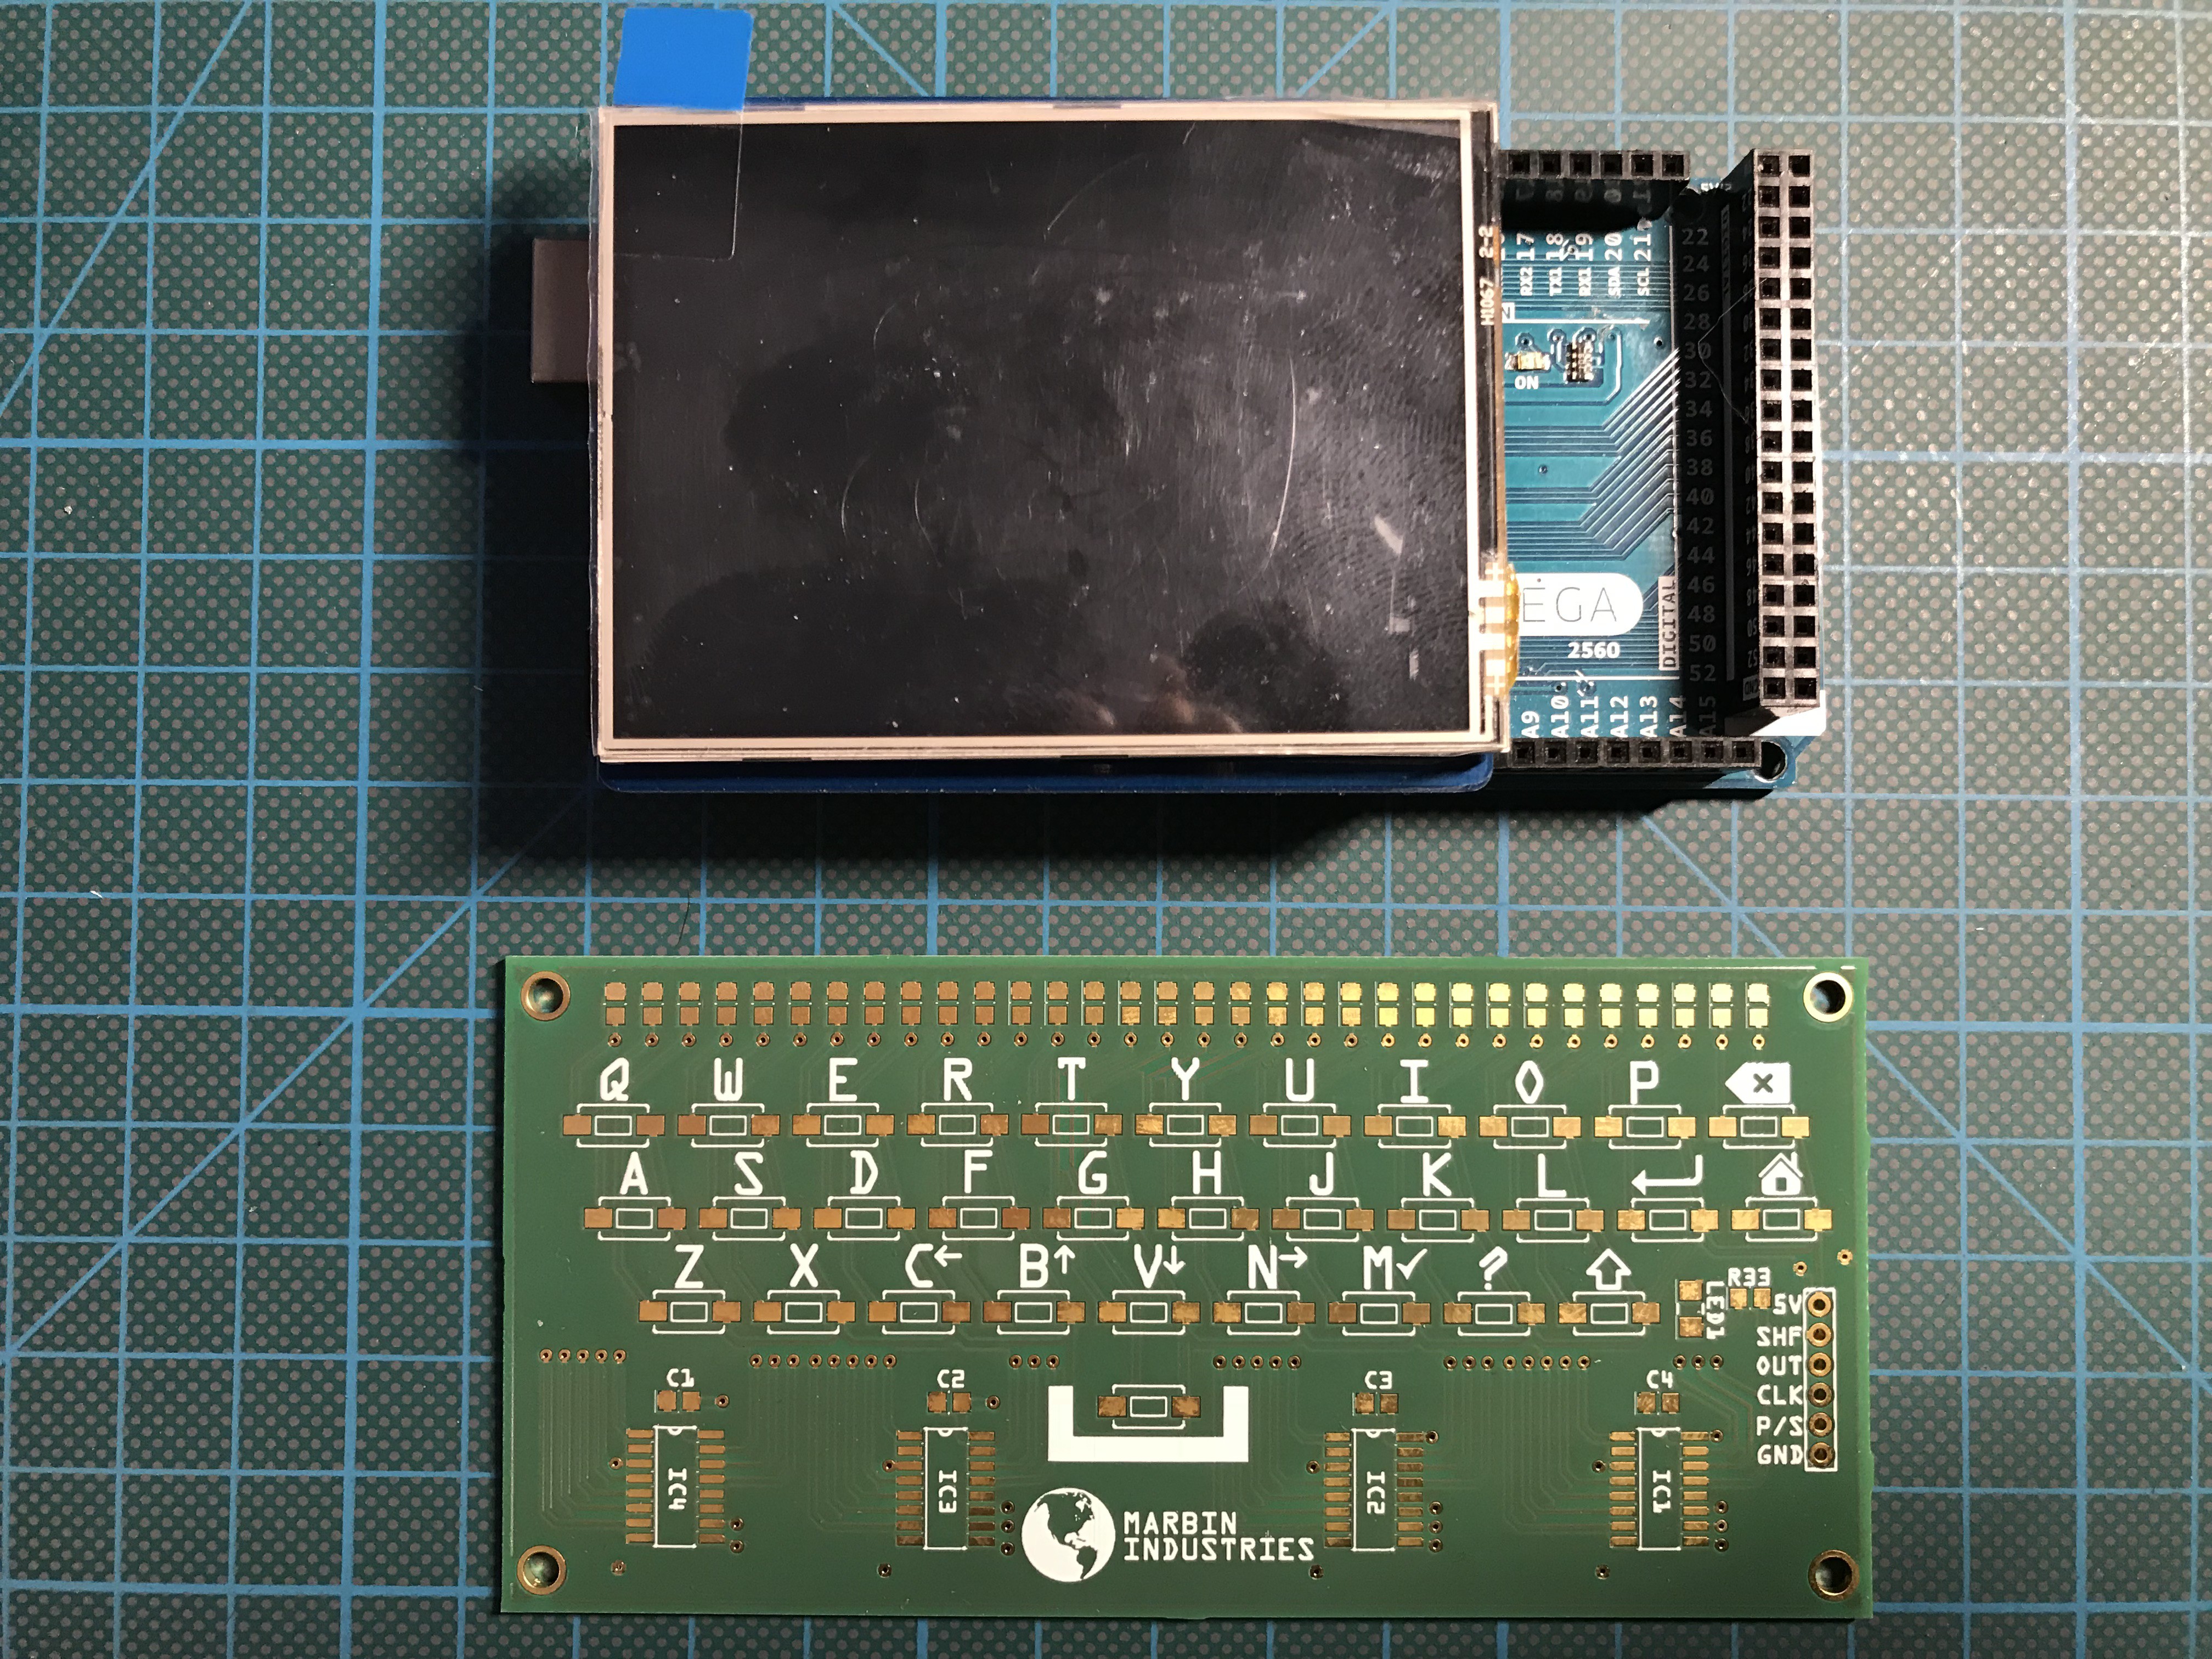 3 parts to 3-D print: the TFT and Arduino MEGA bracket, the keyboard bracket and the TFT cover.
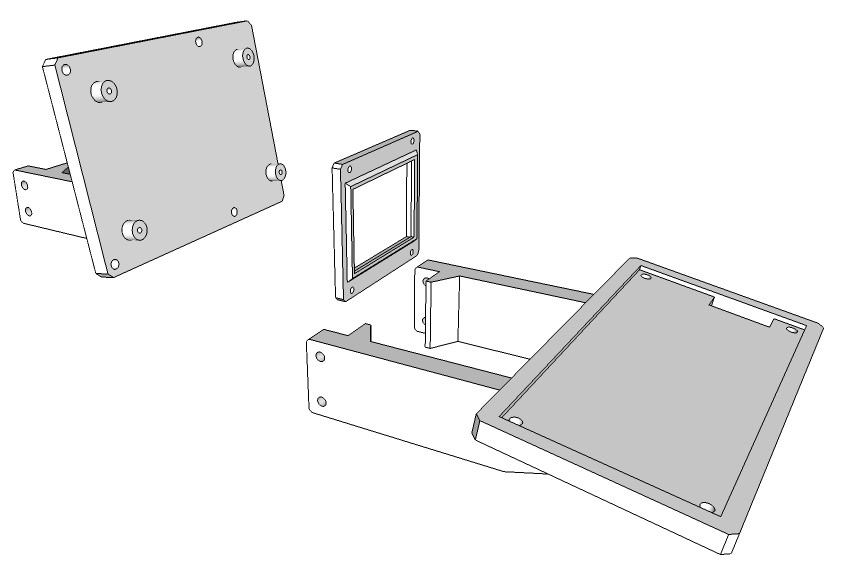
 Printed parts:
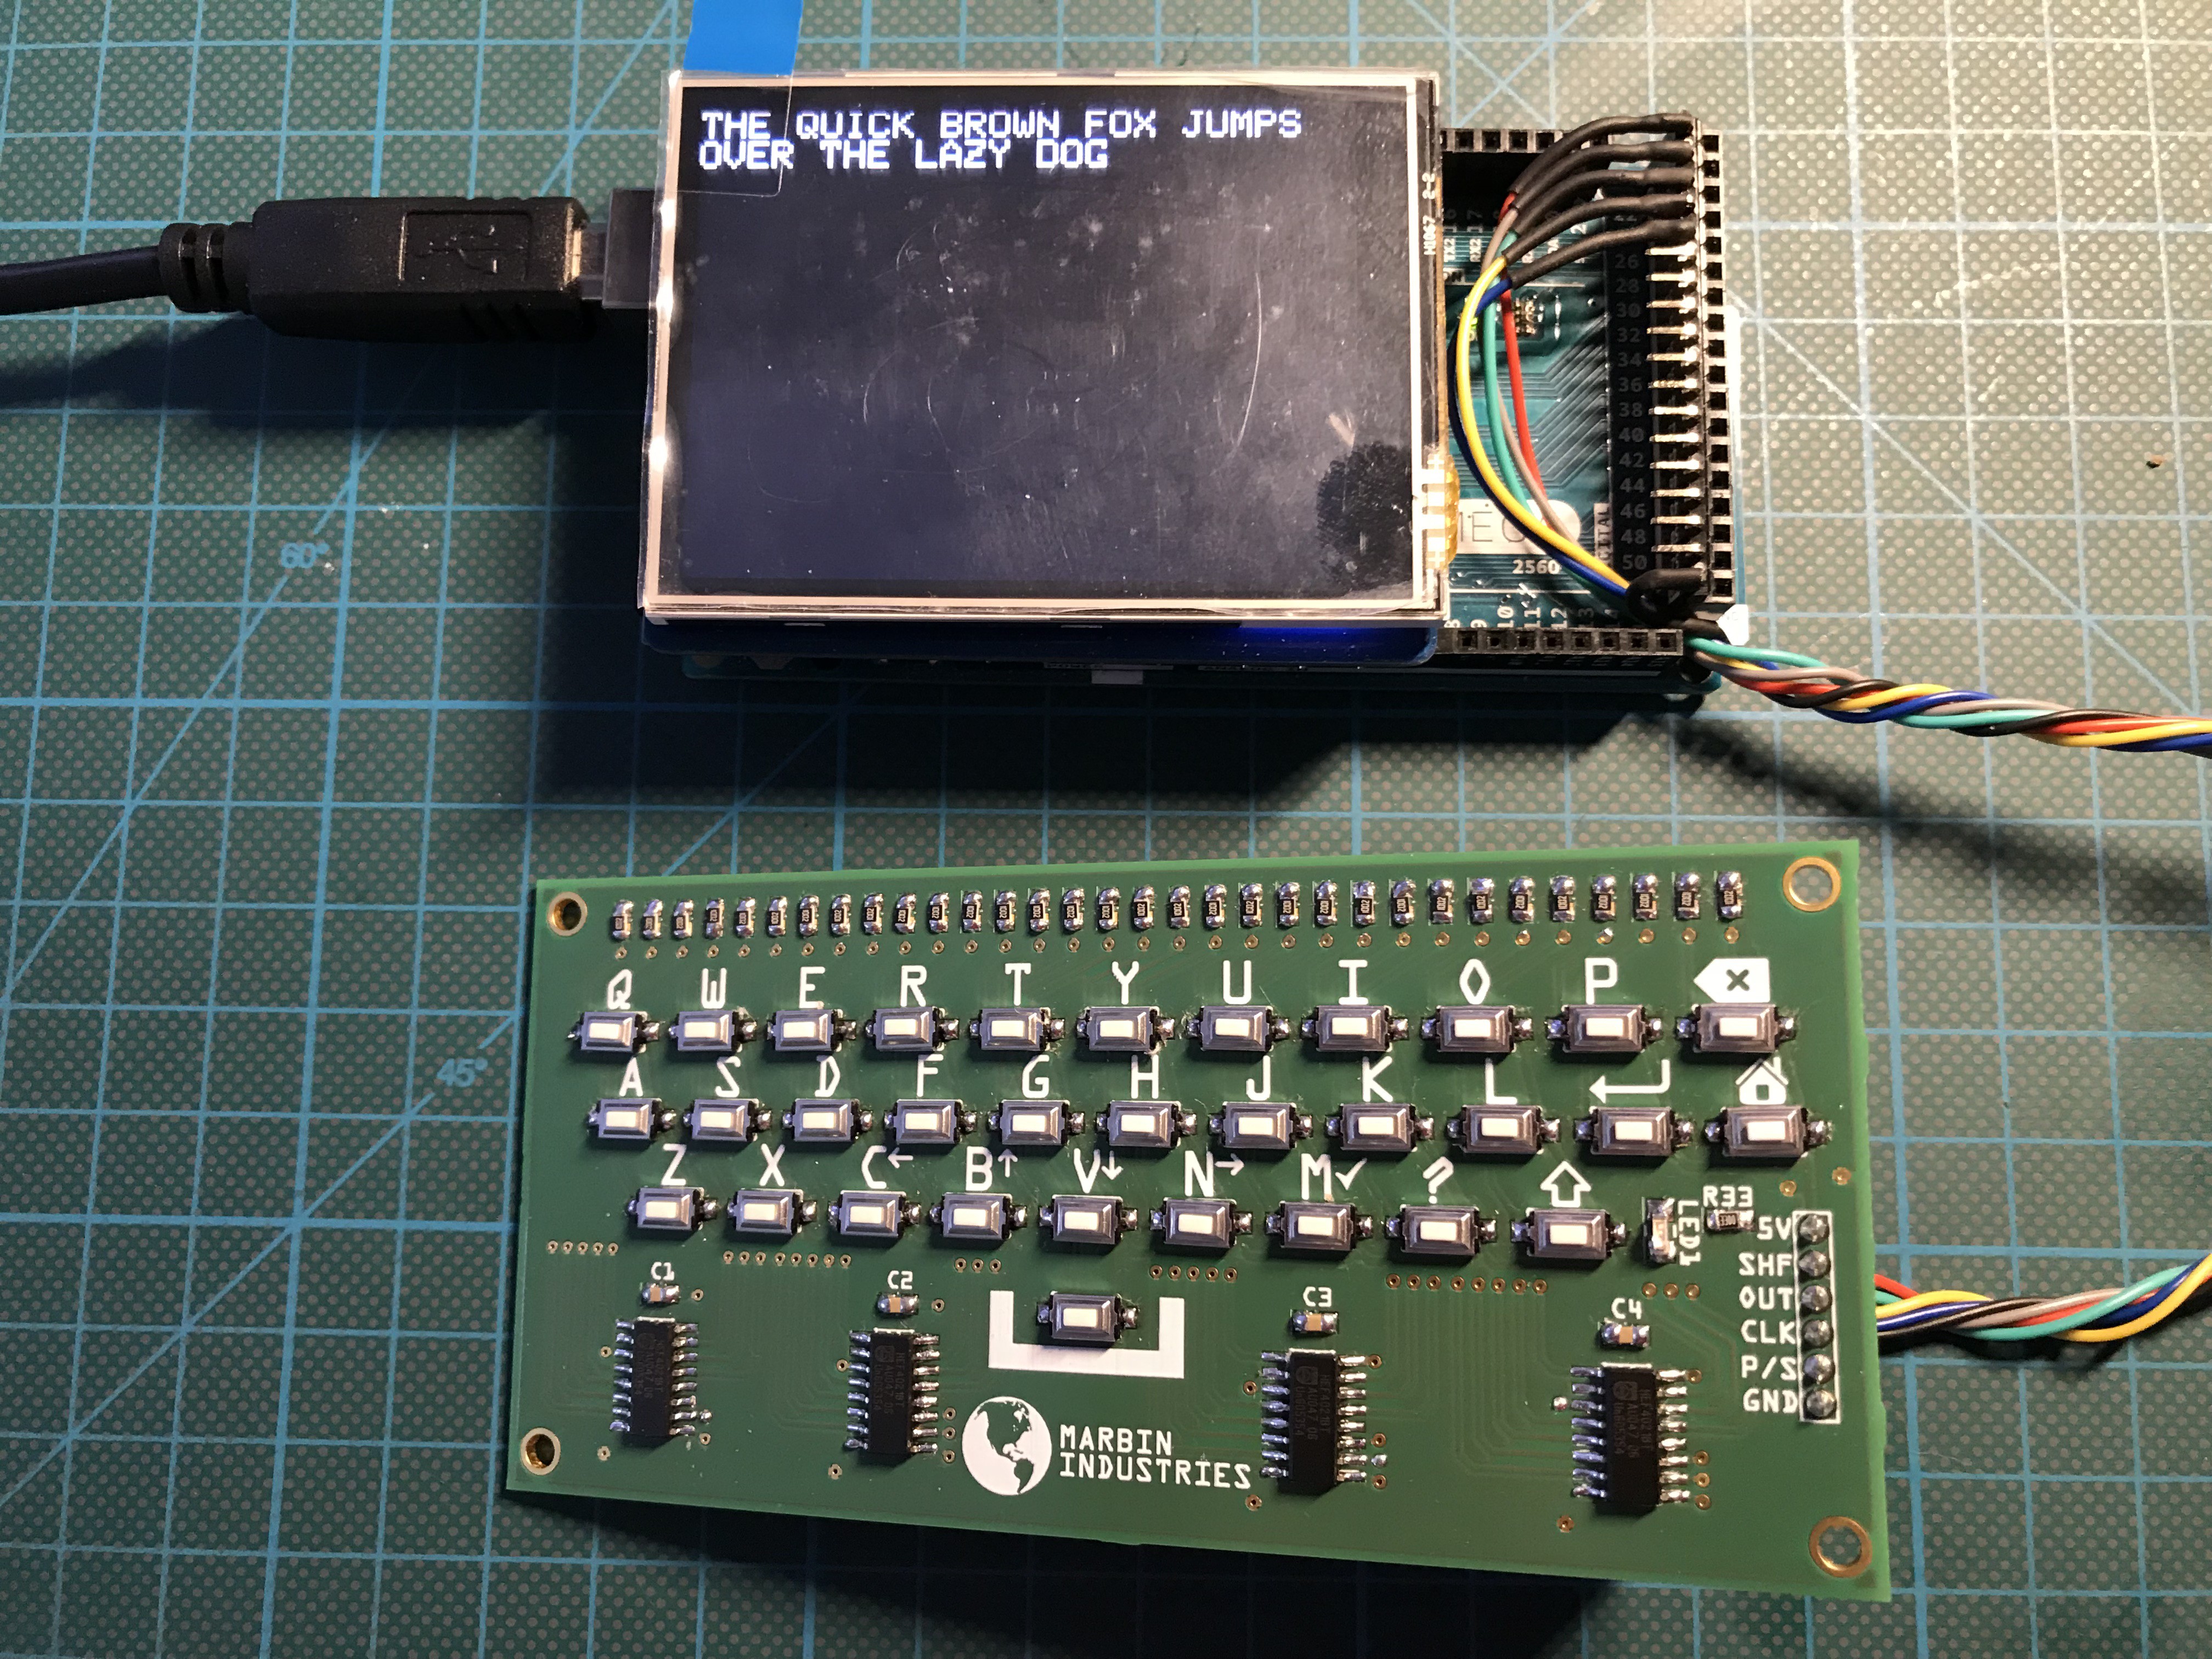
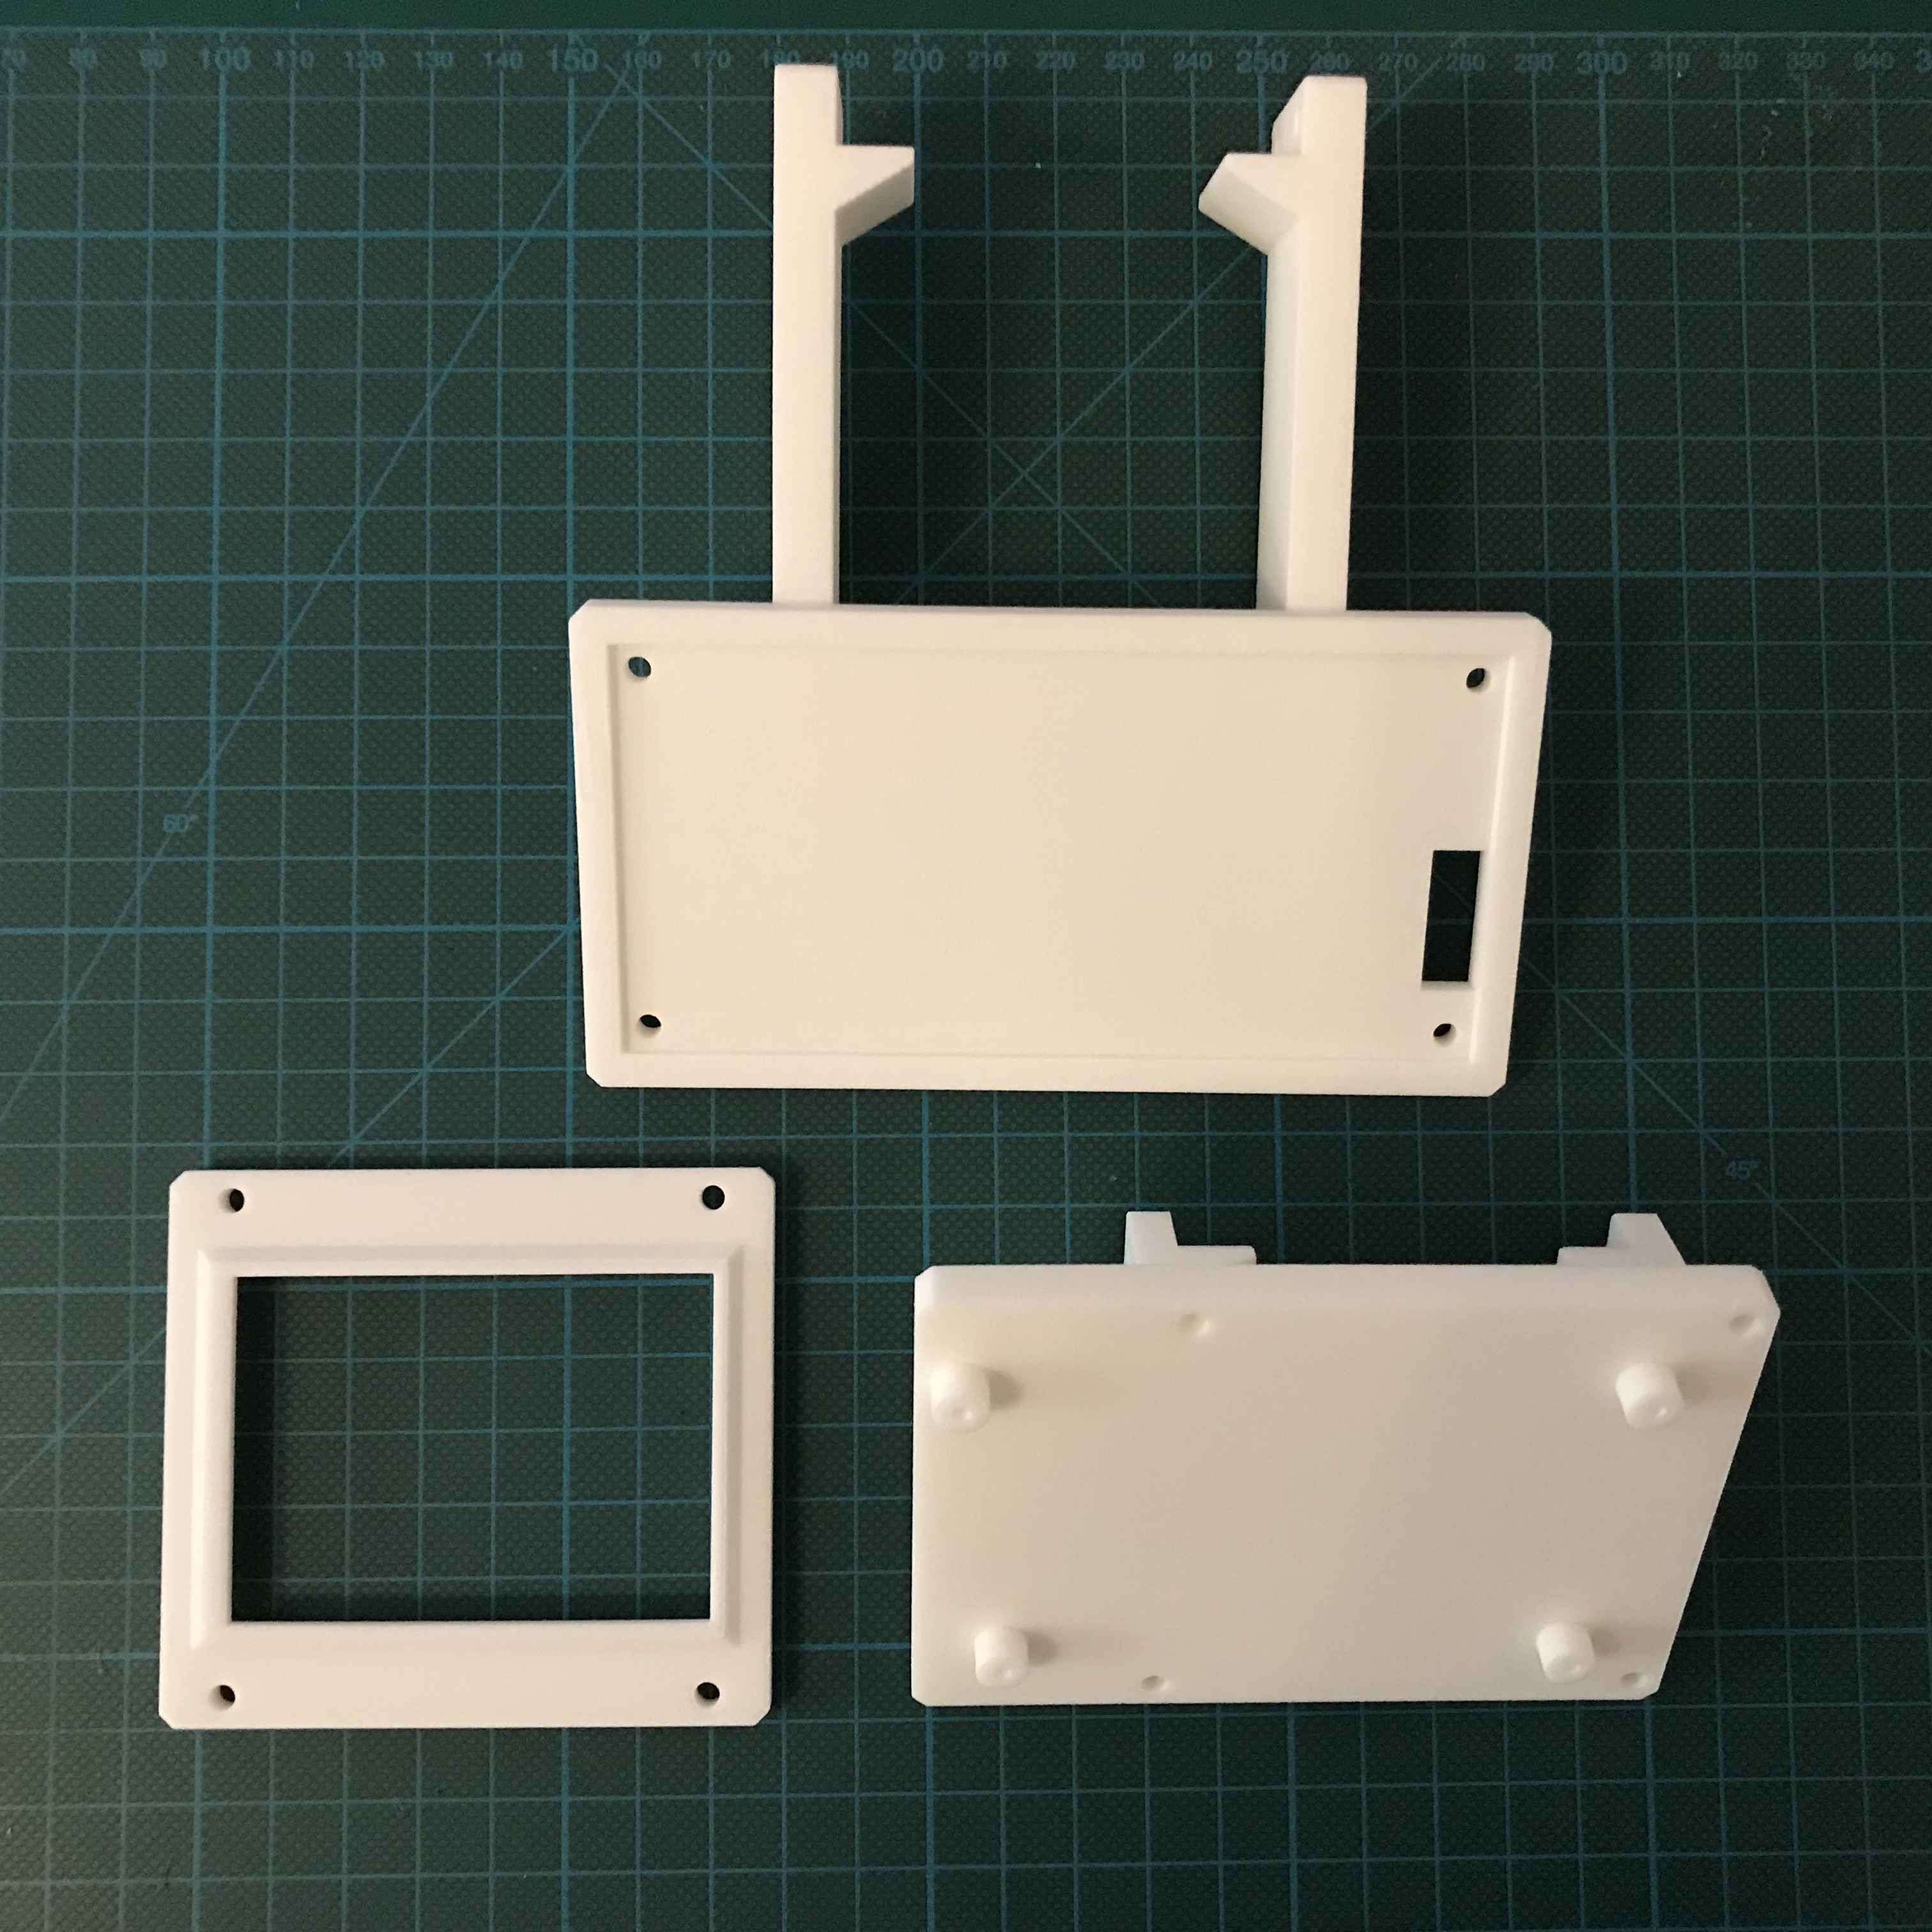 Touch screen module completed:
 Like for my previous robot project
 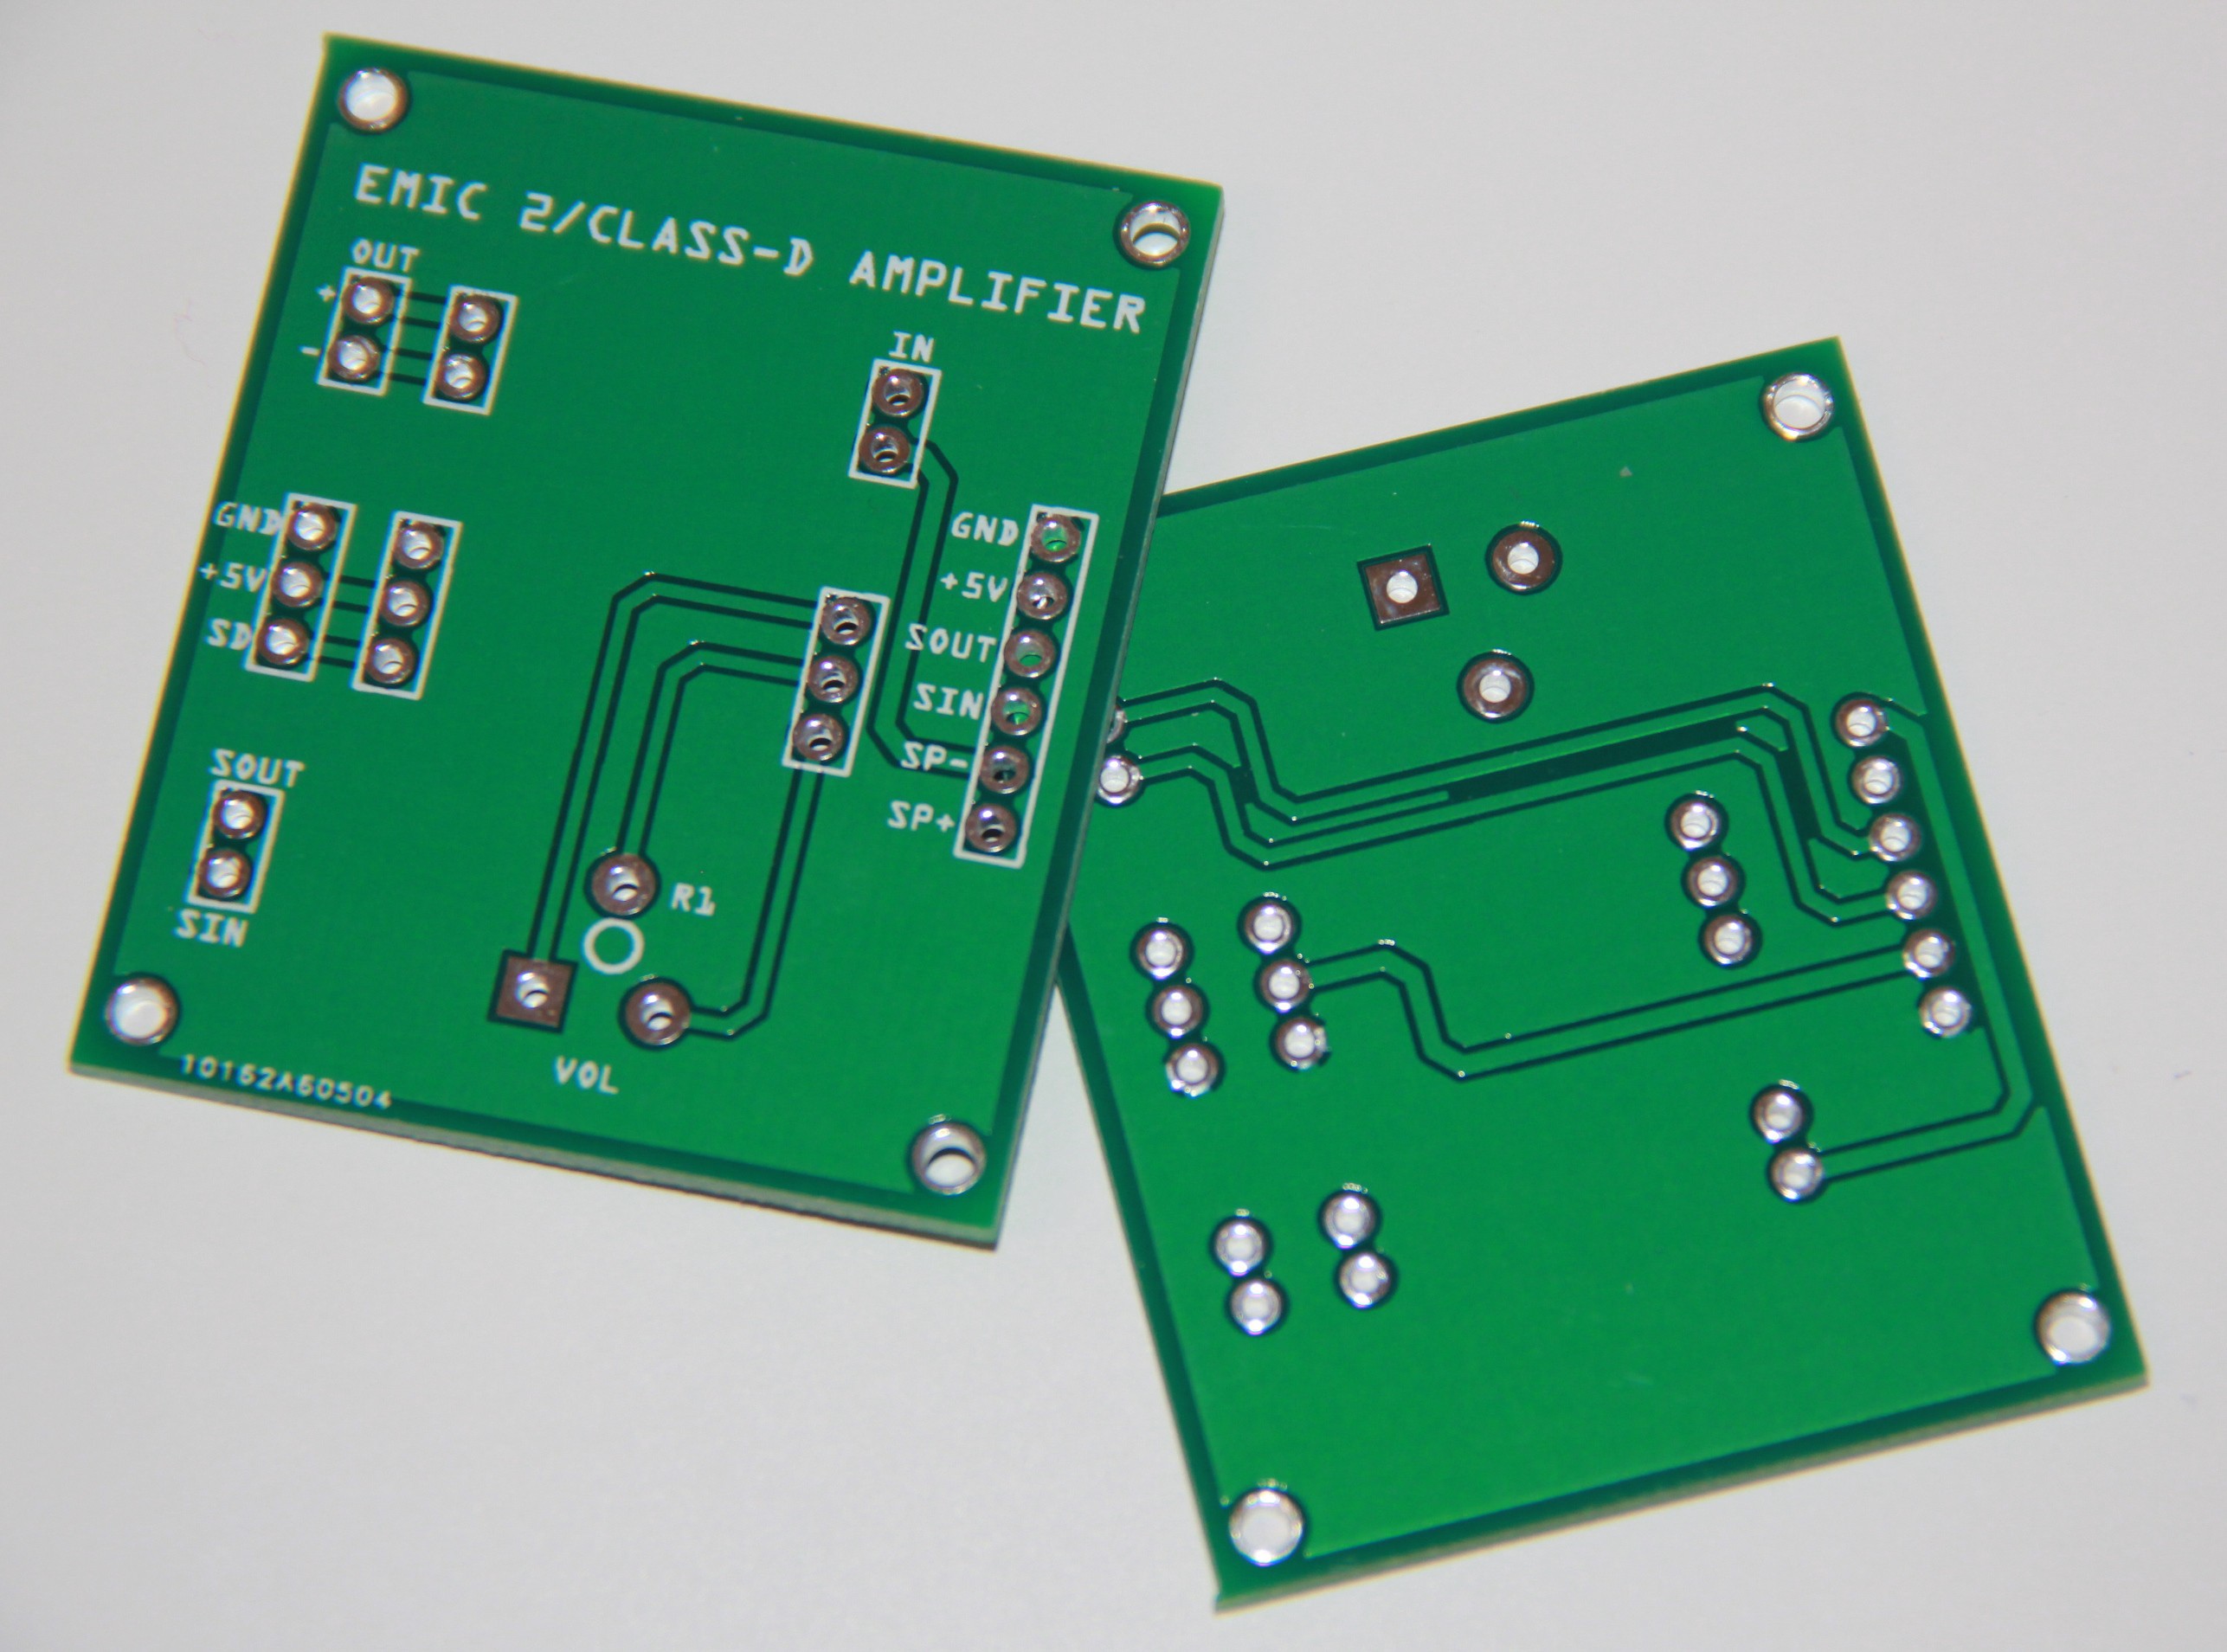 Populated :
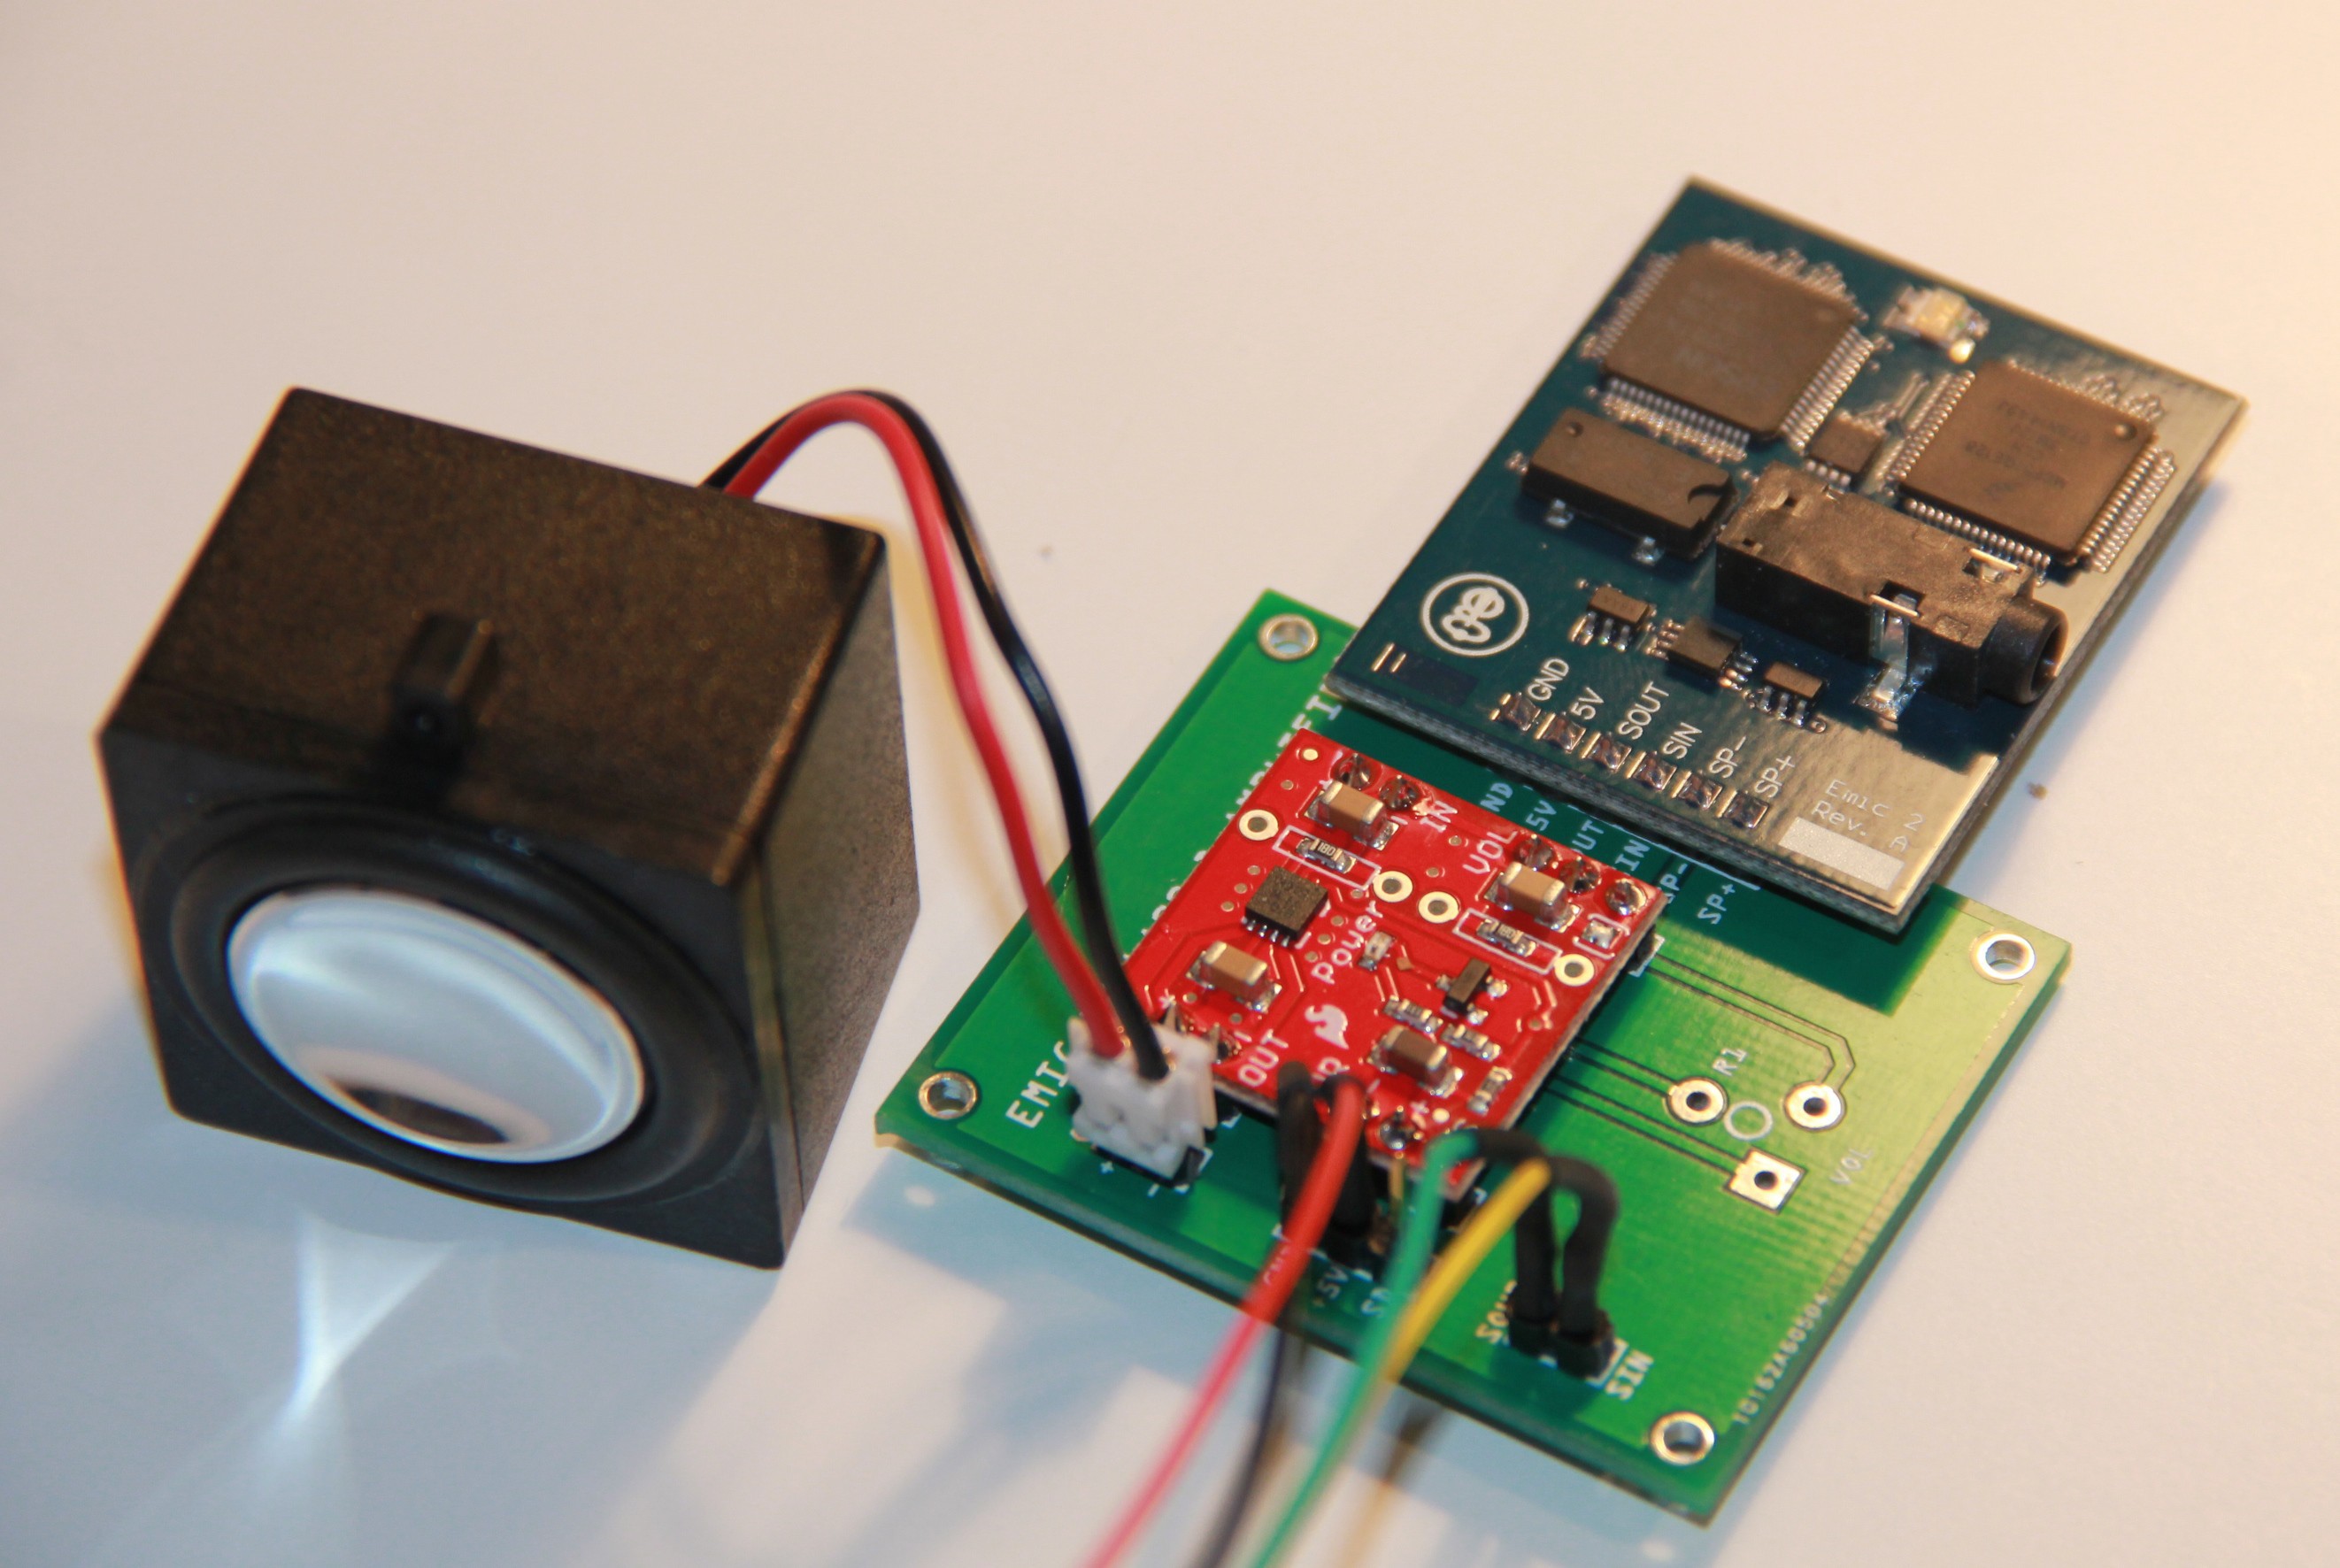

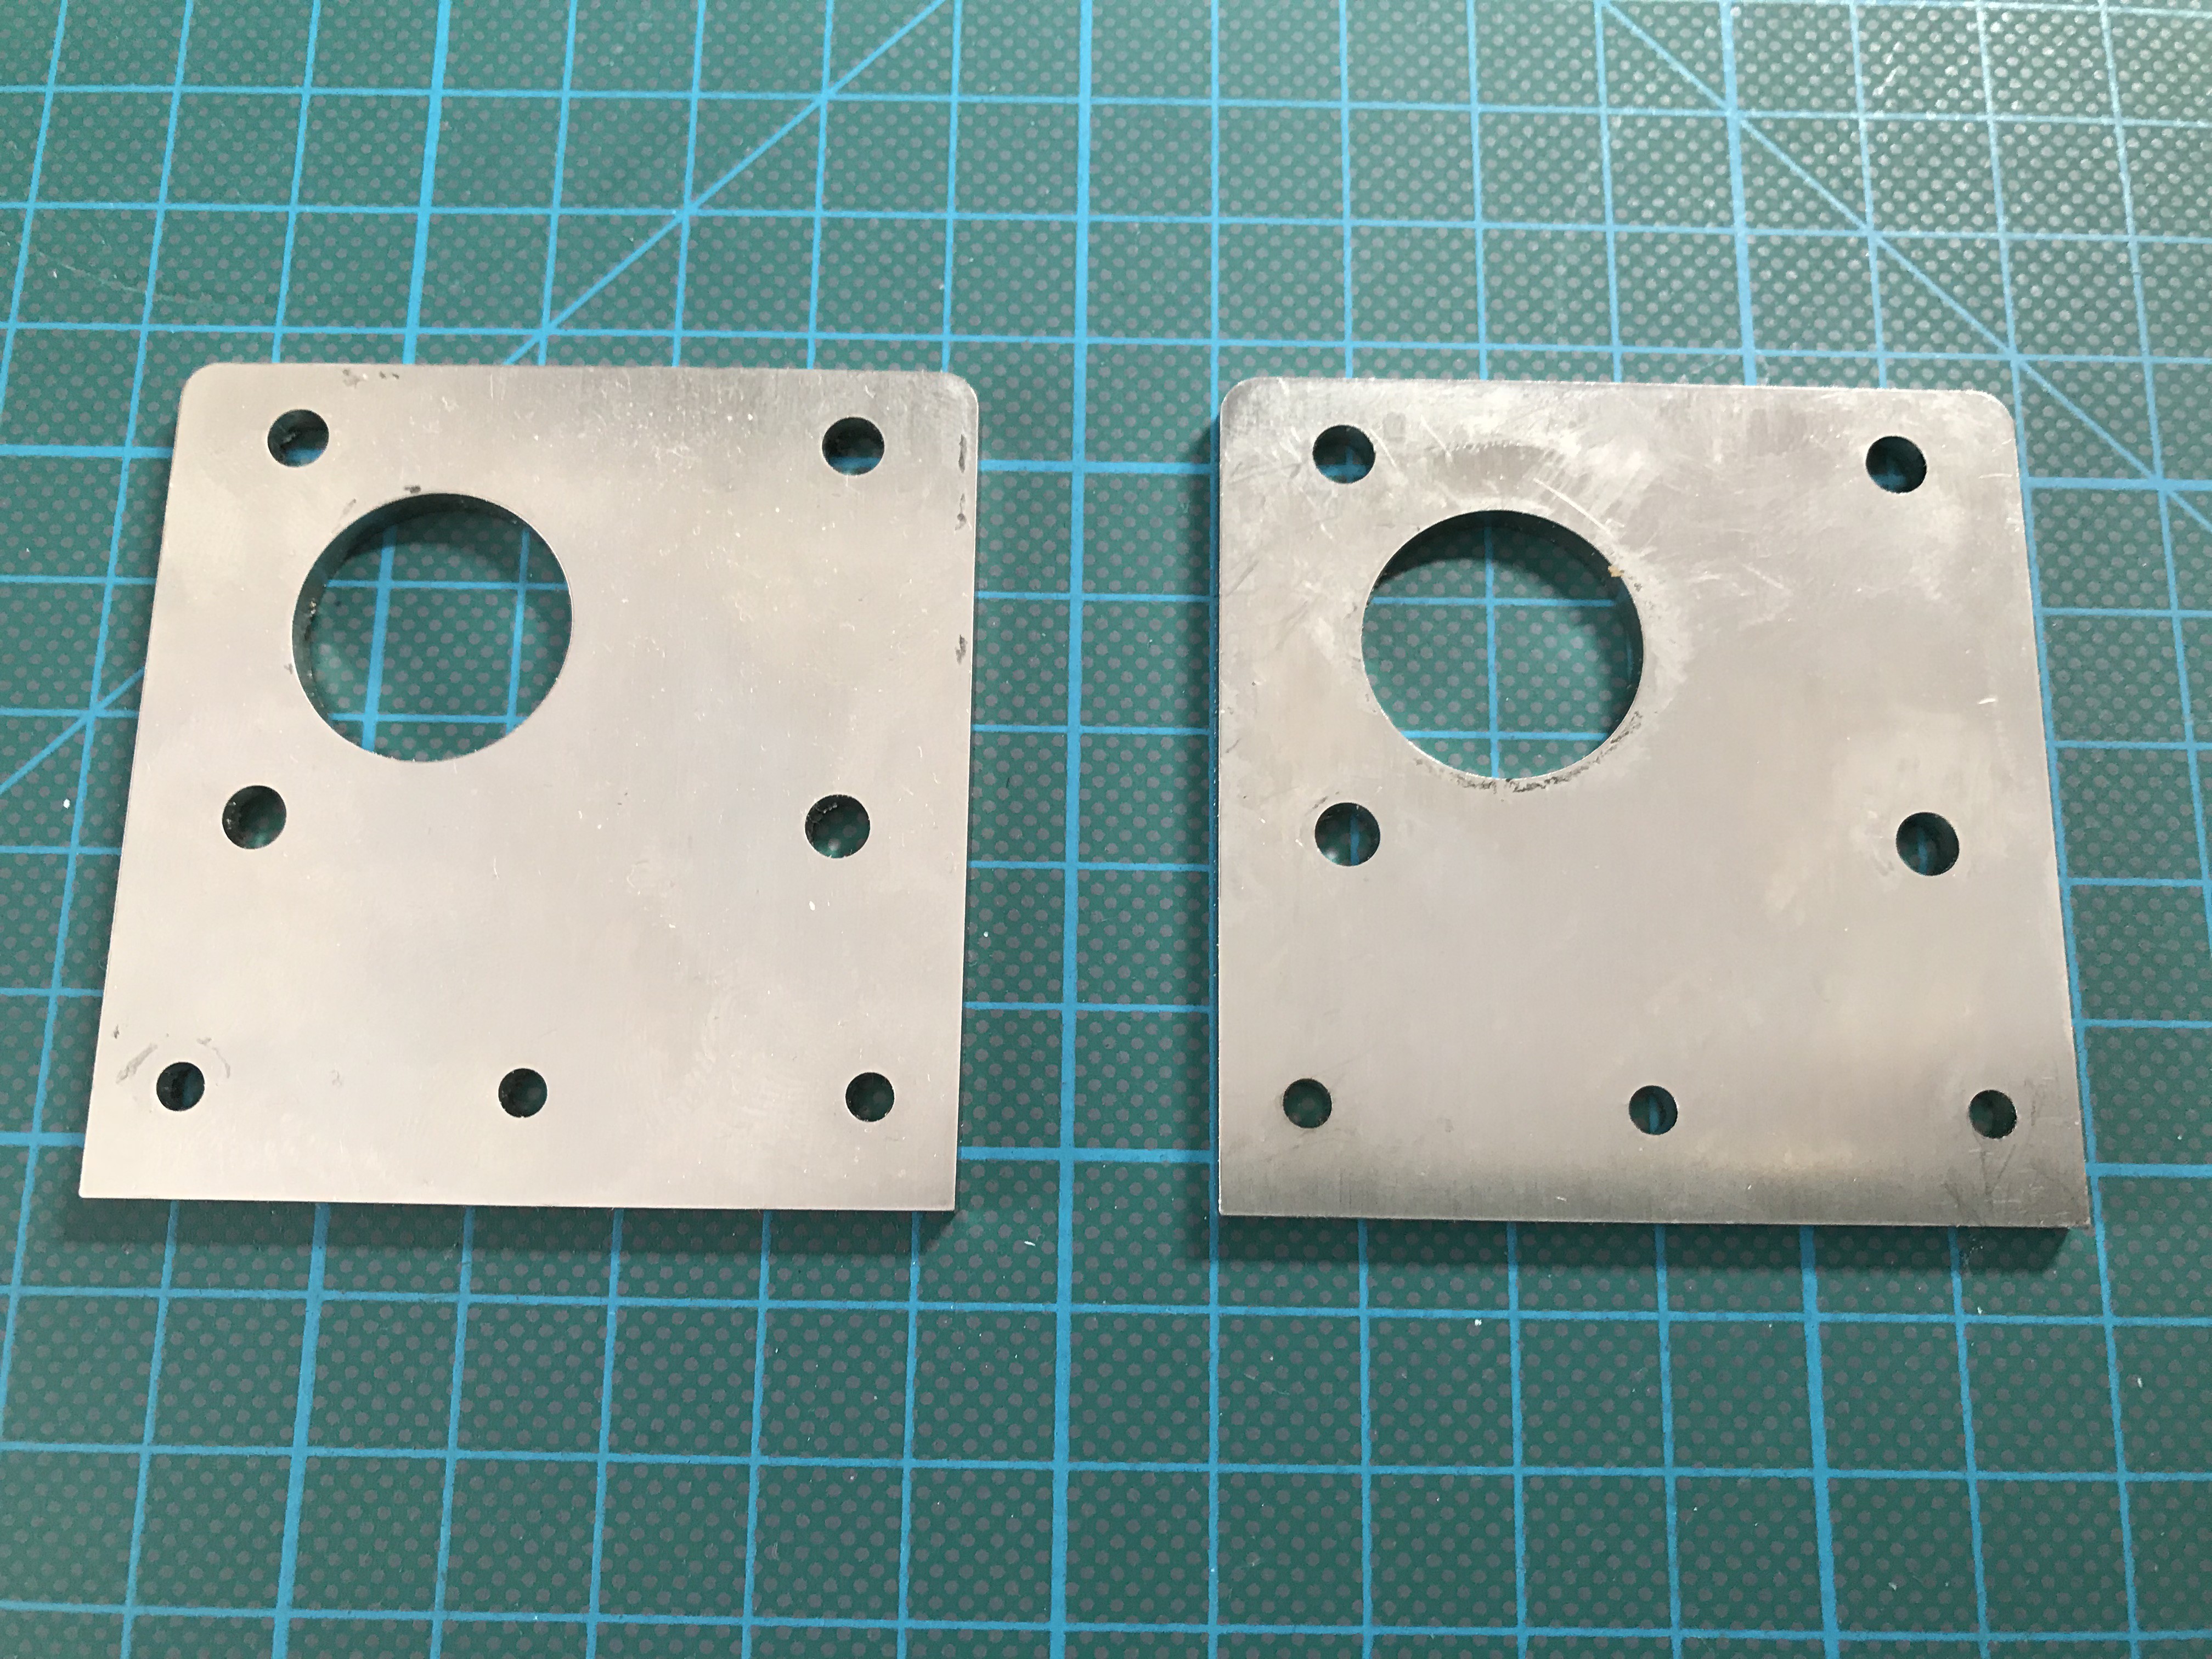
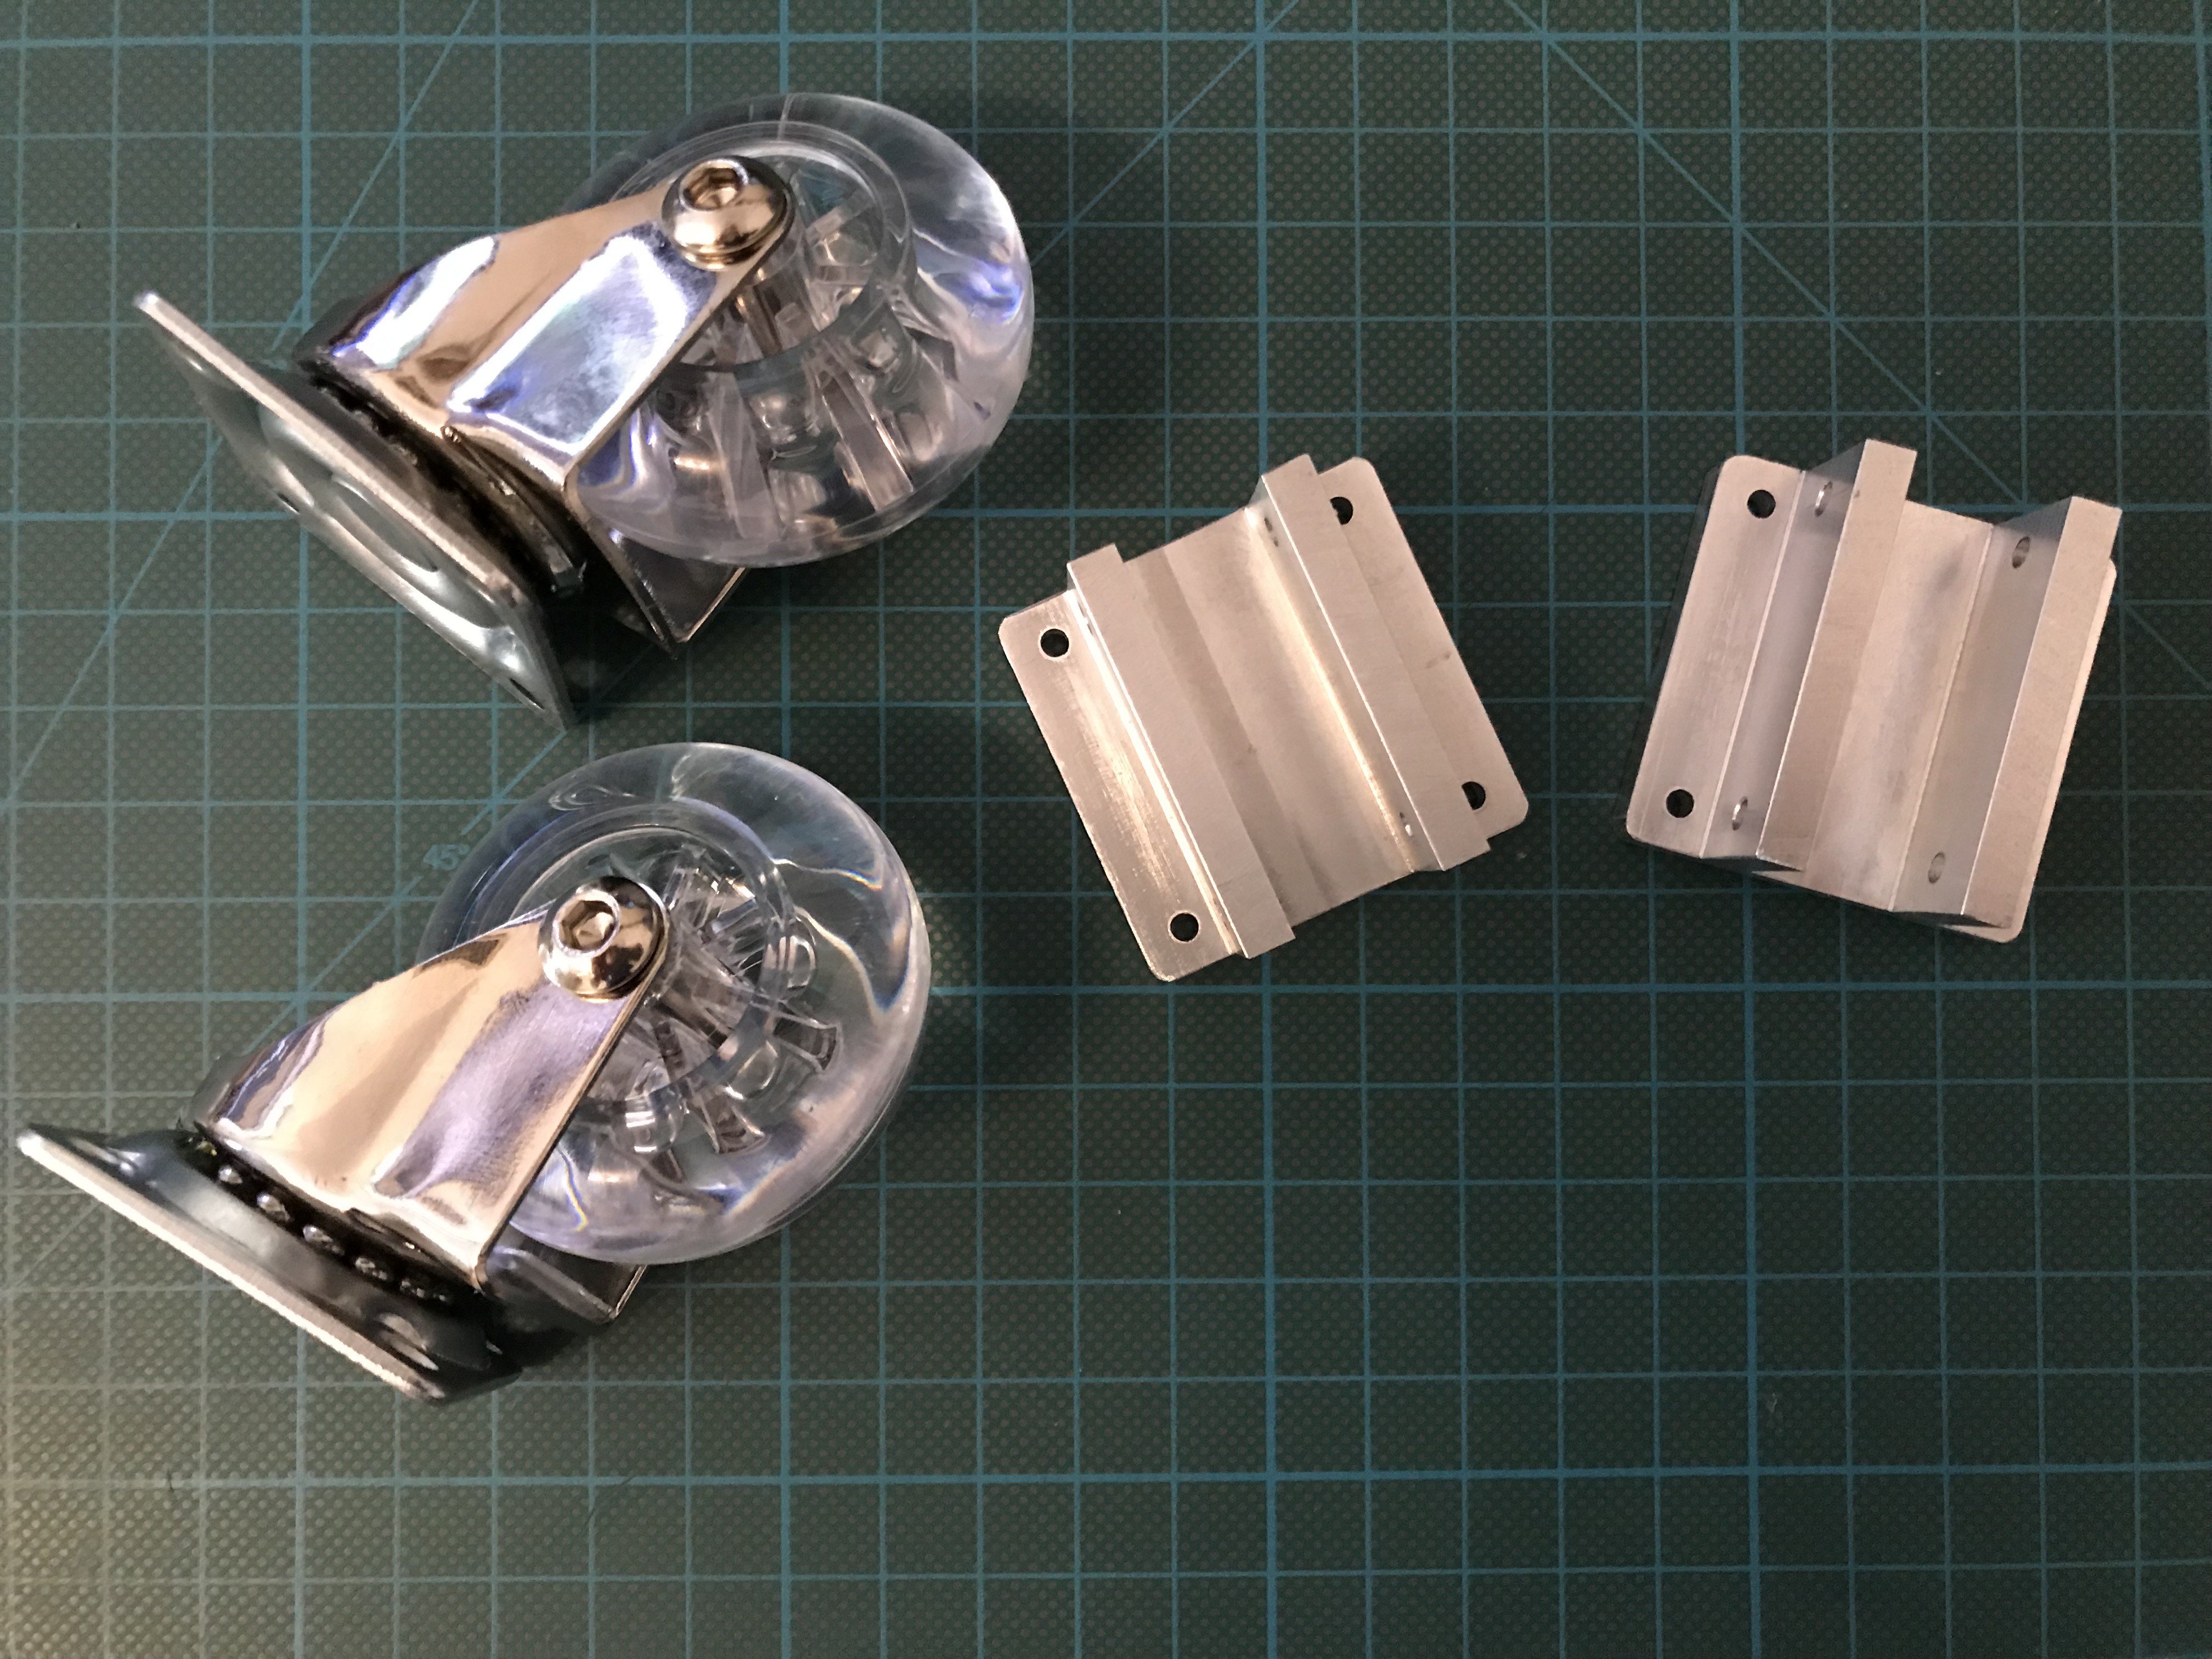
 Beefy aluminum wheel, CNC'd by a colleague in his workshop. Heavy, but this will help to keep the center of gravity nearby the ground, because the robot is very tall. Tire is a 10 mm dia O-ring. Next to it an off-the-shelf wheel hub for a 8 mm motor axis. The bore hole in the center of the wheel is there to position wheel and hub perfectly before fixing it by six M5 screws.
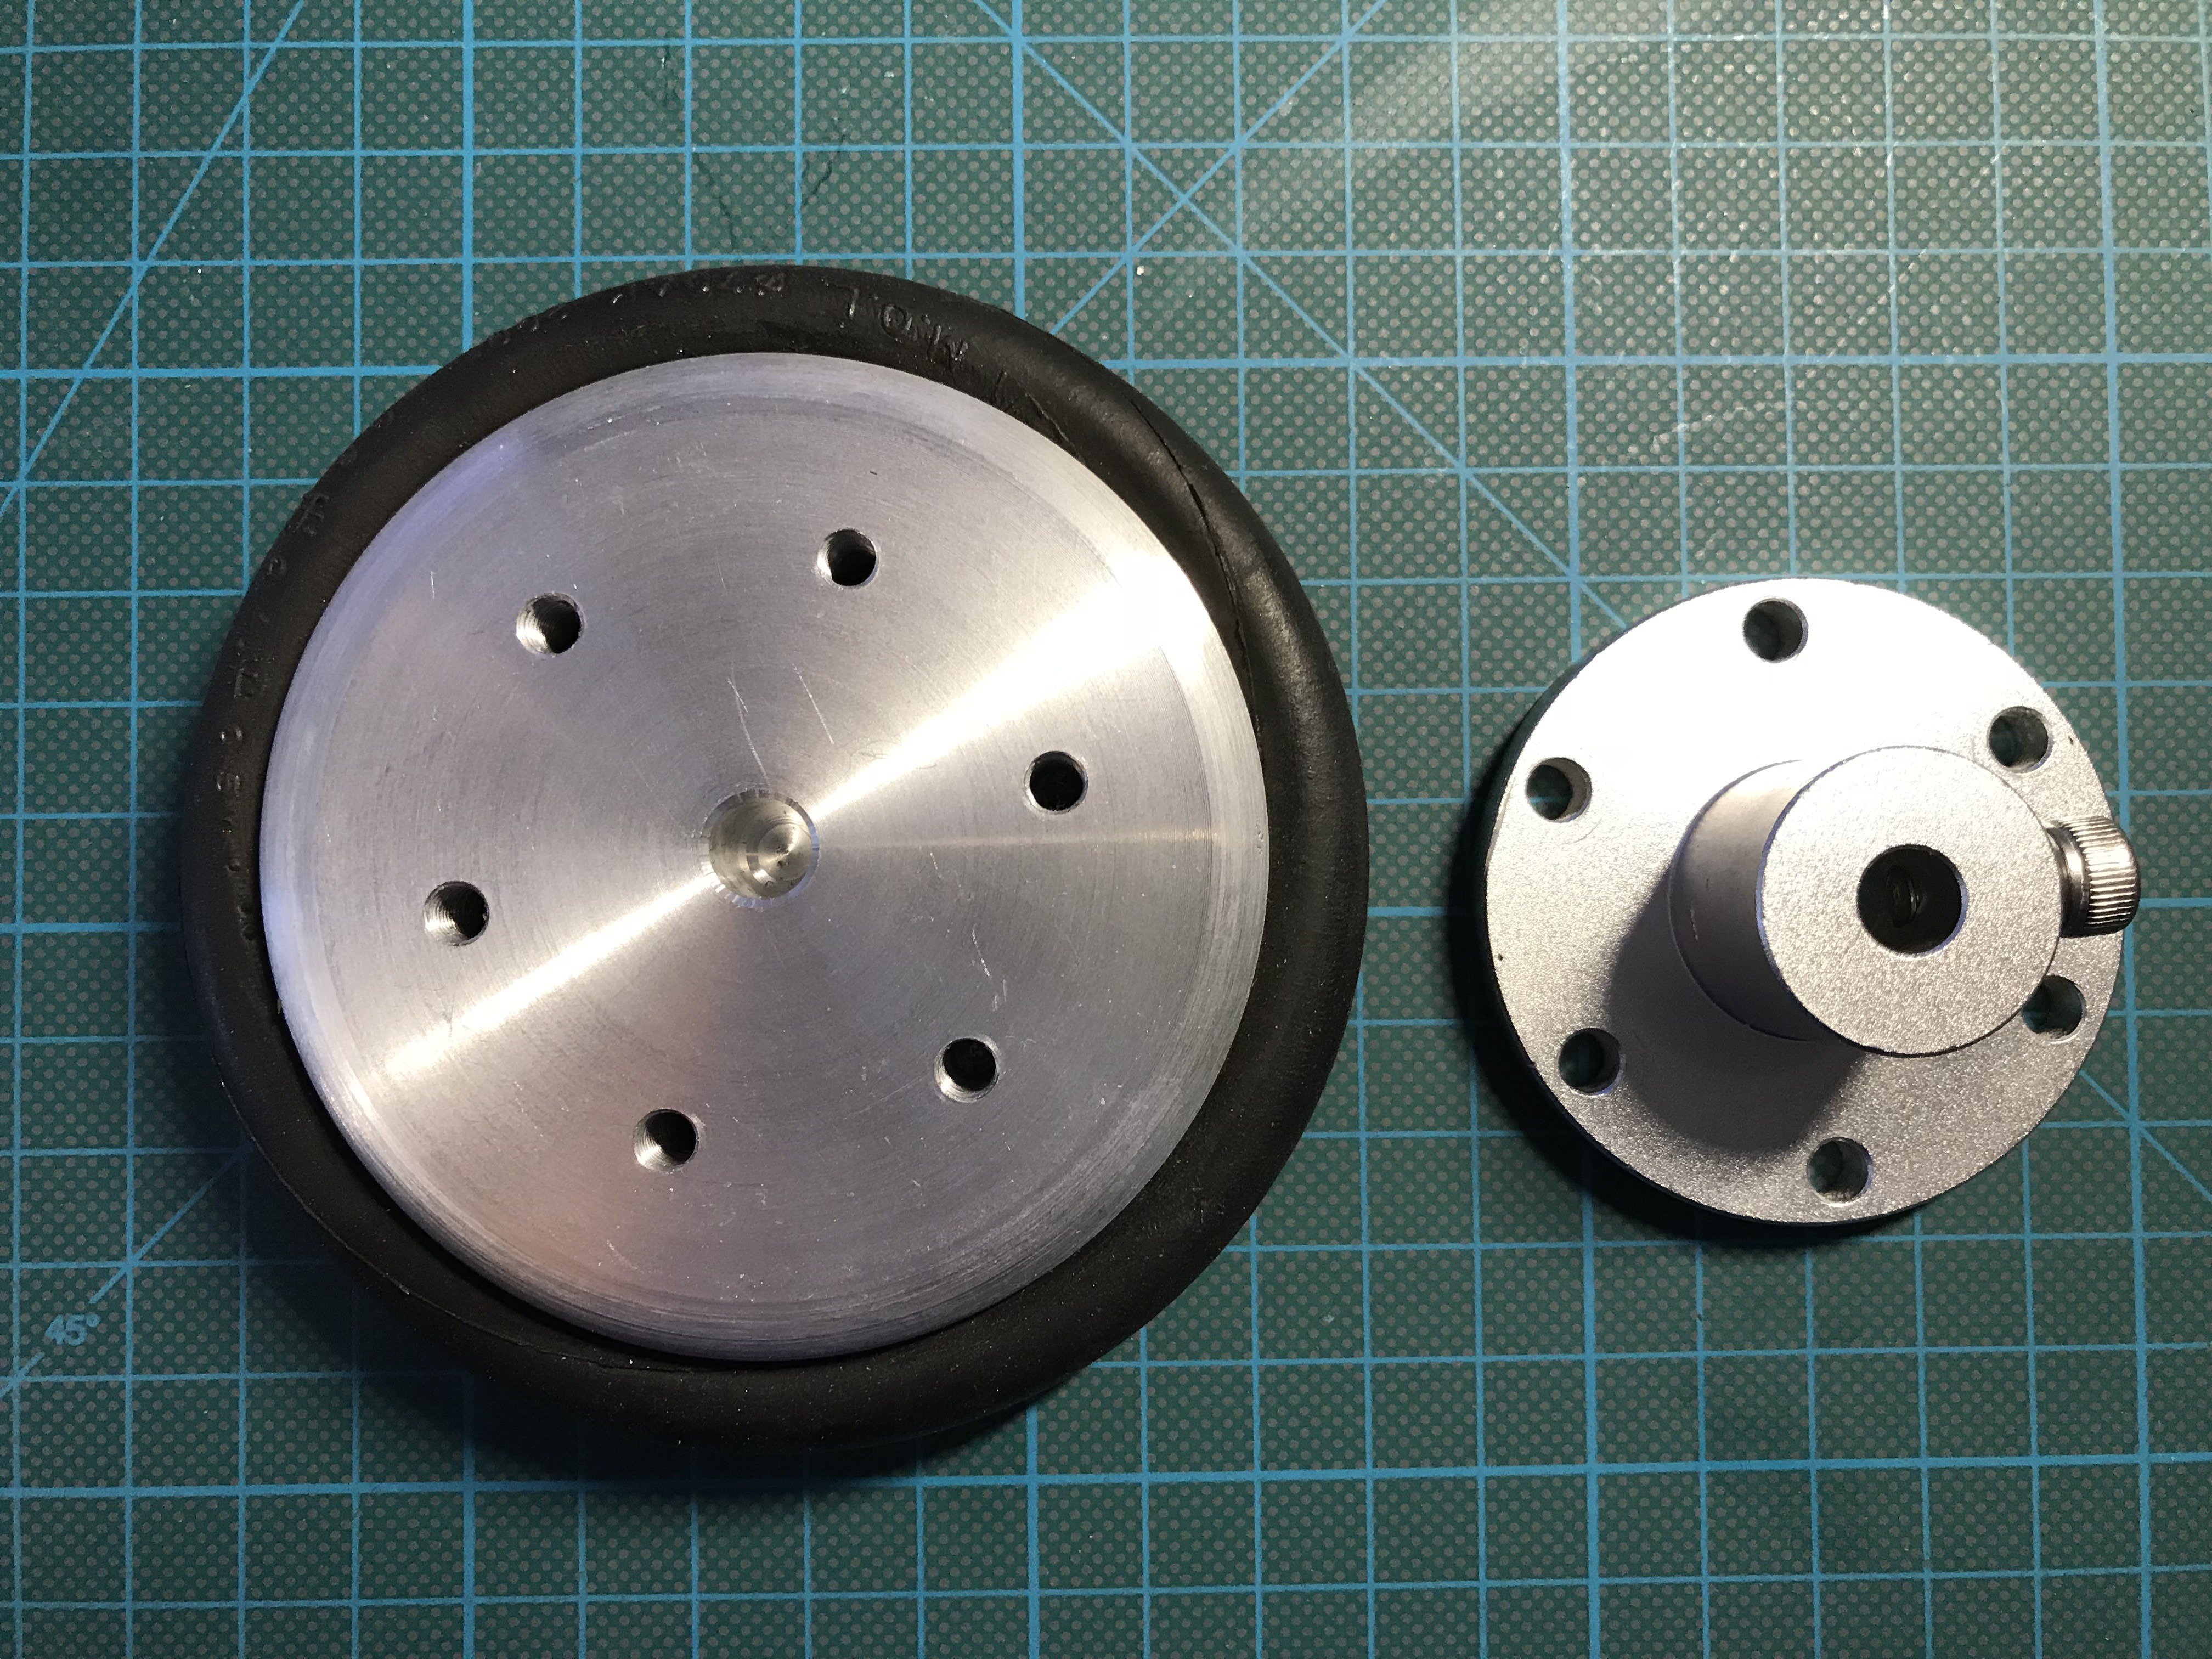
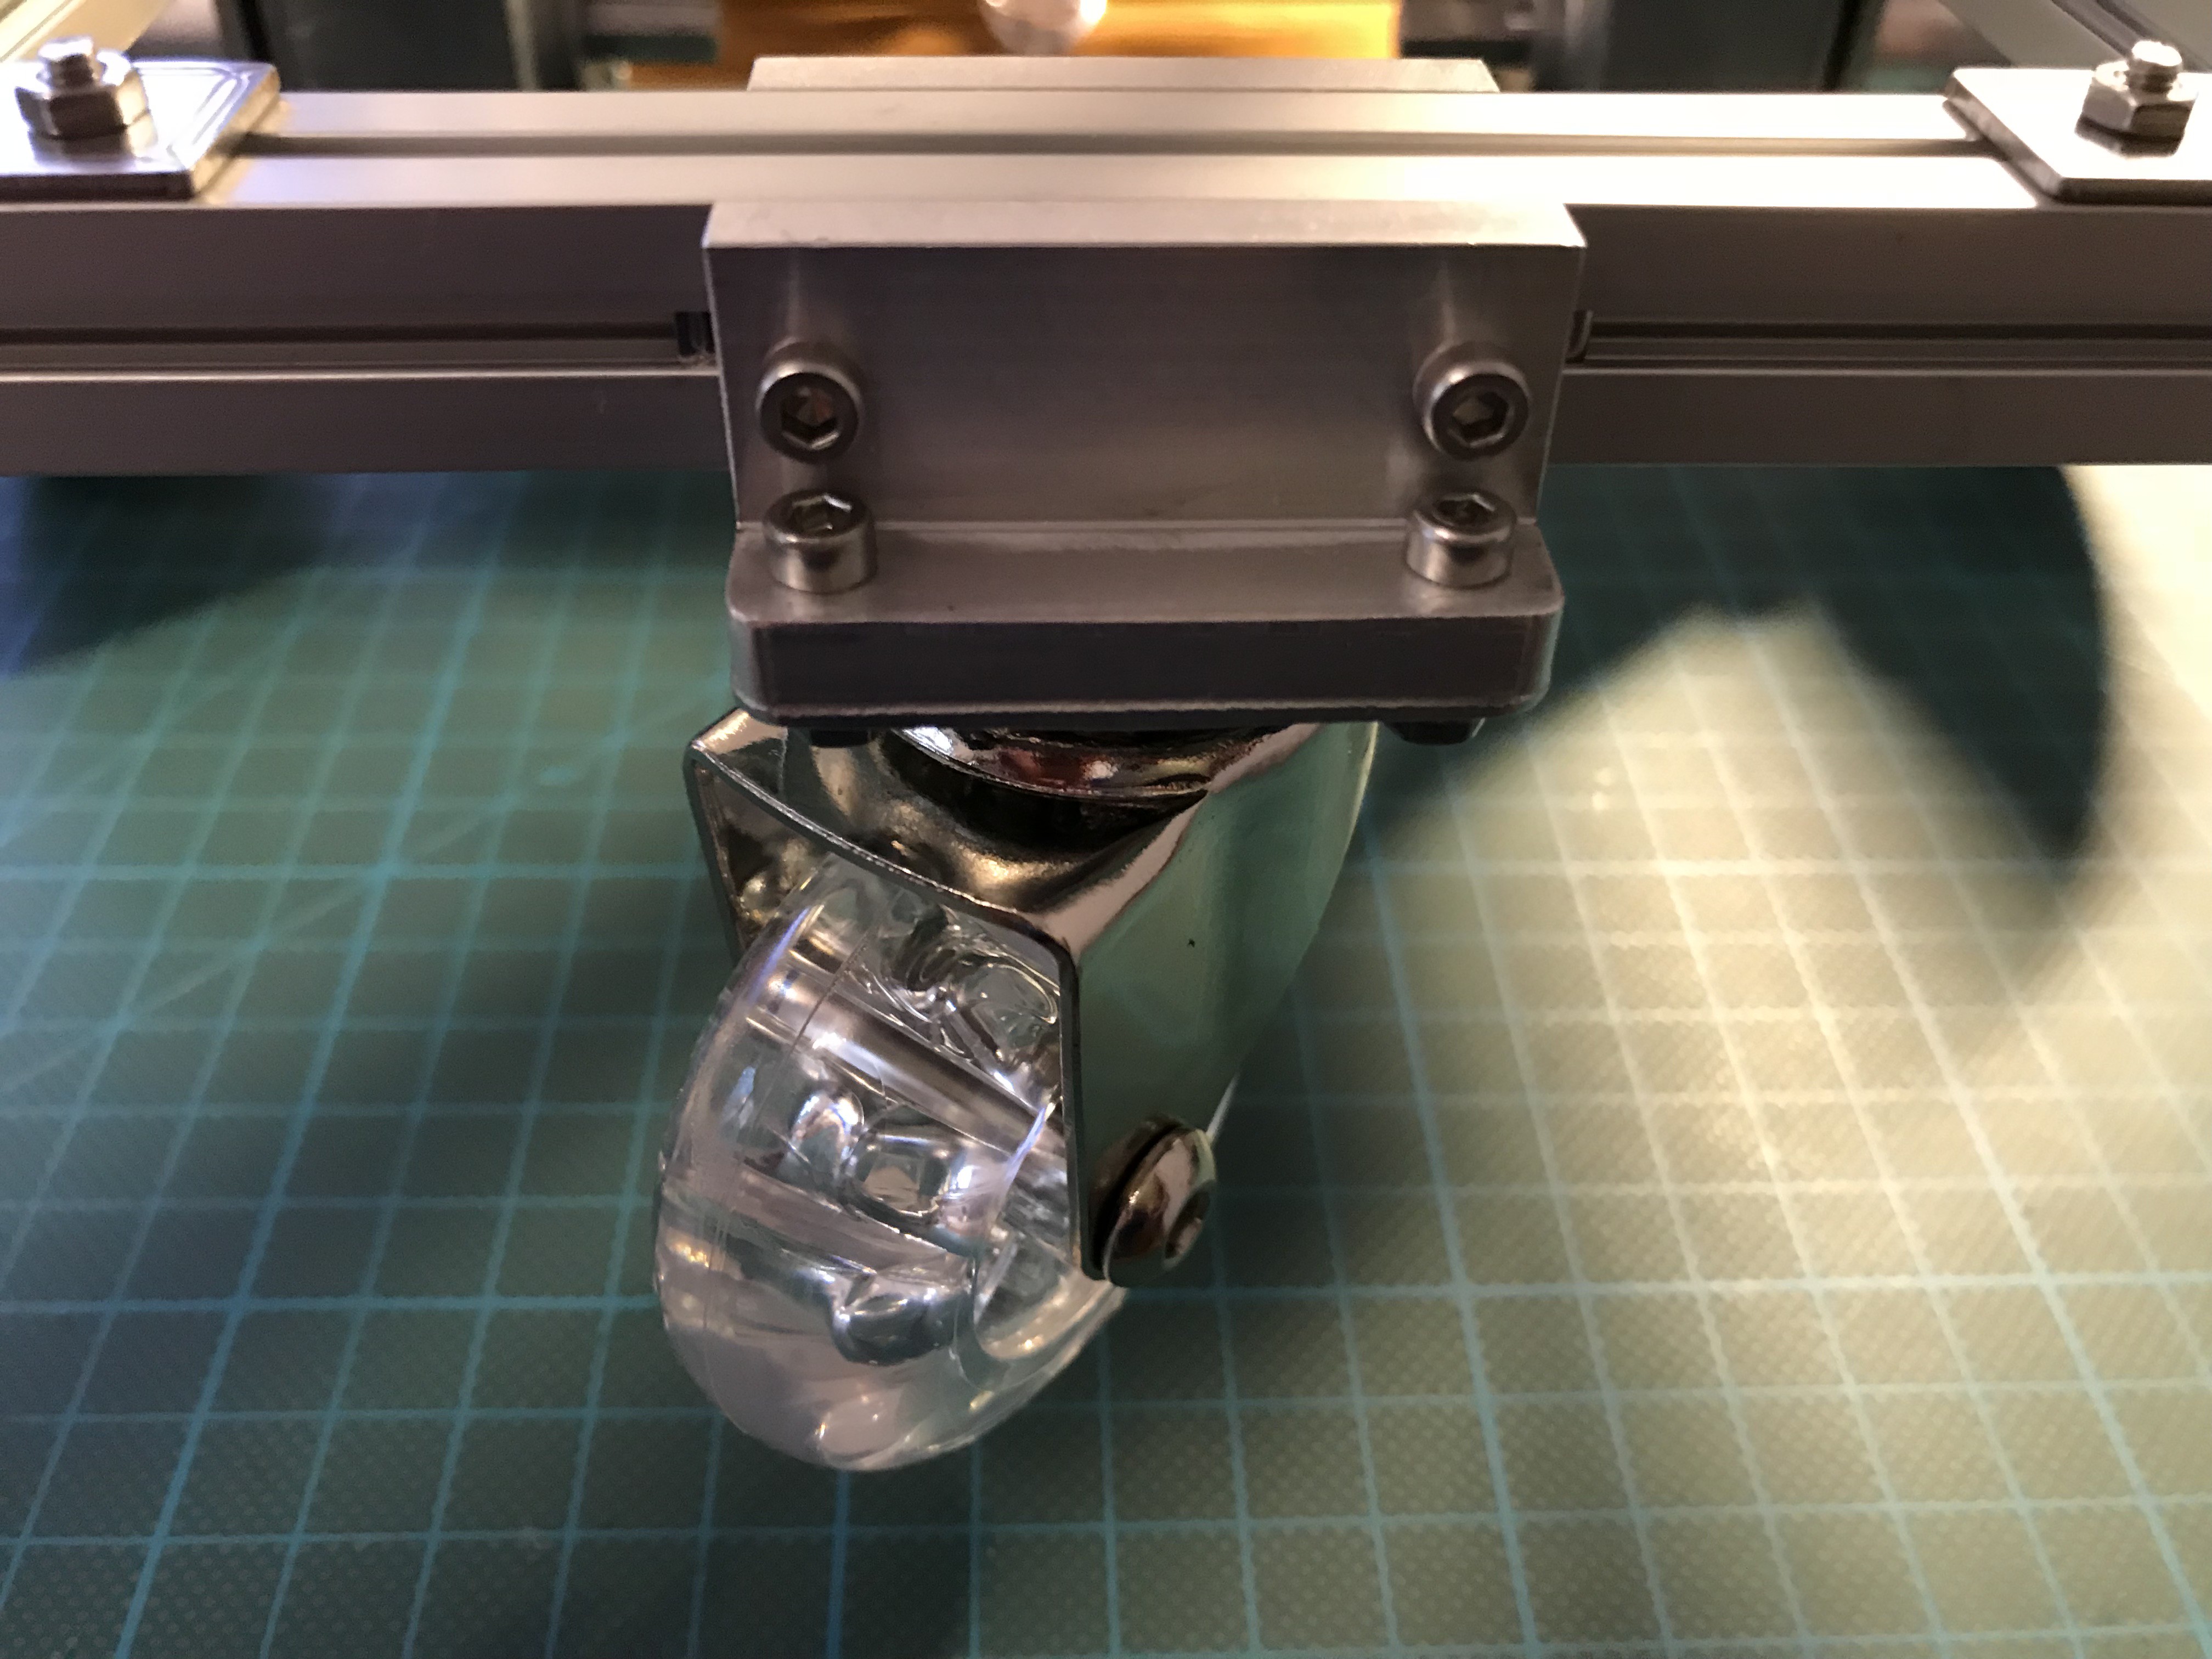
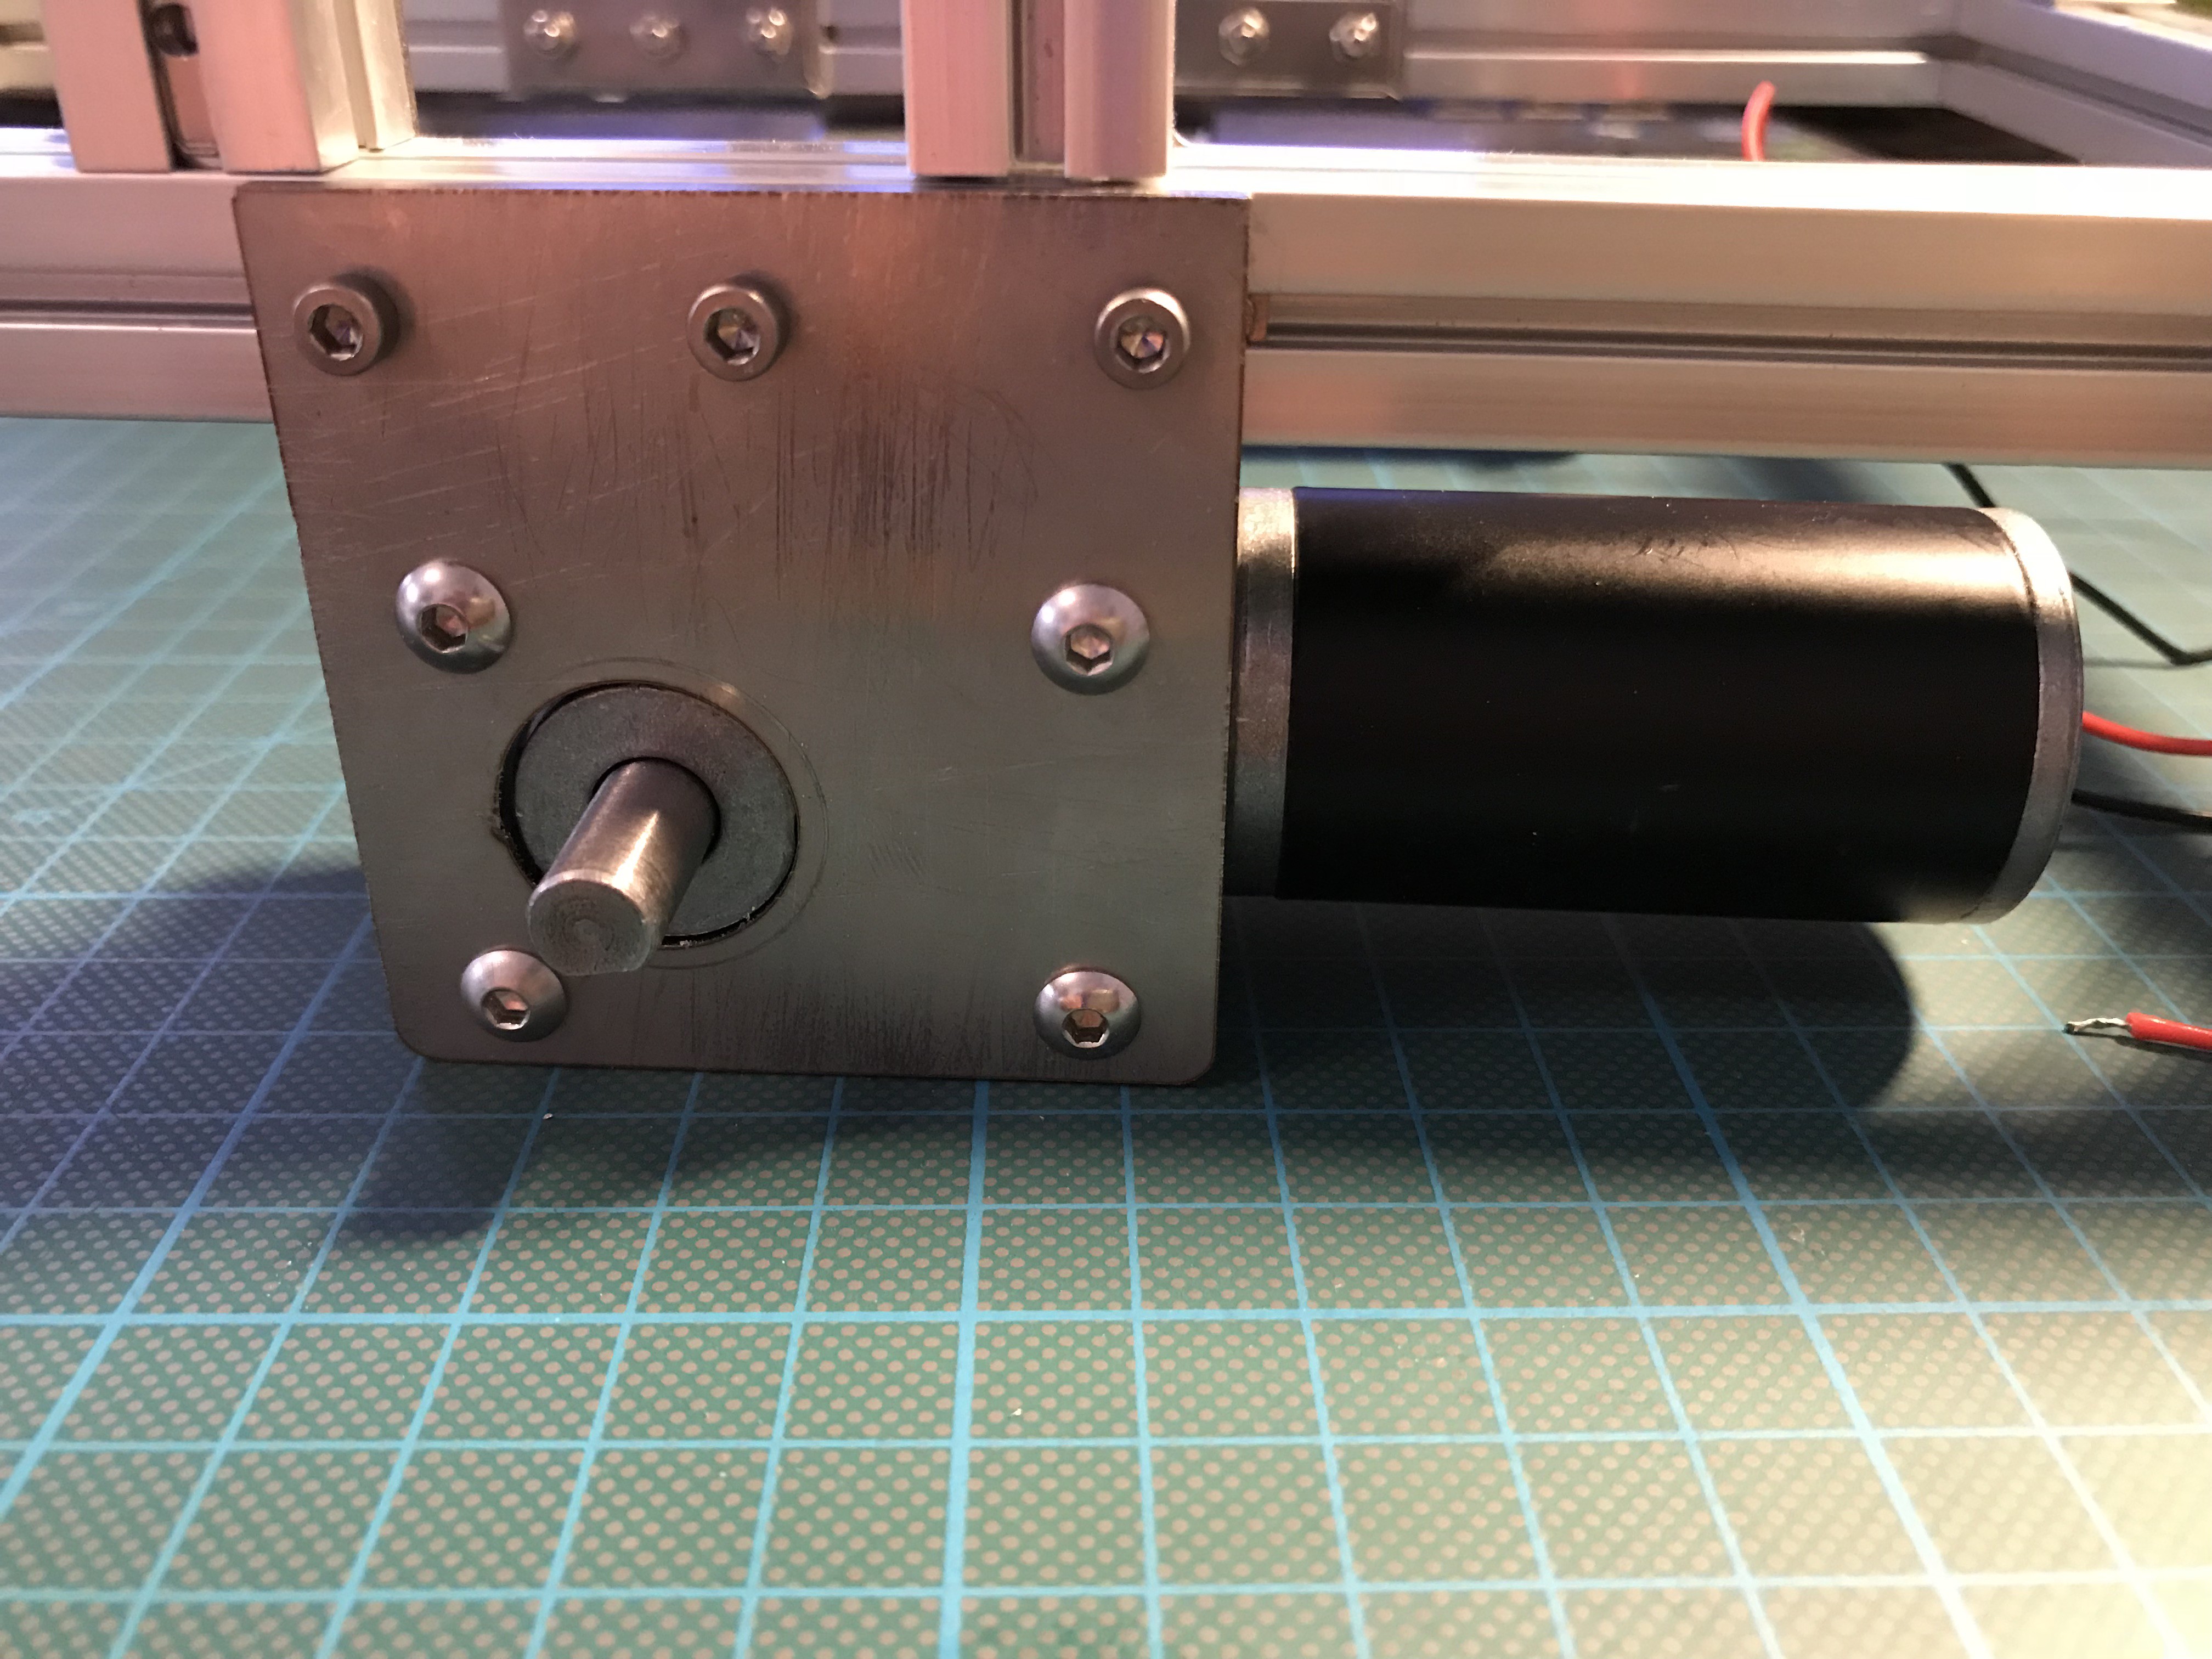 Wheels attached to the motors:


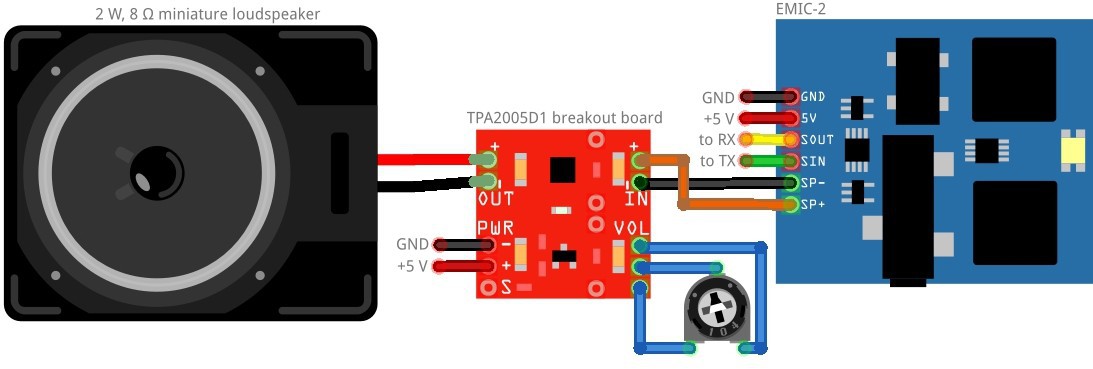
 txdo.msk
 Elisa Leterrier
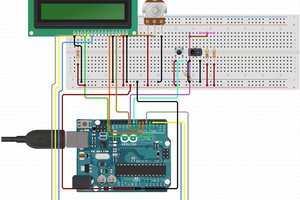
 hIOTron
oh, right. XD i saw that, idk why it didn't register.