 Nathann
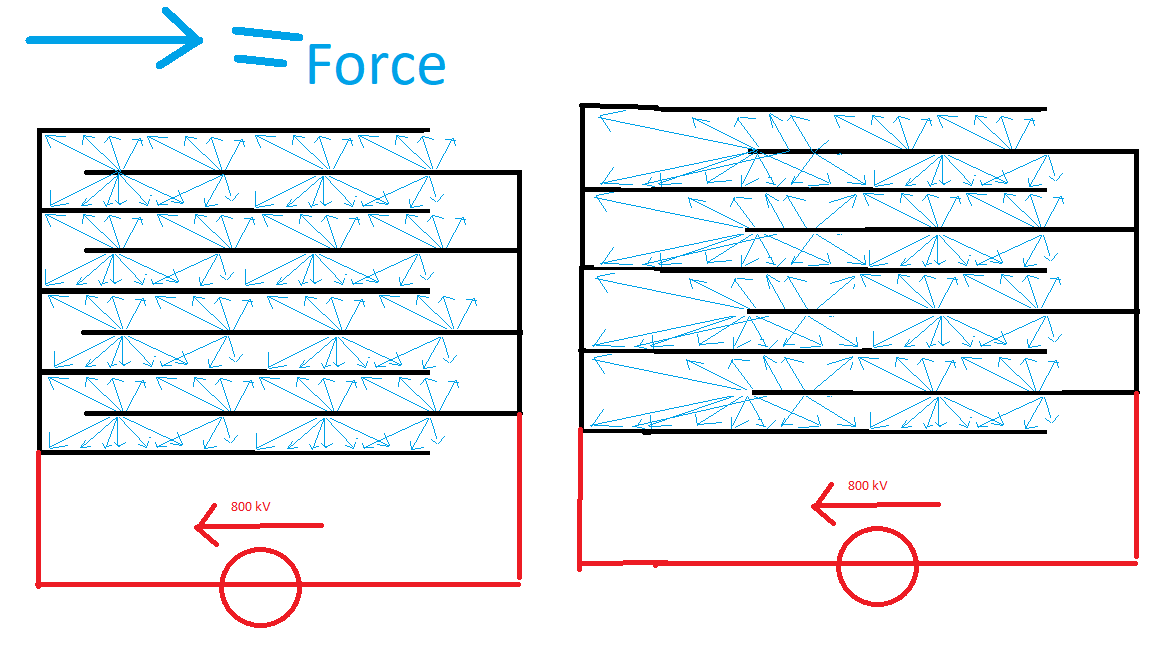
 Actually most of the electrostatic actuator are found in MEMS component. Their more easily applicable at small scale because the force depend directly of the distance between the plate. But this can be overthrow by the use of higher voltage.
For this purpose I use some cheap chineese DC boost sold as taser module. The are generally rated for 130 to 800 kV (but are in reality closer to 10-60 Kv) and cost around 5 bucks. Another issue with electrostatic actuator is the dielectric and the possilitie of dielectric breakdown. But this was aldready solved by the team behind this papaer : (DOI: 10.1126/science.aao6139) (It's on ScienceHub for free). They used a liquid dielectric (oil). But they don't mention the High voltage power supply they used thus the use of chineese DC Boost.
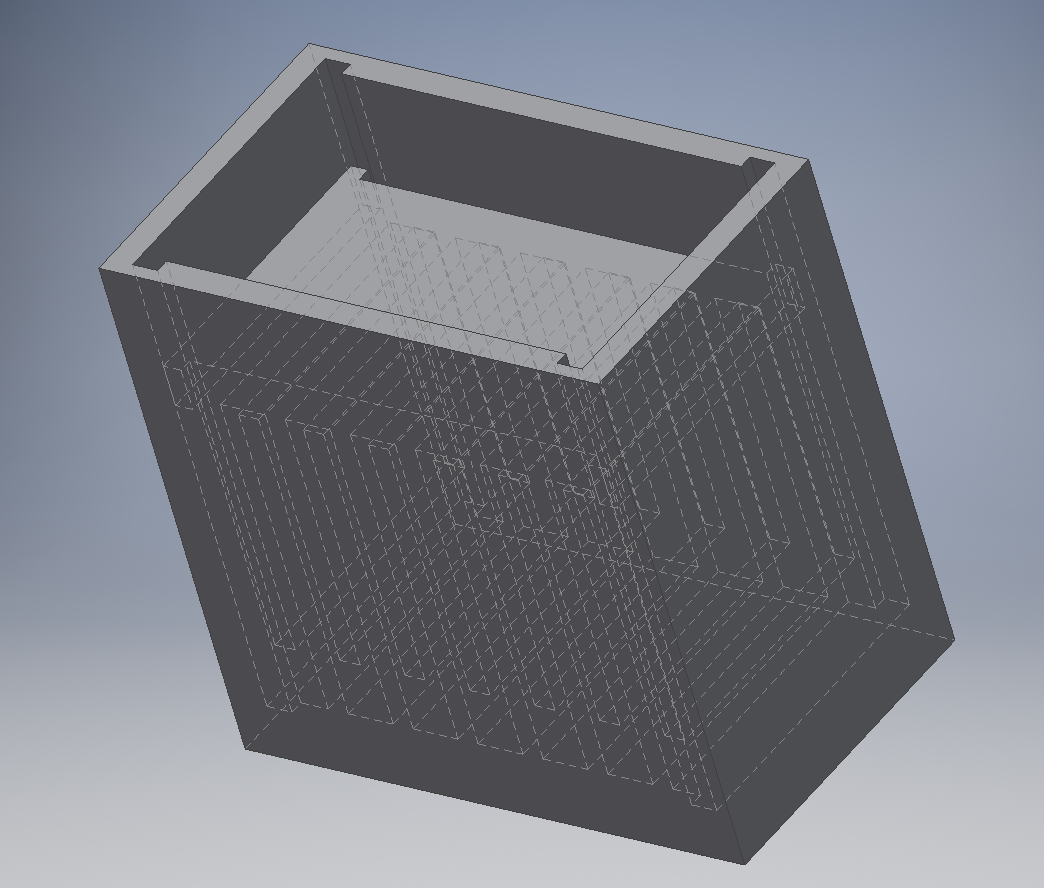
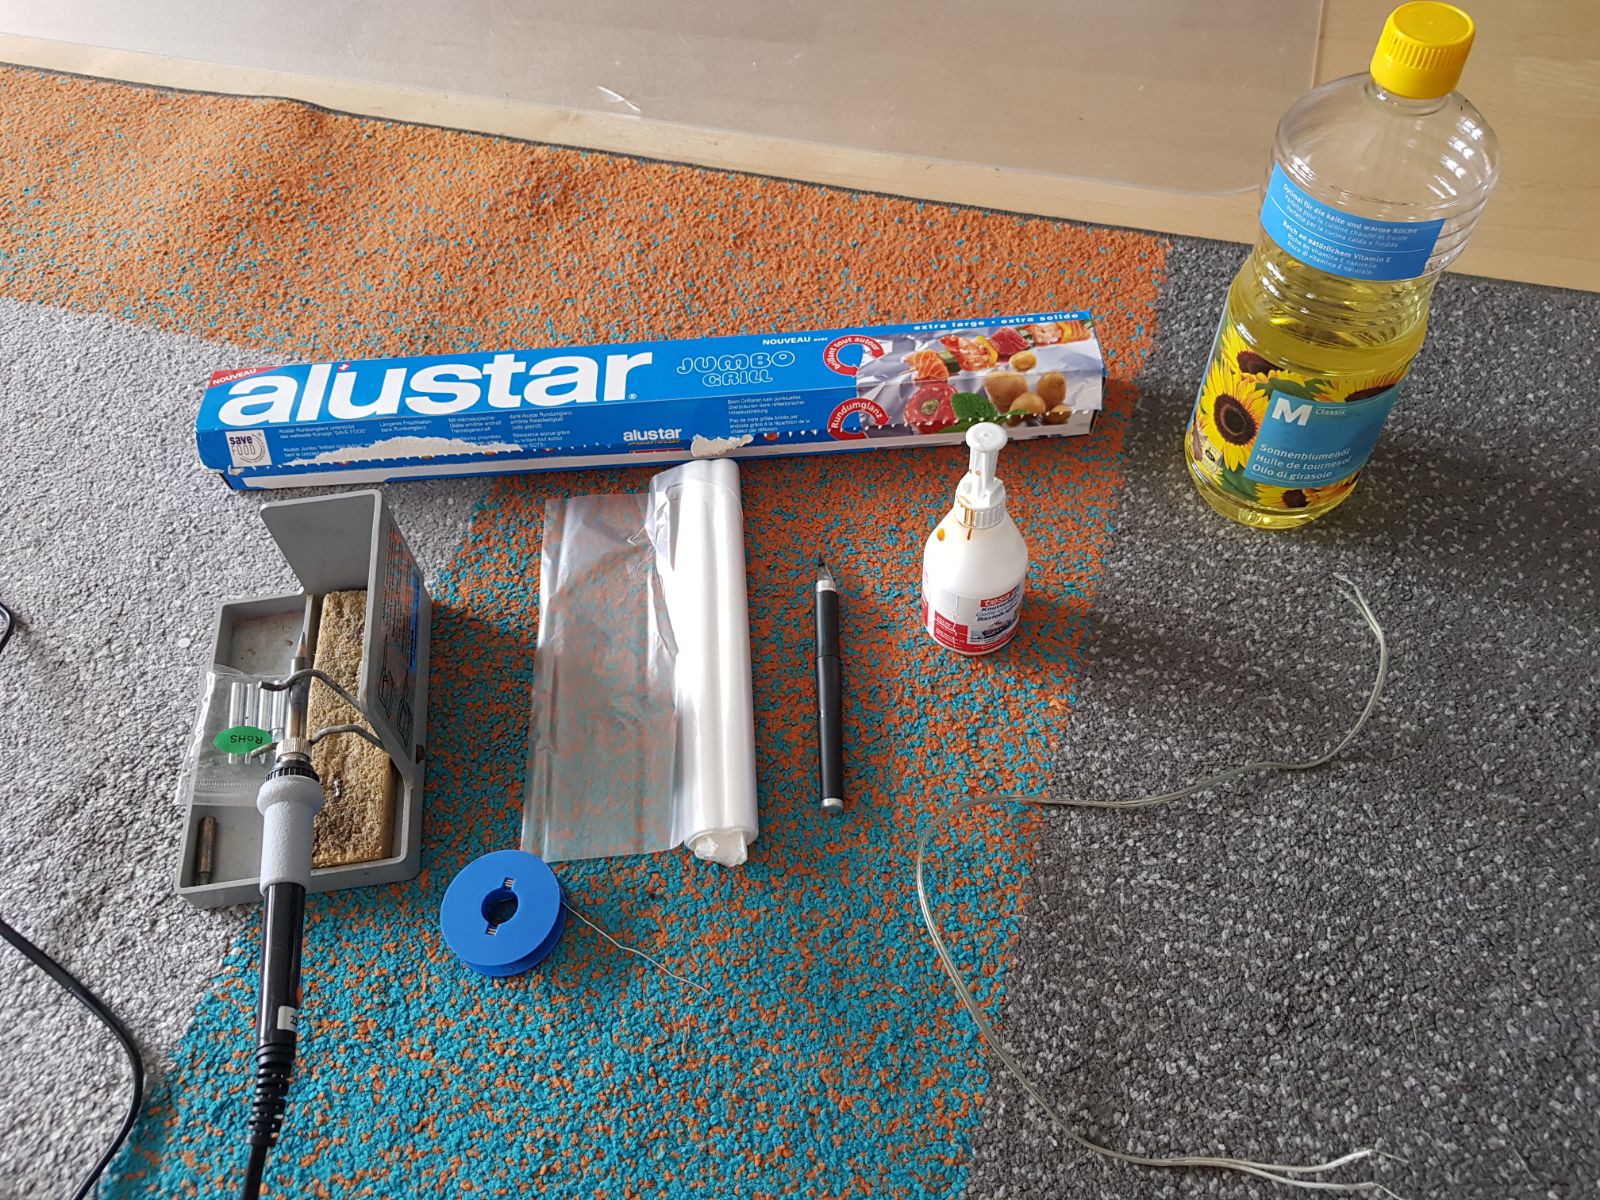
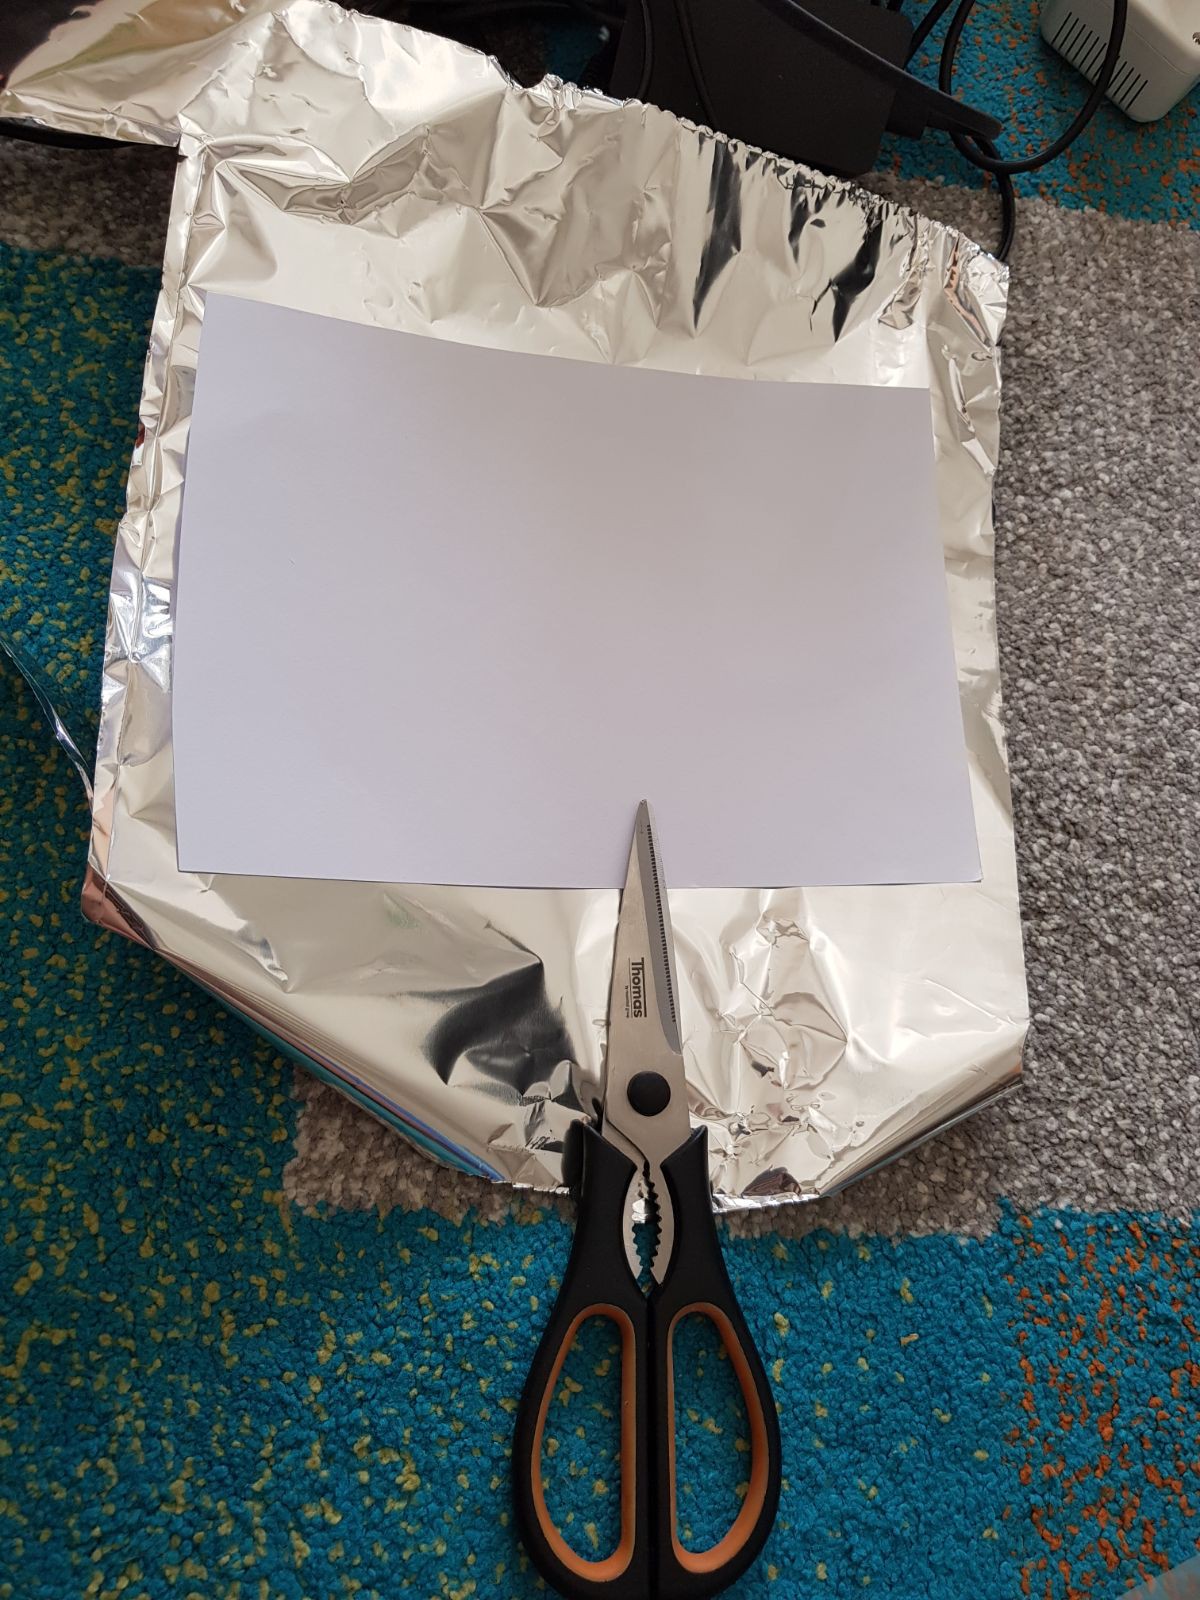
I came with two design. the first one require only the things I could find in my kitchen ( platic bag, aluminium foil, sunflower oil, white glue, a few centimeter of wire and a soldering iron.) The second one is a bit more advanced and use a 3D printed shell.
I realised their was only one day left for the robotic module challenge while i'm posting this So I rushed the realisation to prove it work. I will the refine design in the comming weeks when my exams will be over.


 Bree Hoffman
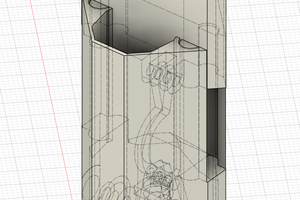
 Andrew Bahls
 finallyfunctional
 PixJuan