 Andy
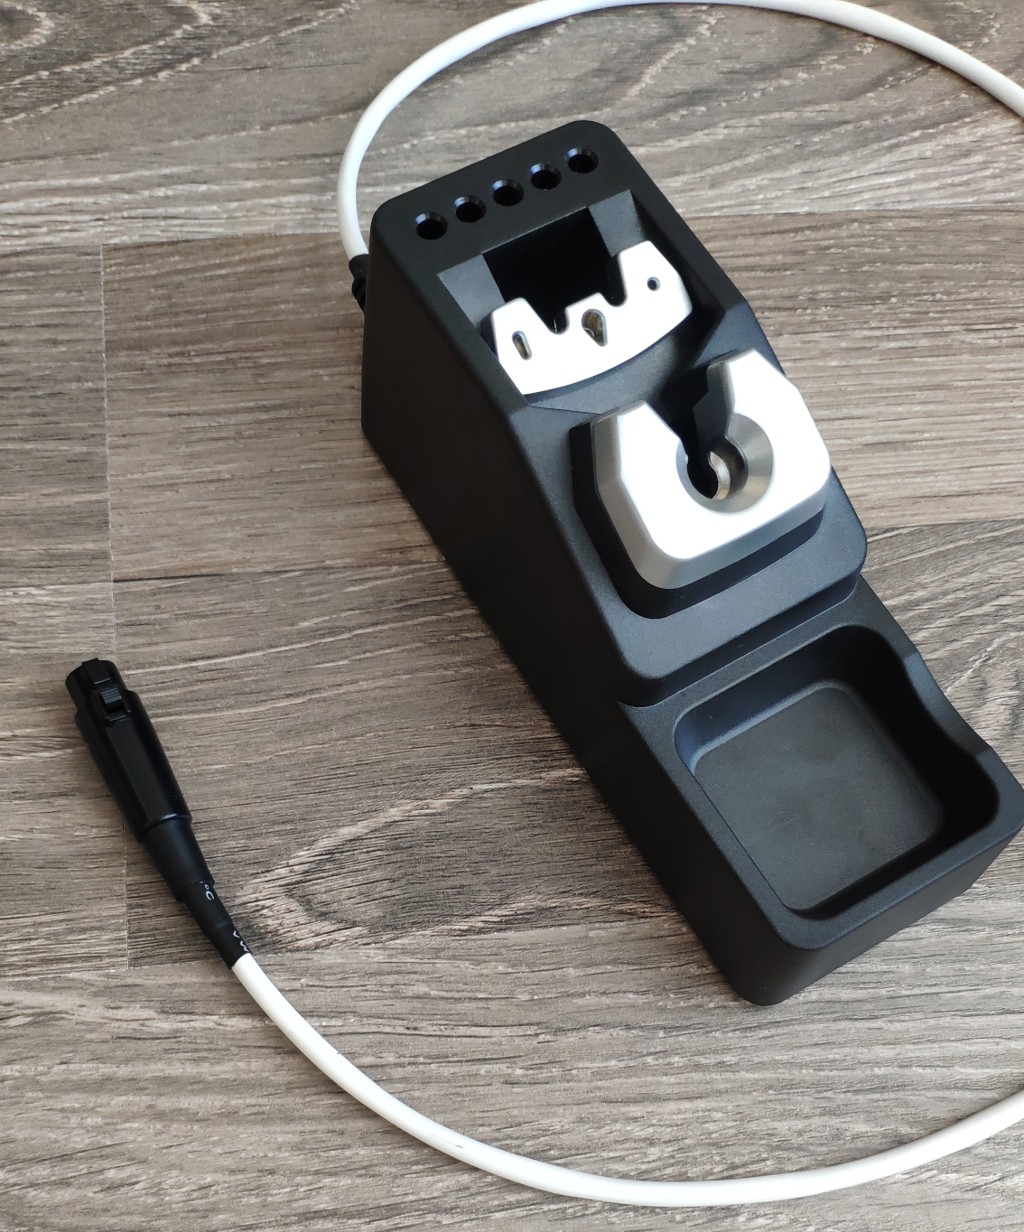
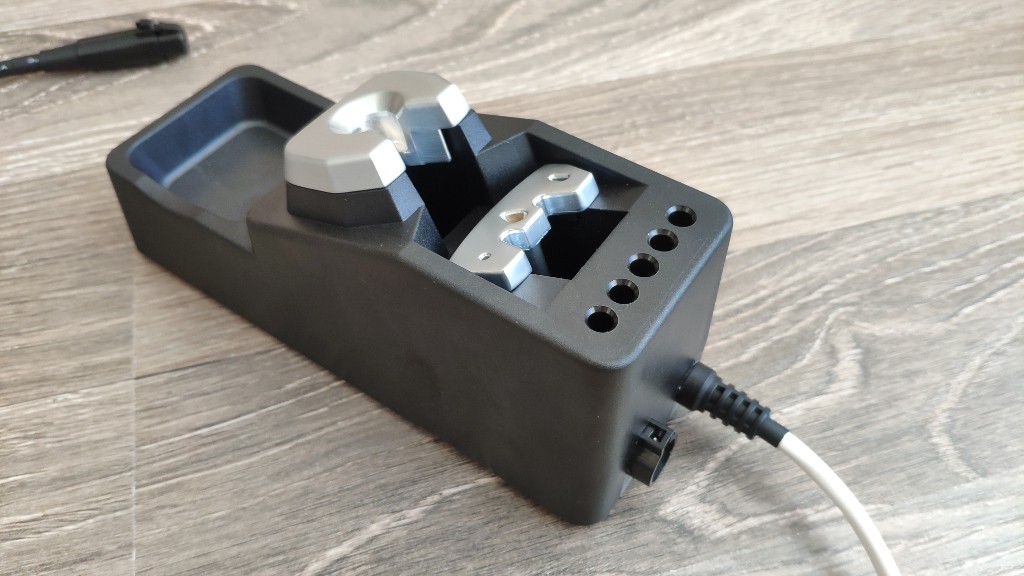
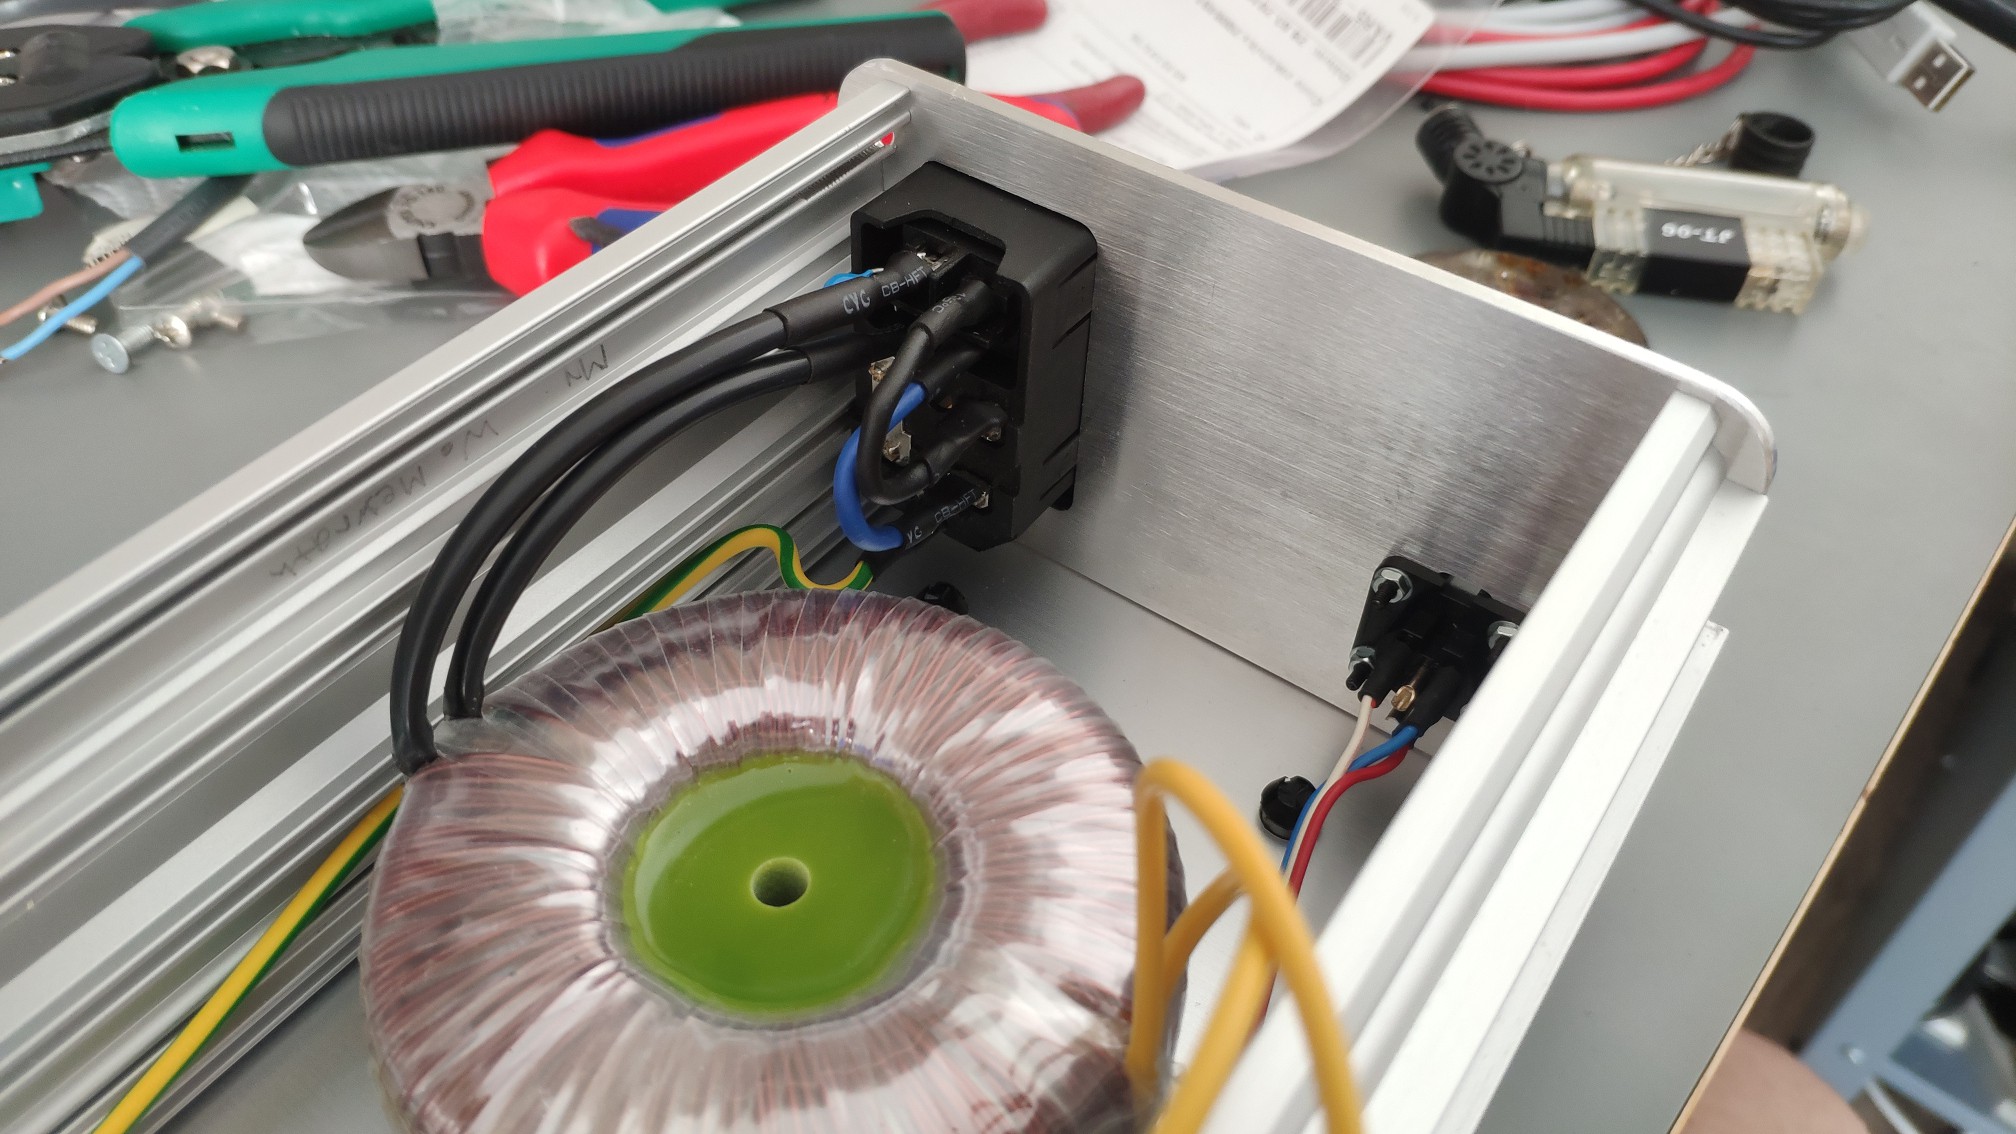
AndySoldering stations is based on 2-layer PCB, transformer and custom housing (future).
Power supply for pen 24V AC. There was a dilemma between power supply choosing, AC vs DC. There were prose and cons, like simpler switching, speed, saturation, isolation, temperature ... . After sum-up, I have chosen the AC one.
Basic concept:
The soldering pen will be switched via 2 MOS-fets. One for positive and second one for negative part of AC signal. There were multiple options to control MOS-fets, like R+C, another transistor, SSR and so on. I have chosen opto-coupler with integrated MOS-fet driver. Anyway grounds needs to be isolated due to coupling and interference. One option was to chose transformer with two winding or isolated DC/DC converter.
When the pen will be turned off, thermo-electric voltage from thermo-coupler will be amplified and measured via OPAMP. A difference between target and actual value will be controlled over some kind of regulator, like PID.
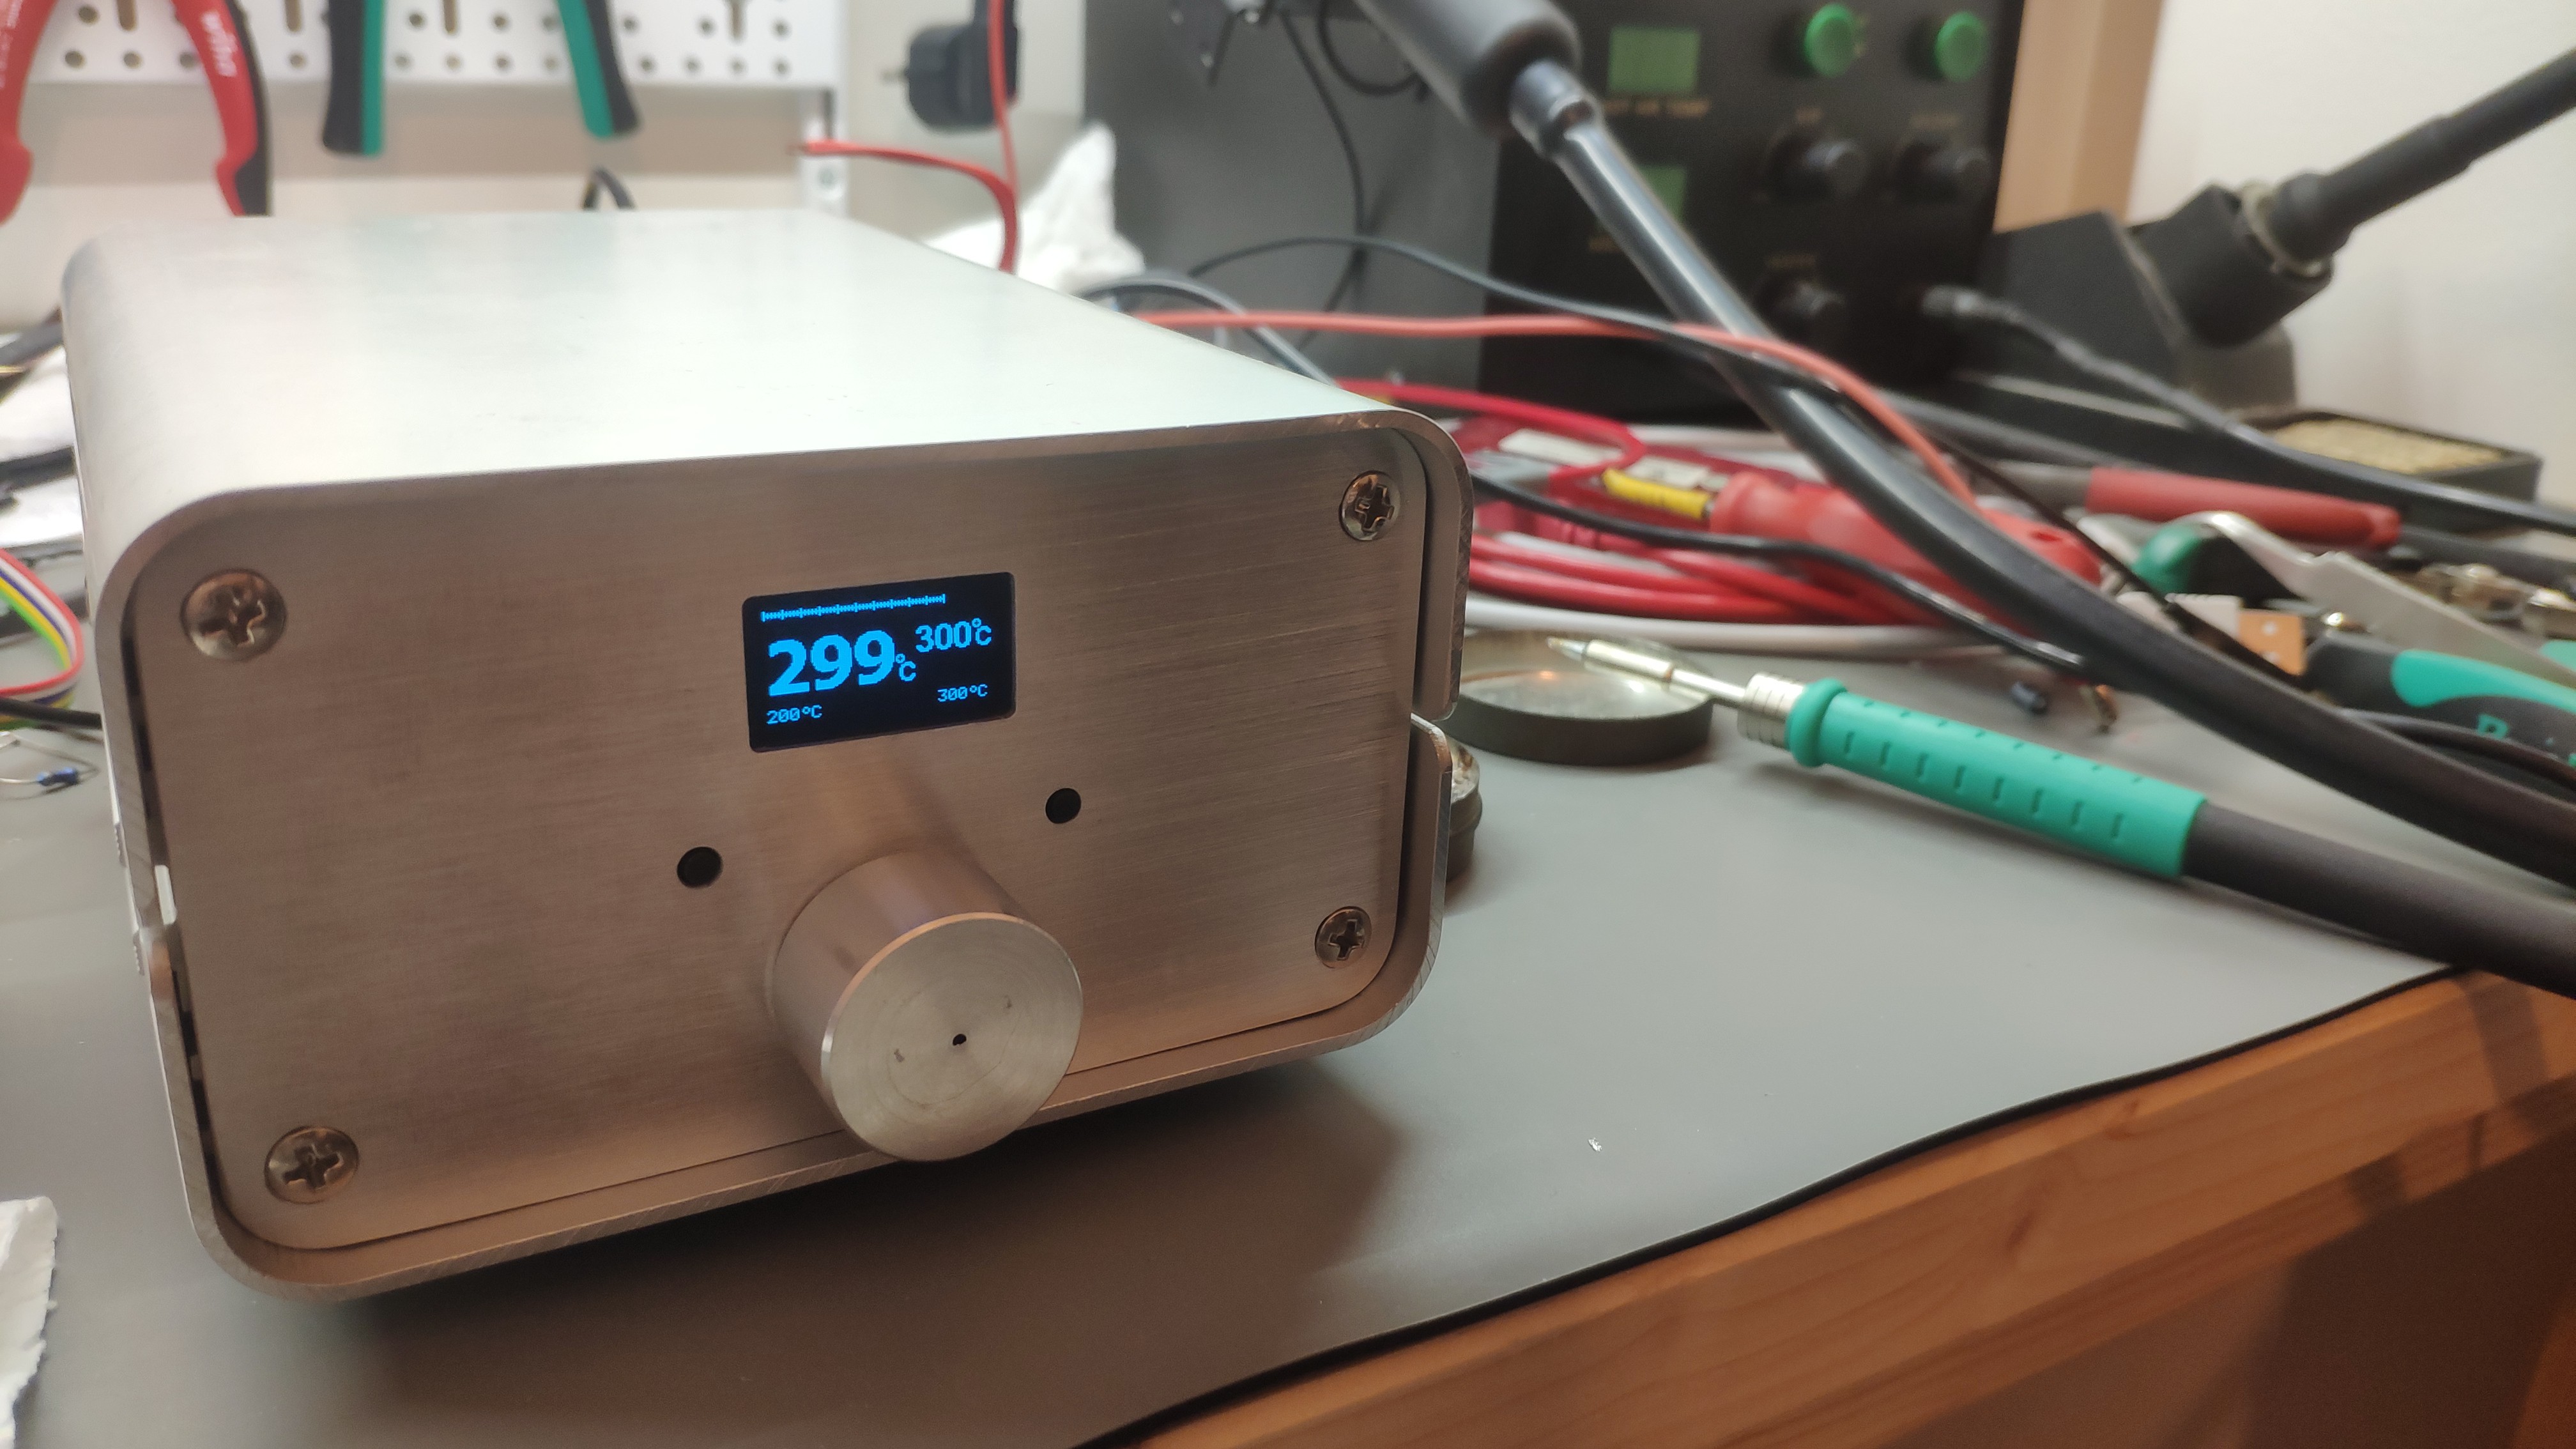
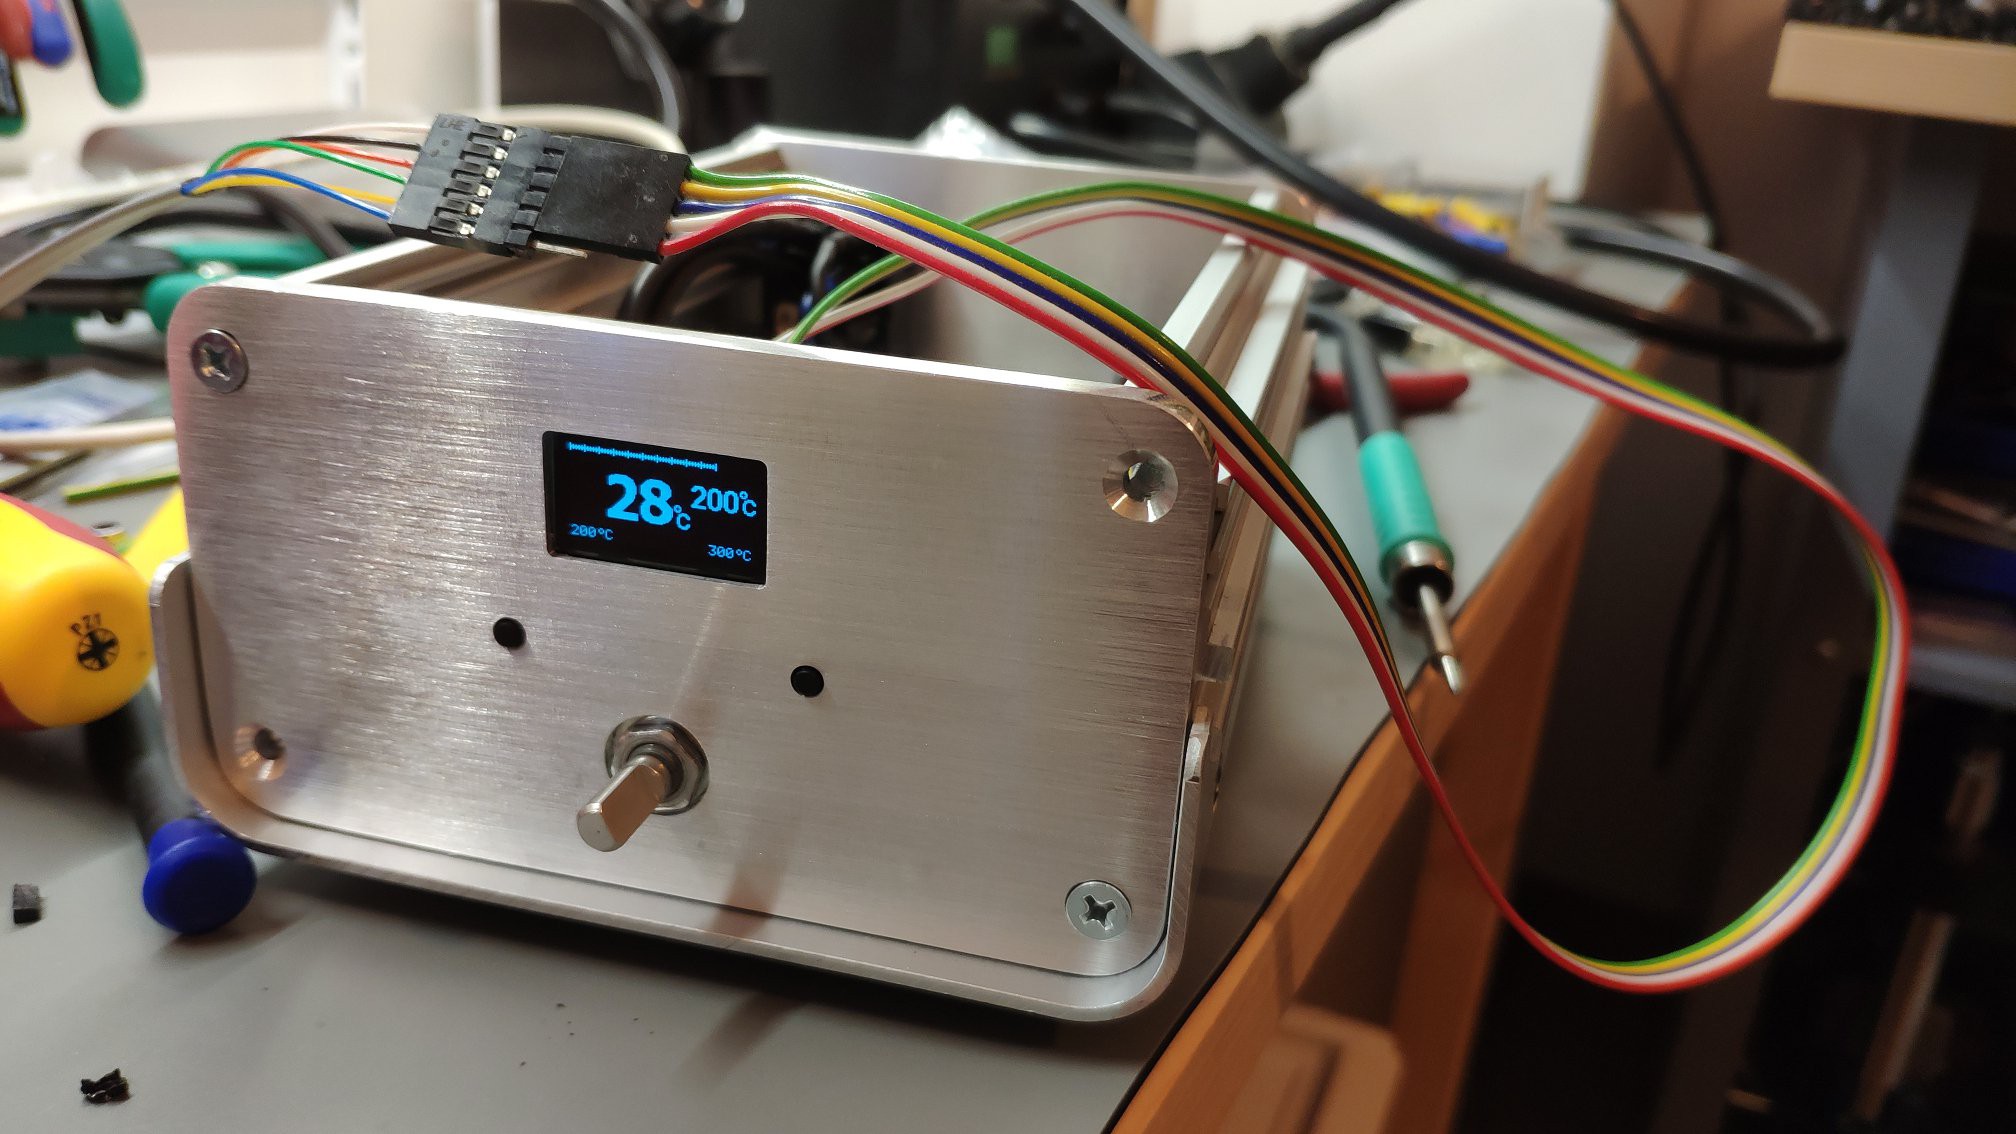
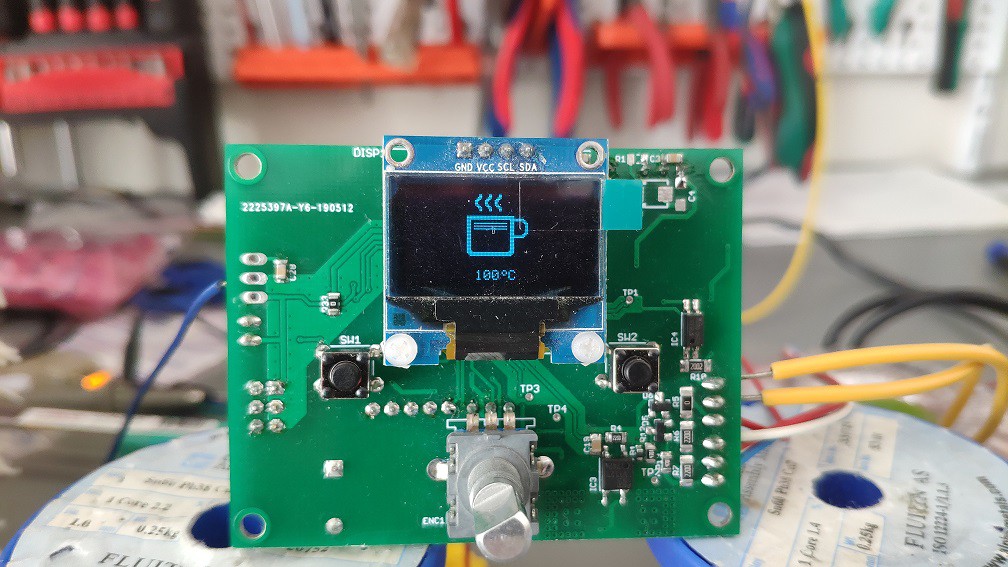
Device will be controlled from user-space over 2-switches (predefined quick temperature) and encoder (some settings). Response will be showed on OLED display.
Boards are now fabricated.
More details will be specified later, stay tuned... .
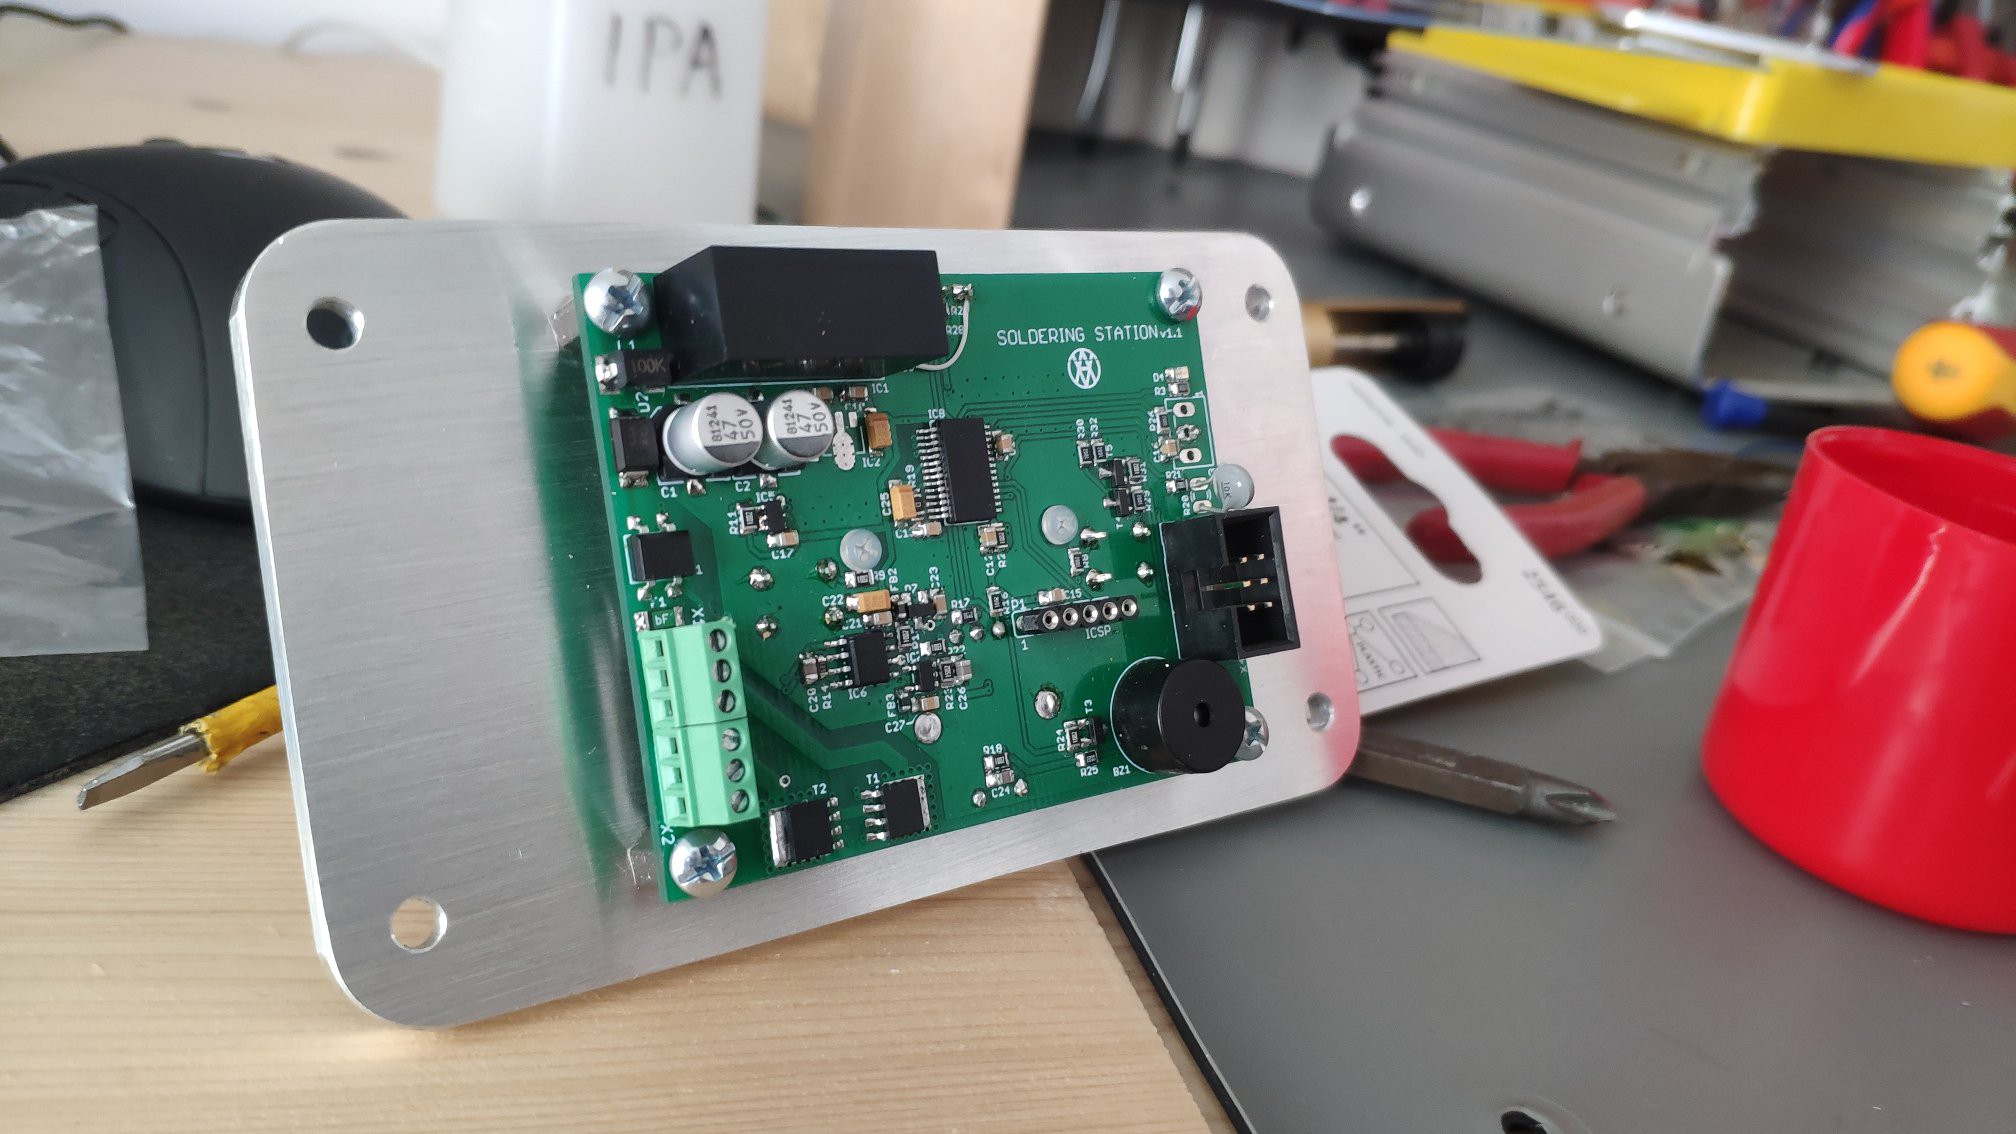


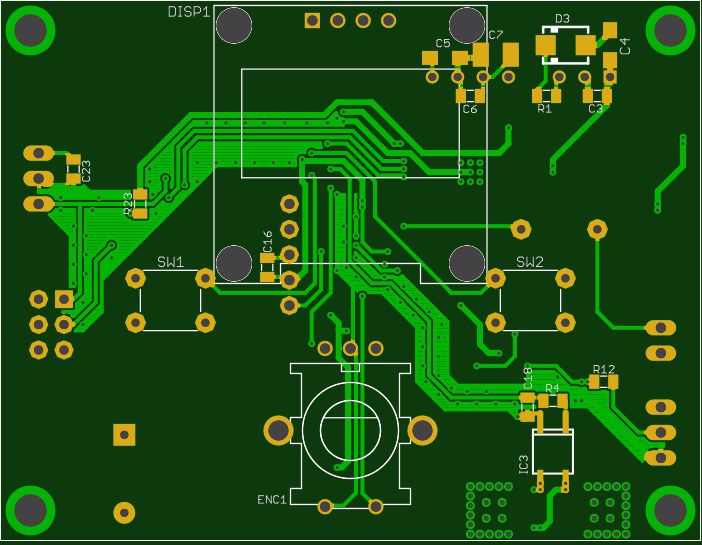
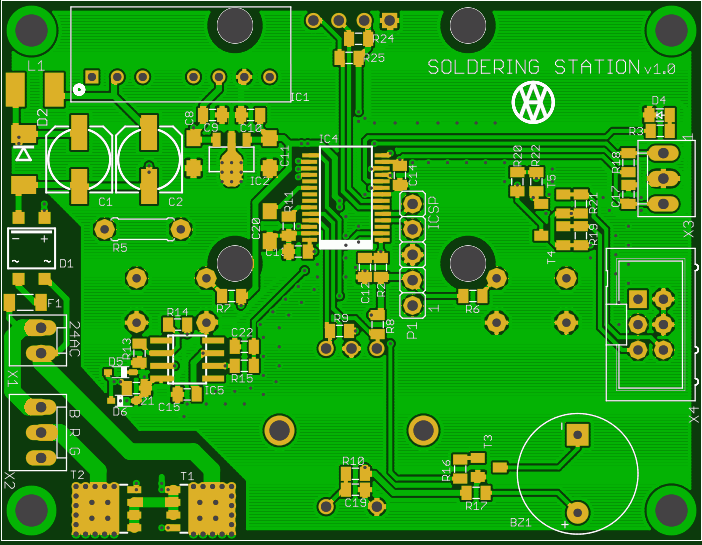
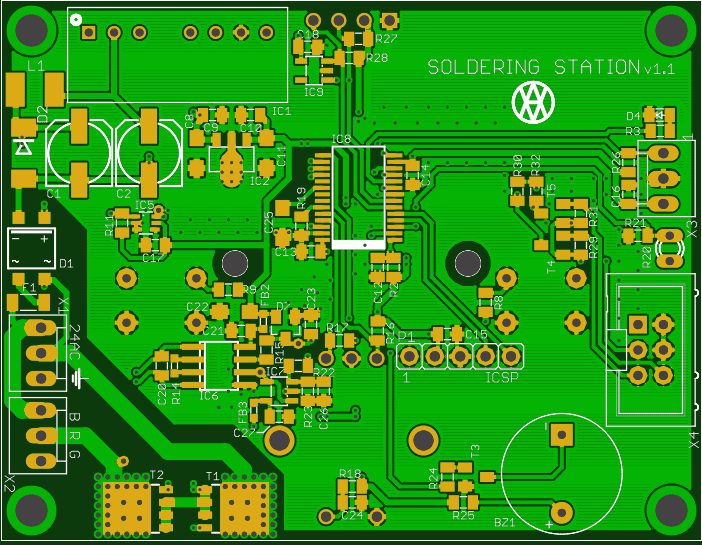
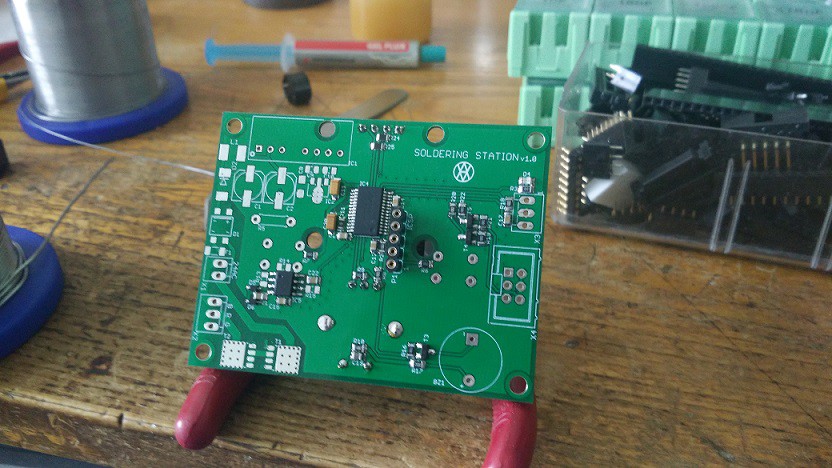
 Magic happened and PCBs are at home, finally... .
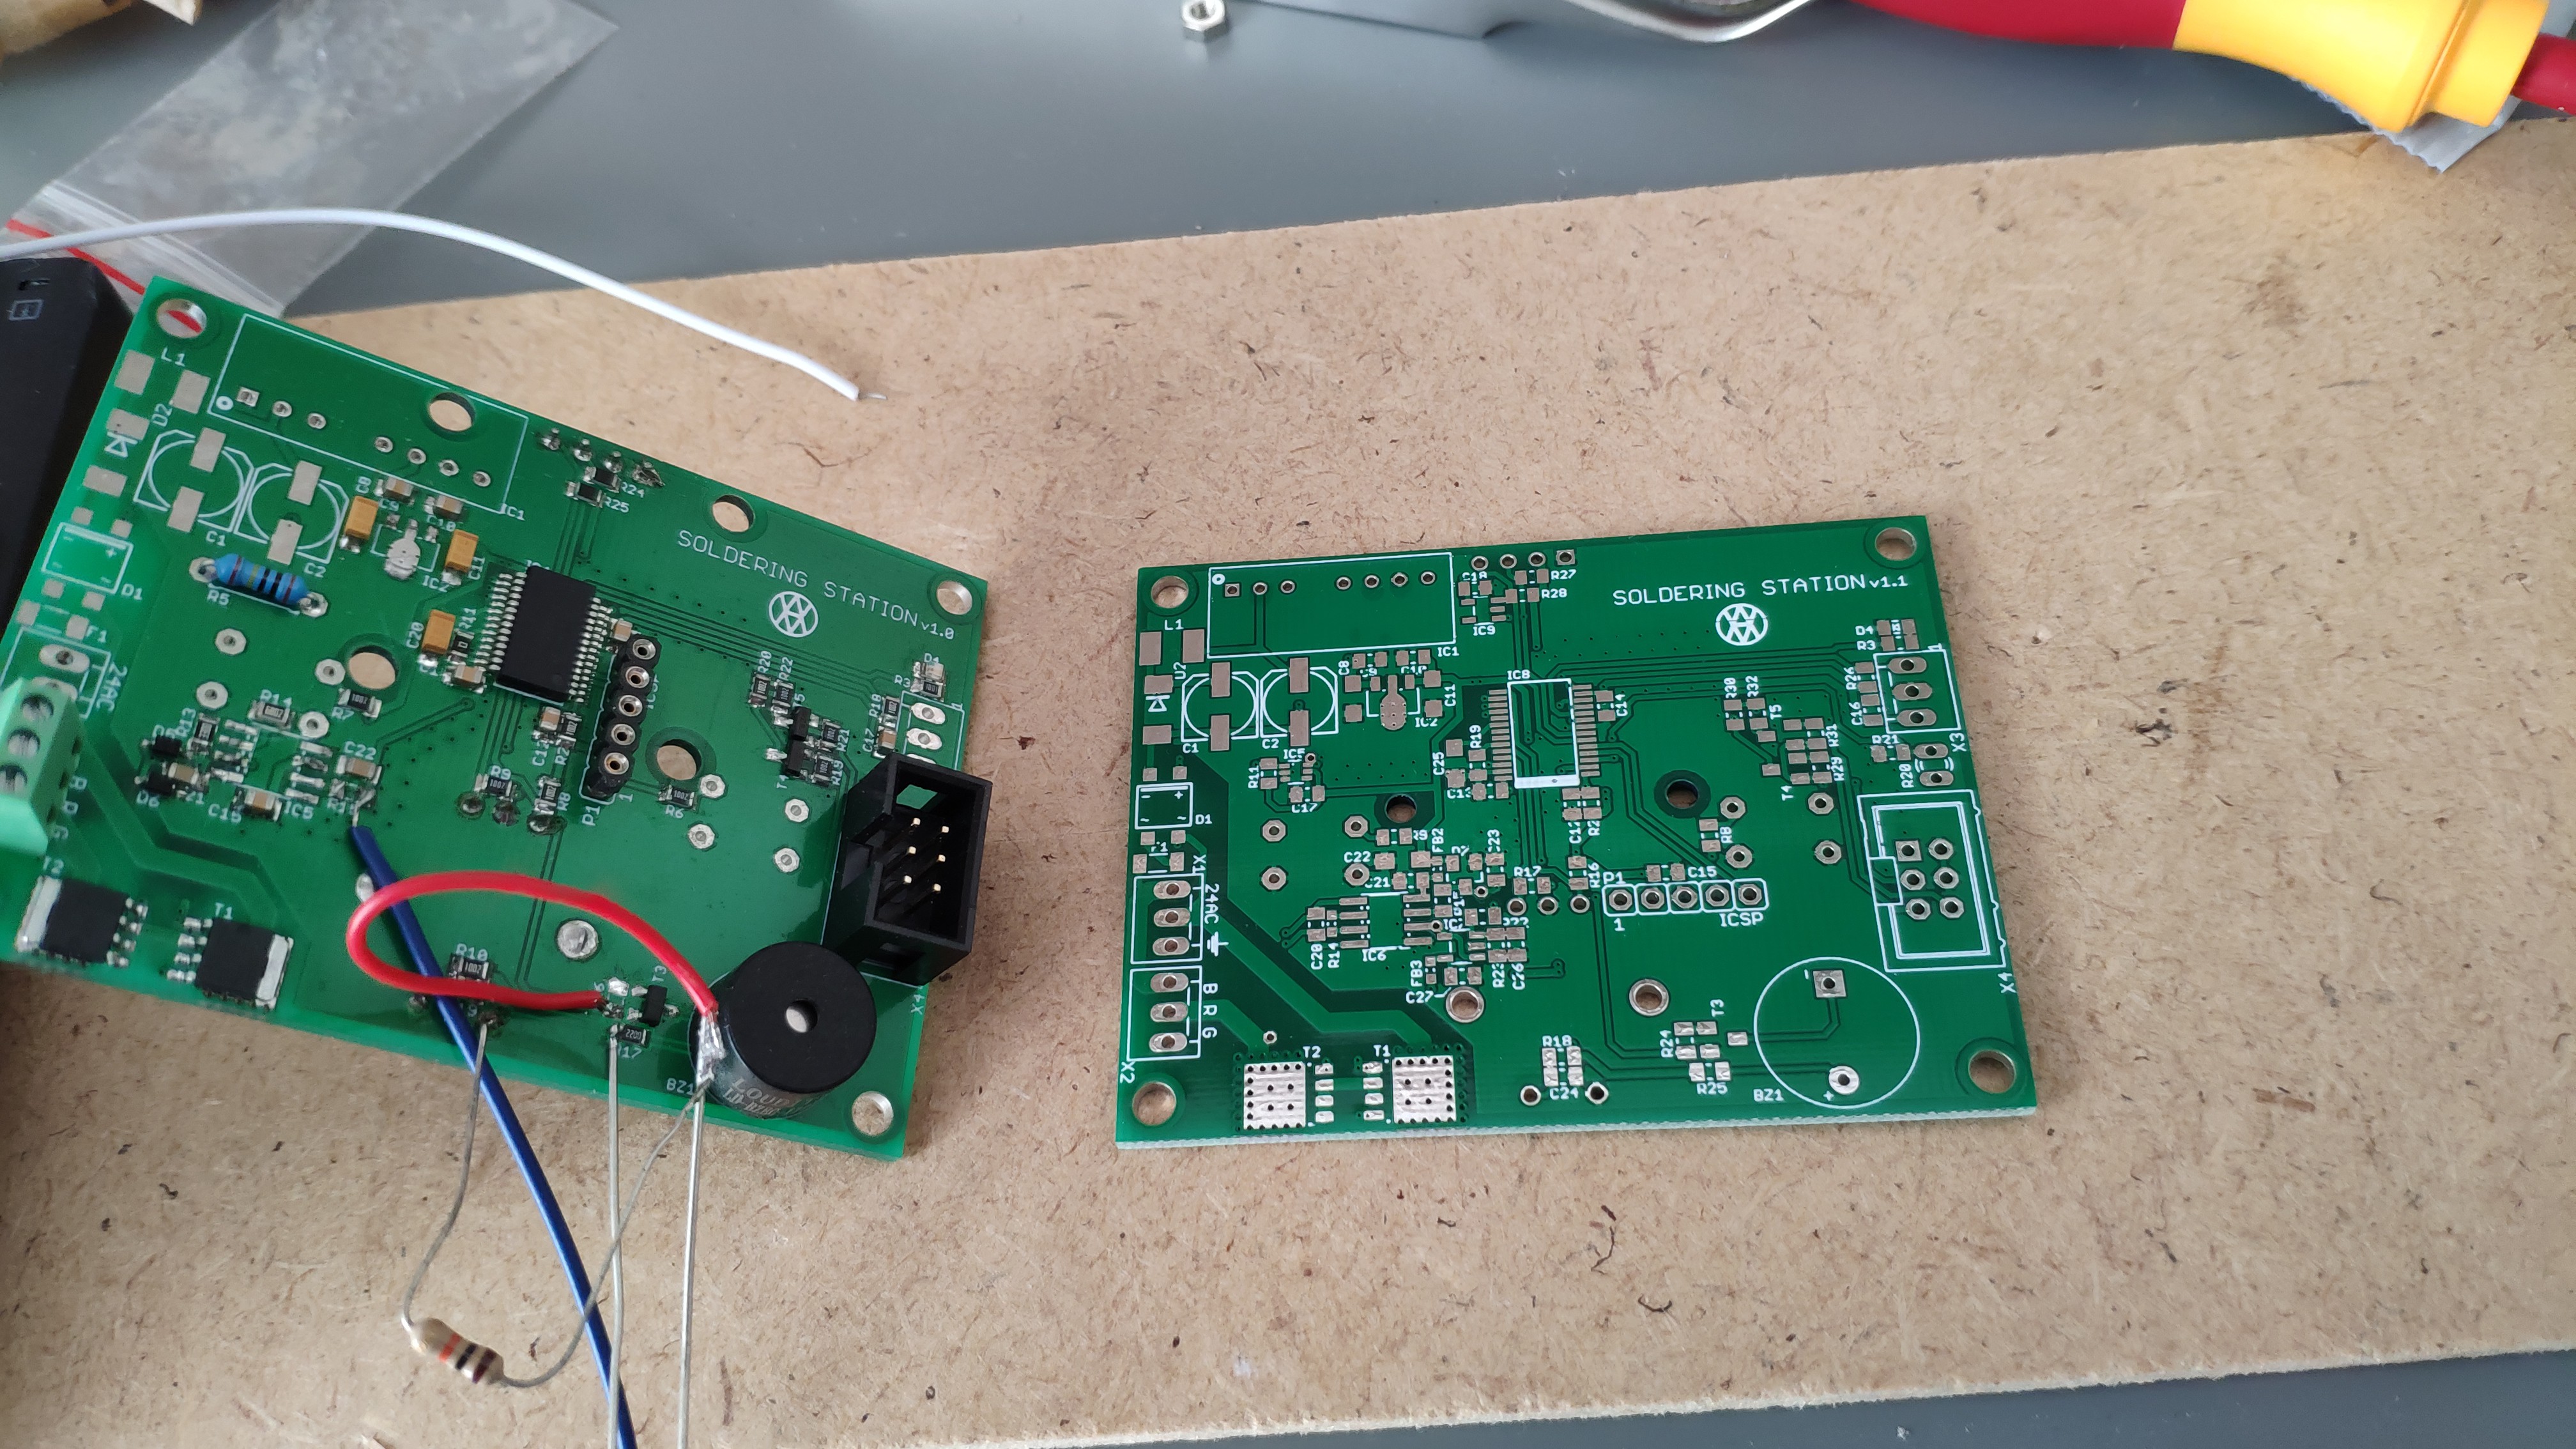 On the left side is version 1.0 and on the right side is new PCB version 1.1 .
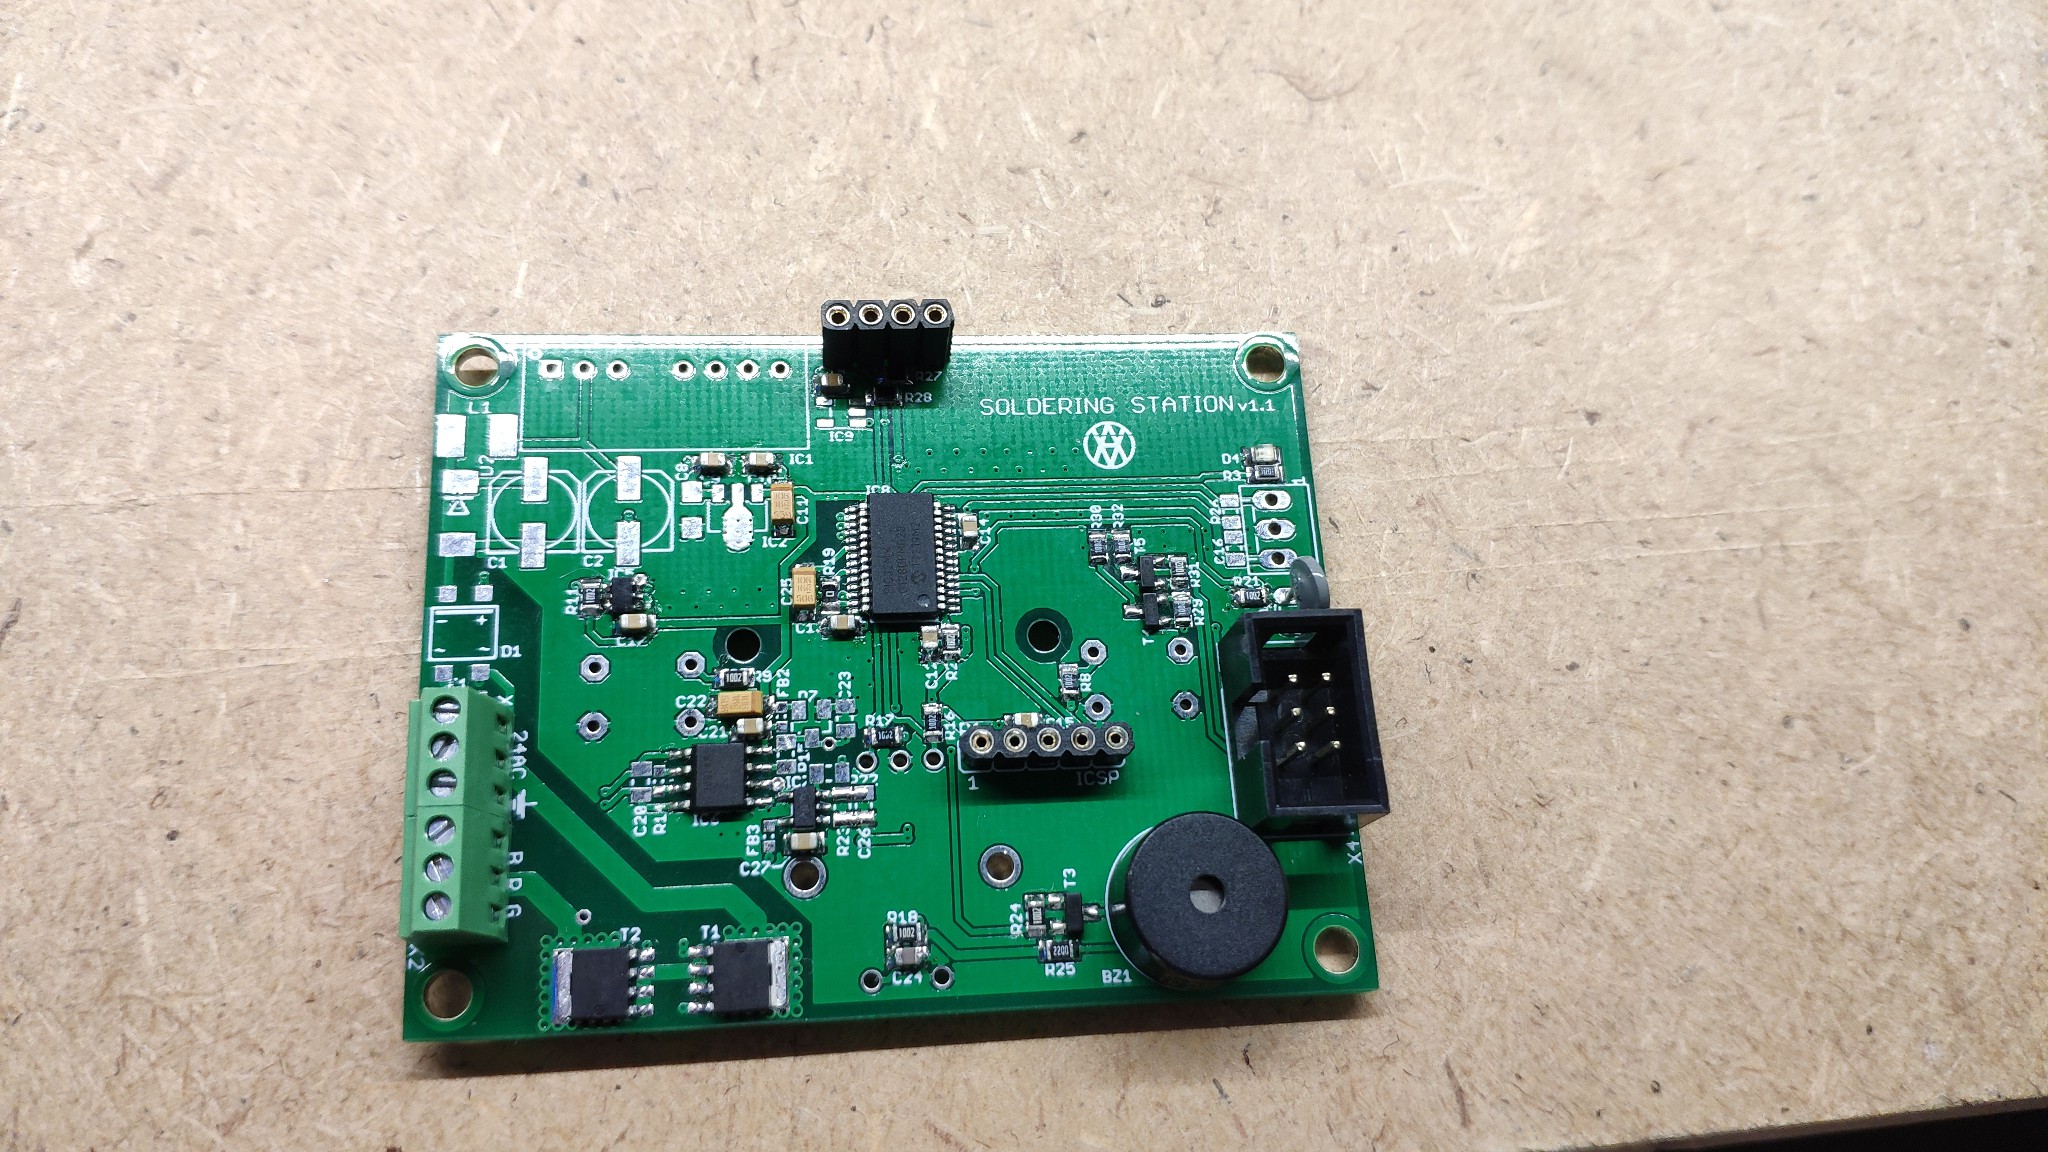 Some components has been taken from previous version. Finally "Hello world!" (LEDblinking) is working as well.
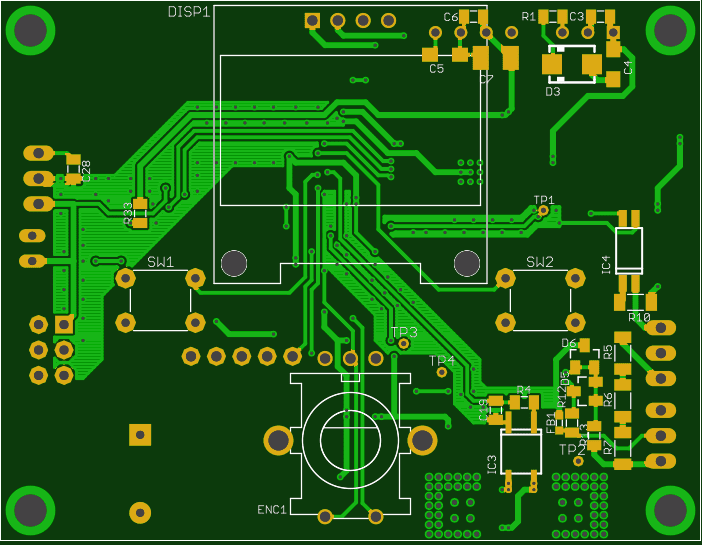


 Ultimate Robotics
 Marius Taciuc
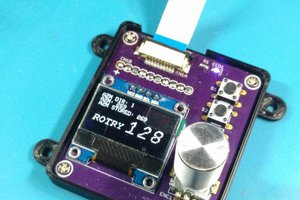
 CriptasticHacker
 Jan
Jan
It would be great if you can release the schematics!
I am trying to build my own but since I will not use the same microcontroller, I would like to take a look on how did you read the temp. and control the heater.
Thanks