 Chris Johnson
For lack of a better place, the Instructions project section gives a detailed description of the system. Last update September 25, 2018.
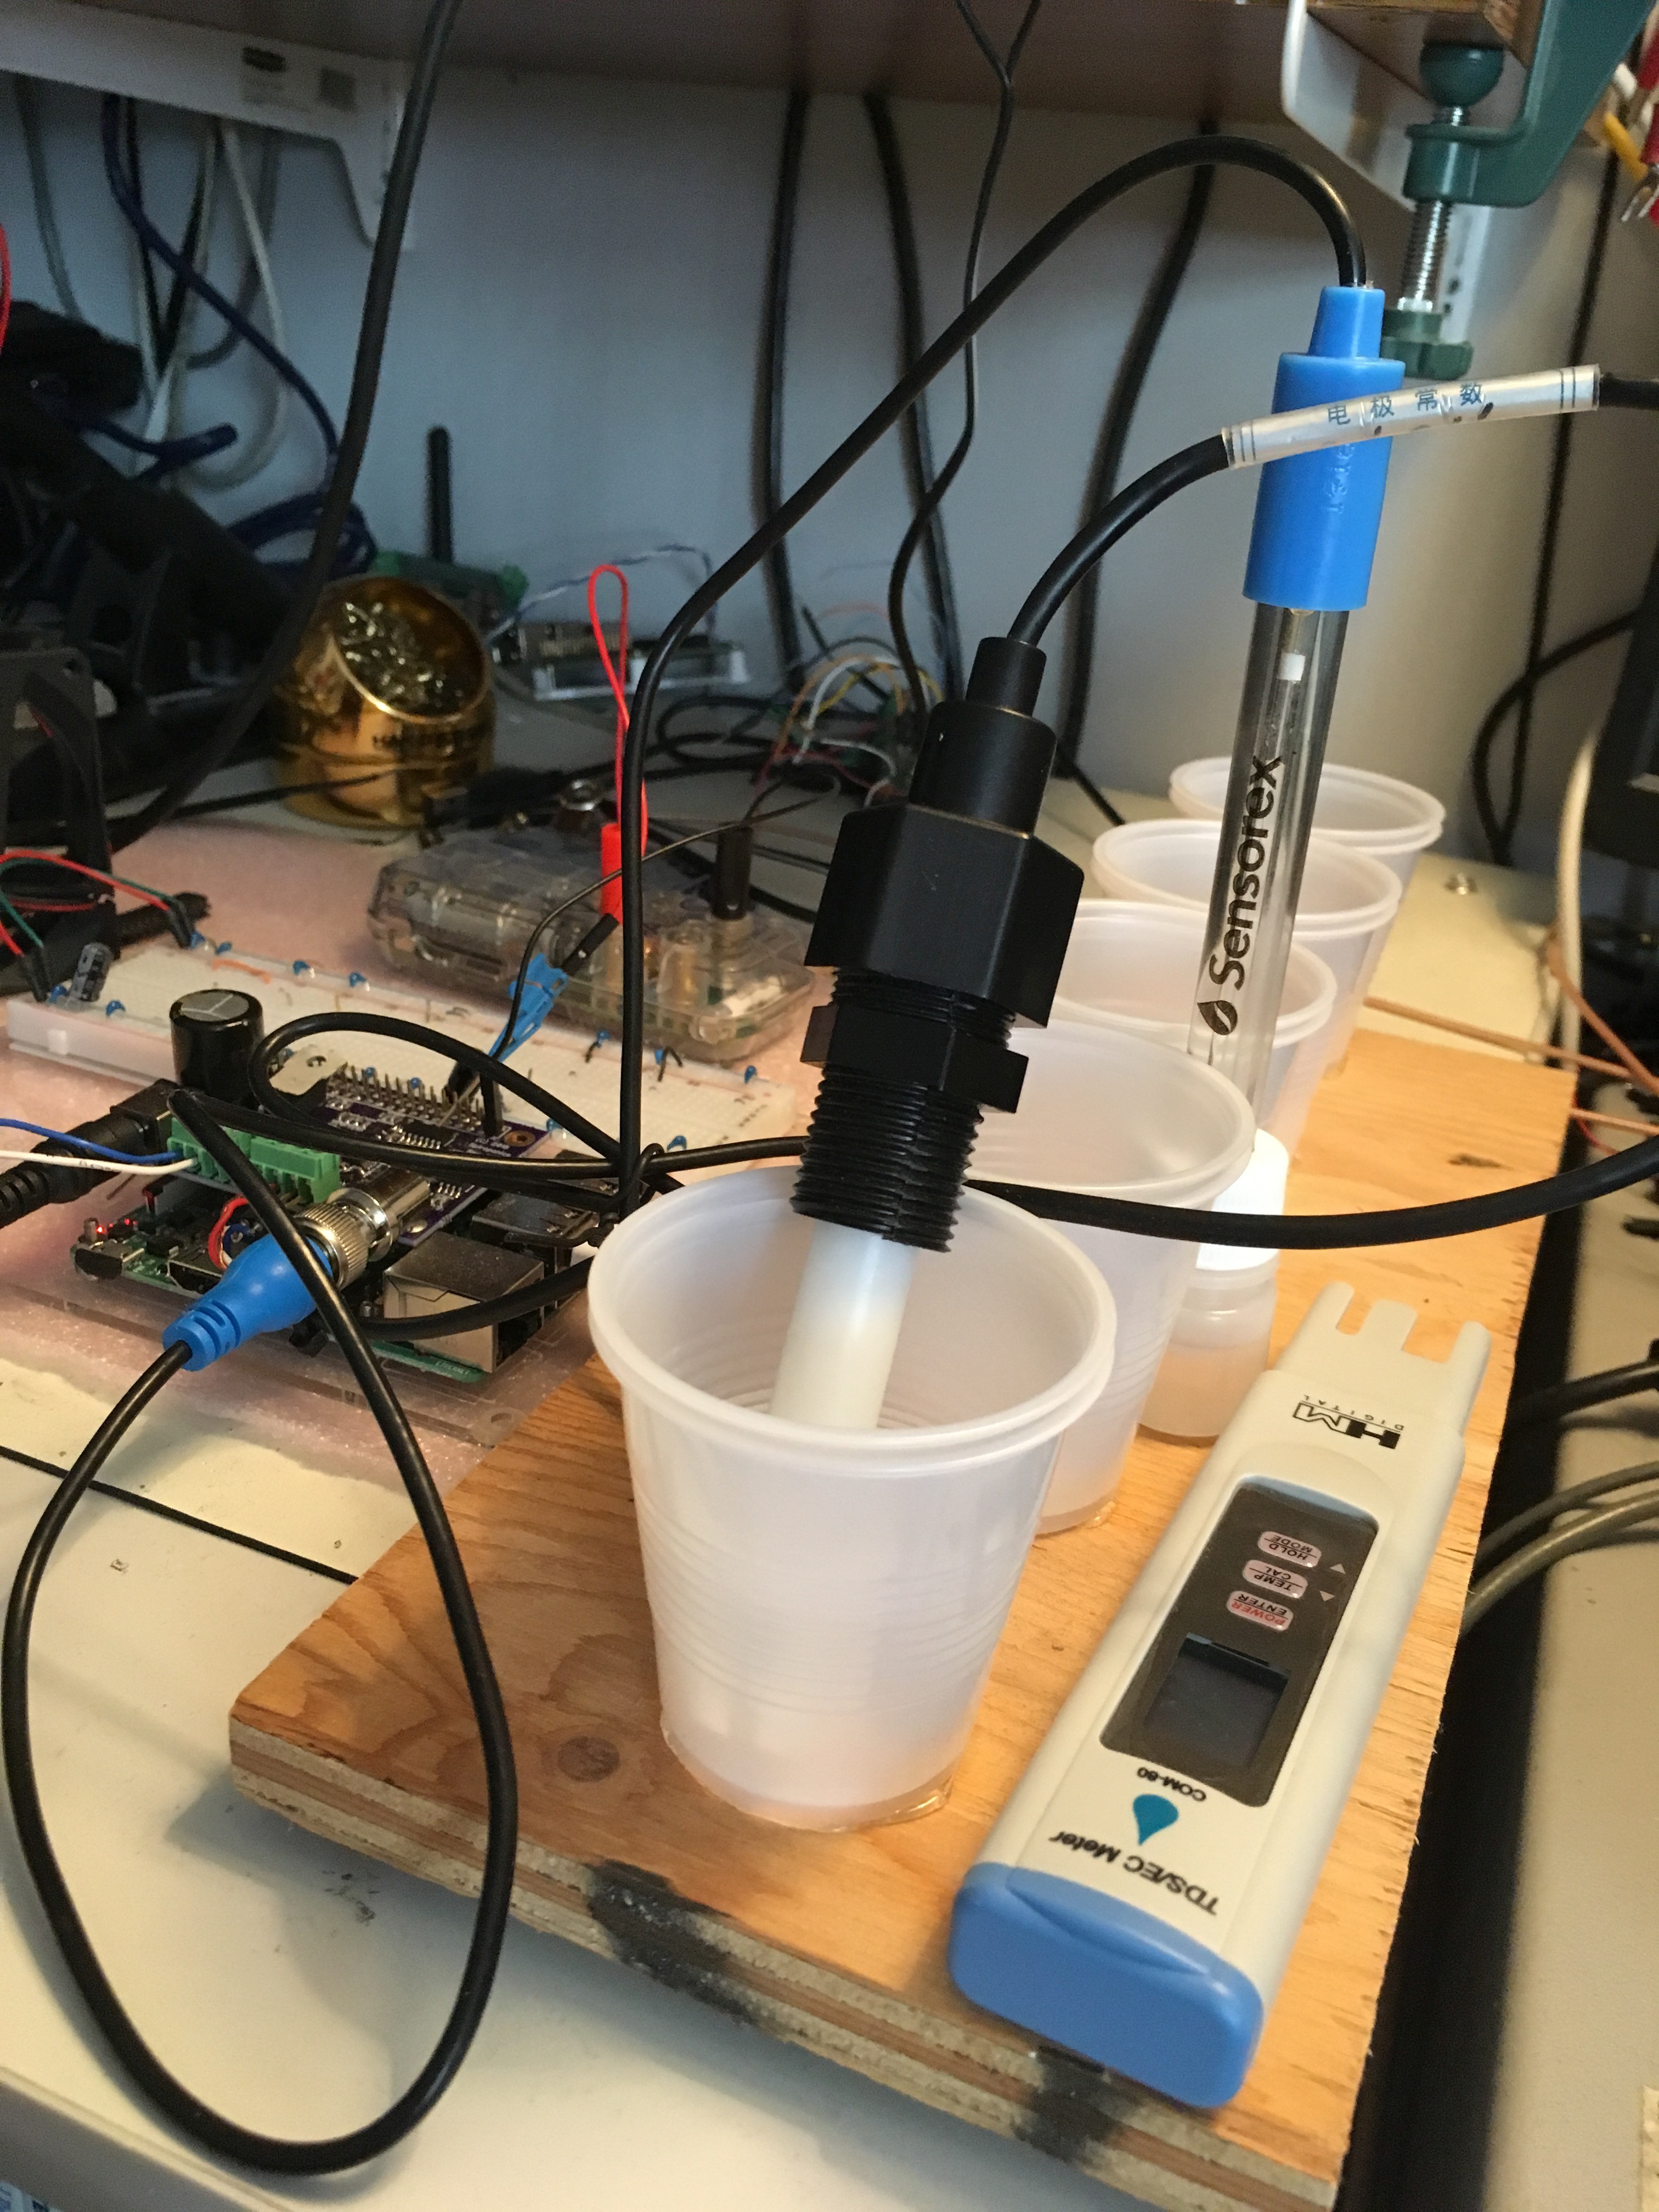
If you would like more information on the custom Raspberry PI board that controls the system, there is another project that covers it here.
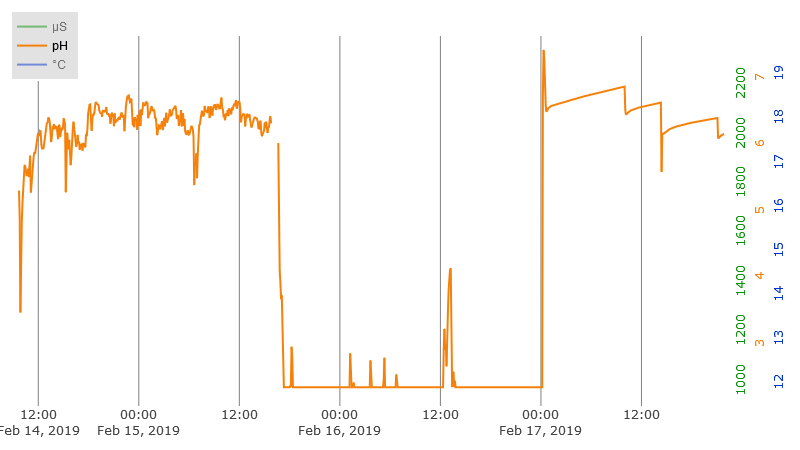
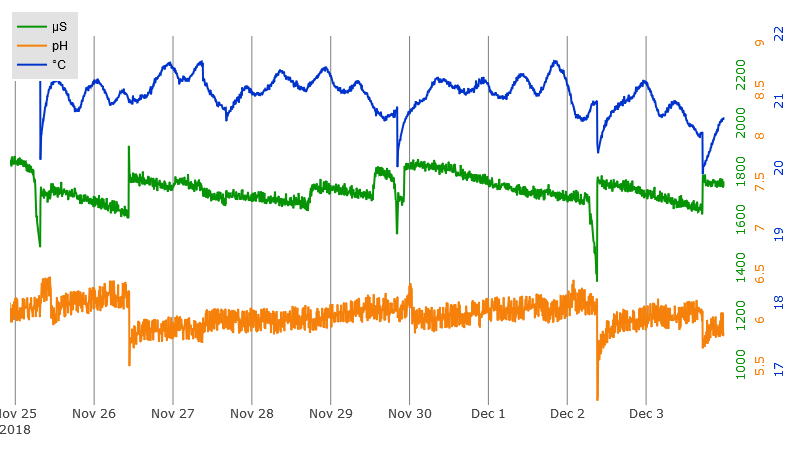
This links to an interactive plot of actual EC/pH/Temperature data which is on display at plot.ly. Hover near the top of the plot for the controls. Click and drag on the plot to zoom a region. Drag the center of the tic labels to move the data. Drag on the ends of the tic labels to change the displayed range. This is the exact same type of plot that is on the web page served by the Raspberry PI controller.
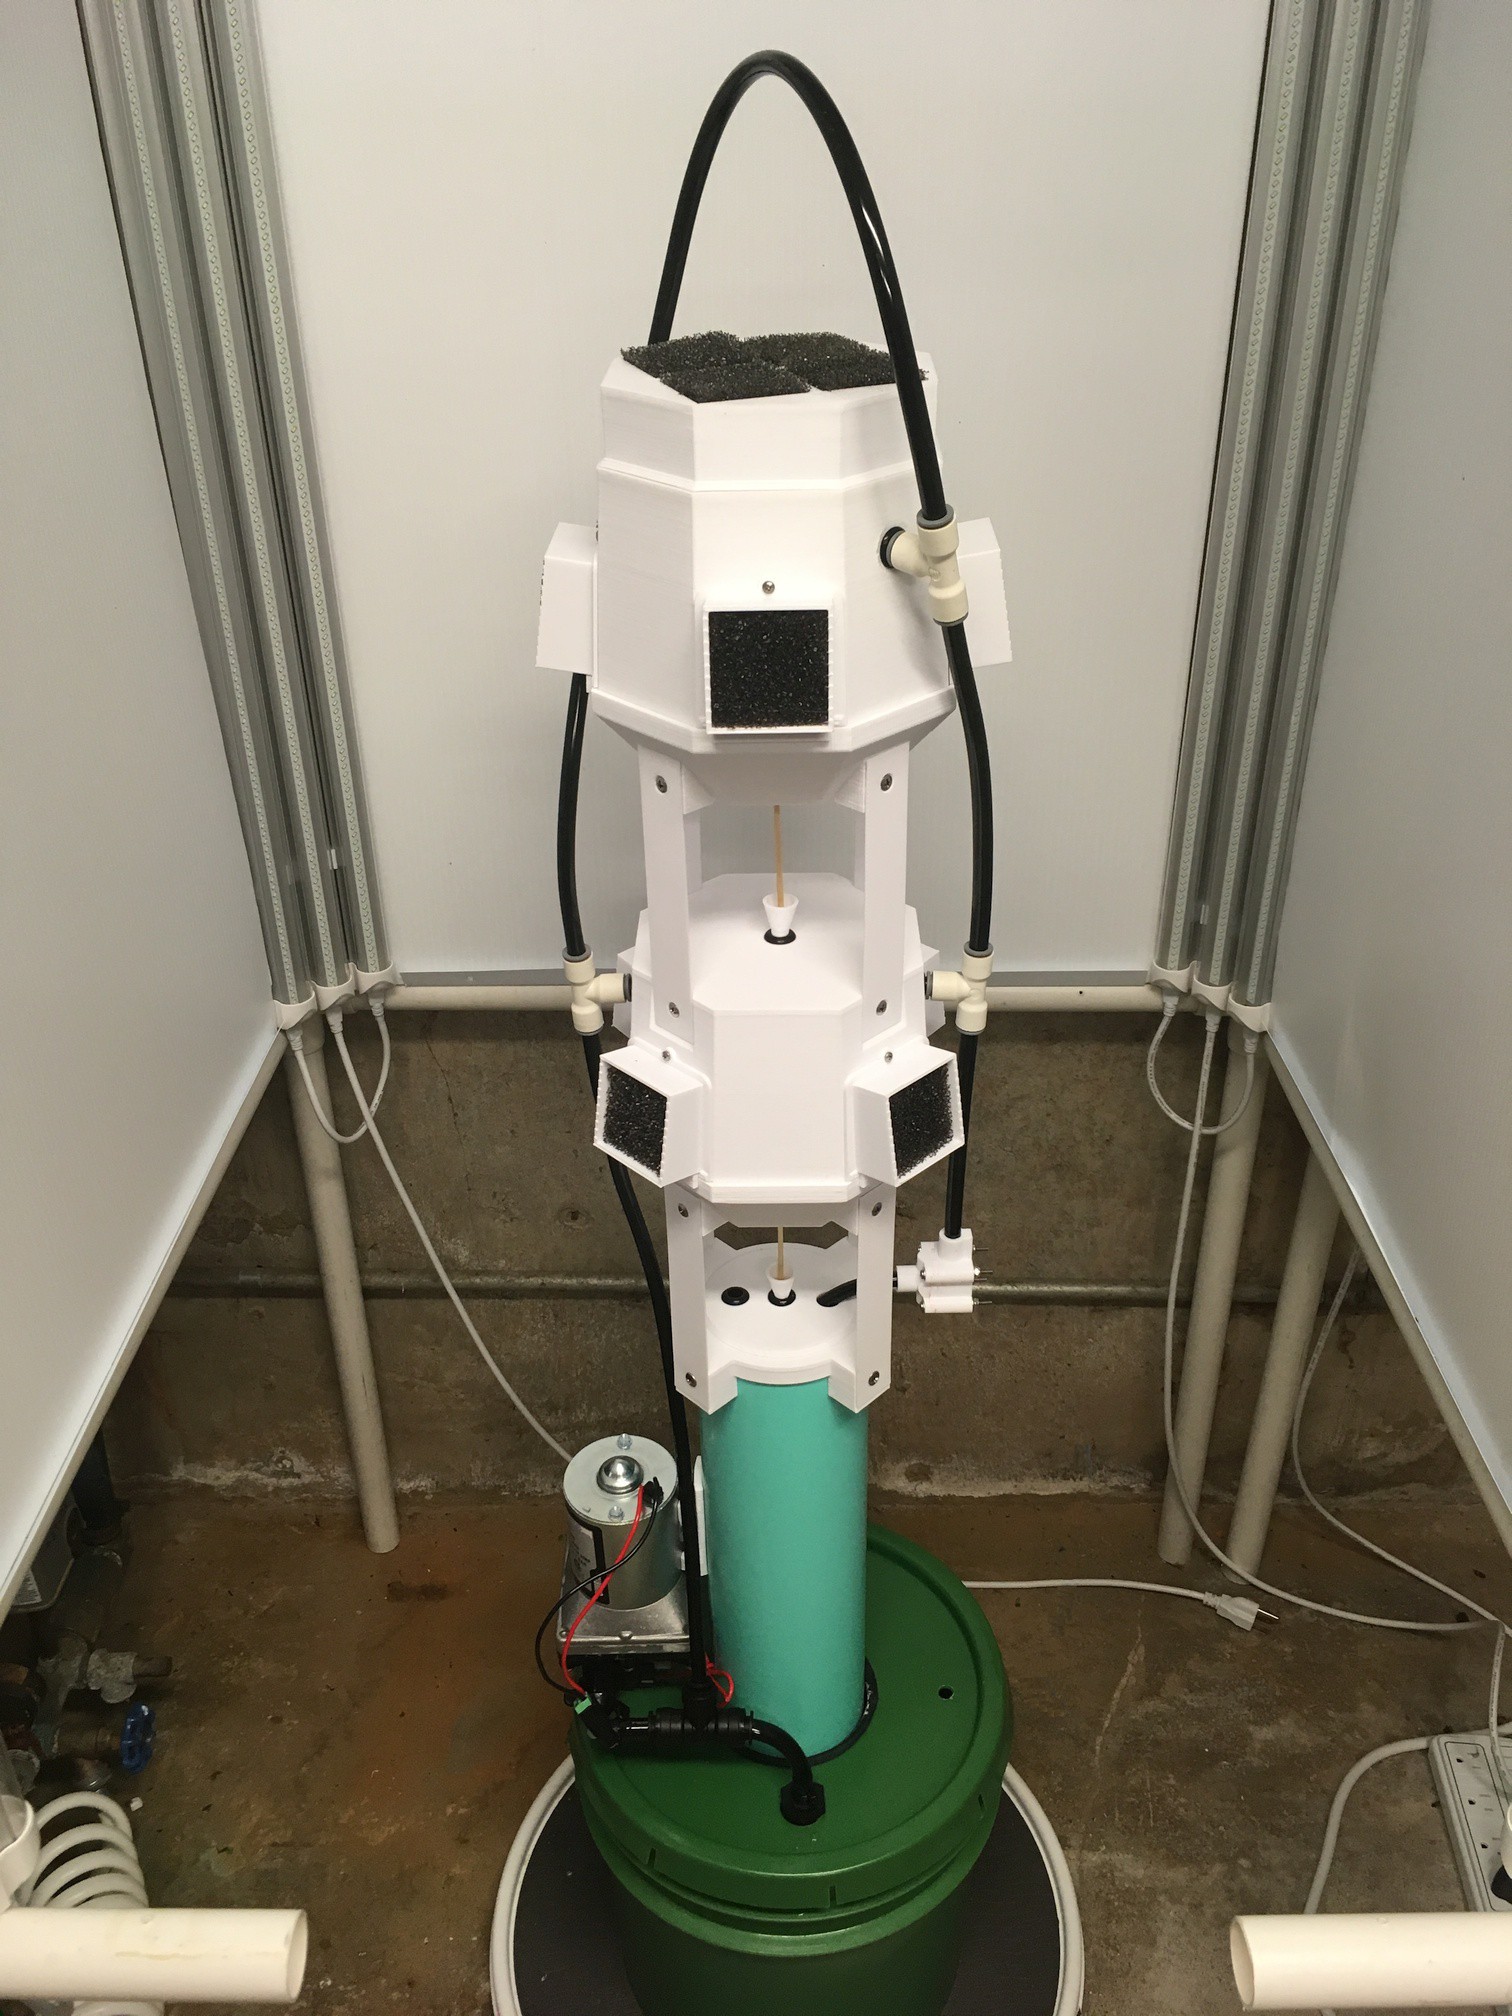
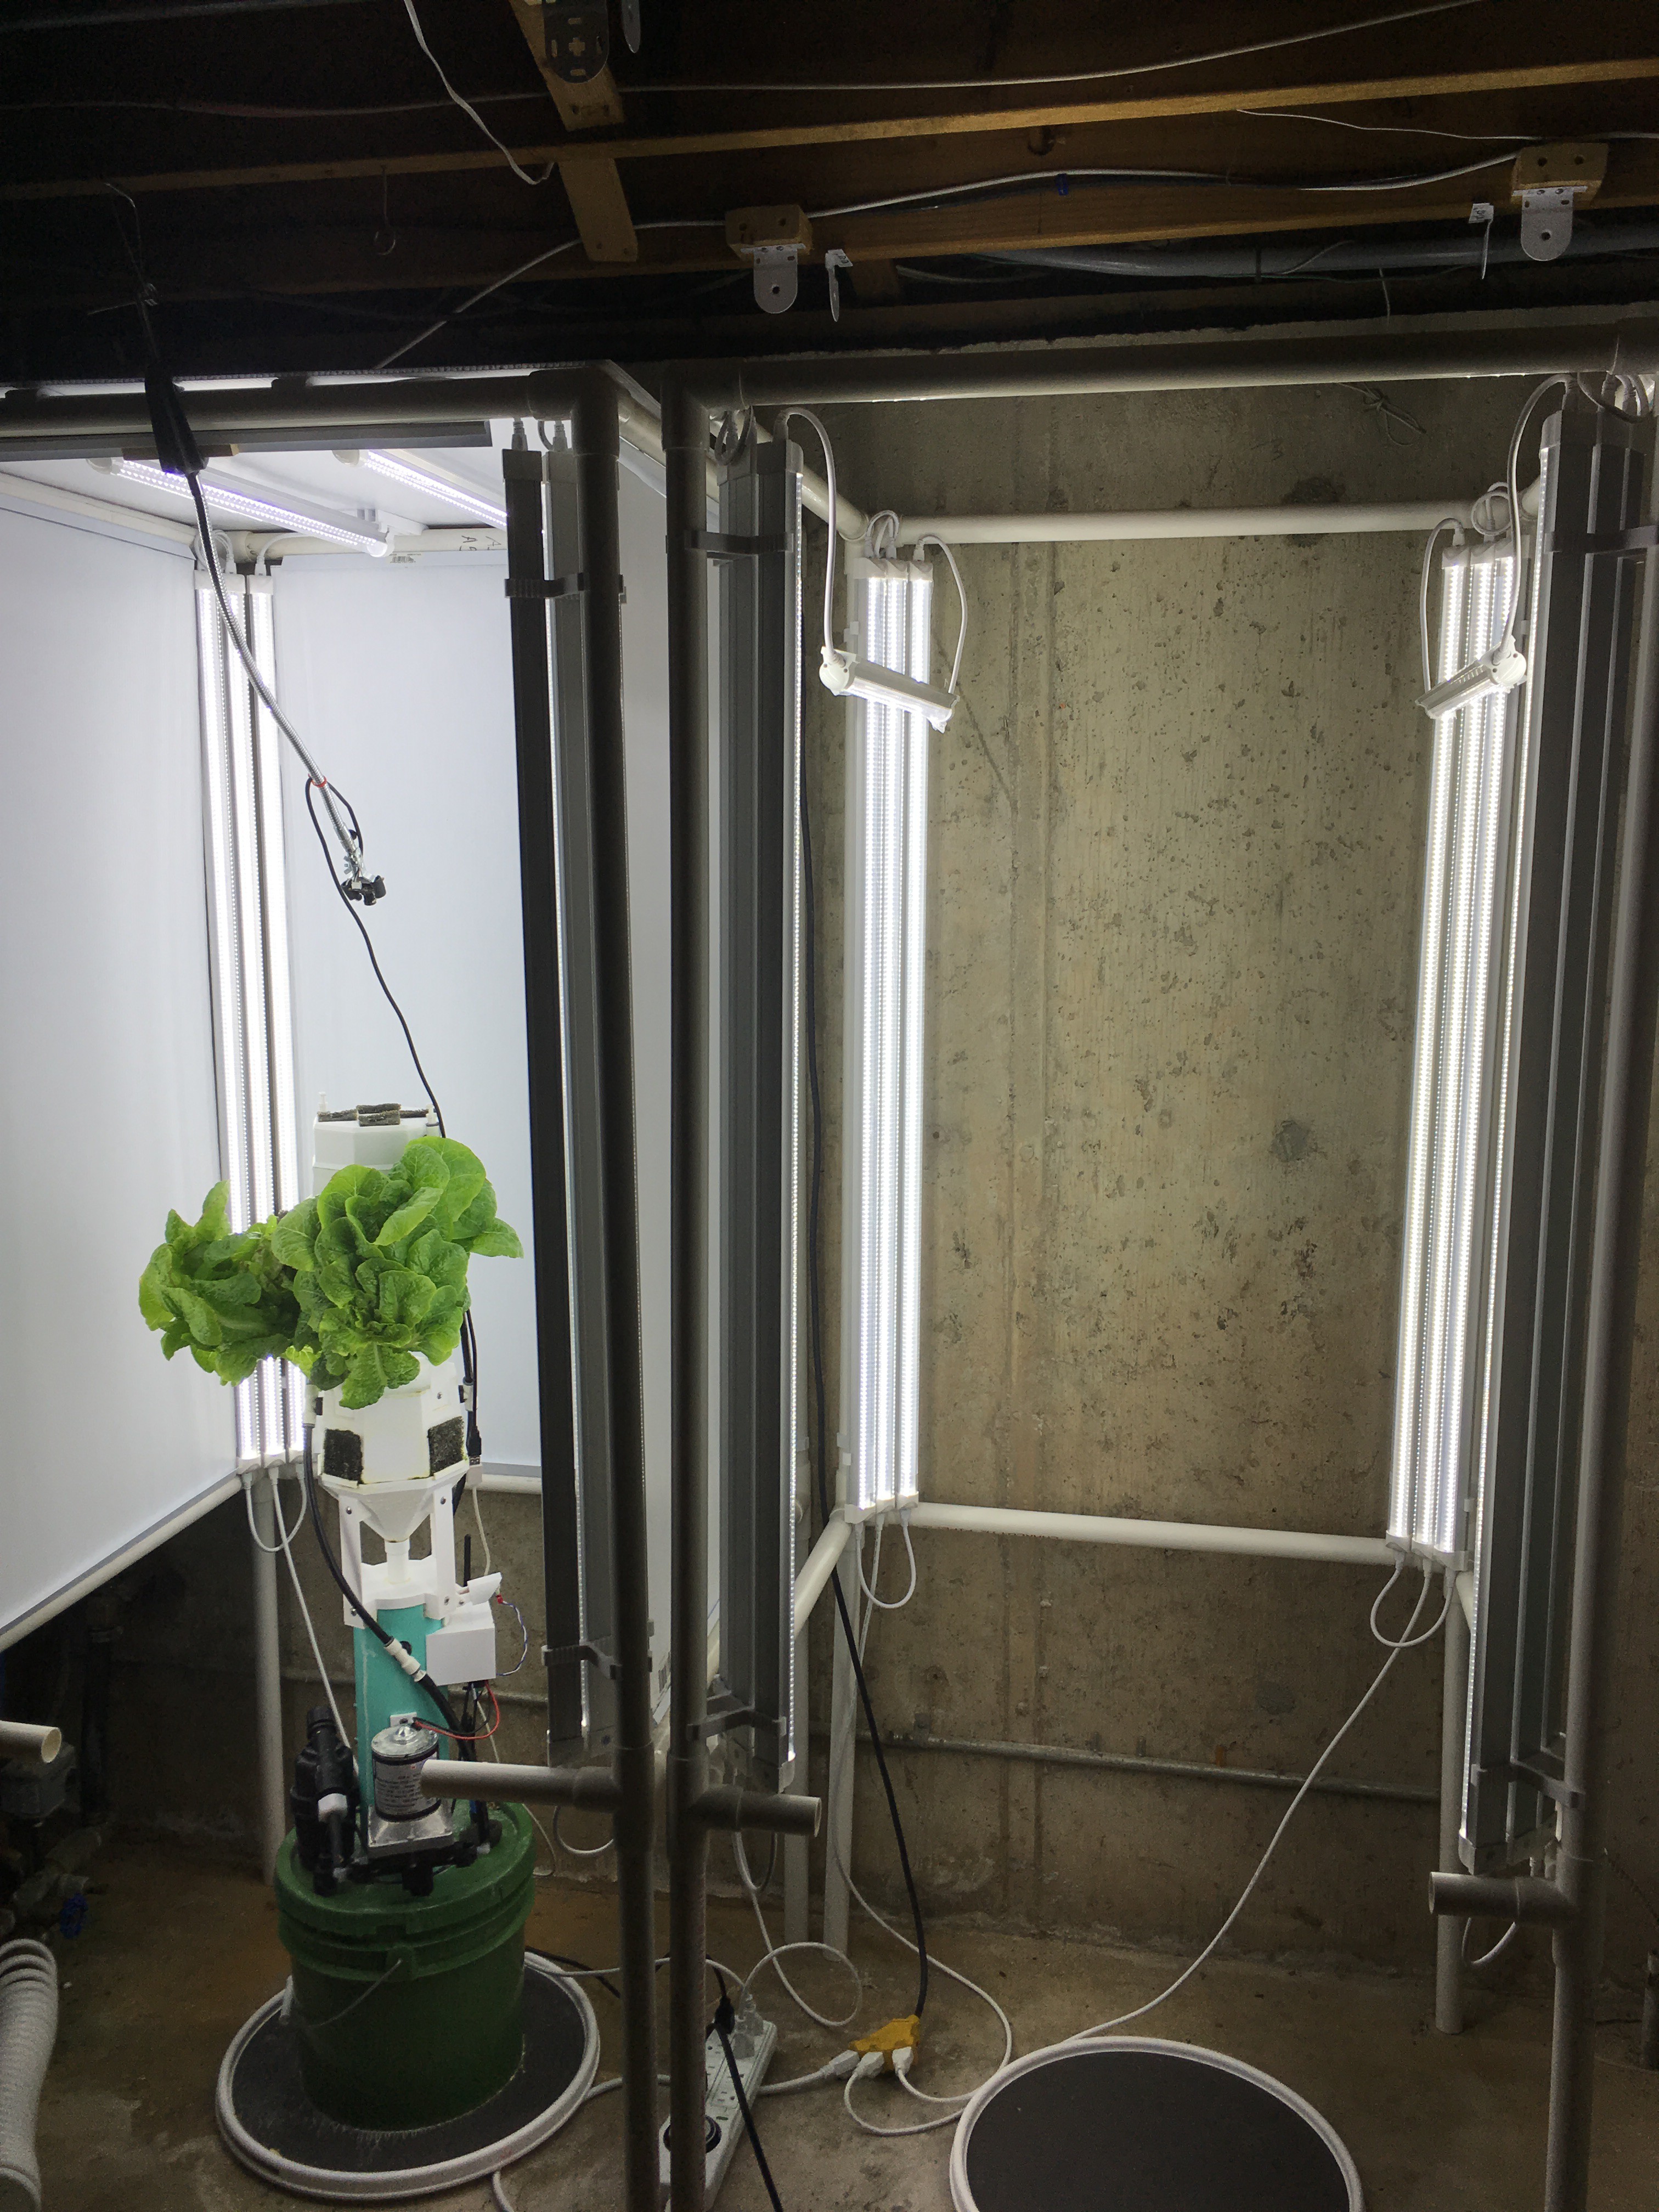
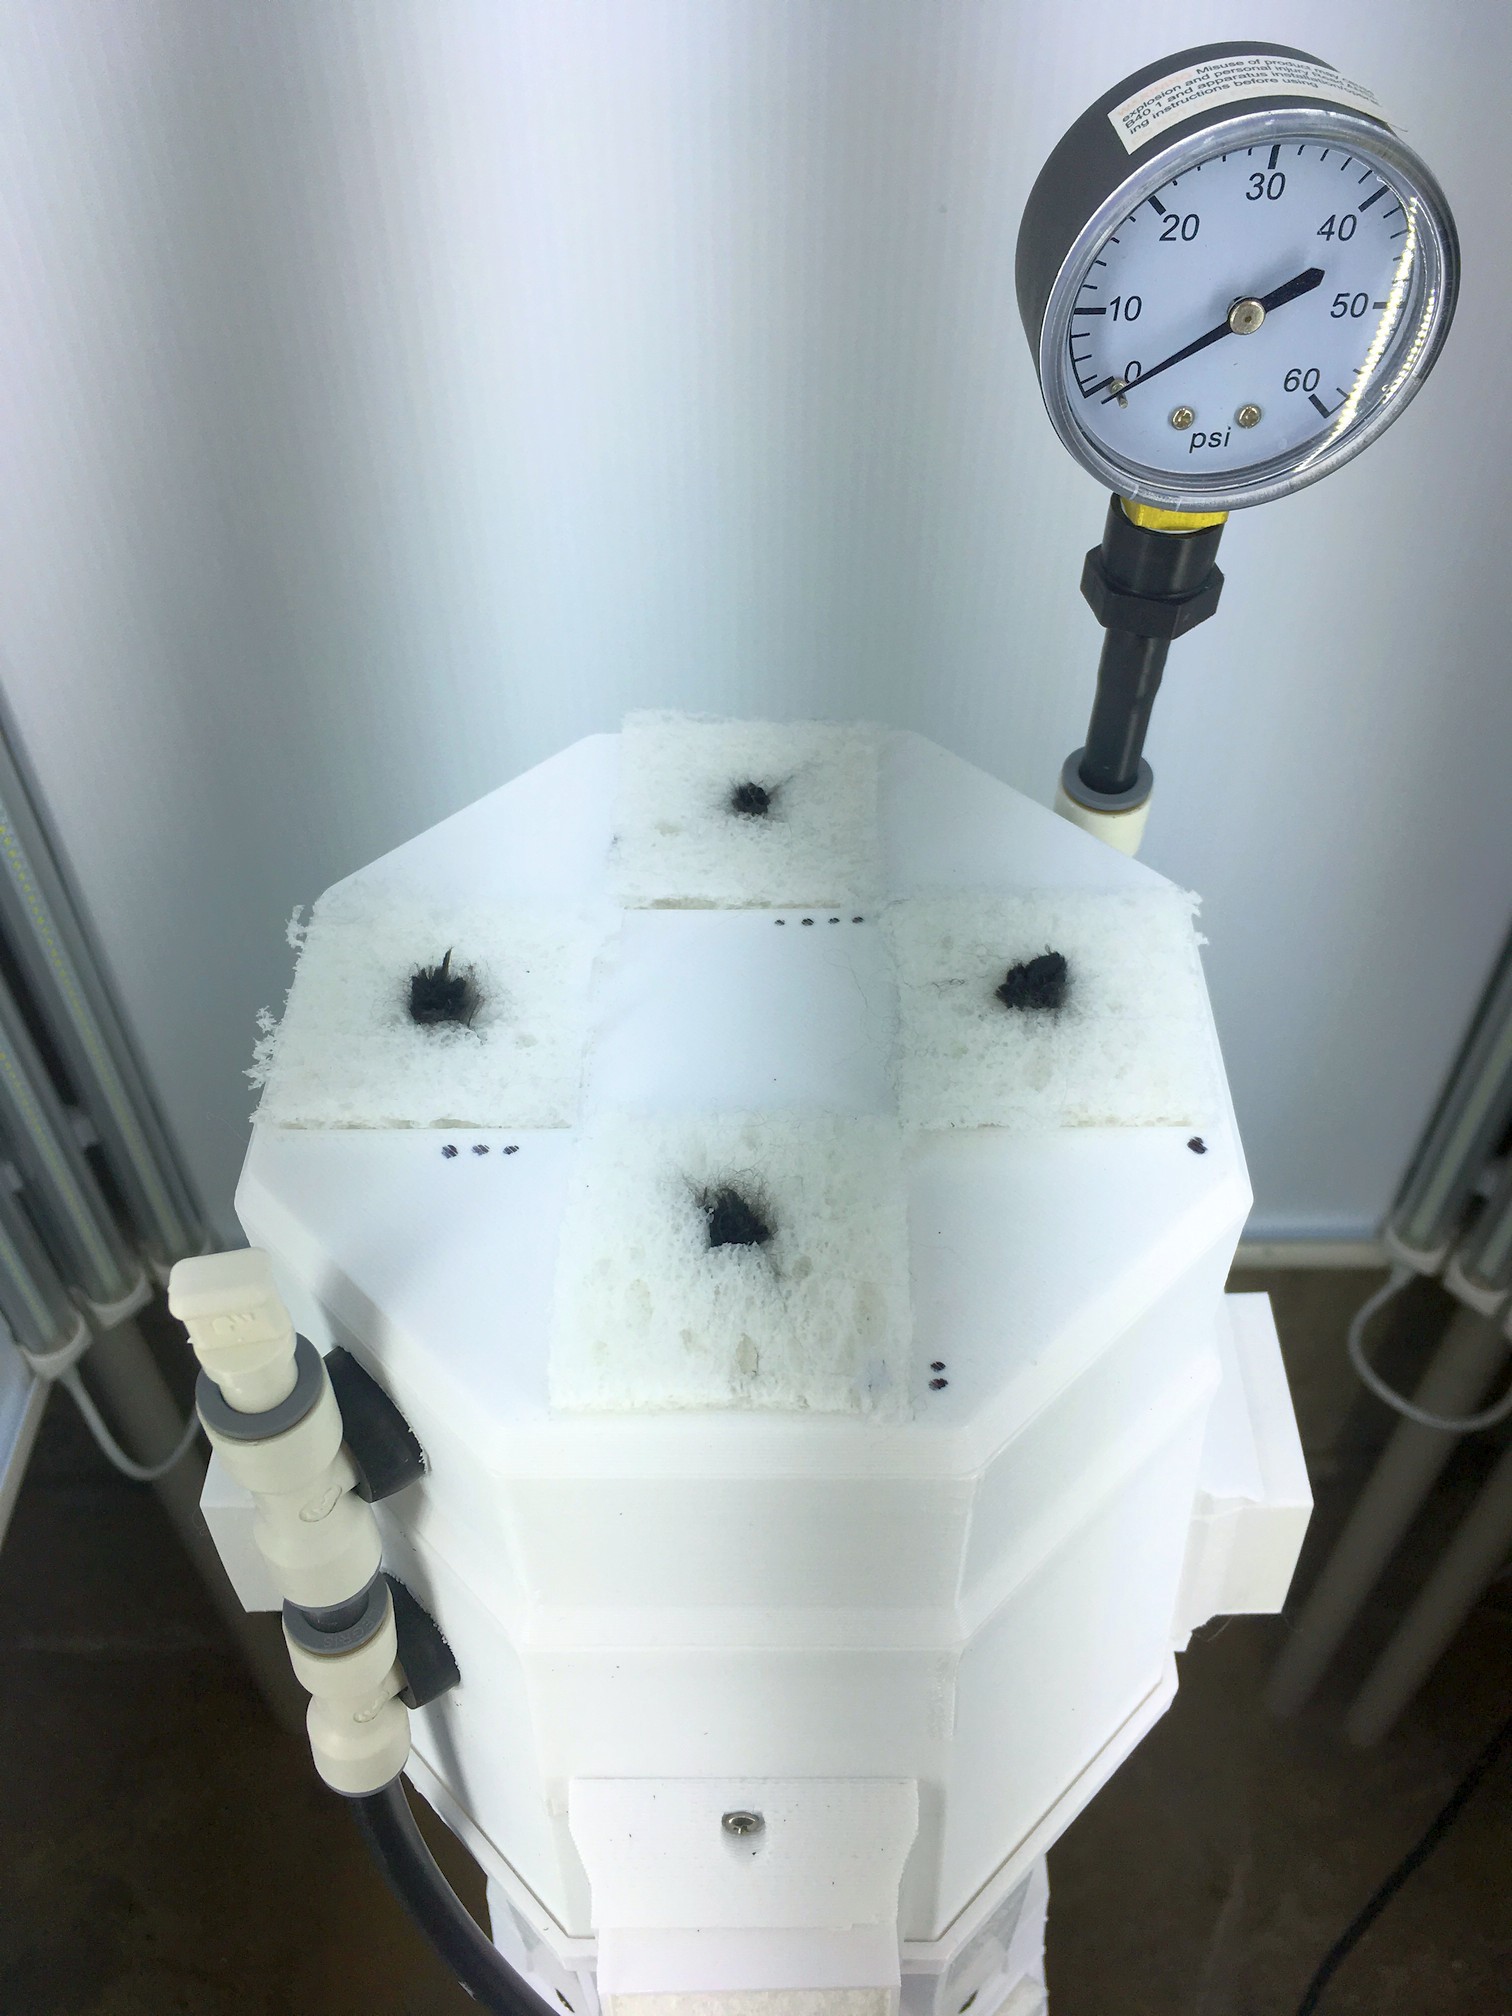
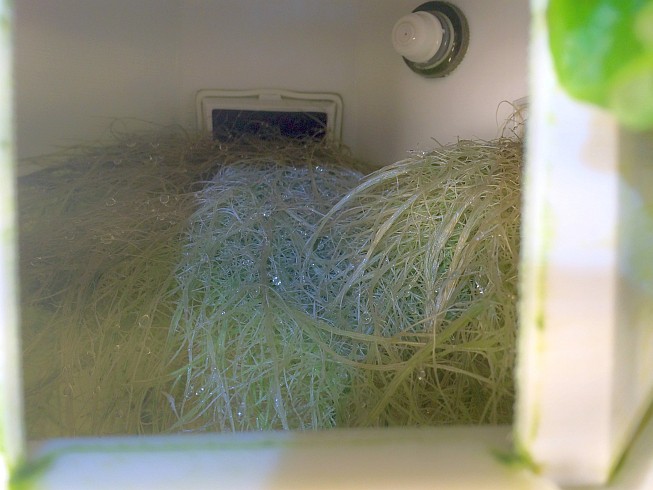
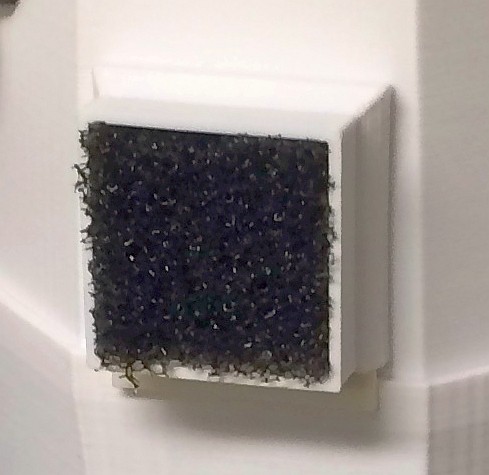
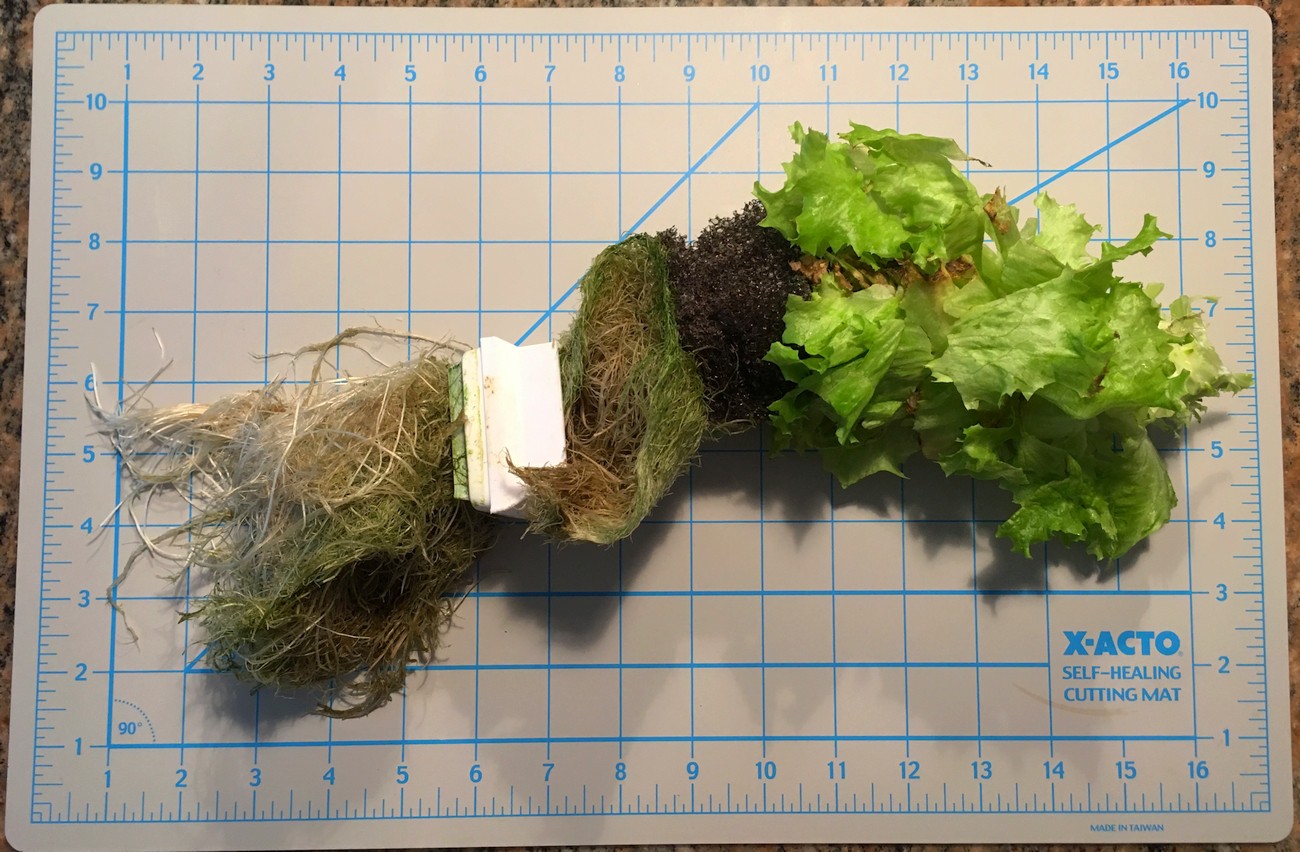
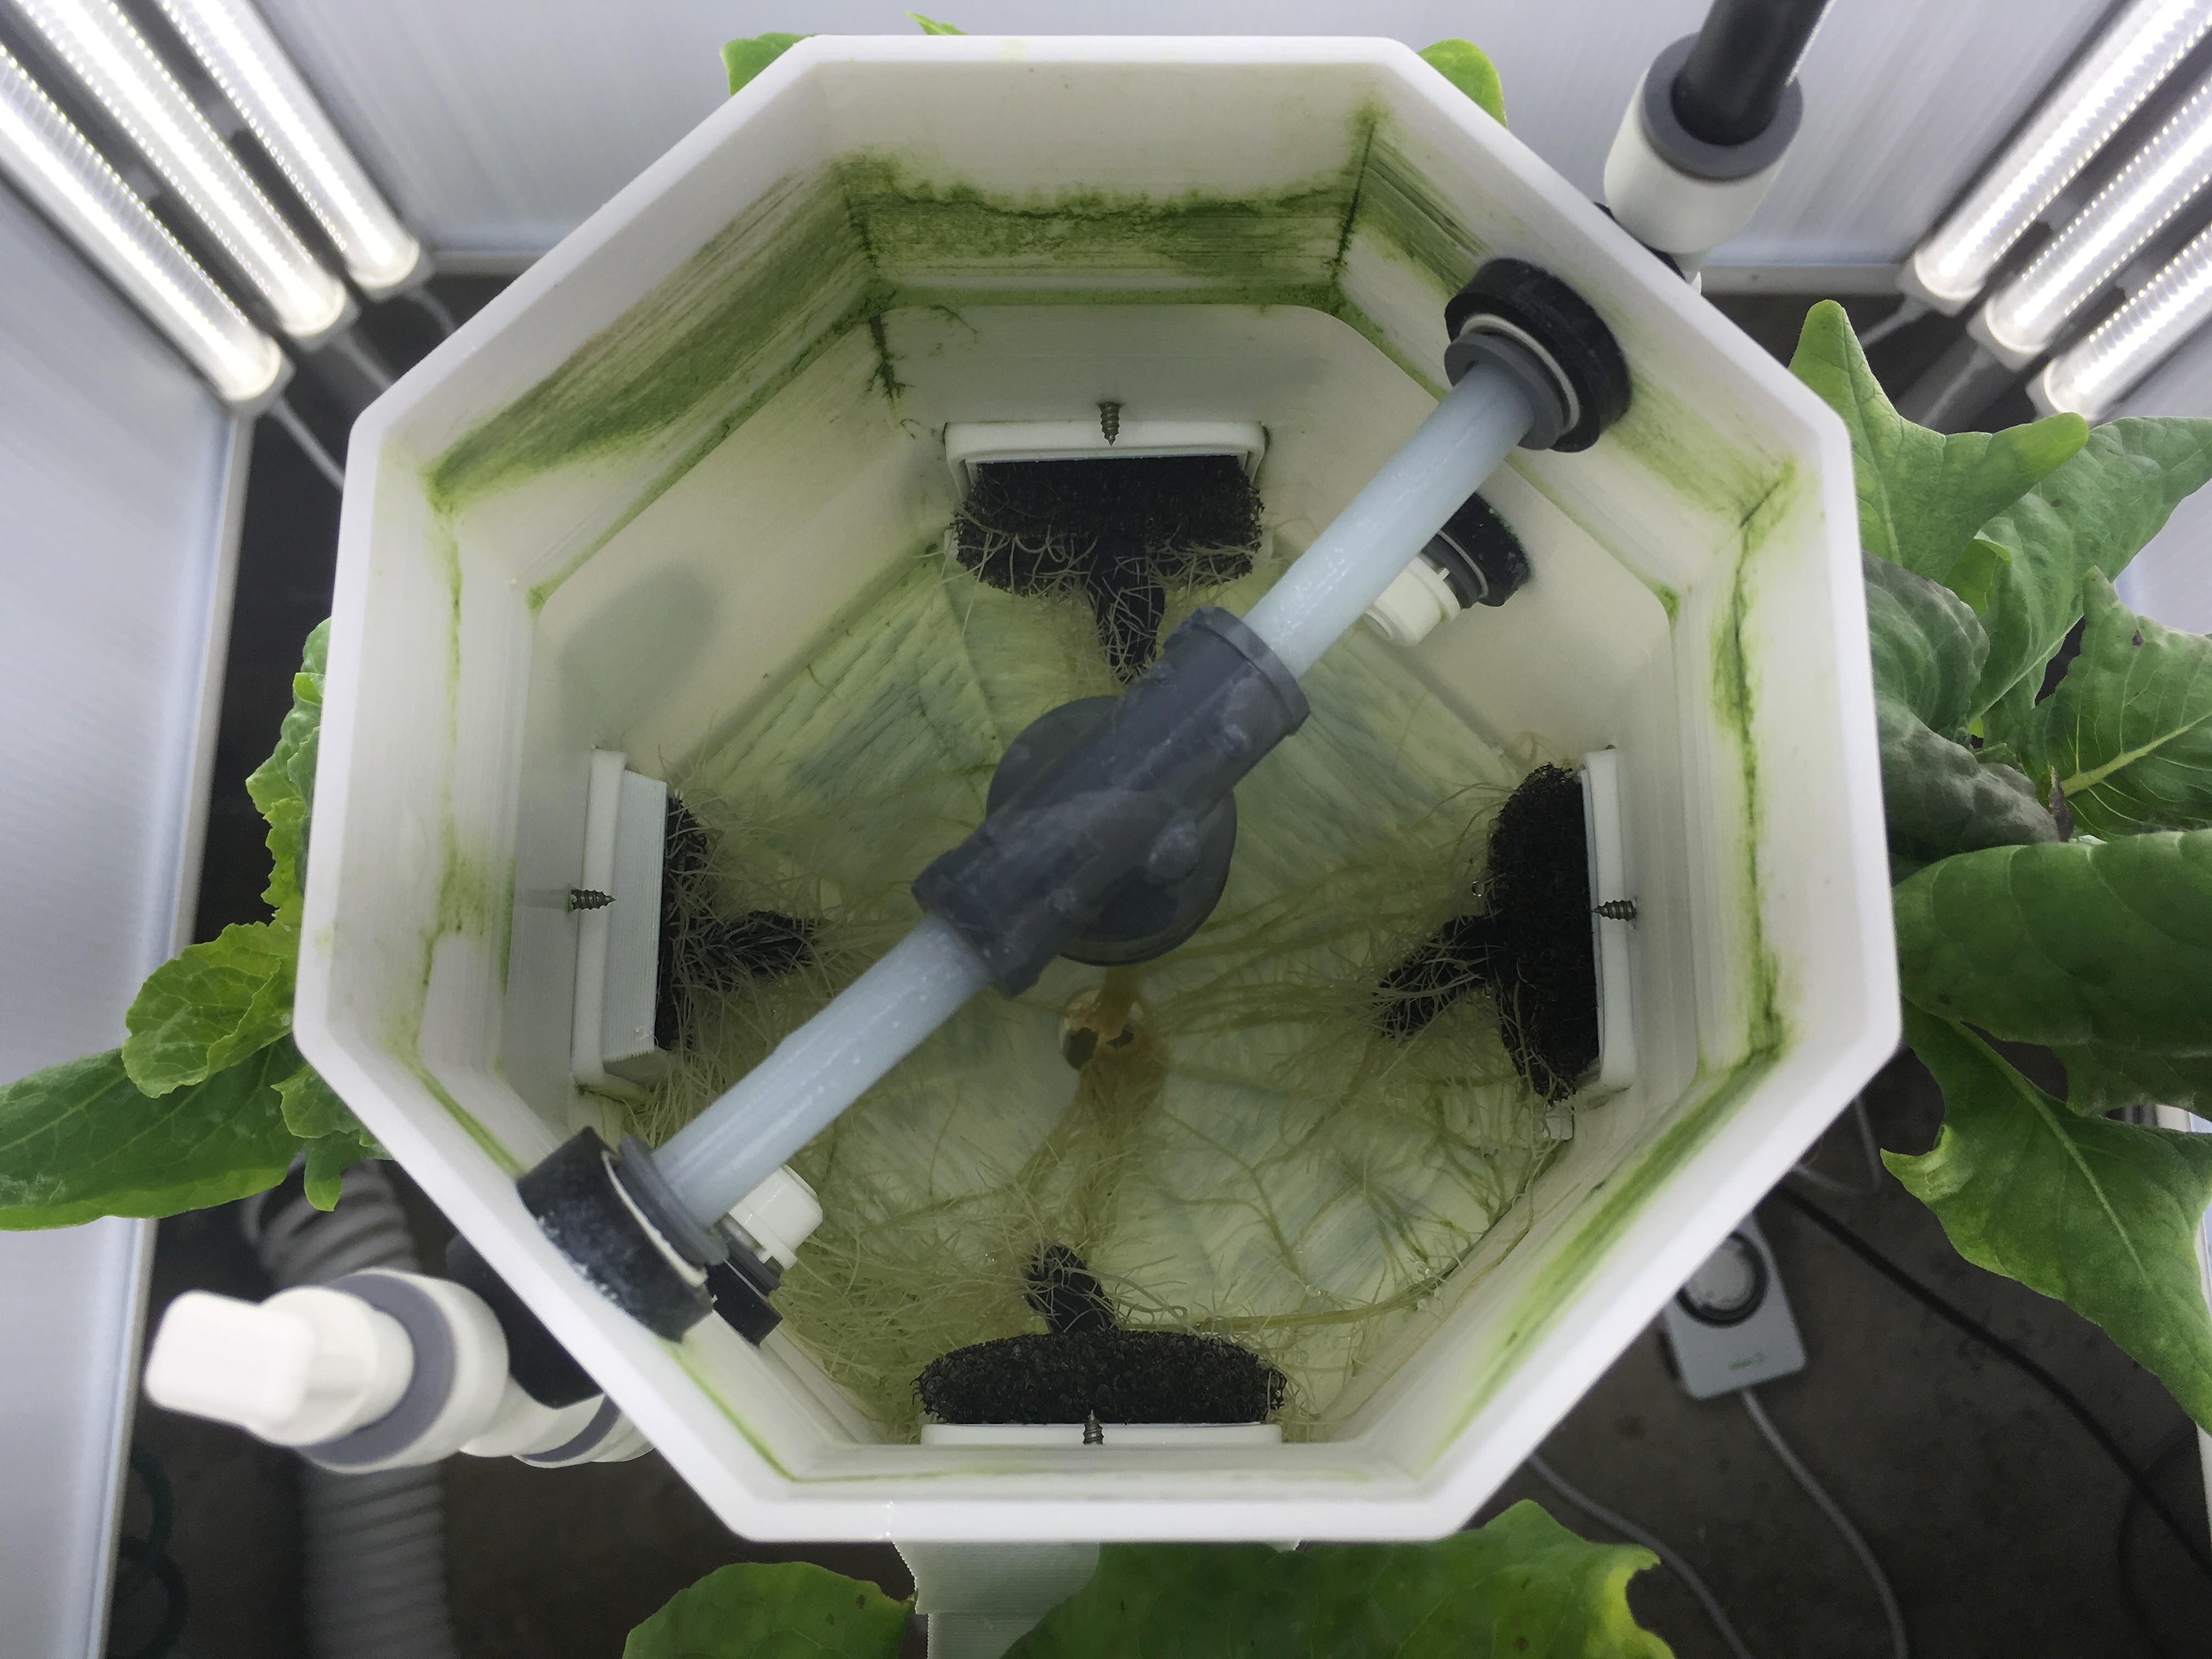 I also thought this photo which shows a birds eye view of the system was pretty cool. The white spots on the center of the foam blocks are from the water in the nutrient solution evaporating at the end of the wick, leaving behind the dissolved solids.
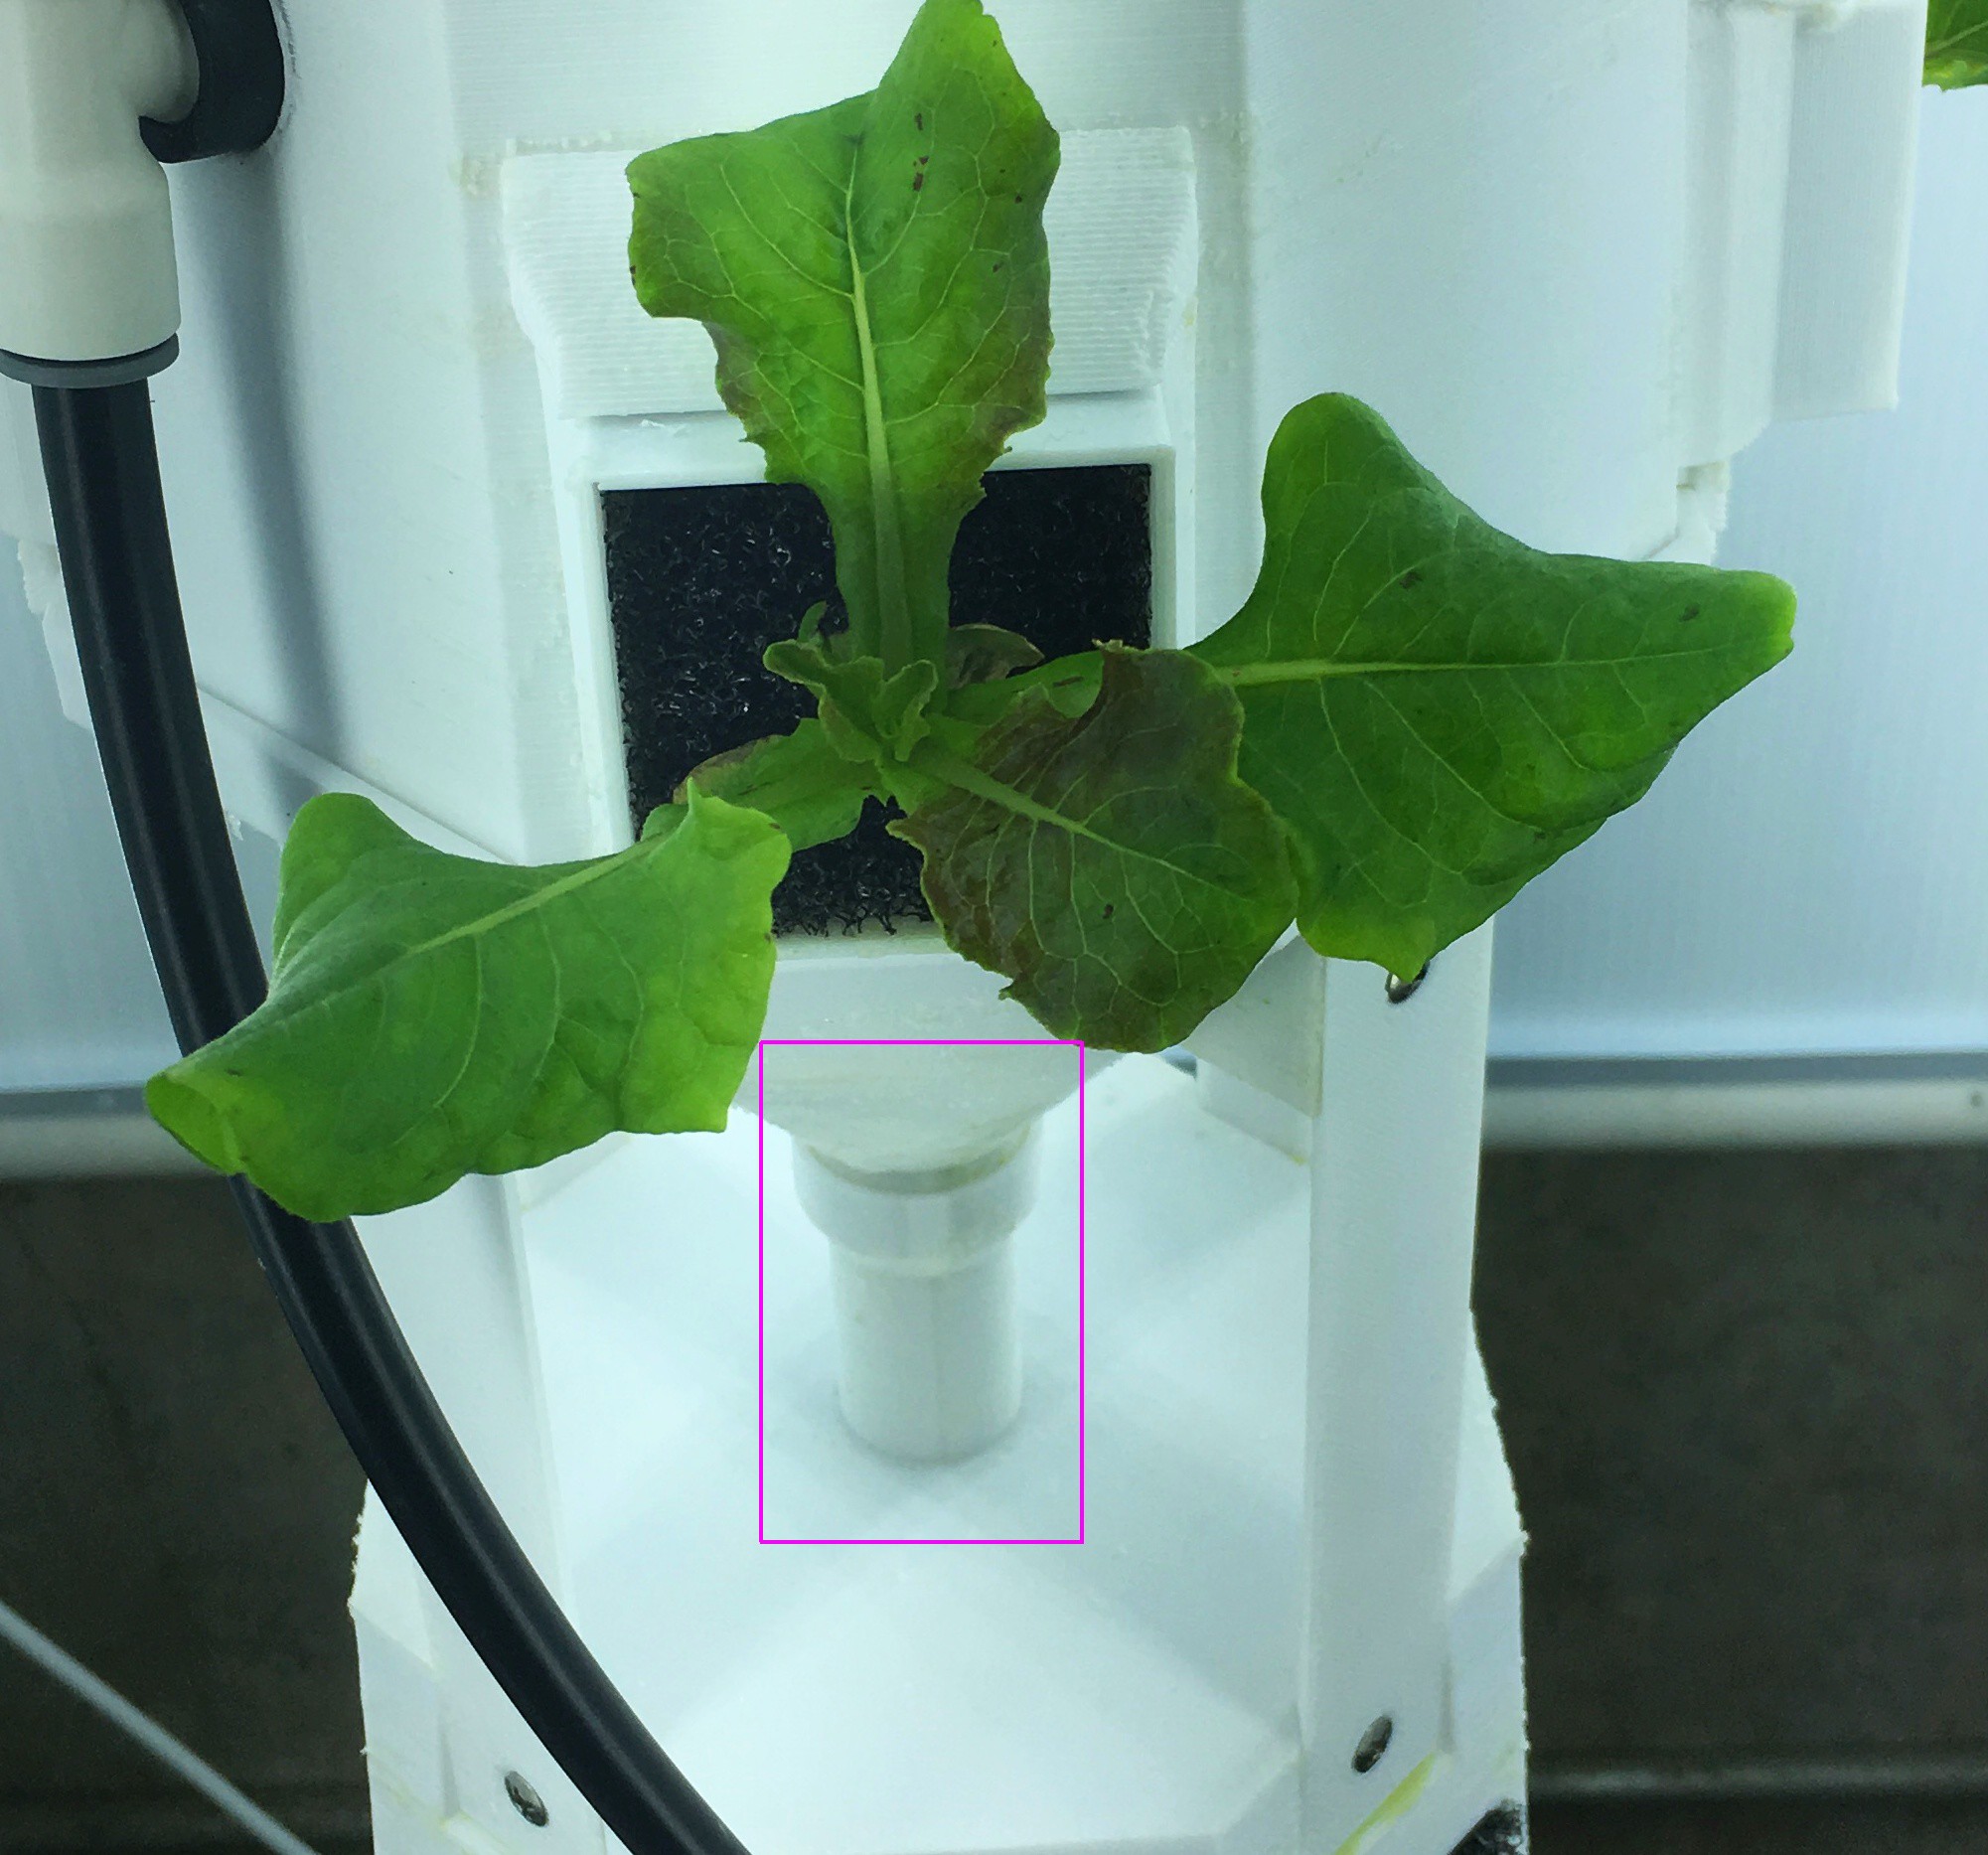


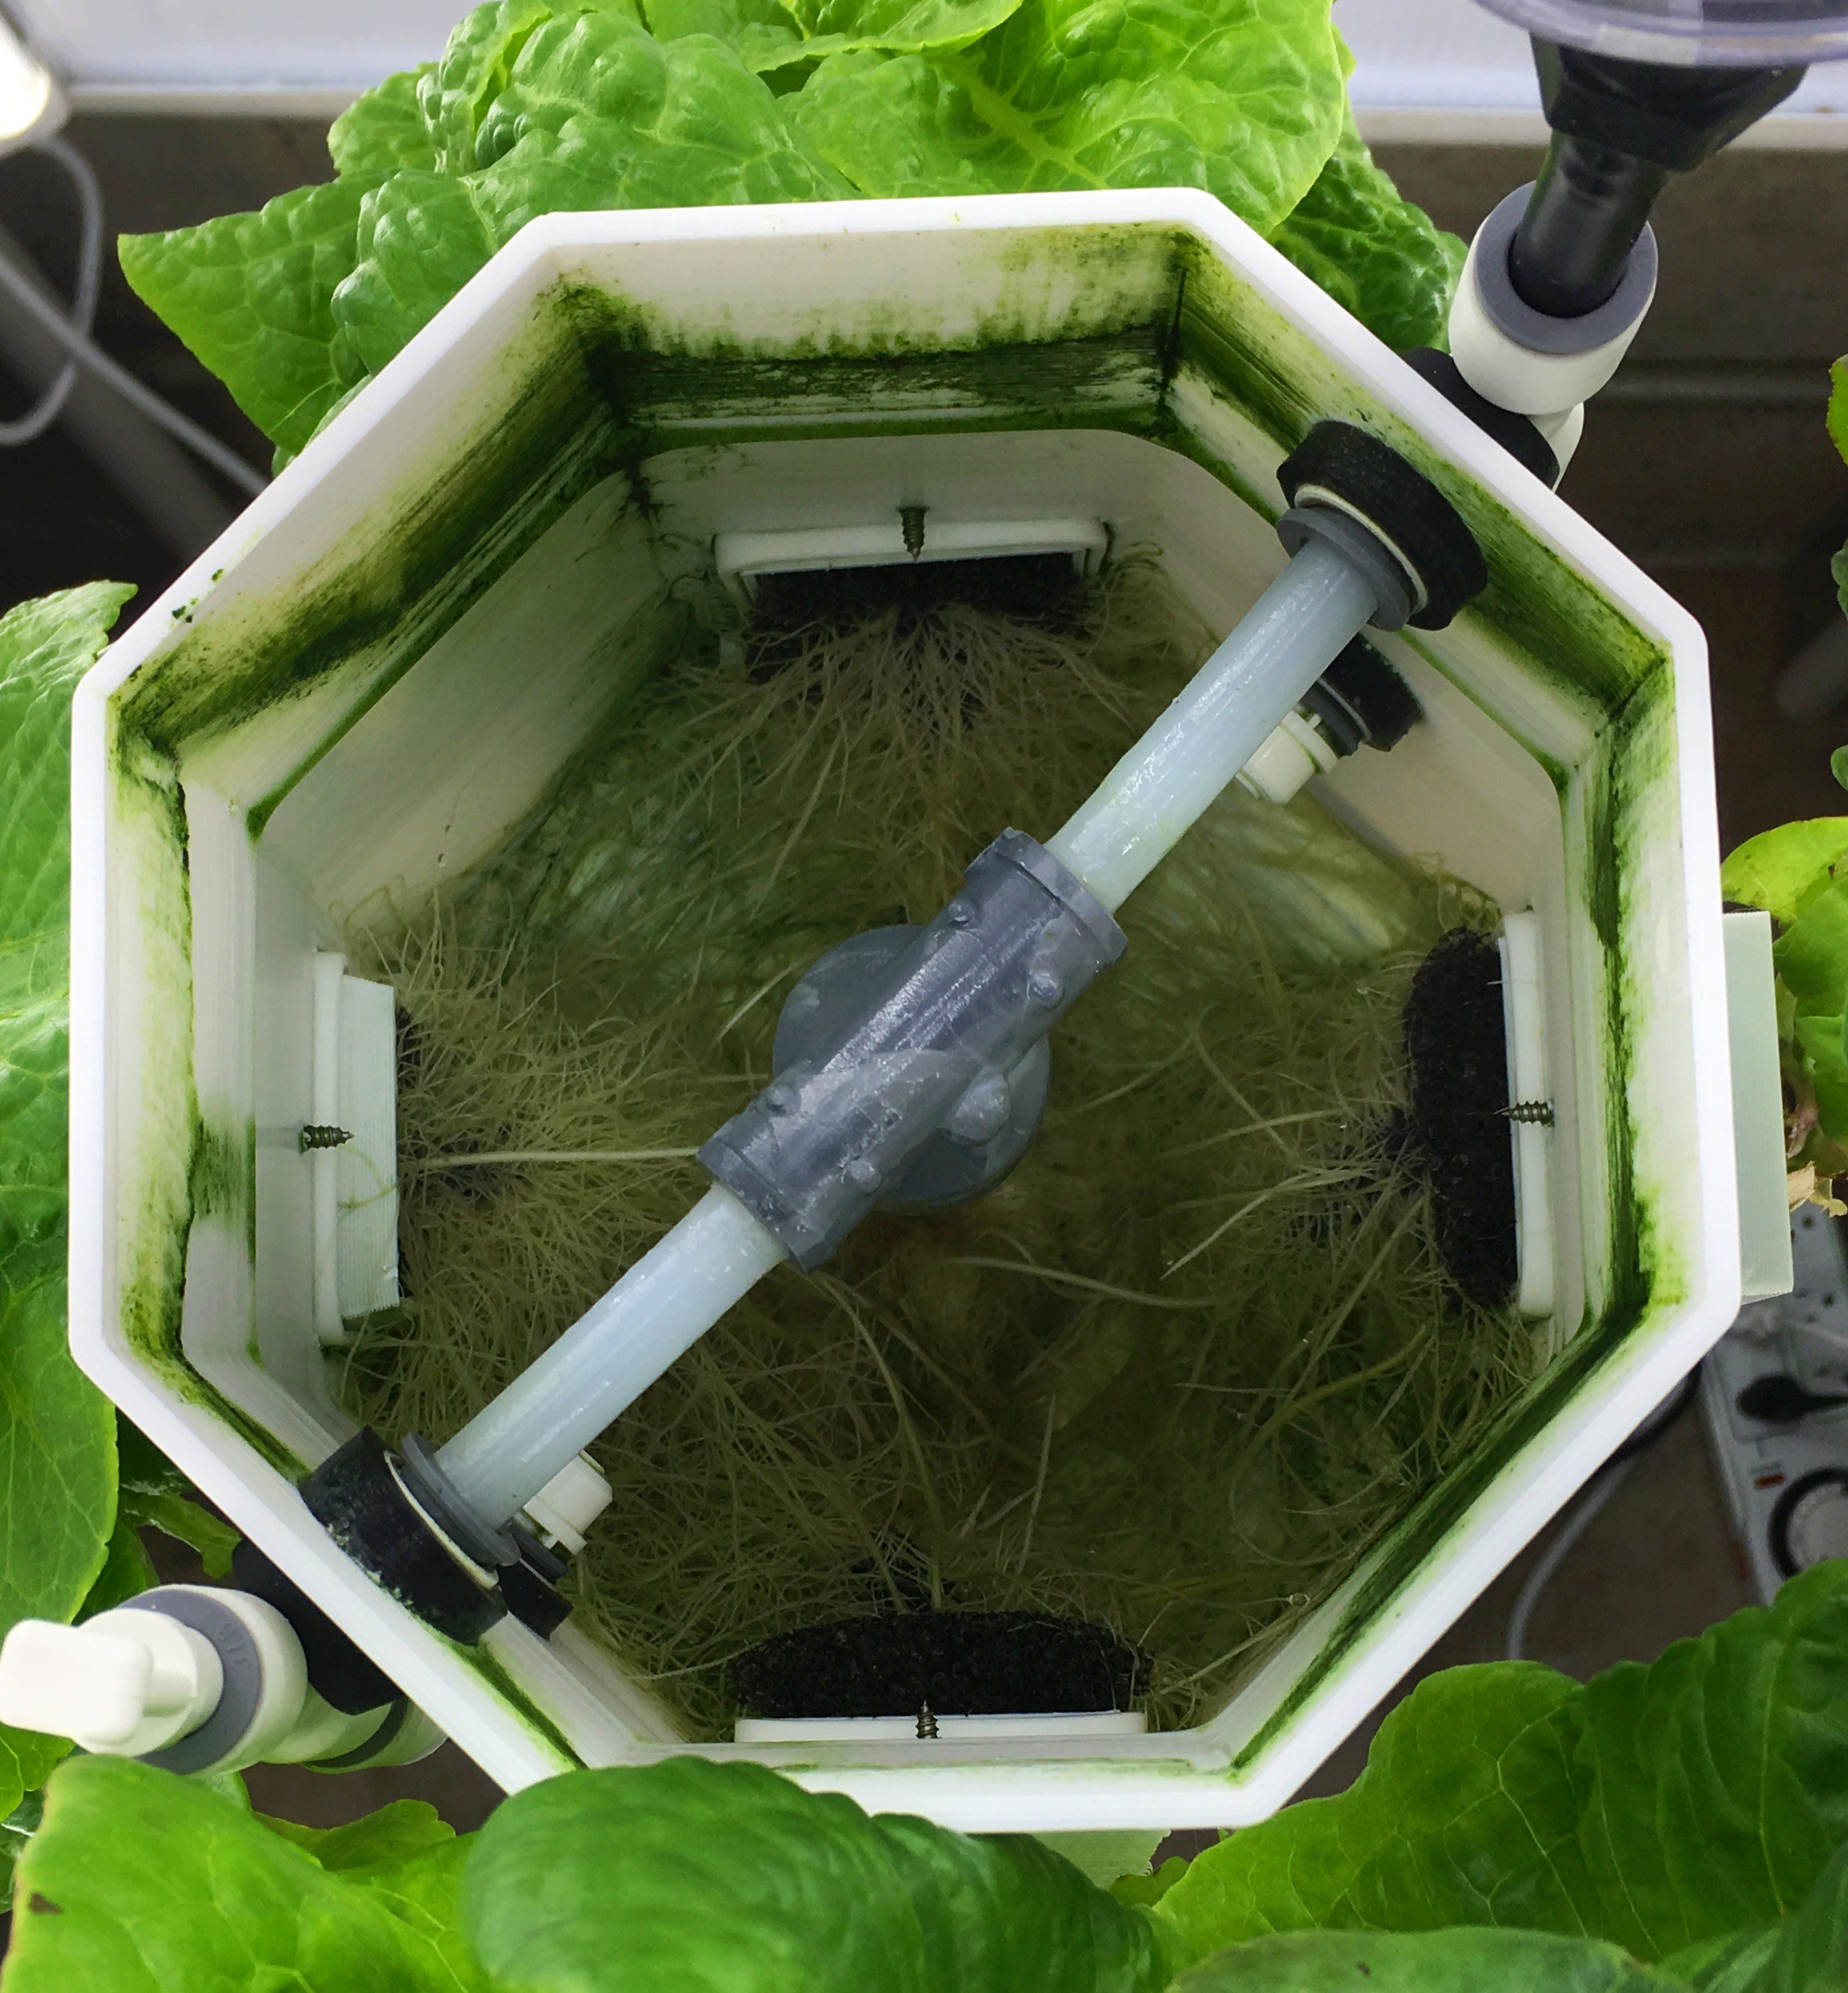
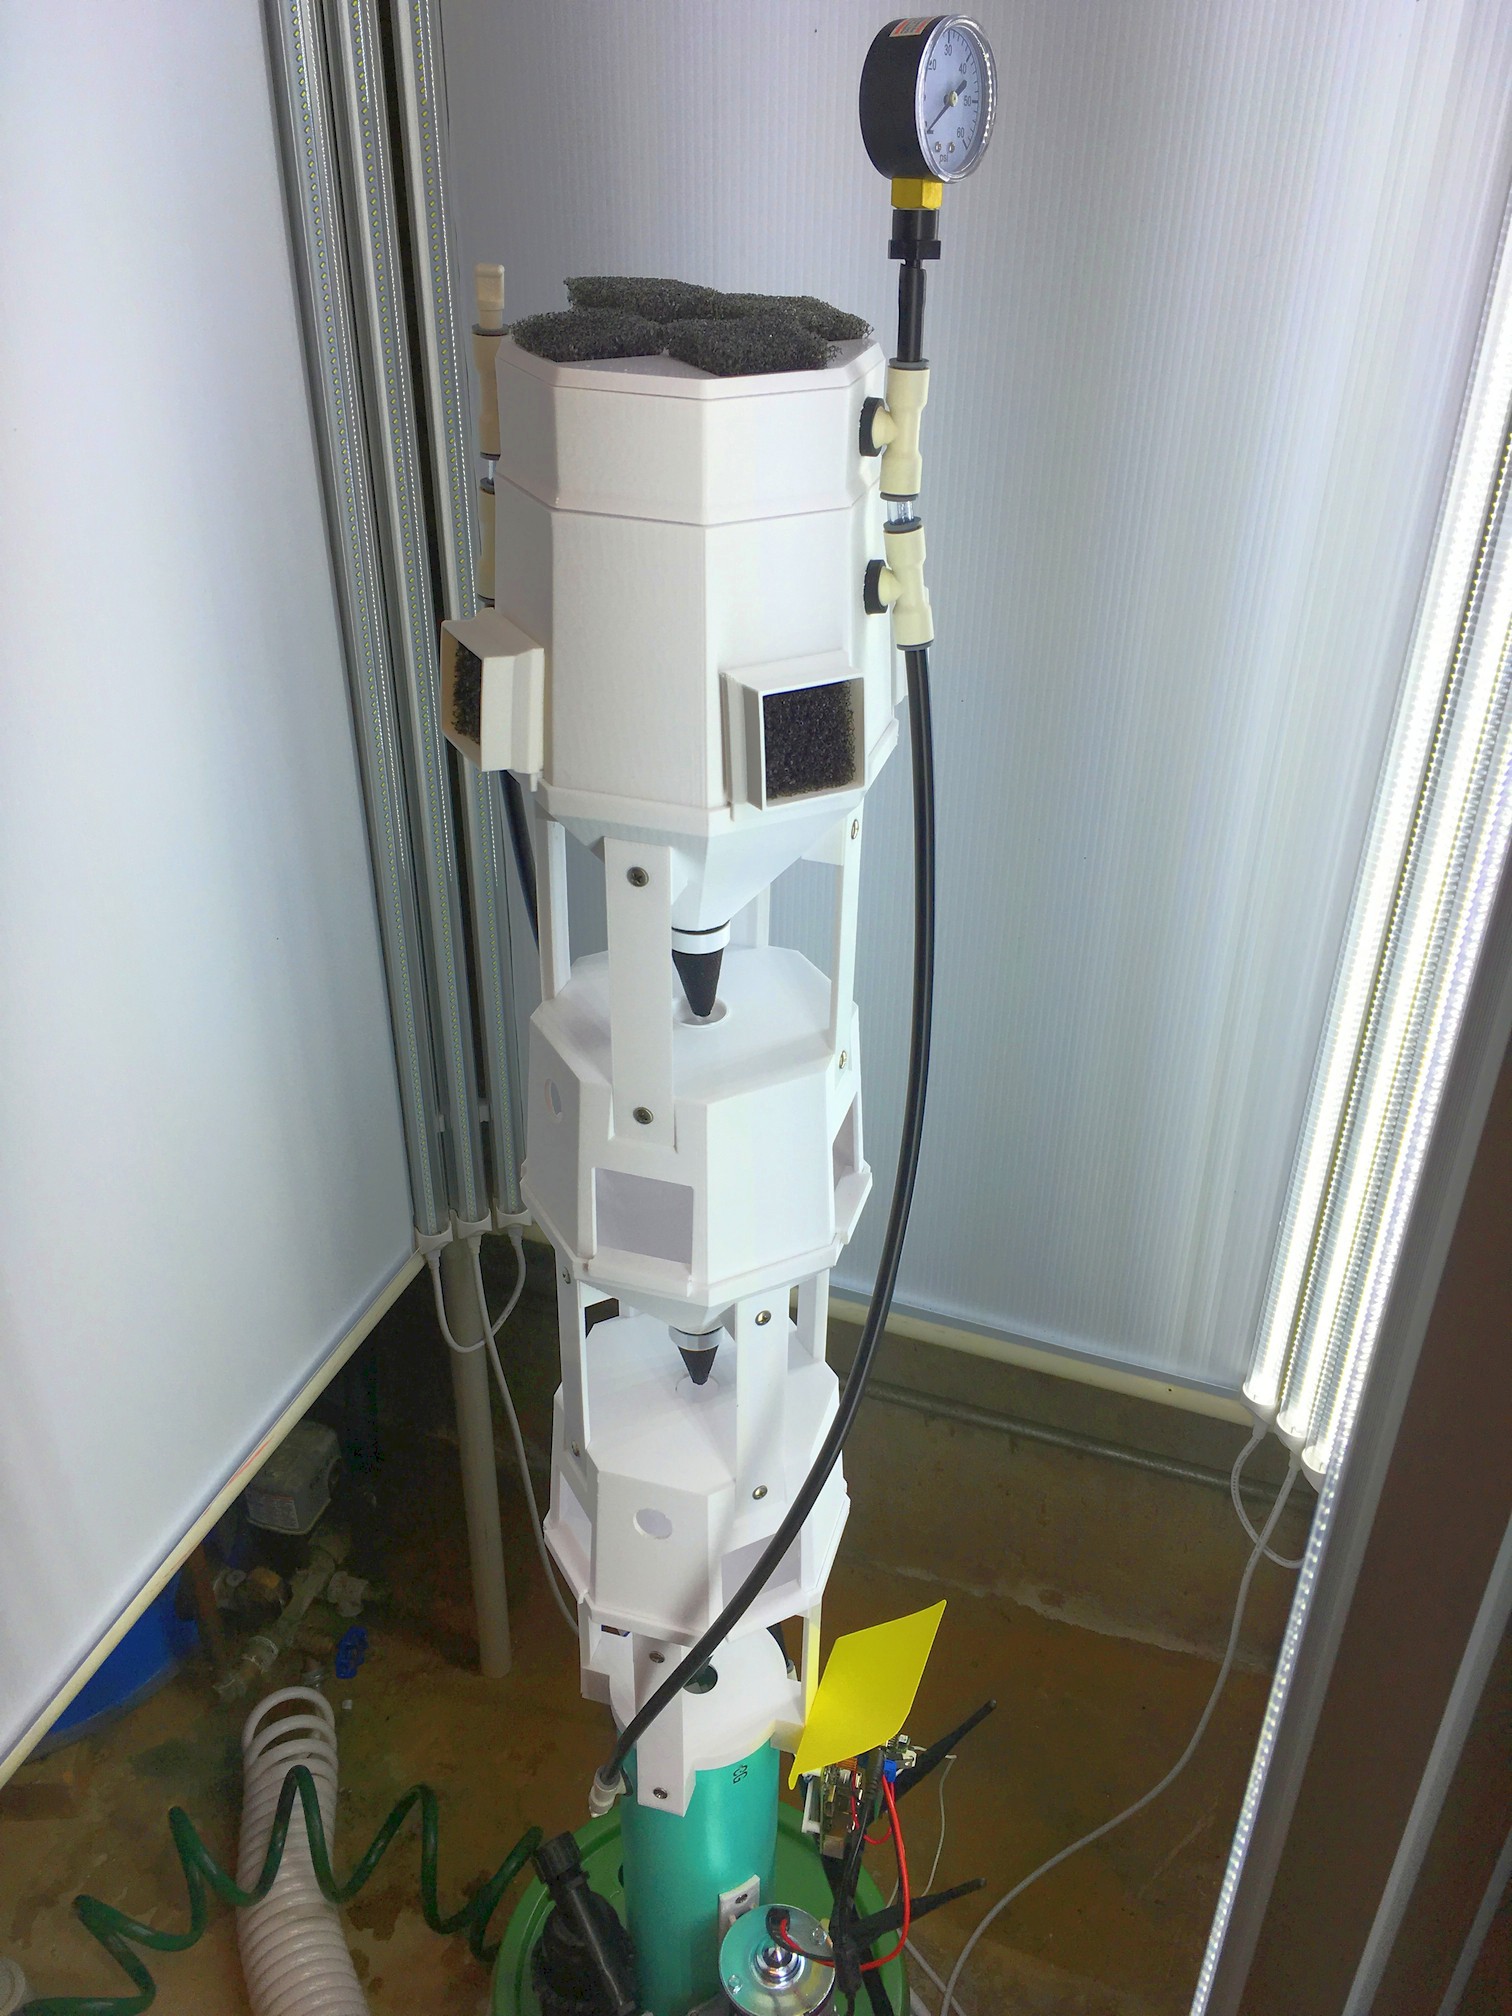 The tower has two valves, one in the plant starter area and one at the top of the PVC pipe base. The top valve is normally open and automatically closes when the the system is pressurized. The base valve is also normally open and closes to pressurize the system.


 Em
Em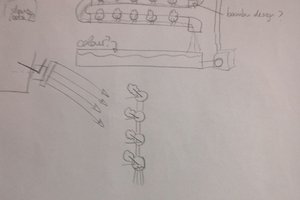
 Roberto Vicente Romero
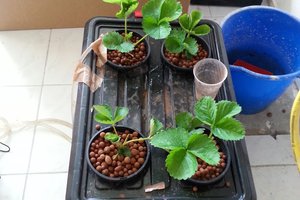
 Julius (Mr. Seeker)
Added a log entry placeholder with a picture of the new cost reduced version of the system