 TM
TMIn this project we use a 3D printer (optional), the Python Flask web interface library, the Linux Music Player Daemon, and a variety of cheap hardware to build on the Google AIY Voice kit. We use this platform to develop a range of mini hardware and software projects, tied together by Google voice-recognition.
(OpenSCAD model of 3D printed enclosure: see "Replacing the Cardboard Box" below.)
See this post for an index of log posts so far.


 Jack Flynn
 Robin Bussell
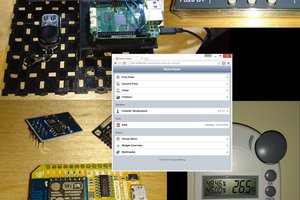
 SUF
SUF
 Don Mitchinson