 K.C. Lee
Just when you needed a captured nut...
need: FR4 PCB with undersized hole, small file, C clamp
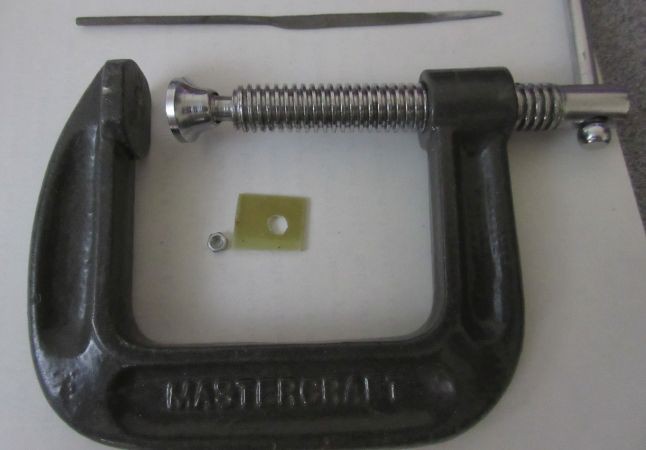
- File the hole as close to the right shape for the nut. The mismatched FR4 hole will be expanded and provide grip.
- Put it in a C-clamp or a vise or hammer
- Apply extreme pressure
- File/trim the FR4.
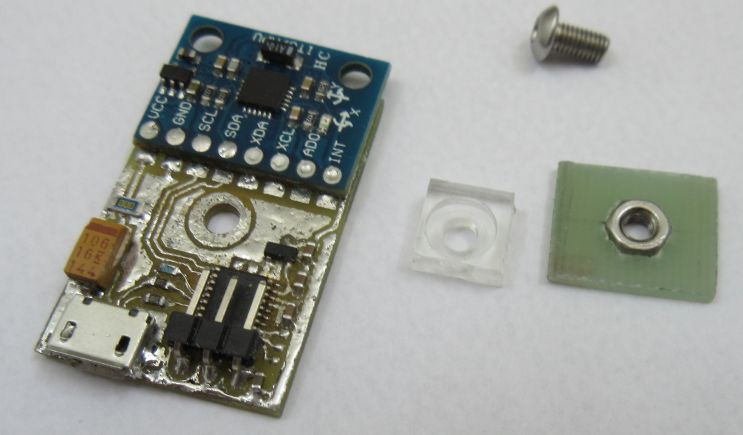
You get a captured nut! The FR4 provides a large surface area to be superglued behind a screw hole.
Here is what's what it is used for in a more refined manner. This is my 2nd try with the "captured nut". I cut a small piece of plexiglass with a saw blade attached to a Dremel tool. I used a hand drill to drilled 2 holes - one for the screw and a larger one the nut.
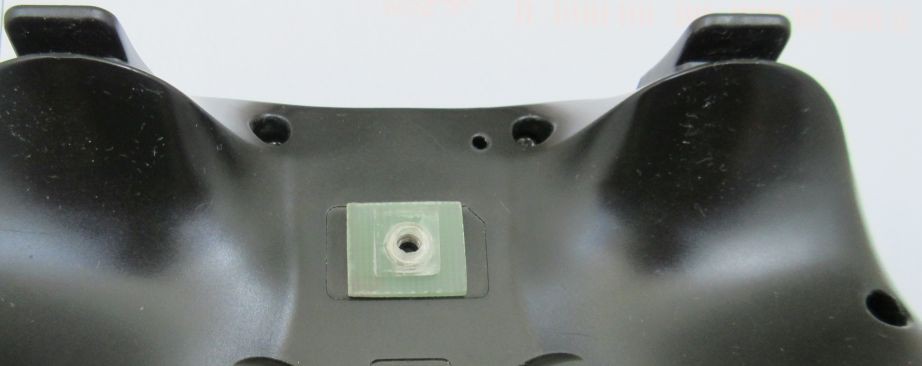
Note the edge of the plexiglass is flush with the module and this helps to prevent the PCB assembly from spinning.
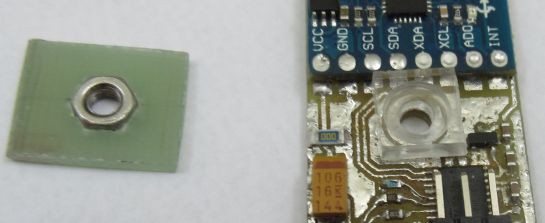
The plexiglass is then superglued to the captured nut PCB to form a mount. I screwed in the PCB assembly to show how things fitted together. Notice the white stress points on the FR4 at the corner of the nut. That's what holding the nut in place (along with the superglue). FR4 can handle stress a lot better than plexiglass. The thickness is just right for the M3 screw and clears the PCB assembly. Luck or math? :)
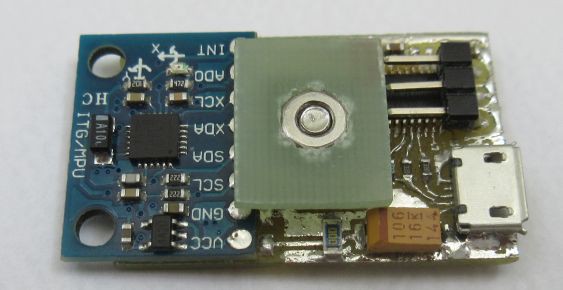
The mount can then be superglued to the base of the controller. Mine has a label area.
The inside of the game controller case has a Li-ion batter pack pushed against it, so it is not safe to simply drill a hole to mount a standoff. Like they said "look before you drill!"
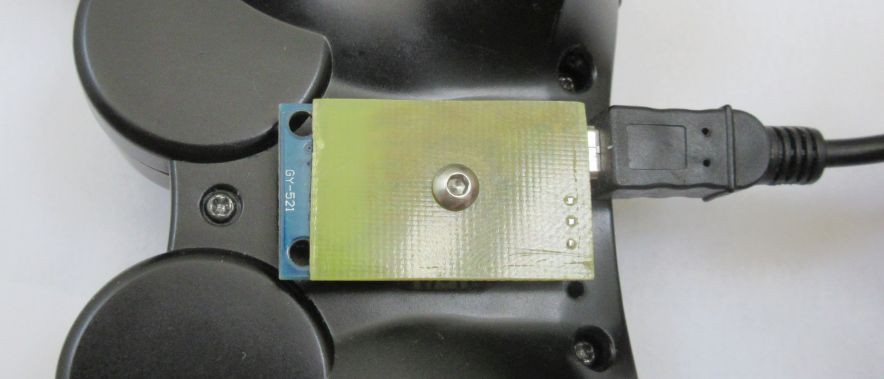
Here is what it looks like with everything in place. The PCB components are protected by the back side. The PCB assembly can be easily removed for easy access.
Discussions
Become a Hackaday.io Member
Create an account to leave a comment. Already have an account? Log In.