 alnwlsn
This project takes inspiration from many of the other similar low-power loggers on this site, but especially from the Cave Pearl project which I discovered about halfway through prototyping on this one. Instead of using several cheap modules, the heart of the data logger is distilled into just a few critical components.
The following software was used in the program for this device:
- Arduino MiniCore hardware package. The board is programmed like a normal arduino board with the arduino bootloader, but this package makes it easier to get a bare 328 chip working with many of the power-heavy features disabled.
- avr/power, avr/sleep, Wire, SPI arduino libraries, included with the arduino IDE.
- https://github.com/Marzogh/SPIMemory - for using the external flash memory chip that stores the measurements
- The SparkFun BME280 library - For configuring the BME280 sensor
To make the project itself:
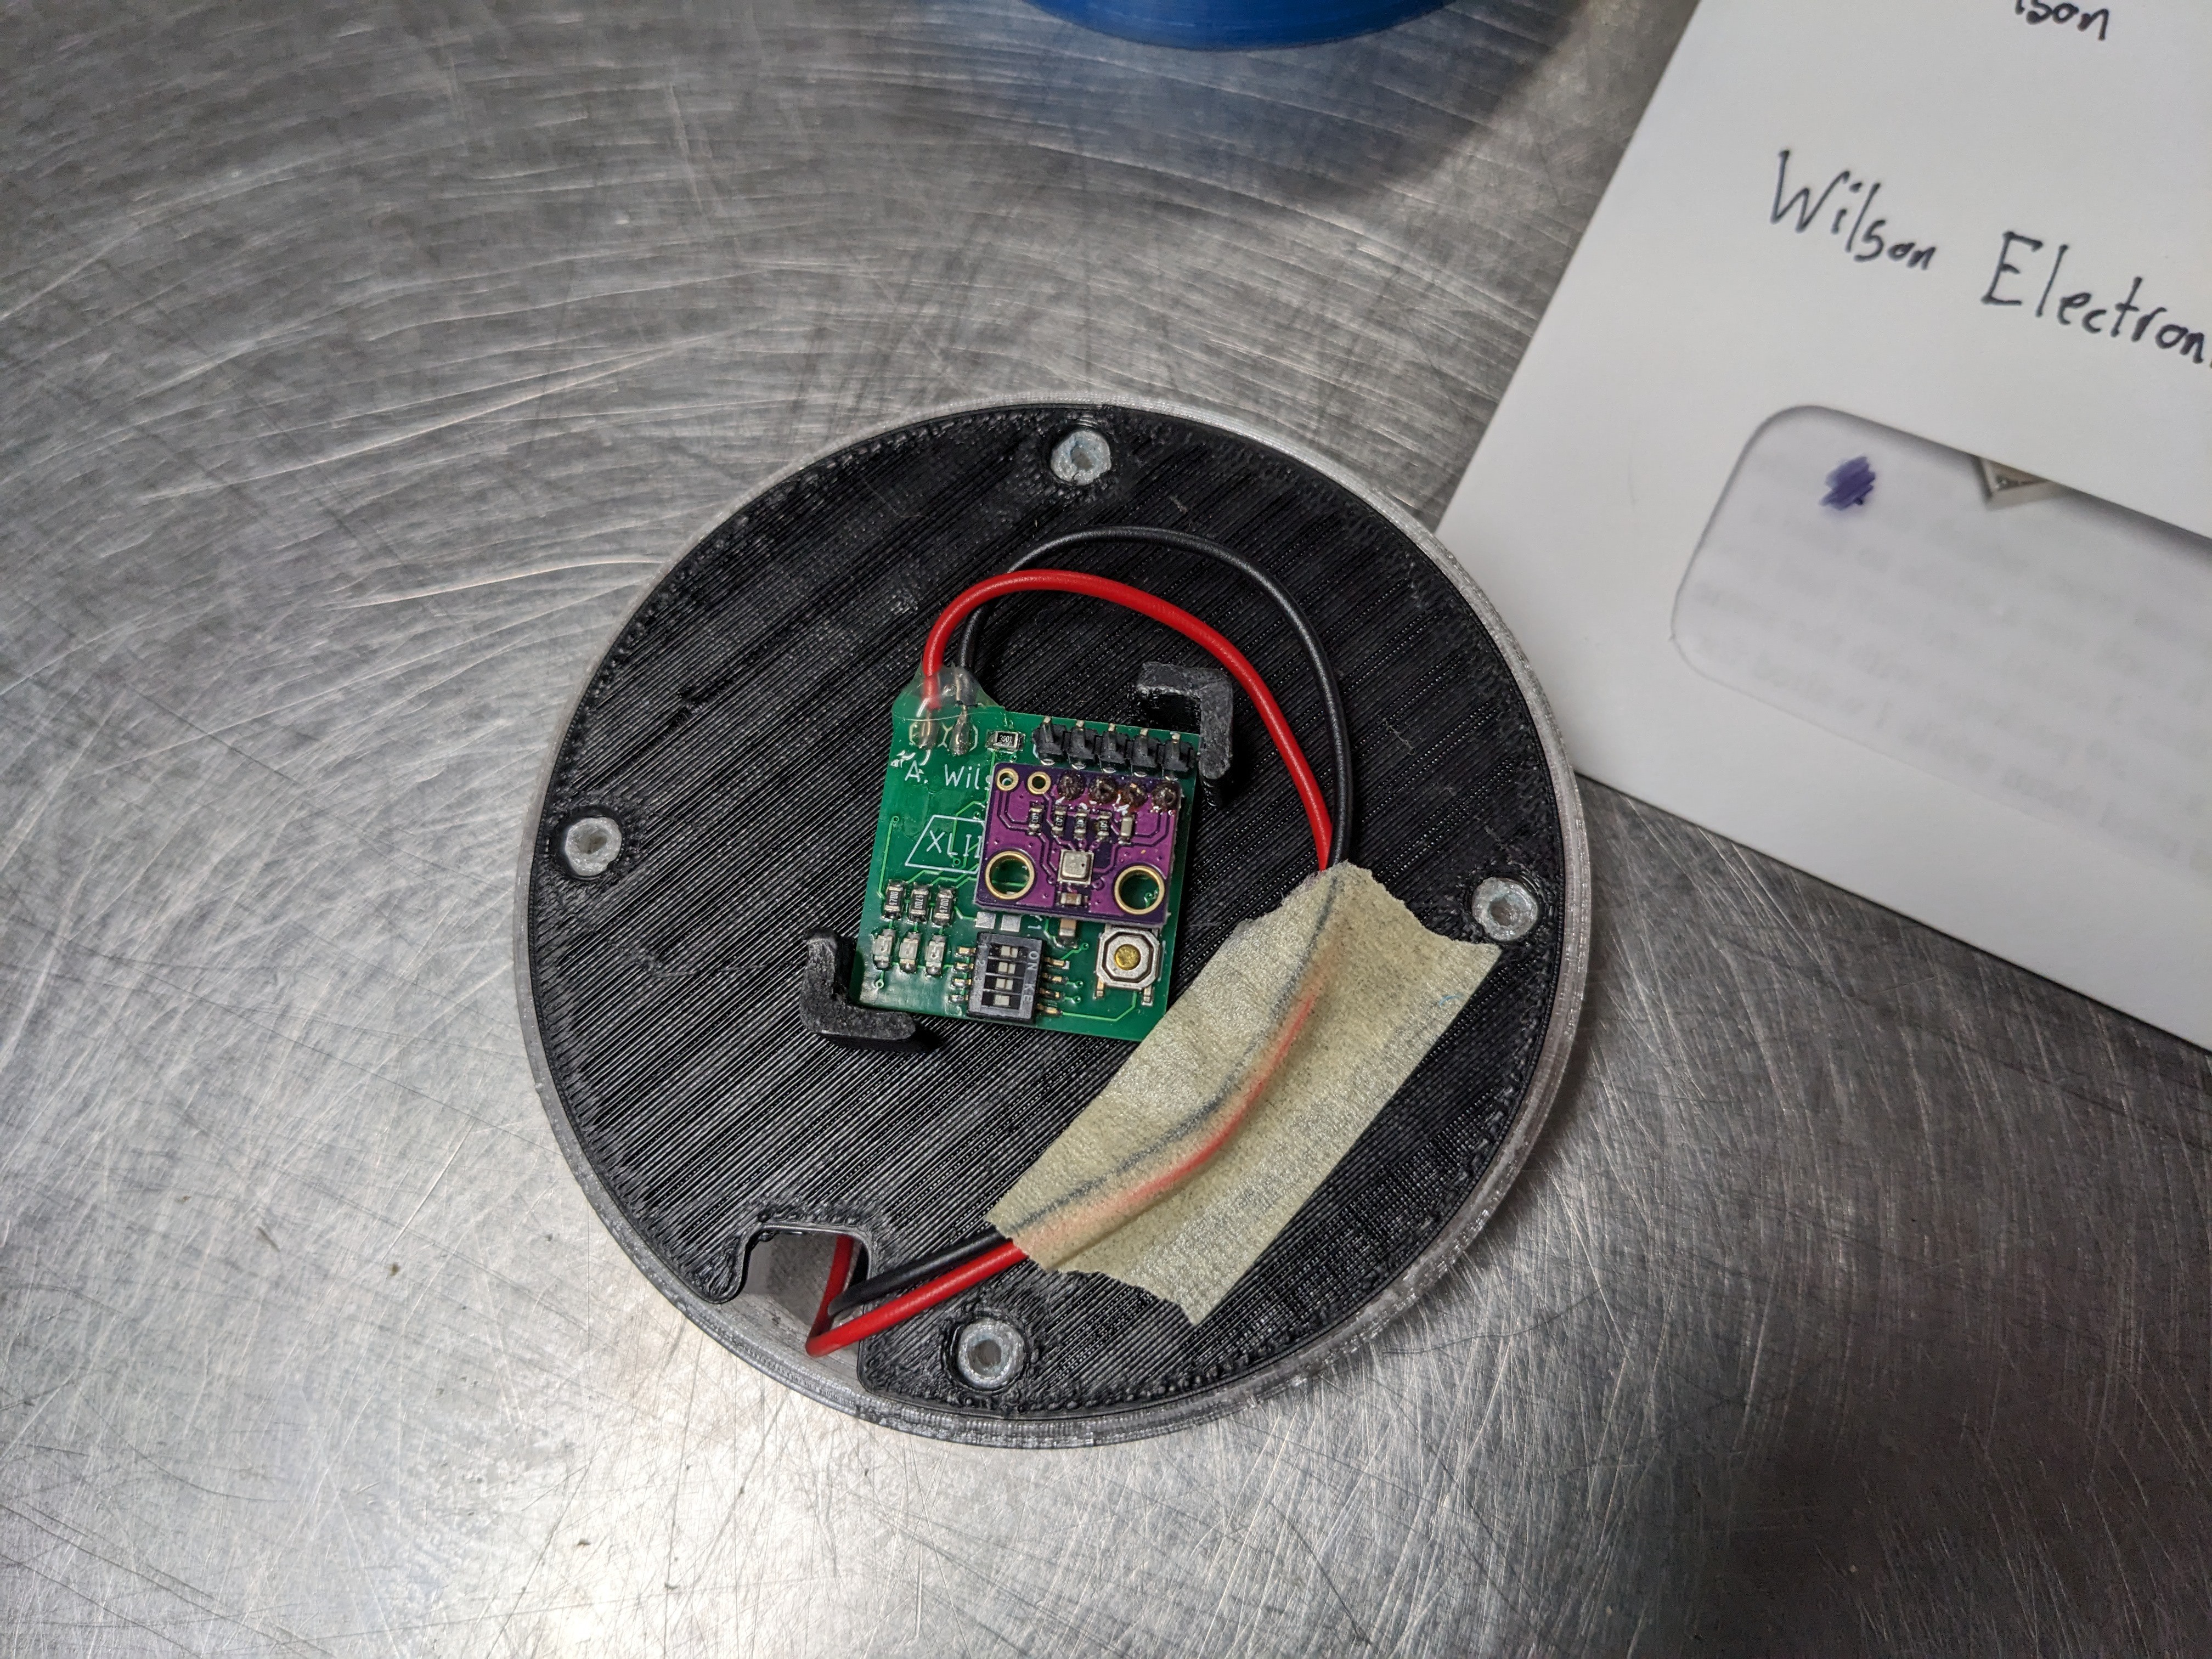
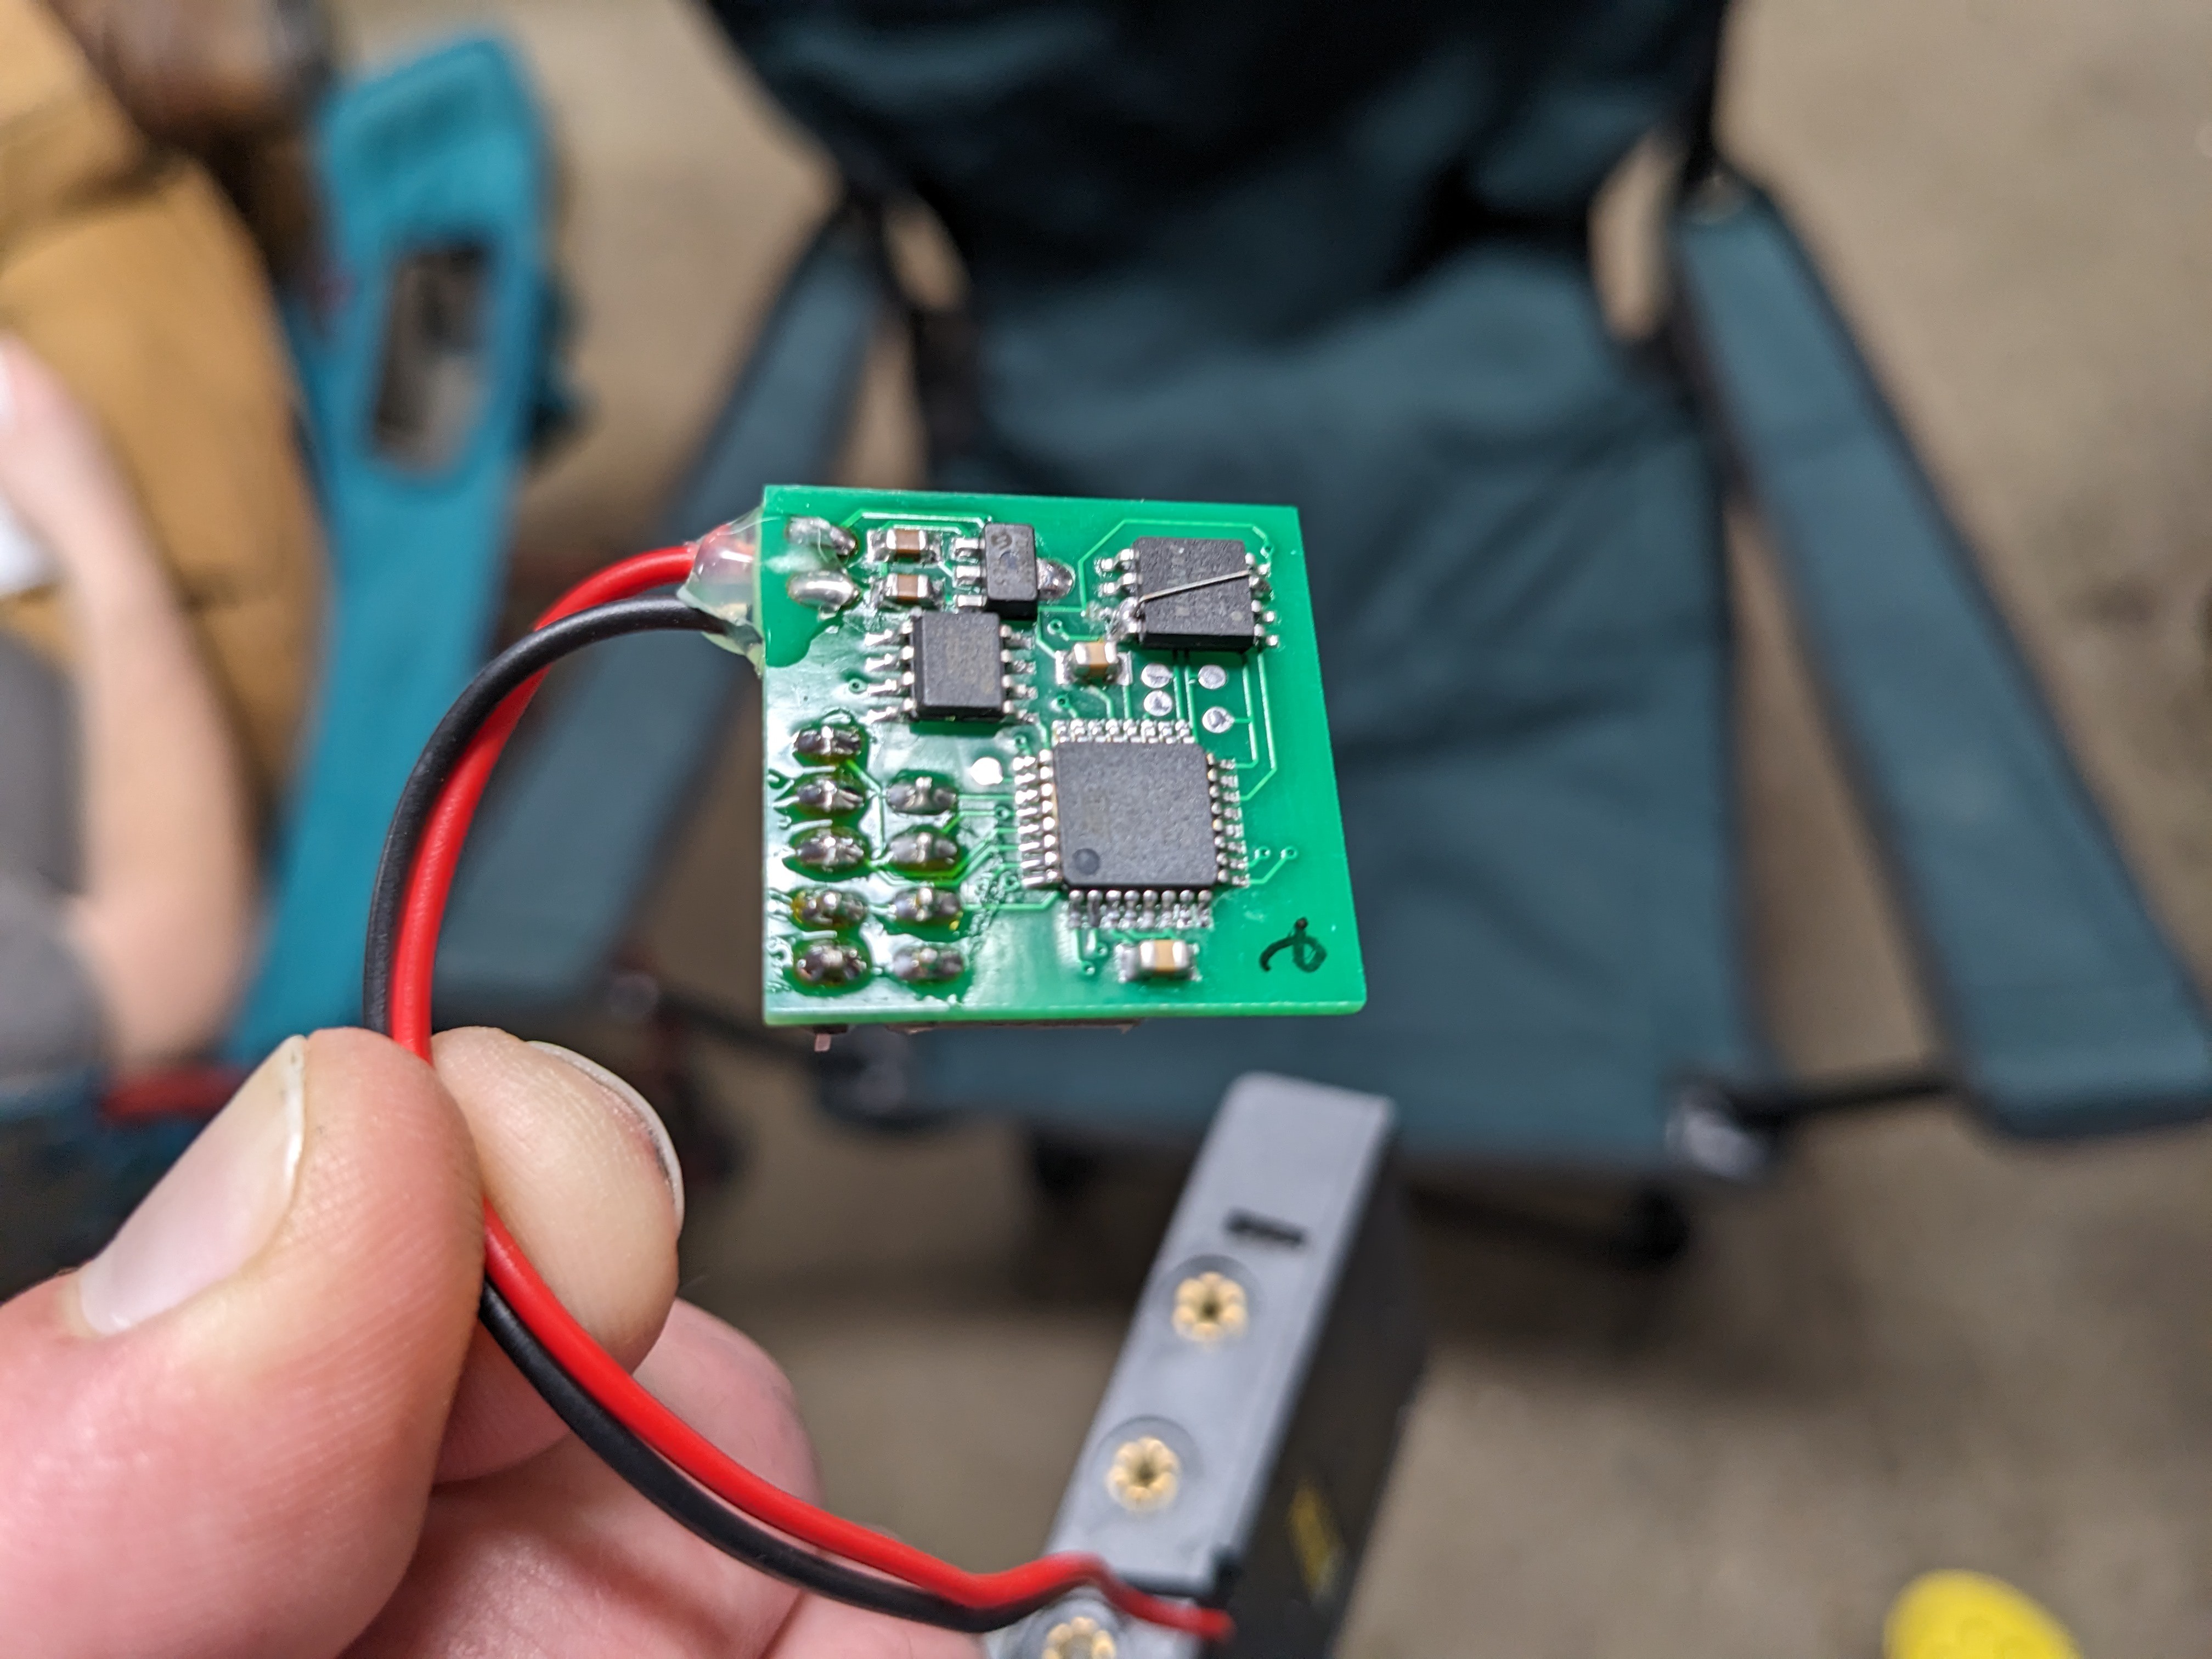
- Make the board and assemble the components onto it. Everything is surface mount except the sensor board, which is an Aliexpress special.
- Flash the 328 on the board with the Arduino MiniCore bootloader. Make sure that the BOD is disabled, and the 8 mhz clock speed is selected. I tried 1 mhz as well, but found that the flash chip did not work well at this speed. The 328 can be programmed with ICSP, just like flashing a normal Arduino. The reset line, VCC and ground pins are brought out on the outside 5 pin header. The remaining SPI pins needed for ICP can be connected to either some test points on the board, or by clipping onto the legs of the flash chip.
- The board can now be programmed with a usb-serial adapter like any other arduino board. The tx and rx pins on the board connect to the rx and tx pins on the usb-serial device. The reset pin on the board connects through a 0.1uf cap to the DTR pin on the usb-serial, because I didn't include one on the board. Upload the main program.
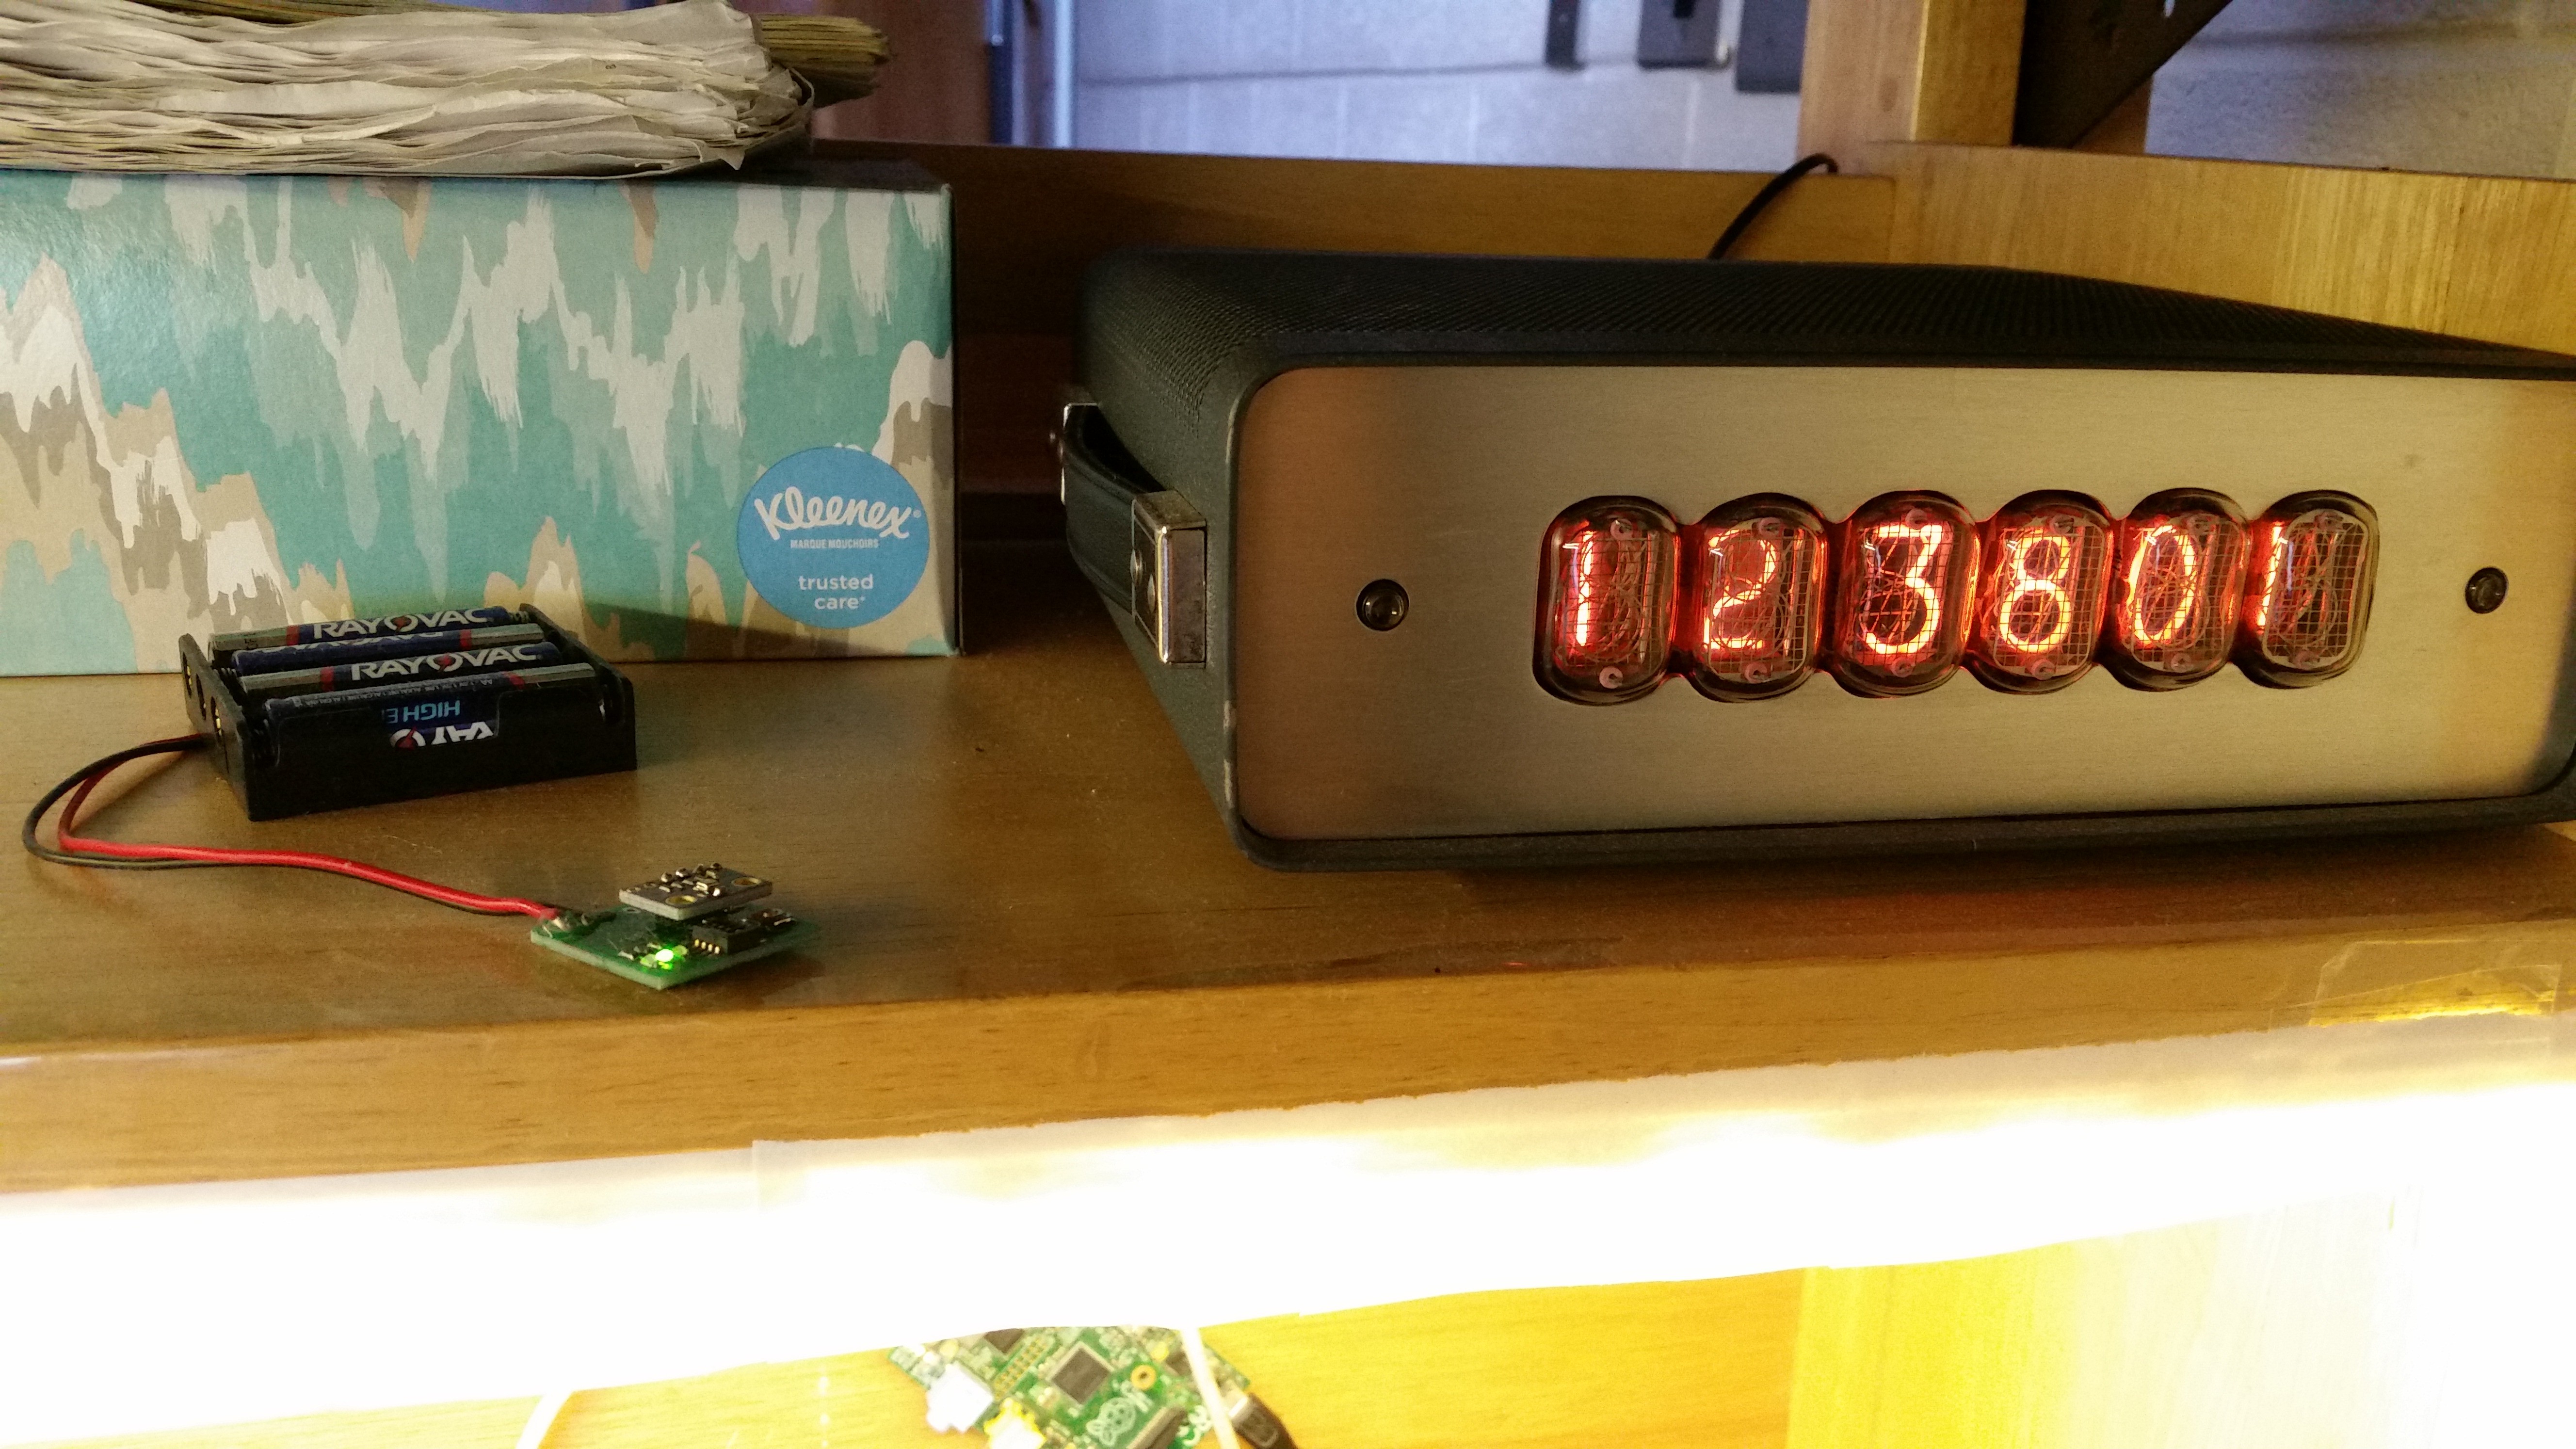
- Push switches 1 (clock set) , 2 (flash erase) and 4 (status) on, and connect the board to a serial monitor and power (between 4 and 15 volts).
- Use the single button to set the clock following the serial terminal instructions. For example, to set the first parameter, the year, to 2018, press the button repeatedly until 18 is shown, then wait 2 seconds to continue.
- Erase the flash by pressing the button once when prompted.
- Return all dip switches to off position. Switch 4 can be left on, which will blink the green led whenever the 328 is powered up, but can be turned off to save power.
- After data is collected, turn switch 3 on and press the button. The data will be output over serial in the form of a table.
This project has been ongoing for a few months now, but I, like many people, don't document projects as well / as often as I should. This project represents a lot of firsts for me, such as the first time working with low power, first time ever soldering SMD components, and only the second project where I have designed a PCB. Most of my projects consist of either breadboards, prototyping boards, or some bizarre freeform/deadbug. I am not an electrical engineer or programmer, just a self taught hobbyist, which does sometimes mean that I have no idea if I am doing something "the right way." I want to keep my designs simple, using components that are well known, and programming no more complex than Arduino. With that in mind, the following ramblings explain my thoughts in building this project.
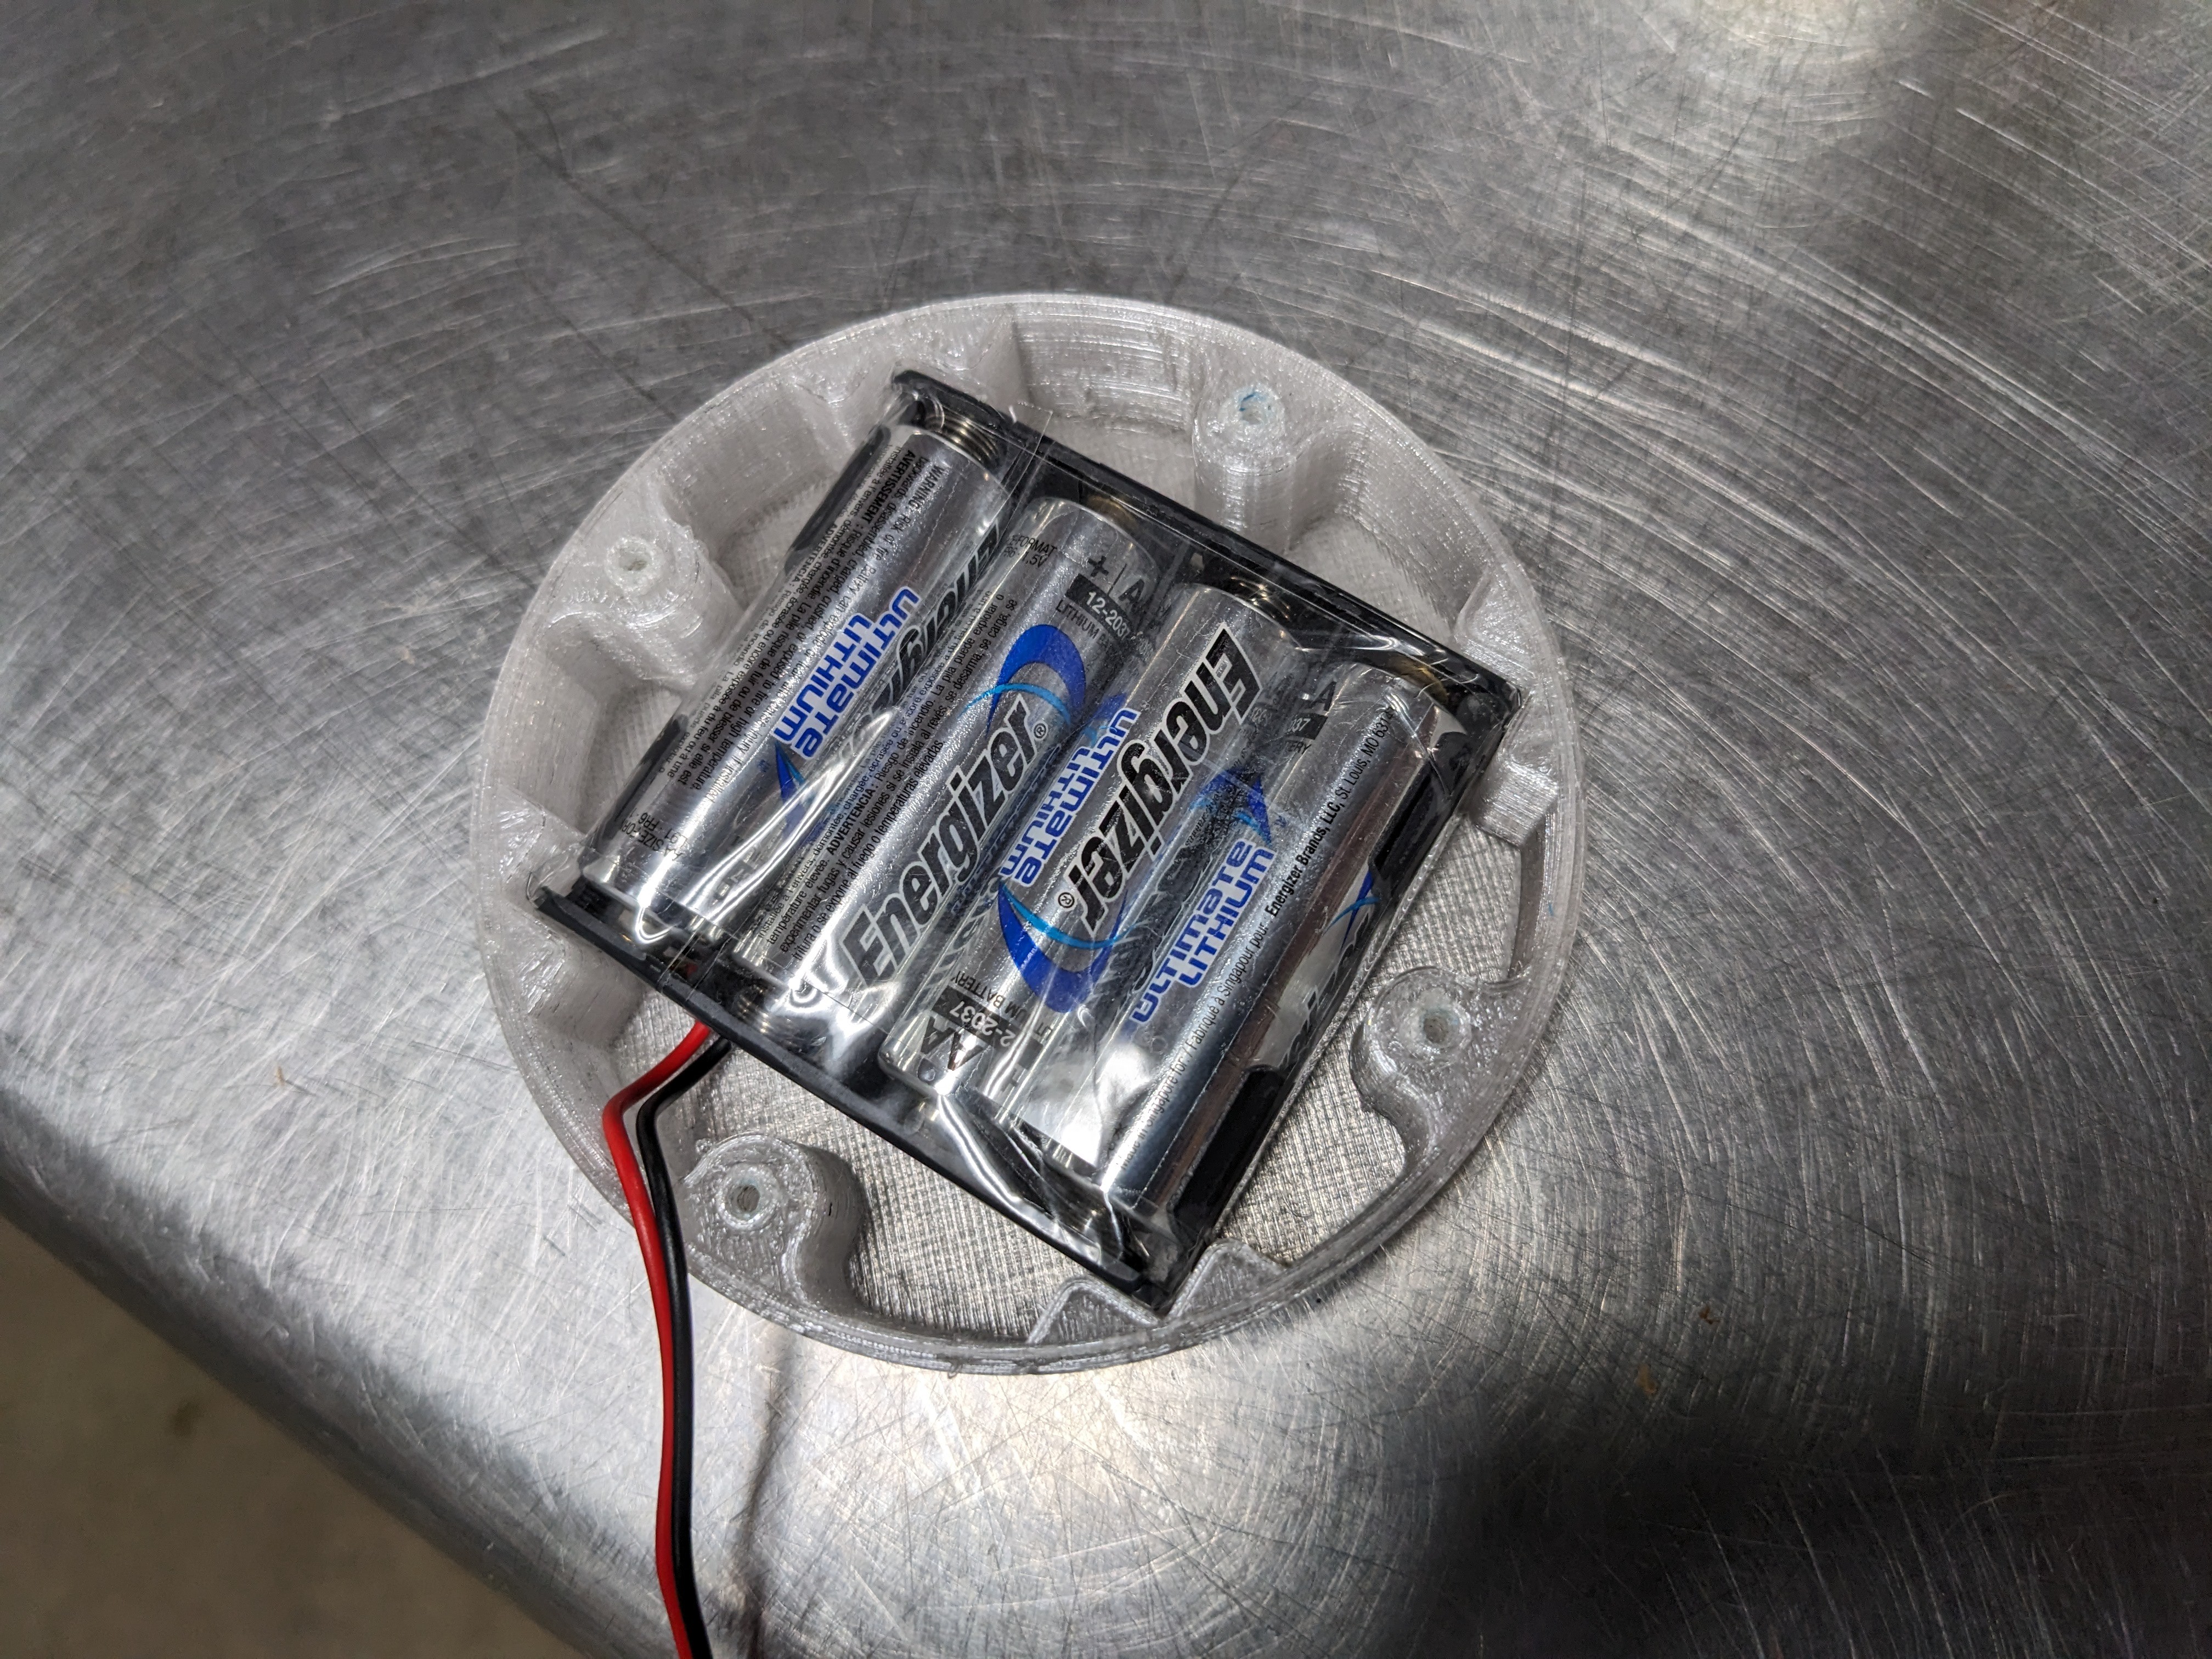
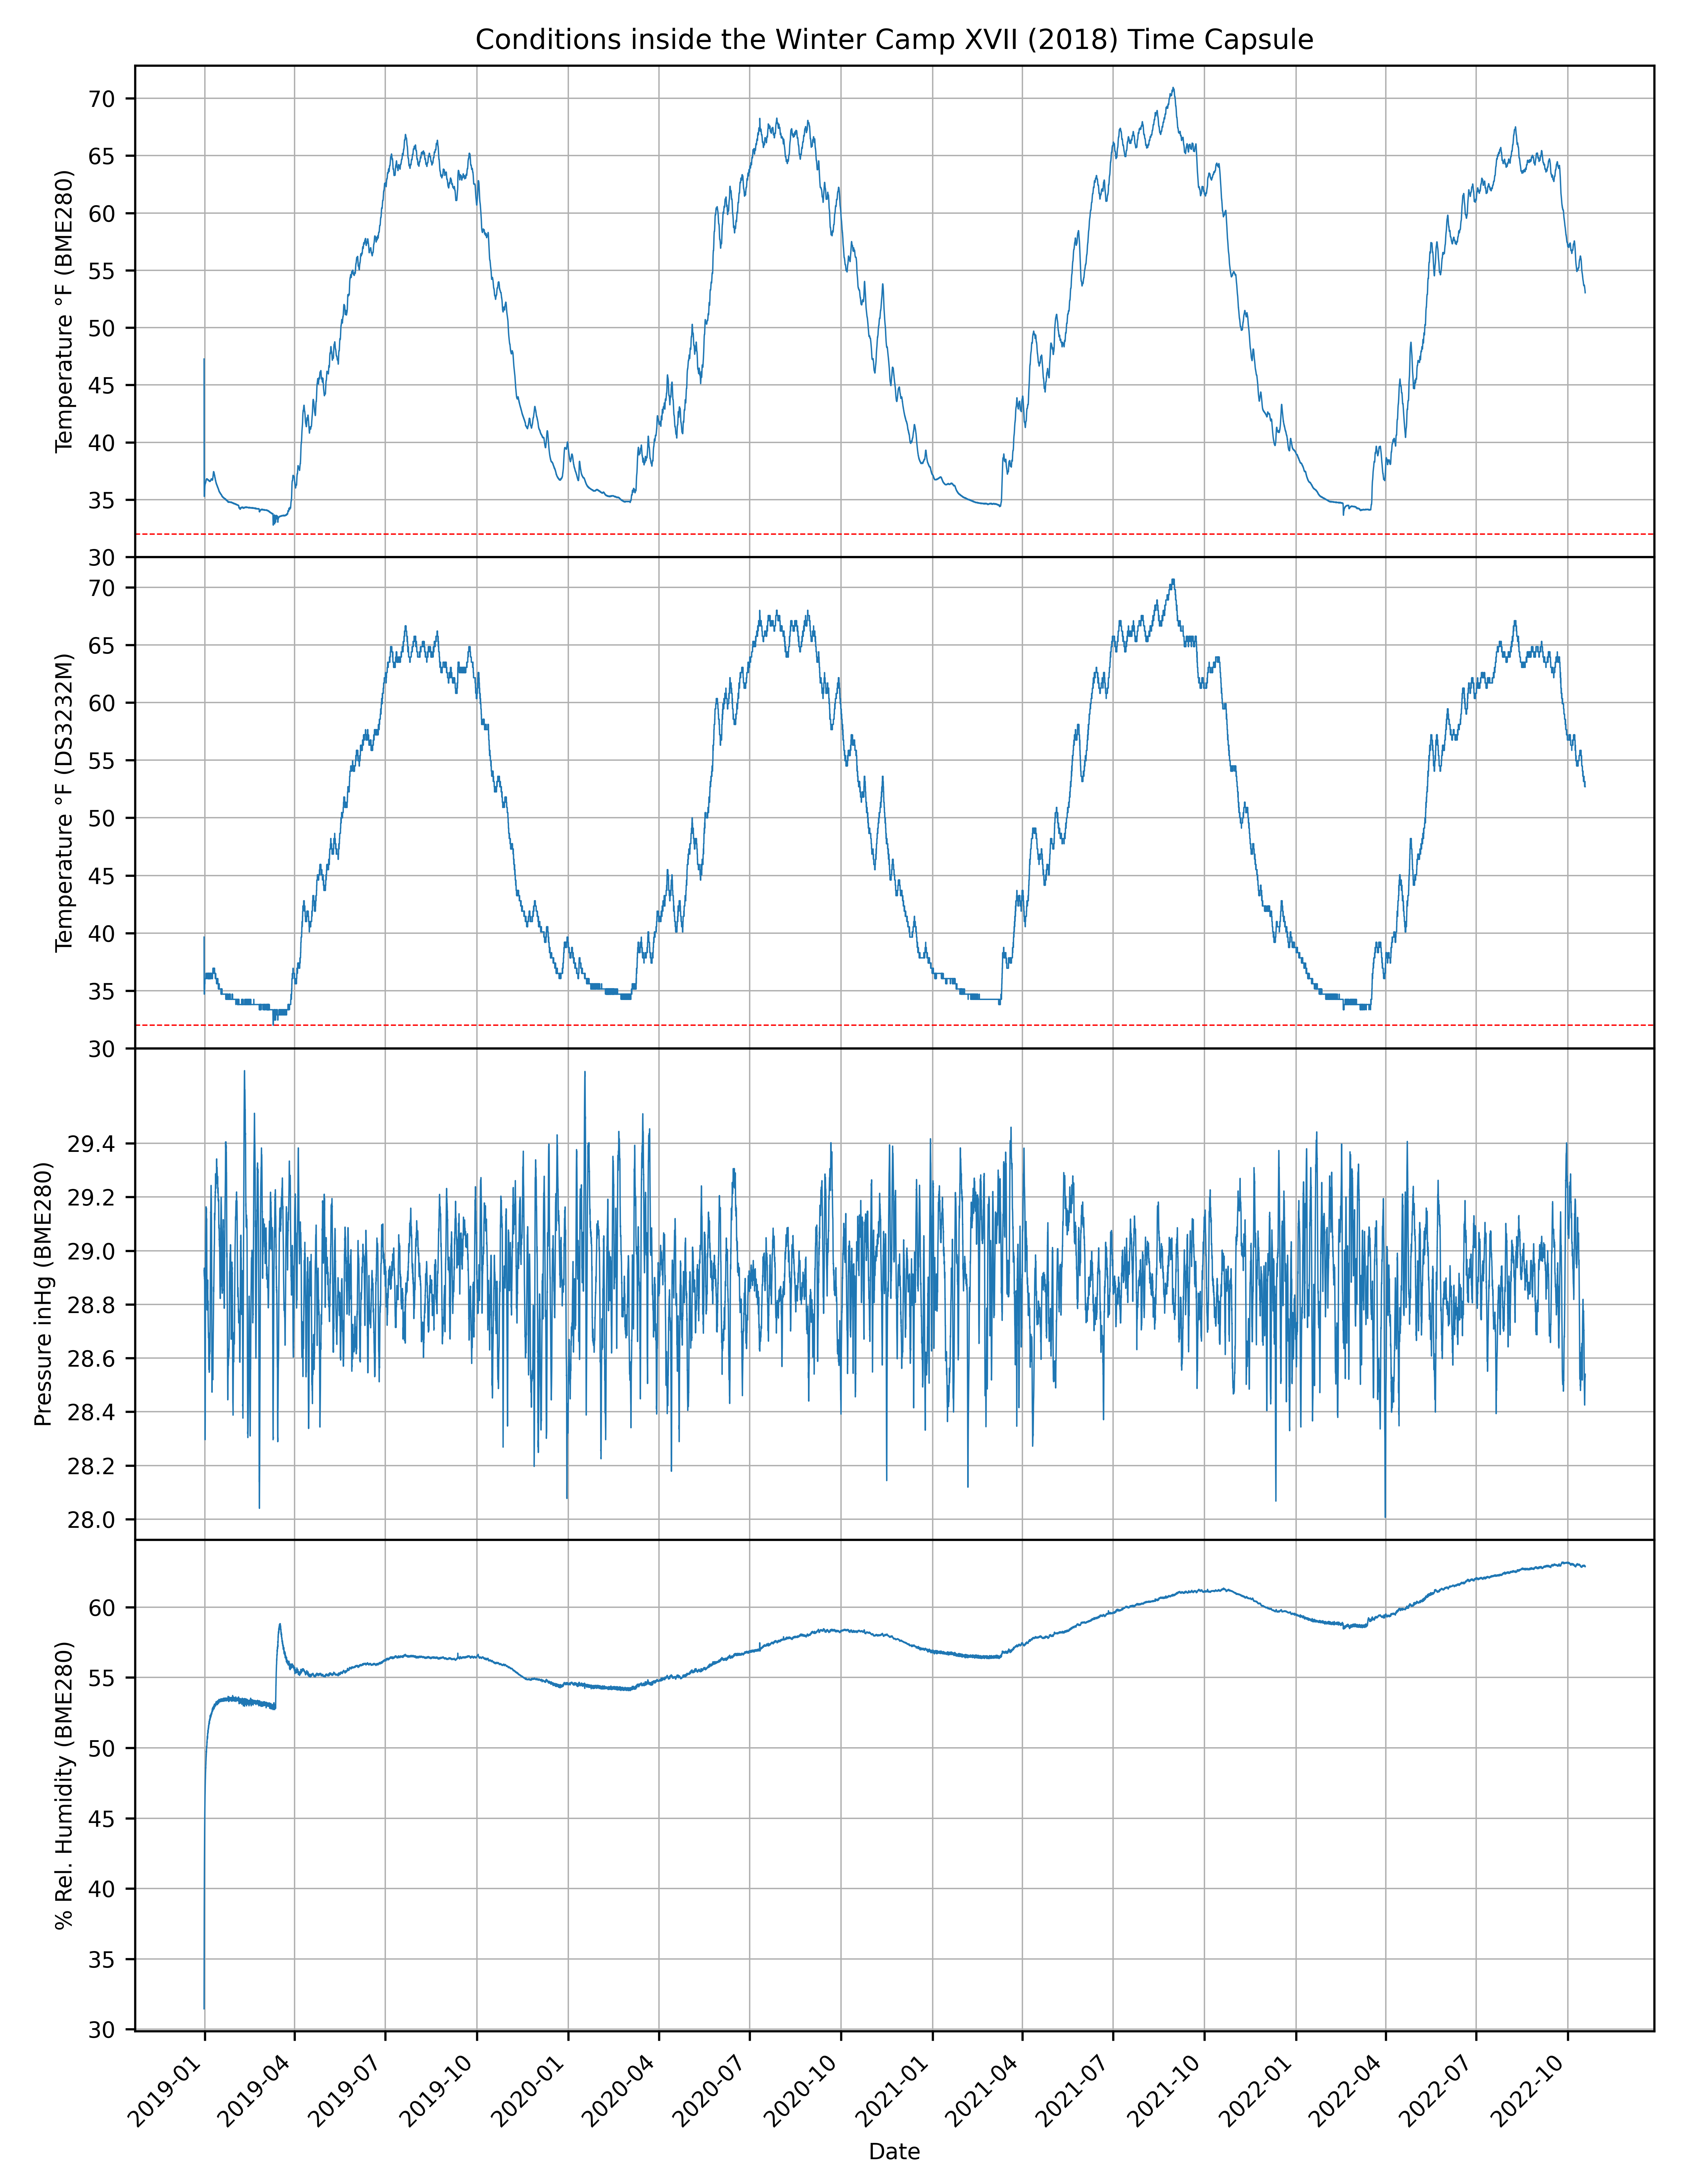
Since this was designed to be buried in a time capsule, the first order of business is how to get power. I had never worked with any low power sleep modes on microcontrollers, but I have plenty of devices that last for years with just batteries. Plenty of projects here on HAD that use a coin cell, but i'd be hard pressed to get 5 years out of one of those. Sounds like a good solution is normal AA batteries. I will use enough so that even when the battery is near dead, the voltage will still be high...
Read more »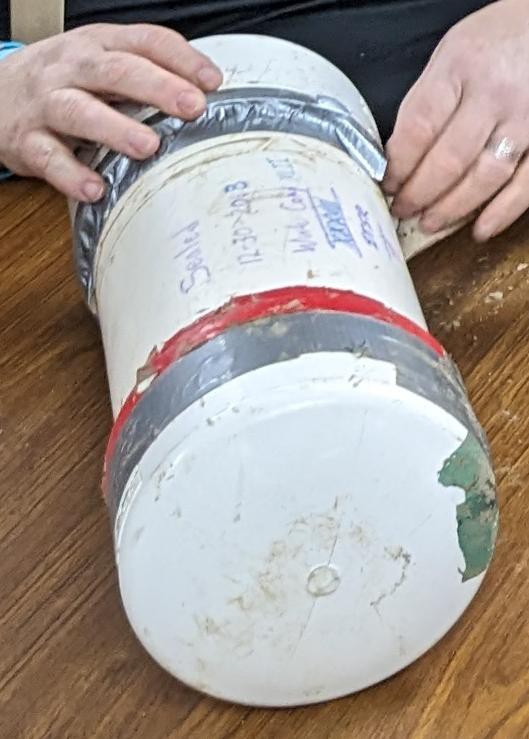


 Vedant Paranjape
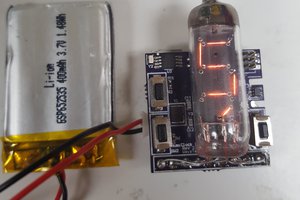
 Jeremy g.
 zaphod
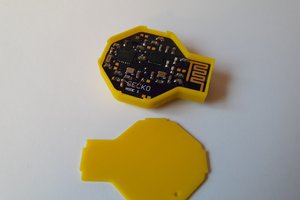
 Max.K
Max.K
Nice project, very similar to my micropower micrologger. Haven't worked with flash chips, added to my bucket list :)
Regarding the placement in a "time capsule": Your humidity measurements won't be too useful if you need to put it into a tightly confined/watertight space... Another tip for you to get power consumption down: Power the BME280 from a digital pin, remove all the hardware-pullup resistors and use the internal ones when active. Saves a lot of quiescent current.
By the way, you could easily get 5 years out of a CR2032 cell with 220mAh. You'd need to ditch the regulator and use a sensor that works from 3.3 down to 1.8V. Clock speed should be set to 4 or 1Mhz and all peripherals/sensors are powered by a digital pin.
Say you have 4uA power down consumption, 1 wakeup/hr and 0.2mA consumption while taking a measurement for 1 second you'd get >5 years run time. And CR2032 are not even the highest capacity coin cells.
BOD and all other peripherals of the Atmega328 need to be turned off of course.
Cheers, Jan