Close
0%
0%

Power BLough-R

The simplest way of stripping 5V from a USB cable. (Lough is pronounced "lock" by the way :) )

Public Chat
Similar projects worth following
This is a basically a pass through device for USB Type A connectors that doesn't connect the 5V line. it has a Male connector and one end and a Female connector at the other.

How is that useful? Well basically it is a simple, non-intrusive way of solving a problem that 3D-printers connected to Octoprint machines have, their screen stays on, even when their PSU is off because they are still receiving 5V via USB. This is my first ever PCB, as you might be able to tell and it's certainly not the most complicated device, but it solves that little bug bear I've had for a while so I'm actually really happy with it!

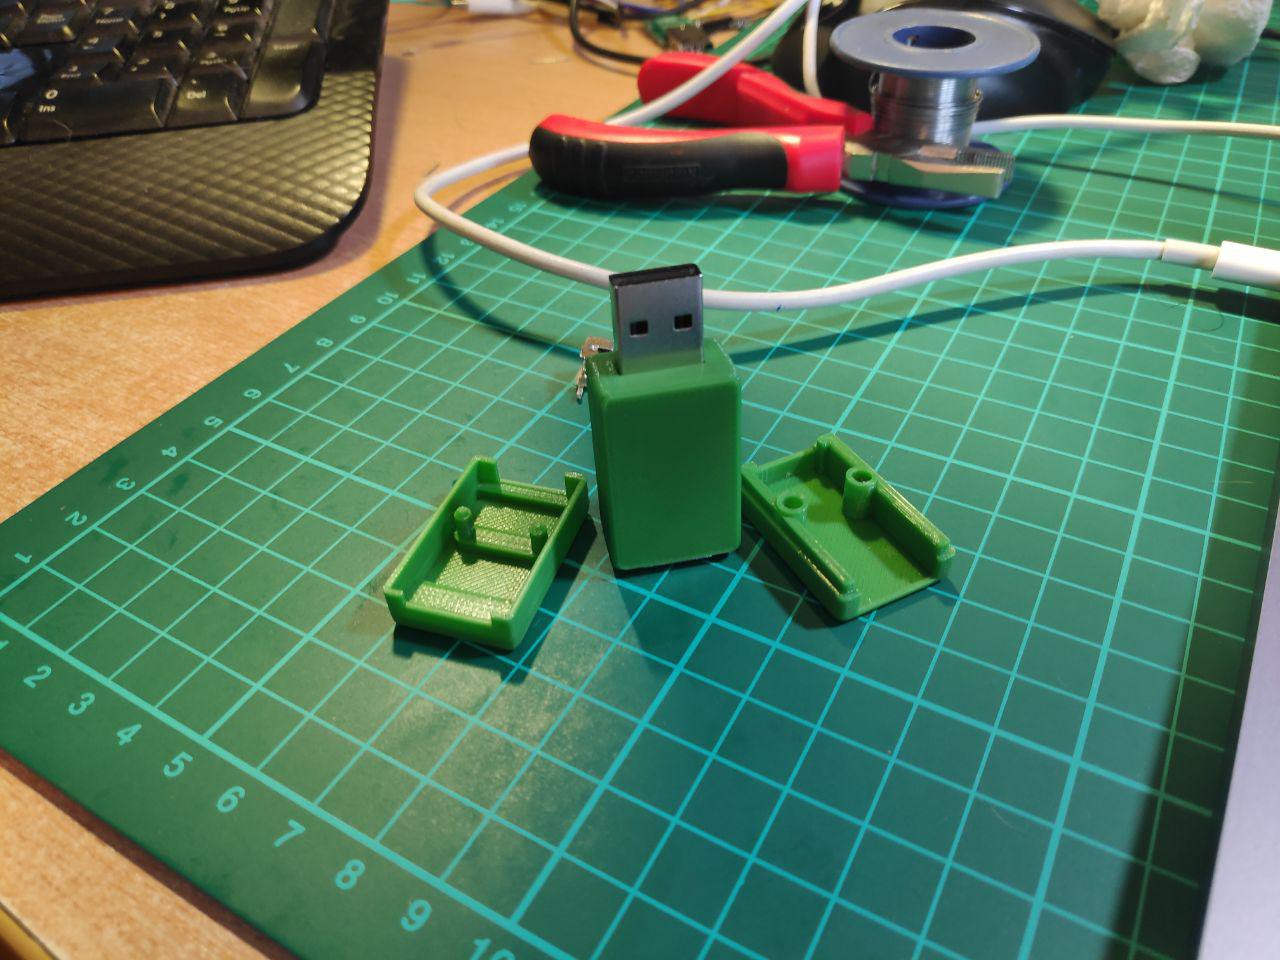
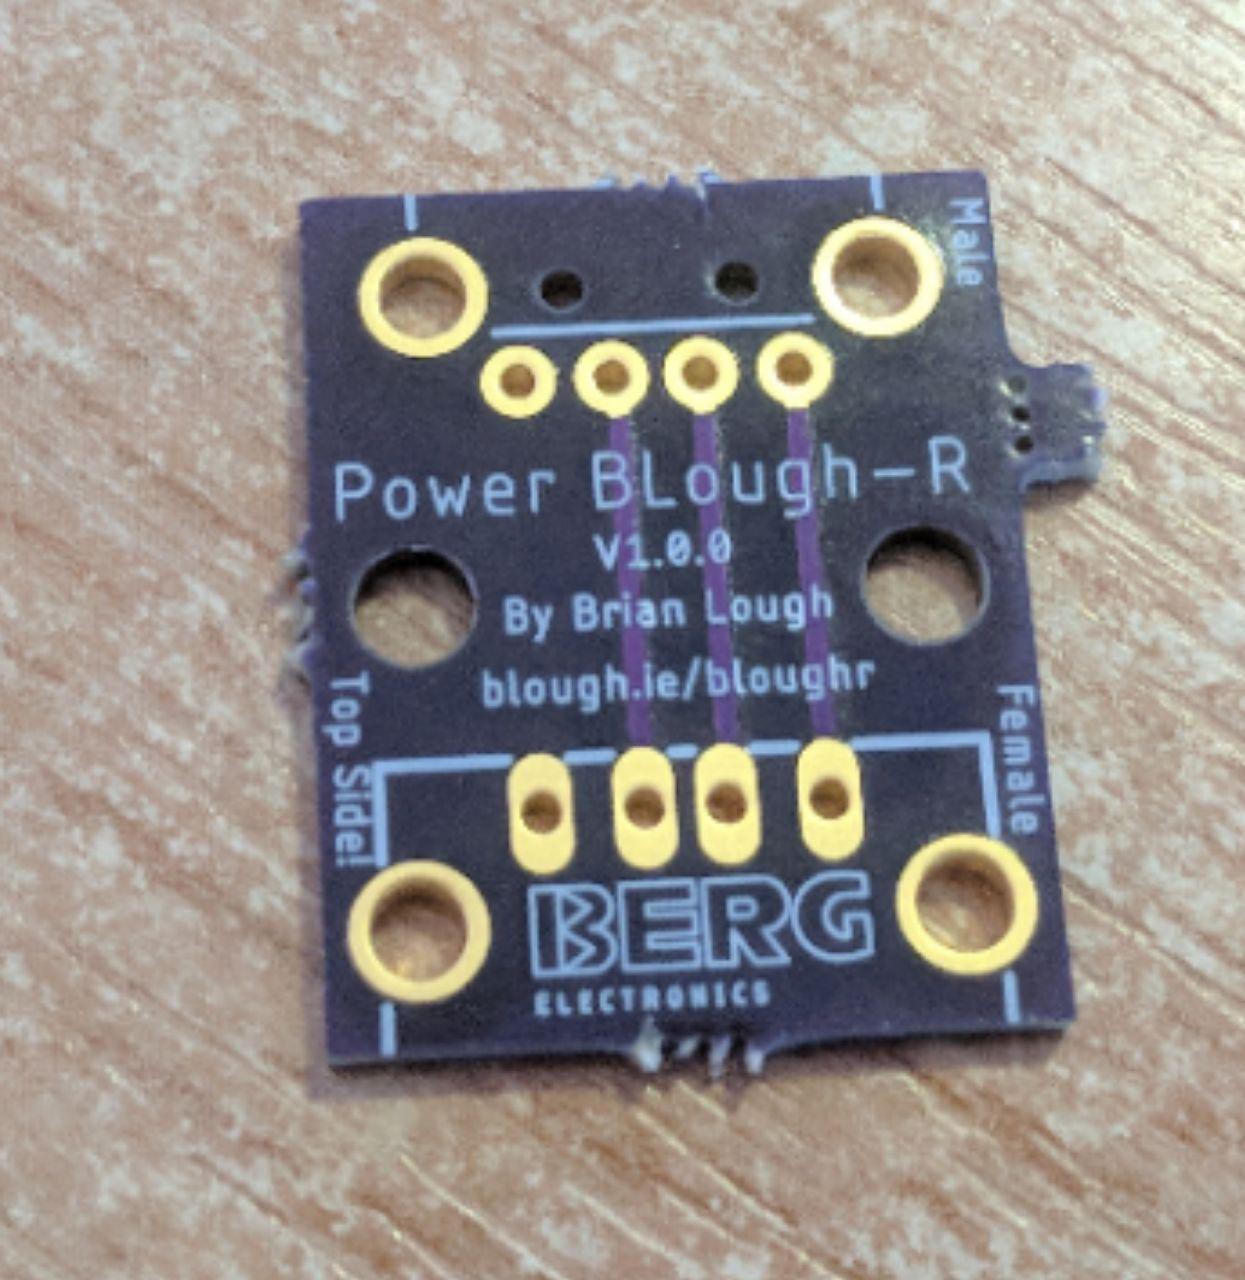
The Power BLough-R ("Power block-R") is a simple device for stripping 5V from a USB cable. My intended use for it was with 3D printers with Octoprint, but I believe some laser cutters suffer from a similar issue.

I use Octoprint with my 3D printer. I turn my printer off when I'm not using it, but I leave the computer running Octoprint on. When I switch my printer's PSU off, the screen of the printer stays illuminated because the printer is still receiving 5V power from the Octoprint computer. My pre BLough-R solution to this was to plug out the USB cable. 

There are other solutions to this problem, some people have taken to cutting traces on boards, others have modified the USB cable (either by cutting the 5V line or placing tape over the connector), but I thought this would be a nice, non intrusive way to achieve the goal.

PowerBLoughR_2018-07-29.zip

Gerber files. Please read the description of the board layout file before using this.

x-zip-compressed - 64.64 kB - 08/31/2018 at 15:51

Download

PowerBLoughR.brd

NOTE: The text on the bottom silk (bNames) is mirrored and needs to be corrected if you want it to print out correctly (although JLCPCB corrected it for me, which was nice of them) Also the male USB header despite having a little bit room between the marked "edge of PCB" on the silk screen and the actual edge of the PCB, it is quite a tight fit. It fits without any modification on the boards from JLCPCB, the ones from OSHpark seem like they need a file to make them fit.

brd - 33.57 kB - 08/31/2018 at 15:50

Download

sch - 37.47 kB - 08/31/2018 at 15:50

Download

  • 1 × USB Type A - Male
  • 1 × USB Type A - Female

  • Now with a user created case!

    Brian Lough11/02/2018 at 09:34 0 comments

    A person who bought the Power BLough-R from my Tindie designed a case for it and its awesome!

    It's a really nice press fit case and it's the perfect size, they did a really great job on it!

    You can download the case from Thingiverse, make sure to say thanks to rcolbert for it!

View project log

  • 1
    Erm, Solder the two connectors

    The top of the board is labeled with "Top SIde!", the USB connectors should be on top of this

    The side that each connector should go on is also labeled "Male" and "Female"

    Solder them up

    eh, Enjoy!

View all instructions

Enjoy this project?

Share

Discussions

Similar Projects

Does this project spark your interest?

Become a member to follow this project and never miss any updates