 Stephen Harrison
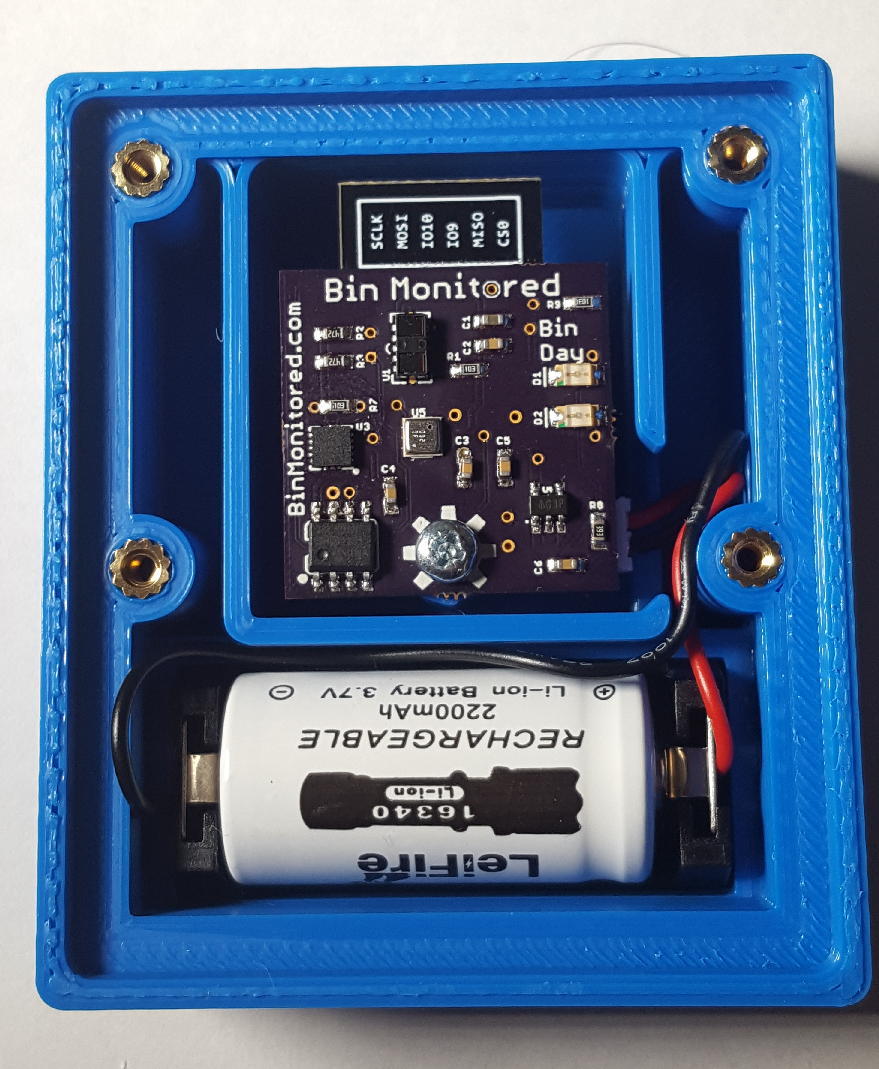
After a number of tries I finally settled on a 3D printed enclosure. This design has an outer lip so either a 3D printed lid can sit inside or a 3mm acrylic can, then a 3D printed lid on top of that. I've used heatfit M2.5 brass inserts to allow the lit to be removed easily to recharge/replace the battery.
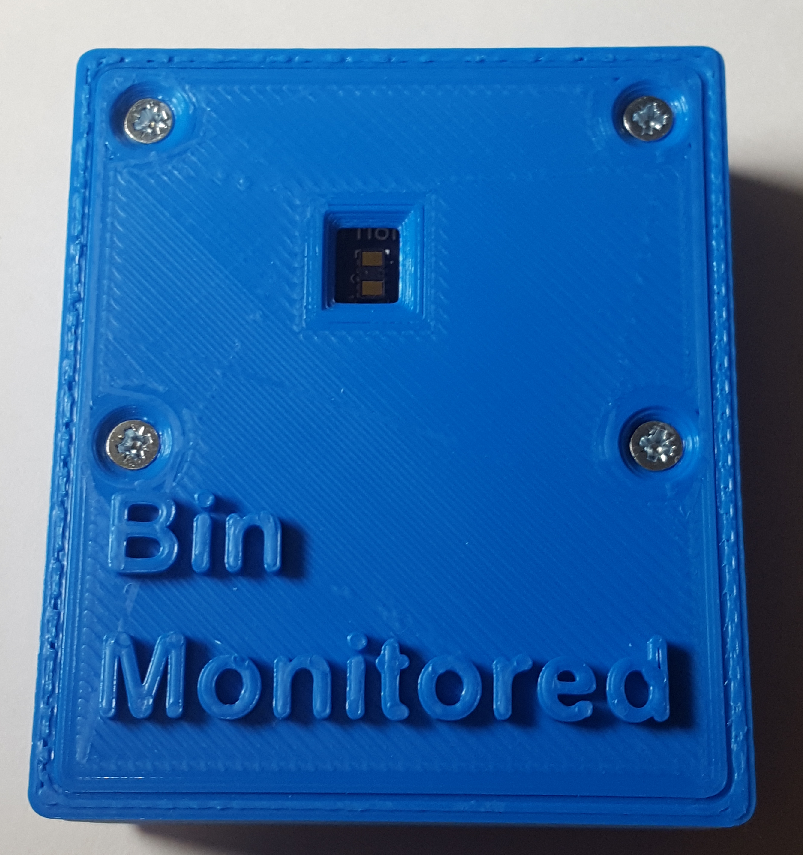
With this lid. This isn't water proof as the hole in the lid goes directly to the PCB.
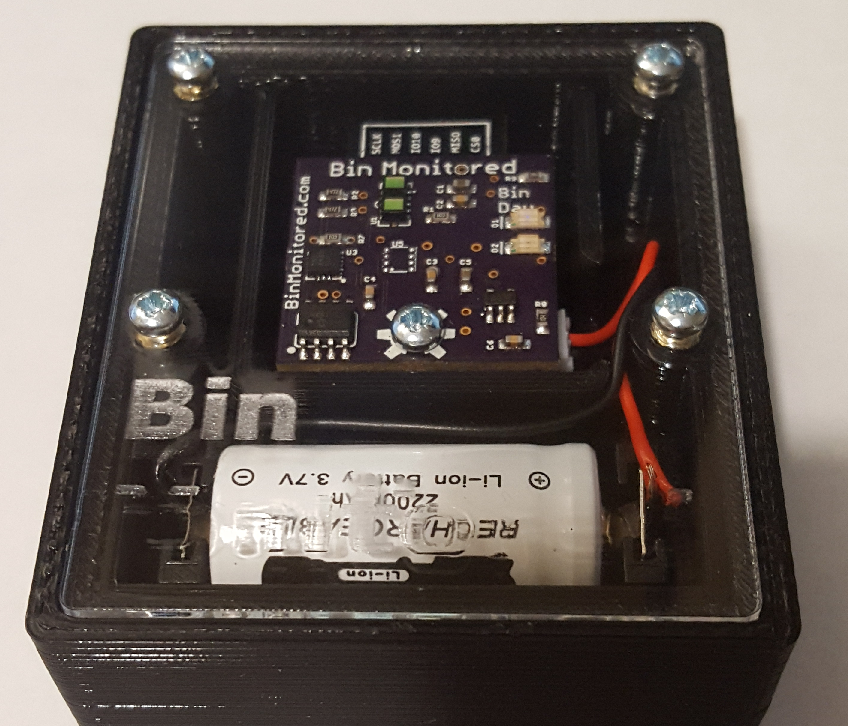
Alternative acrylic lid, you can see the PCB here doesn't have the BME680 fitted, I was trying a few variants to try and reduce power. The acrylic made no noticeable affect on the IR distance sensor, but provides a nice splash resistant covering. With this design I've created a larger lid to go over the top. As much as I like seeing inside, it may well look very suspicious to somebody else!
One of my concerns with Bin Monitored is it surviving the bin being emptied and then pressure washed clean. I'm in no hurry to find this out so opted to mount the Bin Monitored in my bins with Velcro. I cleaned the bin lid first with IPA to ensure the Velcro had a good surface to attach to.
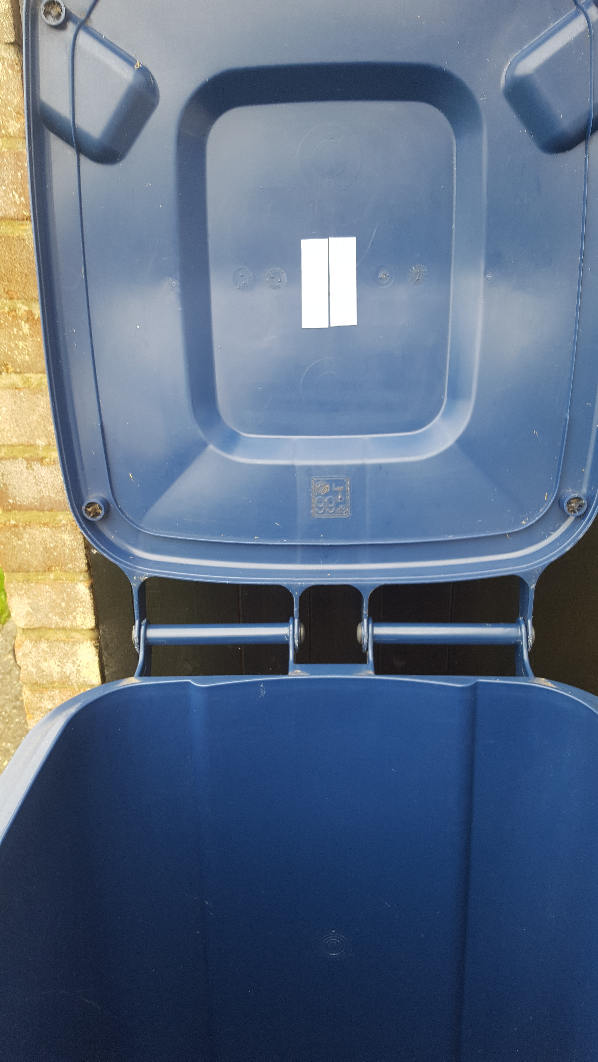
I attached the other side of the Velcro to the back of the Bin Monitored enclosure and mounted the unit. This allows me to easily remove it to replace the battery and to remove it on bin days.
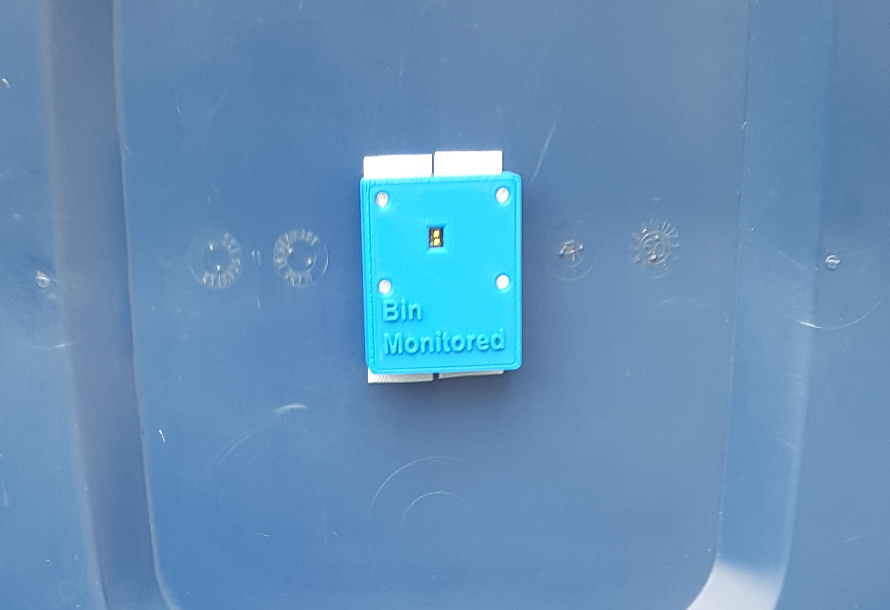
My other concern was that the waste collectors may mistake the device for an explosive device, we recently had a bomb scare in Cambridge city caused by a students improvised air quality monitor, I don't want a repeat of that so removing the device before rubbish collection works well!!!
Discussions
Become a Hackaday.io Member
Create an account to leave a comment. Already have an account? Log In.