Close
0%
0%

BlinkyScreen 2.0

Refurbish of my old project https://hackaday.io/project/8723-raspi-wifi-blinky-display

In developement, can change heavily at any time

Similar projects worth following
I made a fancy blinky display using an ancient RasPi 1, because I had one spare back then.

Now I ended up having a spare RasPi 3 B and thought it would be great to refurbish it. And document it properly.

Had an old, undocumented Project. (Kinda try to document it, but thats quite hard after some years).
Also: Got some RasPis 3 for a bargain.
Also: Saw that there's a contest going on.

So i decided to recreate the display...
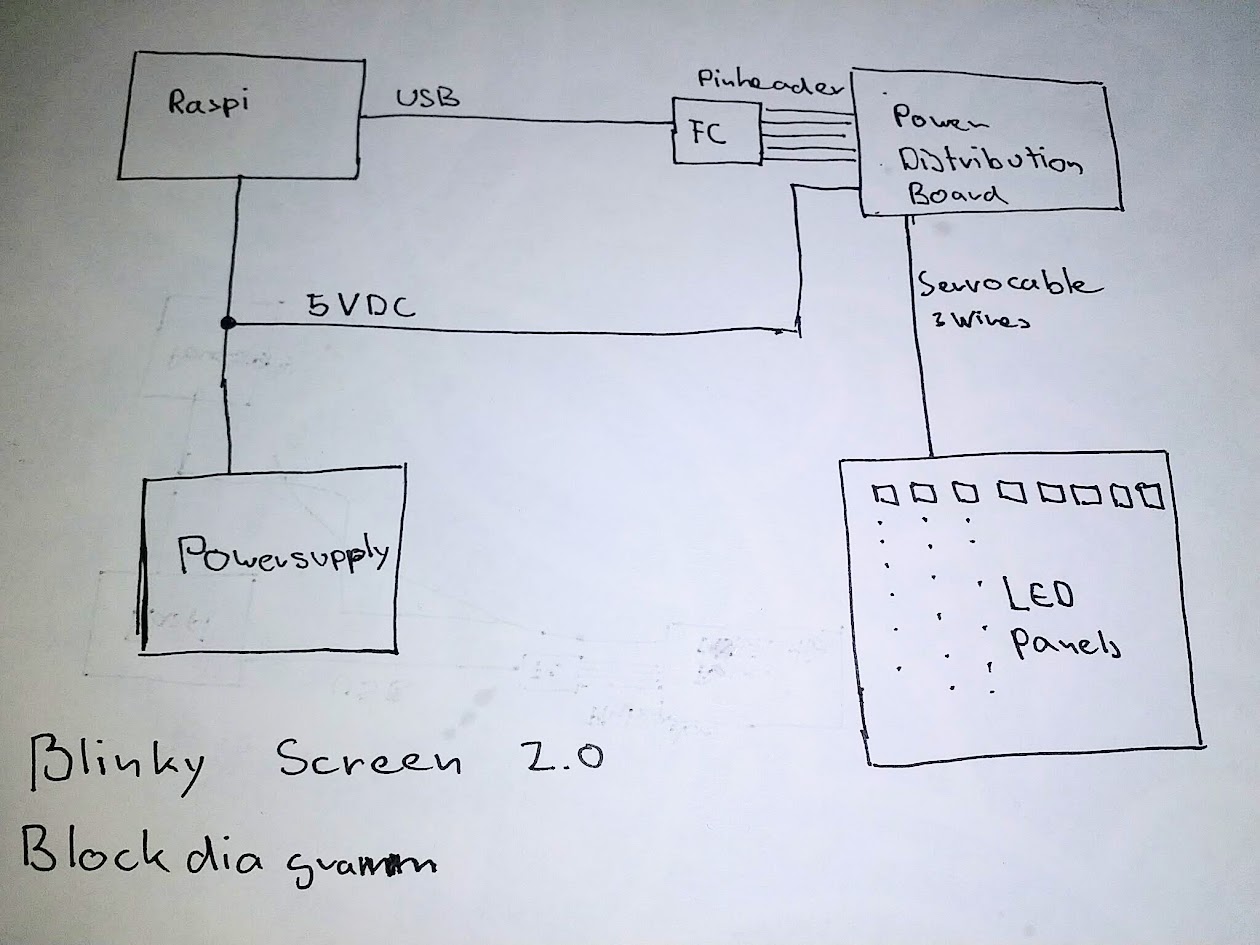
Blockdiagramm

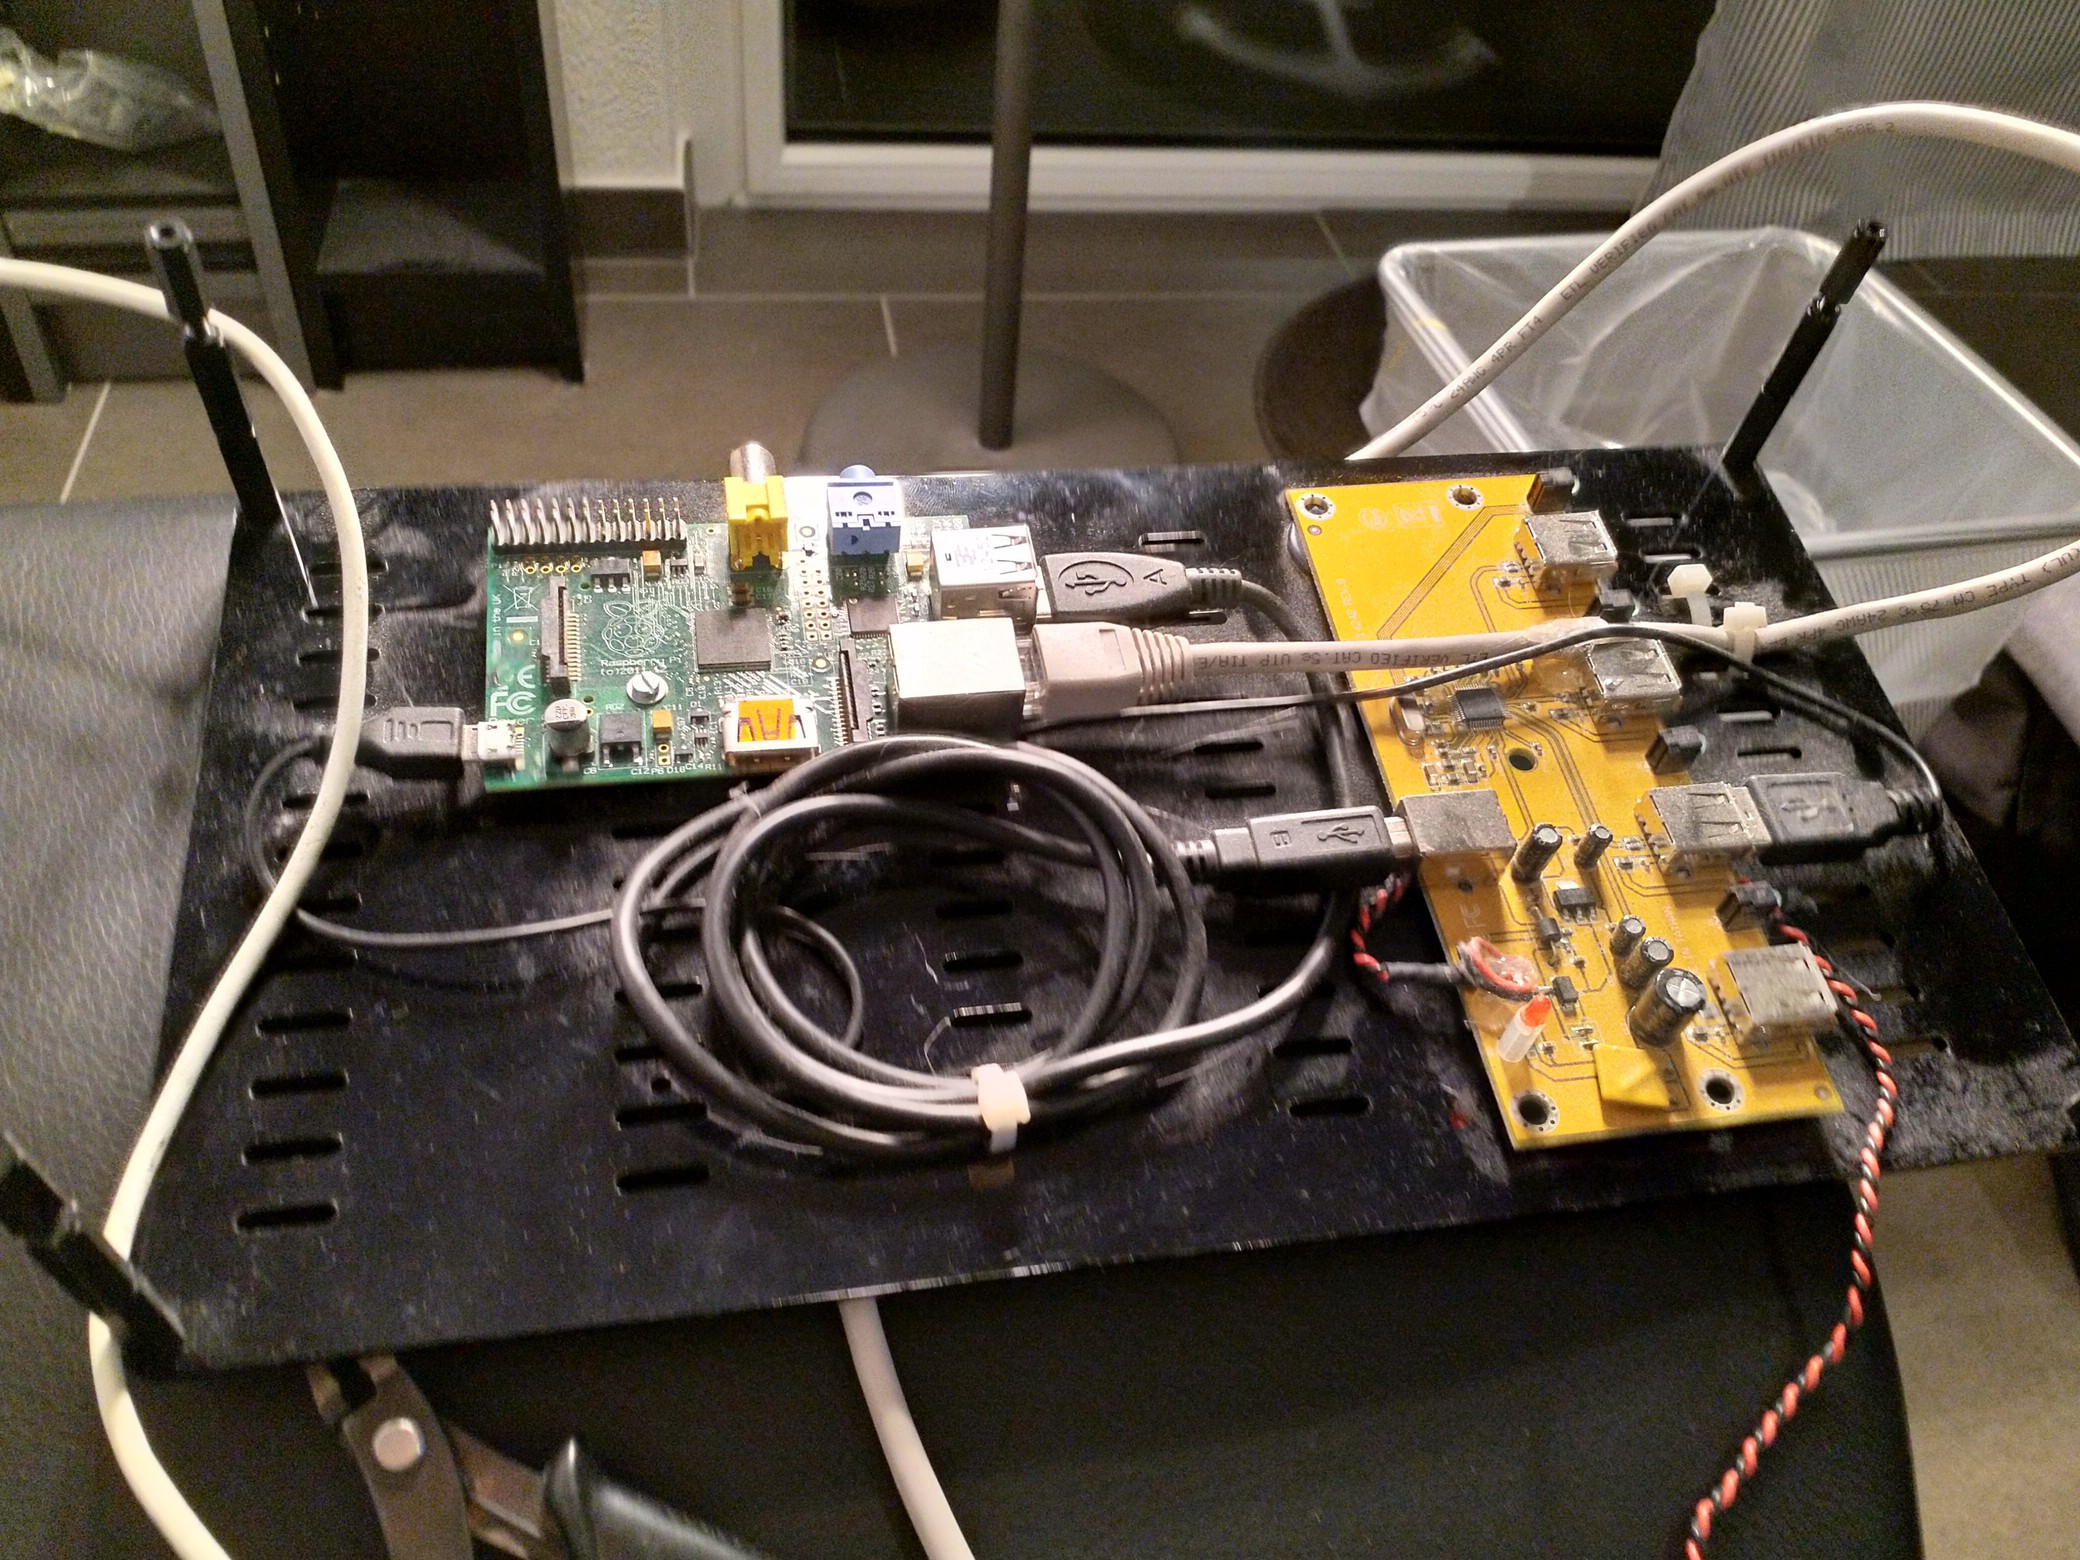
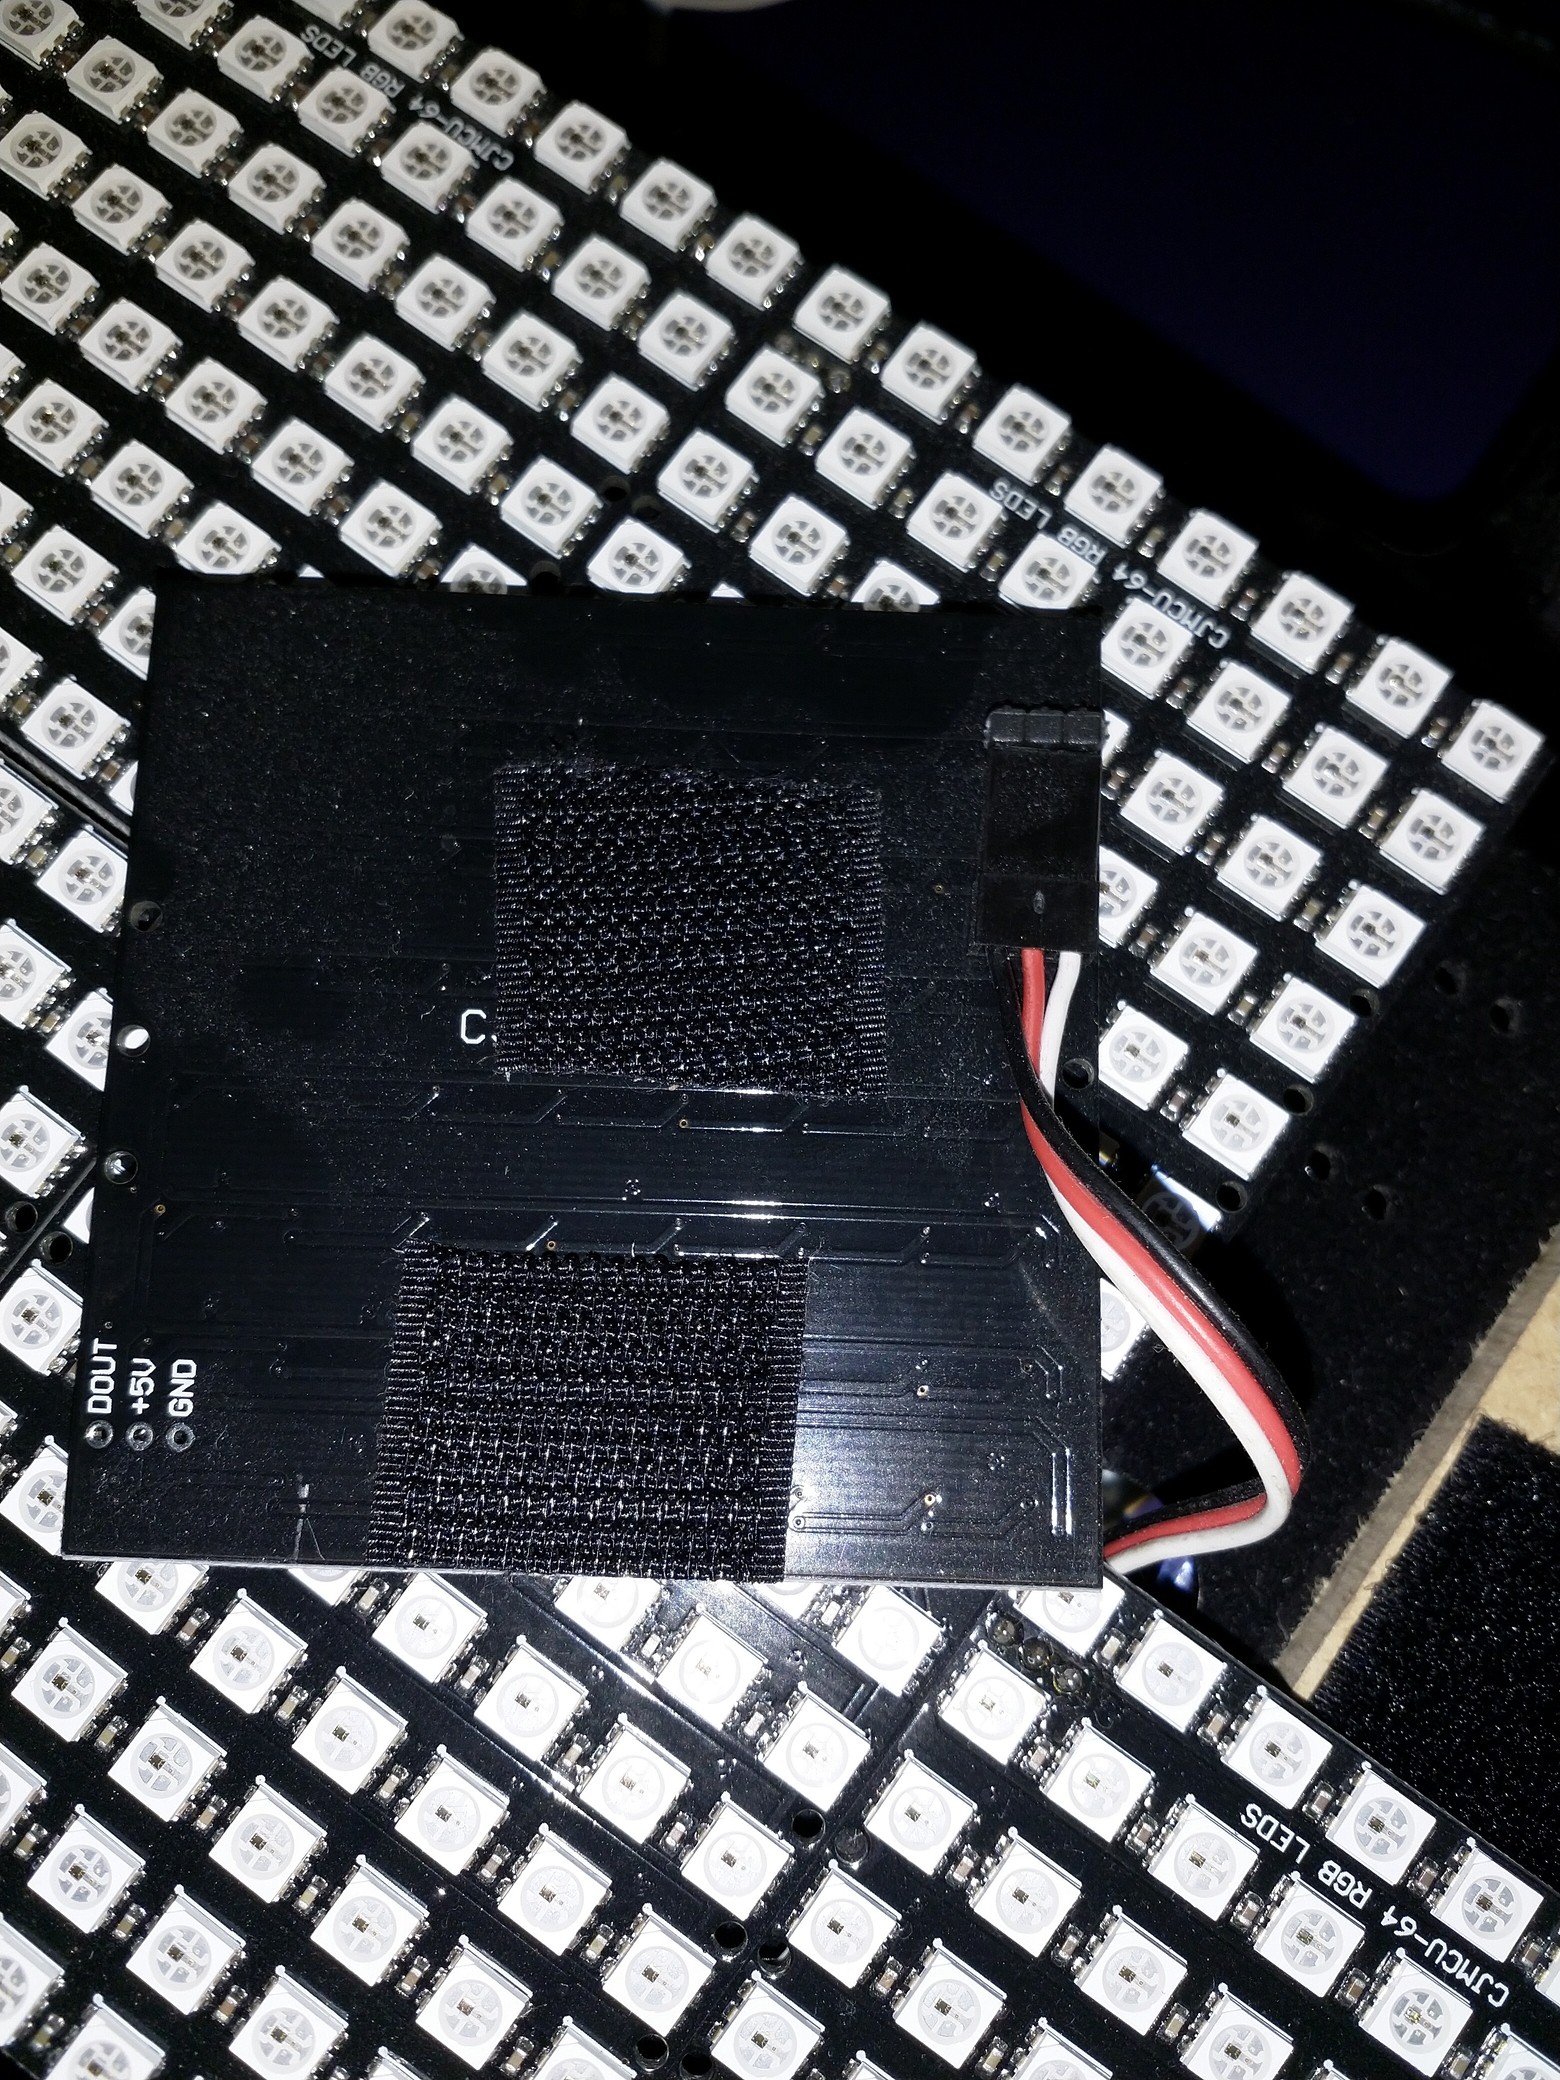
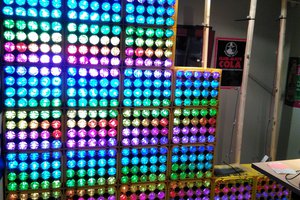
And how it looks in real live 


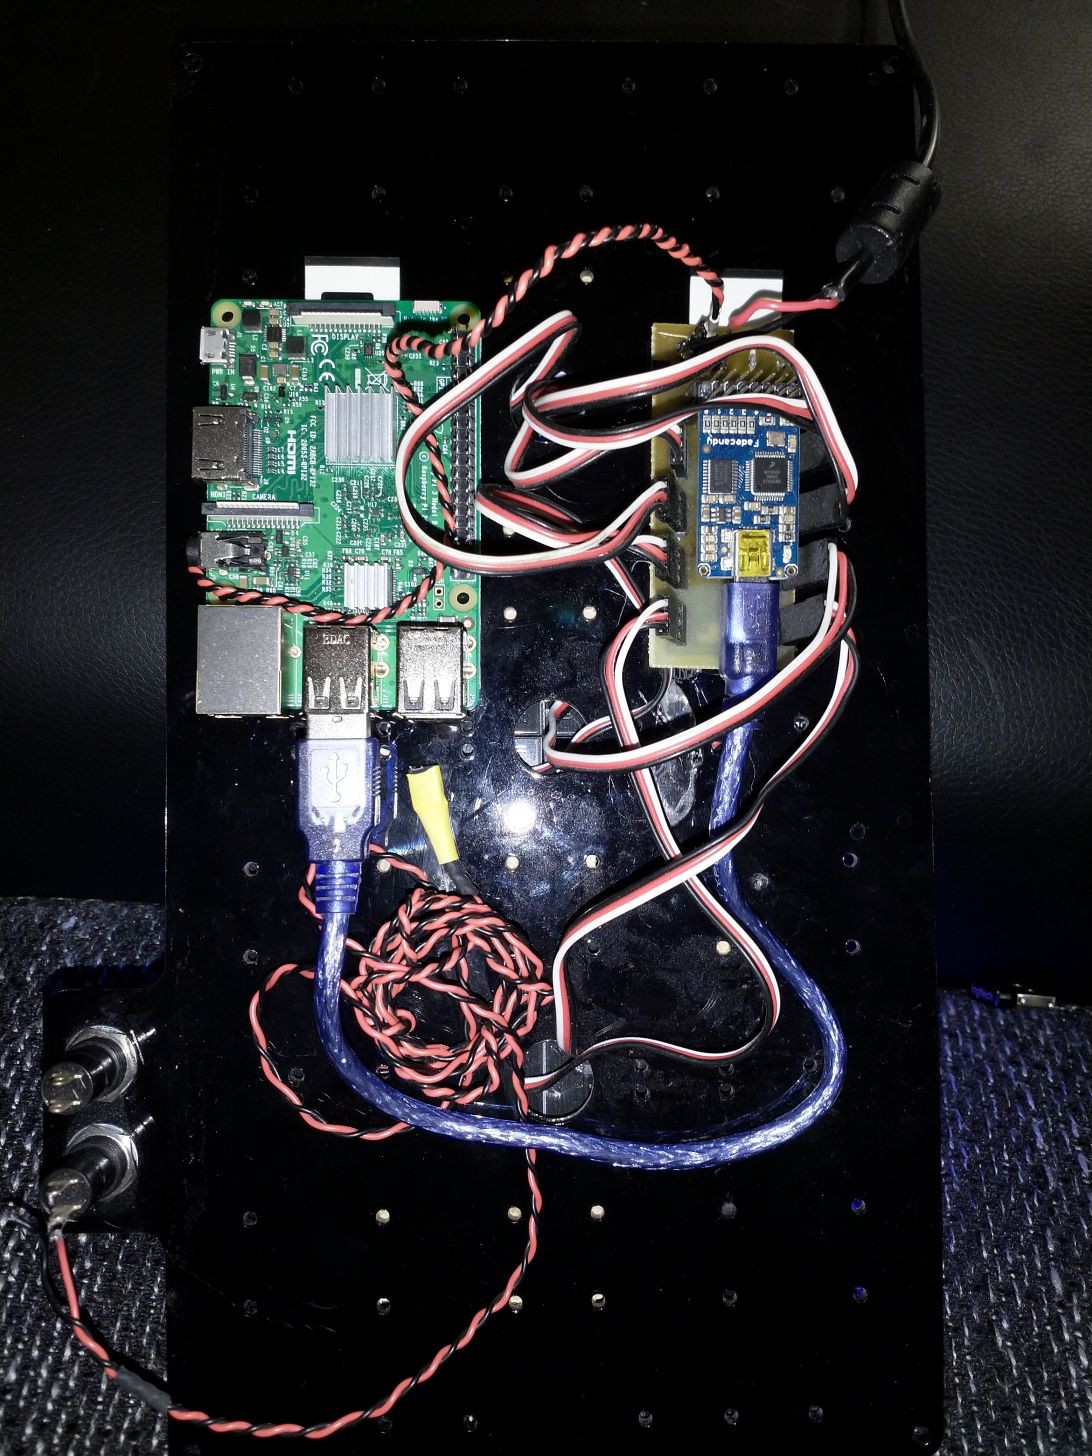
That buttons in the bottom left is not yet connected. They will be used in a comming update.

IMG_20180929_195247.jpg

Blockdiagramm

JPEG Image - 137.93 kB - 09/29/2018 at 17:55

Preview
Download

OPC.pde

OPC lib by Micah Elizabeth Scott

pde - 11.48 kB - 09/28/2018 at 21:55

Download

fancyFFT_fadecandy.pde

Audio visualization tool

pde - 5.46 kB - 09/28/2018 at 21:55

Download

fcserver.json

Config file for fcserver

JavaScript Object Notation (JSON) - 785.00 bytes - 09/26/2018 at 19:59

Download

  • 1 × Raspberry Pi 3 B
  • 1 × Fadcandy board
  • 8 × 8x8 WS2812 Matrix
  • 1 × Powersupply Beefy enough to deliver enogh power for all the blink
  • 1 × Power Distribution Board Unfortunately i lost the PCB Data, but stripboard should work as well. just power somewhere in the middle

View all 6 components

  • Twitter Visualization

    Tillo10/01/2018 at 06:04 0 comments

    Since Twitter is great for data mining, i hacked together a prototype, also since the weather was great this weekend it's really a hack that needs some (well a lot) of rework, probably need to dive into python multithreading, or reimplent the whole stuff in another programming language, would be a cool project to dive into go once.

    The Idea is to use tweepy's streaming API to filter tweets for up to 512 words stored in a wordlist. 
    Then whenever a tweet is written, the coresponding LED gets a bit brighter, until it overruns an start again, so you'll end up with LED blinking faster on often used keywords and slower on less often. (while writing this description: pulsing would be cool too)

    Sorry no video right now, because I really just finished the first code yesterday night, and need to think of 512 keywords first.

  • Obsolete technology

    Tillo09/28/2018 at 22:59 0 comments

    Finally some electronics not used anymore ....

    The yellow PCB is an USB hub, which I used to both power the RasPi and the USB WiFi adaptor.

  • Buildup

    Tillo09/28/2018 at 22:24 0 comments

    Some words on the buildup.

    I lasercuted three sheets of acrylic. Two times in black one in some translucent white. They are held together by distance bolts. My Idea was to screw the LED panels to the middle one and the rest of the electronics to the bottom one... Well, since holes didn't fit, I ended up using hotglue.

    For the panels i took some wood, which was laying around to make some spacers, glued them to the middlepanel and used velcro to mount the LED panels to them.

    For the connection of the panels I used some cables with servoconnectors on both sides and pinheaders on both the leds as well as on the power distribution boards.

  • Audio Visualization

    Tillo09/28/2018 at 05:27 0 comments

    Back in the days I had a Processing sketch which visualized the computer's mic in some different ways:

    • Big dots for frequency analysis.
    • Some waveform of the input ( more in a artistic way)
    • Some agent moving around, speed is controlled by the input volume

    Plus rotation of the whole stuff which can be switched on or off, speed is also depending on the input volume.

    Example (sorry no videgrapher here, just a guy with a smartphone ;) )

View all 4 project logs

  • 1
    Install software on the RasPi

    1. Install Raspian, i just took the standard image.

    2.  Install Fadecandy server  (https://github.com/scanlime/fadecandy).

    git clone https://github.com/scanlime/fadecandy.git
    cd fadecandy/fcserver
    make submodules
    make

    3. Install RaspAp (https://github.com/billz/raspap-webgui),  Tutorial: https://howtoraspberrypi.com/create-a-wi-fi-hotspot-in-less-than-10-minutes-with-pi-raspberry/ the first listing is wrong, instead of

    sudo cp /etc/wpa_supplicant/wpa_supplicant.conf /etc/wpa_supplicant/wpa_supplicant.conf.sav
    sudo cp /dev/null/etc/wpa_supplicant/wpa_supplicant.conf

     just run the first command 

    sudo cp /etc/wpa_supplicant/wpa_supplicant.conf /etc/wpa_supplicant/wpa_supplicant.conf.sav 
  • 2
    Pluging stuff together (and testing time)

    Connect all your matrixes to the power distribution board and power it up.

    Connect the FadeCandy to the Raspi, throw the fcserver.json into the same directory and start the server using 

    fcserver fcserver.json

    in the examples  subfolder of your fadecandy are some examples to test your installation.

    Depending on your layout you need to tweak the config.

  • 3
    Taking care of business (Configure stuff)

    1. Connect to your RaspAp, as described on their github page (see above), configure it to your like.

    2. Setting up the FadeCandy server (taken from awesome as usual tutorial from adafruit  https://learn.adafruit.com/1500-neopixel-led-curtain-with-raspberry-pi-fadecandy/fadecandy-server-setup)

    Copy the fcserver binary and its config to some better place,

    sudo cp fadecandy/server/fcserver /usr/local/bin
    sudo cp fadecandy/server/fcserver.config /usr/local/bin
    

     To make the fcserver program start automatically when the system boots:

    sudo nano /etc/rc.local

    Just above the final “exit 0” line, copy and paste the following:

    /usr/local/bin/fcserver /usr/local/bin/fcserver.json >/var/log/fcserver.log 2>&1 &

    Reboot your Raspi

View all 4 instructions

Enjoy this project?

Share

Discussions

Similar Projects

Does this project spark your interest?

Become a member to follow this project and never miss any updates