Close
0%
0%

Project R

Project R(rrrr) is a low-budget research robot for the rest of us.

Similar projects worth following
Couldn't convince the spousal unit that it was okay to drop hundreds of thousands on a PR2? Did telling her that the UBR-1 is 1/10th the price still not convince her? Enter Ruprecht (the Redesigned Rudforce Research Robot), a small, apartment-friendly, autonomous, research-style bot that doesn't cost more than your car (or house).

R(rrrr) is intended to be an indoor robot for playing with, I mean, researching areas such as

tele-operation
mapping (SLAM)
machine vision
kinematics (forward and inverse)
locating and retrieving nerf darts from the hallway
Rudolph's dastardly plans for world domination
Maybe even playing with ROS

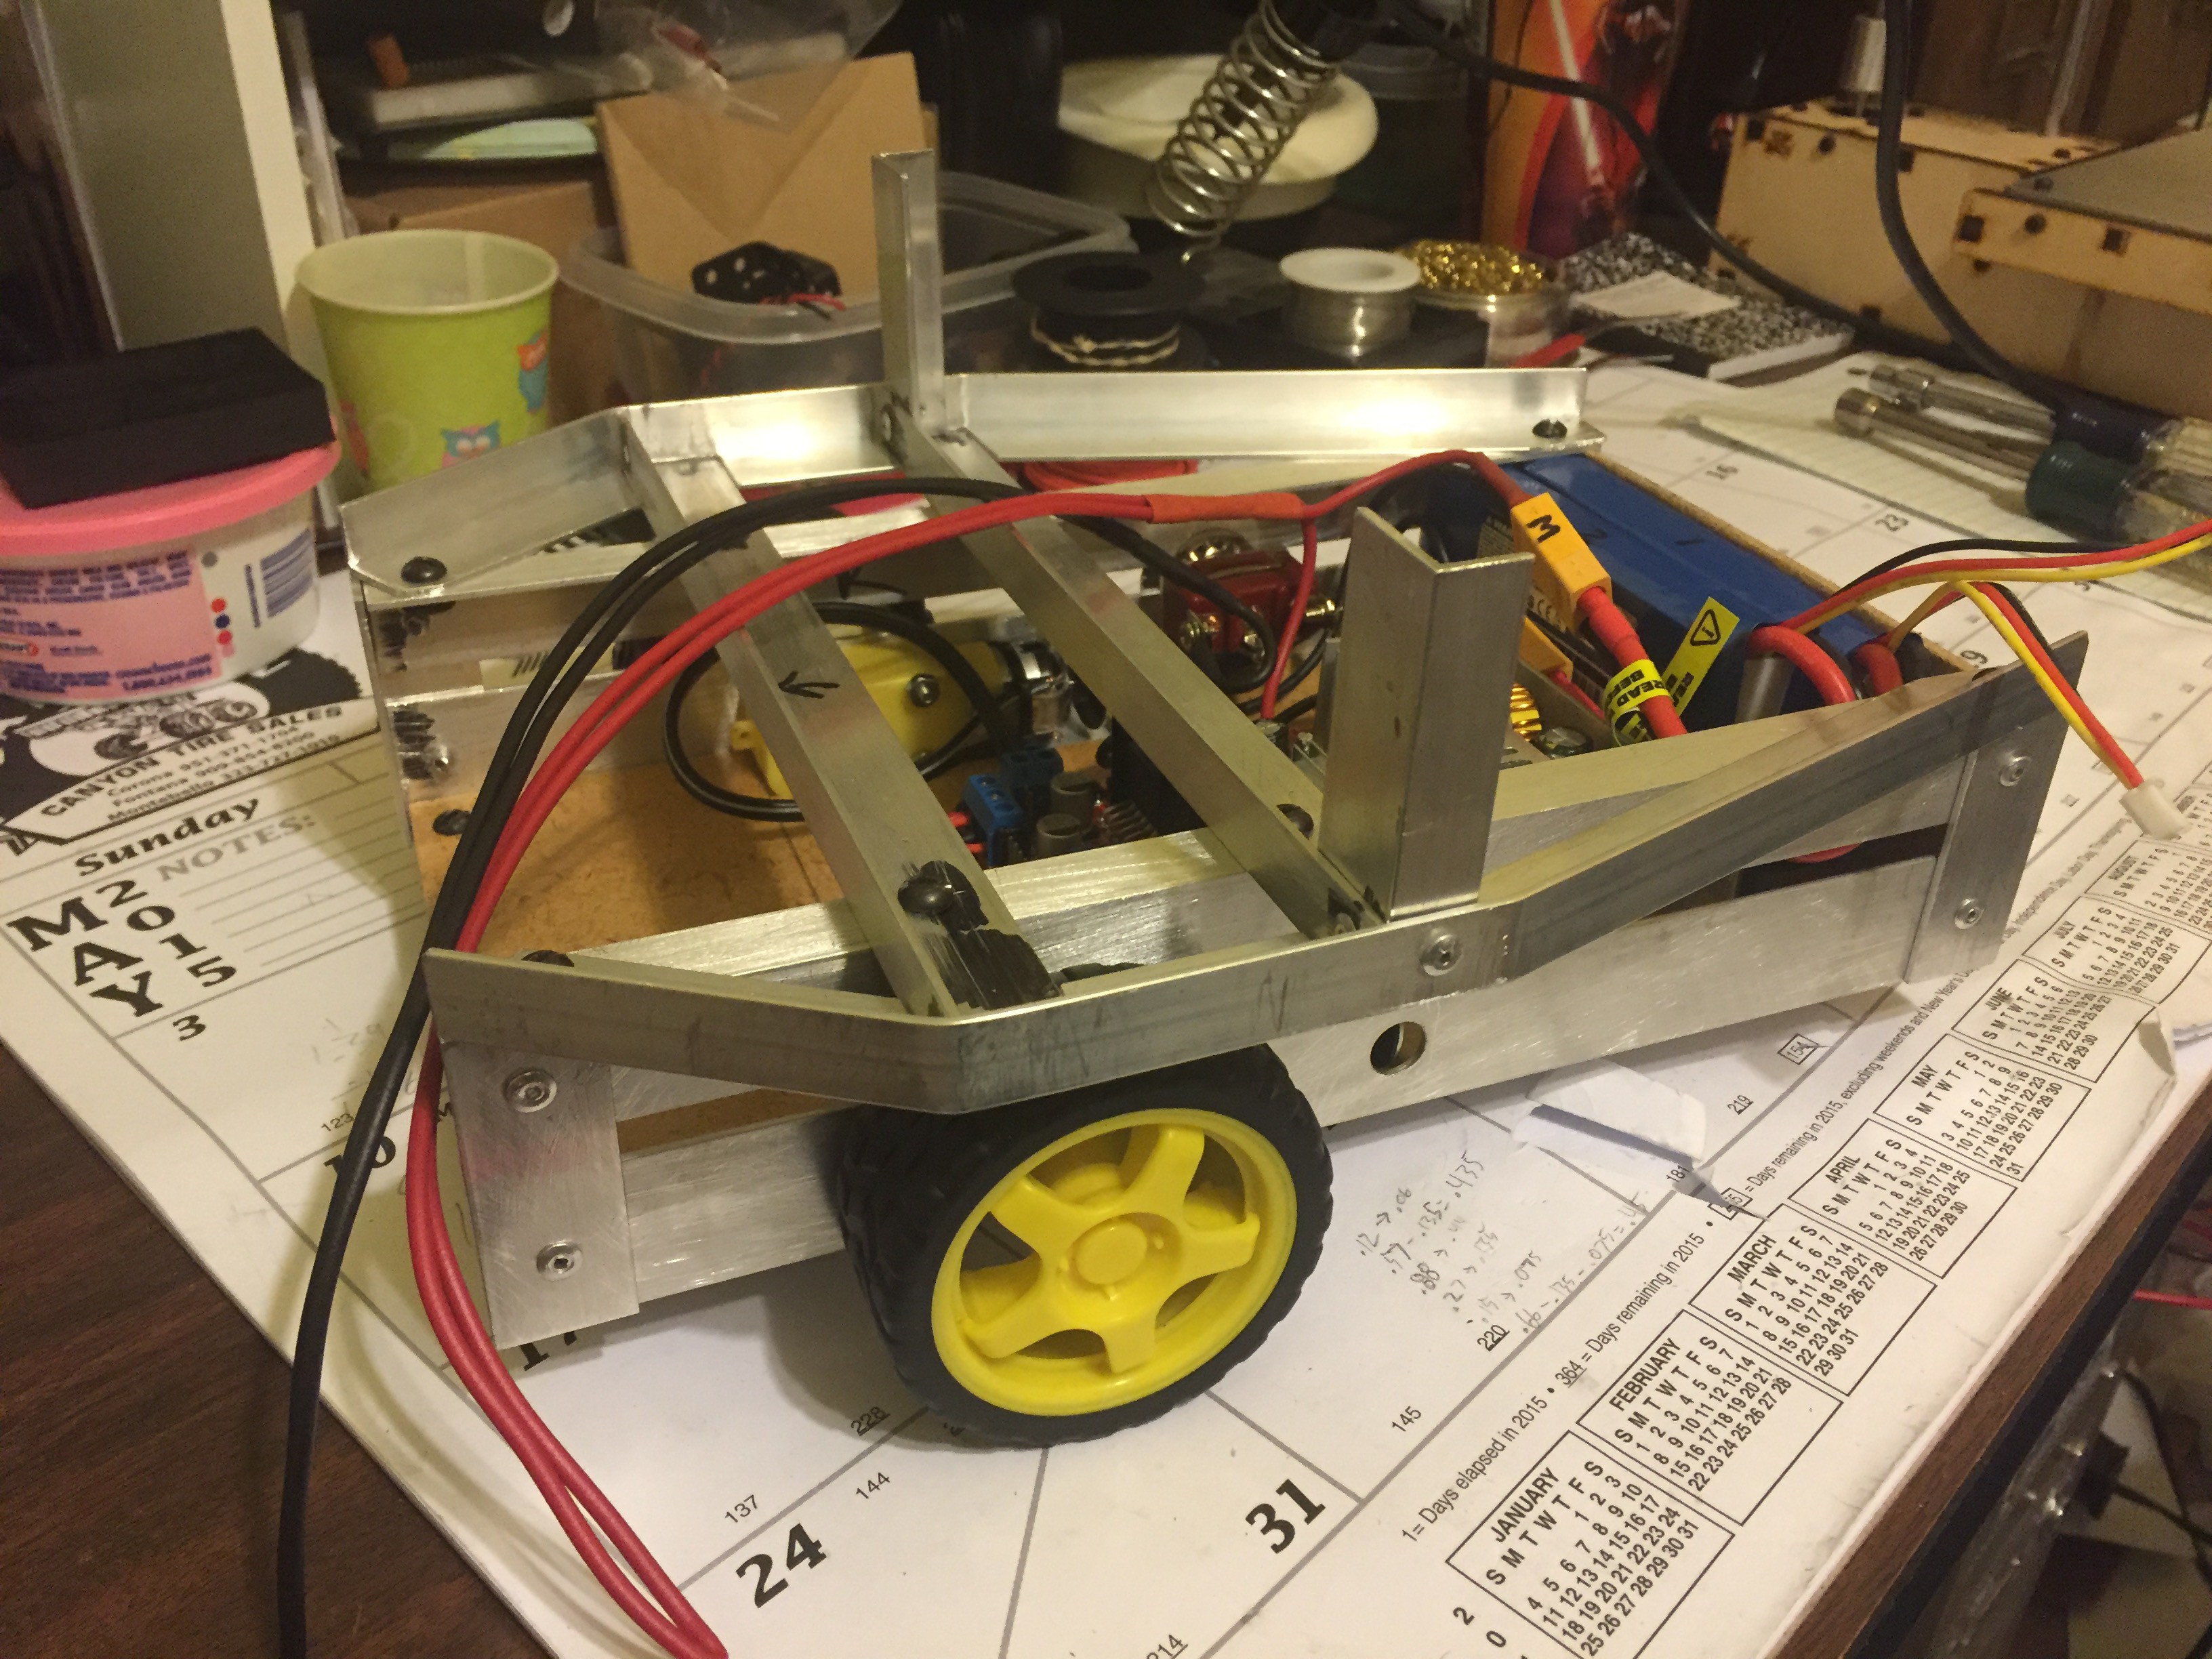
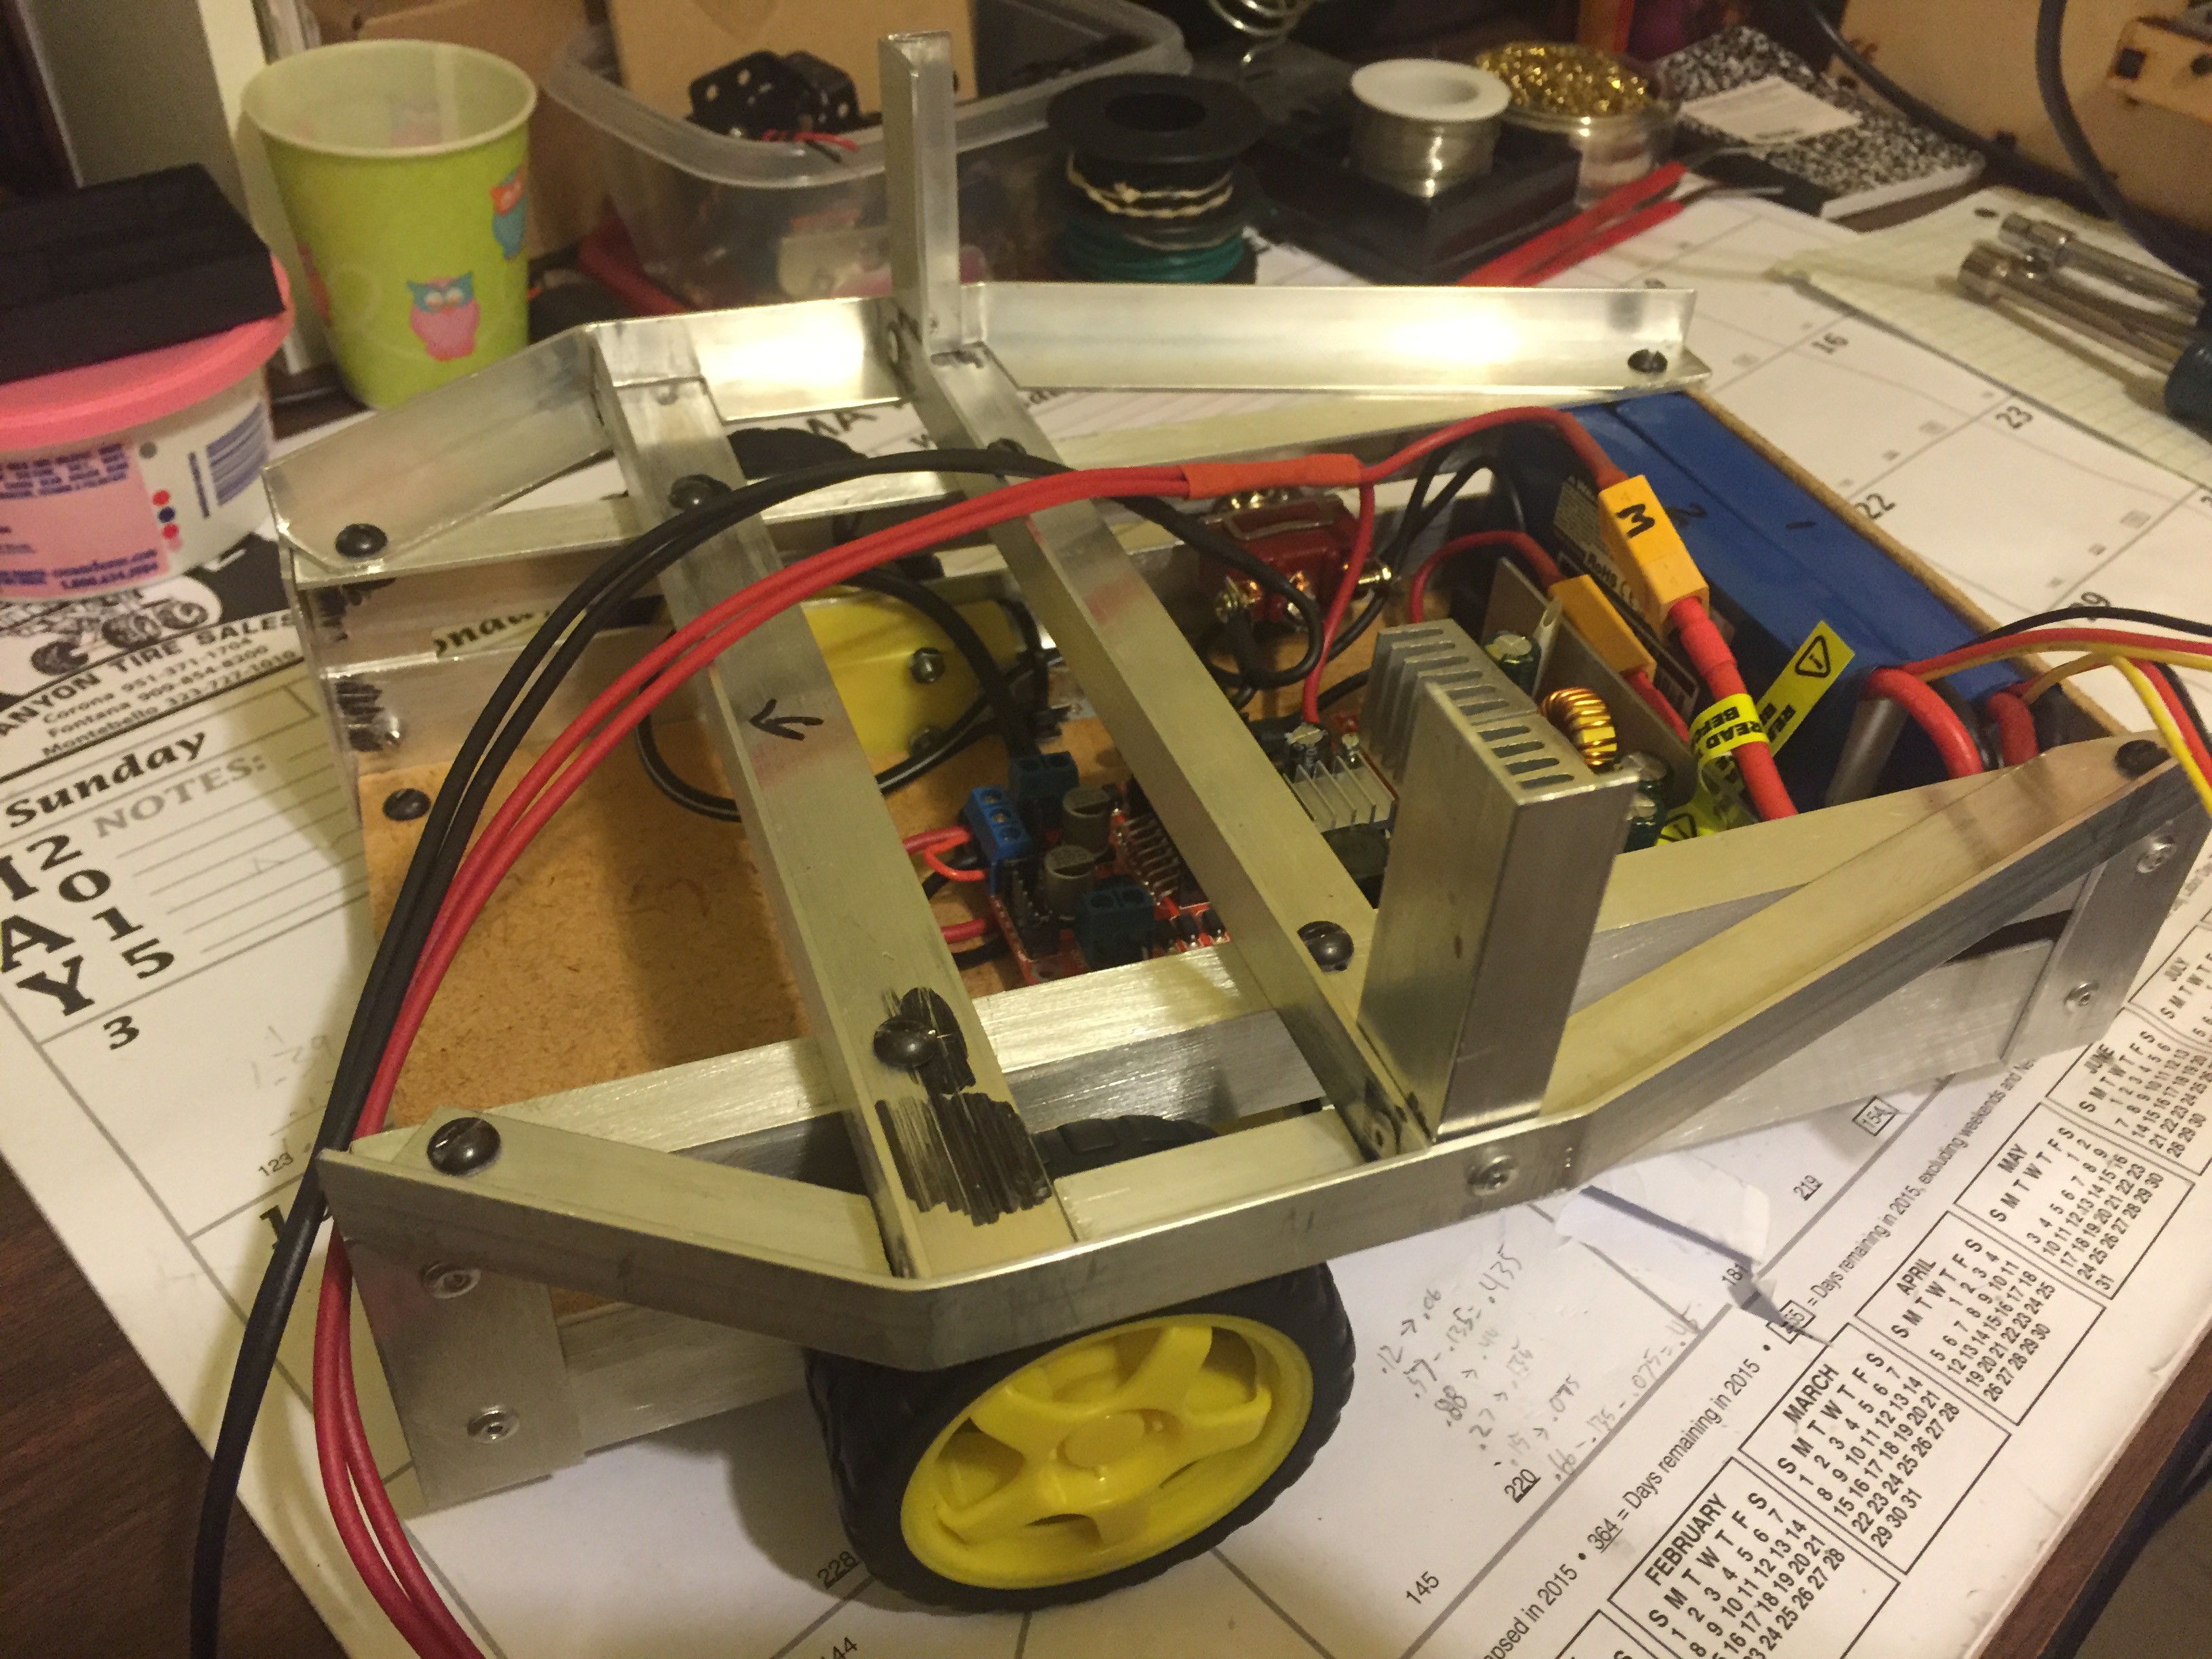
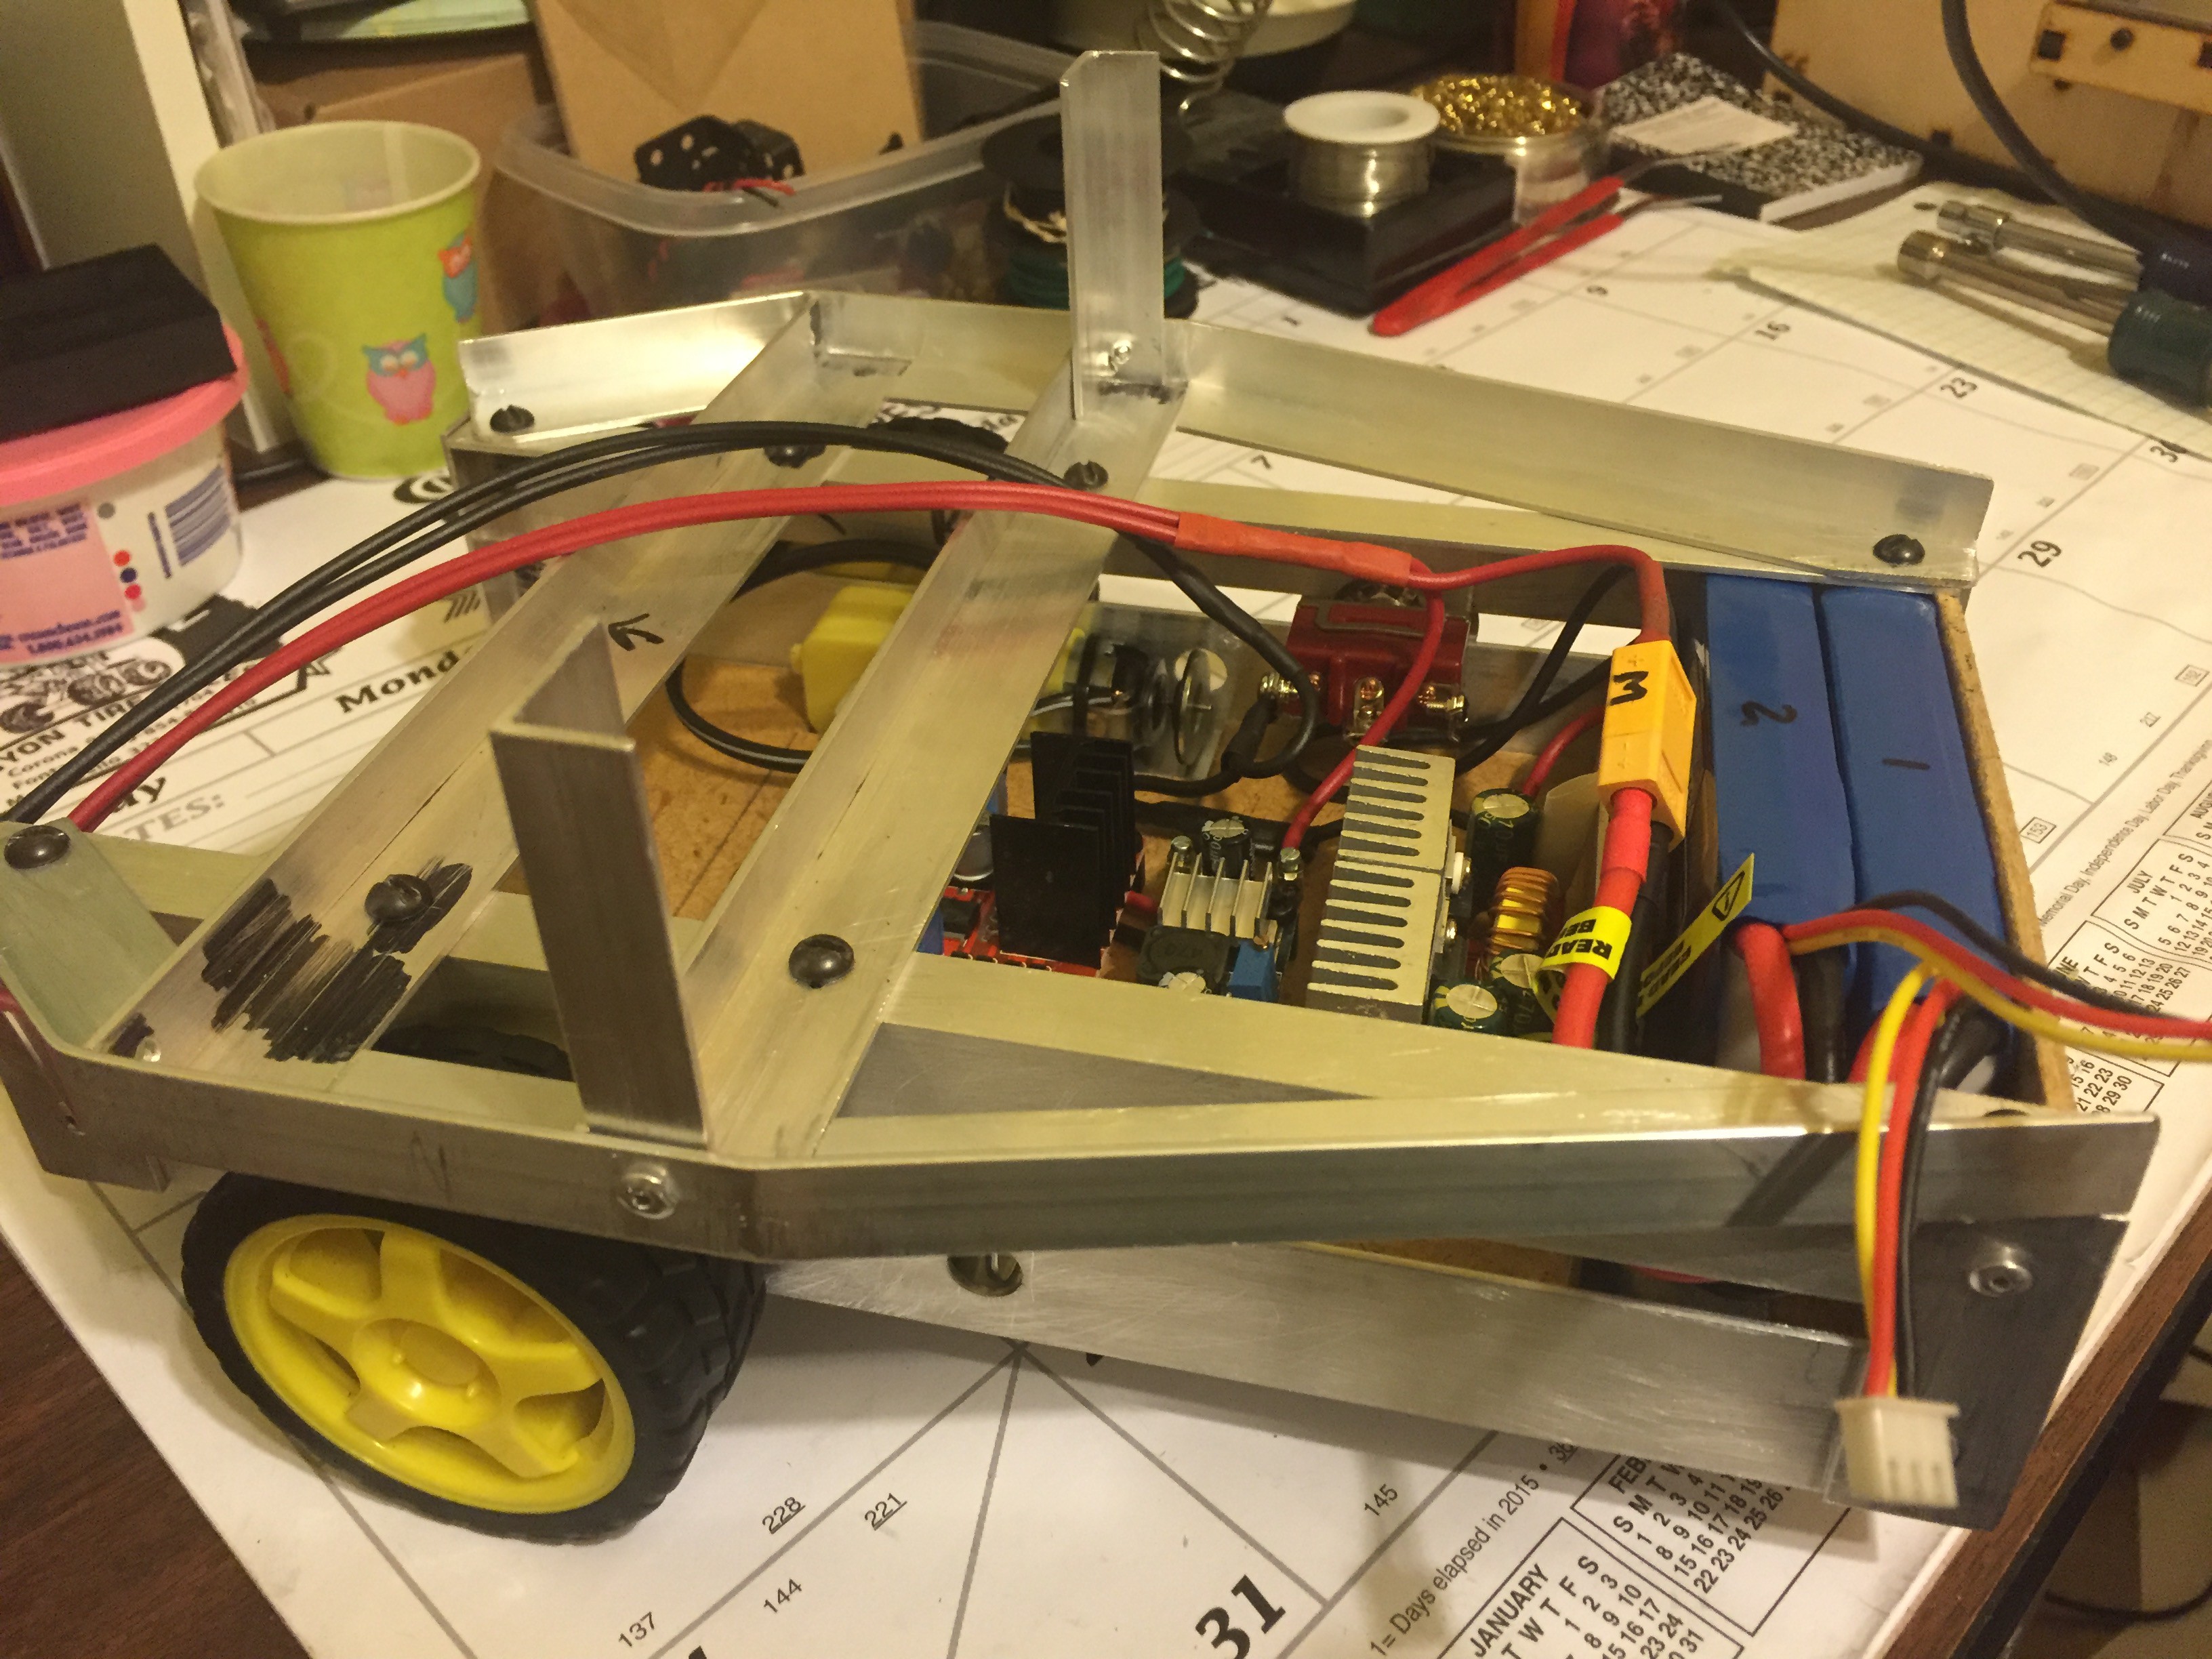
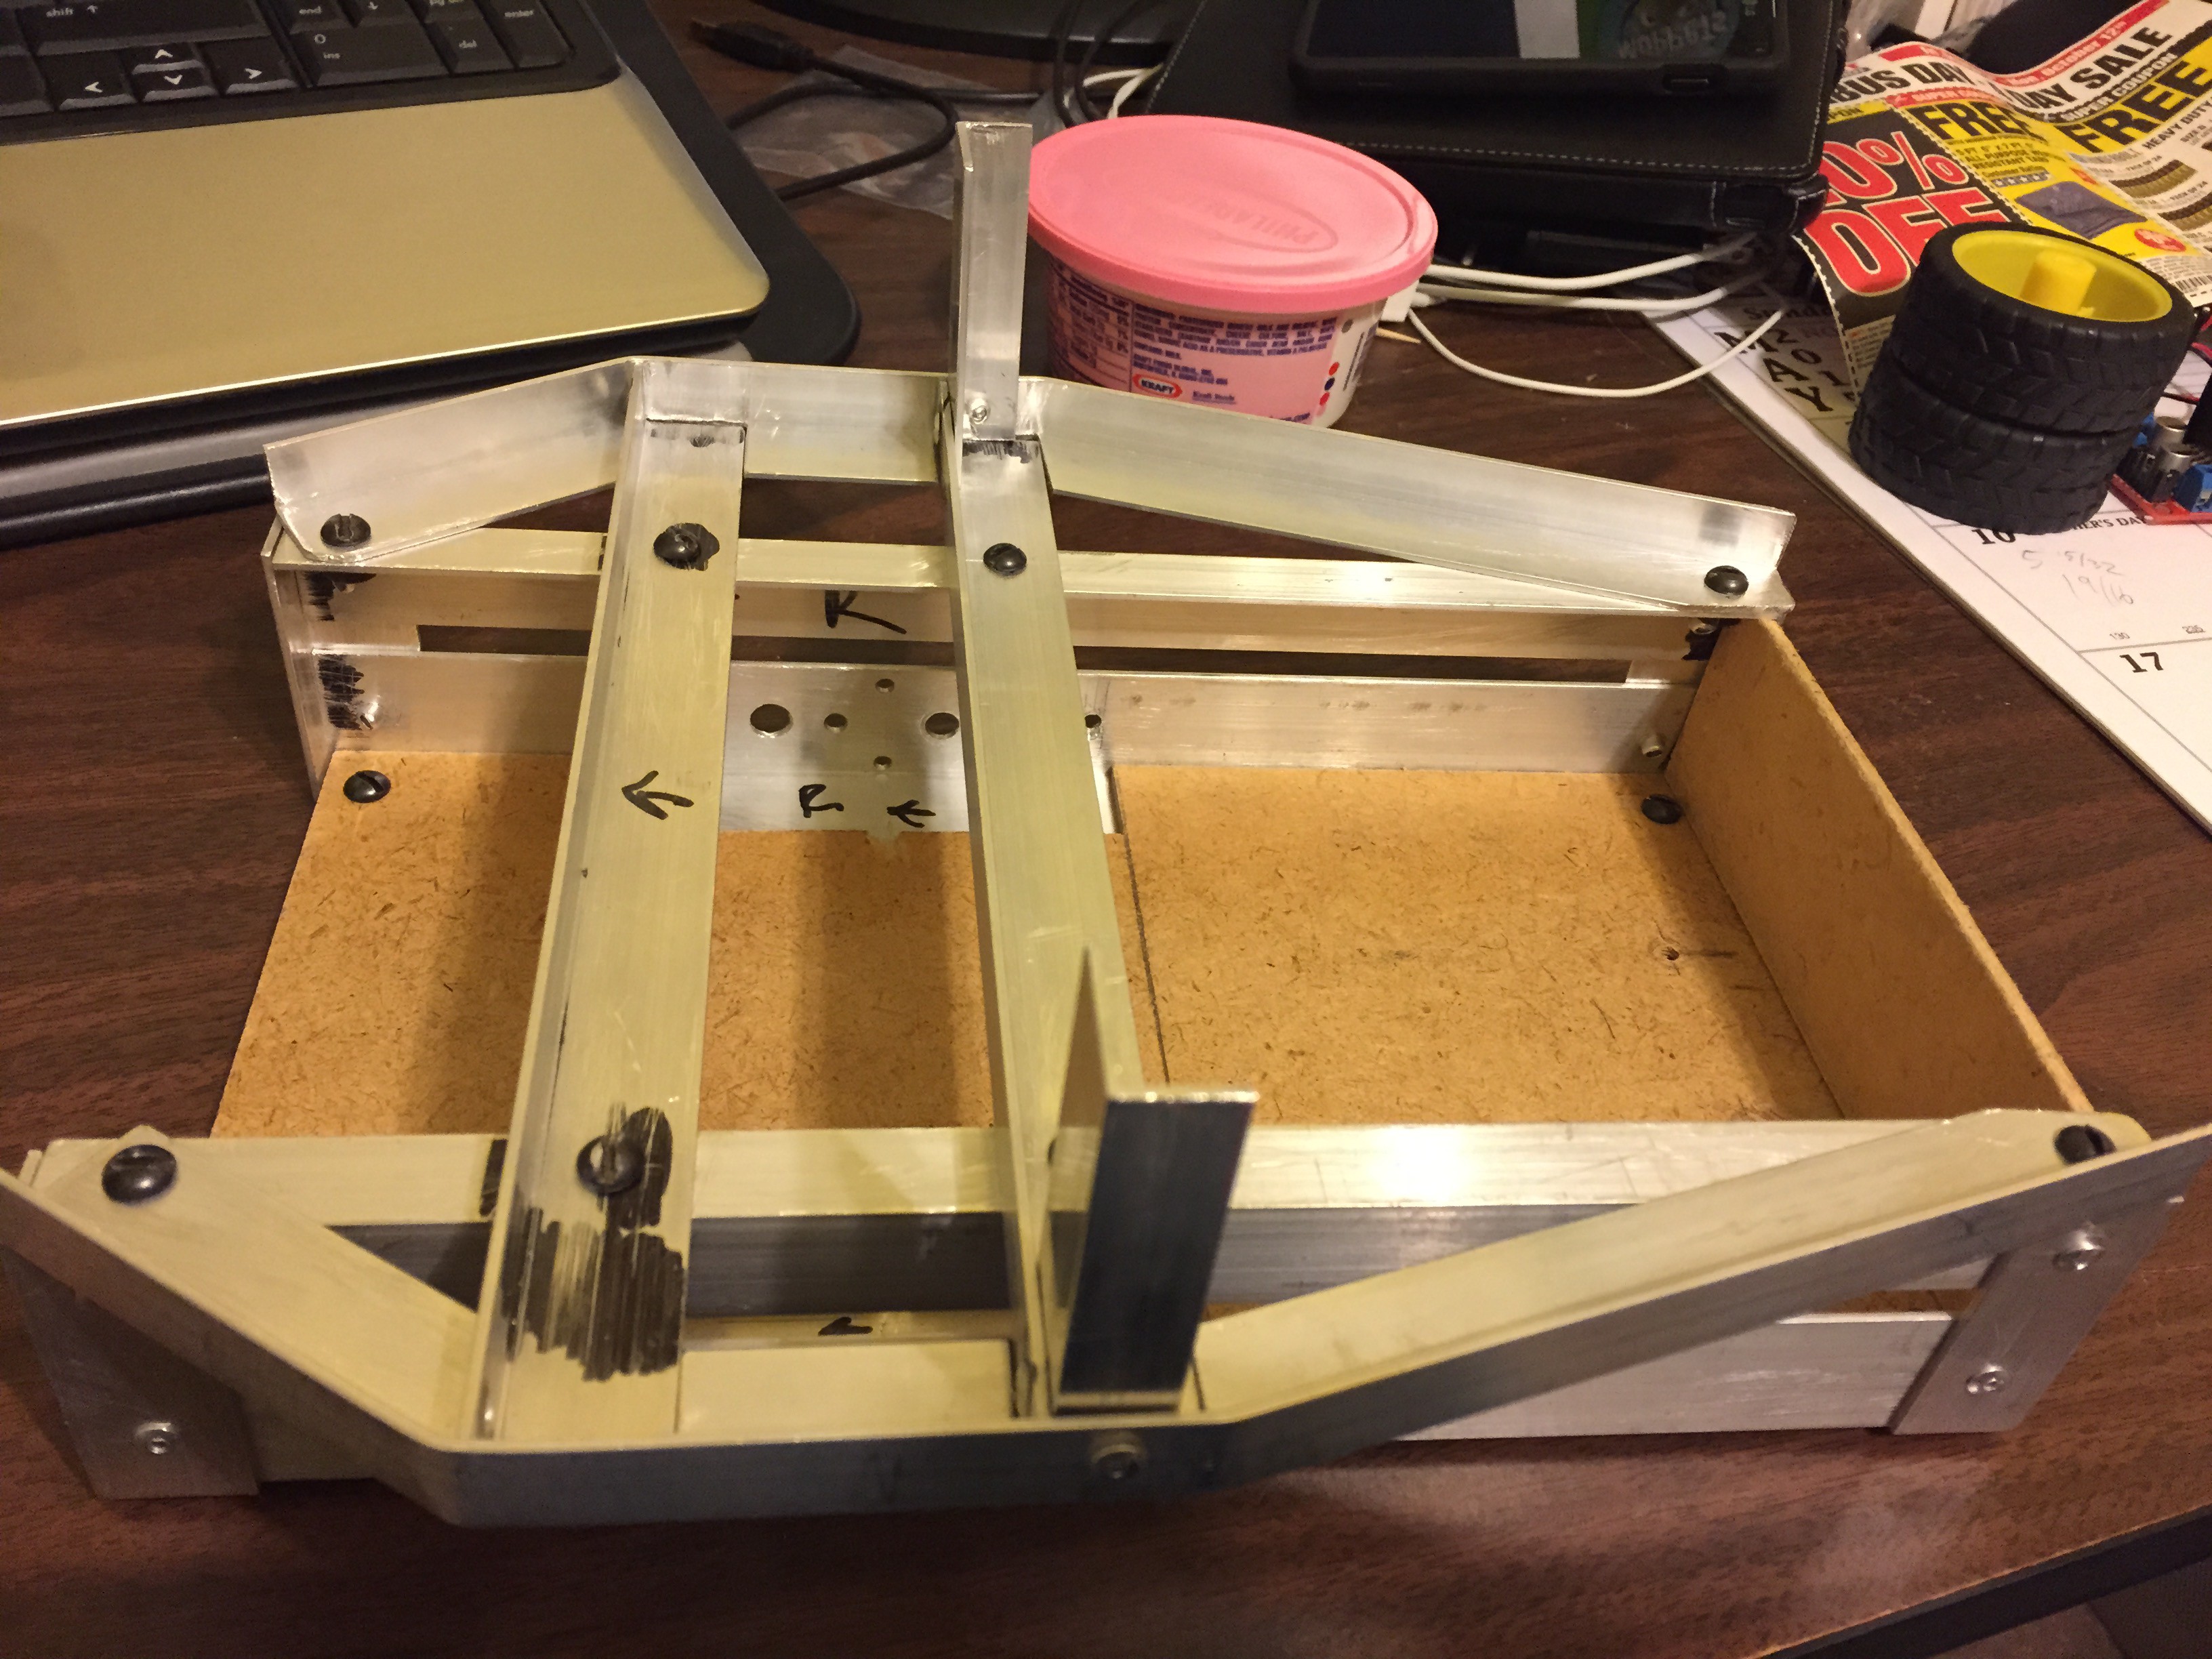
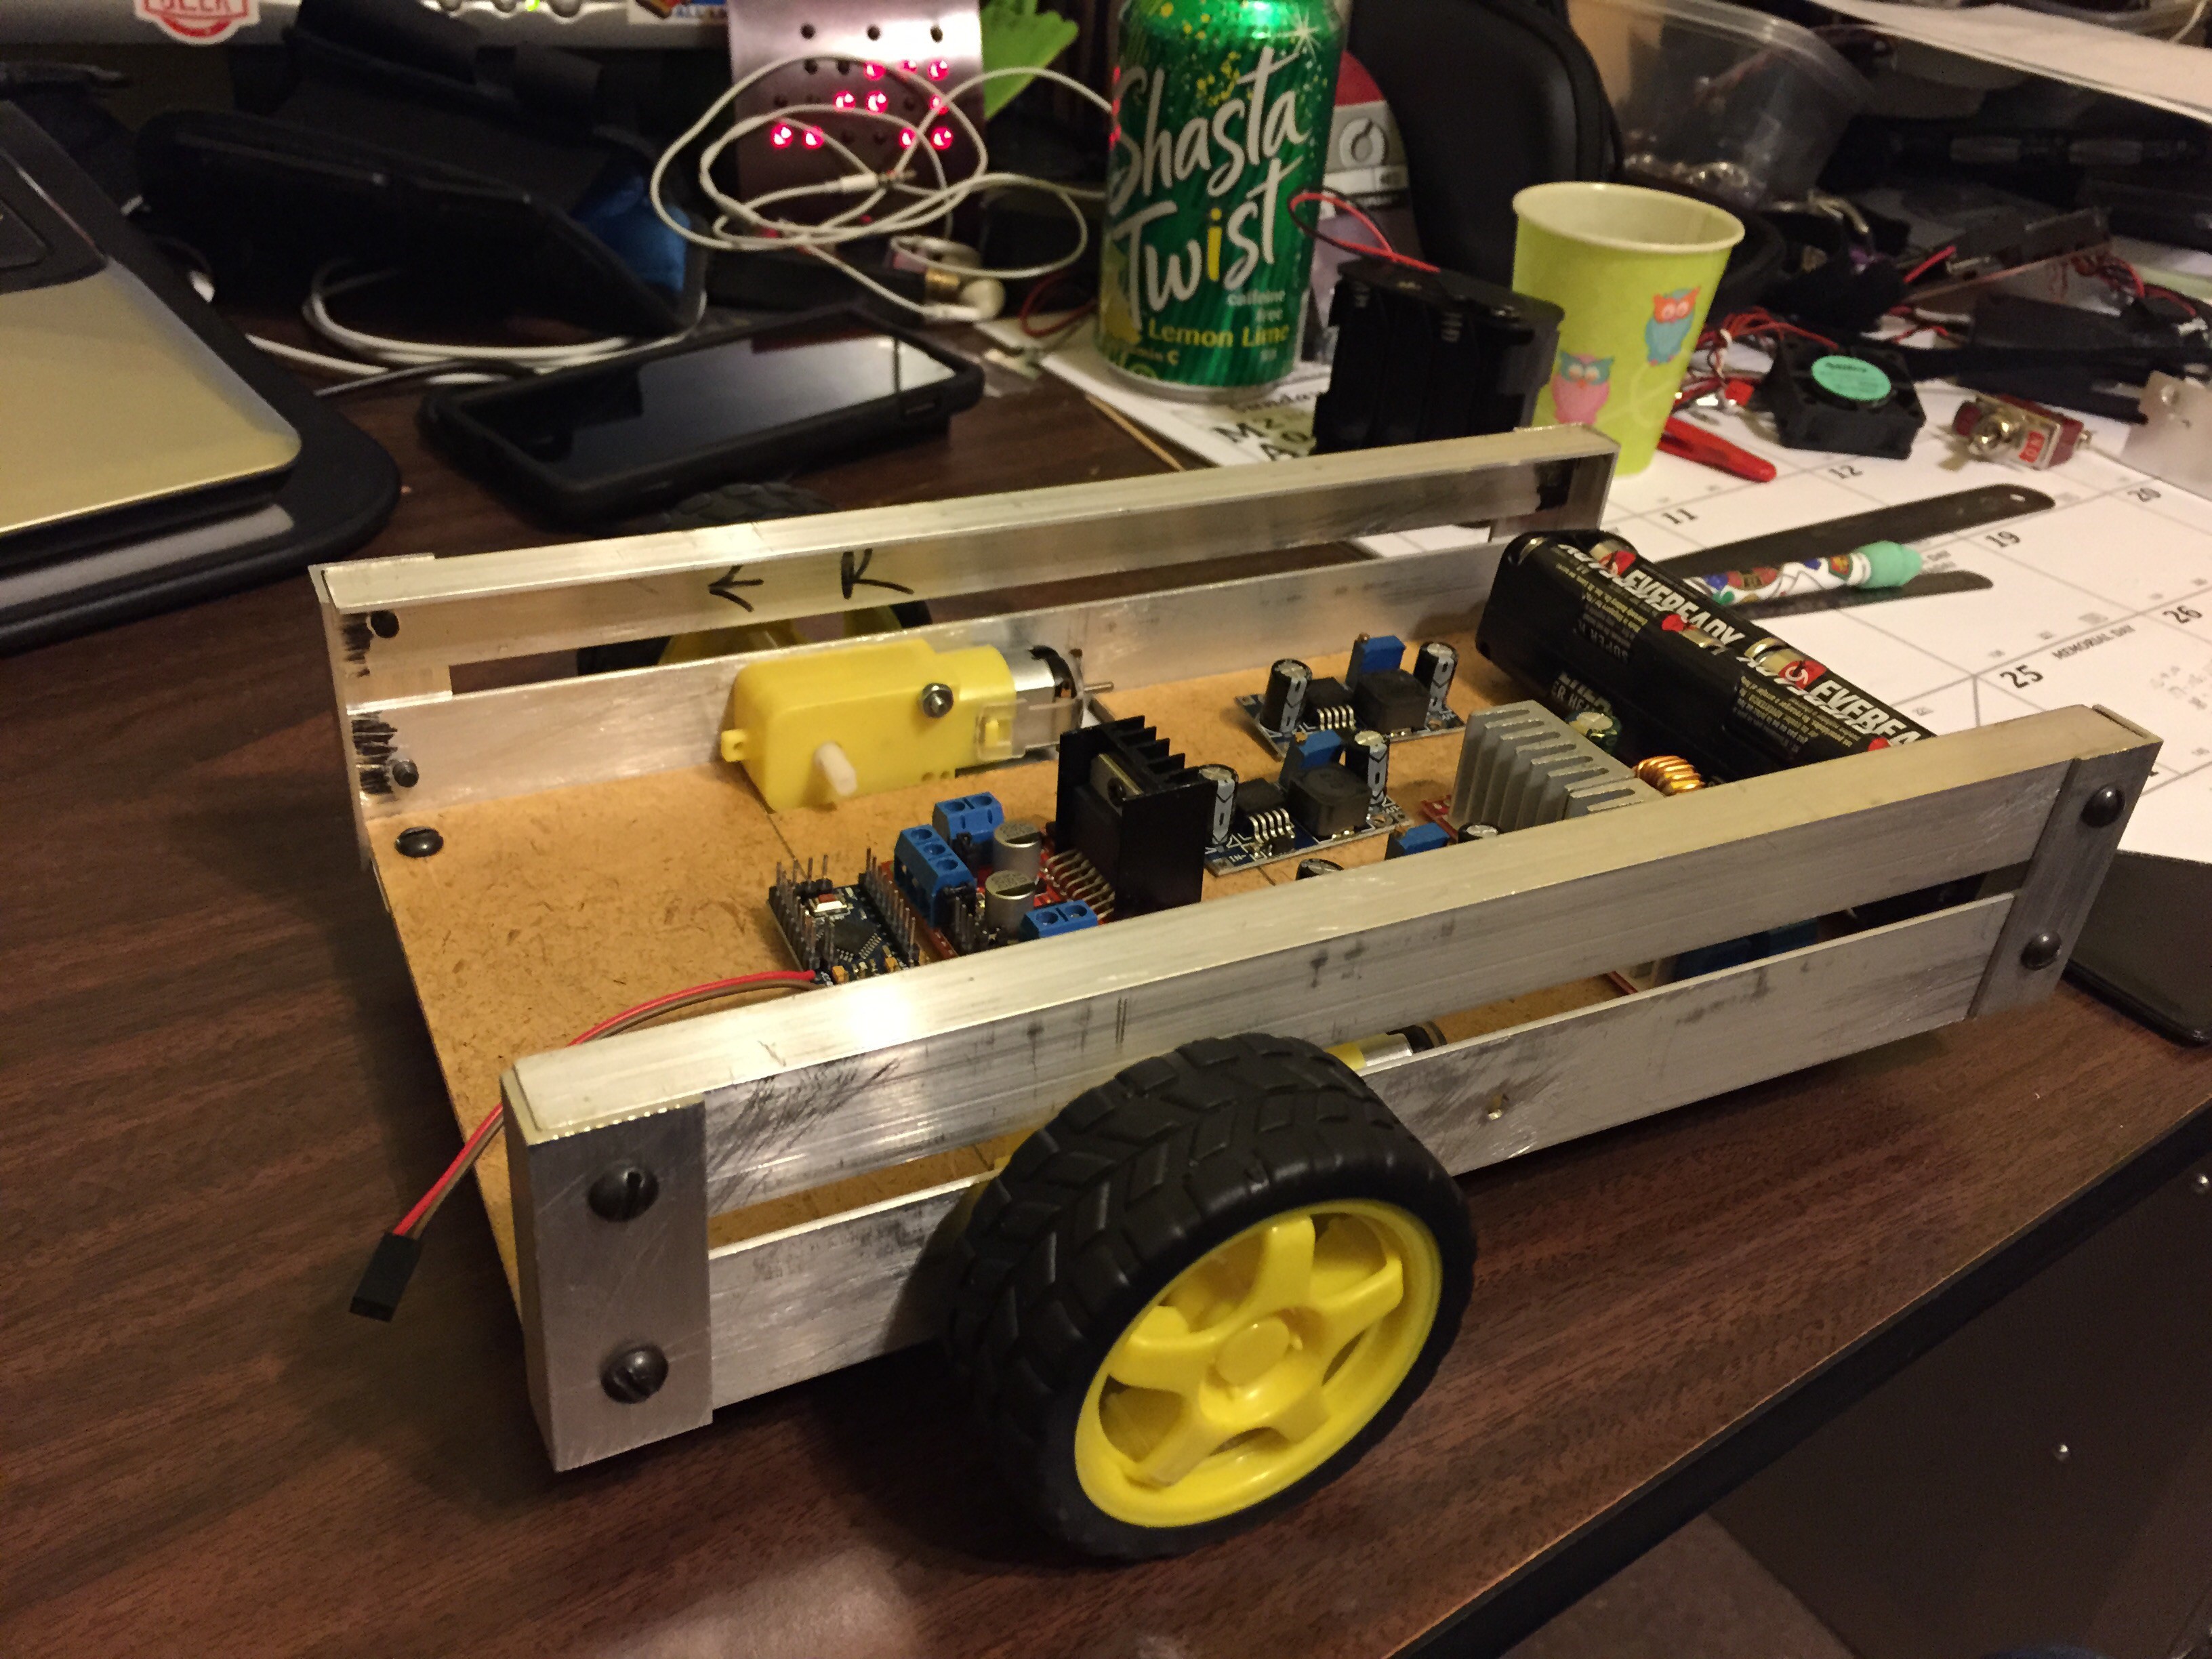
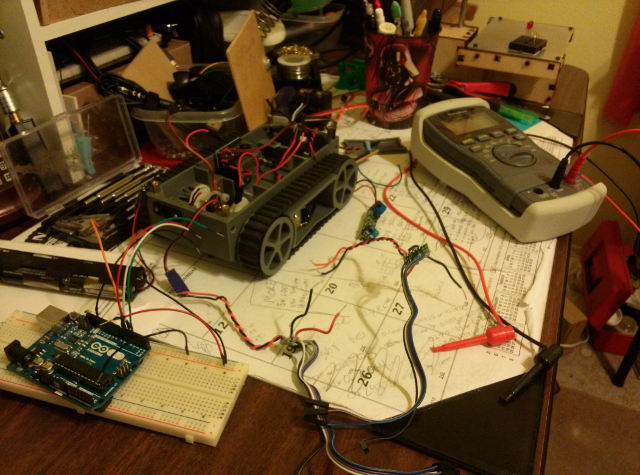
Project R is semi-modular in that the main components (e.g. chassis and arms) have their own mini brain of an ATMega. Then a main brain commands those parts over I2C. Thus the main brain can be swapped out for any suitable controller than can speak I2C, like the BeagleBone Black, Raspberry Pi, pcDuino, or even a Propeller or Arduino if one doesn't desire a USB system. With a sufficiently powered main brain R(rrr) may even be able to run ROS so one could research like the big guys (no promises though).

Using a BeagleBone Black for a main brain, Ruprecht has a wifi dongle and a webcam on its USB. The wifi could allow for on-robot software development as well as having a control interface accessible via LAN. Eventually it could let Project R harness the power of the cloud in its activities. (I'm truly sorry, but the "needs more buzzwords" part of my brain is screaming to be included.) The webcam is intended for using OpenCV or the like to work with object recognition. It could also, obviously, be used for telepresence operations like checking on your house or observing pets while you're out.

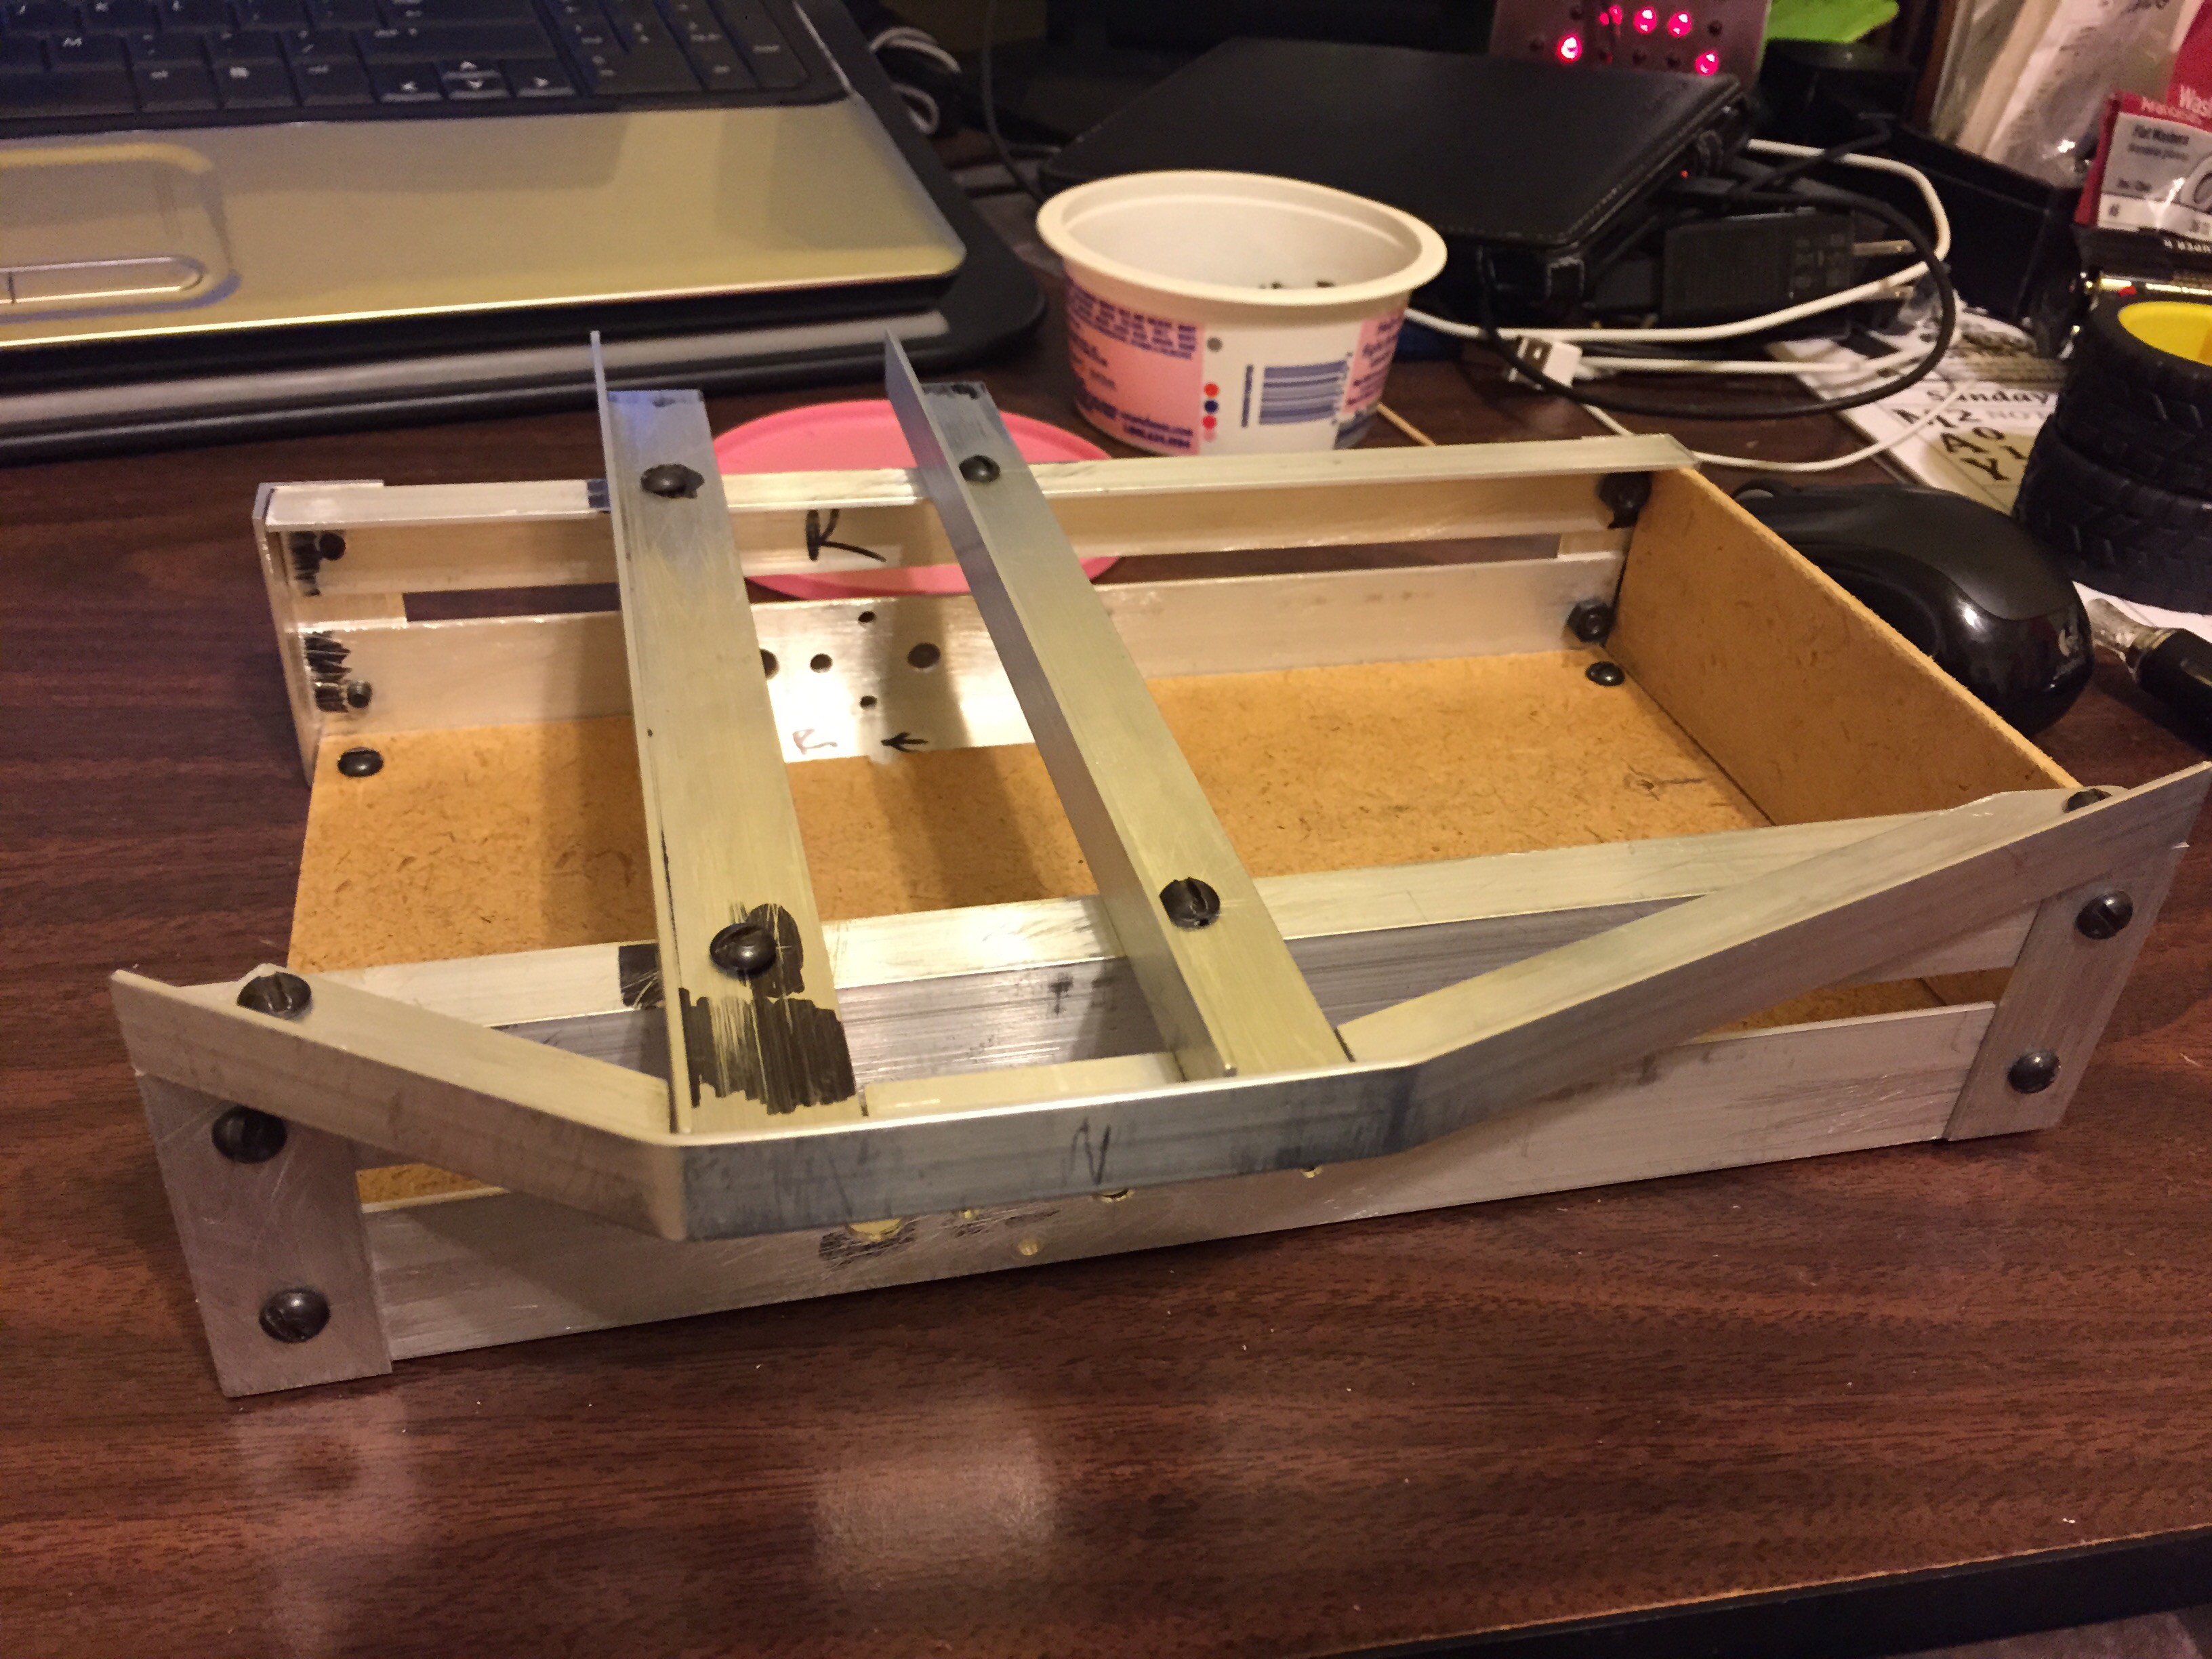
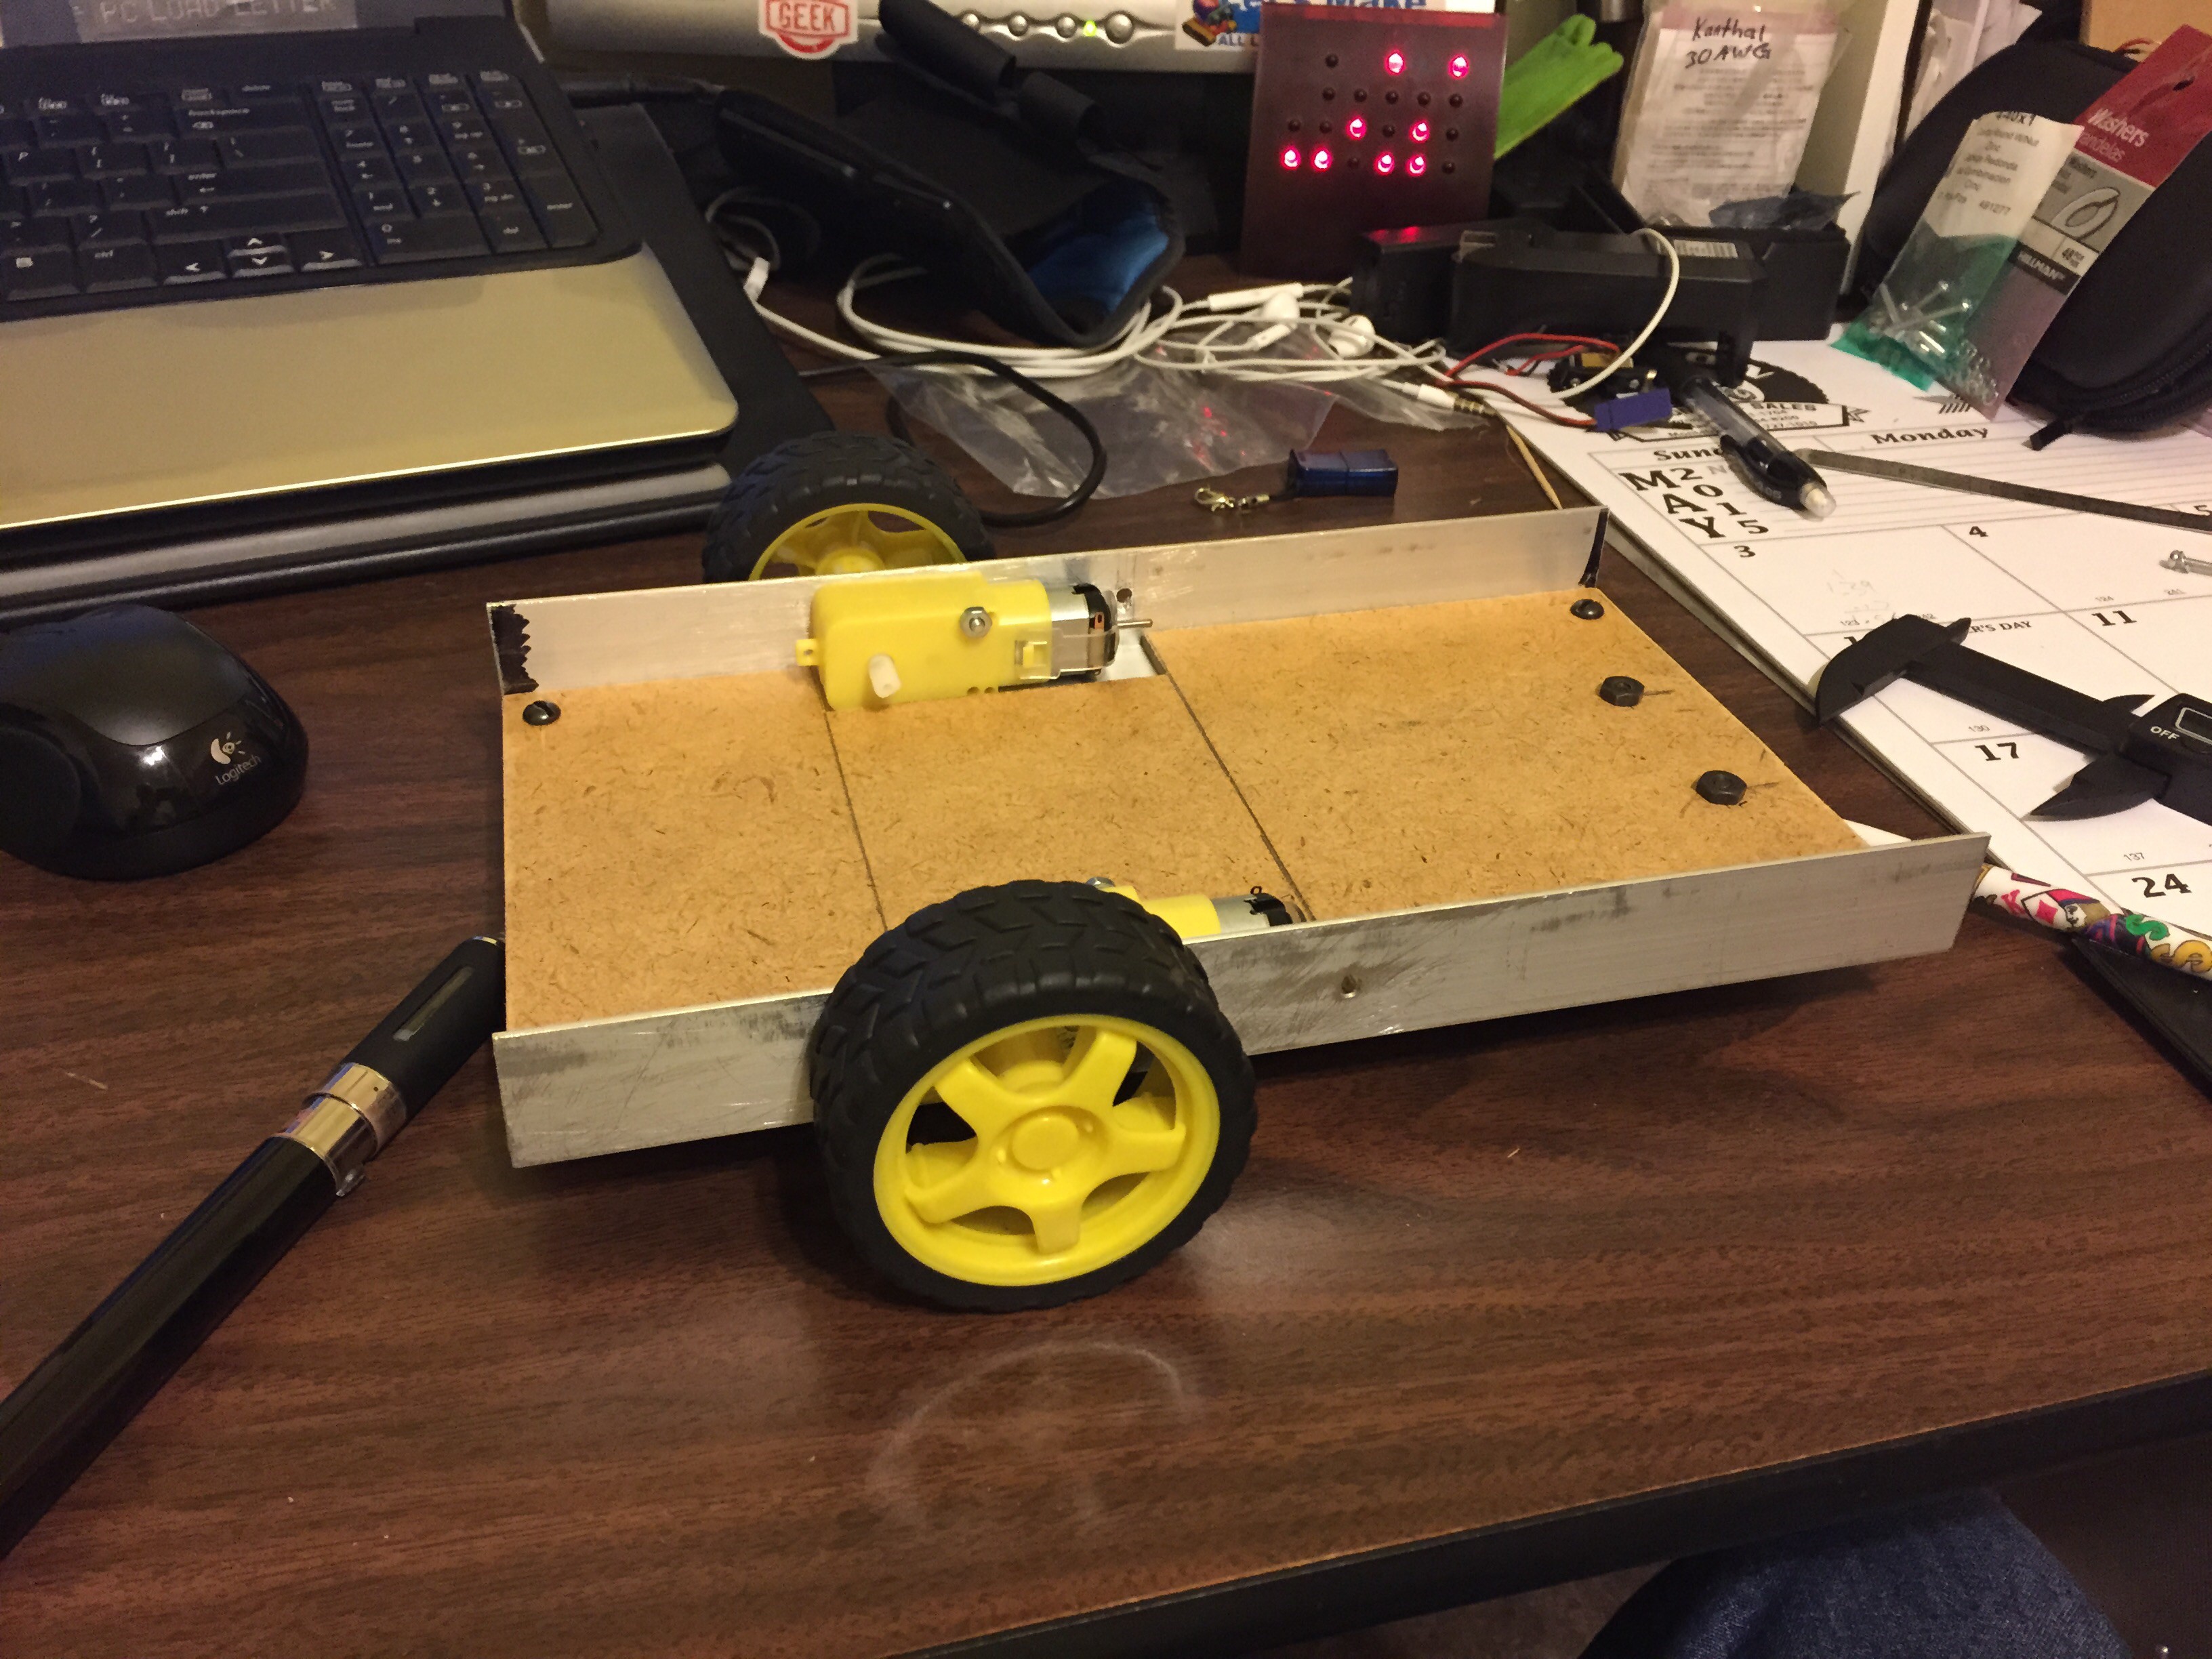
What good is a research robot if it can't grab things, right? Ruprecht will begin with a pair of simple 5 DOF arms made of hobby micro servos. Hopefully some more powerful arms are in his future.


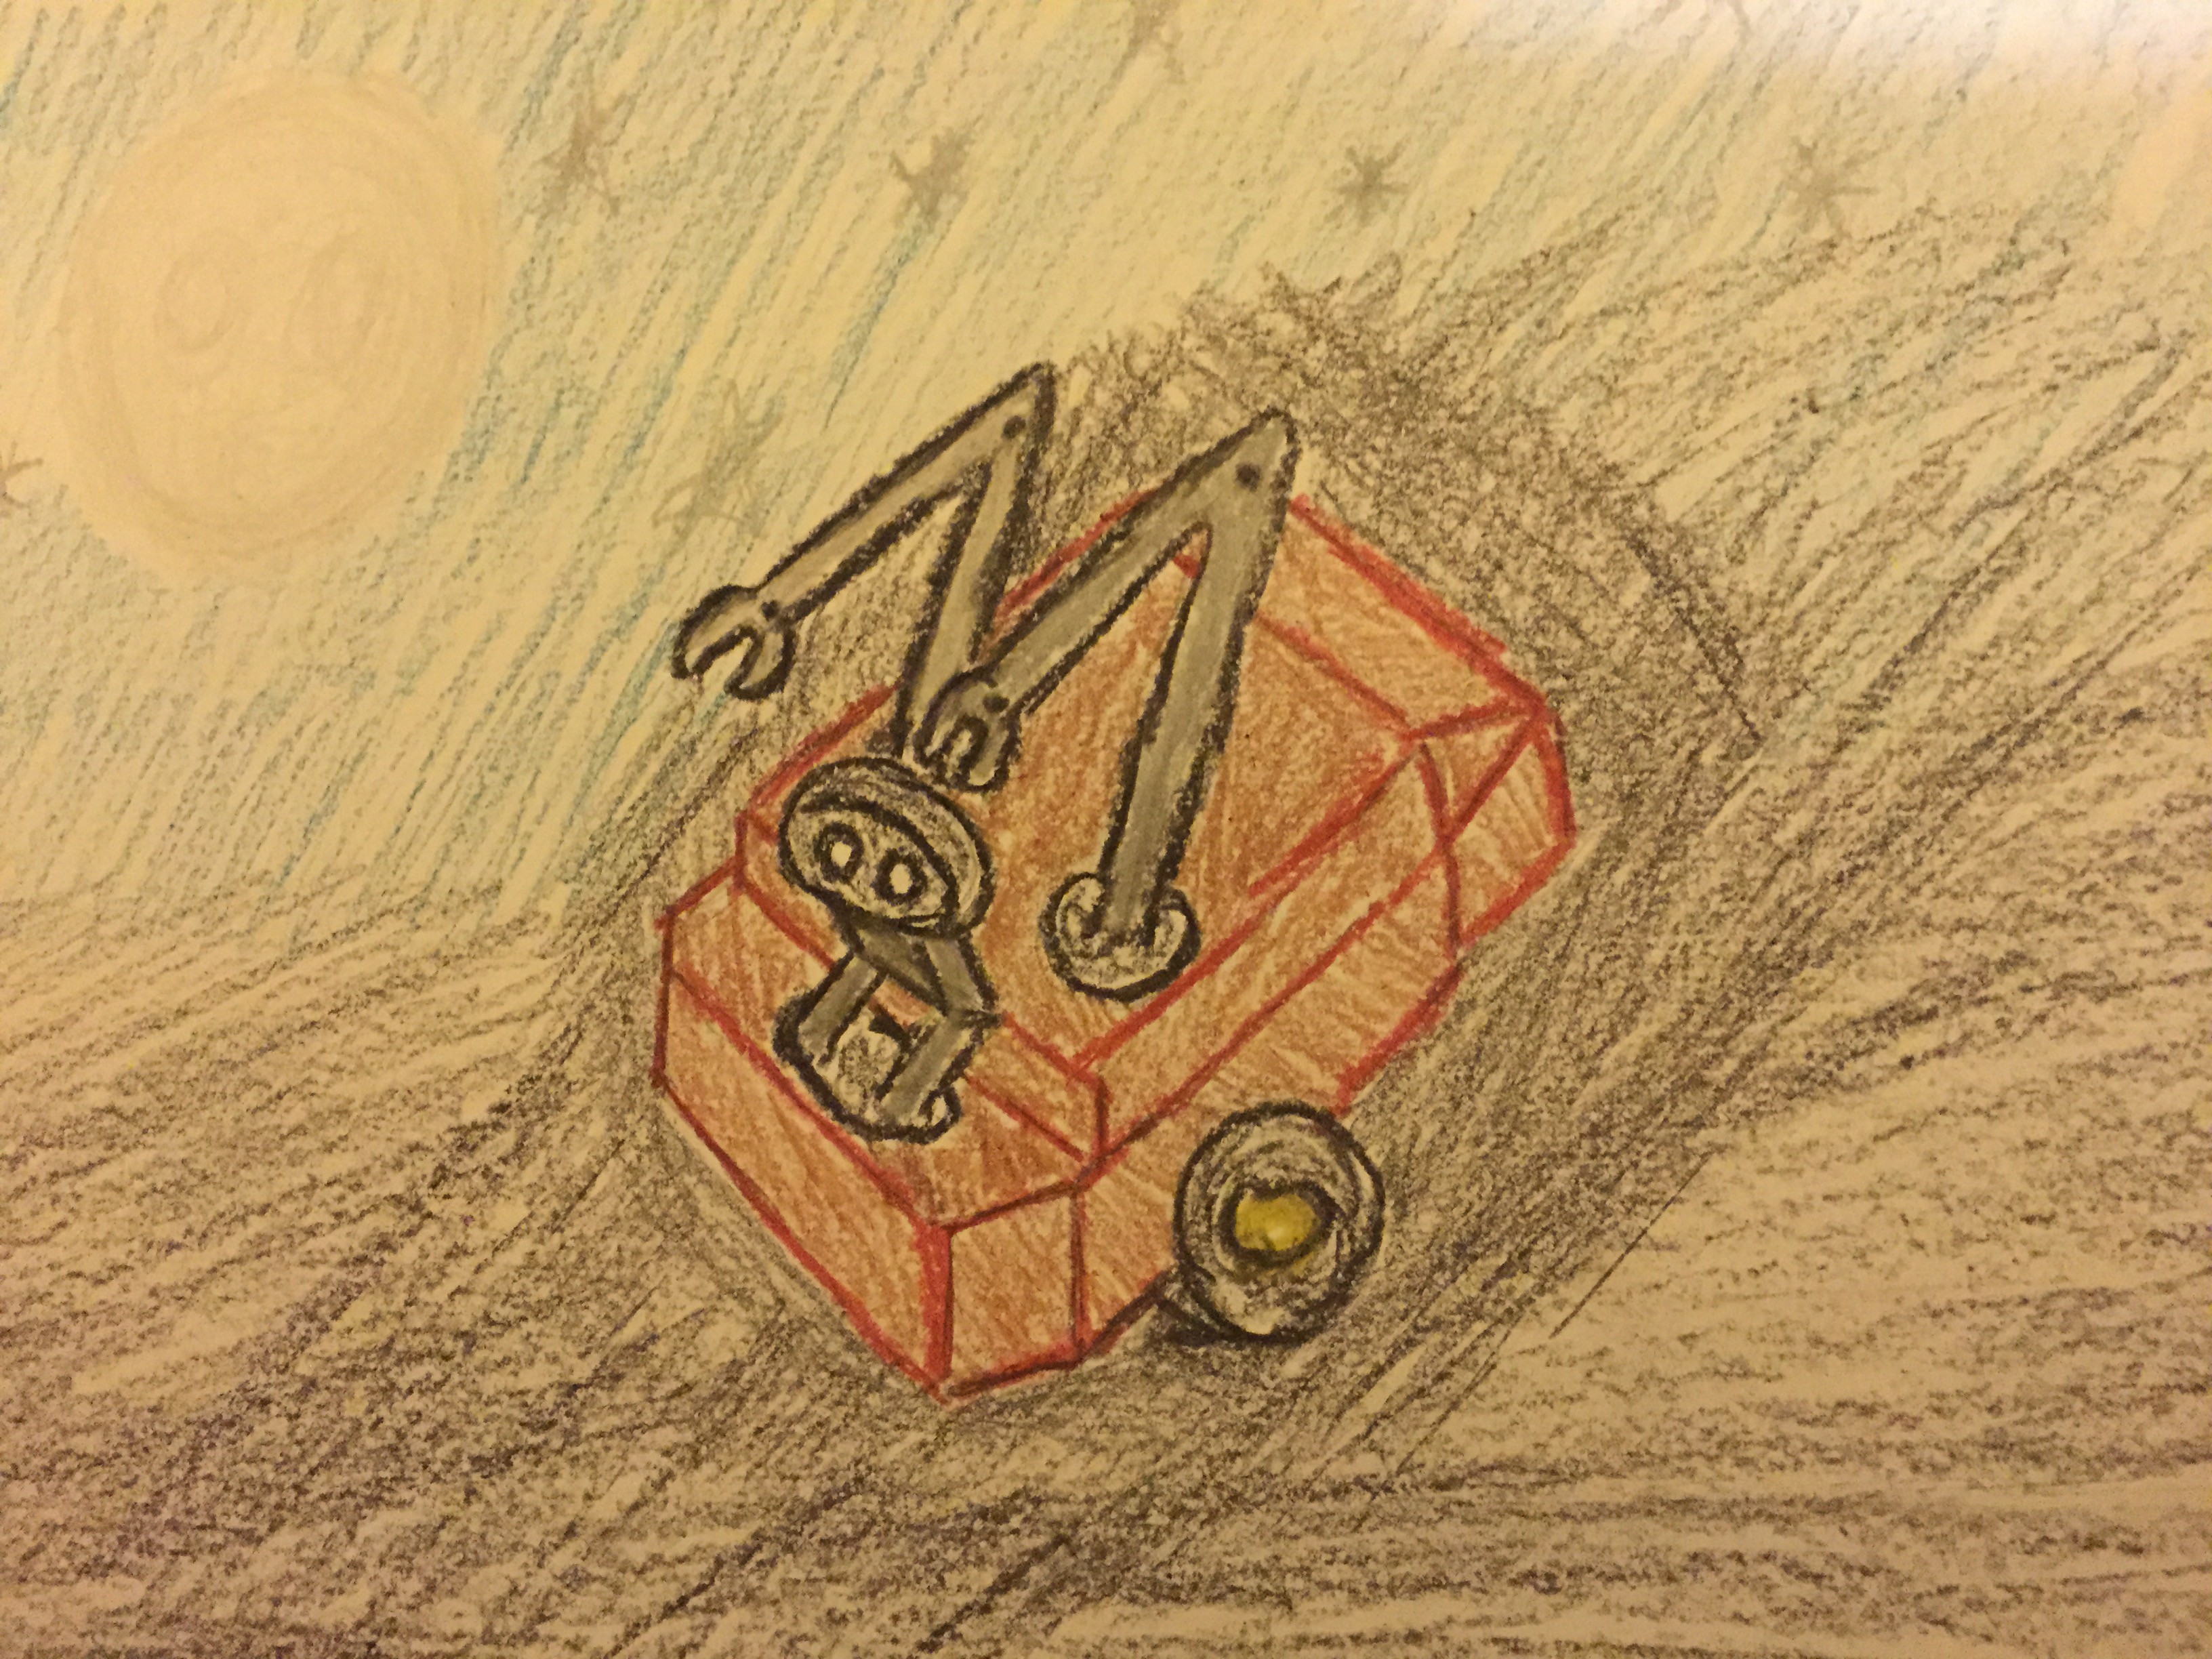
Here's a rough diagram showing some of what's already there, and what I intend to put in at some point.


Ooh, I made a video!

  • 1 × BeagleBone Black
  • 1 × BeagleBone Proto Cape
  • 12 × or more micro servo ideally metal geared
  • 1 × 2' x 4' x 1/8" fiber board cut into various width strips
  • 1 × Collection of nuts, bolts, washers... Generally M3, some 4-40 and 6-32, and old Erector set leftovers

View all 20 components

  • Wow, it's a chassis

    Rudolph10/08/2015 at 06:45 0 comments

    I got the new lipo batteries the other day, so I finally had to lay out the lower deck and actually make this thing a real robot. Well, closer to it, anyway.

    The bottom layer now has the 2 2200mAh 7.4 volt batteries, one for motor power and one for brains power. Also present are the big 5v smps for running the micros and BBB, and a smaller 5v smps for the drive motors and the chassis' pro mini and L298. The two long loops will supply motor battery power to the arms.

    Oh yeah, the chassis-duino will use the MCP3208 to monitor battery cell volts and a couple IR corner sensors.

    Tomorrow I'll cut out the top deck plate and stick on a pro mini and breadboard to start the chassis programming. Somewhere in that I'll also add the Hall effect sensors for the wheel encoders.

  • more metal stuff

    Rudolph09/23/2015 at 07:32 0 comments

    Well, turns out the plastic standoff kit won't be here until Thursday. What's coming Wednesday is the cable to mod my old Kindle Fire, so that's what I'll be up to tomorrow. Well, after work, cause now my weekend's over...

    Some more metal today, some more nibbler wrist destruction too. I also realized that I indeed had a pop rivet gun in the garage, so a quick trip to Harbor Freight got a selection of rivets to replace some of the Erector screws. And, of course, that came with even more wrist thrashing. Stupid joints getting in the way of robot building.

    Anyway, I got the other side of the deck/cage thing done, as well as the beginnings of the final height of the main chassis. Still need to cut out the deck plate and decide how to style the back "roof".

    Turns out ol' Ruprecht is shaped like a coffin now.

  • Little more

    Rudolph09/22/2015 at 08:08 0 comments

    I didn't find what I thought I wanted for standoffs at the hardware store. So I ordered a kit o' plastic standoffs from Amazon instead. They'll be here Wednesday so I'll wait till then to figure out the power supply mountings.

    Rather than doing nothing, I went ahead and worked on some more metal bits. I managed to get the cross rails on, and even made one of the sides too. It's past midnight now, and my wrists are screaming at me for using the nibbler thingie. So I'll try and get the other side built tomorrow, and likely the next deck for the BBB too.

  • I made another video!

    Rudolph09/21/2015 at 20:43 0 comments

    Who'd a thunk I'd ever make another video? Anyway, here it is:

  • Fitting parts

    Rudolph09/19/2015 at 06:29 0 comments

    The sides of the new chassis are done, now I'm back to figuring out component placement. It's so much nicer having all this room to work with compared to the old RP5 chassis.

    Yes, I will clock the screws correctly for the real build.

  • New chassis

    Rudolph09/17/2015 at 06:36 0 comments

    Finally got the new chassis cut out and put together. Yeah, it doesn't look like much, I just haven't had a lot of time to work on it lately. Now to fill this layer with batteries and dc-dc converters.

  • Ruprecht, the Redesigned Rudforce Research Robot

    Rudolph09/08/2015 at 02:41 0 comments

    Yeah, ol' Ruprecht now has five Rs. Here's the CAD drawing of Ruprecht running about at night, attacking children, stealing alcohol, and generally being a pest. You can't see the humans fleeing in terror 'cause it's nighttime.

    Seriously though, I am honored that Ruprecht has been chosen as a semifinalist in this year's THP. Gotta go now, there so much time and so little to do. Wait.

  • Time for change

    Rudolph07/07/2015 at 11:57 0 comments

    Dear Diary,

    It has indeed become apparent that the old RP5 chassis is not suitable for this project. In addition to my previous gripe about noise, it's also too narrow, and just generally too crowded. It is a neat chassis, and I look forward to using it someday, just not for Ruprecht (maybe for that K9 that I've been wanting to do).

    To be clear, I am not abandoning this project. Instead I will build a custom chassis that's wide enough to handle the picture in my head of the pair of arms, head, and all the hardware (about 9 to 10 inches wide, or twice that of the RP5, and probably 12 or so inches in length). Still a small enough size to be apartment friendly, and wife approved(!). In the spirit of keeping this as low-cost as possible I will again build the decks/plates out of 1/8" fiberboard with aluminum angle and/or pine strip bracing, and I'll start off with those el-cheapo yellow gear motors, wheels, and magnetic encoders, and an imported L298 motor driver (basically a $25 drivetrain). All of these parts should be easily upgrade-able as time, desire, and budget allow.

  • Argh...

    Rudolph06/29/2015 at 04:27 0 comments

    Dear Diary,

    Today I got to work on the software for the chassis-duino. As I was working on the motor-driving part I found that the right side motor was no longer driving. Weird, I thought. Naturally the drivers were in the absolute lowest, deepest, darkest part of the chassis. So I had to dismember the whole flippering thing again to try to diagnose the problem. And, sadly, I found that the right-side DRV8833 board no longer pushes out the voltage that it's supposed to. I even pulled the left one out to compare to, and the right one shows less than half of what the left does on the multimeter.

    In doing all this I was reminded again of just how loud this particular chassis is when the motors are running. I'm not sure what to compare it to, but I have power tools that are quieter. I also know that it's not really a sound I want running autonomously around the house. And if I think it's too loud and obnoxious, I'm sure my wife will really dislike it.

    So, now what? I could acquire another driver board (they're only like 5 bucks at Pololu) and get full volume out of the RP5. Or I guess I could start thinking about a different chassis getup. Briefly I considered ignoring the chassis for a while and just concentrate on the arm design and testing. Then I realized how much the arm design is dictated by the chassis design. Thus the title, Argh...

    Ruprecht chassis in pieces, again...

  • Day three hundred and purpledey something...

    Rudolph06/28/2015 at 05:20 0 comments

    Truth be told, I've spent more time in the last couple weeks looking for a job instead of working on the robot. I did, however, get some work done on the software end. The arduino code I had made for scheduling tasks was rewritten to be a library, and to remove the MSTimer2 library dependency. That library is now available on my GitHub. And I did start fiddling with Ruprecht's code too; RChassis has been started over, even though there wasn't much there in the first place. I realized that with stepping down to a '328 I don't have enough PWM pins to use the Servo library too, so I need to change to the SoftwareServo library instead. I also have a couple of ideas of how I want to proceed with the chassis code. And I've got a pretty clear plan on how I want to go with the arms too. Since there's no job-ing to be done on a Sunday I figure to try and get some actual work done on old Ruprecht tomorrow, ideally both software and hardware.

View all 17 project logs

  • 1
    Step 1

    Acquire list o' parts

  • 2
    Step 2

    Assemble into something resembling R(rrr)

  • 3
    Step 3

    Rejoice in having built something cool despite Rudolph's crappy instructions

View all 3 instructions

Enjoy this project?

Share

Discussions

David H Haffner Sr wrote 01/26/2017 at 08:03 point

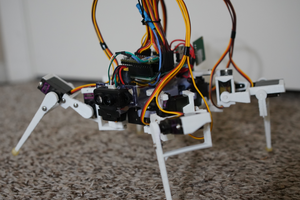
I love this little guy!

  Are you sure? yes | no

Rudolph wrote 07/19/2014 at 08:05 point
Thanks for the comments. My apologies for missing that they were here though.

The only drawback to my CAD drawings is that I have to stash em so the wife doesn't hang it on the fridge...

  Are you sure? yes | no

Adam Fabio wrote 07/06/2014 at 05:11 point
Love your "CAD" drawings! Thanks for entering Project R in The Hackaday prize! - The more 'bots the better! I hope R' will be able to run ROS! Don't forget to keep the updates (even crayola based) coming in!

  Are you sure? yes | no

SegF4ult wrote 07/03/2014 at 17:30 point
I have to say, you made very extensive use of CAD and am wondering how you fare as you go along :), I gave you a follow.

  Are you sure? yes | no

Similar Projects

Does this project spark your interest?

Become a member to follow this project and never miss any updates