 ARISTIDES Alexandre
To reach the goal of a chiptune/MIDI bluetooth Ukulele we have to :
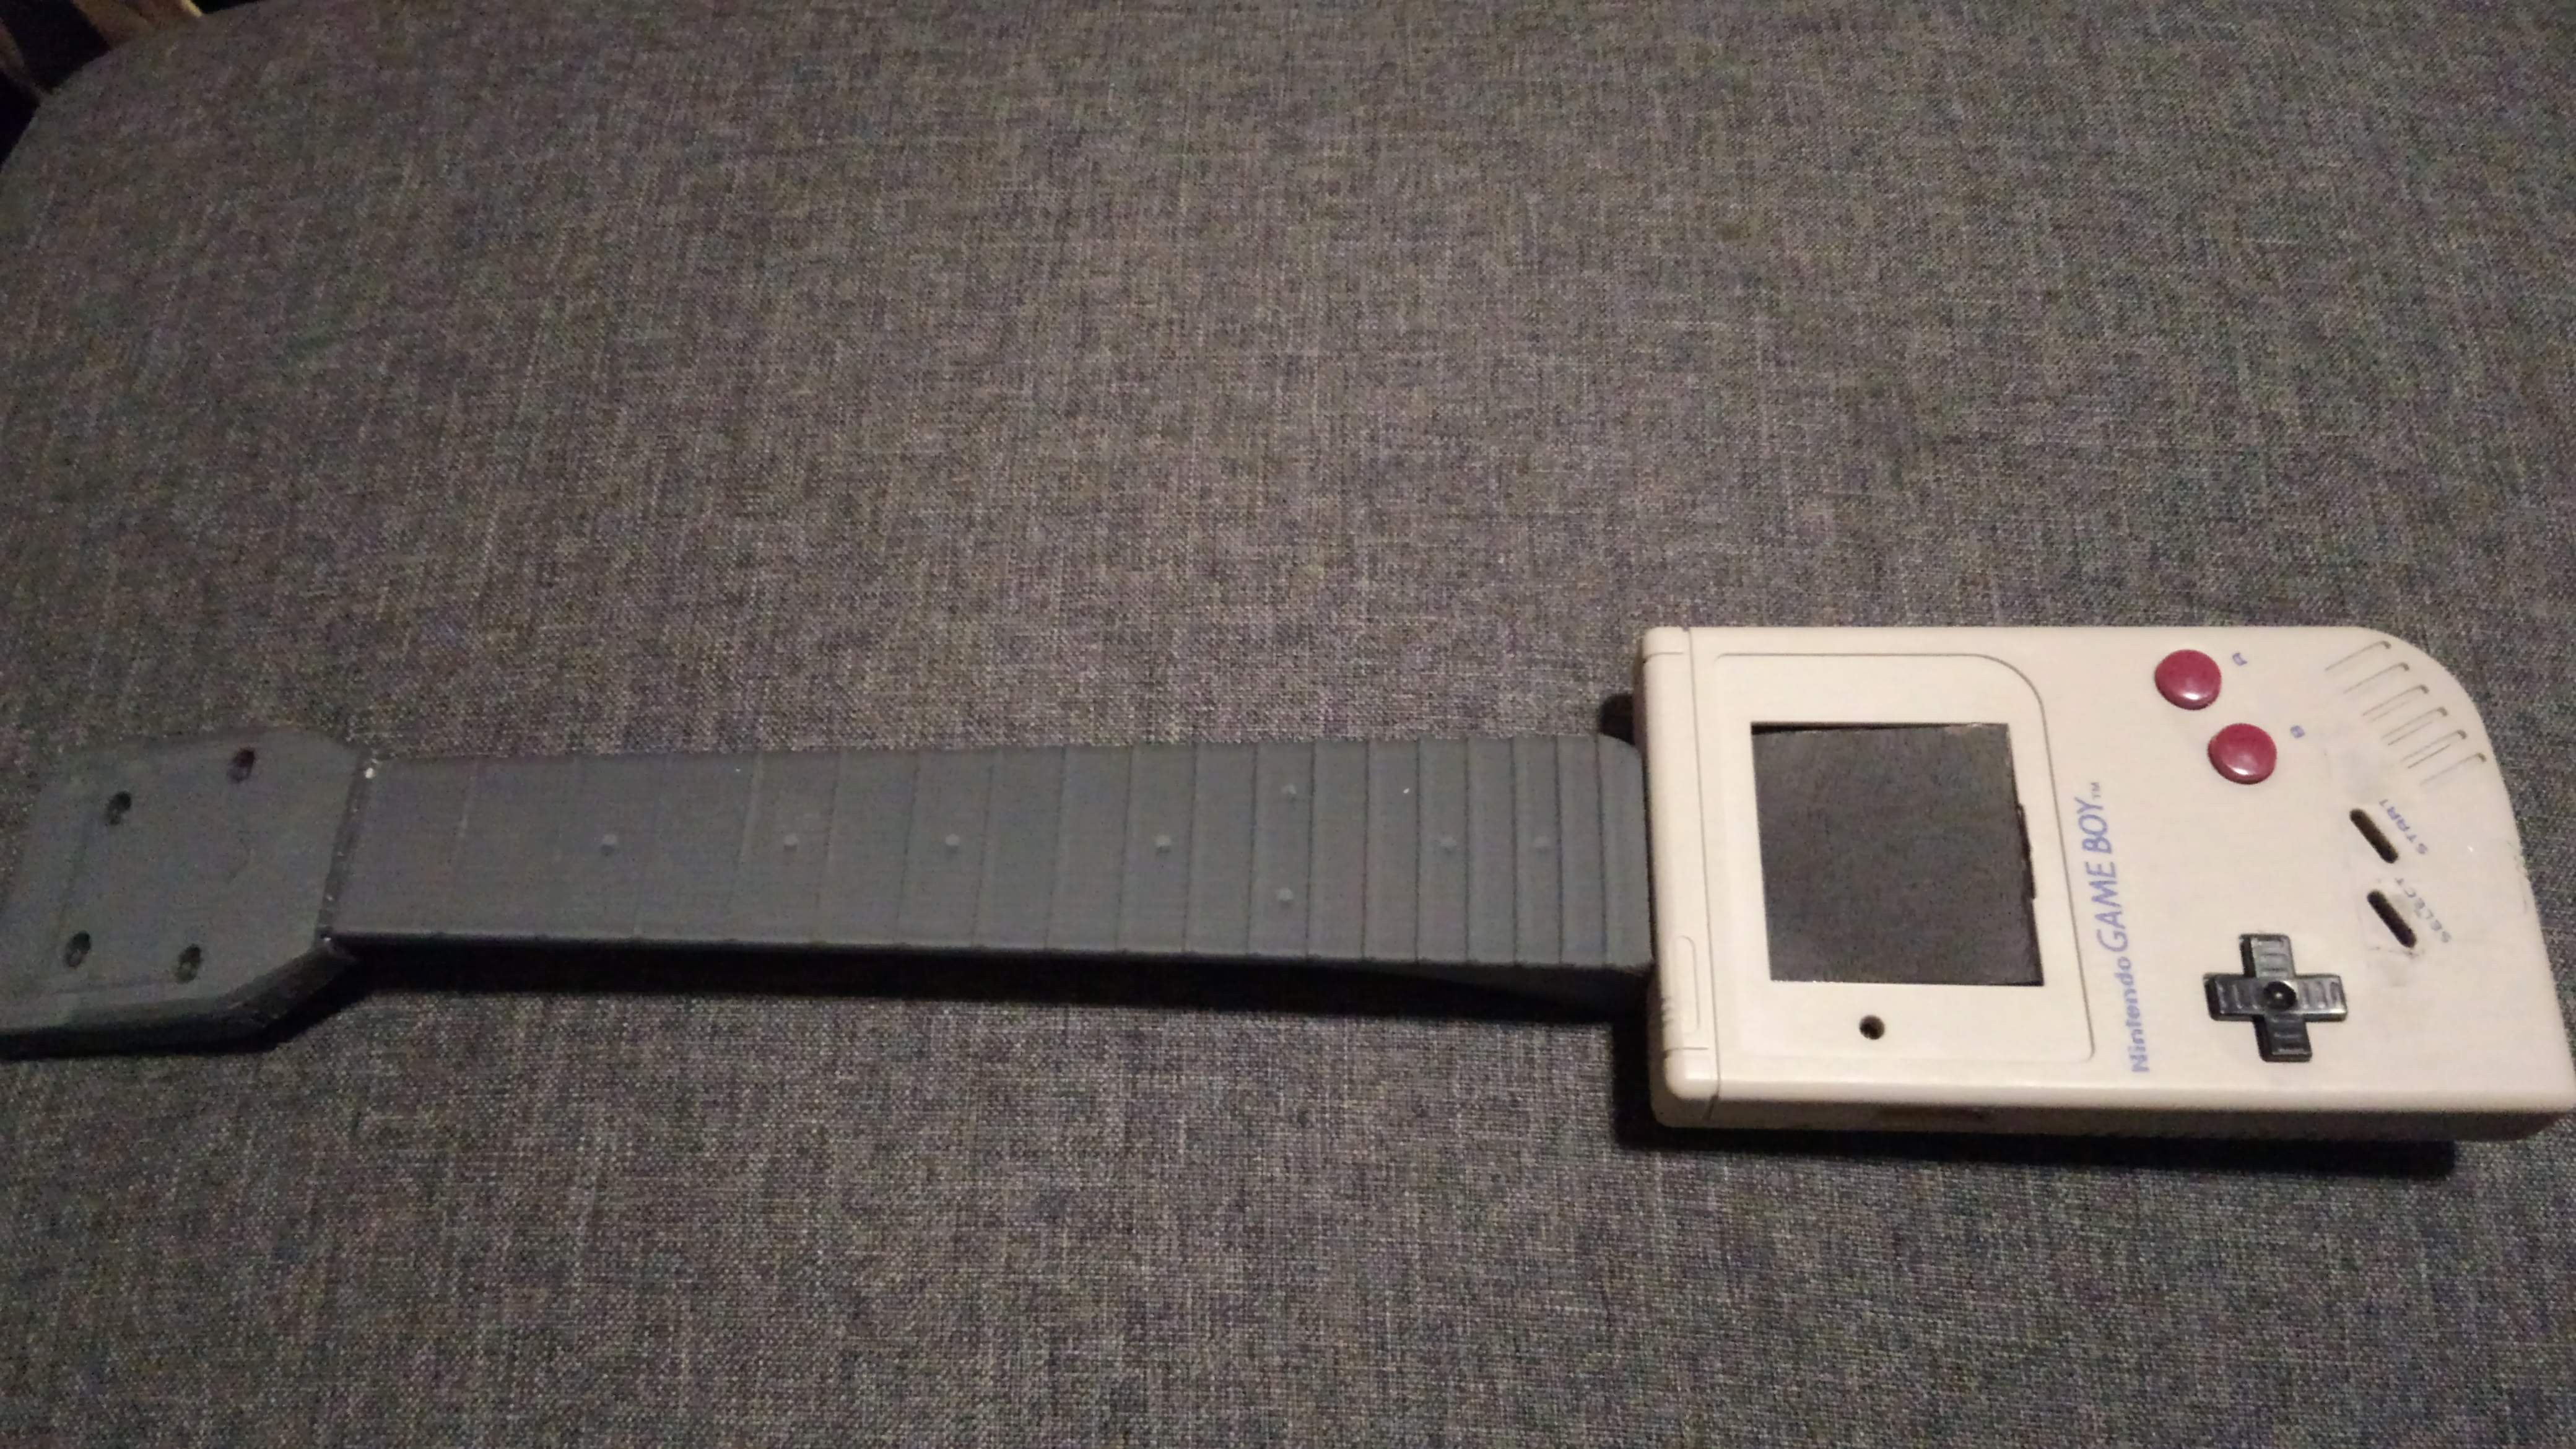
- Build a playable ukulele
- Make it sound as an original gameboy
- Send it in a bluetooth chip to convert in MIDI
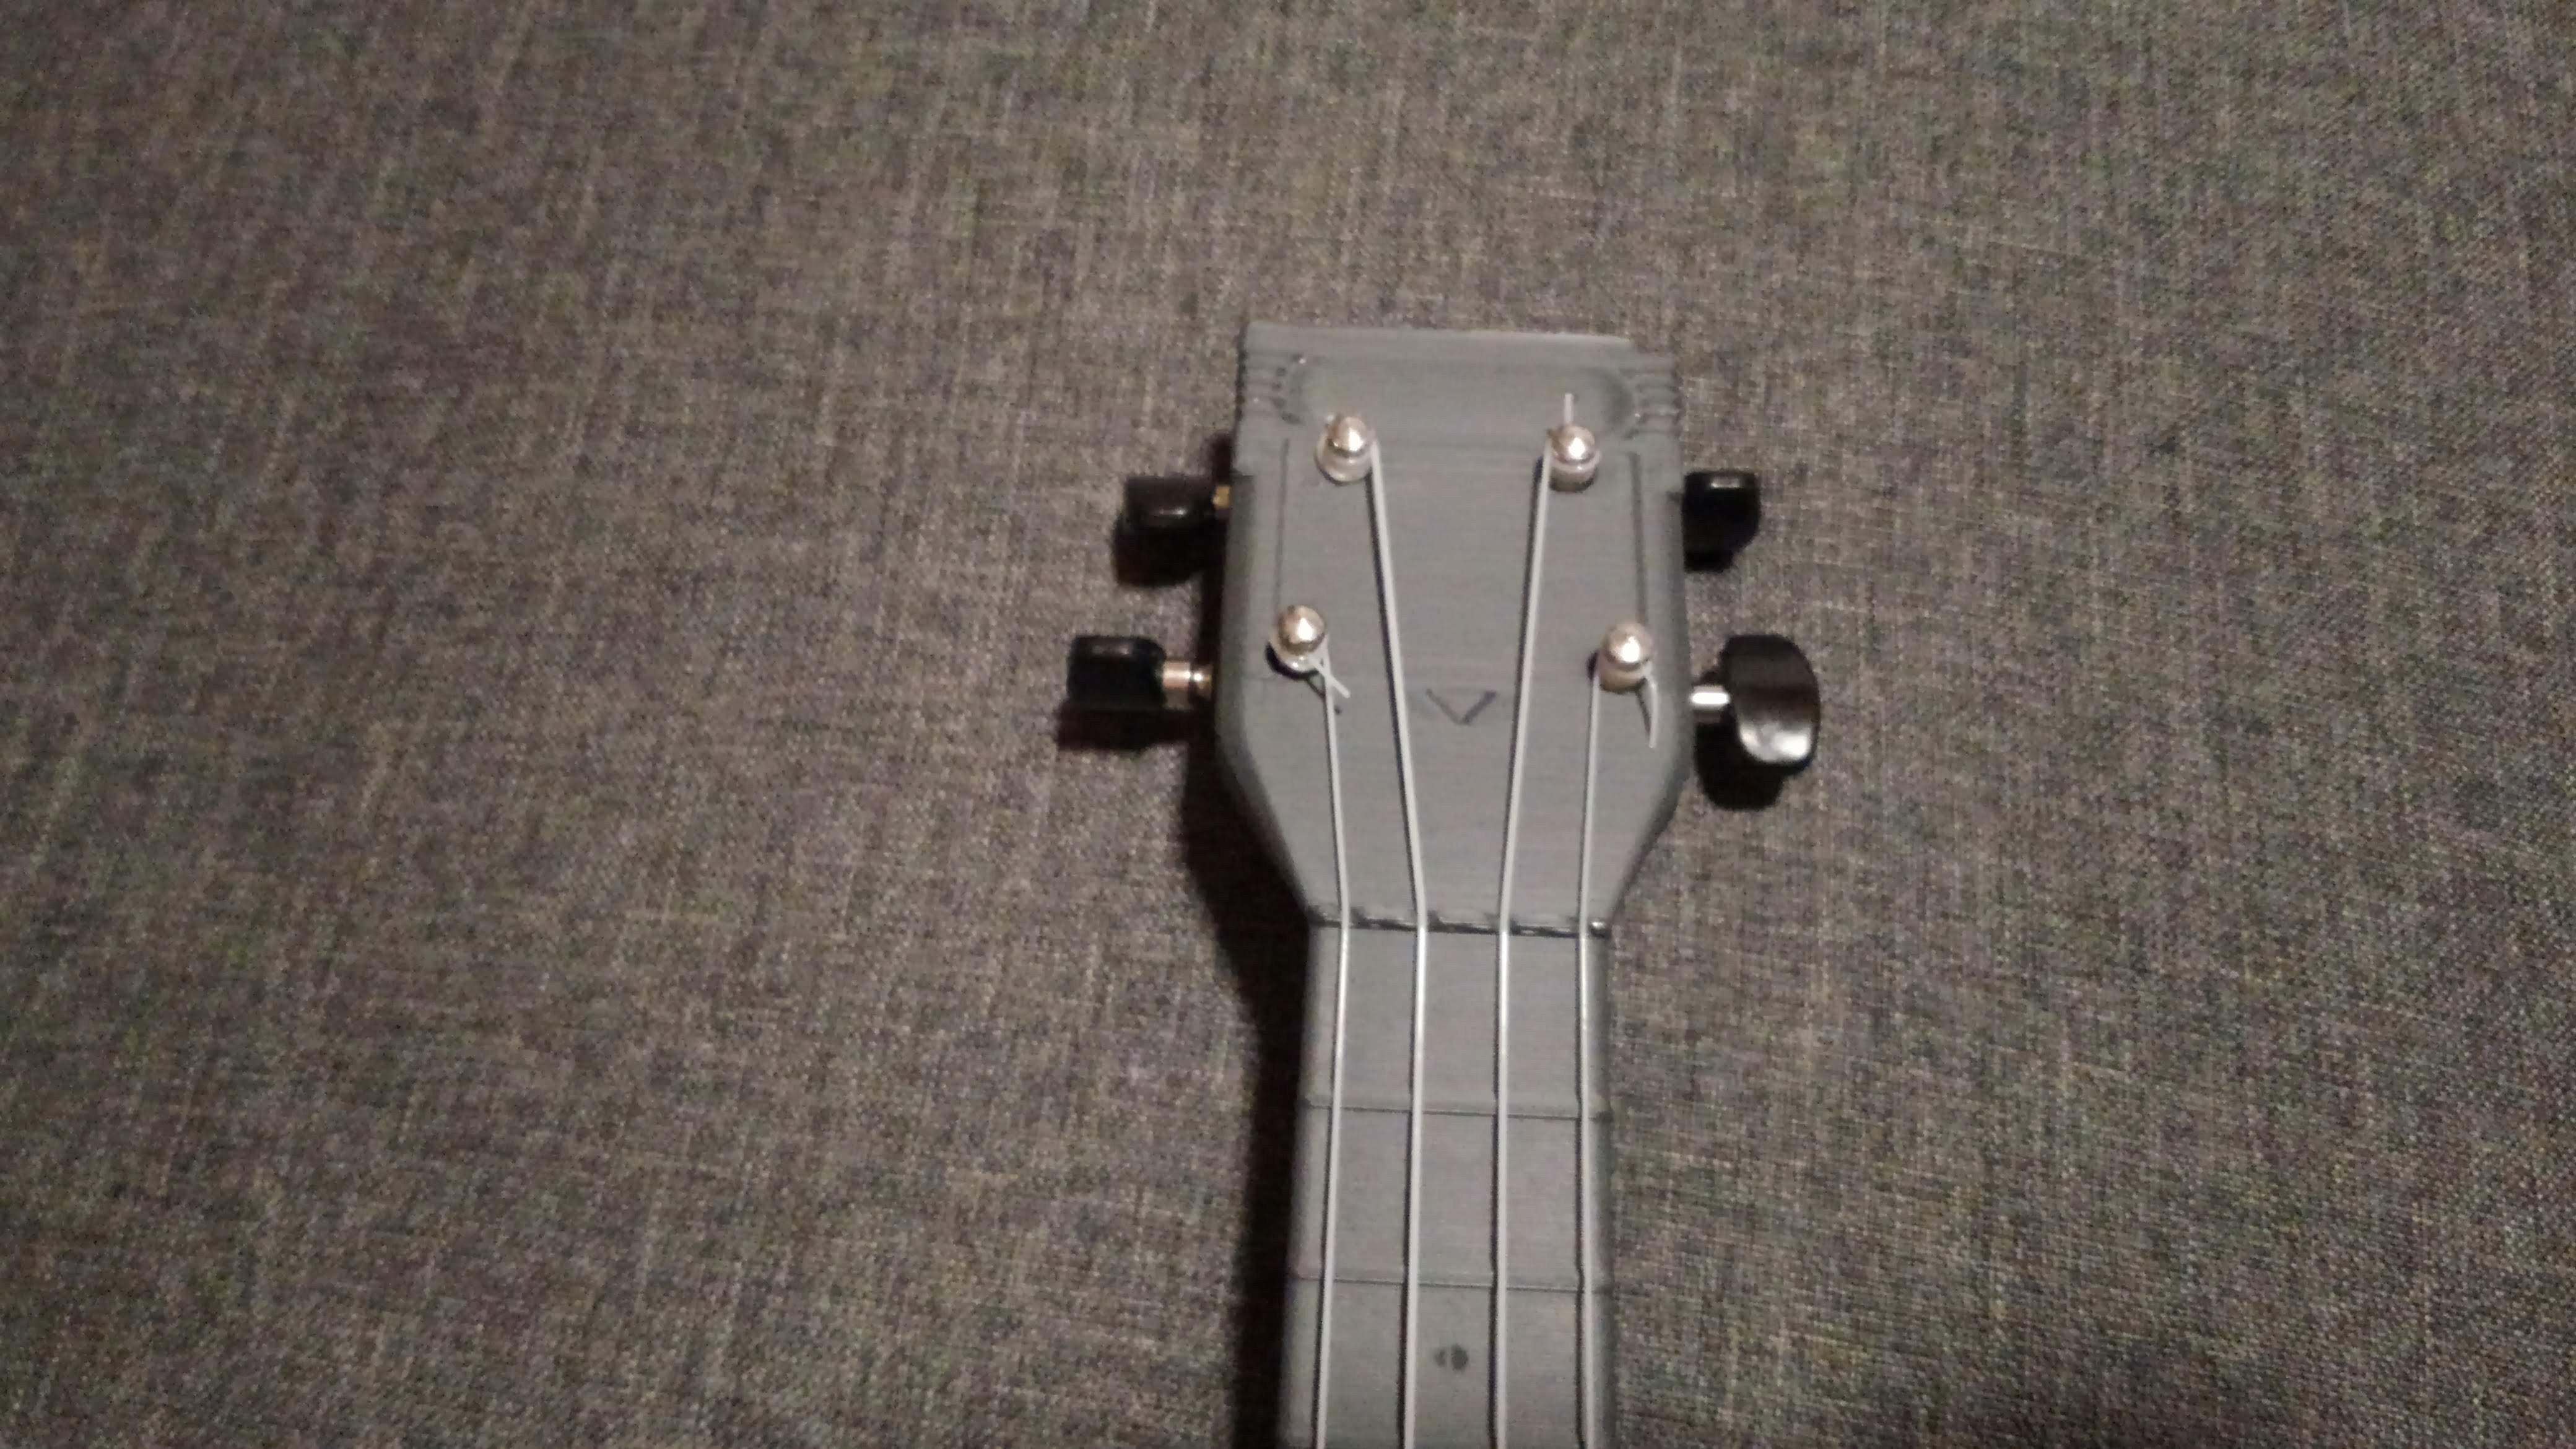
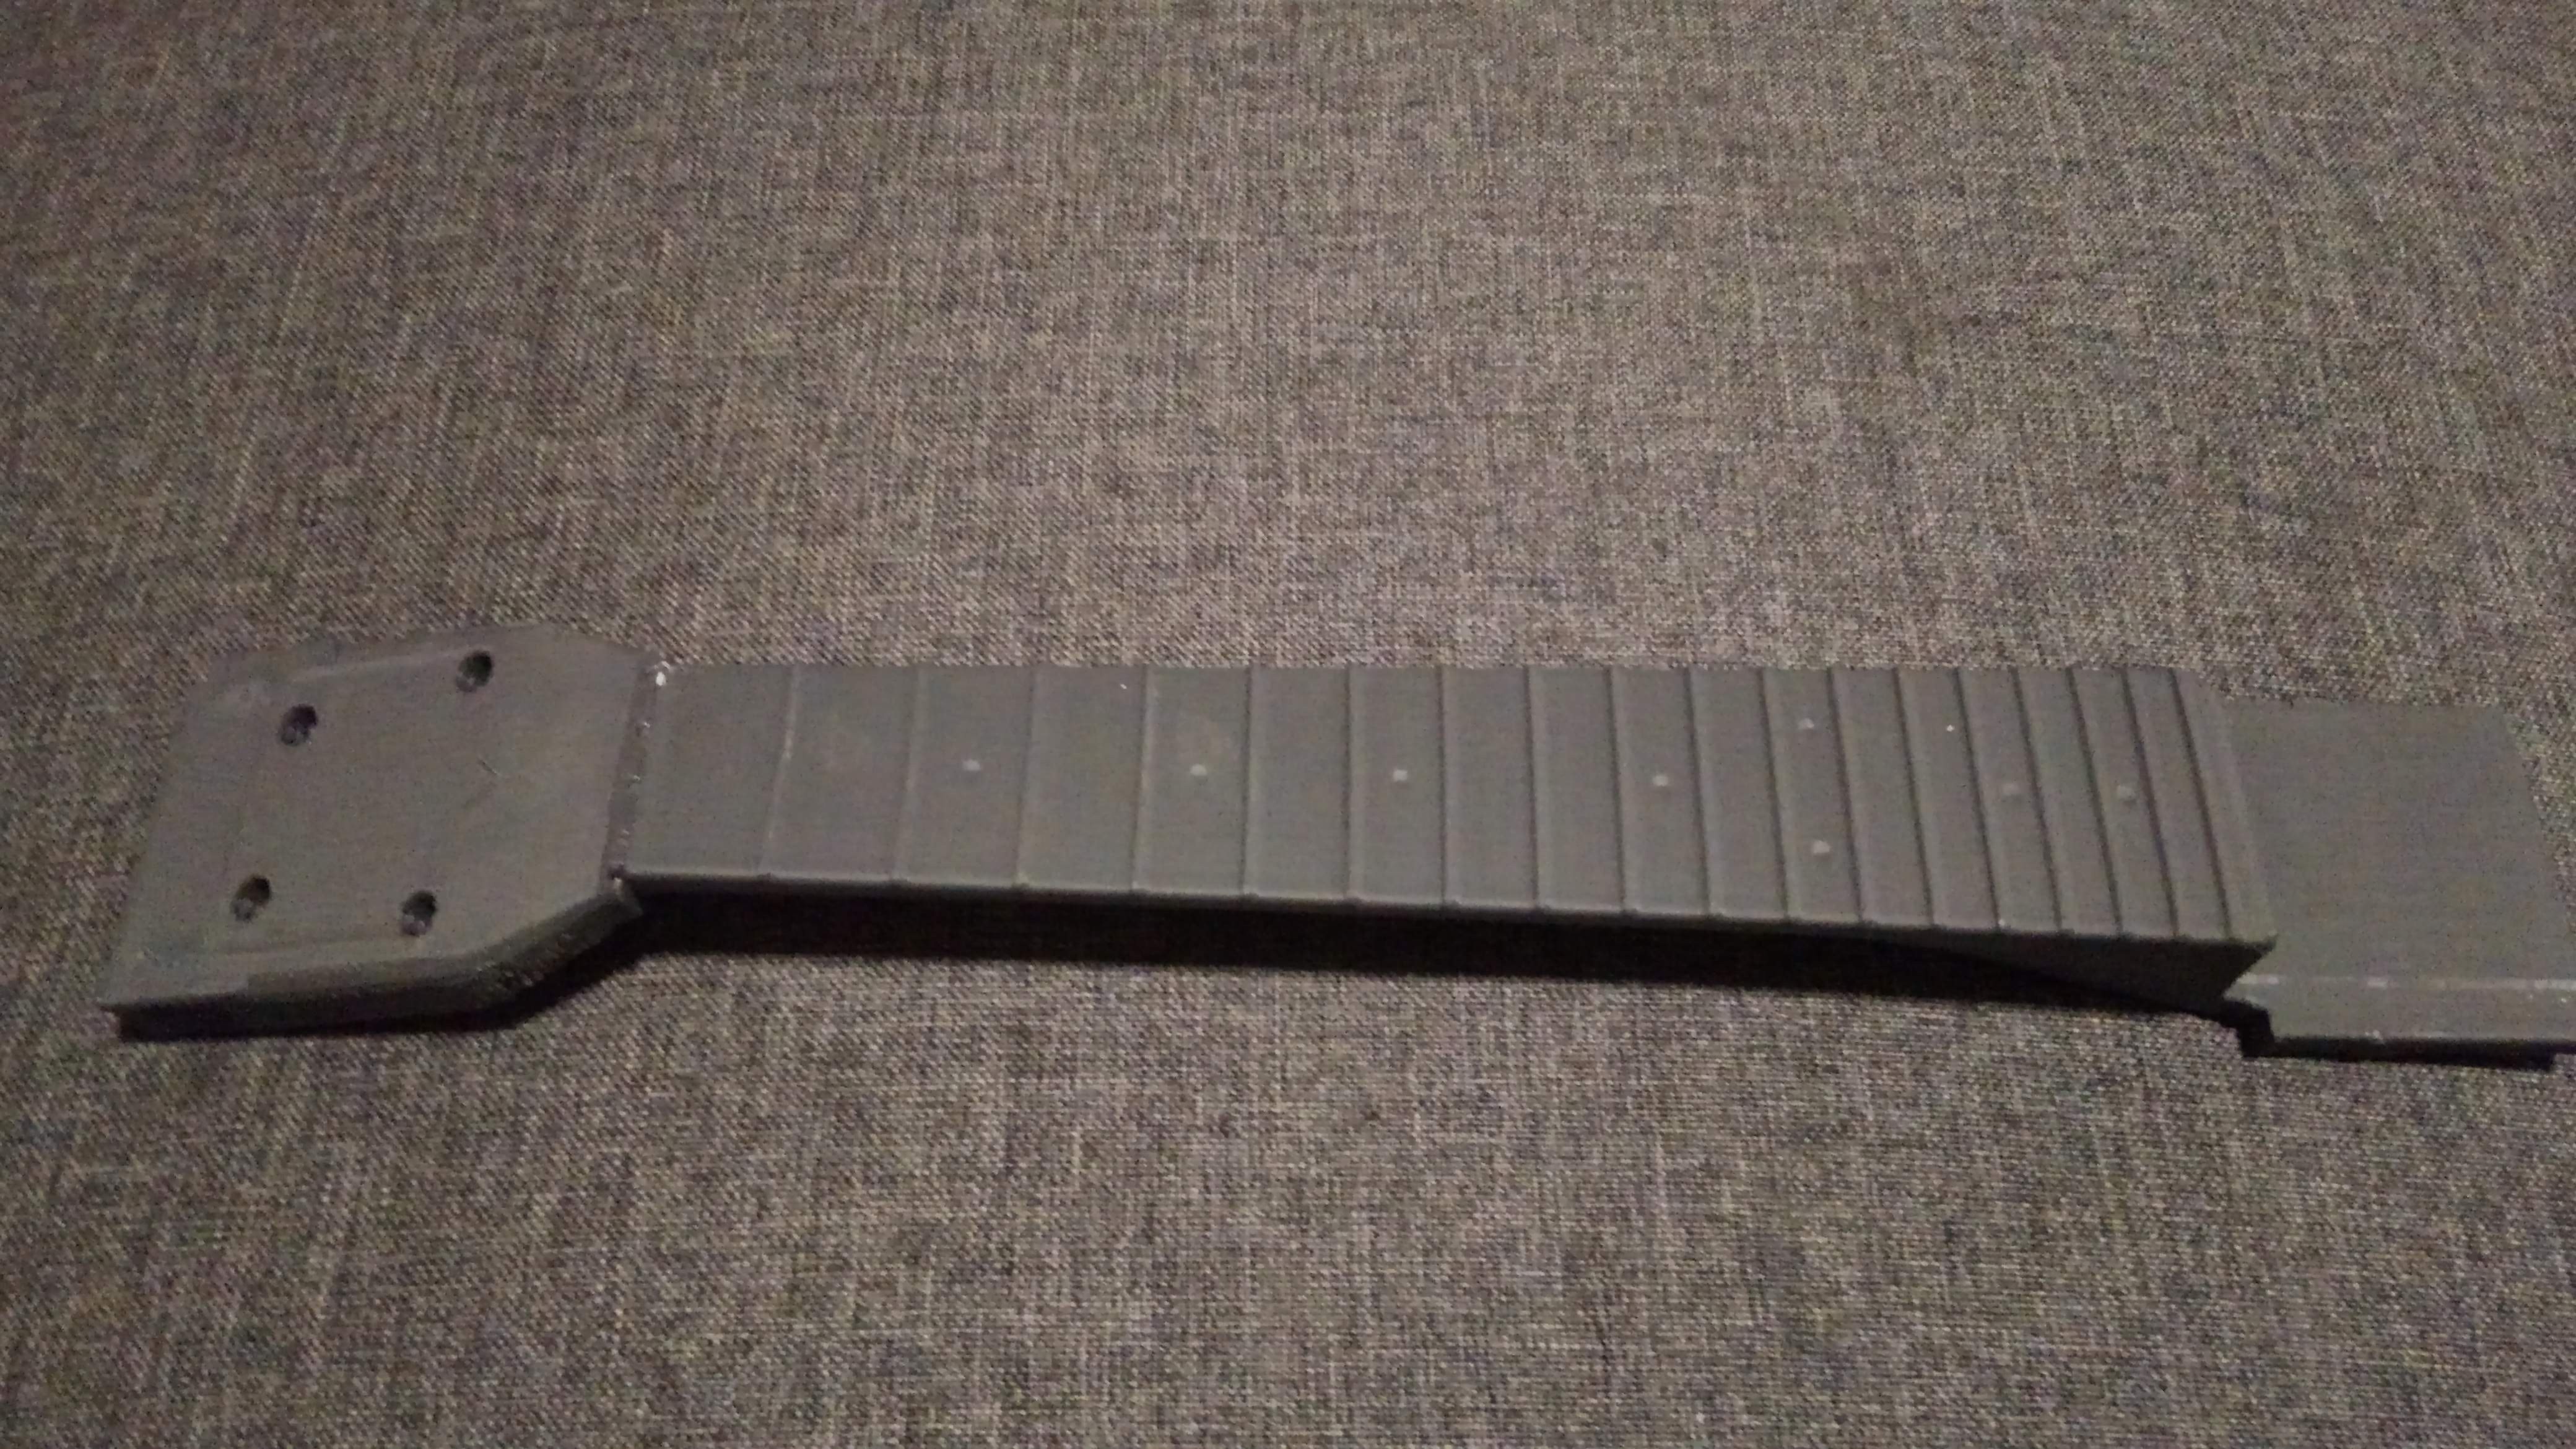
1. Build a playable ukulele :
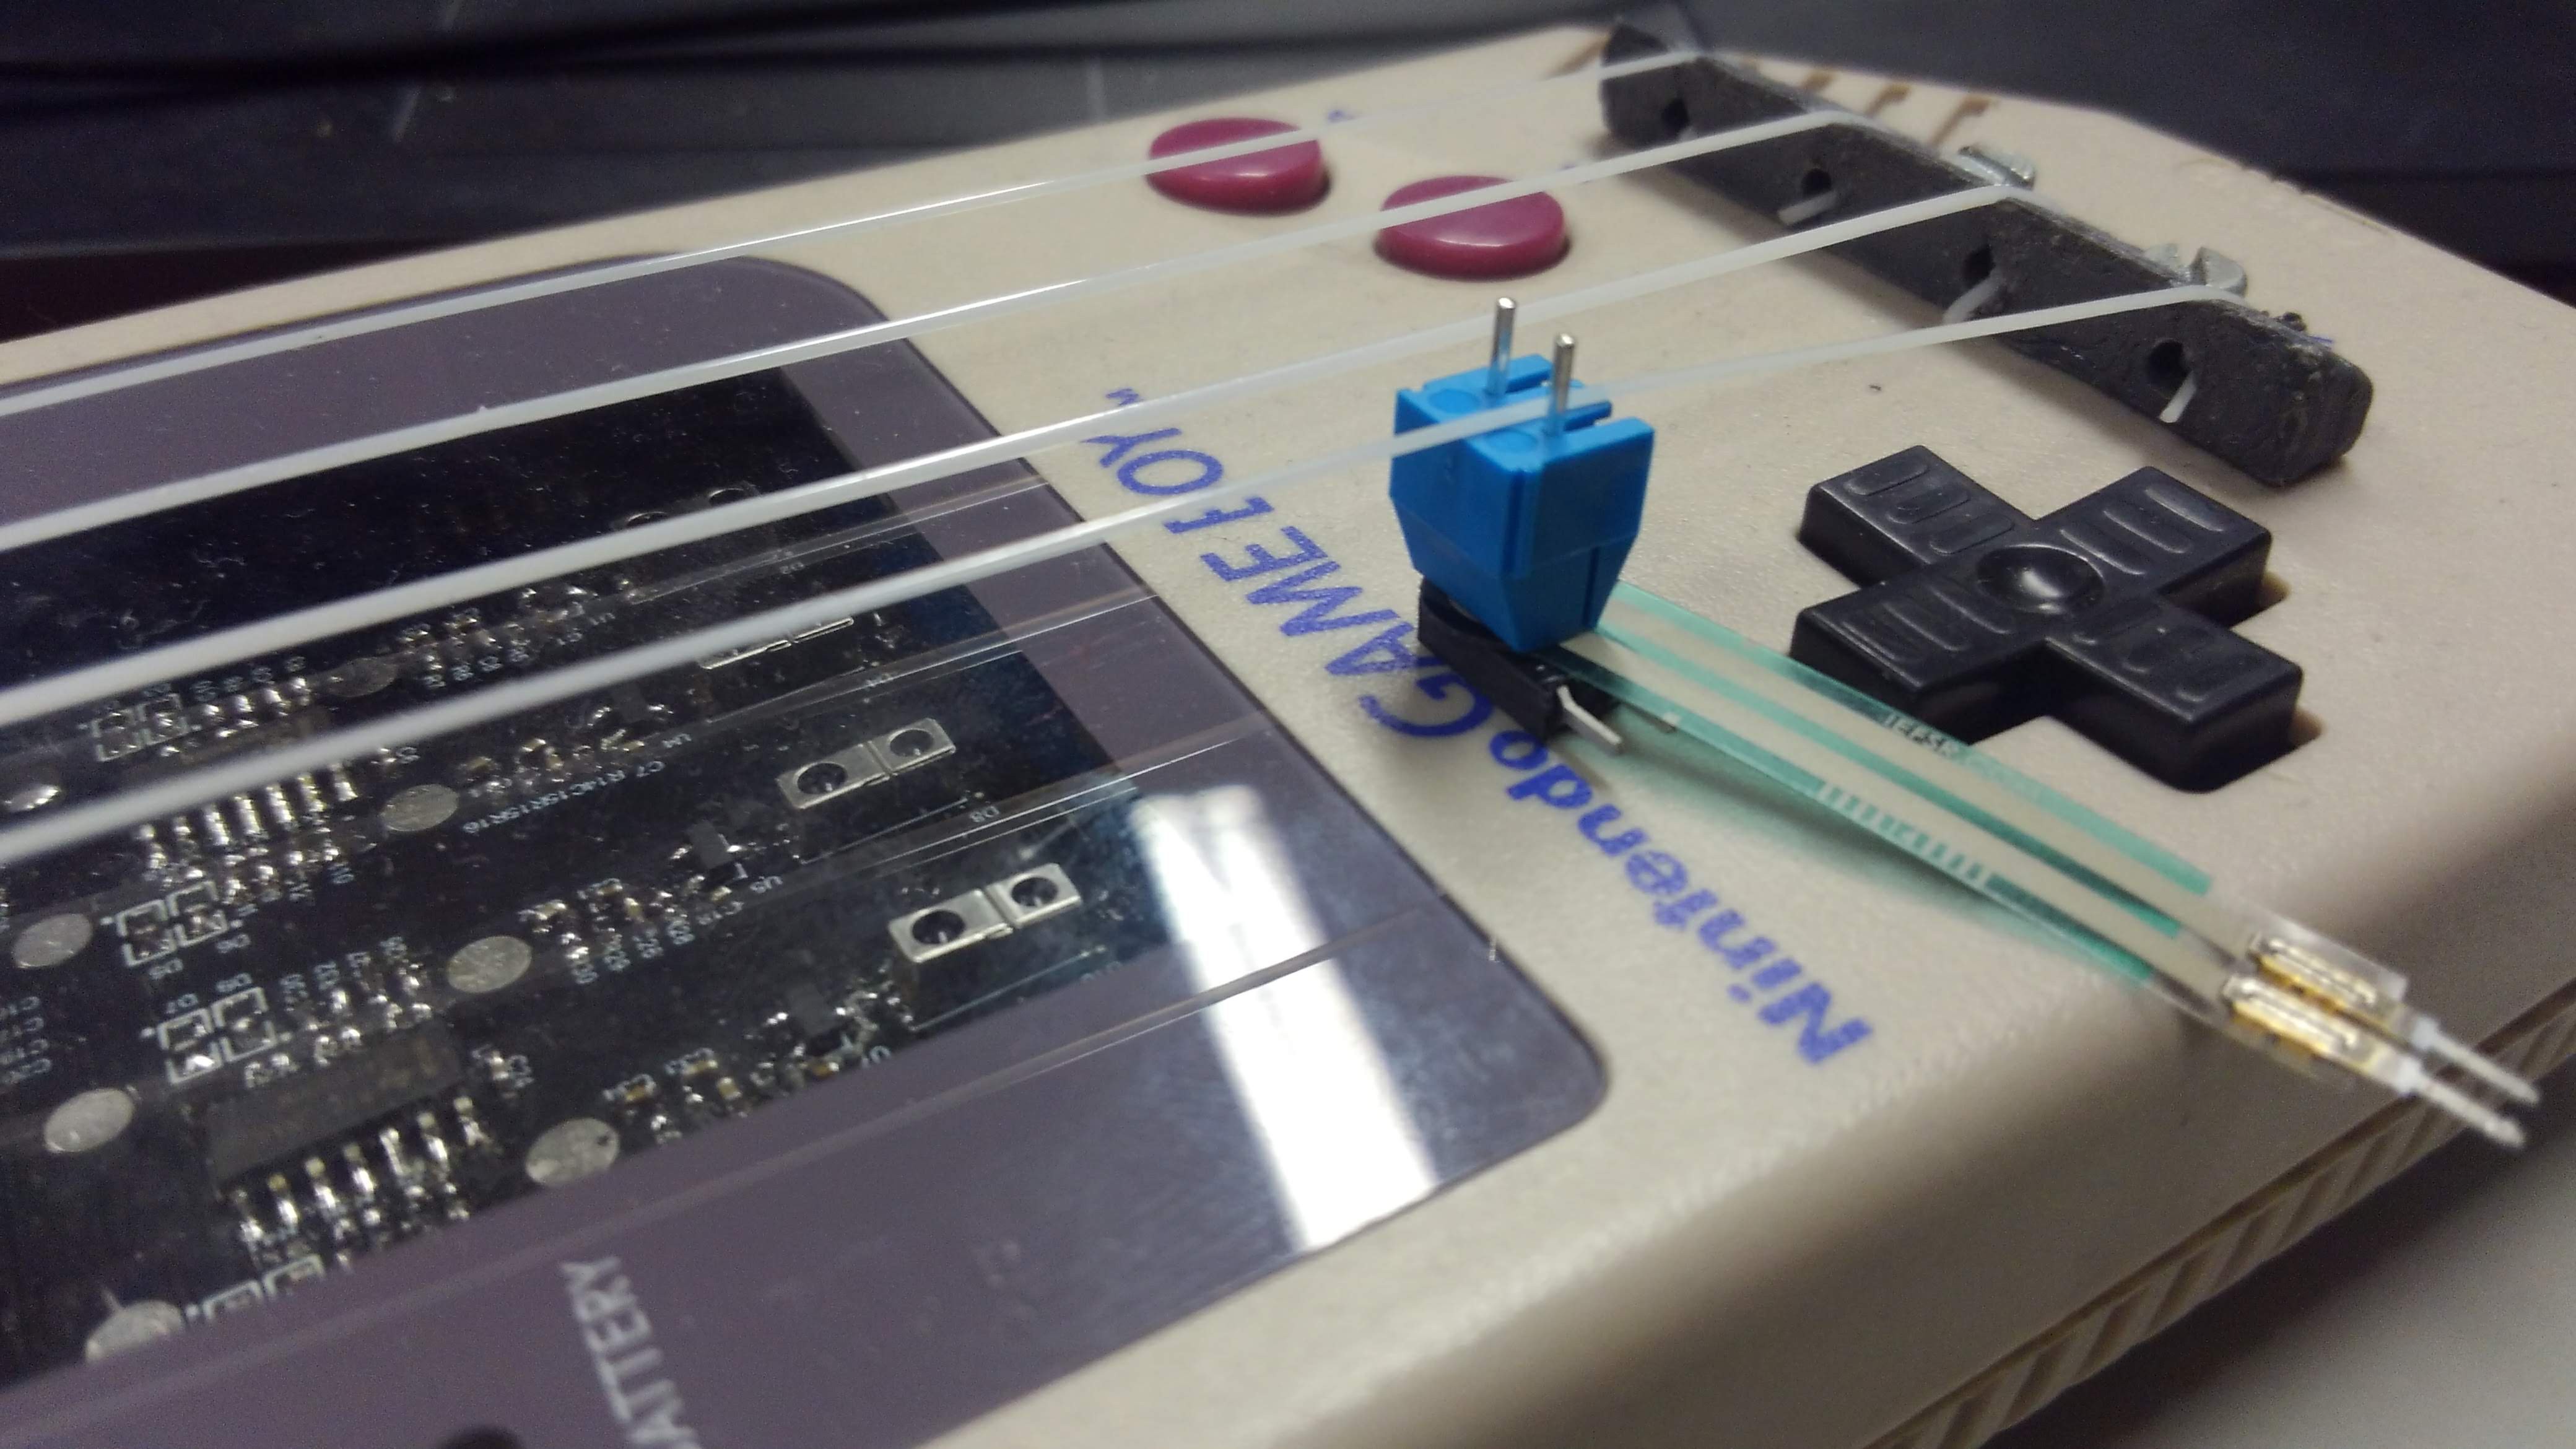
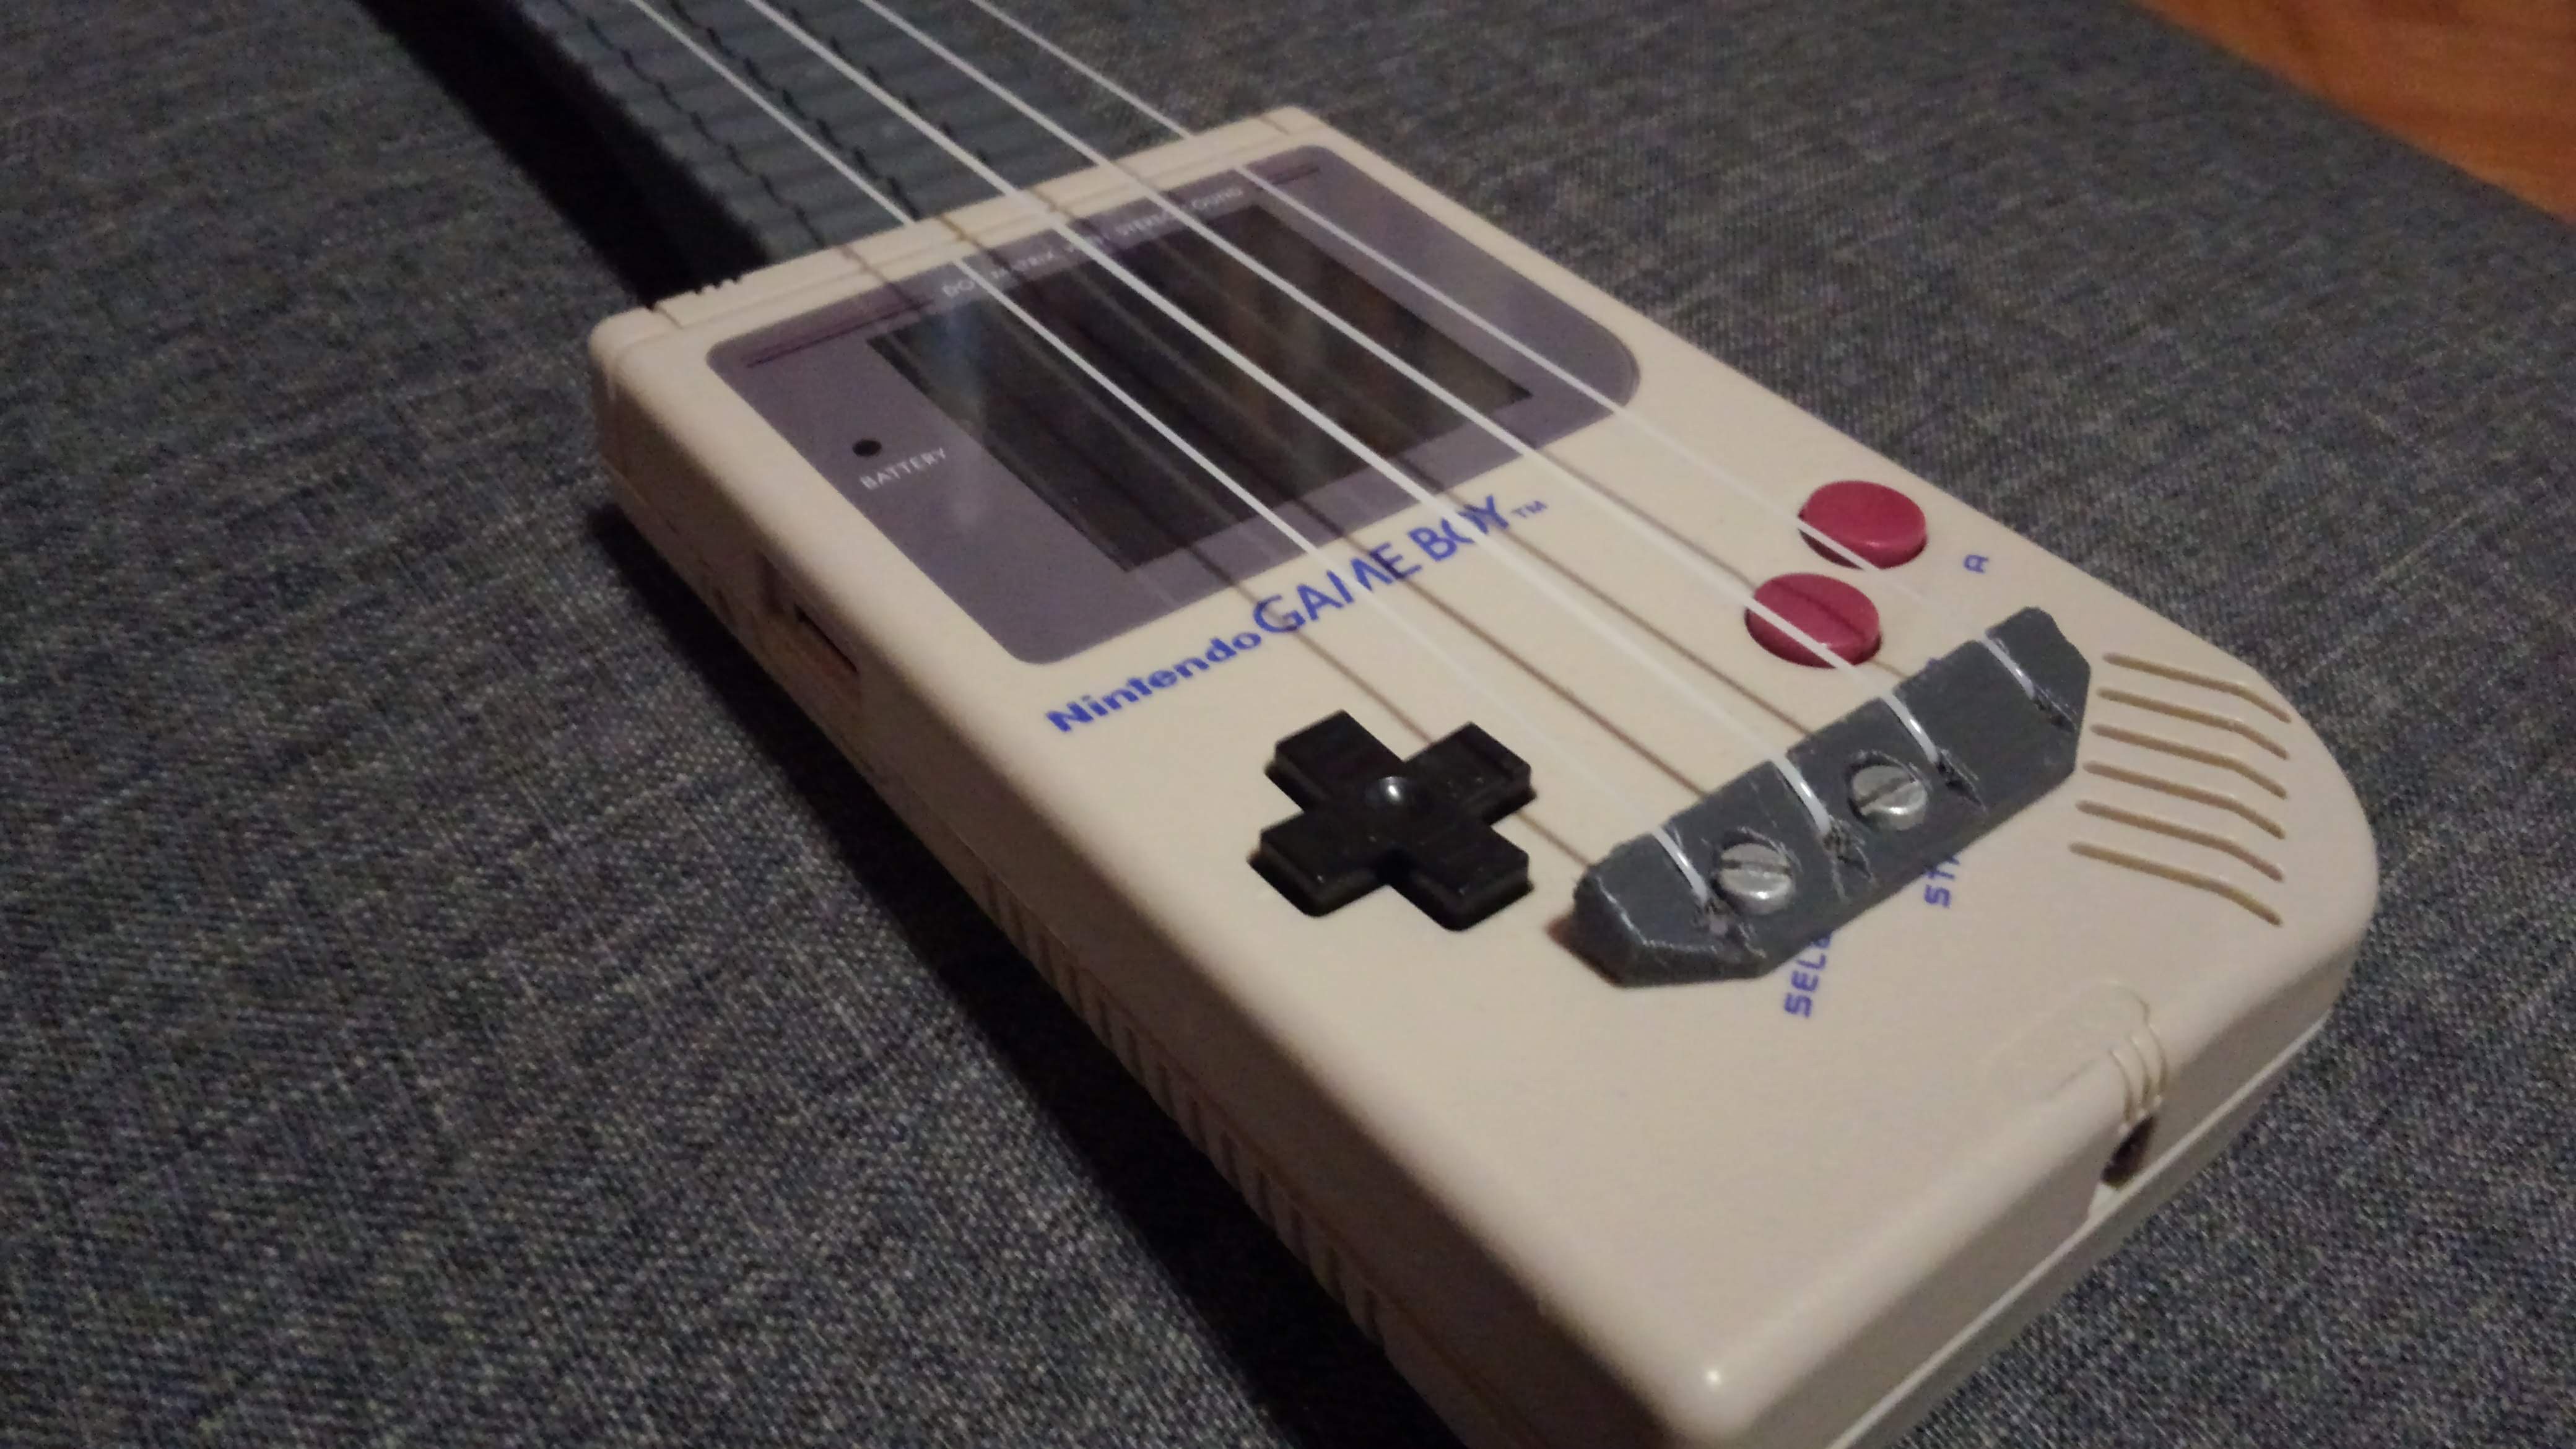
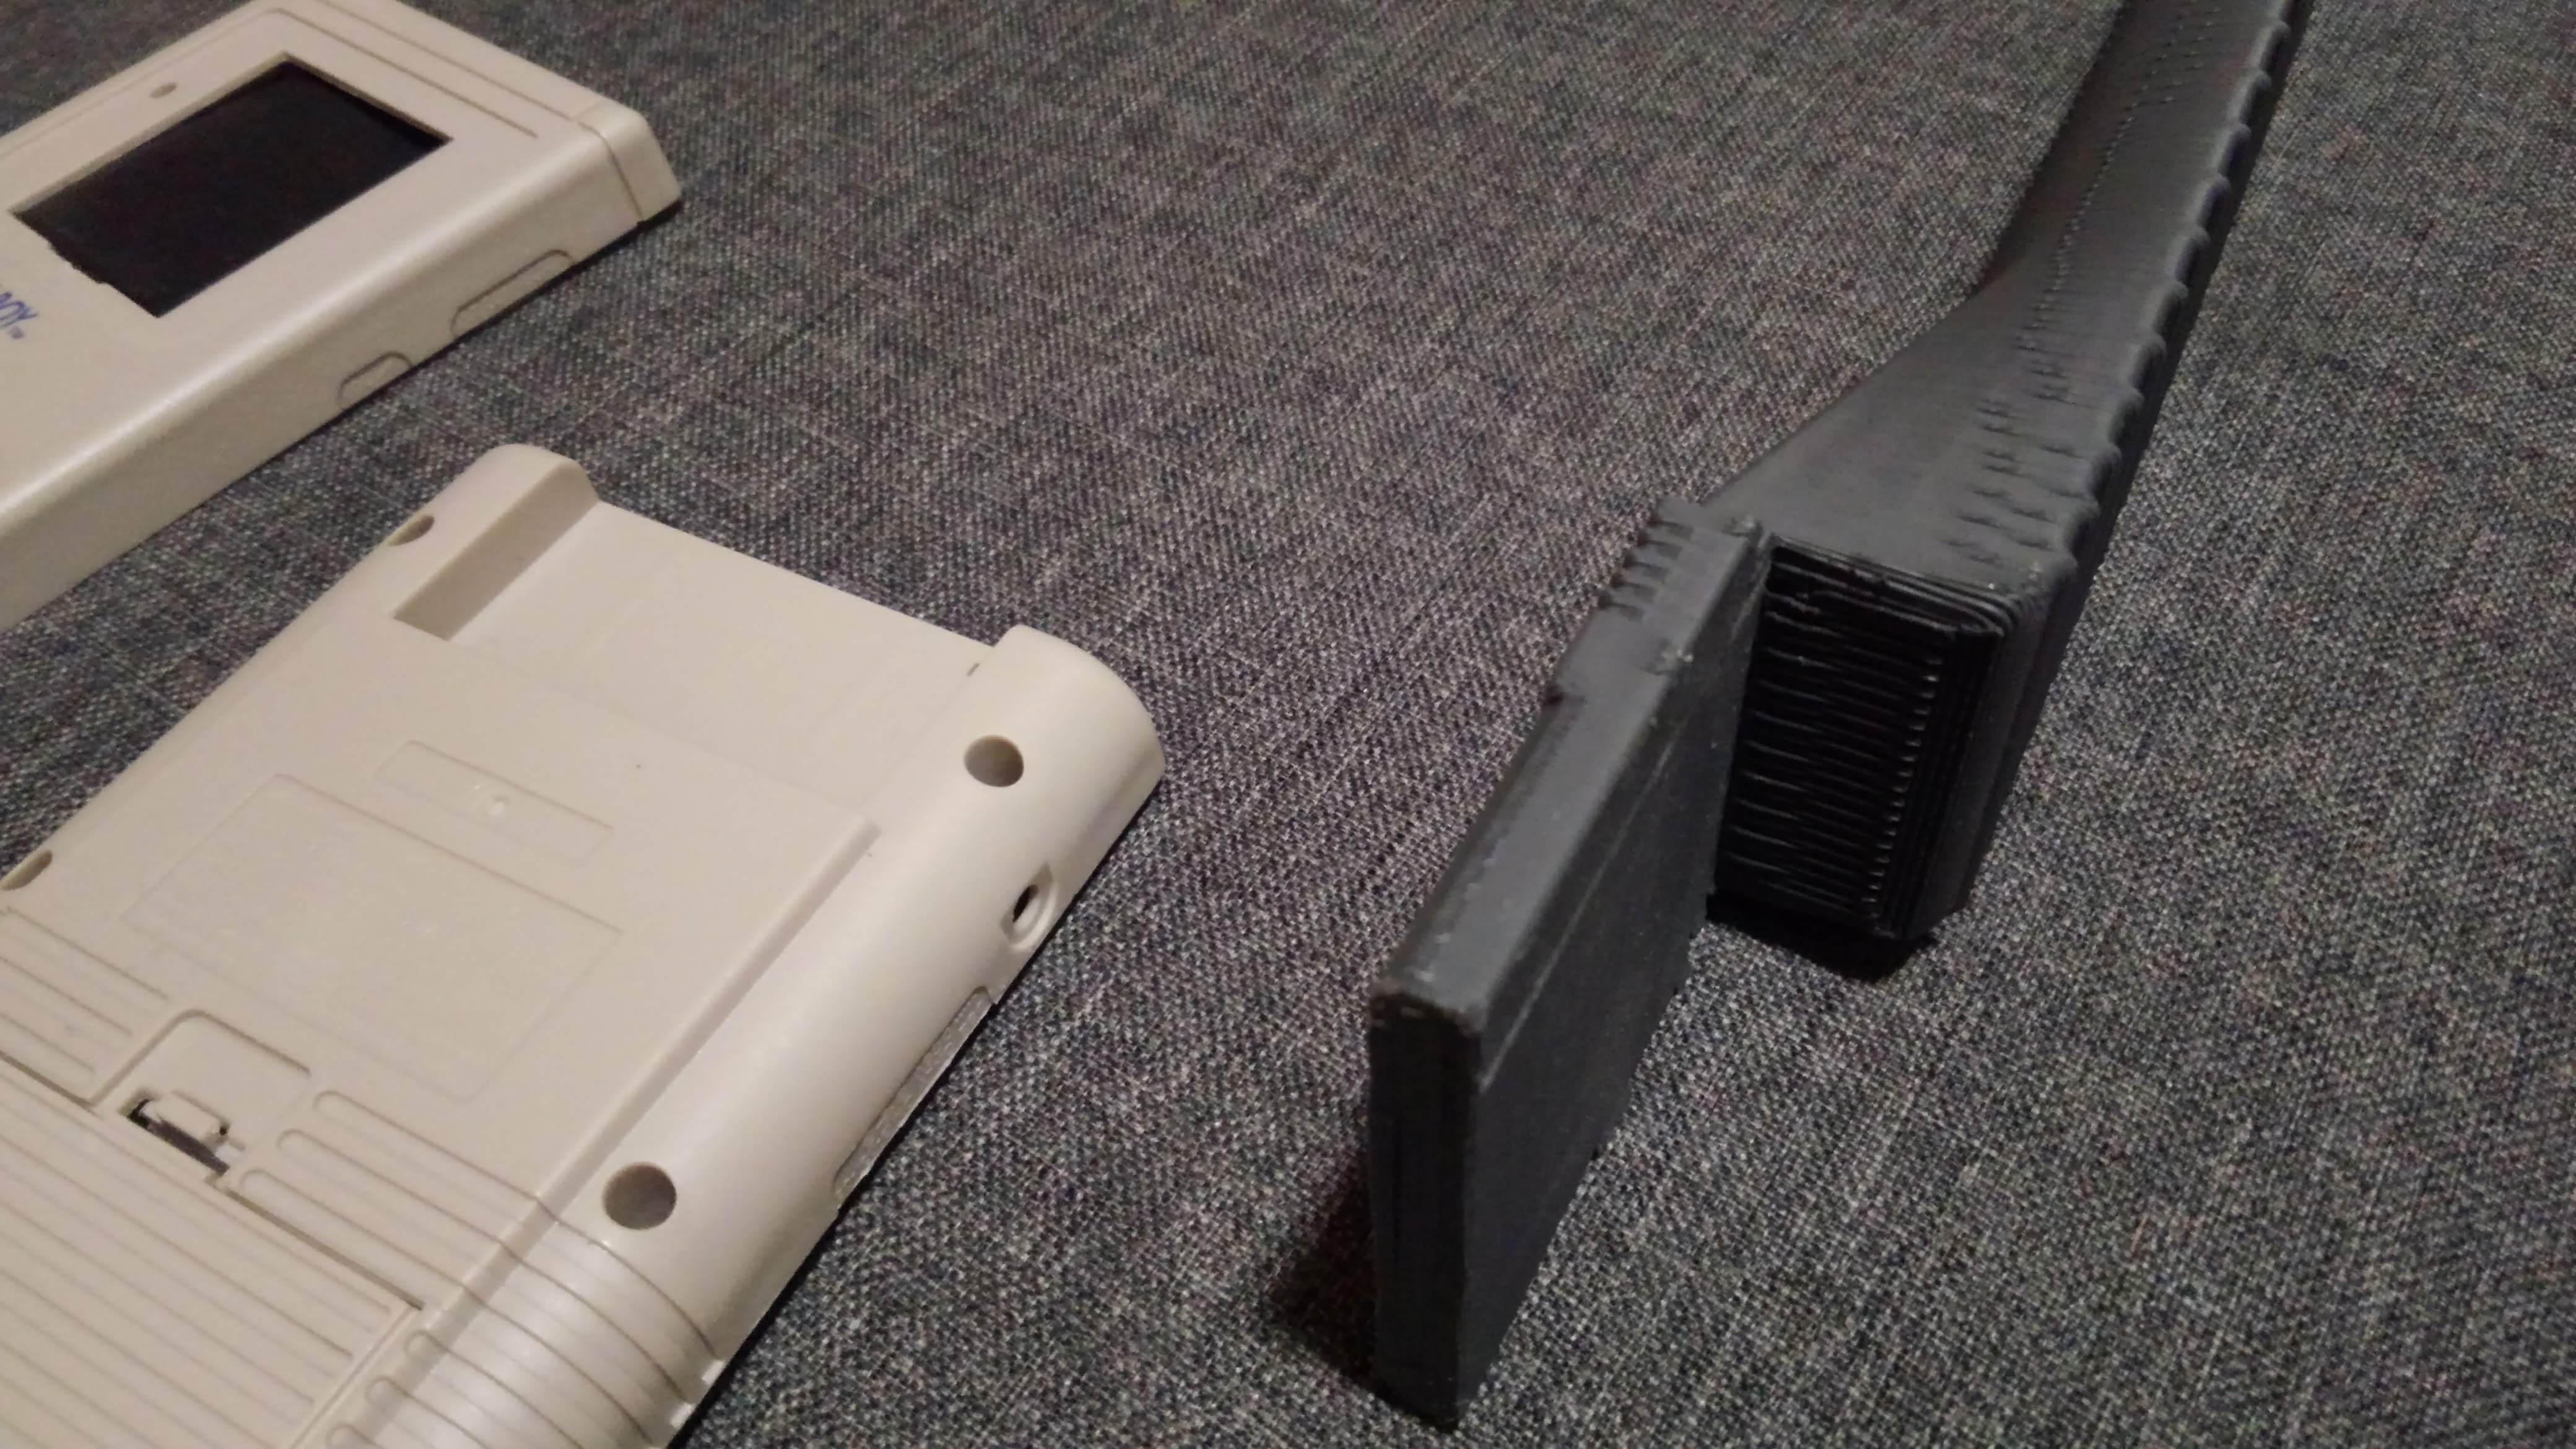
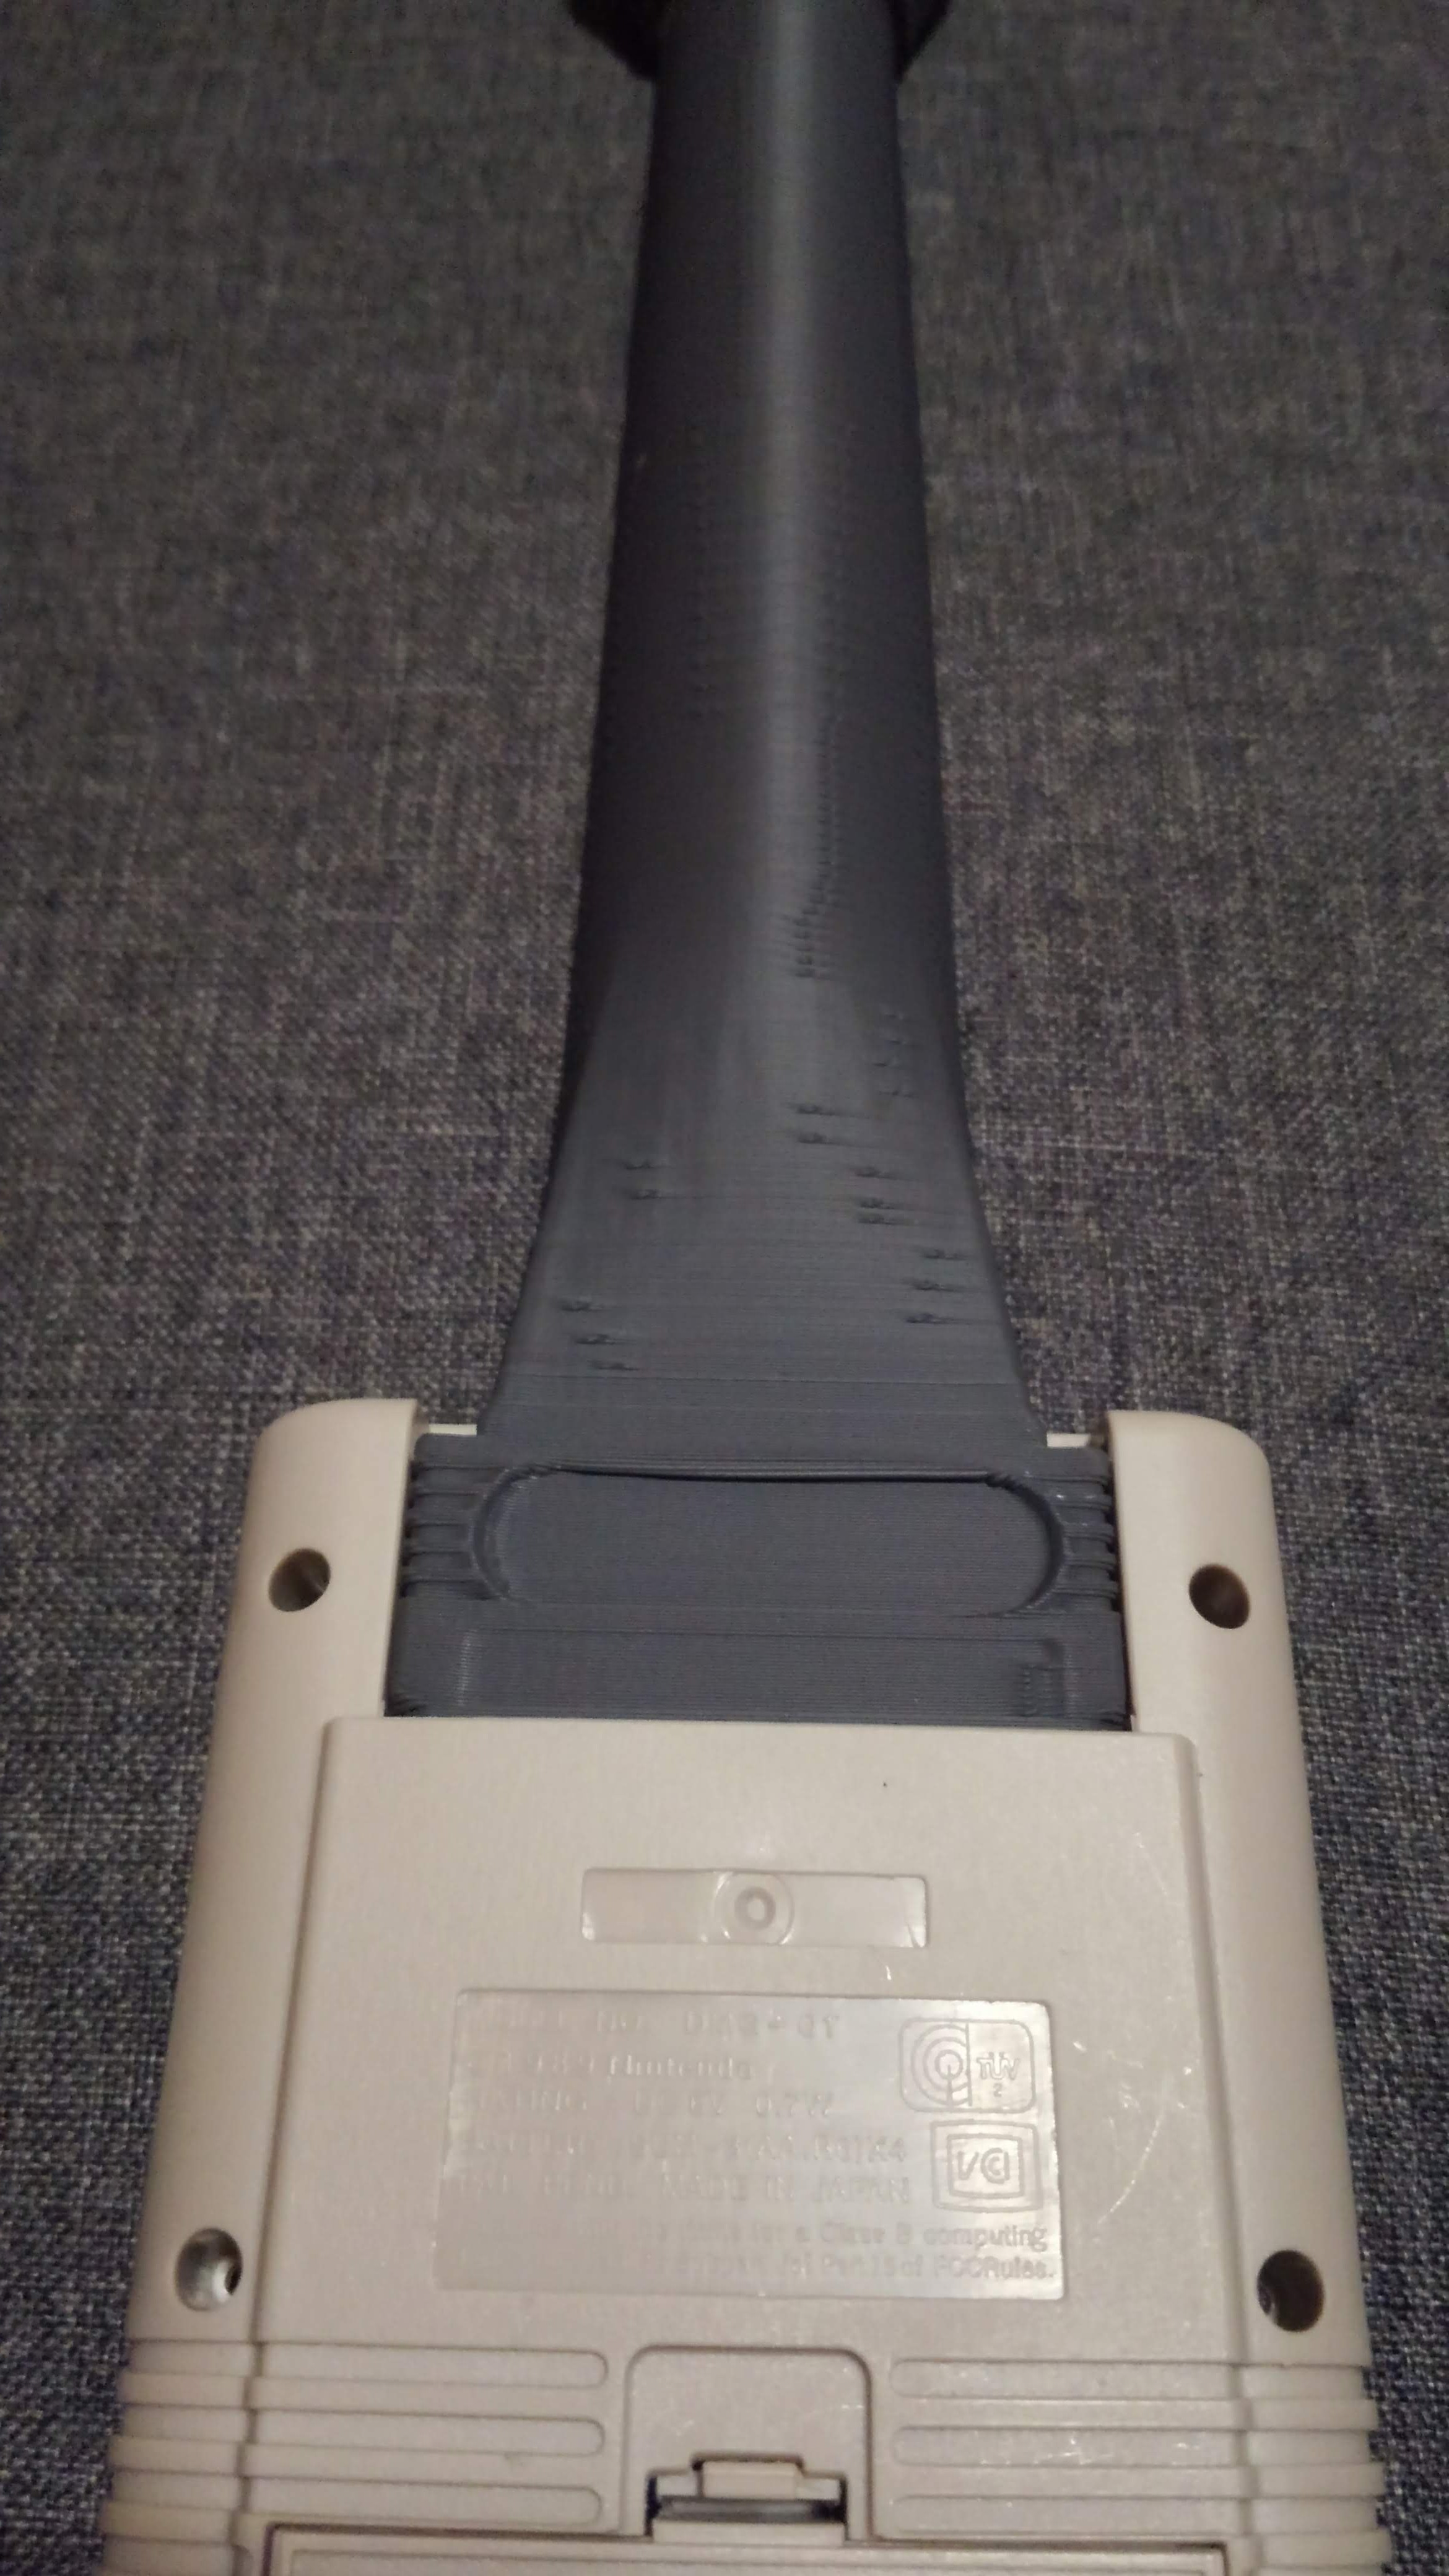
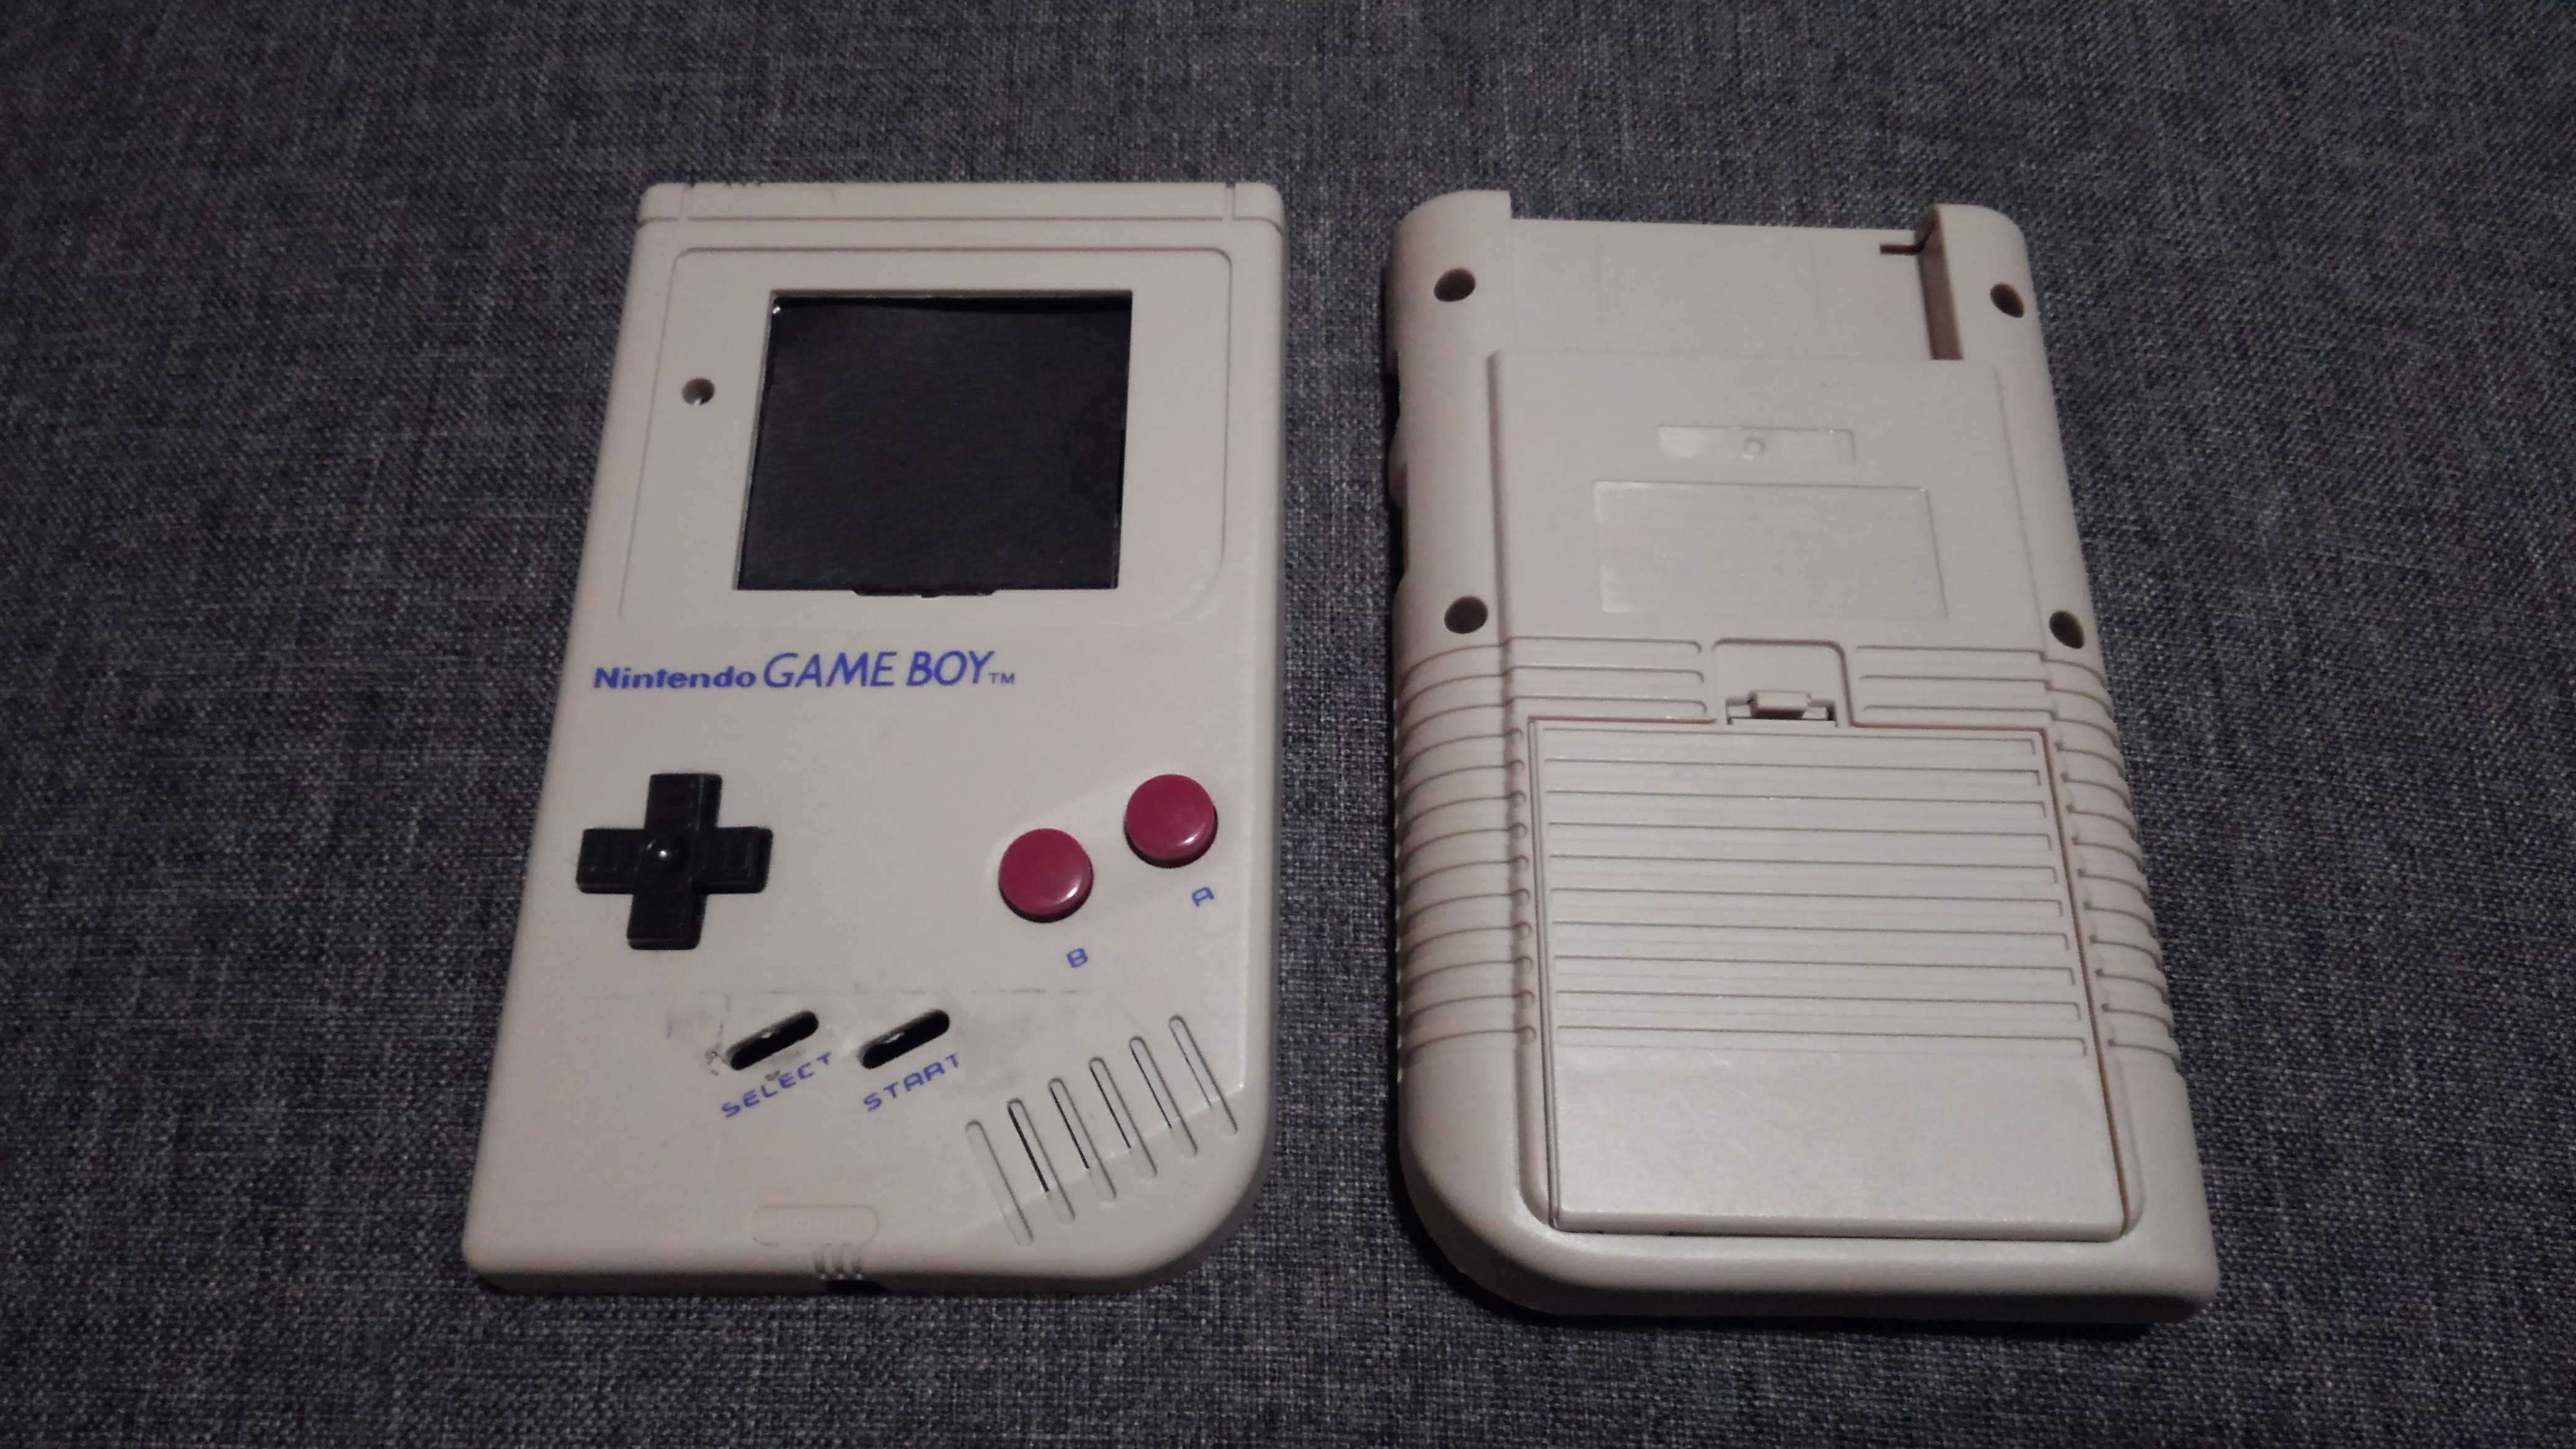
The idee for this ukulele it's can be build without any modification of the gameboy shell without adding screw or glue.
In this intention I design a neck 3D print in one piece for an easy production and a better sound with standard ukulele tuner which can be found cheap an easly on the net .
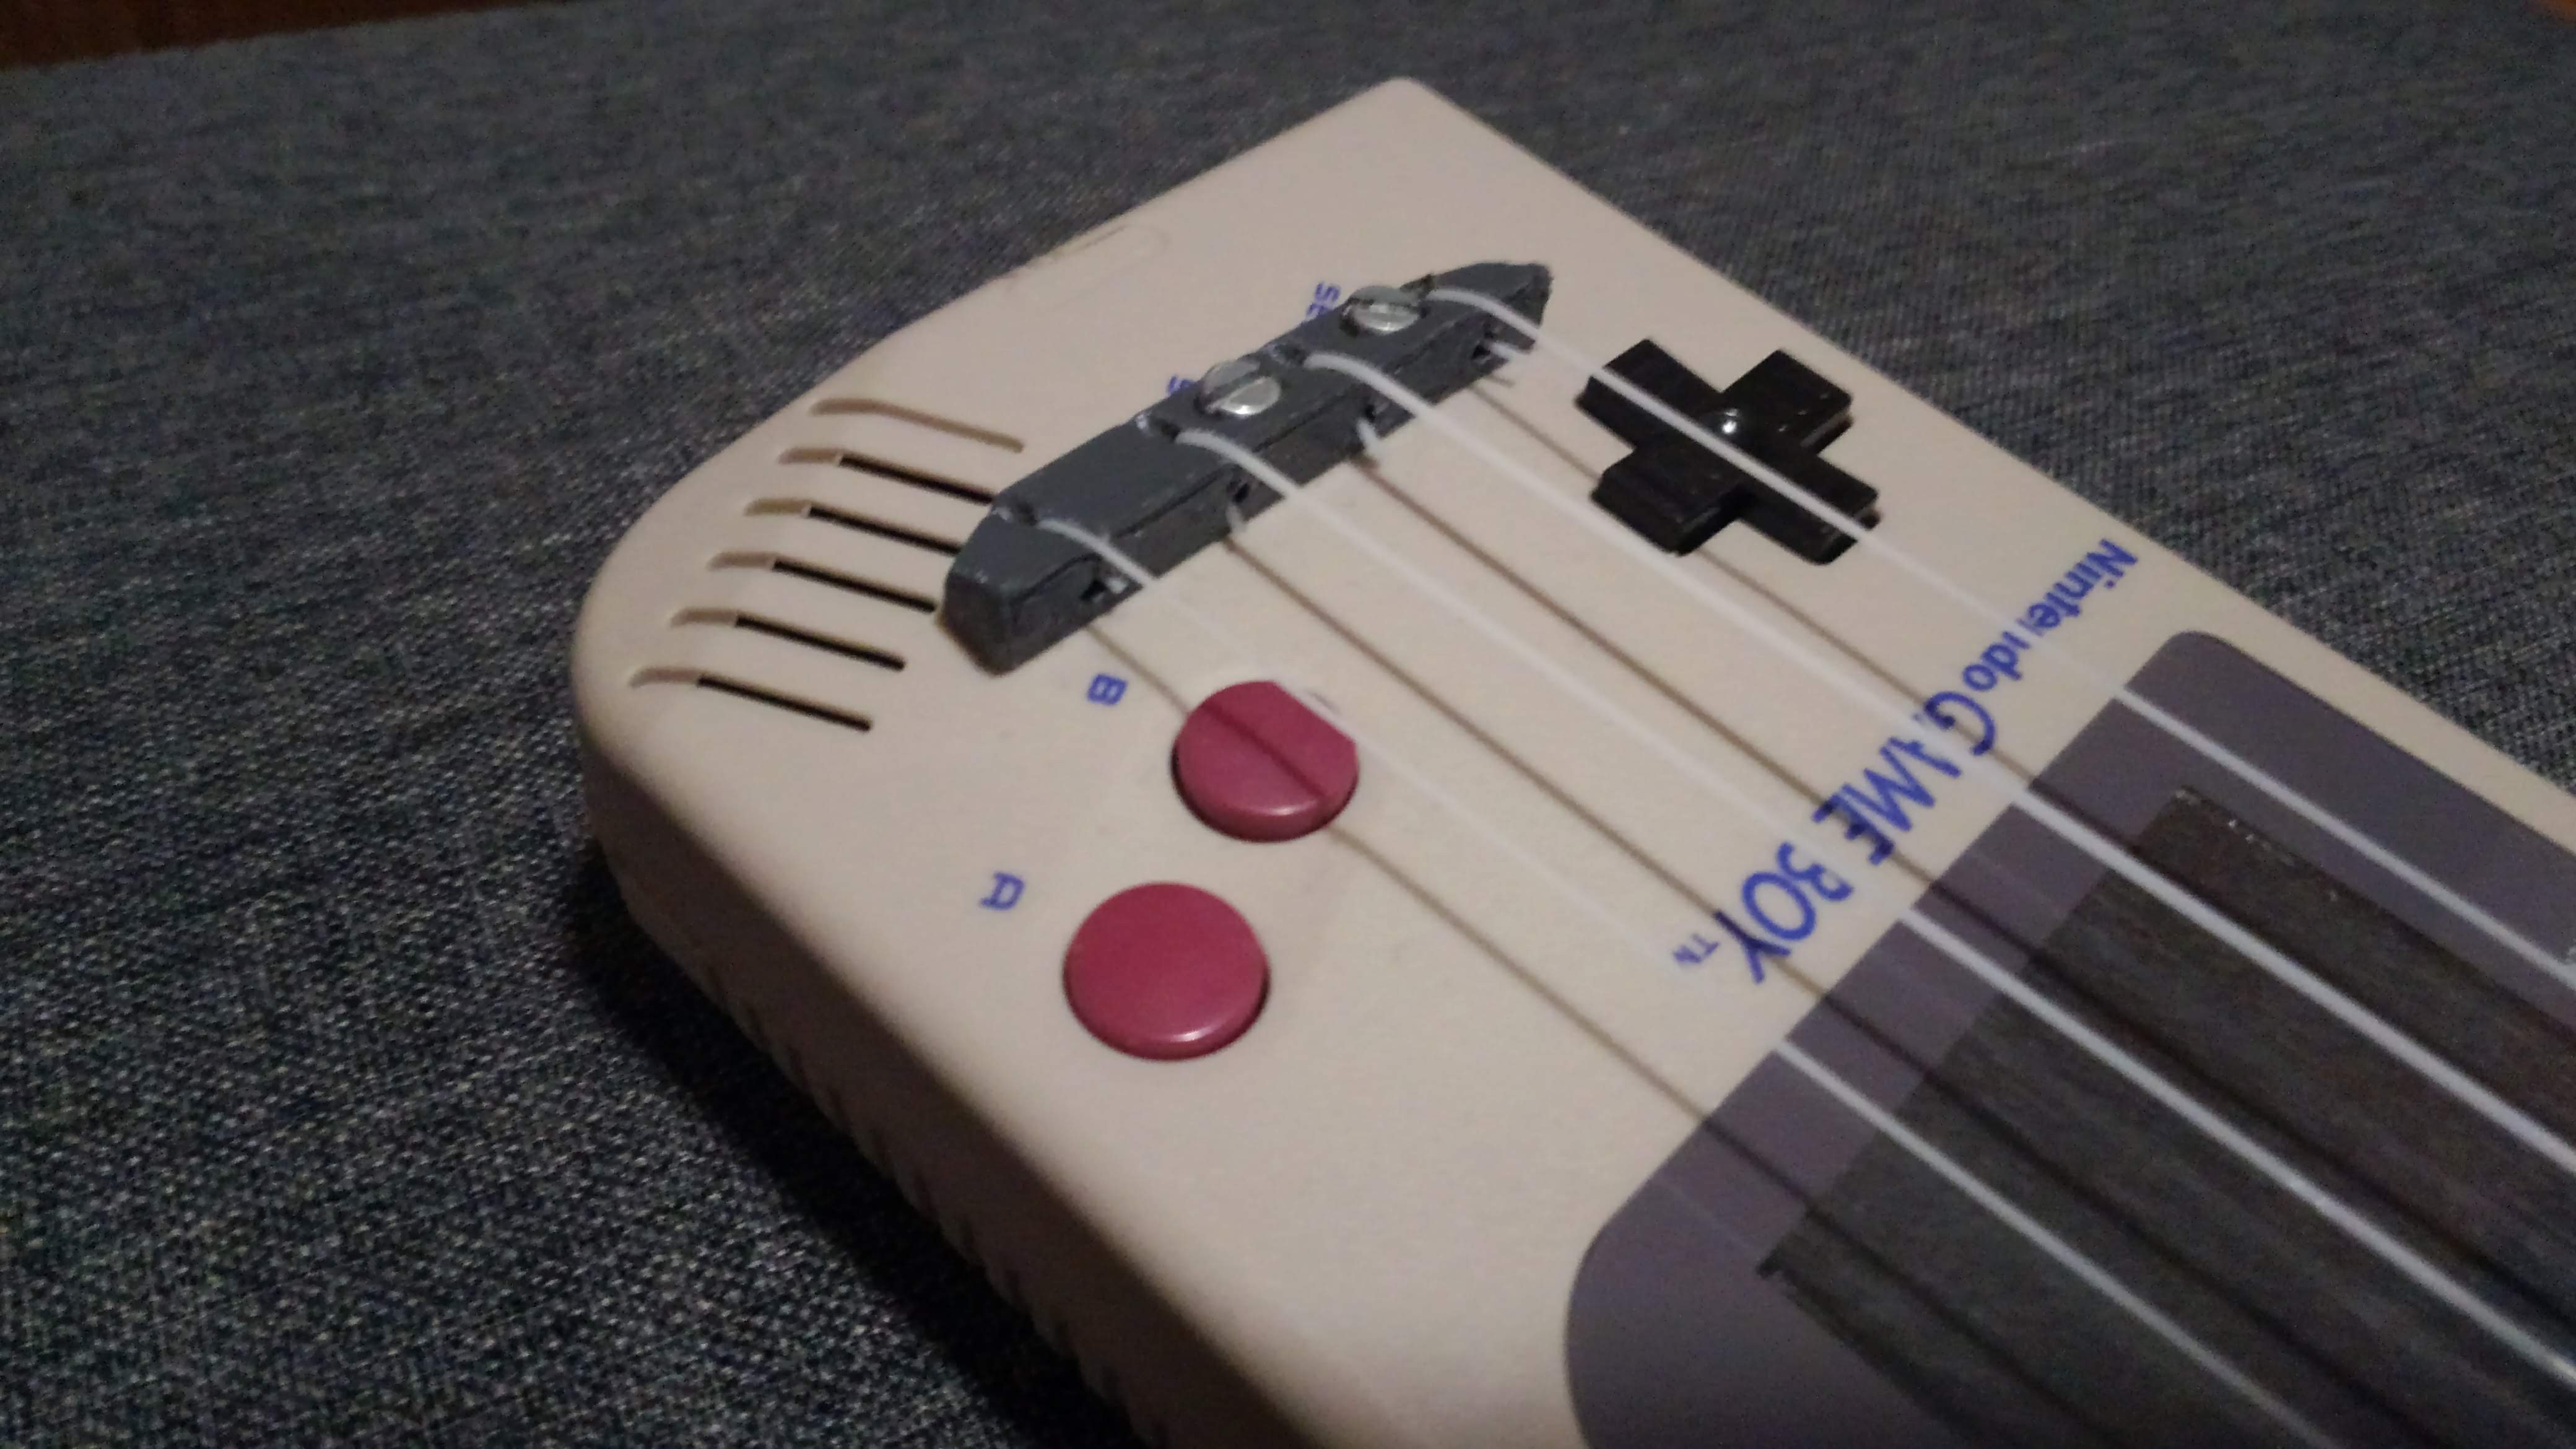
The other piece which need to be build is the bridge. After week of trial, I found the best place is in place of START/SELECT buttons. With screw in the actual holes to fix it and supporting the strings tension.
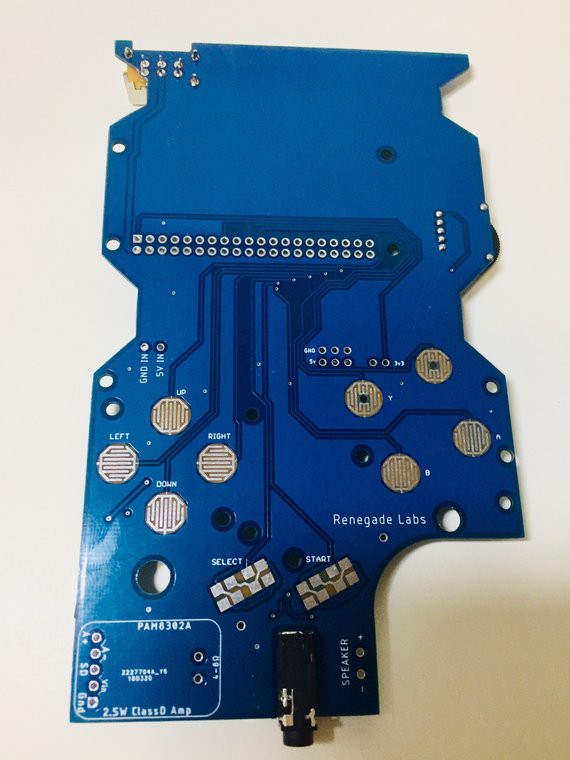
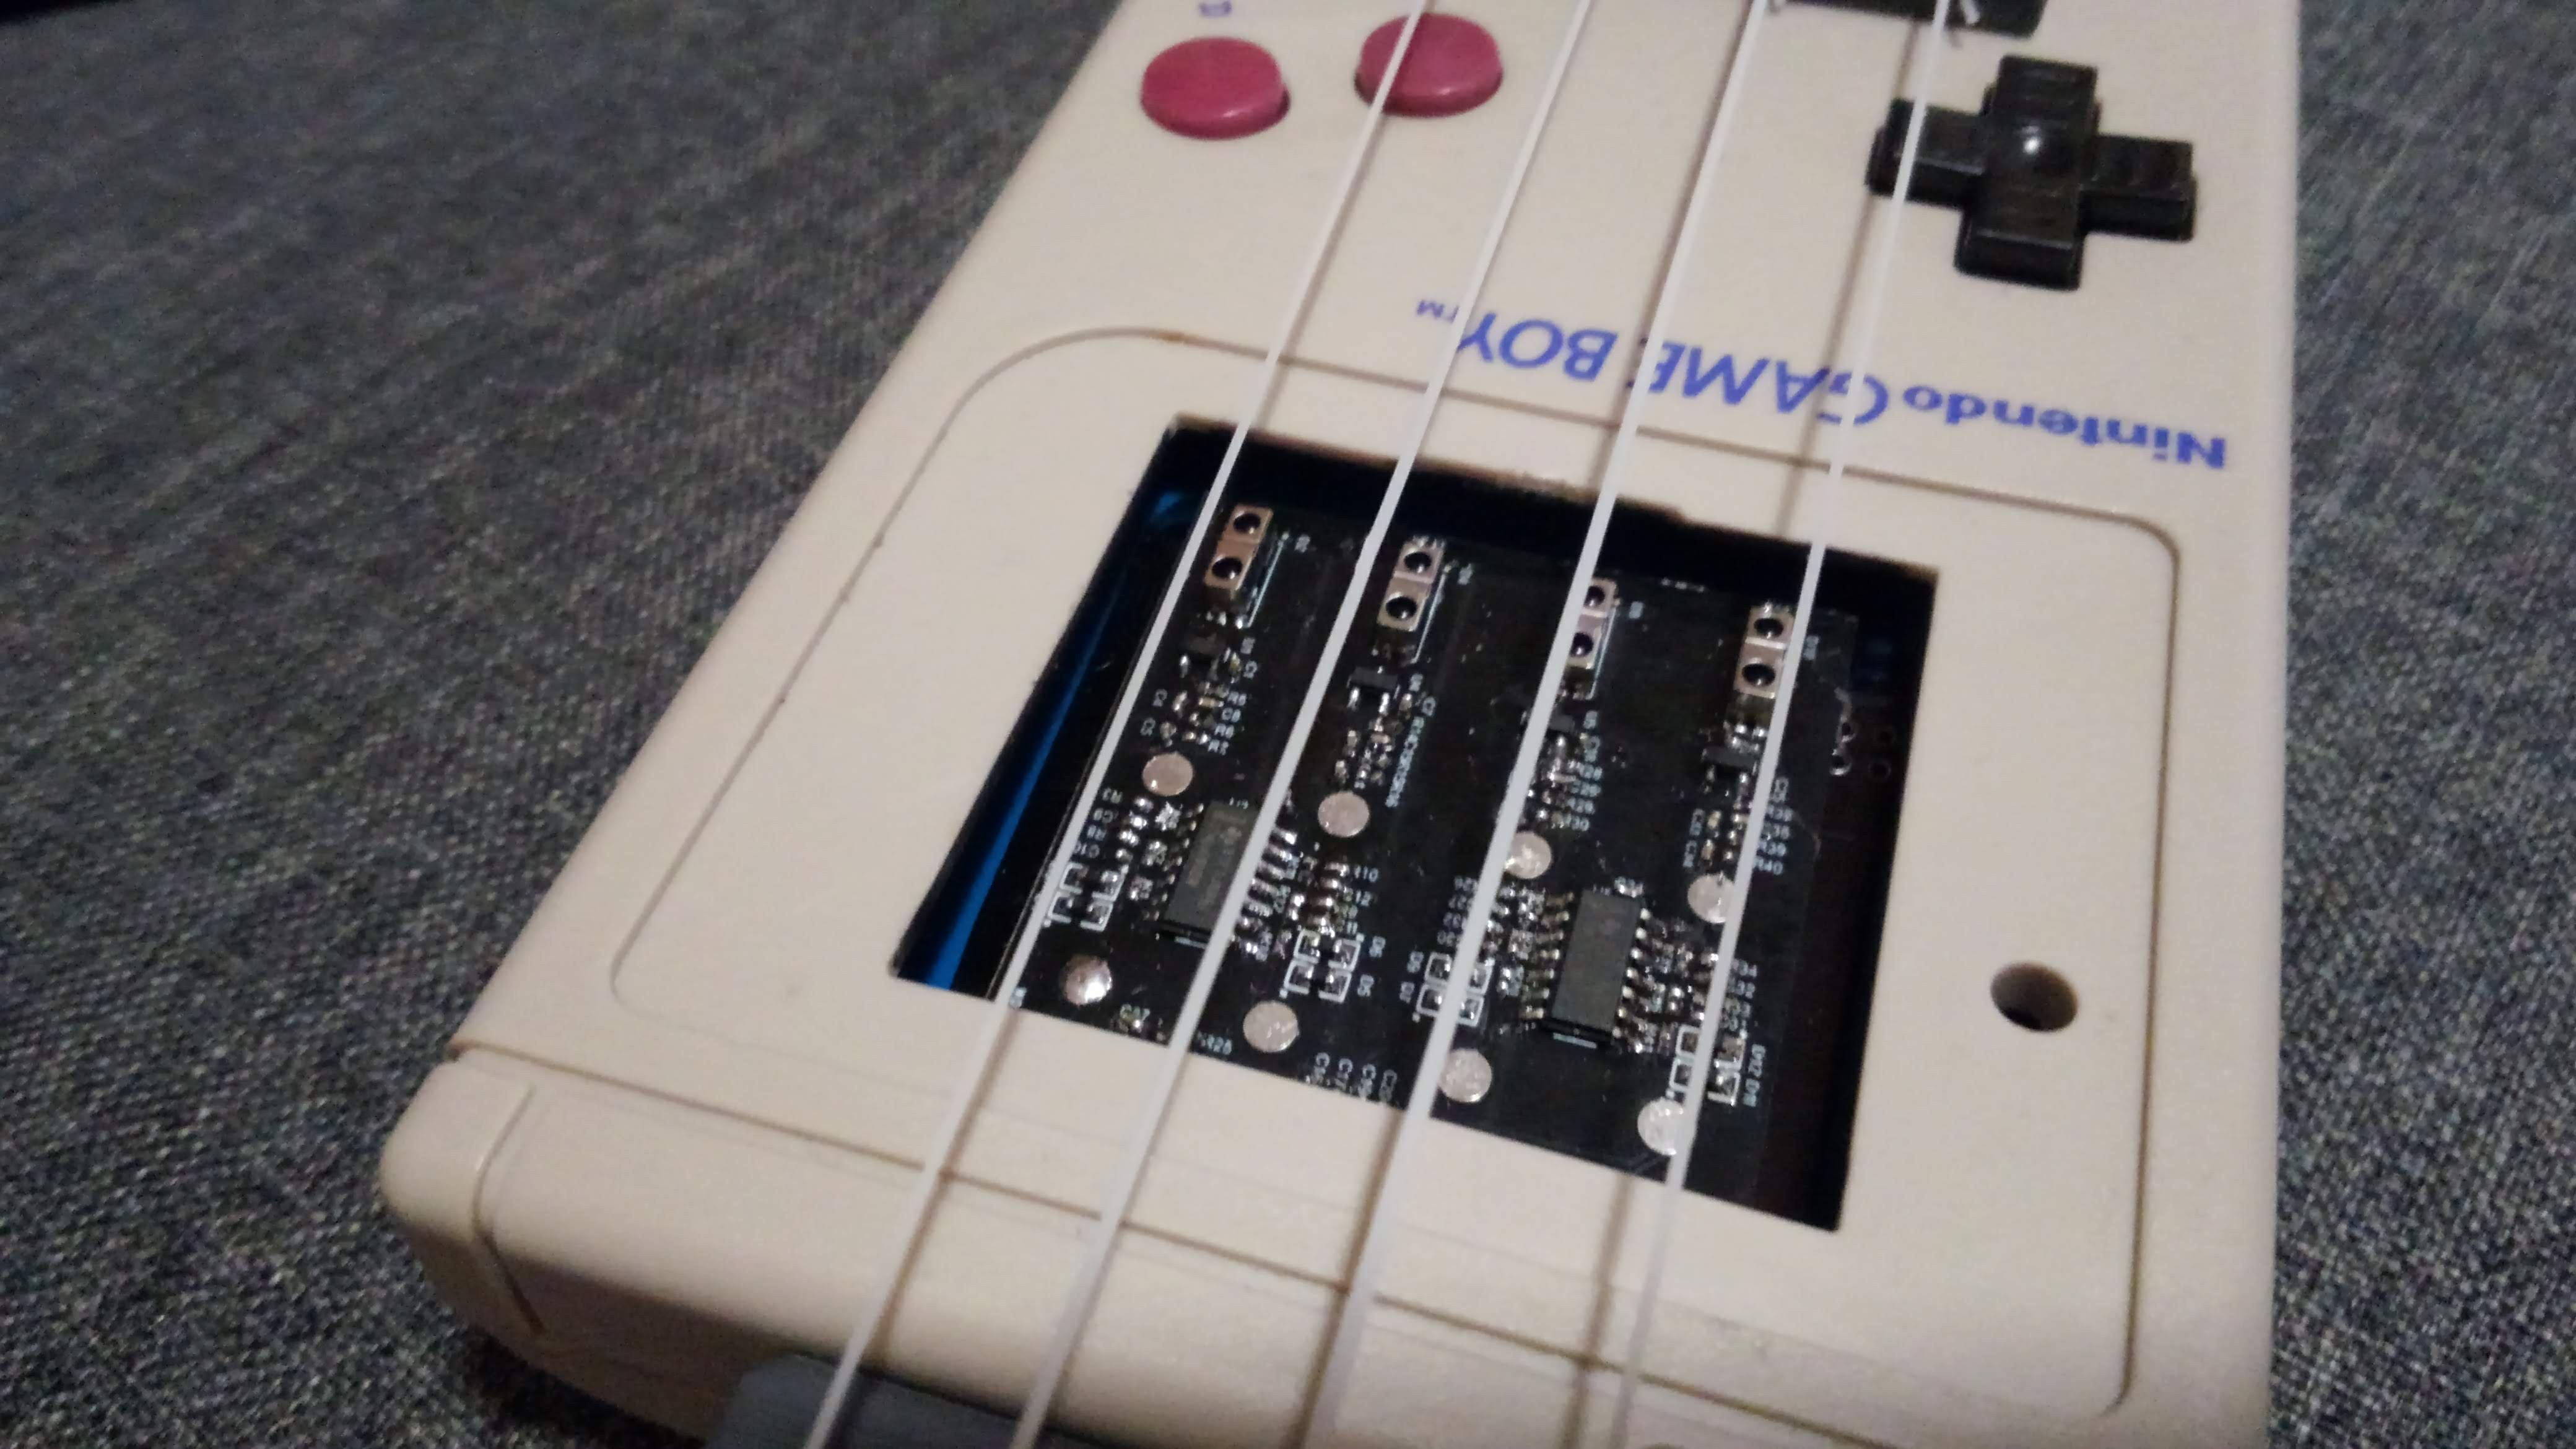
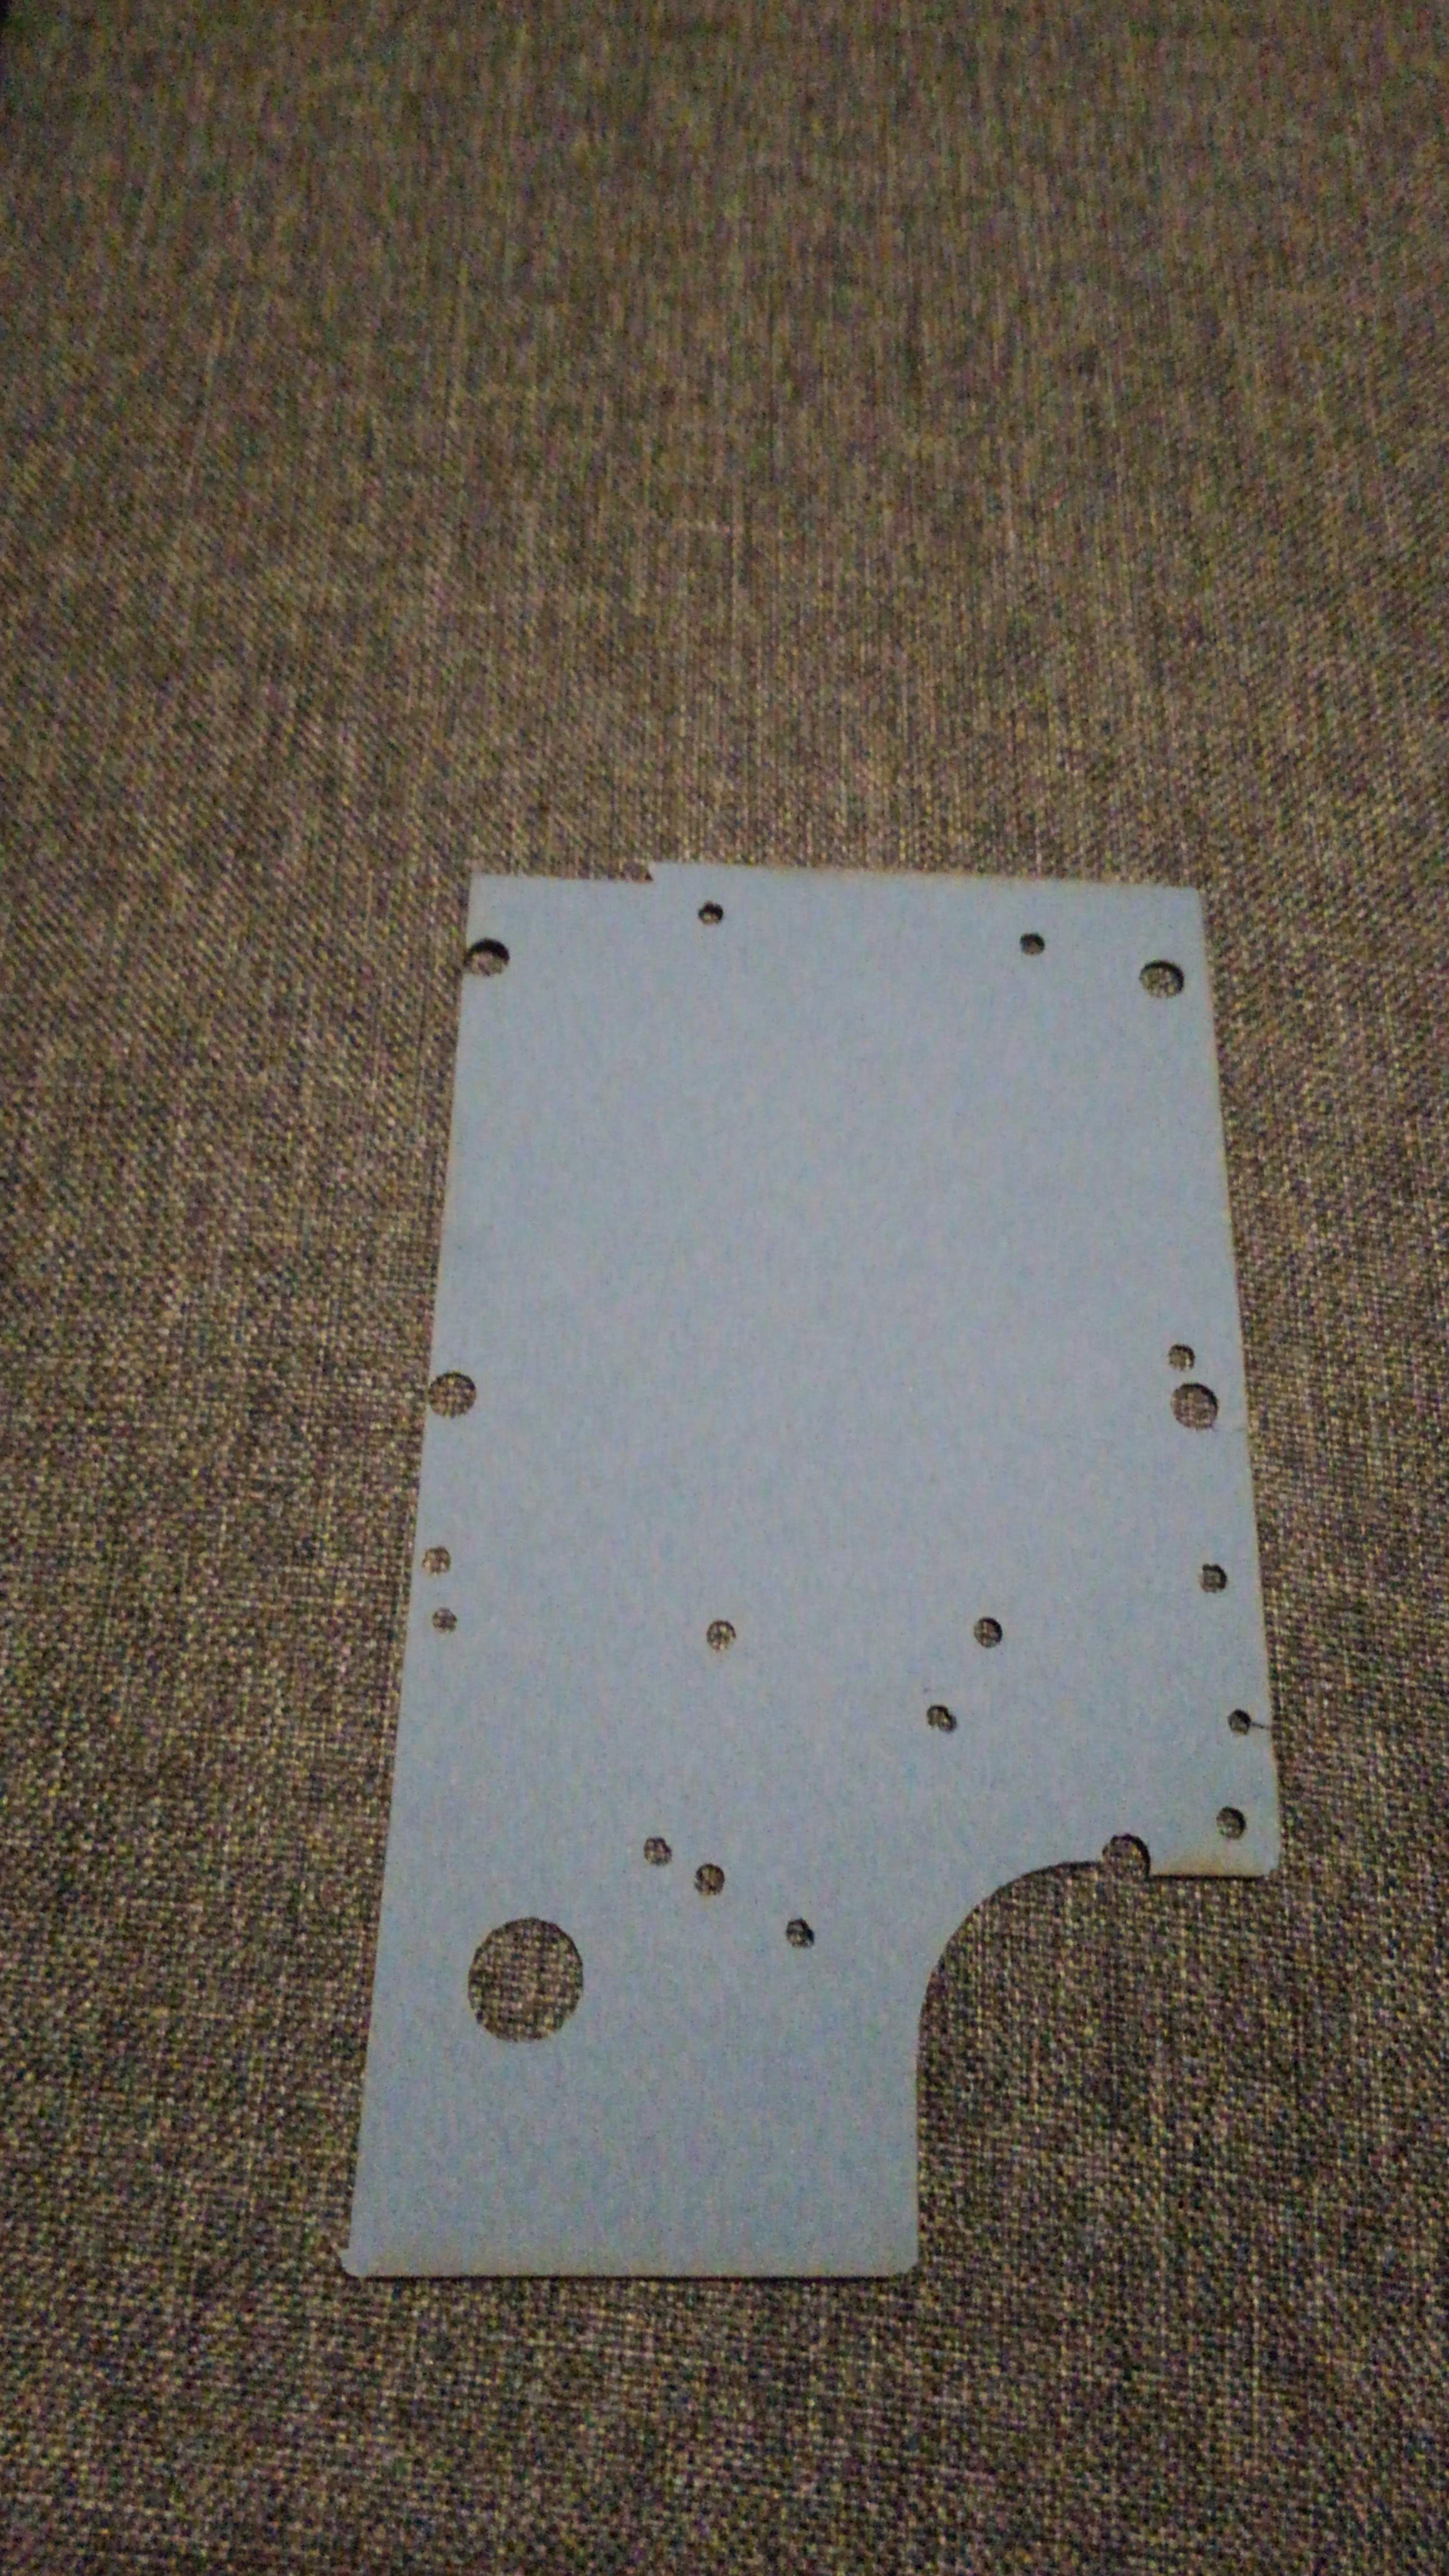
About the strings tension, they are big enought to bend the plastic of the body. To reinforced the body I design a plate to replace the PCB and contercare the tension.
2. Make it sound as an original gameboy
The Game Boy has four sound channels: two square waves with adjustable duty, a programmable wave table, and a noise generator. But a yukulele get 4 string so it can't be use for it.
This audio-processor as all of this vintage console are not product anymore, so the best thing to do is to recreate this sound string by string.
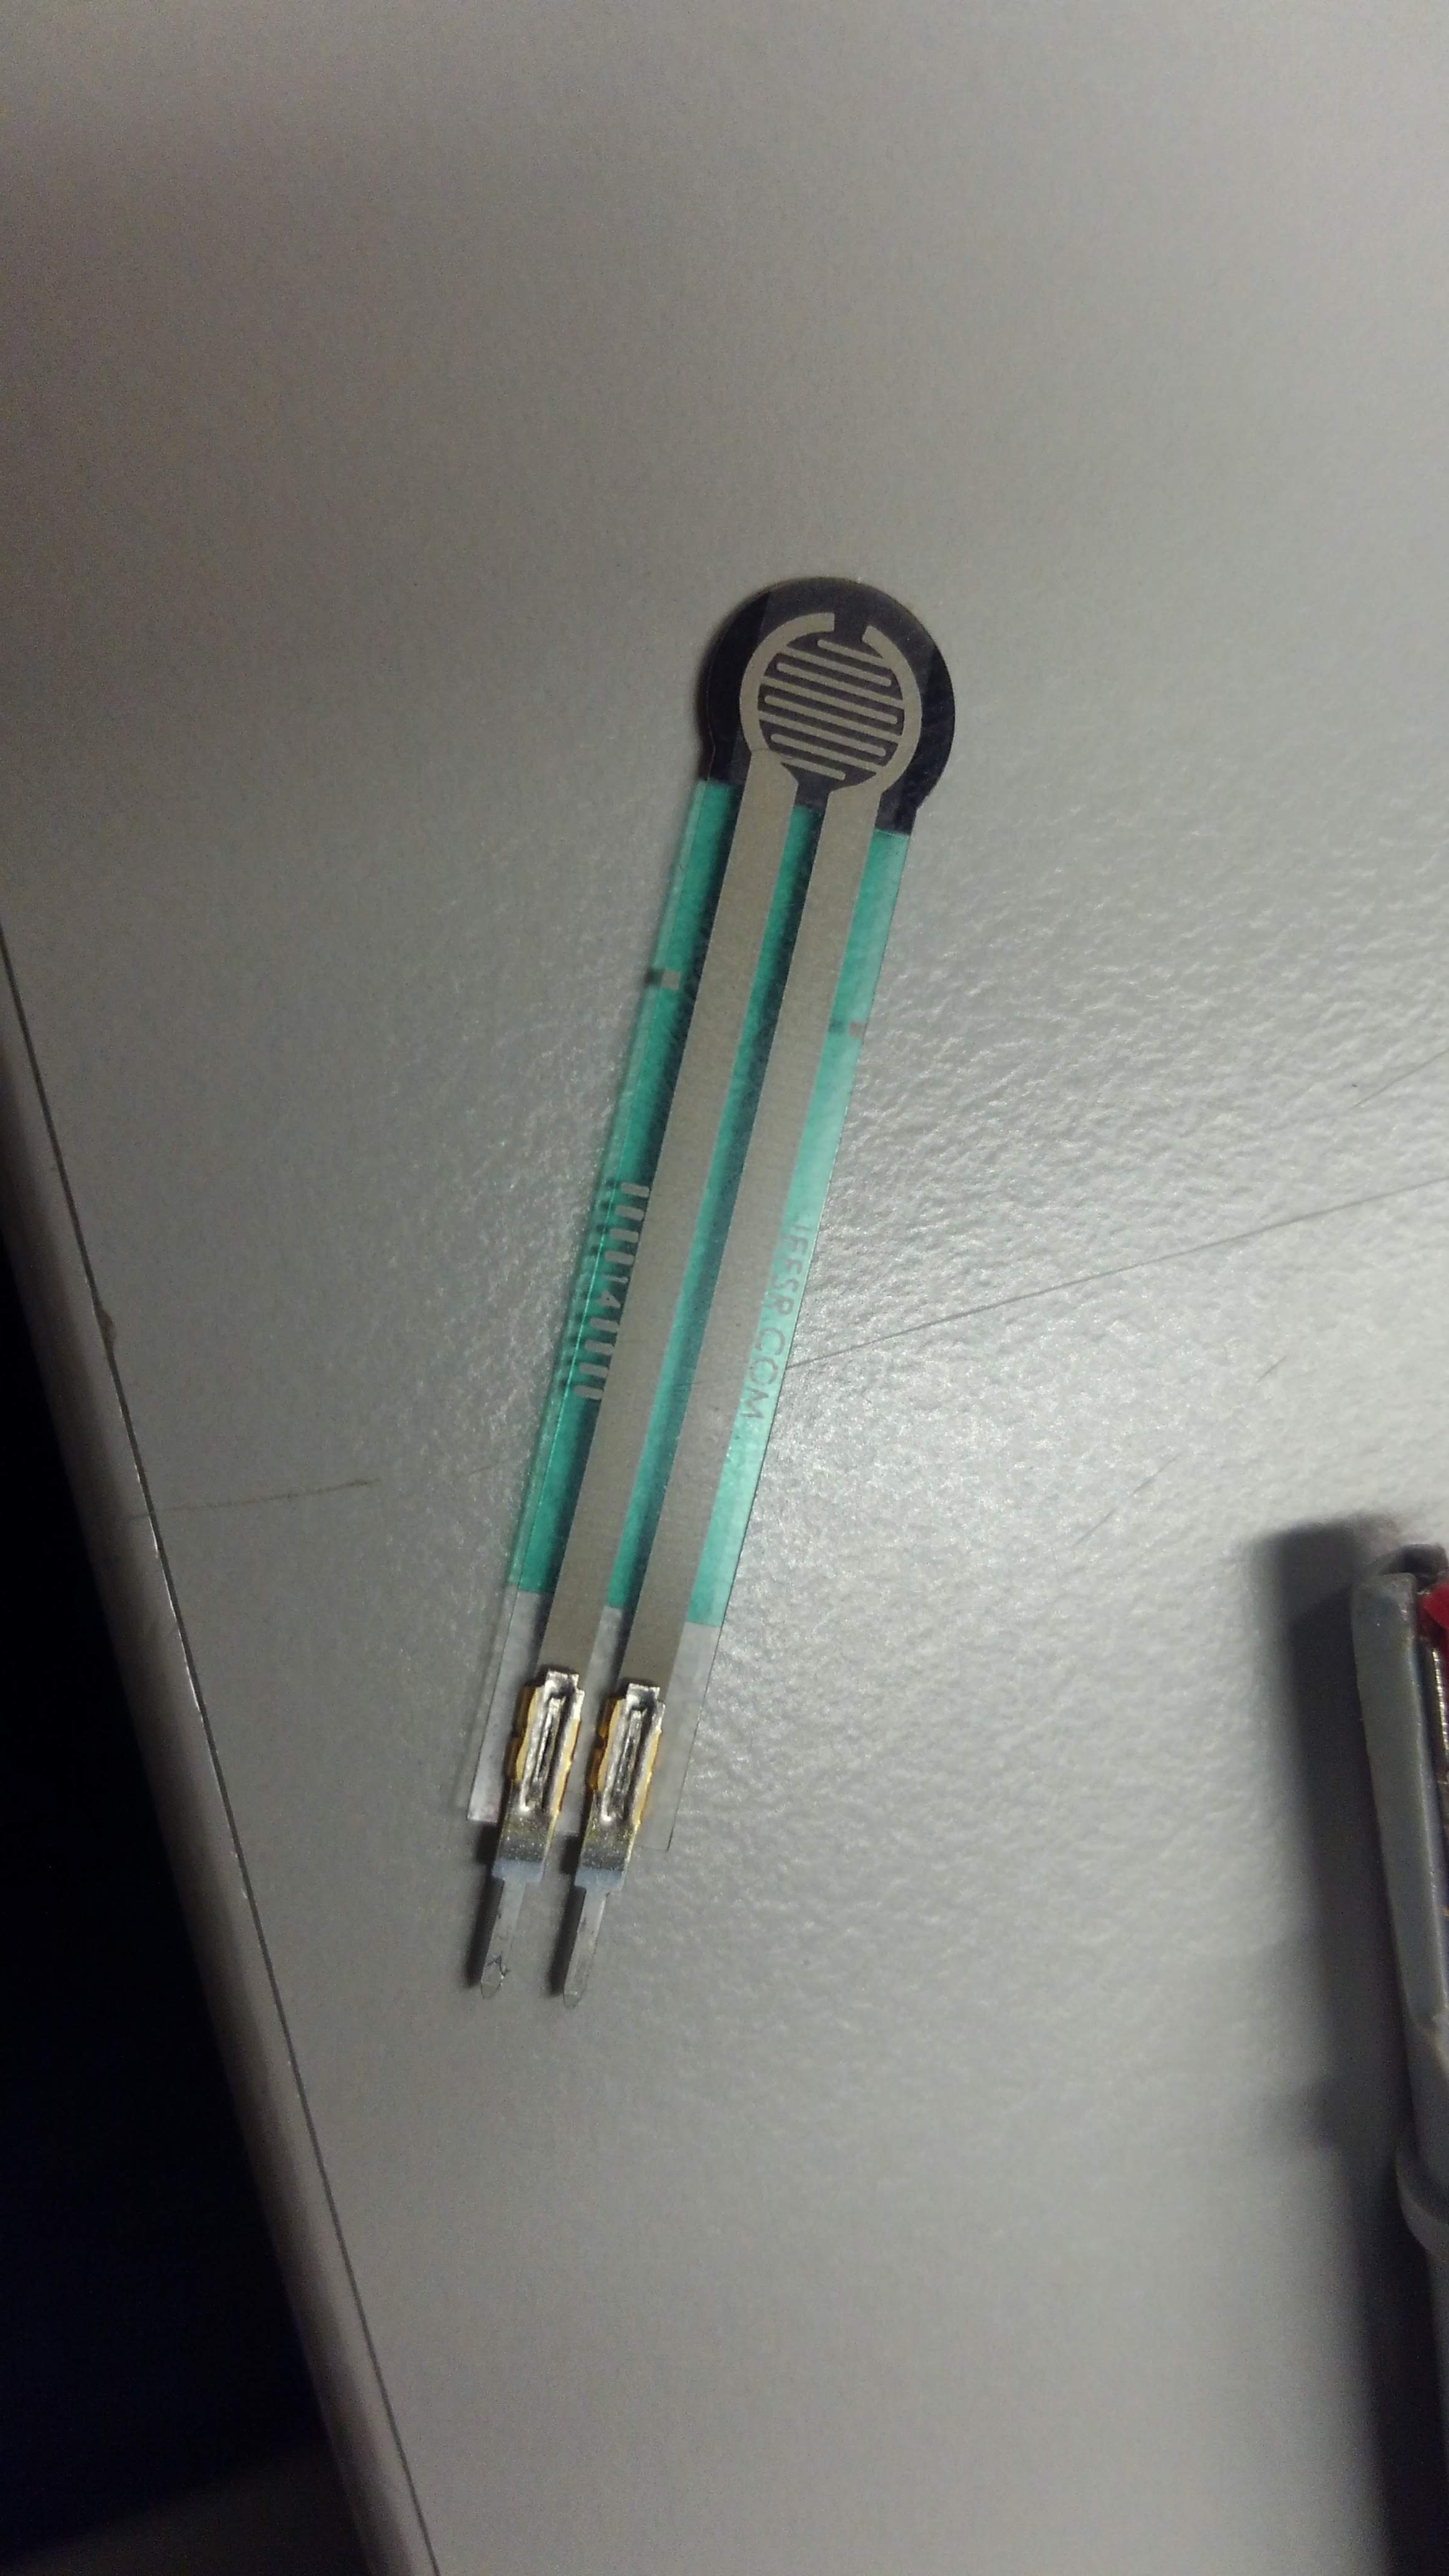
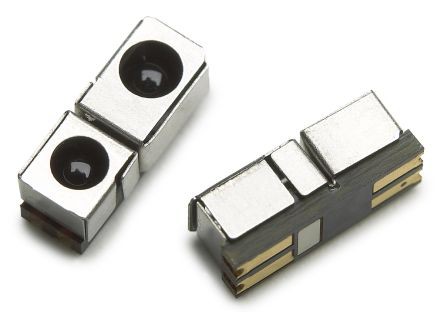
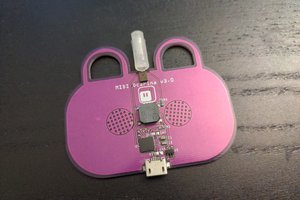
Actual ukulele or other instrument pickup sense all strings at the times and the strings are not in metal, wich reduce the choise for the sensor. After some try I choose IR reflective sensor which are not so expensive and the consumsion are low (20mA each sensors) sun light resistant and with a good string sensibility.
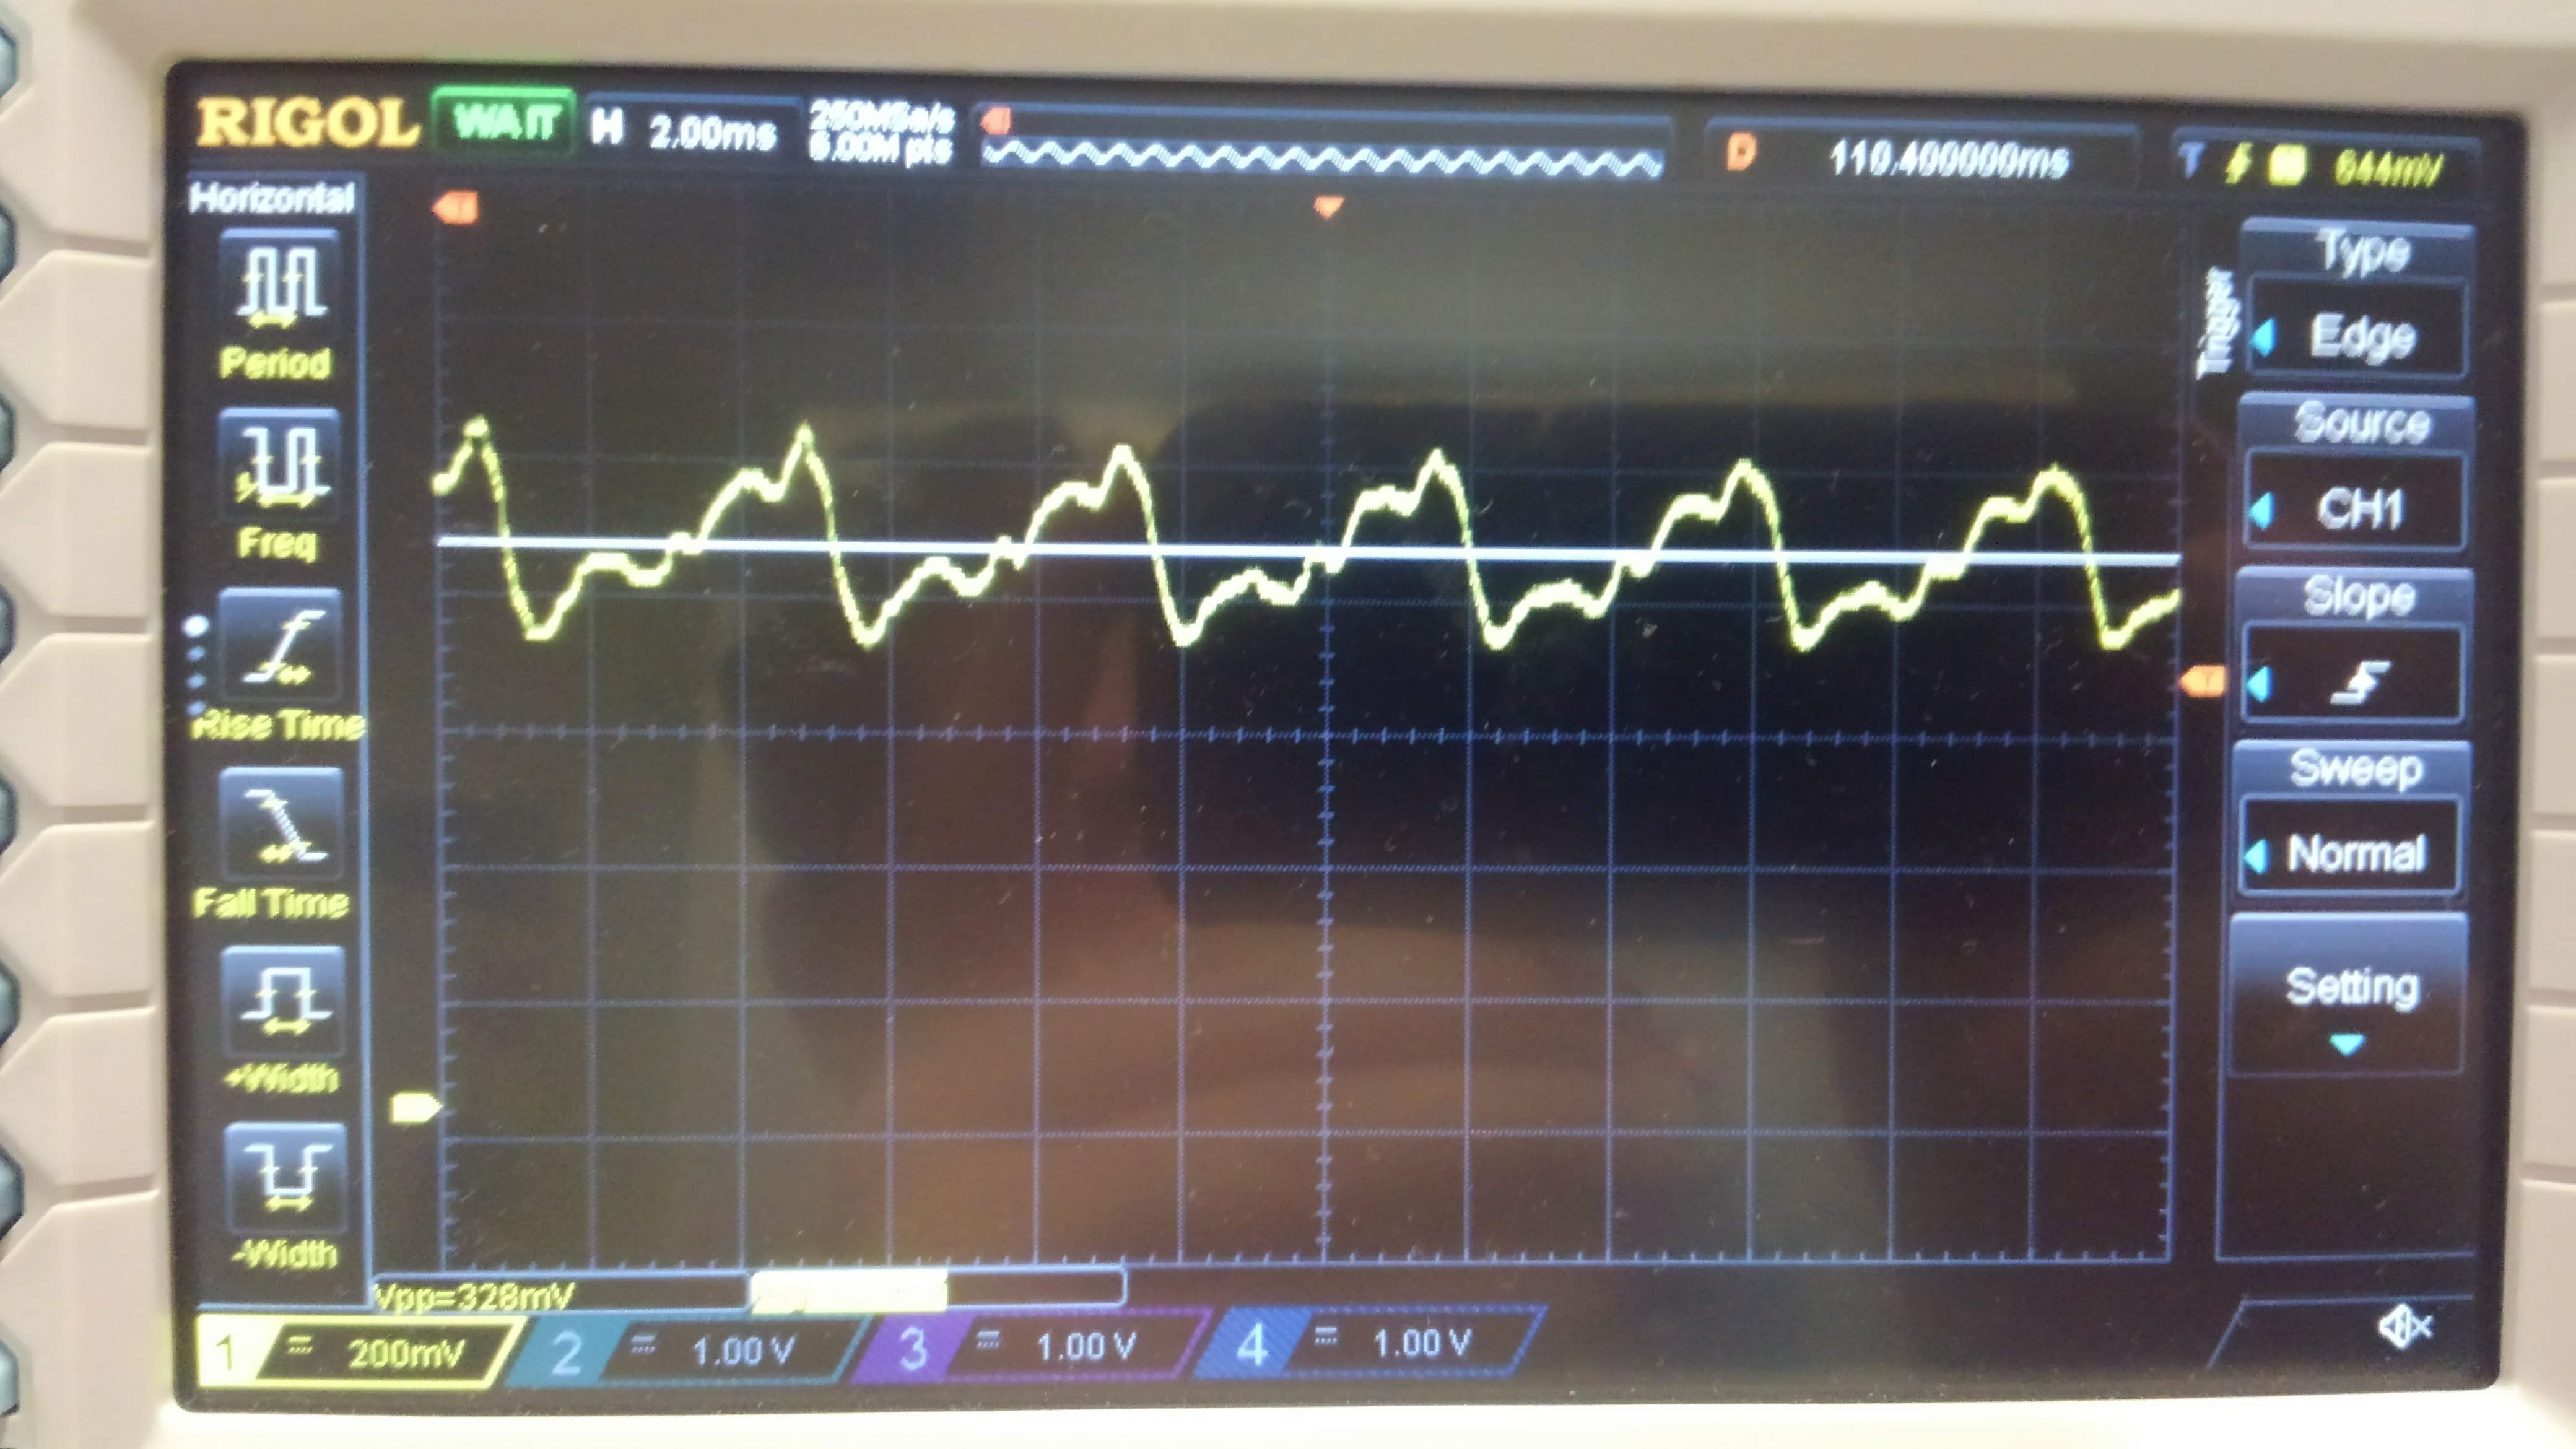
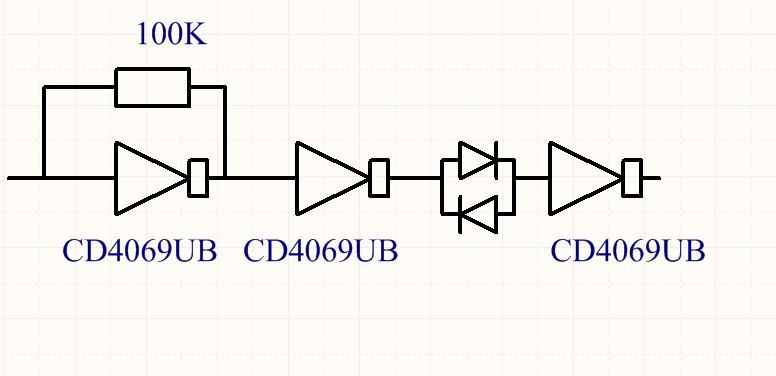
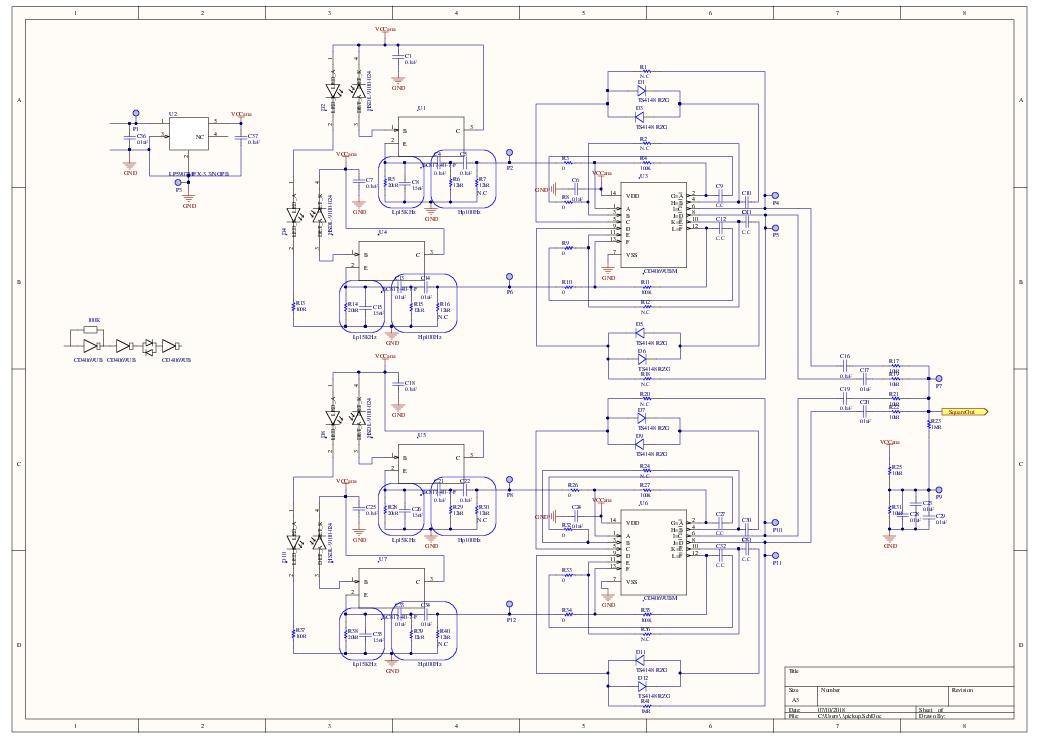
The sound of the string is square-up with a fuzz effect with logic-gate use as amplifier to get the vintage touch and the warm of analogic sound.
All strings square sounds are mixed-up and send via a 2W amplifier to a speaker or headphone wich can be trim by thumbpot potentiometer.
3. Send it in a bluetooth chip to convert in MIDI
The power is provide by 4xAA battery from the original battery.
For the MIDI convertion we need for eache string this dynamic/volume signal and the frequency/note. Each of this signals is provide by the pickup and the fuzz effect wich square up the signal and send it to the ESP32.
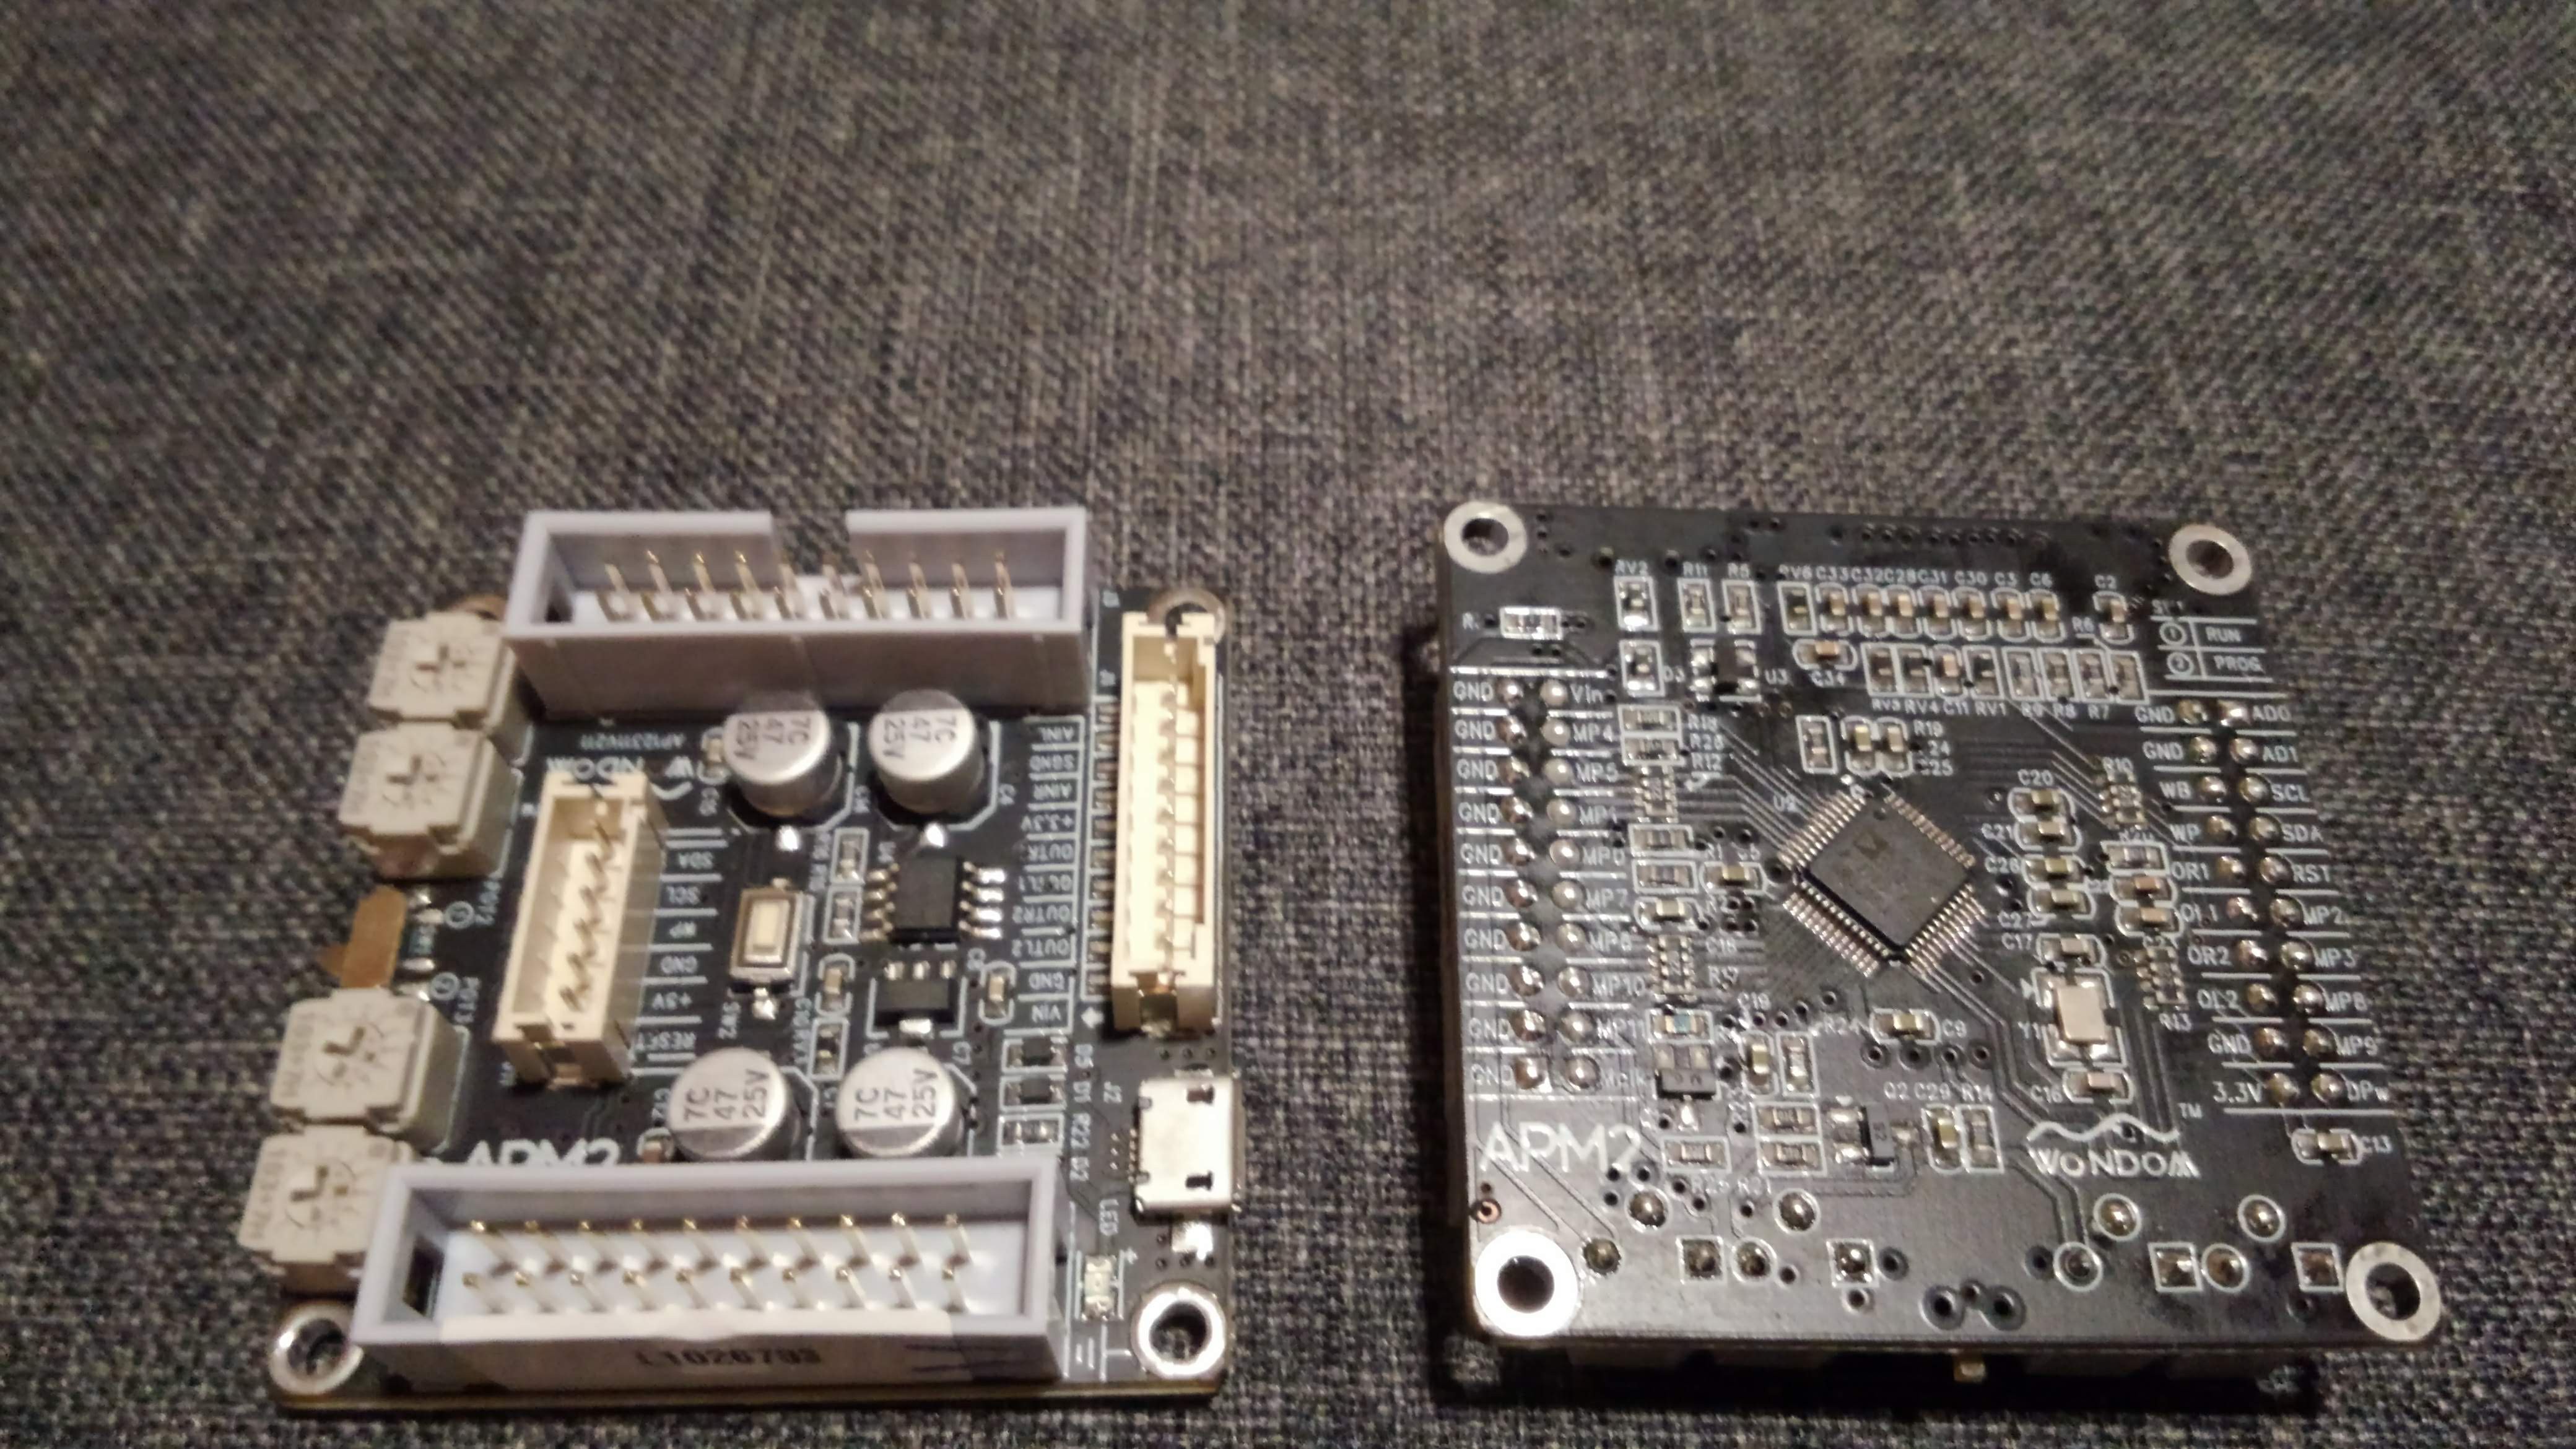
Fer bluetooth connextion, I choose the cheap and easy ESP32 and a screen to enter into the menu with the gameboy playable buttons
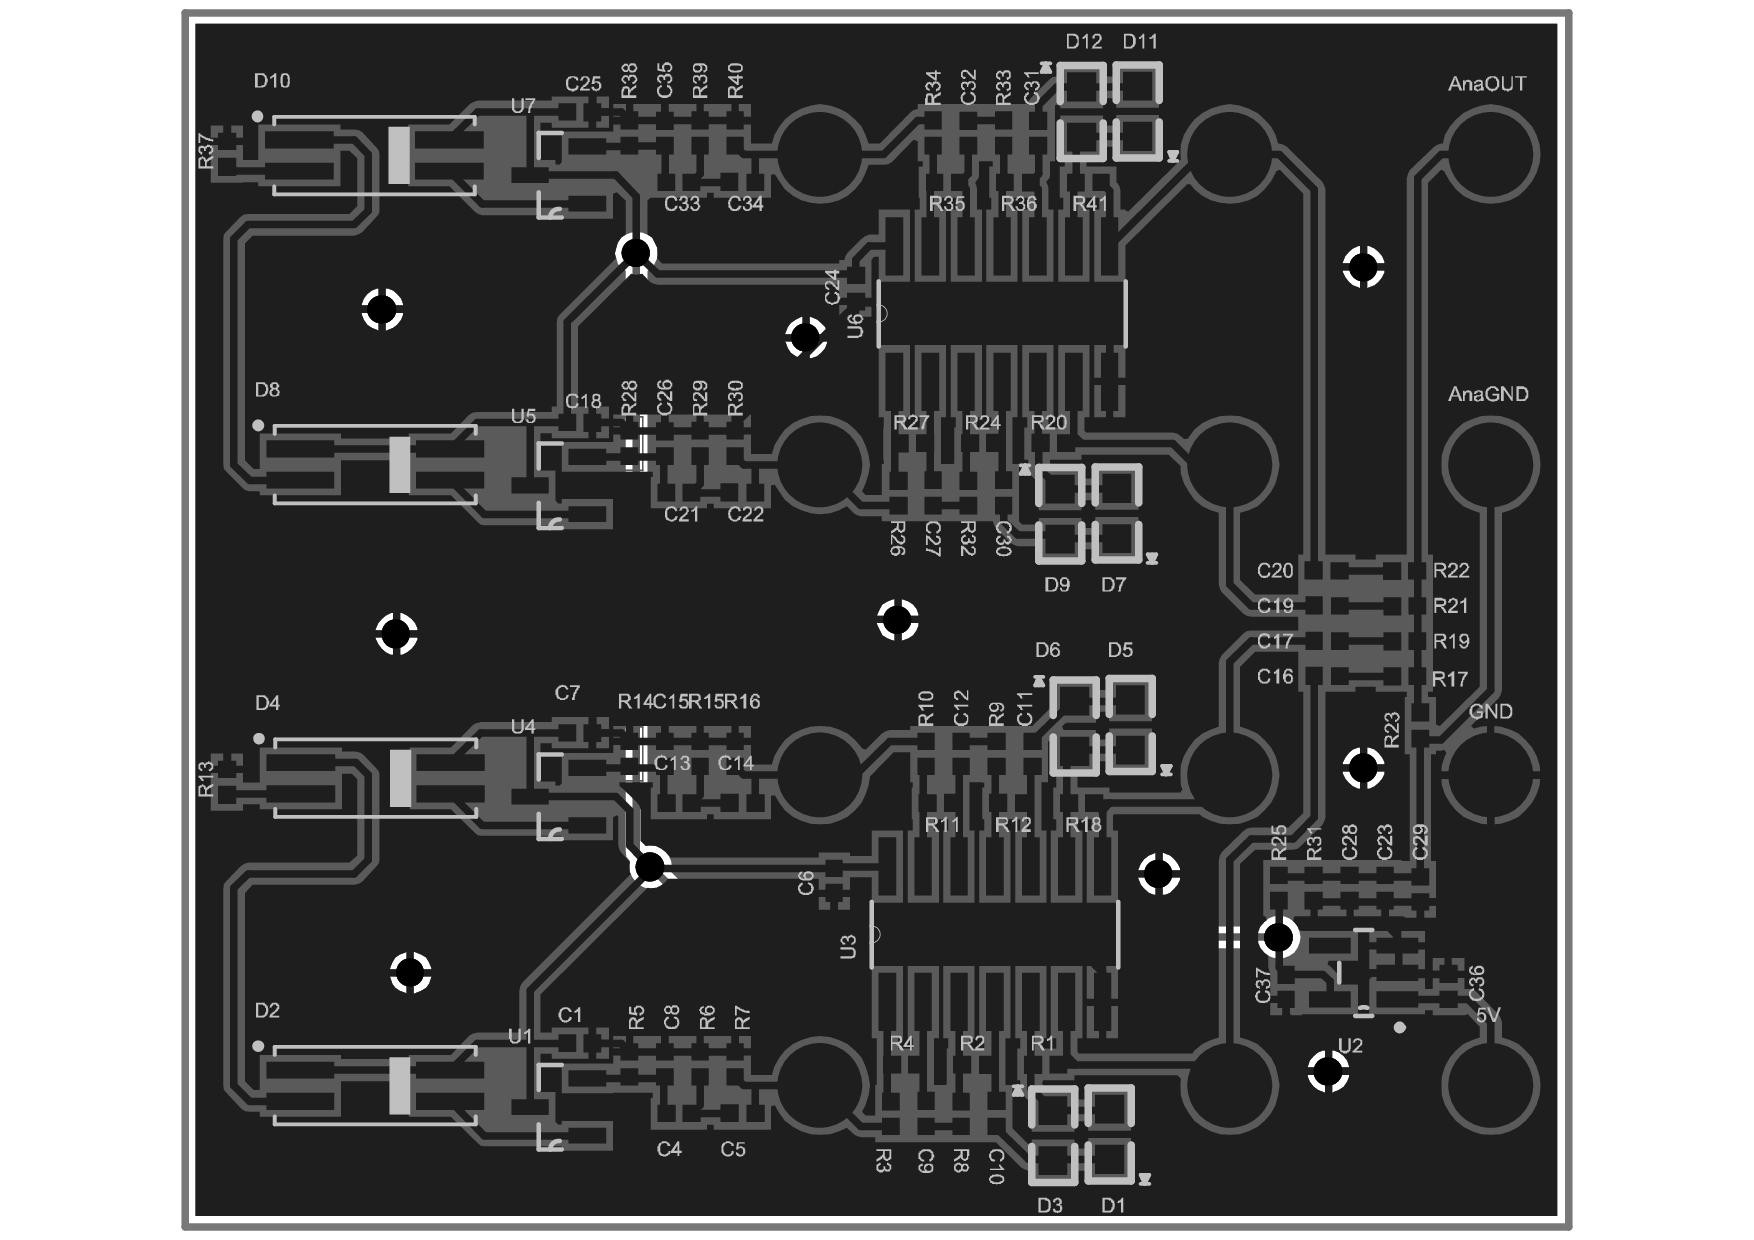
All of the electronic and sensor will fit in one pcb.
software is not my best, but with the help of the maker community it will be possible!
 deʃhipu
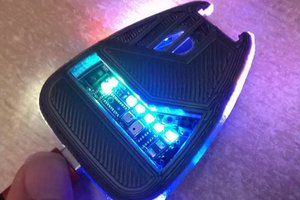
 Xasin
Xasin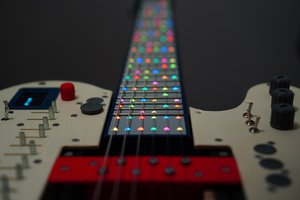
 Frank Piesik
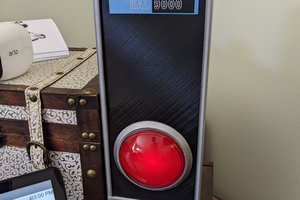
 Ben Brooks