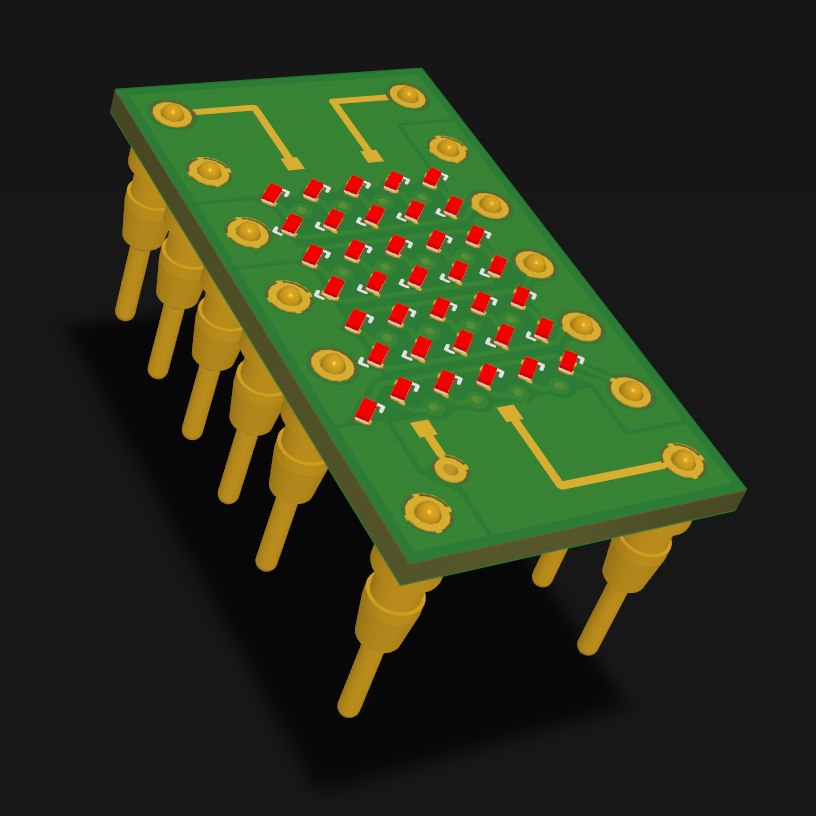
DIYTIL305 is made out of three main parts:
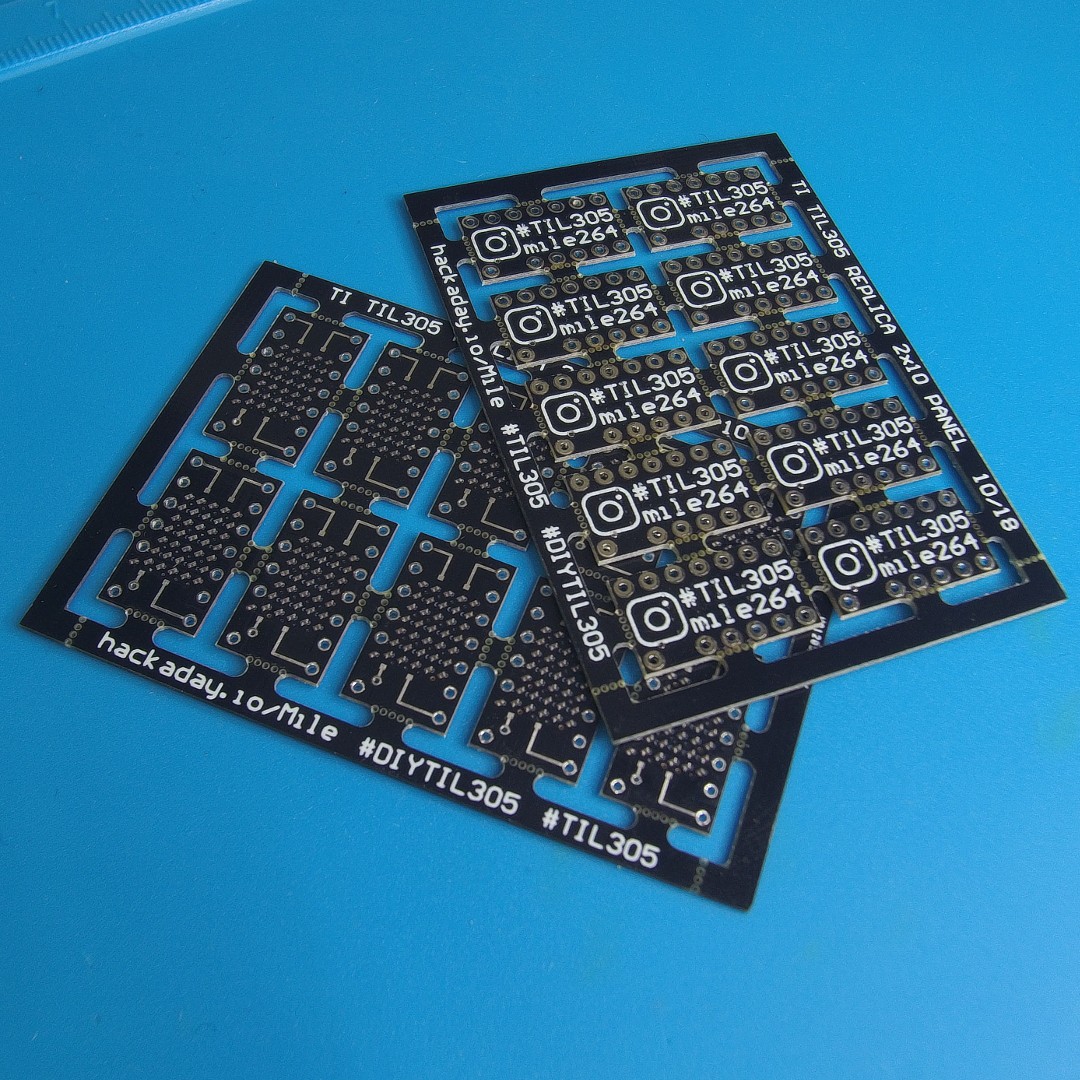
- PCB - PCB is 0.8mm so that I can easier match TIL305 dimensions (PCB + diffuser). Kingbright APG0603 series of leds is used (0201 Imperial code). Black solder mask is used to provide better contrast of leds with background. Exposed copper traces on PCB as a throwback to original part.
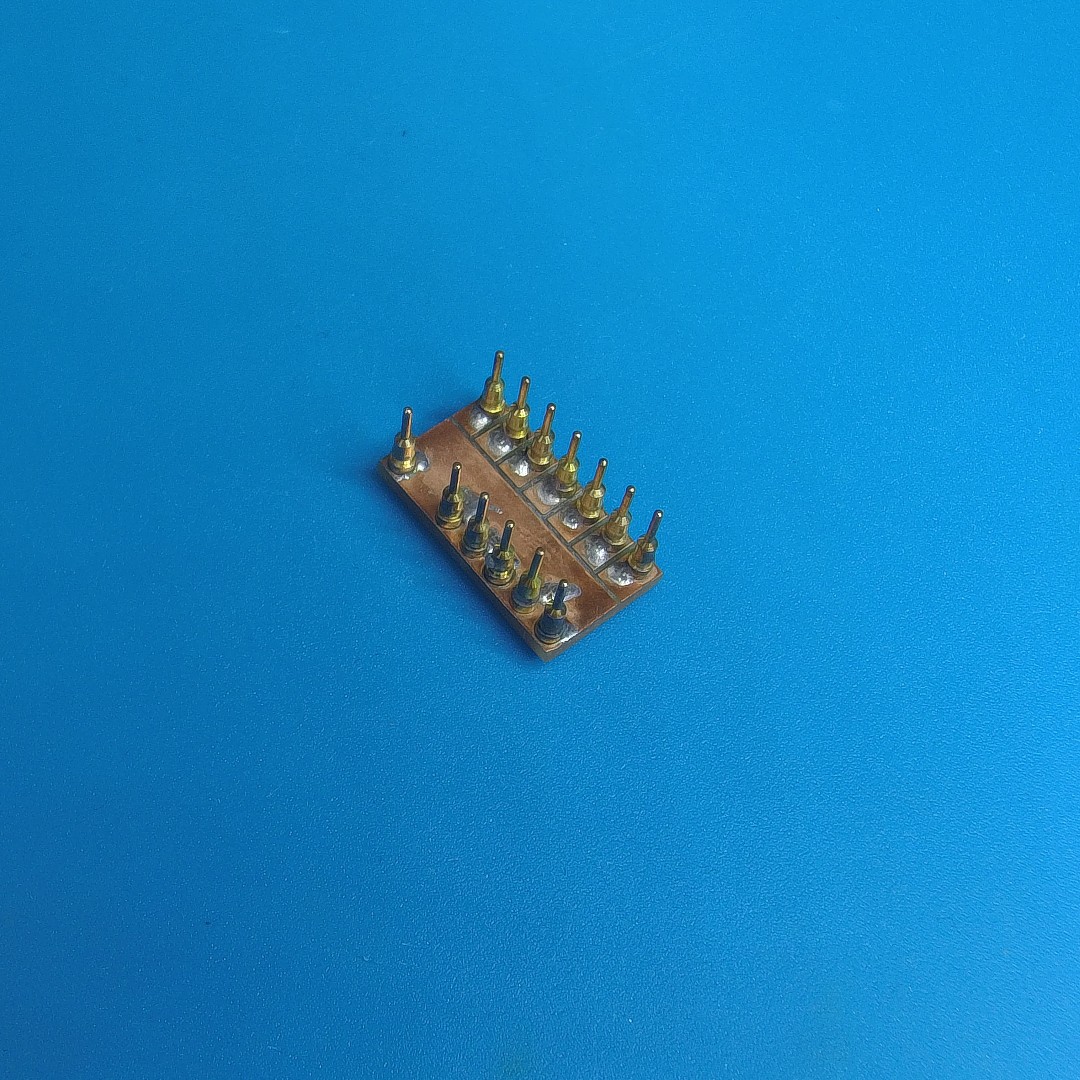
- Pins - Machined header pins with broken plastic guard are used. Compatible with breadboards and IC sockets, cheap, accessible, gold plated. Also 1.27mm pin header can be used for lower mounting heights when soldered.
- LED Diffuser - Used to make the light from leds more uniform and distinguishable. I will approach to this from three different angles:
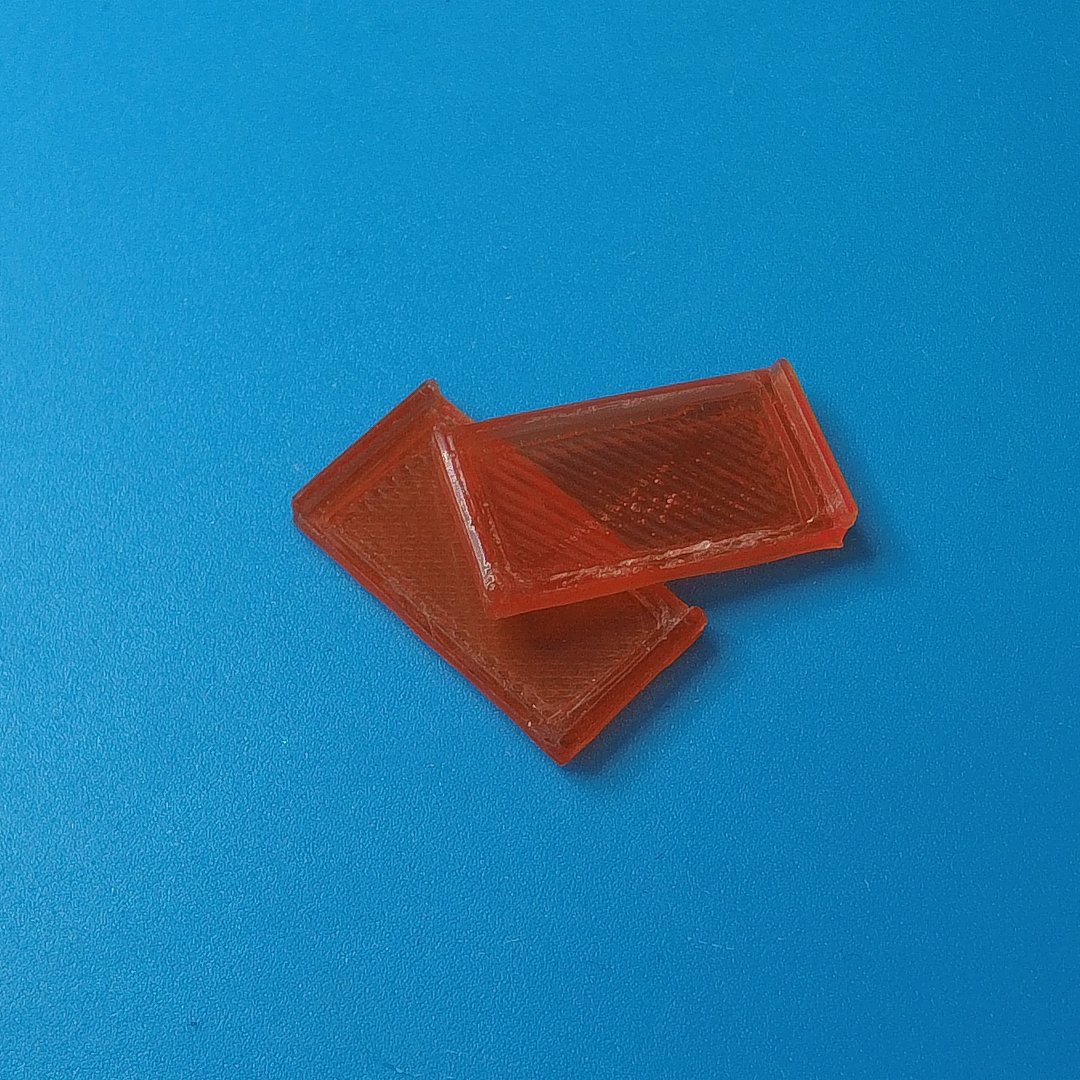
- FDM printing using Red transparent filament (results showed on image below).
- PROS: Cheap
- CONS: Low quality of details, post processing needed(layer lines), limited selection of colors
- SLS printing using transparent resins.
- PROS: Great quality, possibility of replicating TIL305 diffusor in full detail
- CONS: Expensive, limited selection of colors
- Laser cut acrylic (suggested by Dave's Dev Lab). Example of acrylic that can be used showed on image below.
- PROS: Cheap, Great details(sharp edges), vast selection of colors
- CONS: Needs special mounting method(3D printed parts just clip on)
- PCBs are arranged into 2x5 panel for easier assembly.
- Mechanical prototype for pin header and diffuser testing.
- Different types of diffusers are being tested.
 Mile
Mile


Discussions
Become a Hackaday.io Member
Create an account to leave a comment. Already have an account? Log In.
I'd try a laser cut acrylic with an engraved section to make room for the LEDs and then just resin glue it together, after making sure every led glows. With the other technics you need to polish the surfaces.
Are you sure? yes | no
I have few ideas how to approach this topic. Will take few days to experiment and post results in future project log. Thx for suggestion.
Are you sure? yes | no