Close
0%
0%

SMART MUSIC IN BEDROOM AND BATH WITH RASPBERRY PI

Multiroom audio ideas with a Raspberry Pi and Max2Play, integrating Alarm, Button Control and Home Automation.

Public Chat
Similar projects worth following
Today we want to give you two examples on how you can use the Raspberry Pi with our Max2Play software for home automation: in the bathroom and bedroom. Both projects are similar in that high-fidelity music from various sources can be streamed through the great, open-source Squeezebox technology which comes as a free one-click installer with Max2Play.

Advantages of such a Multiroom setup are that you can synchronize the players in all rooms (play simultaneously), use various different audio sources for the Squeezebox Server (network drive NAS, USB drive, DLNA, Spotify, Google Music, Internet Radio, Bluetooth, etc.) and have complete control over all audio players with just one App of your choice.

This is a representation of our head developer's integration of Max2Play multiroom in his bath and bedroom. You can find some great tips on Raspberry Pi audio solutions and home automation with Max2Play. Have fun reading :)

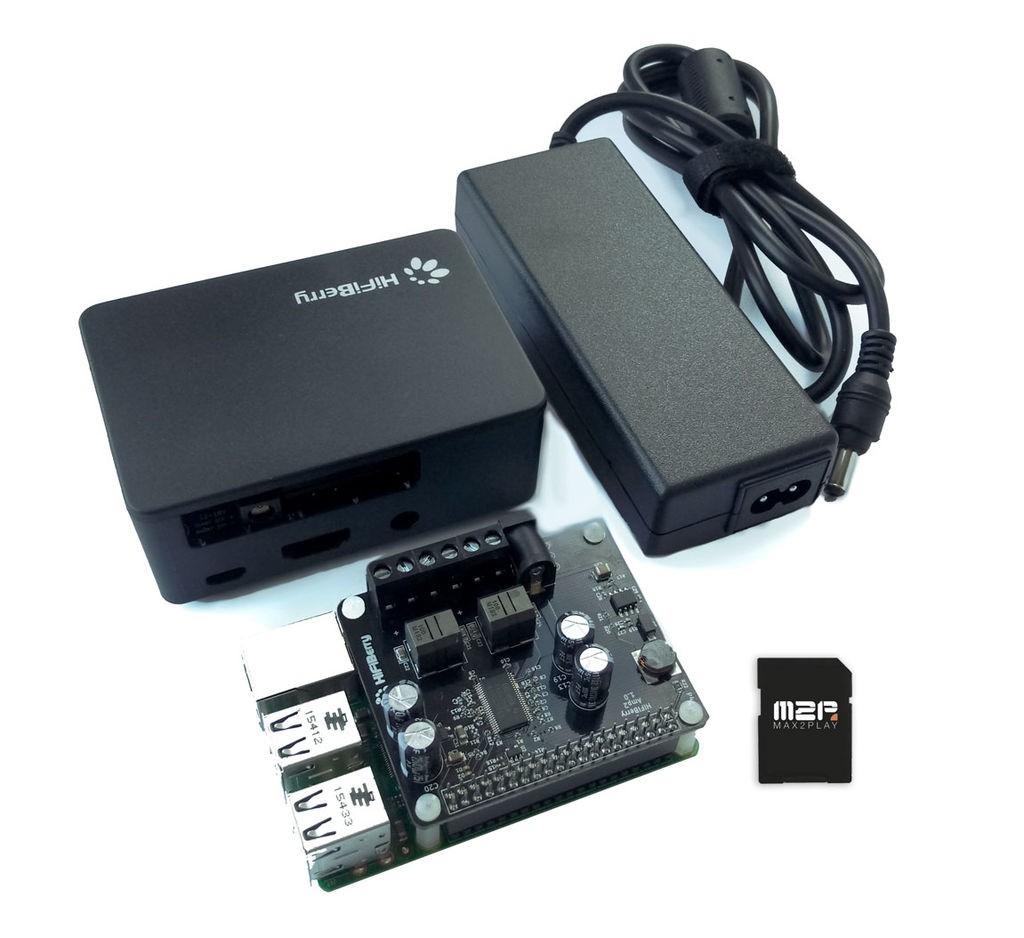
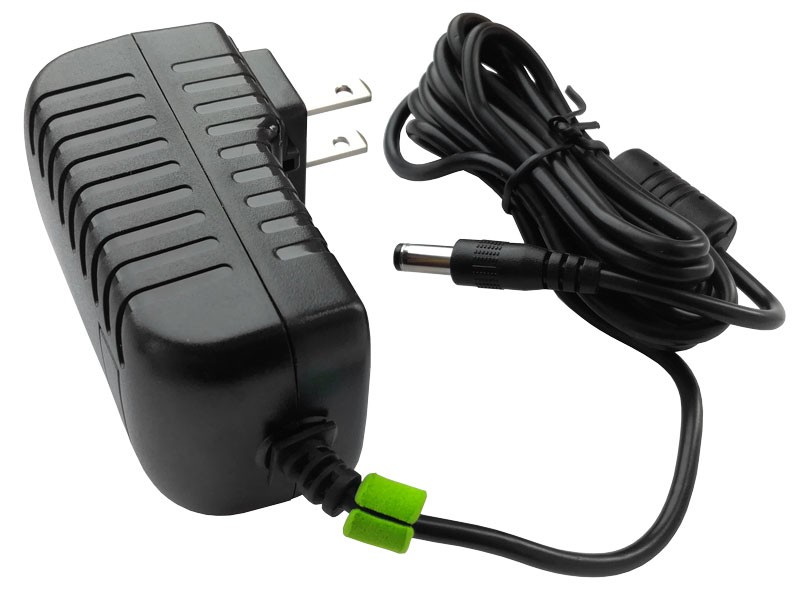
You can purchase one of our AMP-Bundles, suitable for this project, here.

  • 1 × Raspberry Pi Quantity and type may vary, depending on your desired setup. Buy here
  • 1 × Amp HAT sound card Quantity may vary, depending on your desired setup. Buy here
  • 1 × microSD card with Max2Play Quantity may vary, depending on your desired setup. Buy here
  • 1 × Power Supply Quantity and type may vary, depending on your desired setup. Buy here
  • 1 × Pair of passive speakers Quantity and type may vary, depending on your desired setup. We used JBL-One Control and Canton GLE 410.2.

  • 1
    The Components

    The required items for this system may vary, depending on how big you want your multiroom setup to be. Here, we will assume the basic setup using one set of speakers for each room. Based on the intended scope of your setup, you can add or remove as many players as you want.

    A combination of digital-analogue-converter and amplifier makes the most sense for rooms without pre-existing audio components. These sound cards are called Amp HATs (Hardware Attached on Top) and come in different varieties. You can compare the different Amp HATs in our comparison chart to find the right fit for your multiroom zones.

    You need one Raspberry Pi Amplifier HAT bundle setup for each room. So for this specific example, two individual Amp HAT setups can be selected based on the rooms' individual challenges and opportunities.

    Basic setup:

    • Raspberry Pi 3B

      The heart of this media center is the affordable but powerful 3B, it can handle multiple audio and video players with its quad core processor and 1 GB RAM. You can also use the 2B if you do not need WiFi or Bluetooth, or the 3B+. However, the 3B+ does not offer any significant advantages for this setup and requires more power.

    • Amp HAT sound card

      With this combination of digital-analogue-converter and amplifier you'll get better sound quality and be able to power passive speakers directly from the Pi.

    • microSD card

      We recommend using a 8 or 16 GB microSD with write speed Class 10 or higher. The Linux-based Max2Play image includes various audio solutions and other extensions that can be managed from any web browser. Once burnt, the system is accessible from the first boot through the web interface and does not require any console commands or Linux knowledge.

    • Power Supply

      You'll only need one power supply to run all components (Pi, Amp HAT and passive speakers). You can get all those components at once with one of our AMP-Bundles.

    • Passive speakers (we used JBL-One Control and Canton GLE 410.2)

      Any speakers can be used, just pay attention to your Amp HAT's capacity and the power supply when selecting them. Based on the impedance and max wattage you can find the ideal combination for each zone.

    Optional: Rotary Encoder or IR Receiver for hardware control

  • 2
    Burn the Image on MicroSD Card

    The Max2Play Image can be burnt onto a card using a simple tool like WinDiskImager or Etcher. Just let it burn and once the process is done, put the card into the Raspberry Pi.

    The configuration of the devices is very easy thanks to Max2Play. You can access the Max2Play web interface by entering "max2play/" into any browser on any device connected to the same network (PC, Mac, Smartphone, Tablet, etc.).

    After the first start, we recommend renaming the device on the Settings/Reboot page of the web interface. This way, the name will also be used for the audio players’ name and be shown as such in the Squeezebox Server.

    If your router has WPS (Wireless Protected Setup) and the device is accessing WiFi in the network, the first start can be done completely automatically. Just activate the WPS on your router and connect the device to the power supply. We also made a Instructable for setting up WPS.

    Optional: You can also order an already burnt and configured microSD card from Max2Play.

  • 3
    Set Up the Audioplayers

    When you first start up your Max2Play device you can choose the manufacturer of your connected soundcard. A specific plugin for the sound card brand will be loaded and then, you're able to select your specific sound card in the new menu that opens up.

    Click save. After rebooting your device, select "Advanced" below the sound card selection to get everything set up ideally for a multiroom setup. After another restart your player should already be accessible to play music to.

View all 7 instructions

Enjoy this project?

Share

Discussions

Similar Projects

Does this project spark your interest?

Become a member to follow this project and never miss any updates