 Andy Preston
As the junk that can be used to assemble this is so varied, I can't give step-by-step instructions as to how to build your own... but I can document my own build to show you how I did it myself.
I got hold of some bits of old vintage Charles Baker microscopes from E. bay and there was enough there to reassemble the body of a microscope with no eyepiece or objectives.
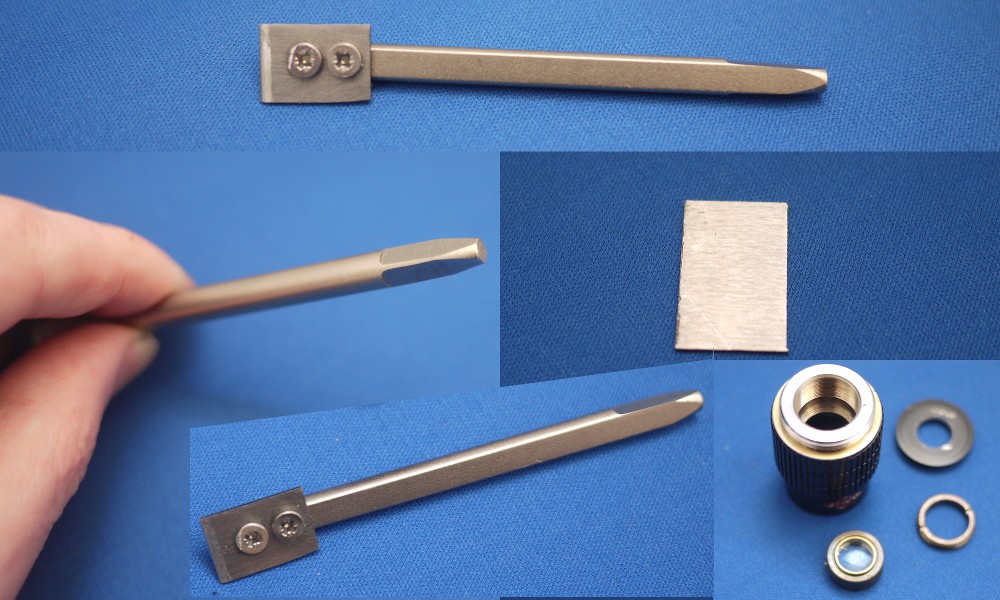
My first plan was to machine a dummy objective to hold the augmented webcam... but I got the same surprise that anyone else who's wanted to hack around with cameras or microscopes... optical threads are somewhat "unusual" and the taps and dies to cut those threads are terrifyingly expensive.
Machining a cylinder of aluminium to fit the holes for the microscope's objectives and the webcam would be simple enough but cutting the thread on it's end would have cost me very nearly the price of a top-of-the-range USB microscope....... :/
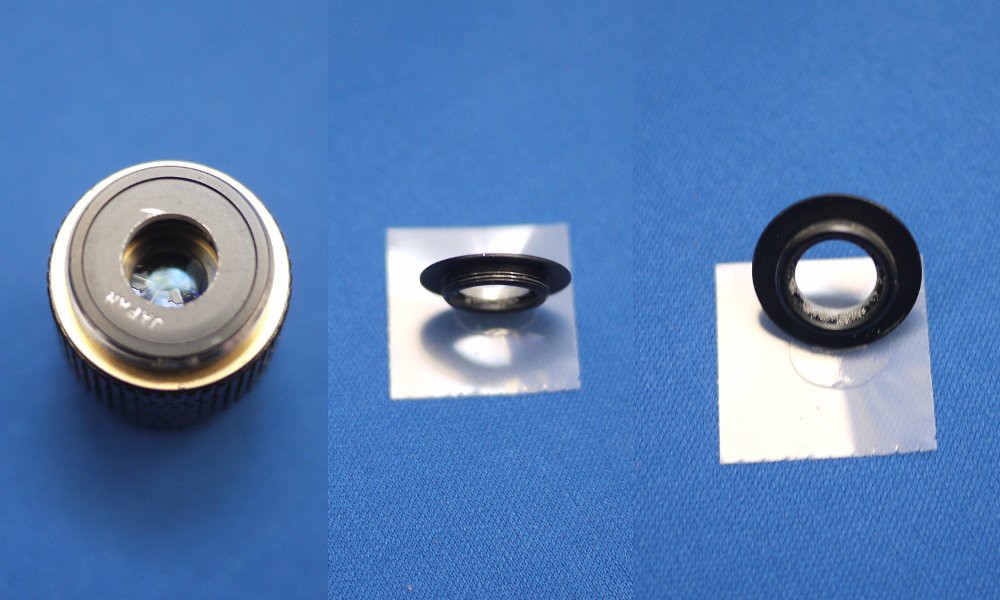
So, here I'm modifying an existing objective that's (obviously) already got the screw thread on it anyway.... and these can be obtained from E. Bay at not too shocking a price if you wait around for the right one.

 Gigawatts
 sr.in.life
 Mauro Pichiliani
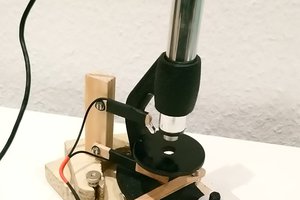
 joekutz