 Robin Hartley
The Design
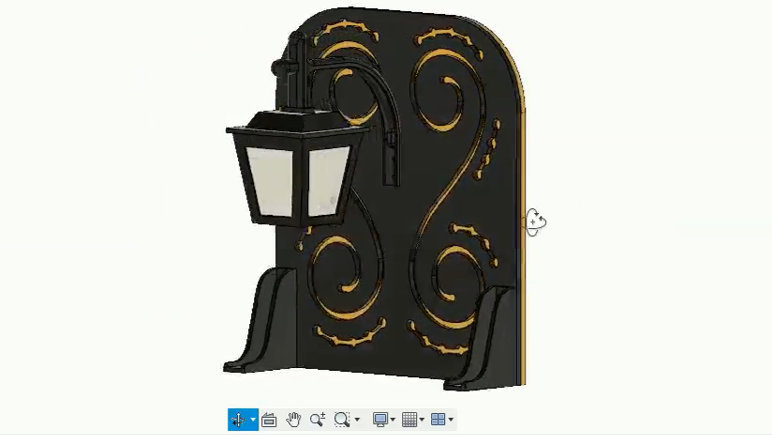
As with most of my projects, I began by designing my model in Fusion 360. I started off with the body of the lantern and then moved upwards, creating the arm which holds it. Finally, I designed the stand with the swirling pattern and added some 3D printed feet so that it doesn’t fall over.
If you’d like to see the design and assembly, I created a video, along with some close ups of the final result as it lights up in a variety of colours.
Here is what the CAD model looked like, I was able to style it using the in-built materials and colours within fusion 360.
3D Printing
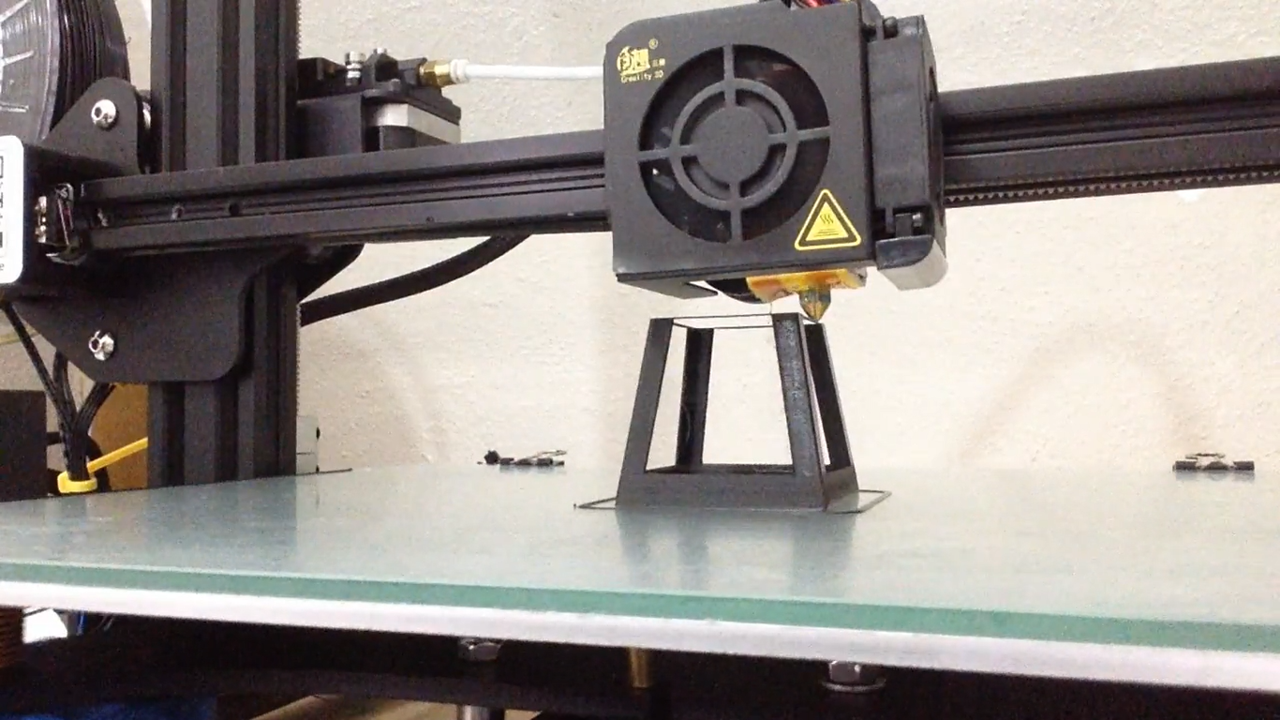
Next up was 3D printing! I have my own 3D printer at home (yippee) so I set it running as I watched Netflix (with lots of getting up to check every couple of minutes). It was quite a challenging print as there was a lot of ‘bridging’ between pillars. Despite this, the end result came out really well.
Laser Cuts
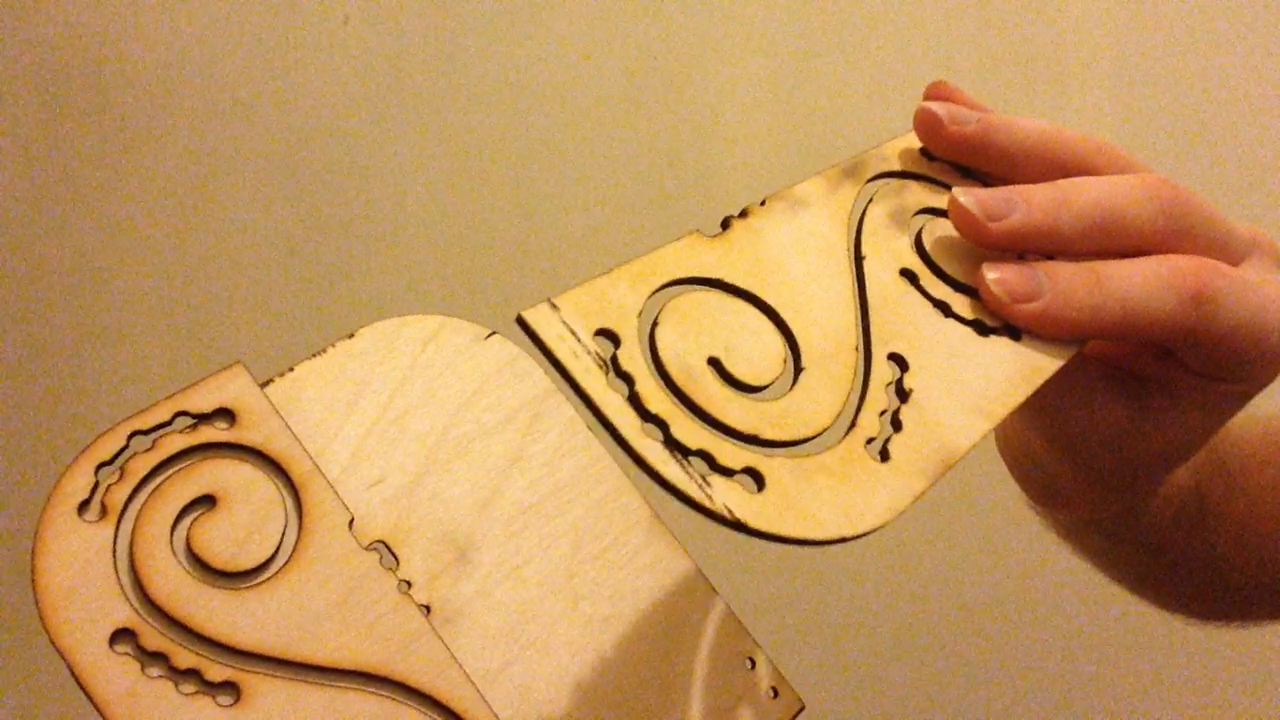
To create the acrylic windows for the lantern and the wooden stand, I turned to laser cutting. I’ve never done laser cutting before, so I went to my local makerspace and they showed me how to export my files. There was even a little shop where I could buy the wood I needed as an A4 sheet. How fantastic!
I came home with my laser cuts at the end of the evening – I was expecting many nights of frustration trying to get it to work, but thanks to my fellow makers, it was a simple process.
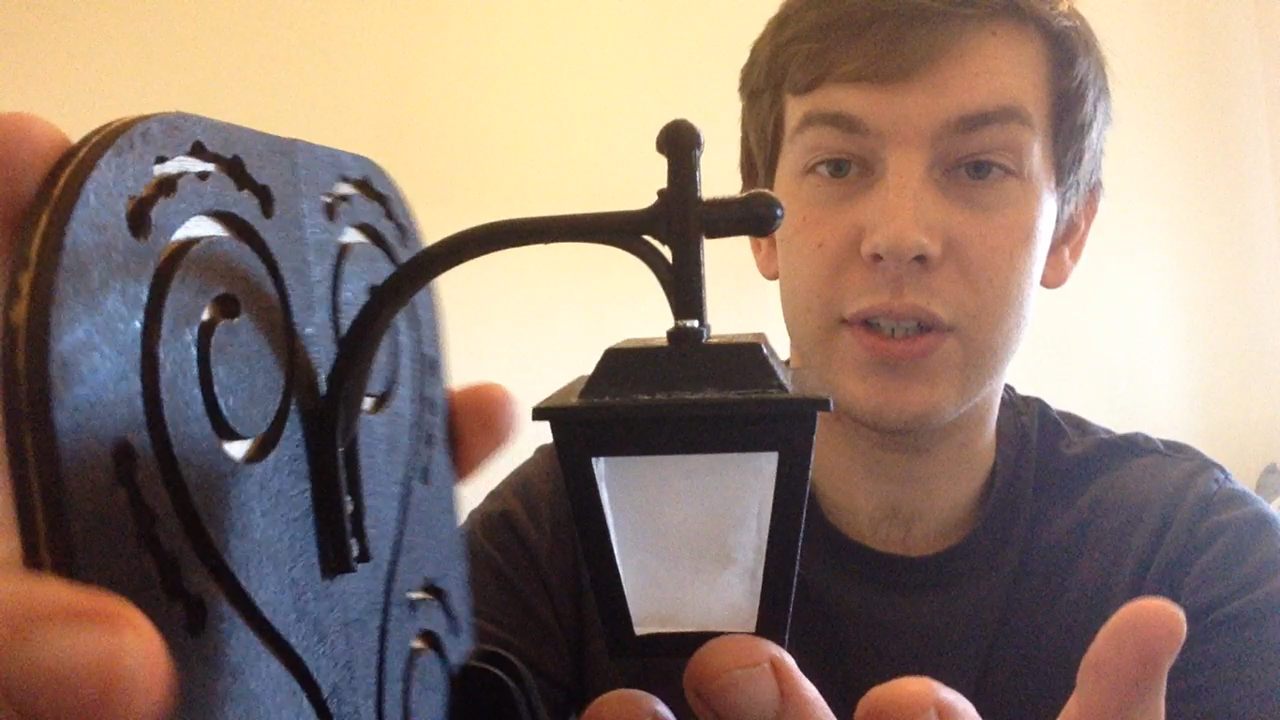
Assembly
I assembled the street lantern and did some very simple soldering to wire in a set of Neopixels – these were used to make it light up.
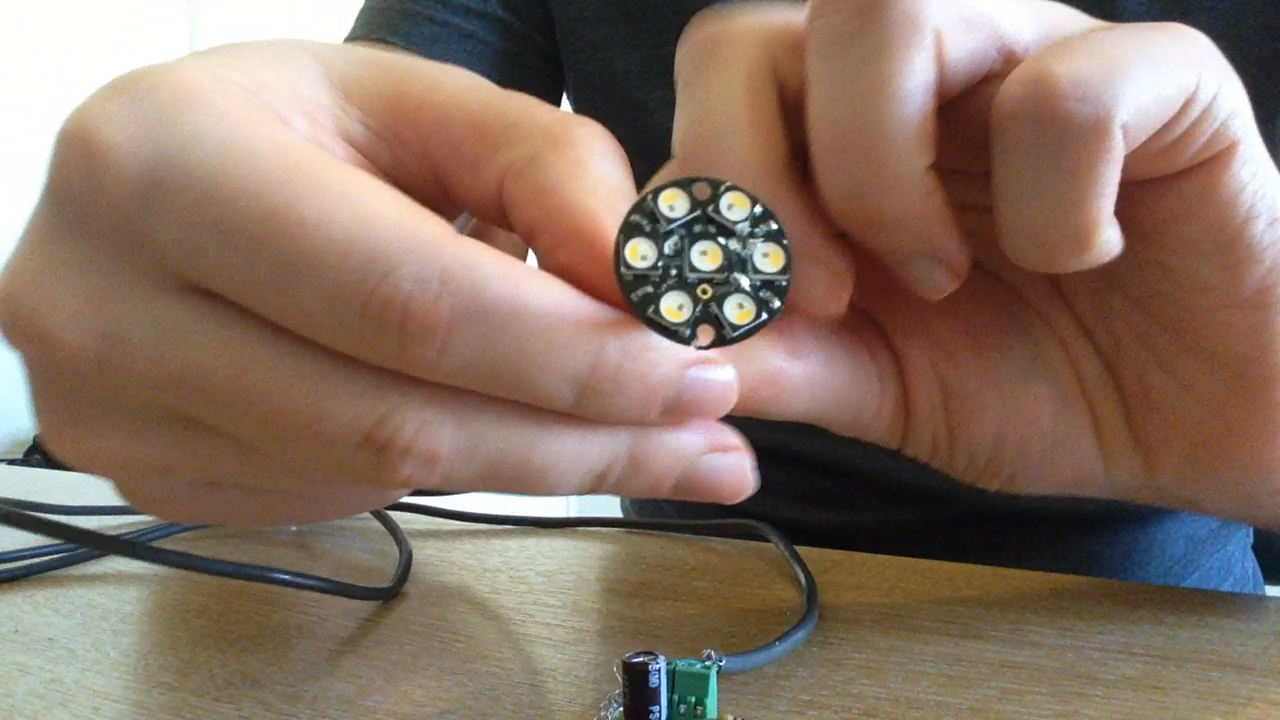
With a lot of glueing, some painting, and the fiddly assembly of 3D prints with laser cuts, I ended up with a finished street lantern.
Coding
The last step was to programme the Neopixels to flash in some fun ways. Here are the three effects I went with which you can see for yourself in the video above:
Creepy blinking – the lantern flickered on and off in a random way. This was intended to imitate the creepy ‘short circuit’ effect you see in horror films.
Cycling RGB – the Neopixels cycle in a loop through all the colours of the rainbow, whilst fading in and out in a relaxing ‘breathing’ effect.
Strobe light – this one is fairly self-explanatory, it’s a strobe light like you’d find at a party, disco or night club. If flashes quickly in a variety of bright colours, giving an eye-capturing display.
Tune in again, folks
If you like to find out more about this project, I’ve released the code, 3D print files etc. over on my blog, which you can find here: http://hartleyhacks.com/making/neopixel-street-lantern/
I also wrote up the lessons I learned along the way (if you’re interested in that kind of thing).
I’d be delighted to hear your thoughts/comments and hope this street lantern gives you some inspiration for your own maker projects.
Happy hacking!
Robin

 RAMKUMAR R
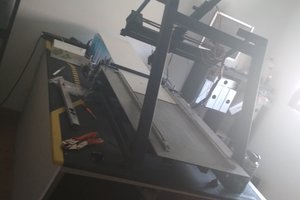
 Oliveira
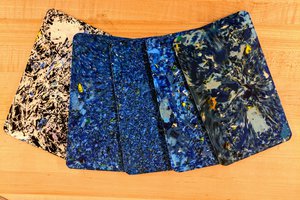
 Yusuke Tanaka
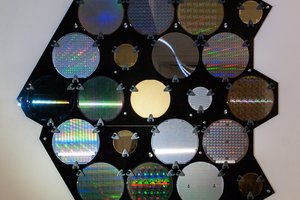
 RIUM+ (Mike Ando)