 Jose Ignacio Romero
The lathe uses a pretty nice round dovetail system to lock the top slide and mill table accessories. The dovetail is turned on the bottom of the top slide and gets inserted in a hole in the cross slide. This then gets locked with the help of a brass pin which is shaped such that it both makes a wide contact area to restrict rotation and pushes the dovetail against the cross slide for location.
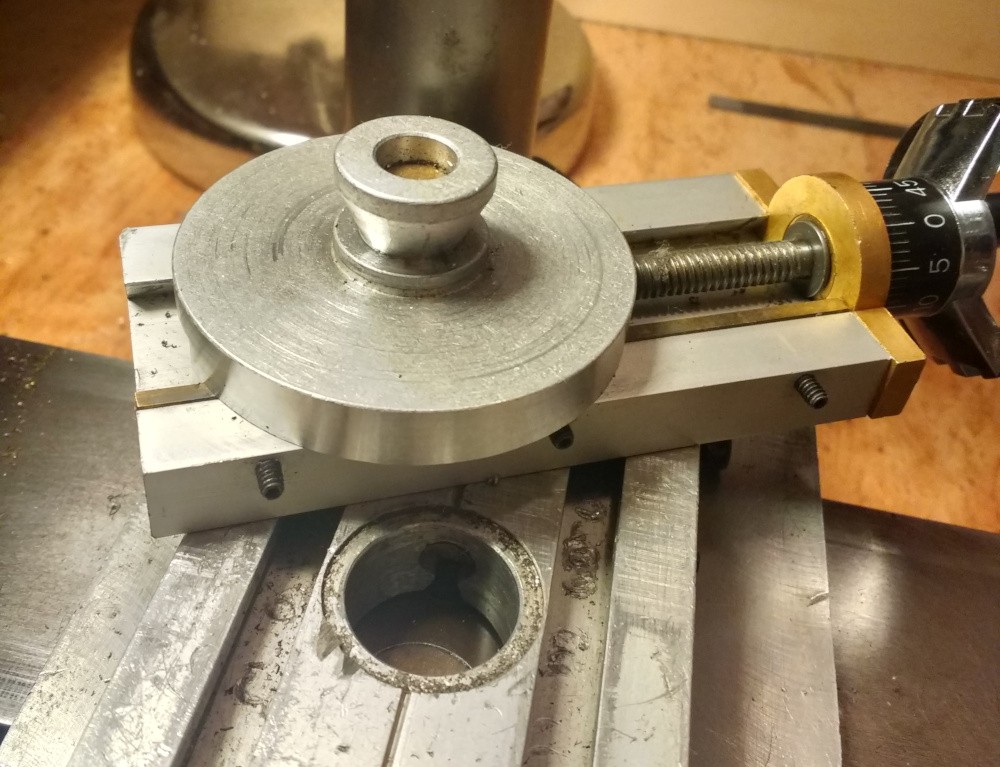
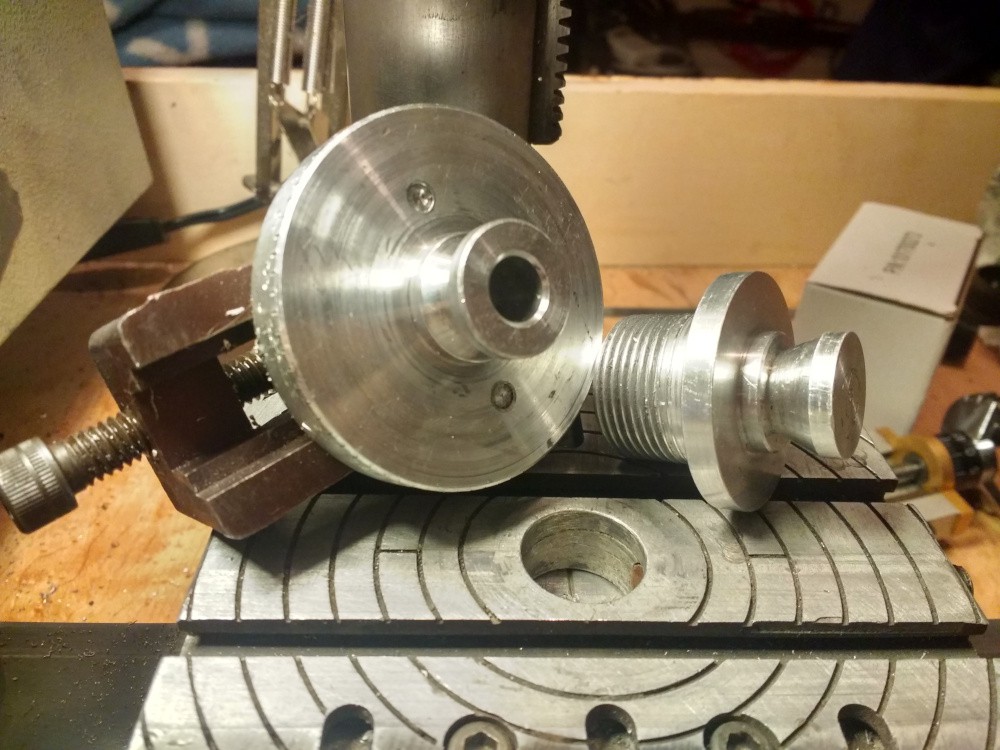
The milling table has an identical mechanism with the hole in the middle. Accessories that I have and fit the mill table are a really cute milling vise with a graduated rotating base, and a chuck holder, piece that has the same threads as the main spindle and can hold any of the standard chucks. The arrangement is very flexible.
One problem though is that one of the brass pins was missing, the lathe only came with the lock for the mill table, so I could not use the top slide unless I moved the pin over to the cross slide and added a little extension, as the length is too short. I decided to just make my own pin for the cross slide instead of going through that hassle.
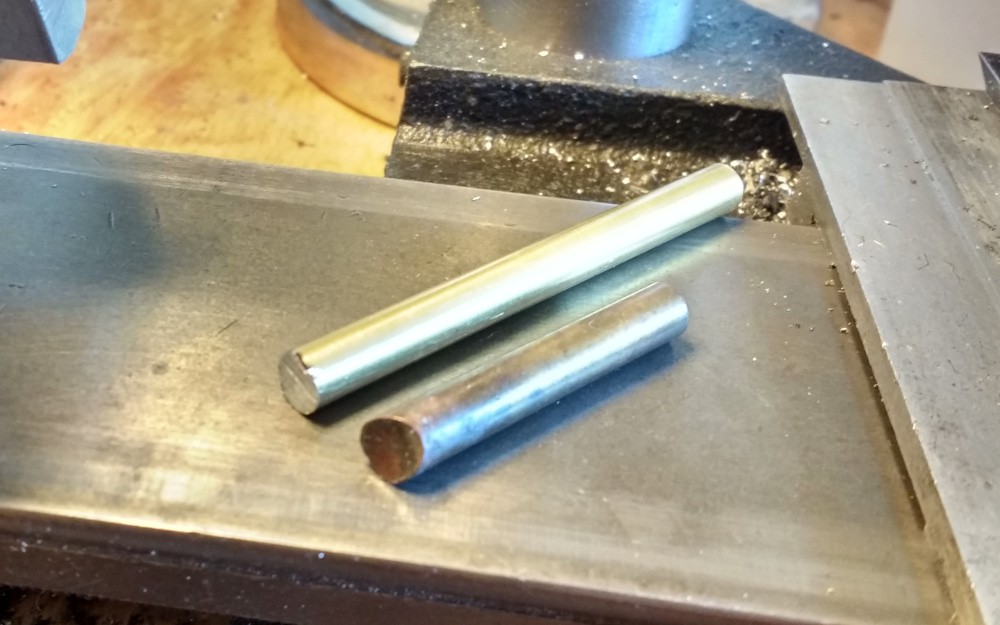
Cutting it off to the right size was the easy part, the dovetail-facing part of the pin needs to be shaped into a complex curve that intimately contacts as much of the dovetail as possible when locking, to ensure pressure is applied evenly and a good lock can be achieved without marring the soft dovetail. The ideal tool for the job would be a dovetail cutter of the exact same radius and angle as the actual dovetail; since I don't have one of those I had to improvise.
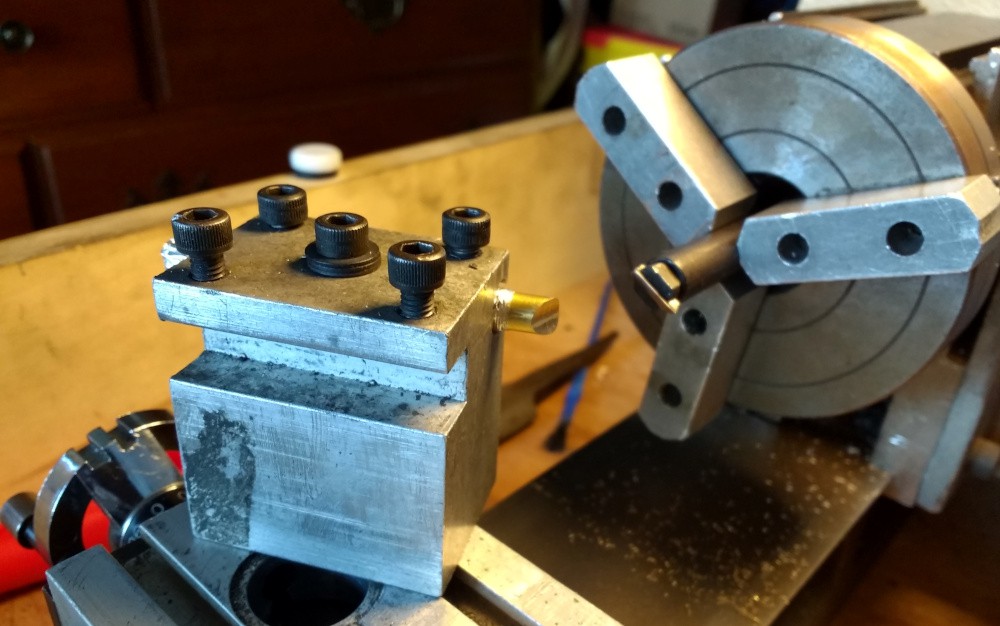
A good rough starting point was to use the boring bar in the spindle as a crude boring head, set to a radius that is about midway the cone of the dovetail, and the brass pin mounted as if it was a boring bar, with the holder angled to the dovetail angle. That produced a cylindrical profile that contacted the dovetail along two lines in the outside. I checked contact using a dry erase marker (neat low-precision replacement for engineer's blue). To generate the final shape I just iterated several times between marking up the face, rubbing against the dovetail and filing down the high spots. Here's a picture taken about halfway through the process.
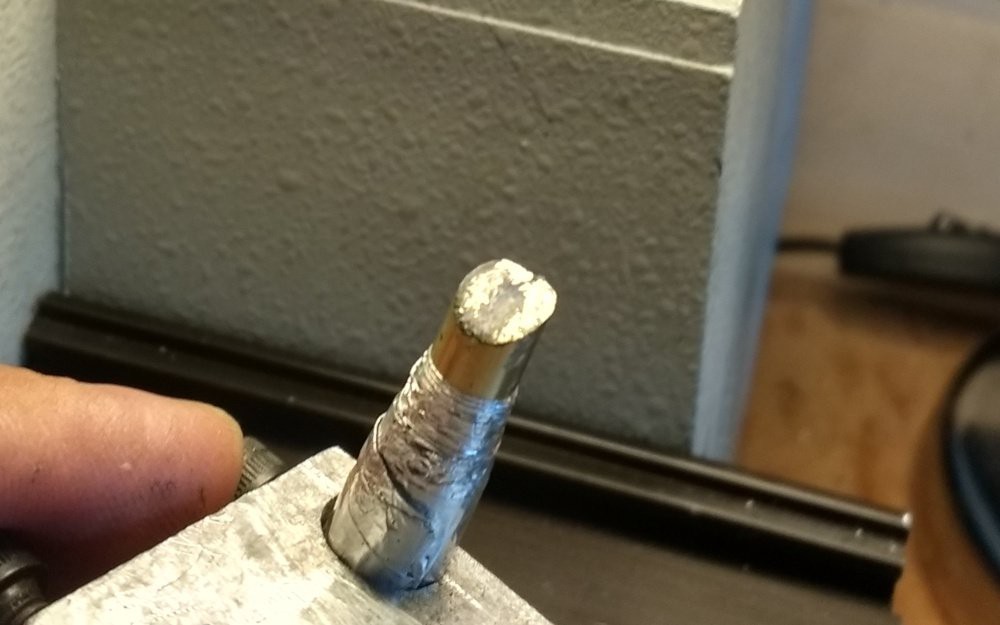
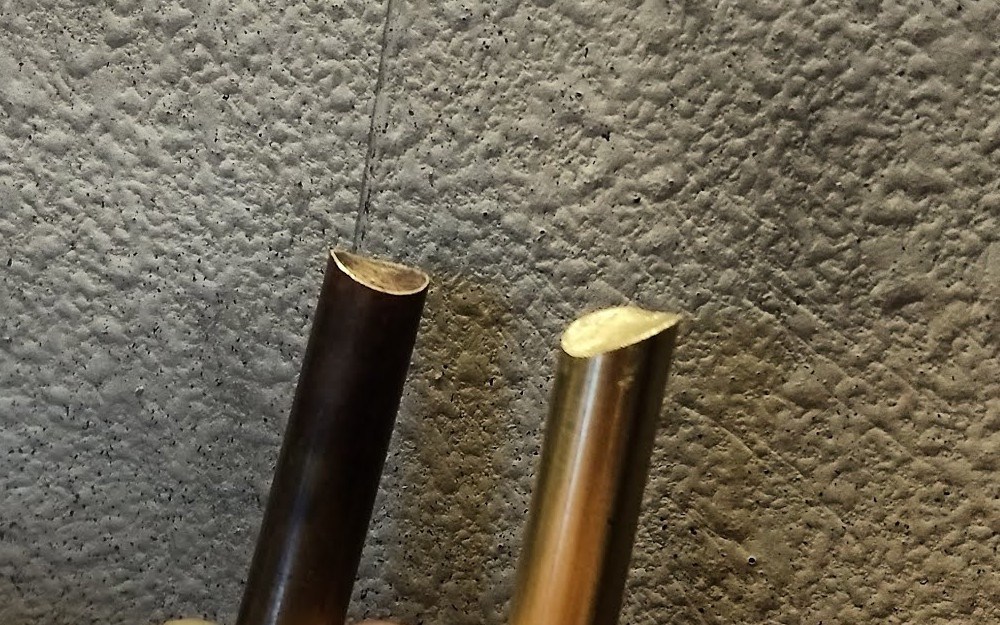
I continued until almost all the dry-erase would rub off against the dovetail, pretty close to the factory one.
Discussions
Become a Hackaday.io Member
Create an account to leave a comment. Already have an account? Log In.