0%
0%
Remote Control Fiberglass Boat
Pretty much what it sounds like...
 Grant Giesbrecht
Become a Hackaday.io member
Already have an account? Log in.
Just one more thing
To make the experience fit your profile, pick a username and tell us what interests you.
Pick an awesome username
hackaday.io/
Your profile's URL: hackaday.io/username. Max 25 alphanumeric characters.
Pick a few interests
Projects that share your interests
People that share your interests
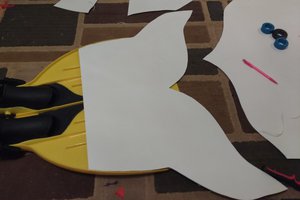
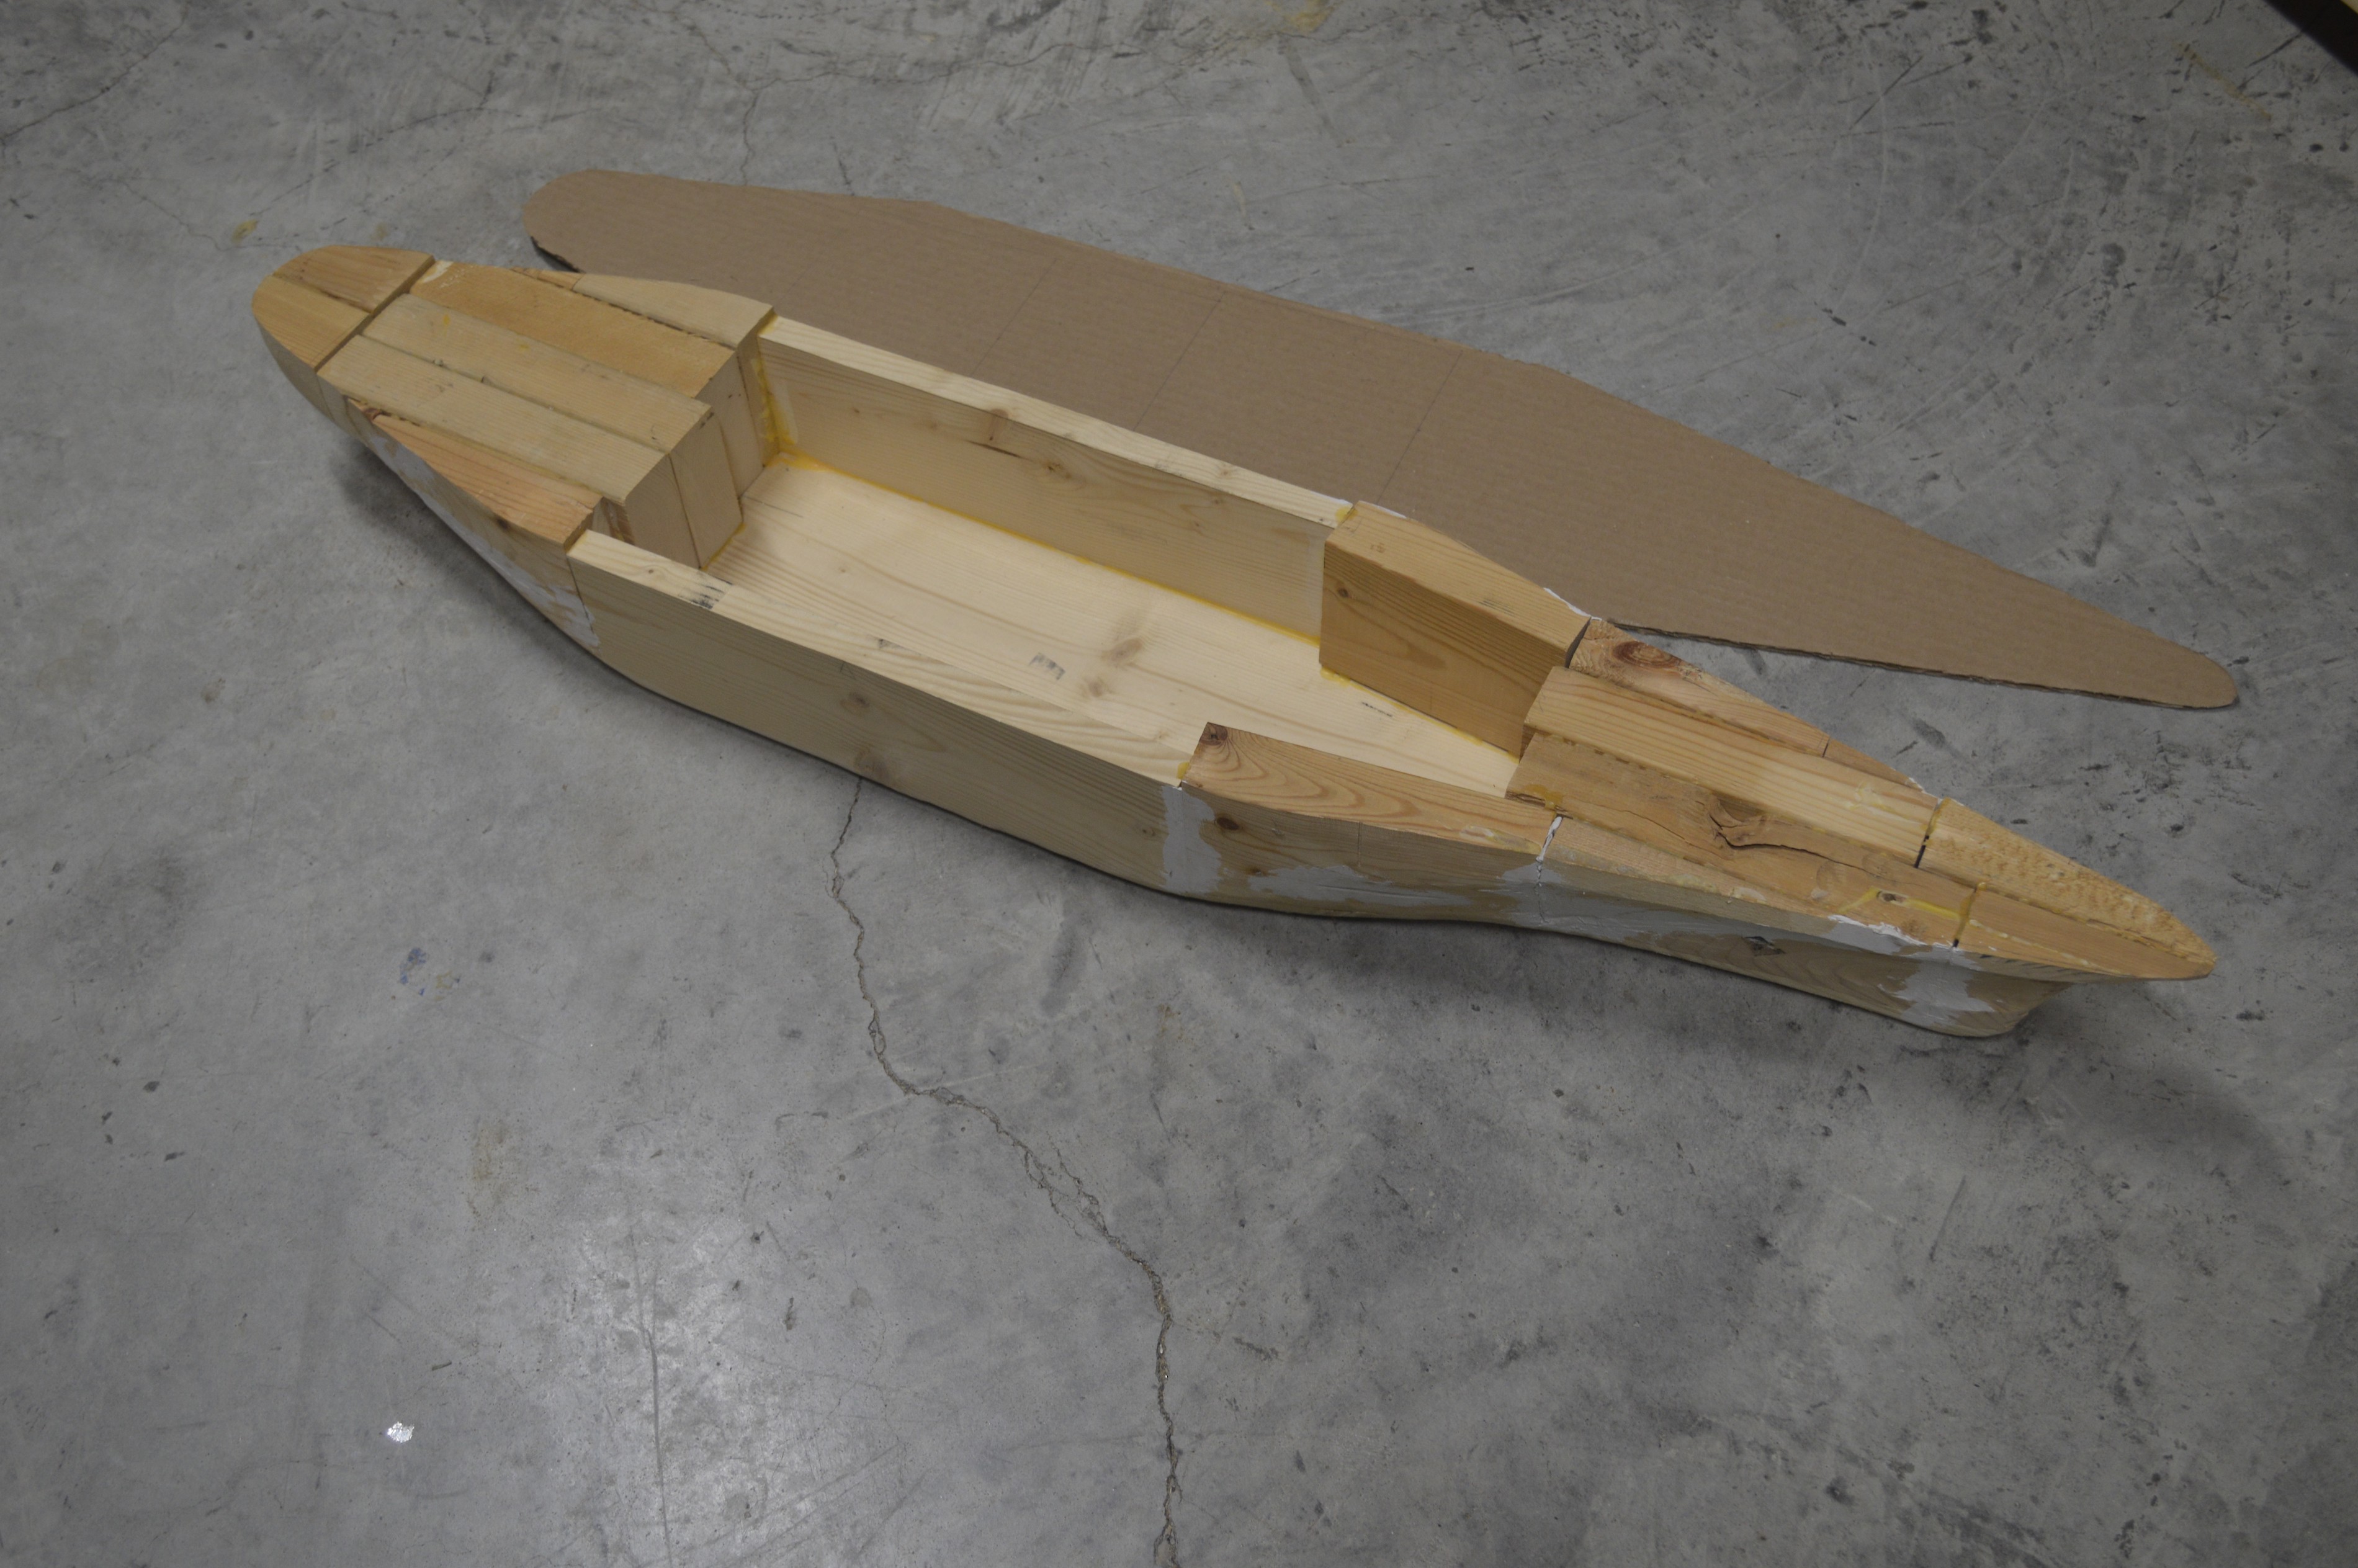 I covered the wood form in saran wrap so the fiberglass wouldn't adhere to the wood, then I draped about four layers of fiberglass cloth, cut to shape, and resin over the form. After the fiberglass dried, I used tin snips to cut the rough edges down along the top of the hull. To add rigidity to the hull, I cut plywood bulkheads with a band saw and installed them in the hull using copious amounts of two-part epoxy. Using the wooden form to sketch the dorsal profile onto cardboard and later plywood, I made a plywood crown which I installed along the top of the hull to further reinforce the hull's shape. The crown was screwed into wooden blocks, which were themselves screwed into the side of the fiberglass hull. Bolts were pre-positioned in the wooden blocks so they would protrude through holes in the crown. These bolts are later used to mount the deck. The As a final touch, I glued strips of fabric along the top of the hull to cover the rough fiberglass edge and make a smooth transition between the fiberglass outer plating and the plywood crown. After a few coats of white paint, I had finished the hull!
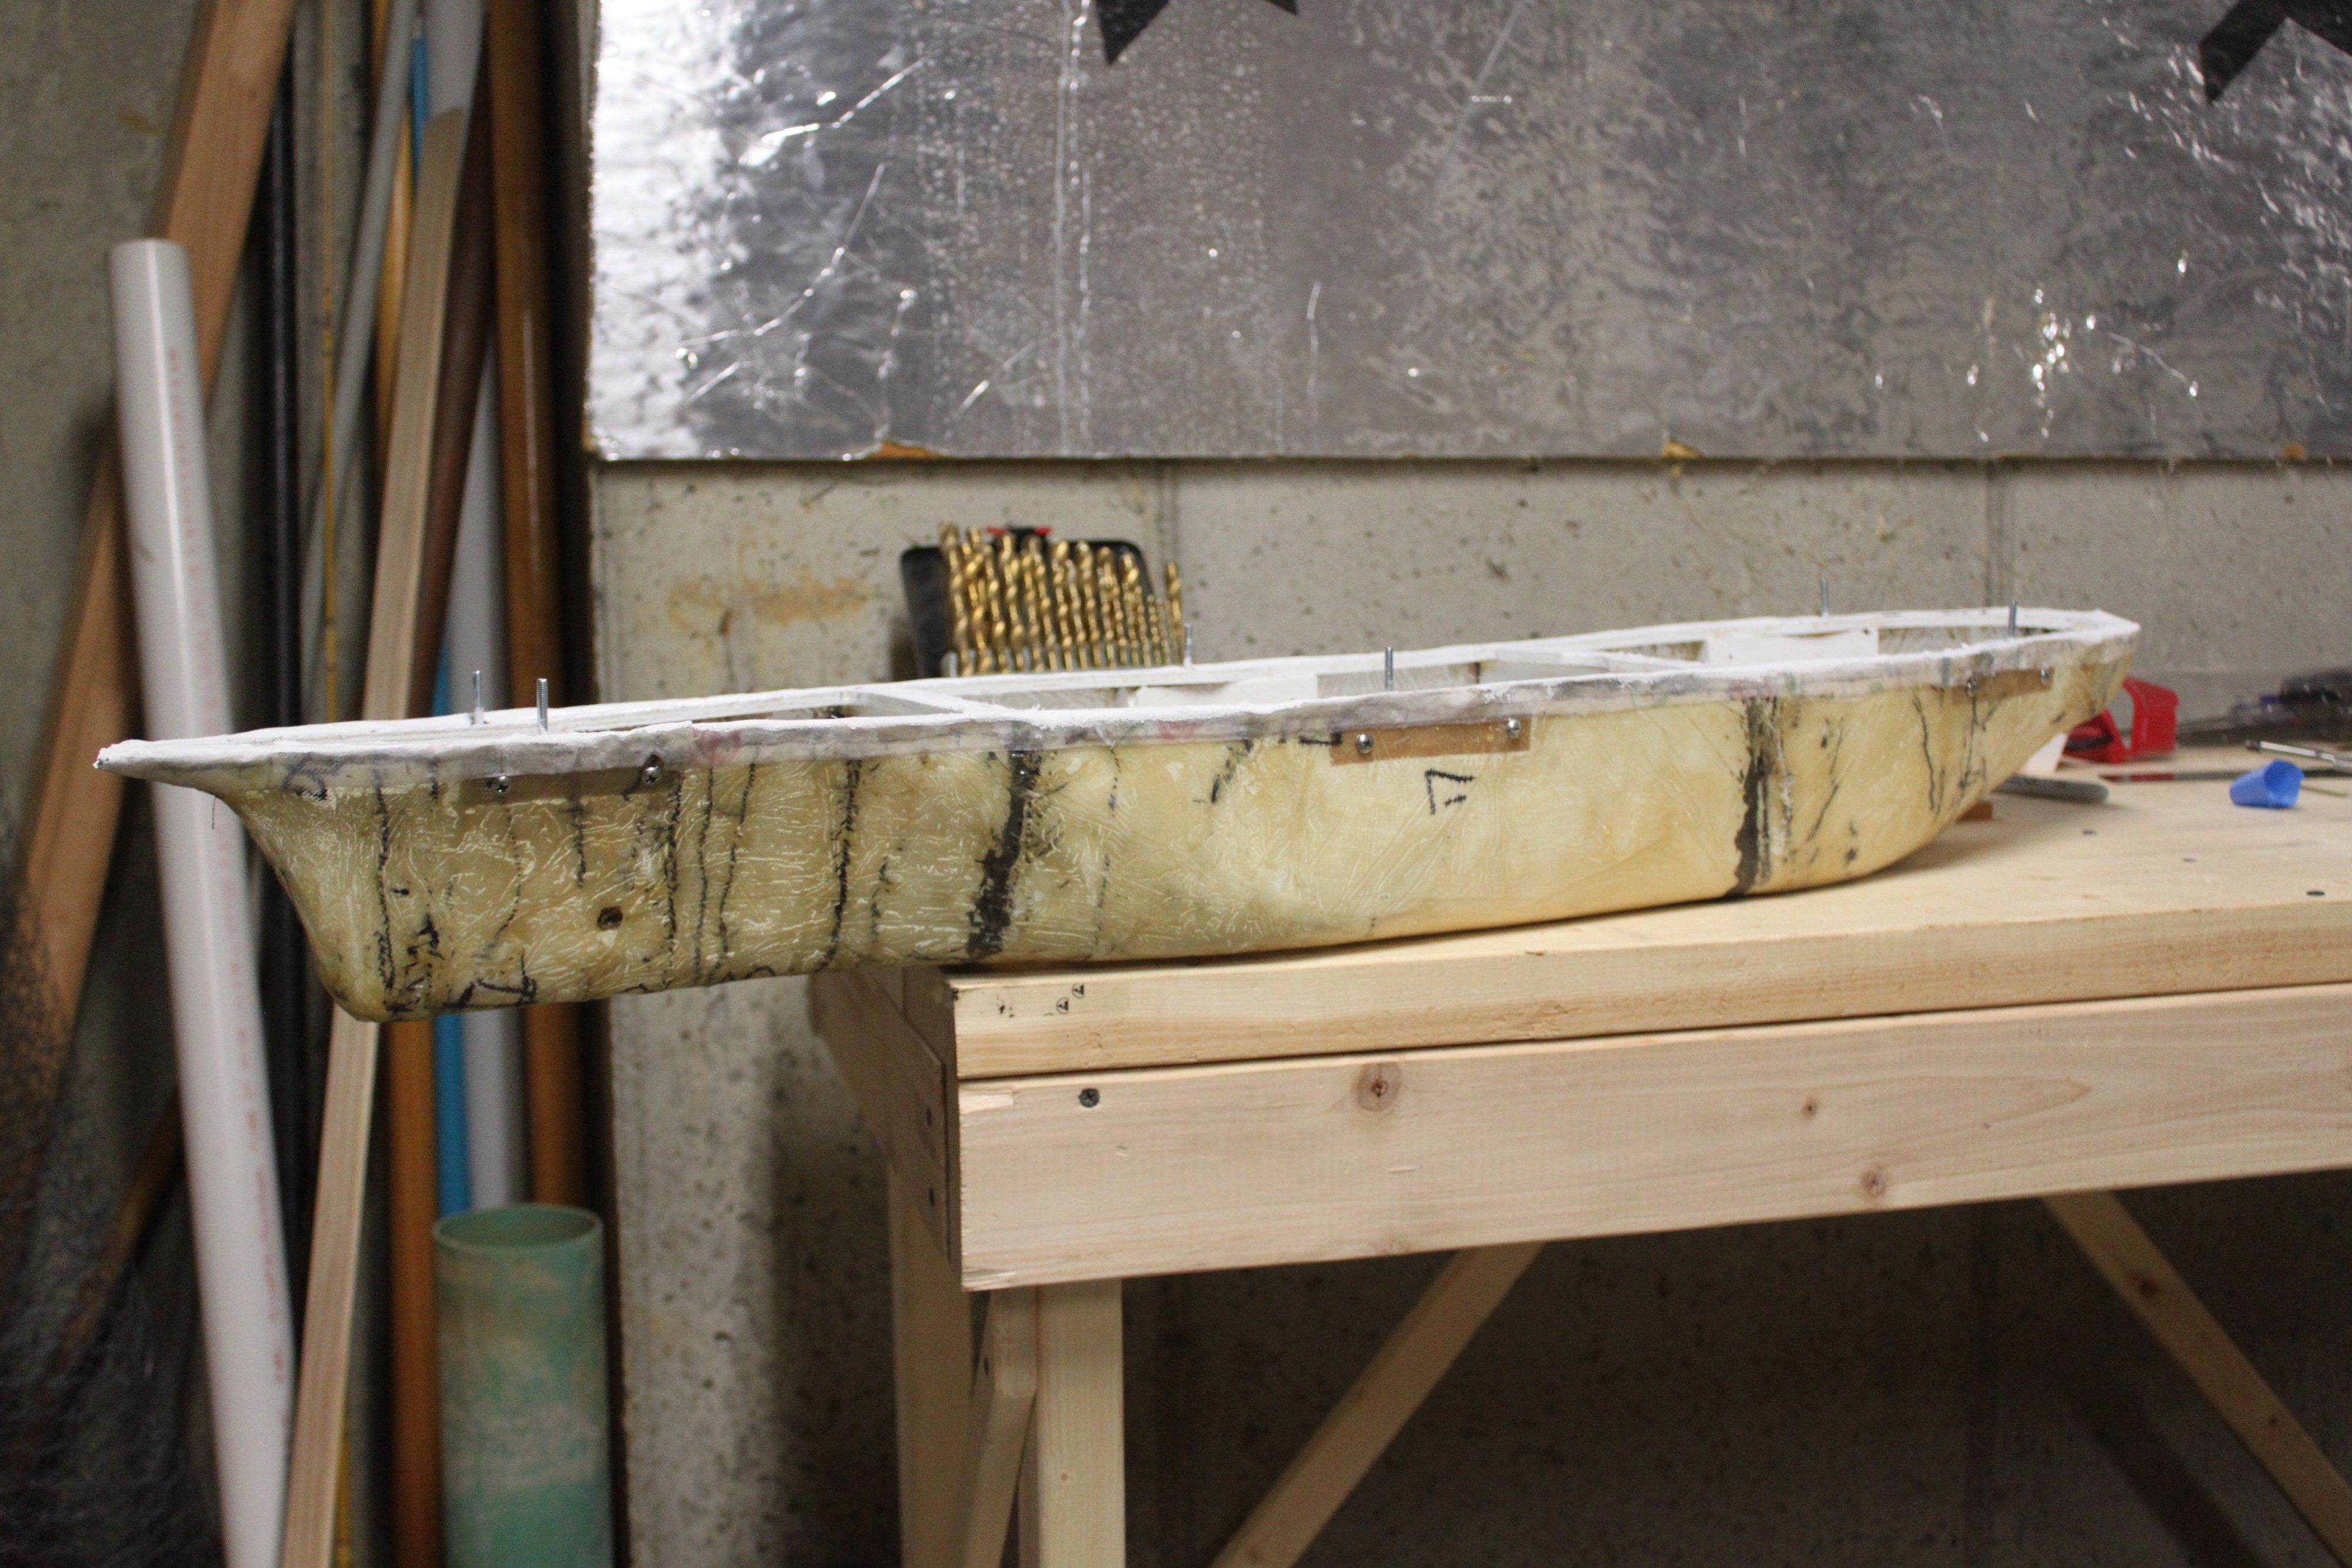
 Quinn
Quinn
 Zack
Zack