0%
0%
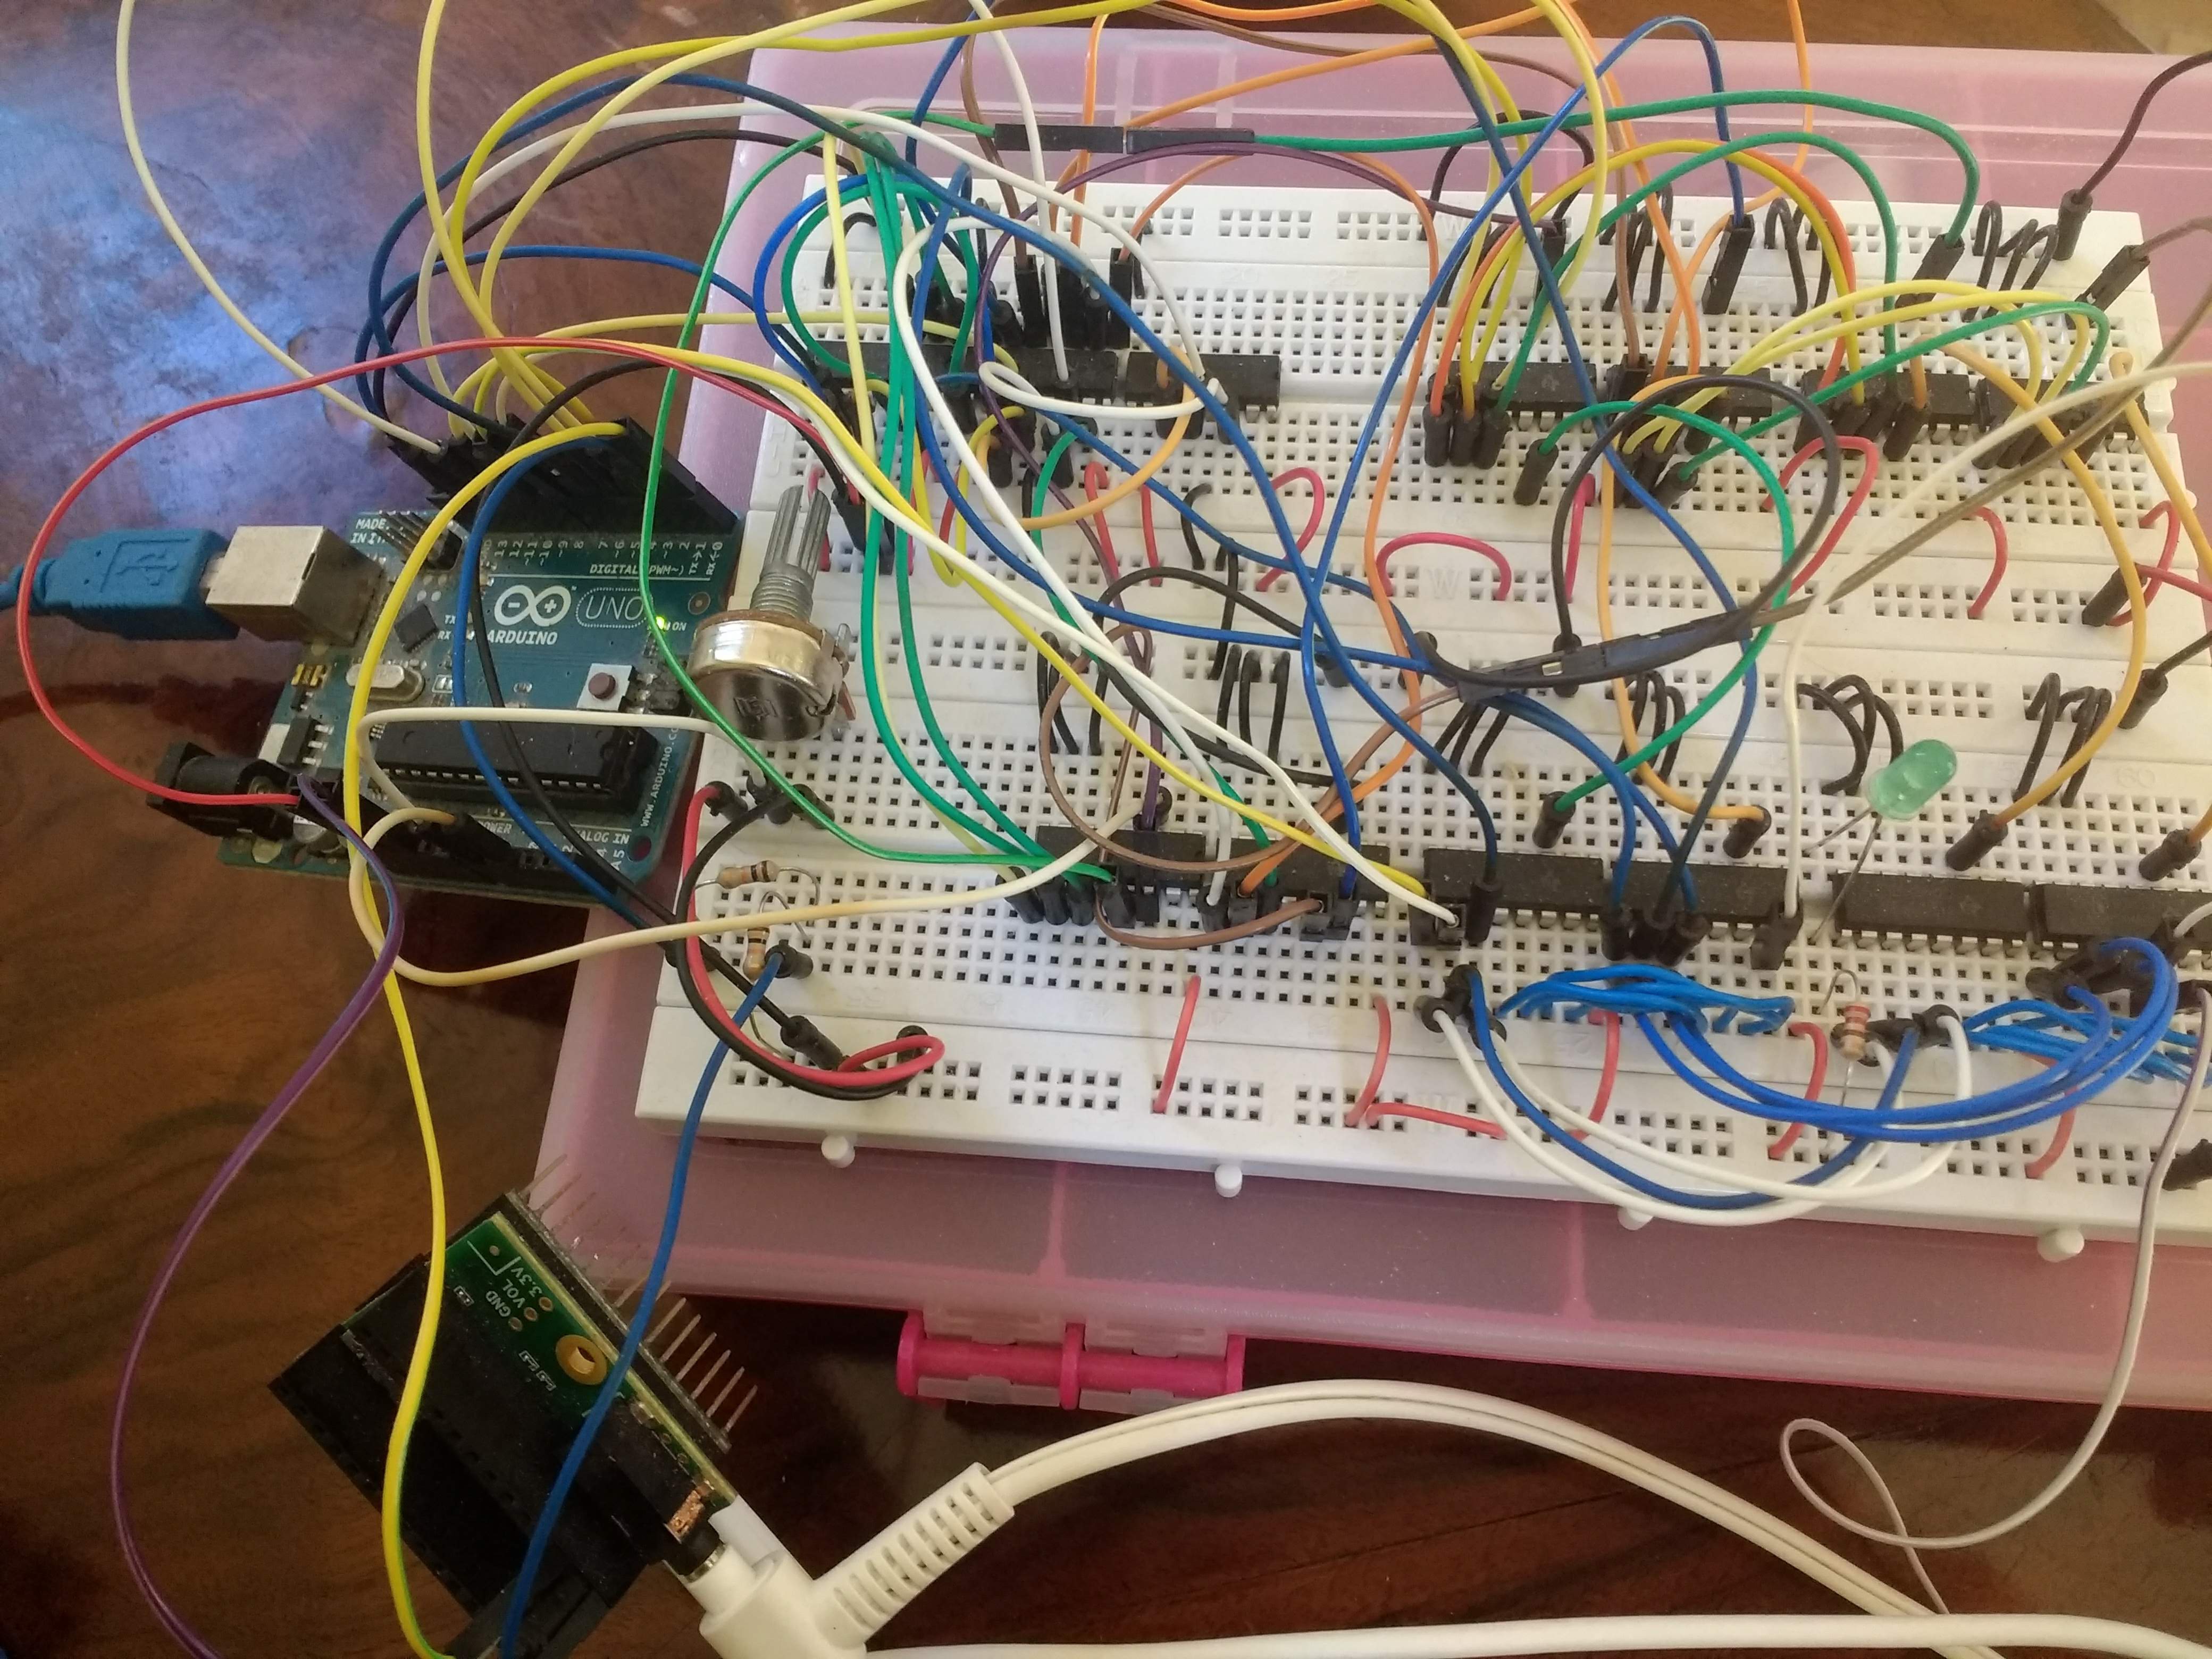
PolyMod 2: modular digital synthesizer
New, improved version of the PolyMod modular digital synthesizer, which was a Hackaday Prize semi-finalist in 2018.
 Matt Bradshaw
Become a Hackaday.io member
Already have an account? Log in.
Just one more thing
To make the experience fit your profile, pick a username and tell us what interests you.
Pick an awesome username
hackaday.io/
Your profile's URL: hackaday.io/username. Max 25 alphanumeric characters.
Pick a few interests
Projects that share your interests
People that share your interests


 Evgeny
 Salim Benbouziyane
 novirium
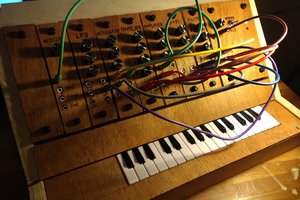
Awesome. I just discovered this nice project!
I am thinking about something very similar.
For the modules, I am considering I2C chips for digital I/O and analog inputs :
MPS23017: 16 x GPIO
ADS7828: 8 x 12bit ADC
So, we can imagine an I2C bus on the Eurorack backplane along with the power supply rails.
On software side, may be vcvrack running in a RPi. There is a C++ API to create/delete wires dynamically:
https://community.vcvrack.com/t/programmatically-add-wires-between-moduels/6567
Update: just discovered some DIP40 MCU with low price
For example PIC18F47Q43 with 36 GPIO, 12bit ADC, and up to 35 analog inputs.
Very flexible and cost effective solution comparing to I2C chips or Teensy LC