 Stephen Holdaway
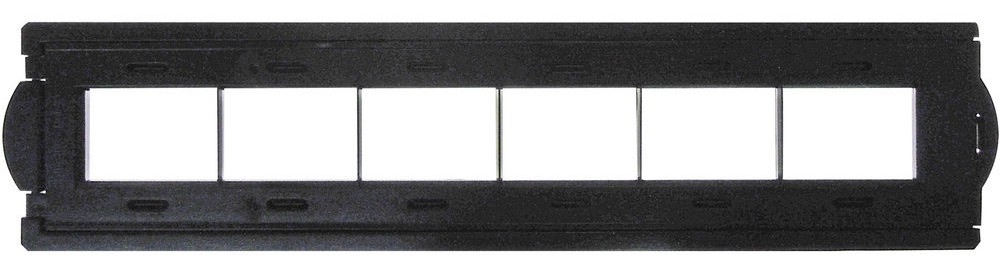
I trialed a dedicated negative scanner before starting this project and found that the trays it used were quite fiddly and somewhat fragile. They do make it quick to move between frames, but opening and closing them to change the film was tedious in my experience. Designs like this also assumes frames are properly spaced on the film, which isn't always the case.
Based on this, I had a few criteria for a custom design:
- Easy to insert and remove film without catches, latches, etc
- Easy to align film for scanning
- Simple mechanism to apply and remove pressure once aligned to keep film flat
Looking at patents for ideas on how existing high-speed film scanners might handle this, I came across US5400117A: "Film clamp for flattening image frames in a scanning gate":
A film flattening apparatus and method of operation for flattening a filmstrip image frame against an aperture in a base operable by applying normal compressing force through longitudinally extending clamping elements to compress the longitudinal edges of said filmstrip image frame against said base surface...
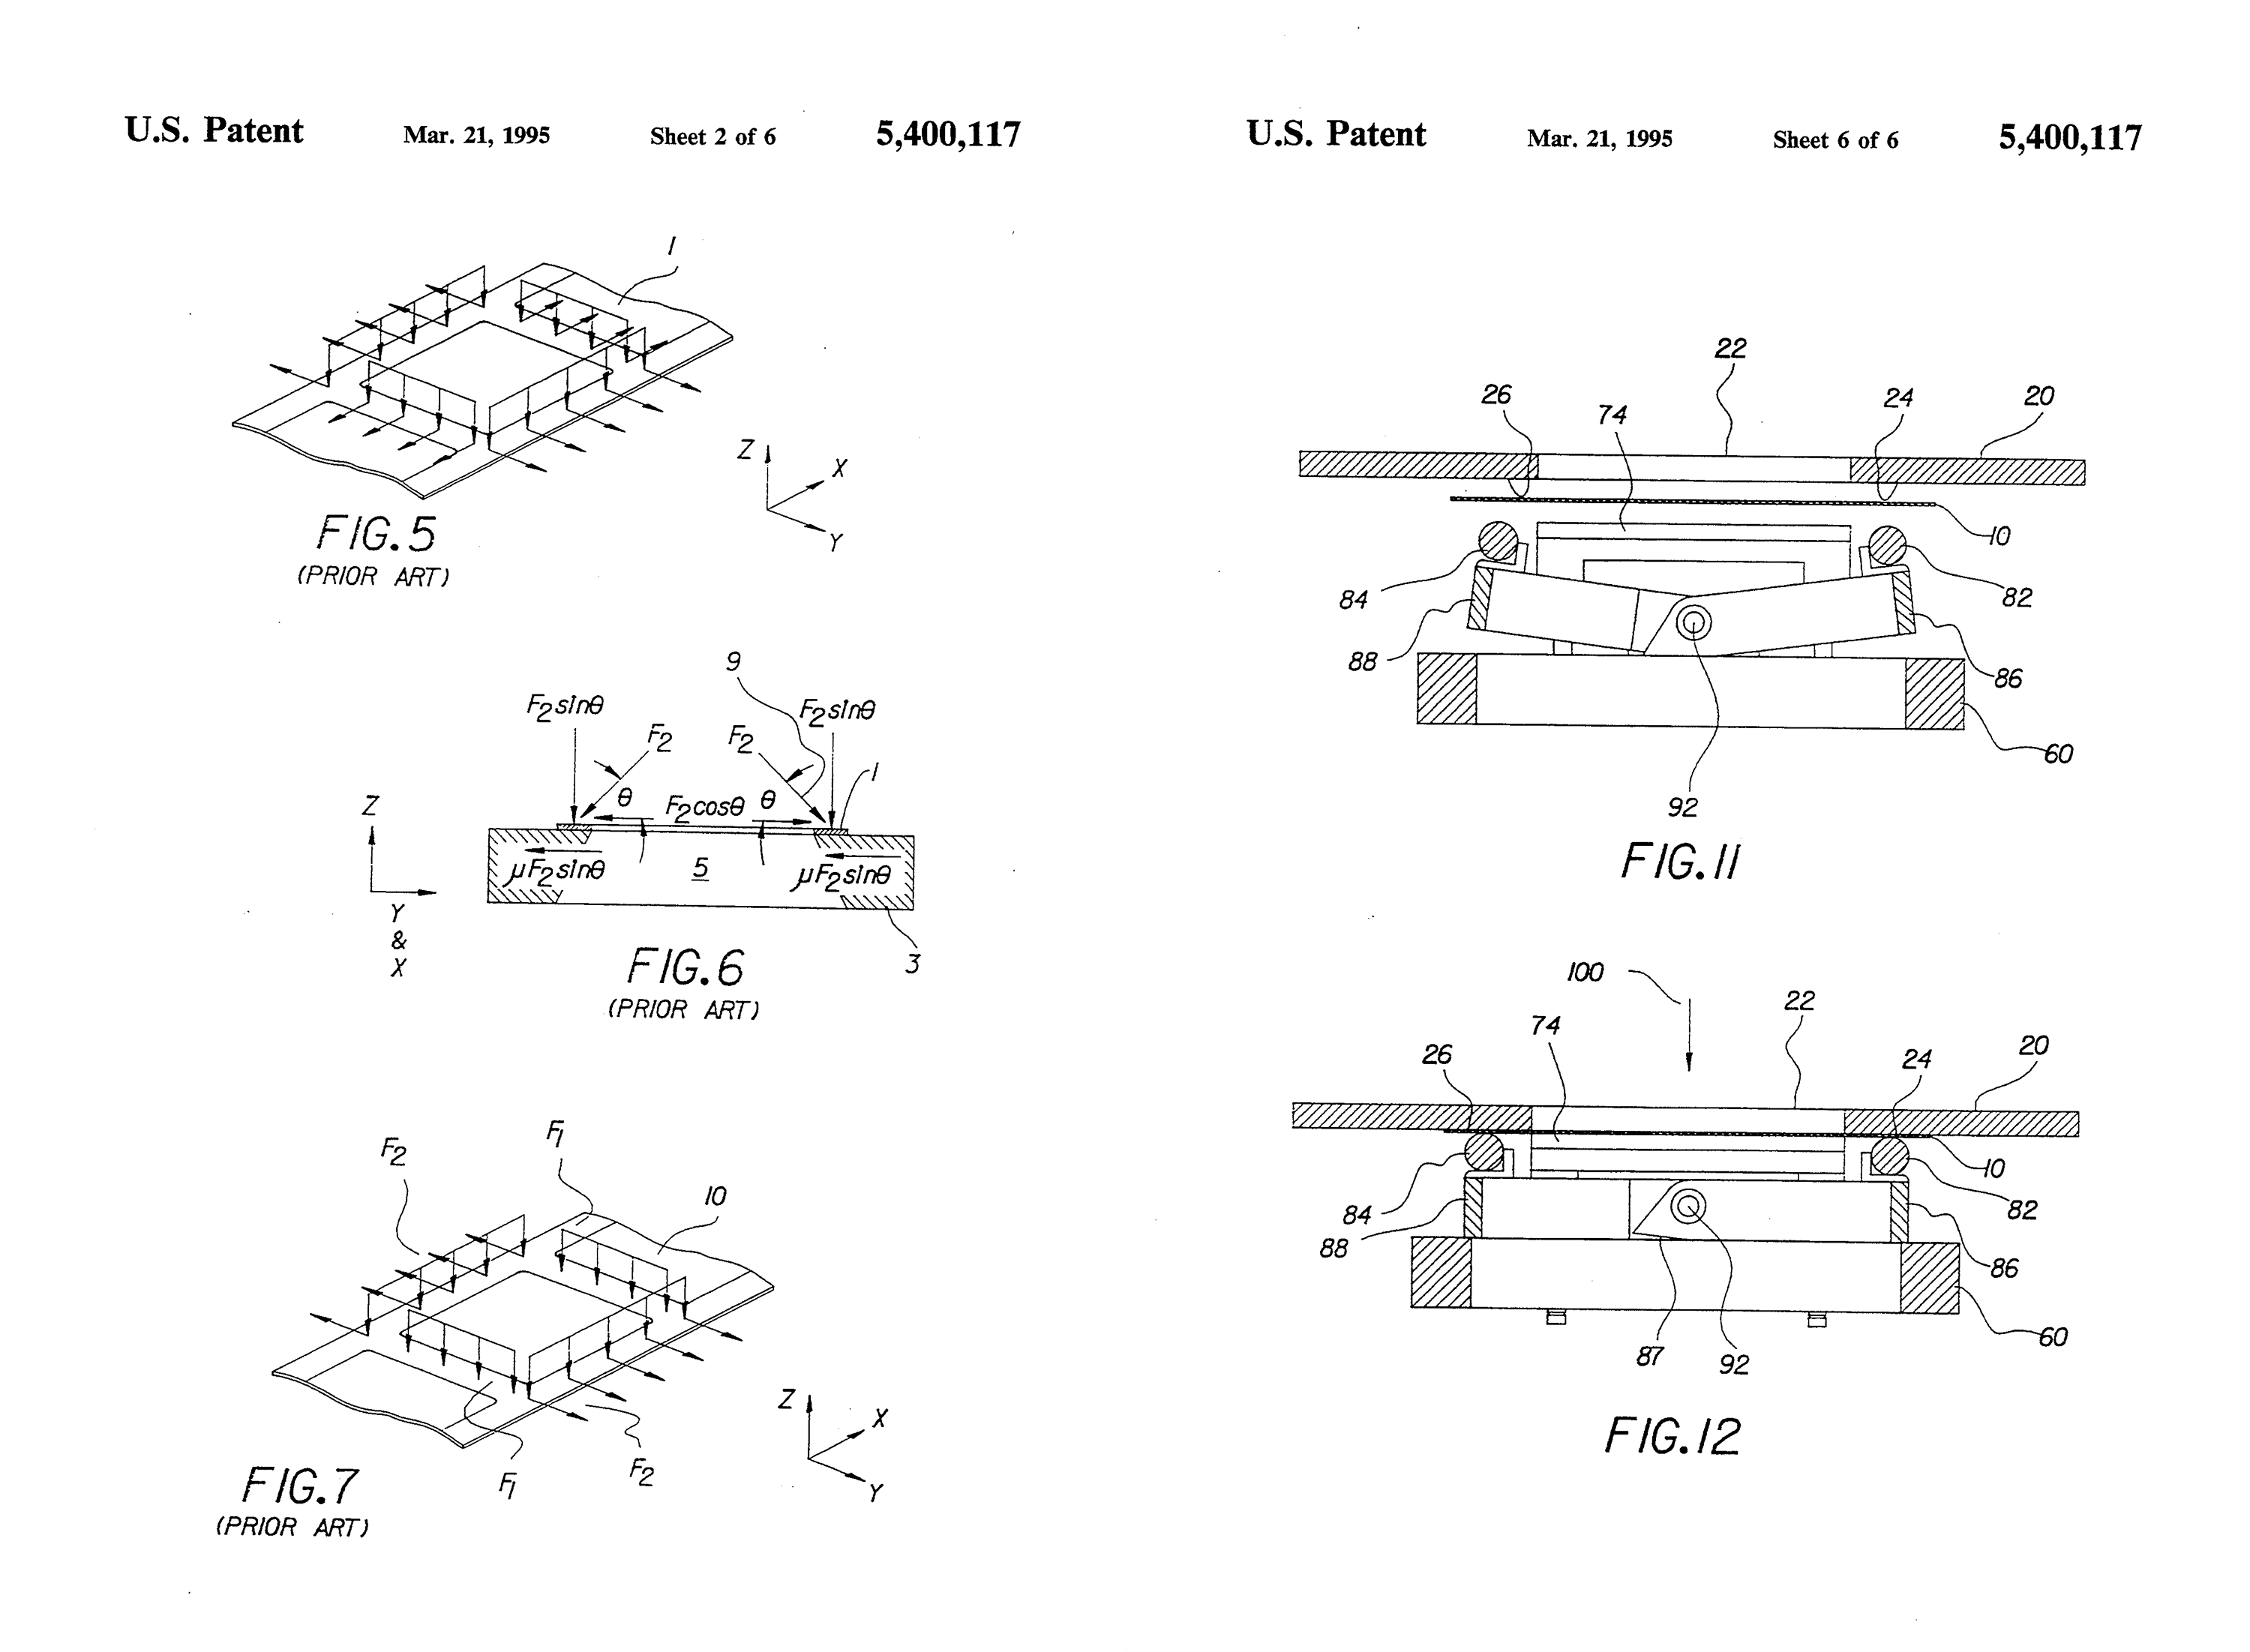
This design has some good ideas, but armed with just a 3d printer, some hand tools and very little experience in mechanical engineering I wasn't sure how I was going to construct something reliable enough with a lever to apply pressure to the film:
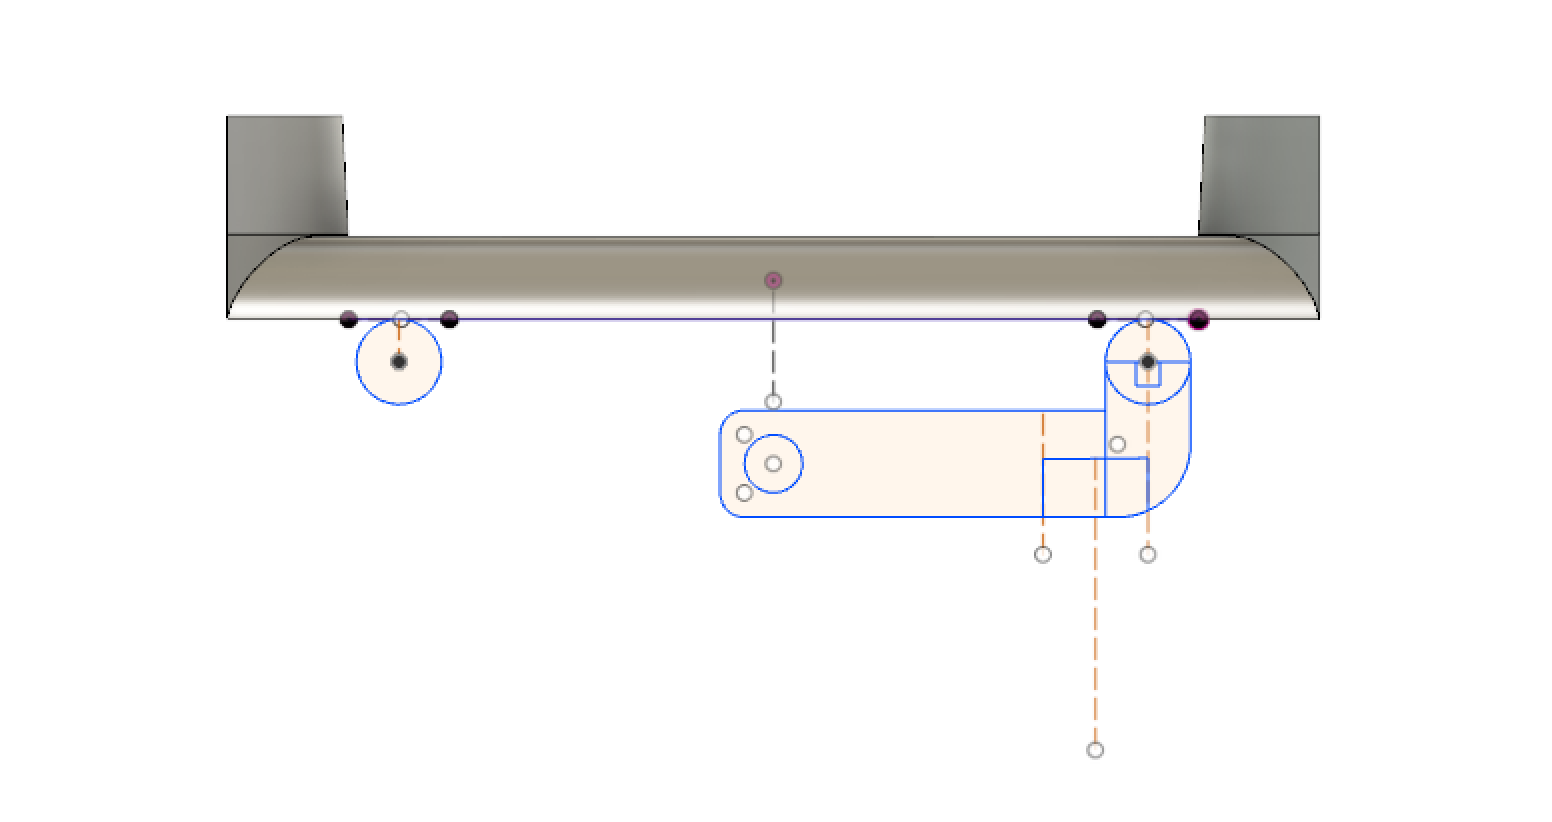
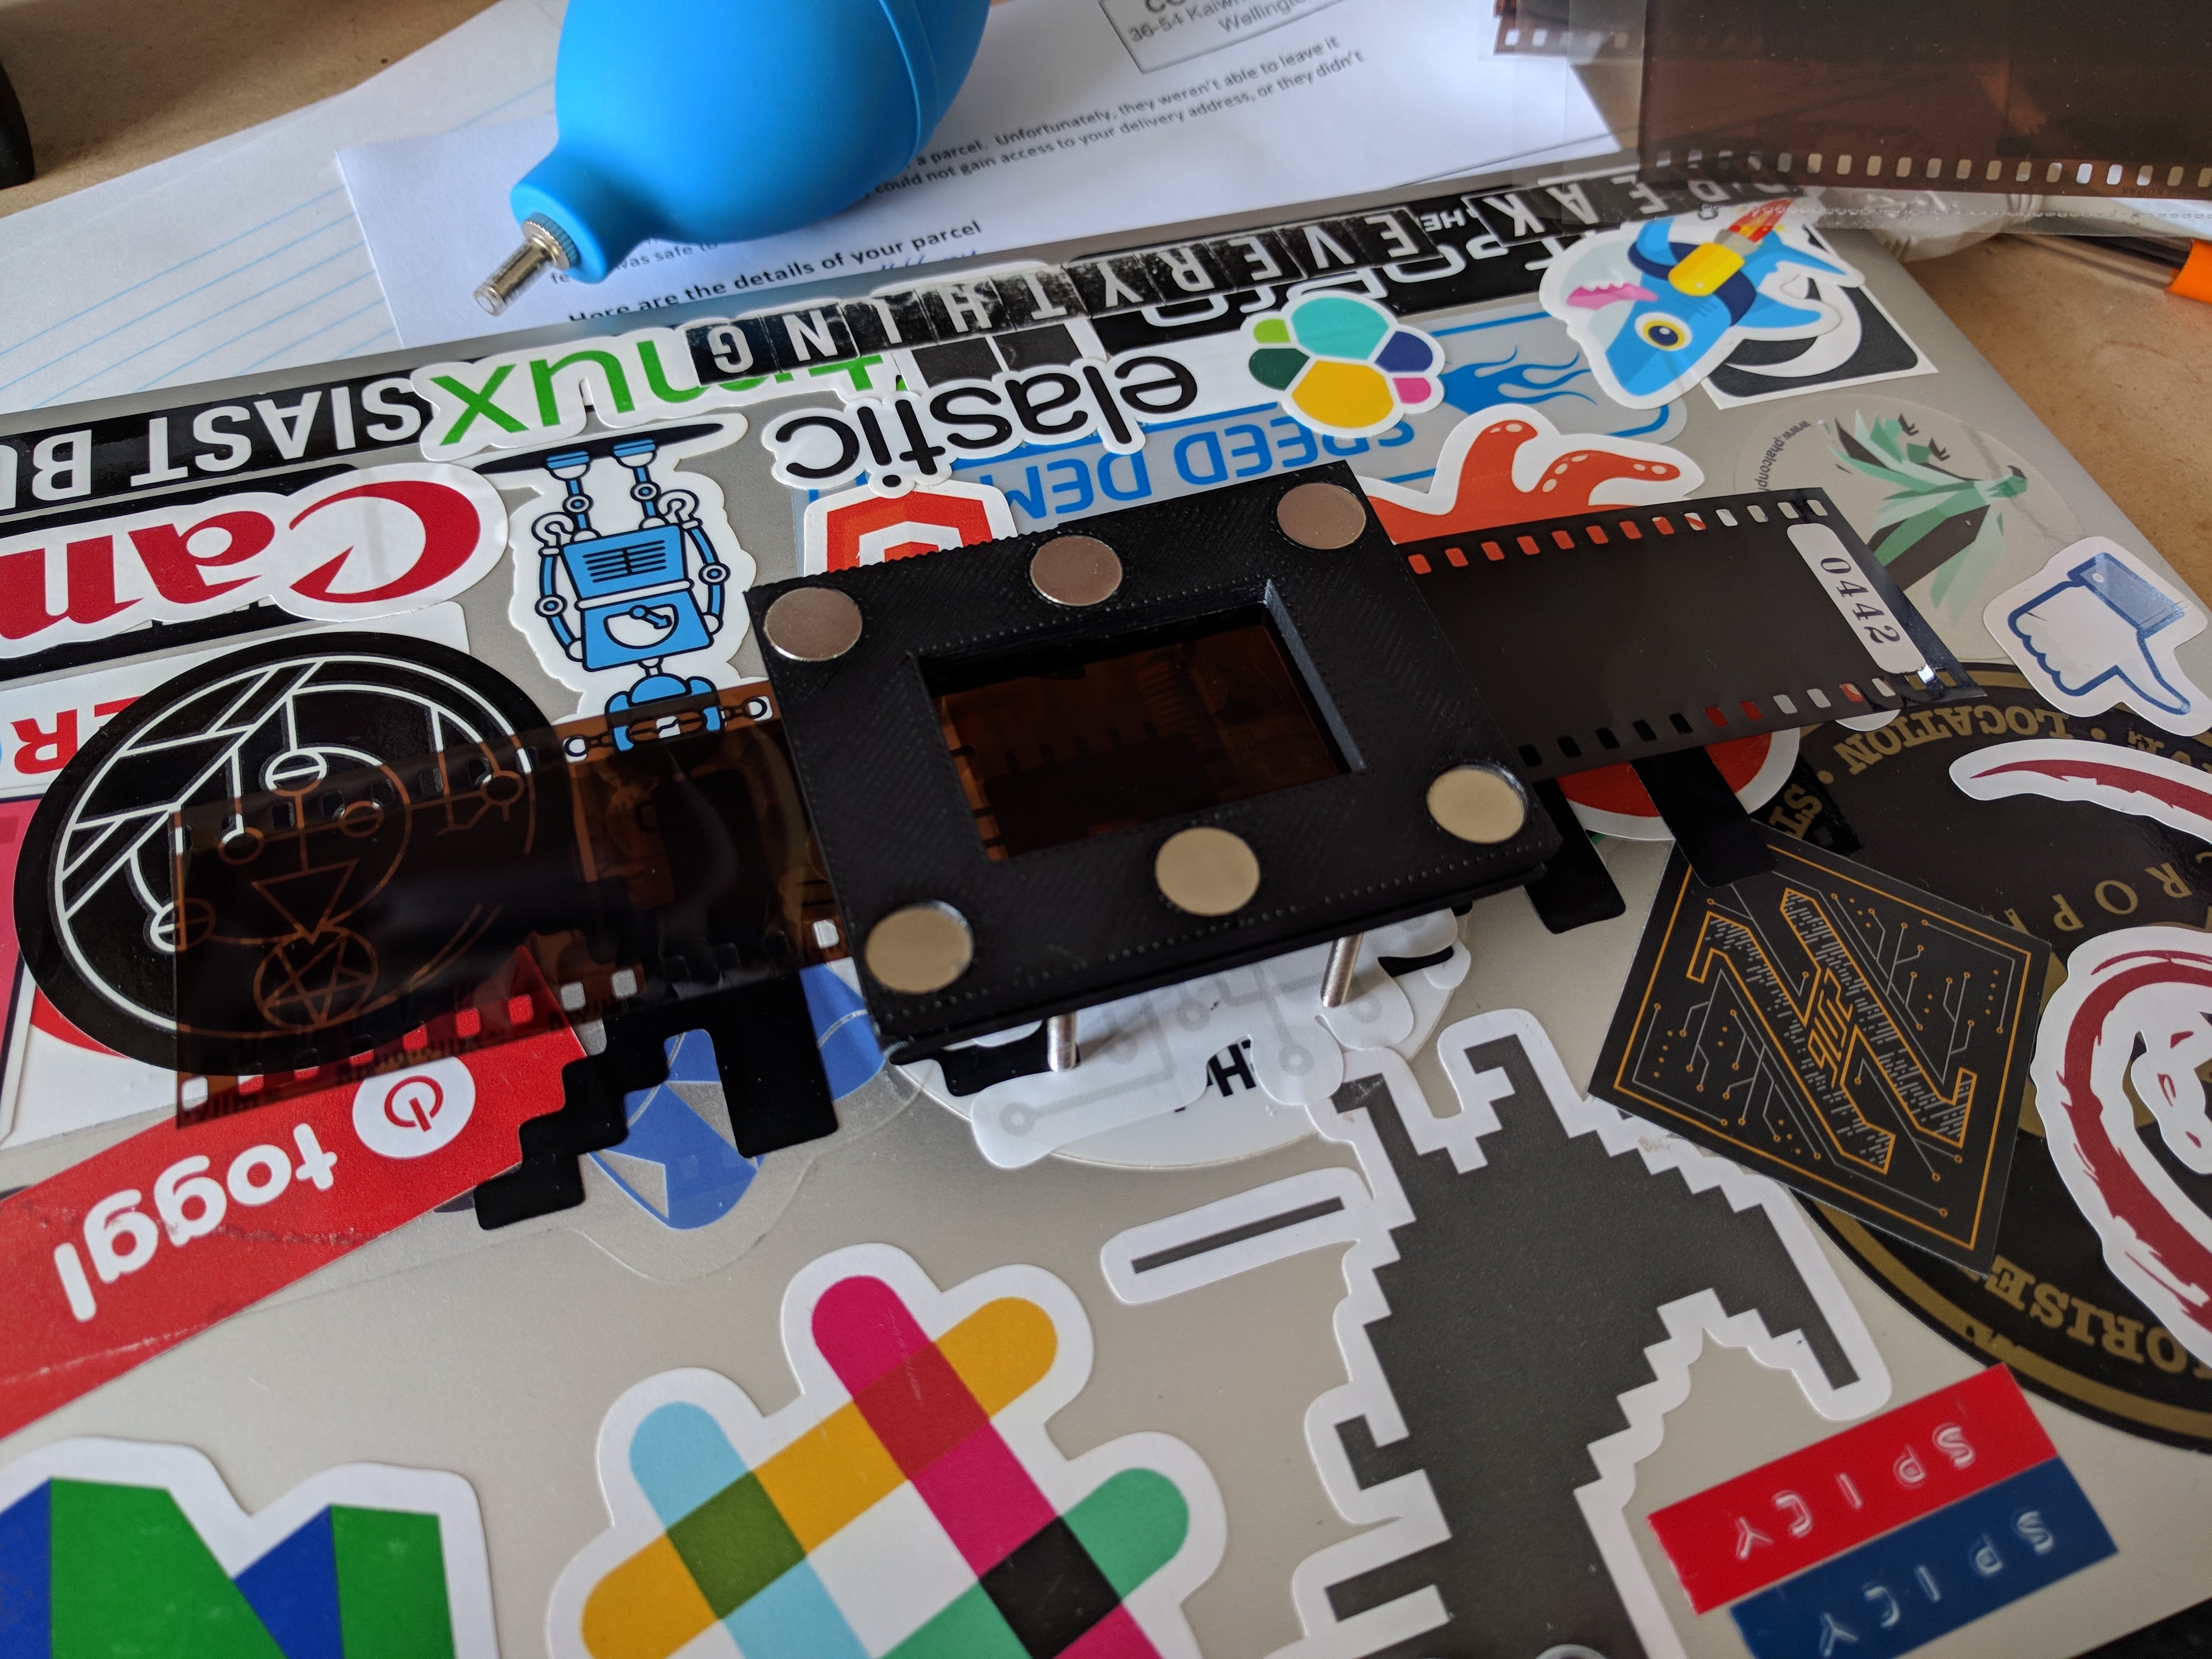
After at least a week of mulling over how I was going to make this mechanical contraption work, I found myself fiddling with some small neodymium magnets I'd bought for a different project. It was only then it occurred to me that I could keep the clamp extremely simple just by using magnets to apply force - no levers, hinges or springs required:
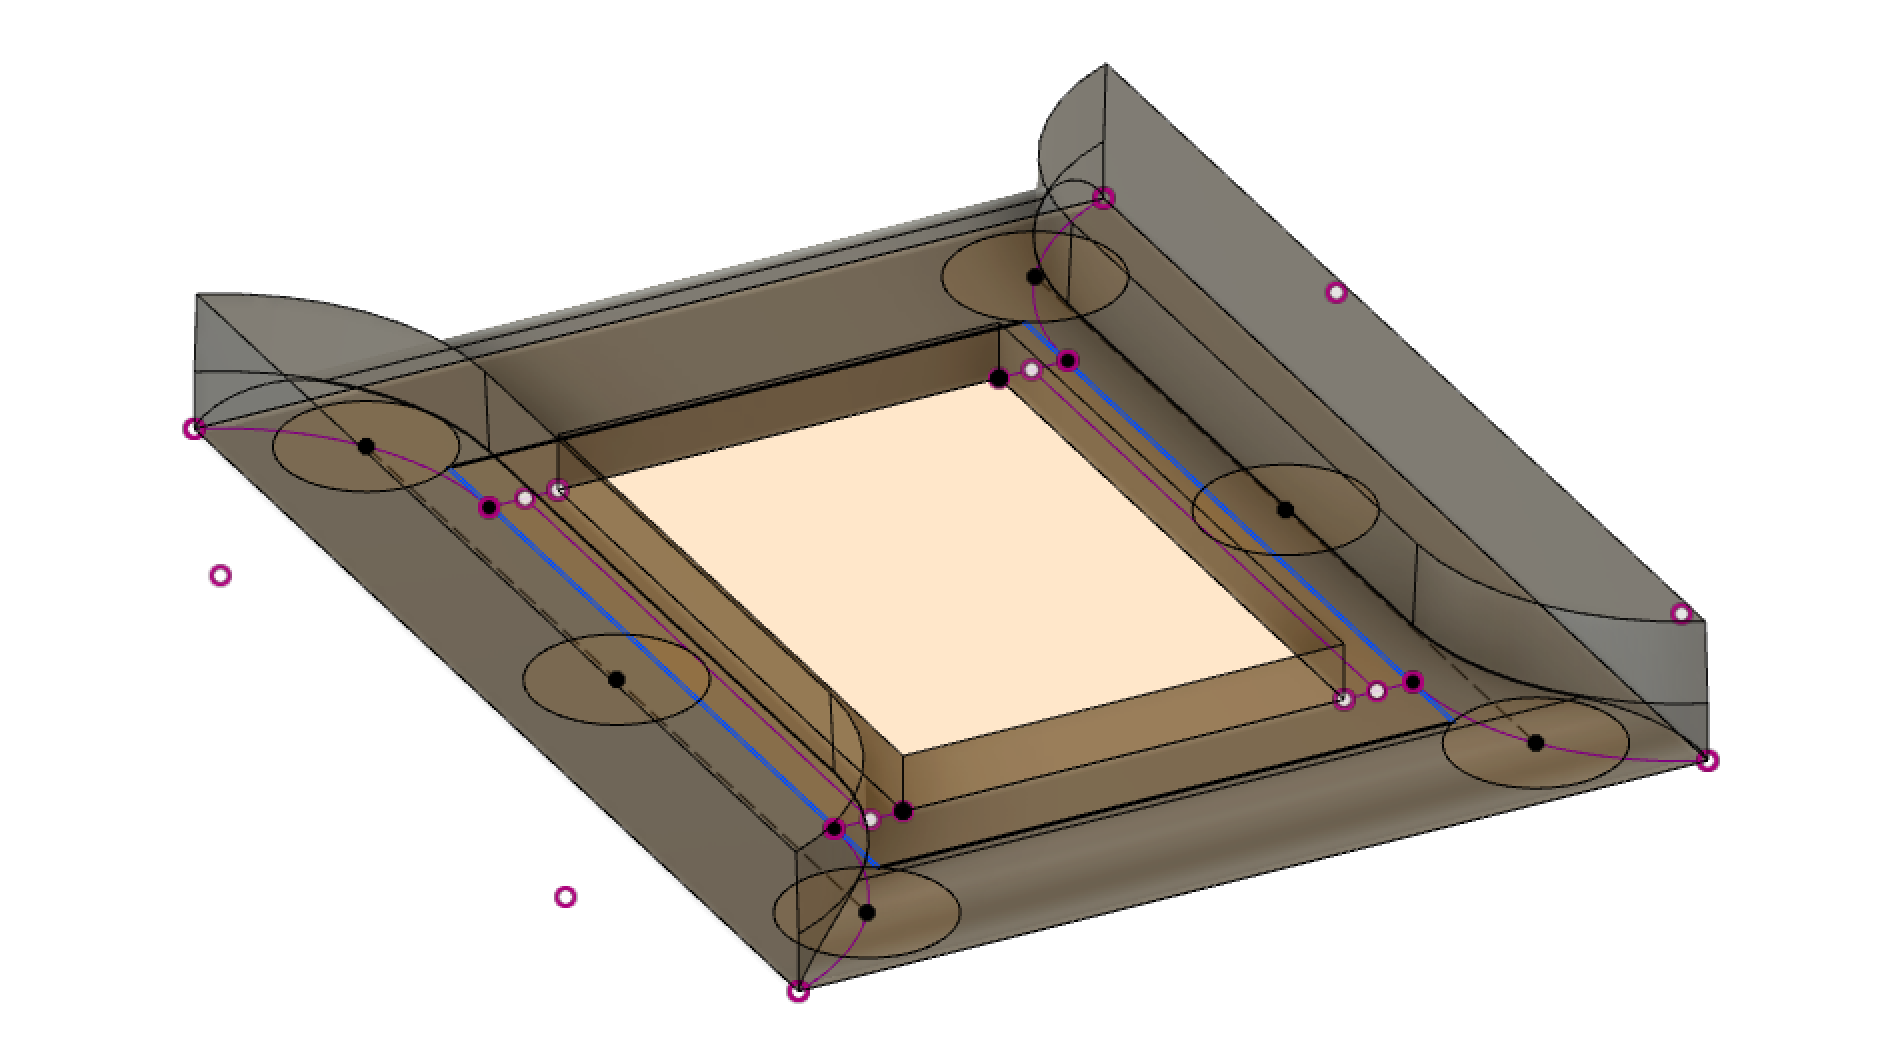
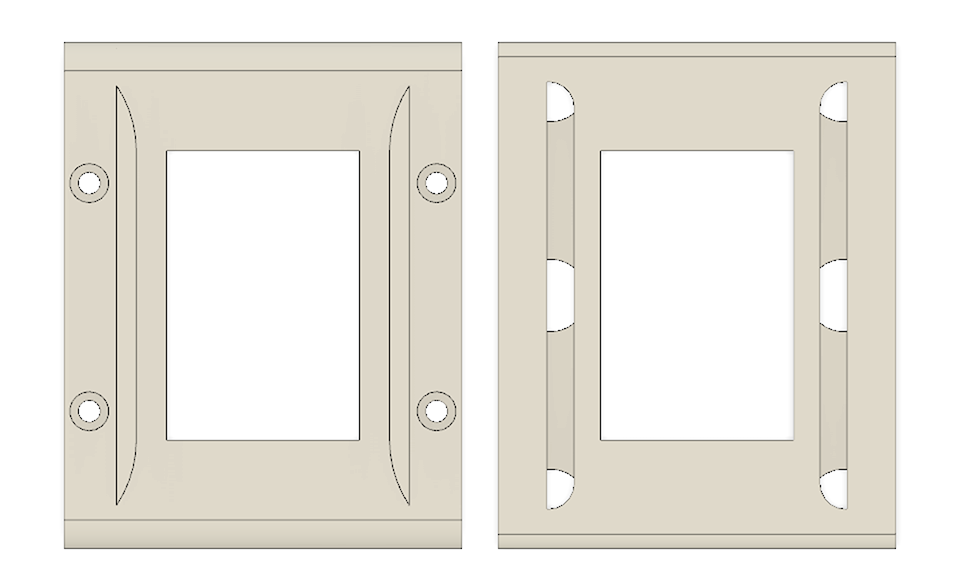
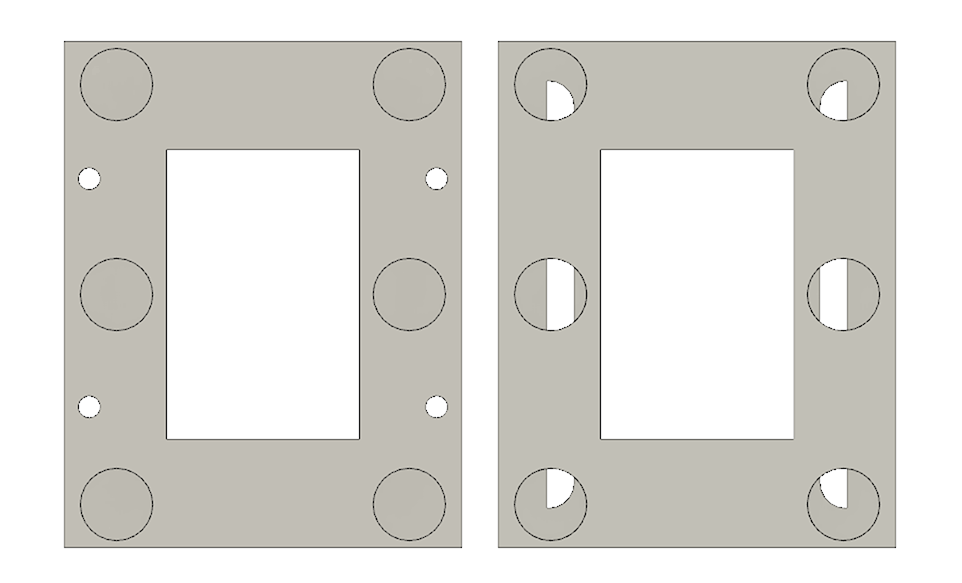
The existing design was then adjusted to have a top plate that puts the magnets in each half as close together as possible. Screw holes were added to attach the mount to a yet unknown light source, and enough tolerance was given for the film guides to slot into the top plate without catching.

I printed this in ABS, and it worked even better than I was expecting in practice. The magnets provide enough clamping force to flatten out the film, and additionally make the two halves self-align. As long as the top plate is chucked within 1cm of the right place, it homes itself.
Discussions
Become a Hackaday.io Member
Create an account to leave a comment. Already have an account? Log In.